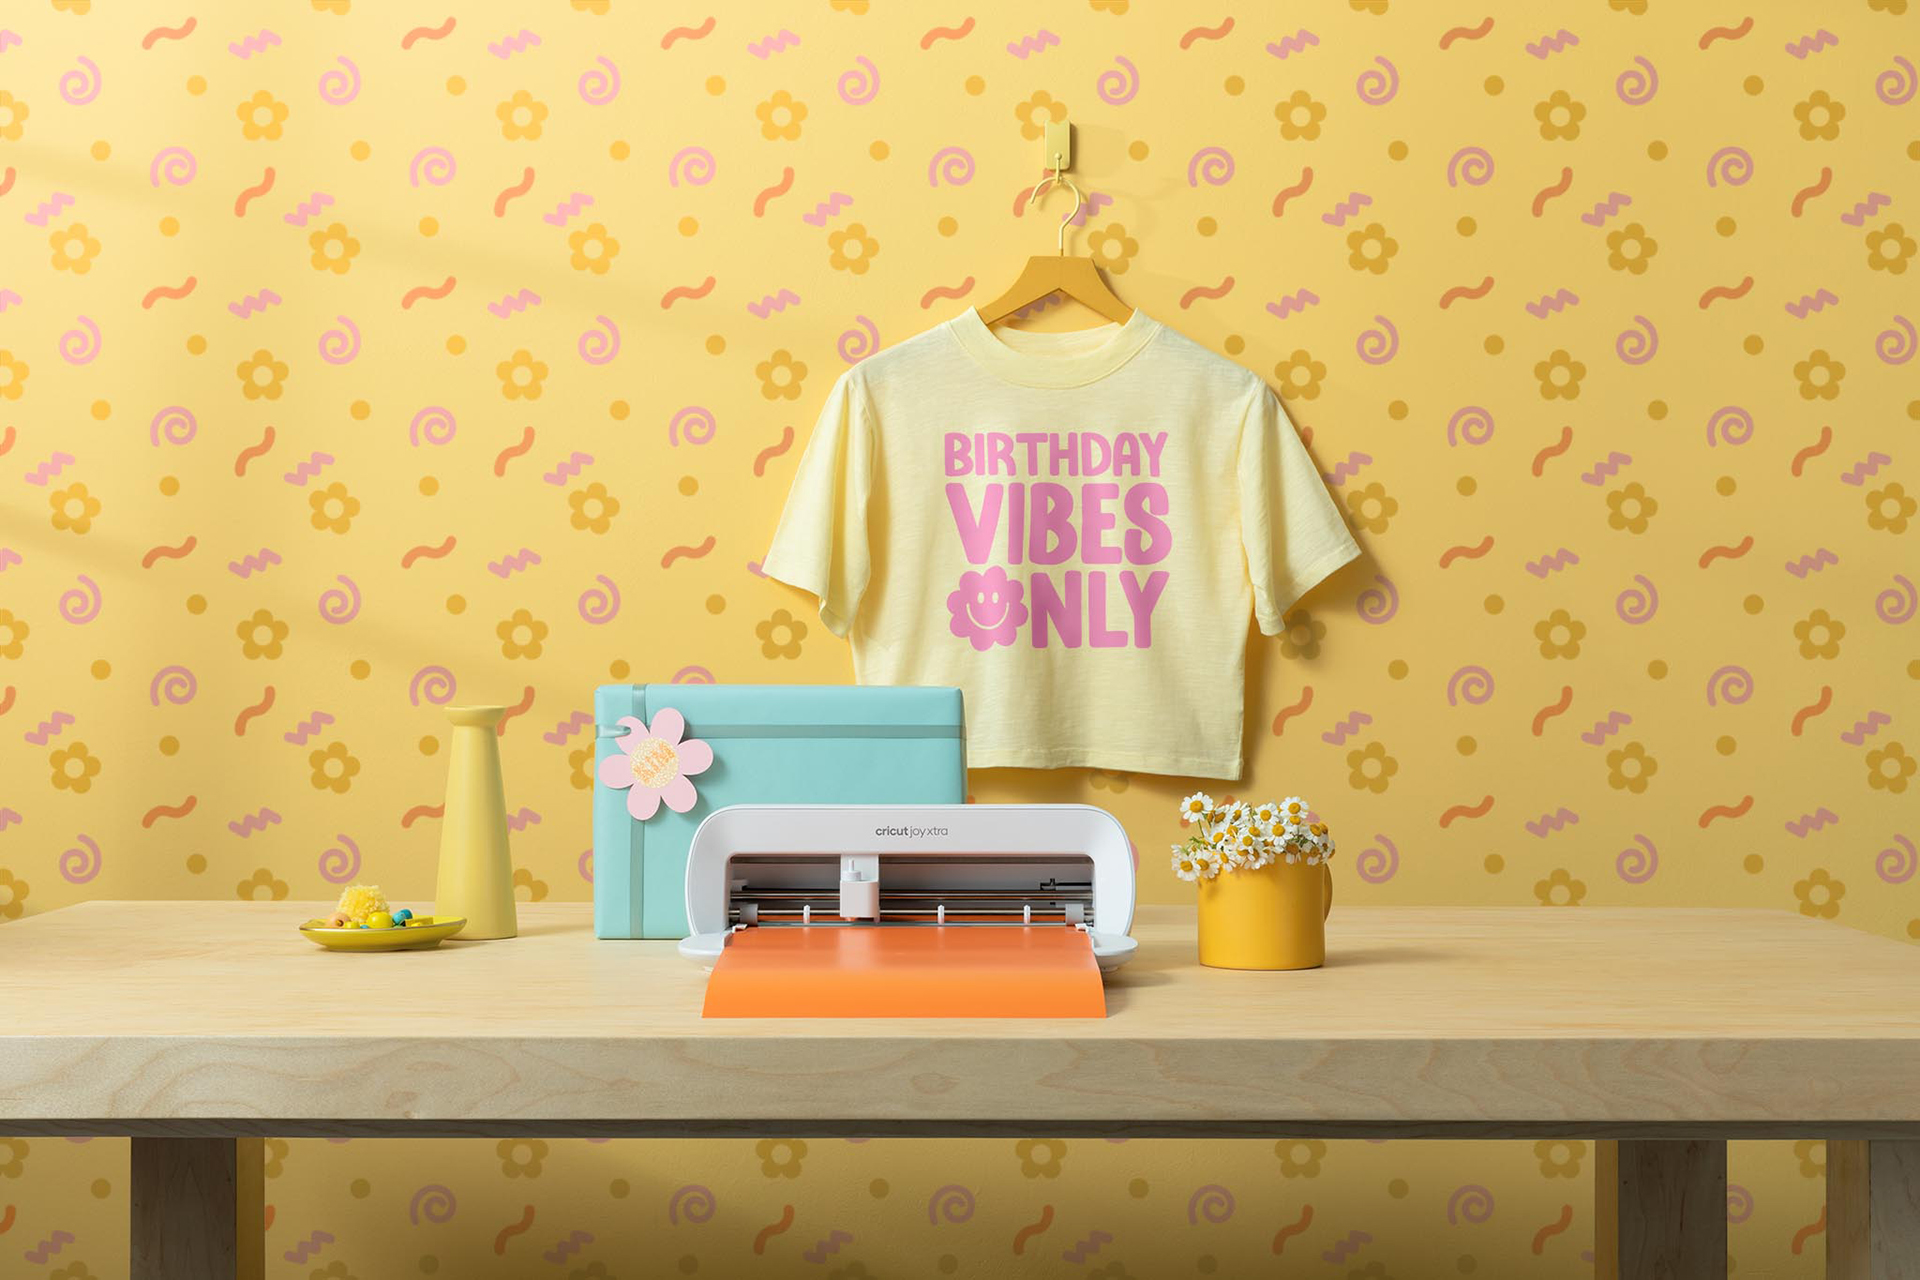
How to make personalized cosmetic bags with Cricut
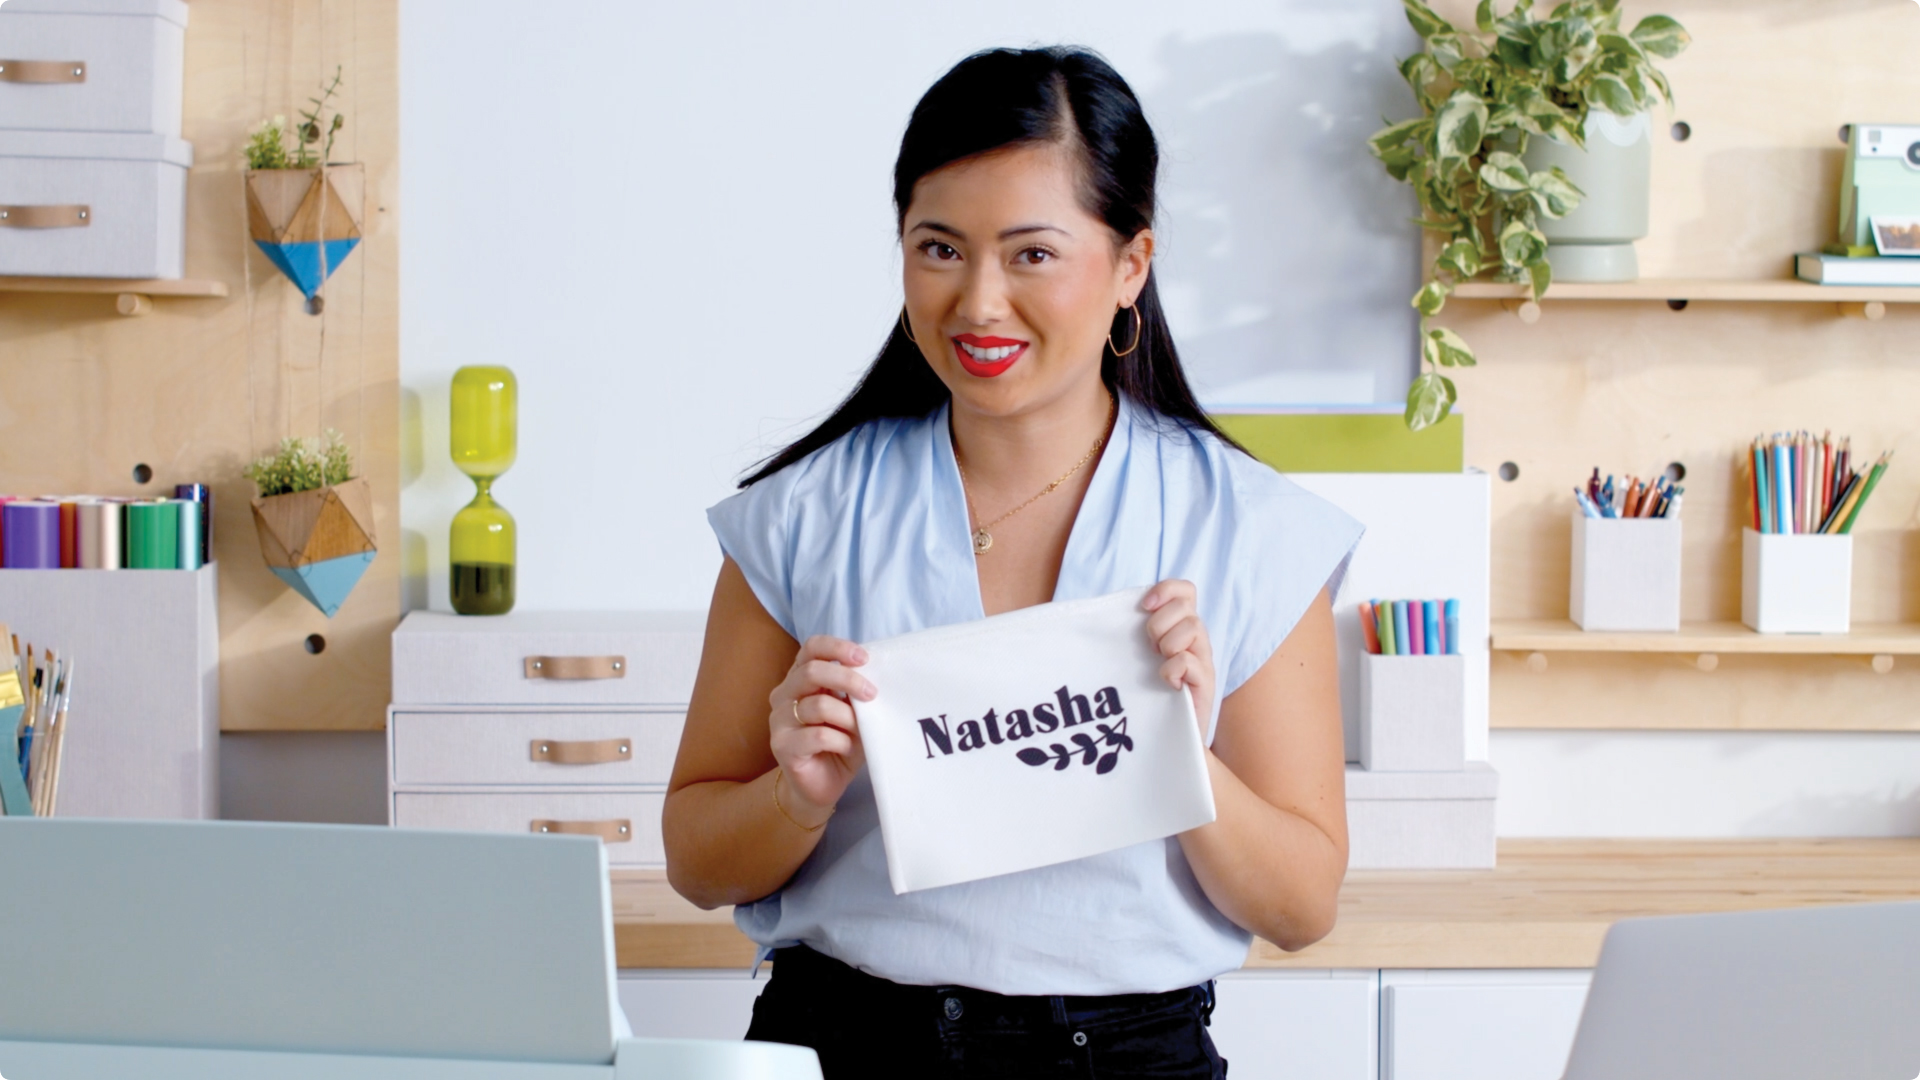
Personalized cosmetic bags make great accessories for bachelorette trips, or just a way to make it easier to tell yours apart from the rest!
Supplies Needed
Print this list
Make personalized cosmetic bags with Cricut
Step 1
Open up the personalized cosmetic bag project in Design Space and edit “name” to your name, or whoever you are creating this for. Select both your name and the leaf image and click “Attach.” This will tell the machine to cut them together exactly how they are laid out.
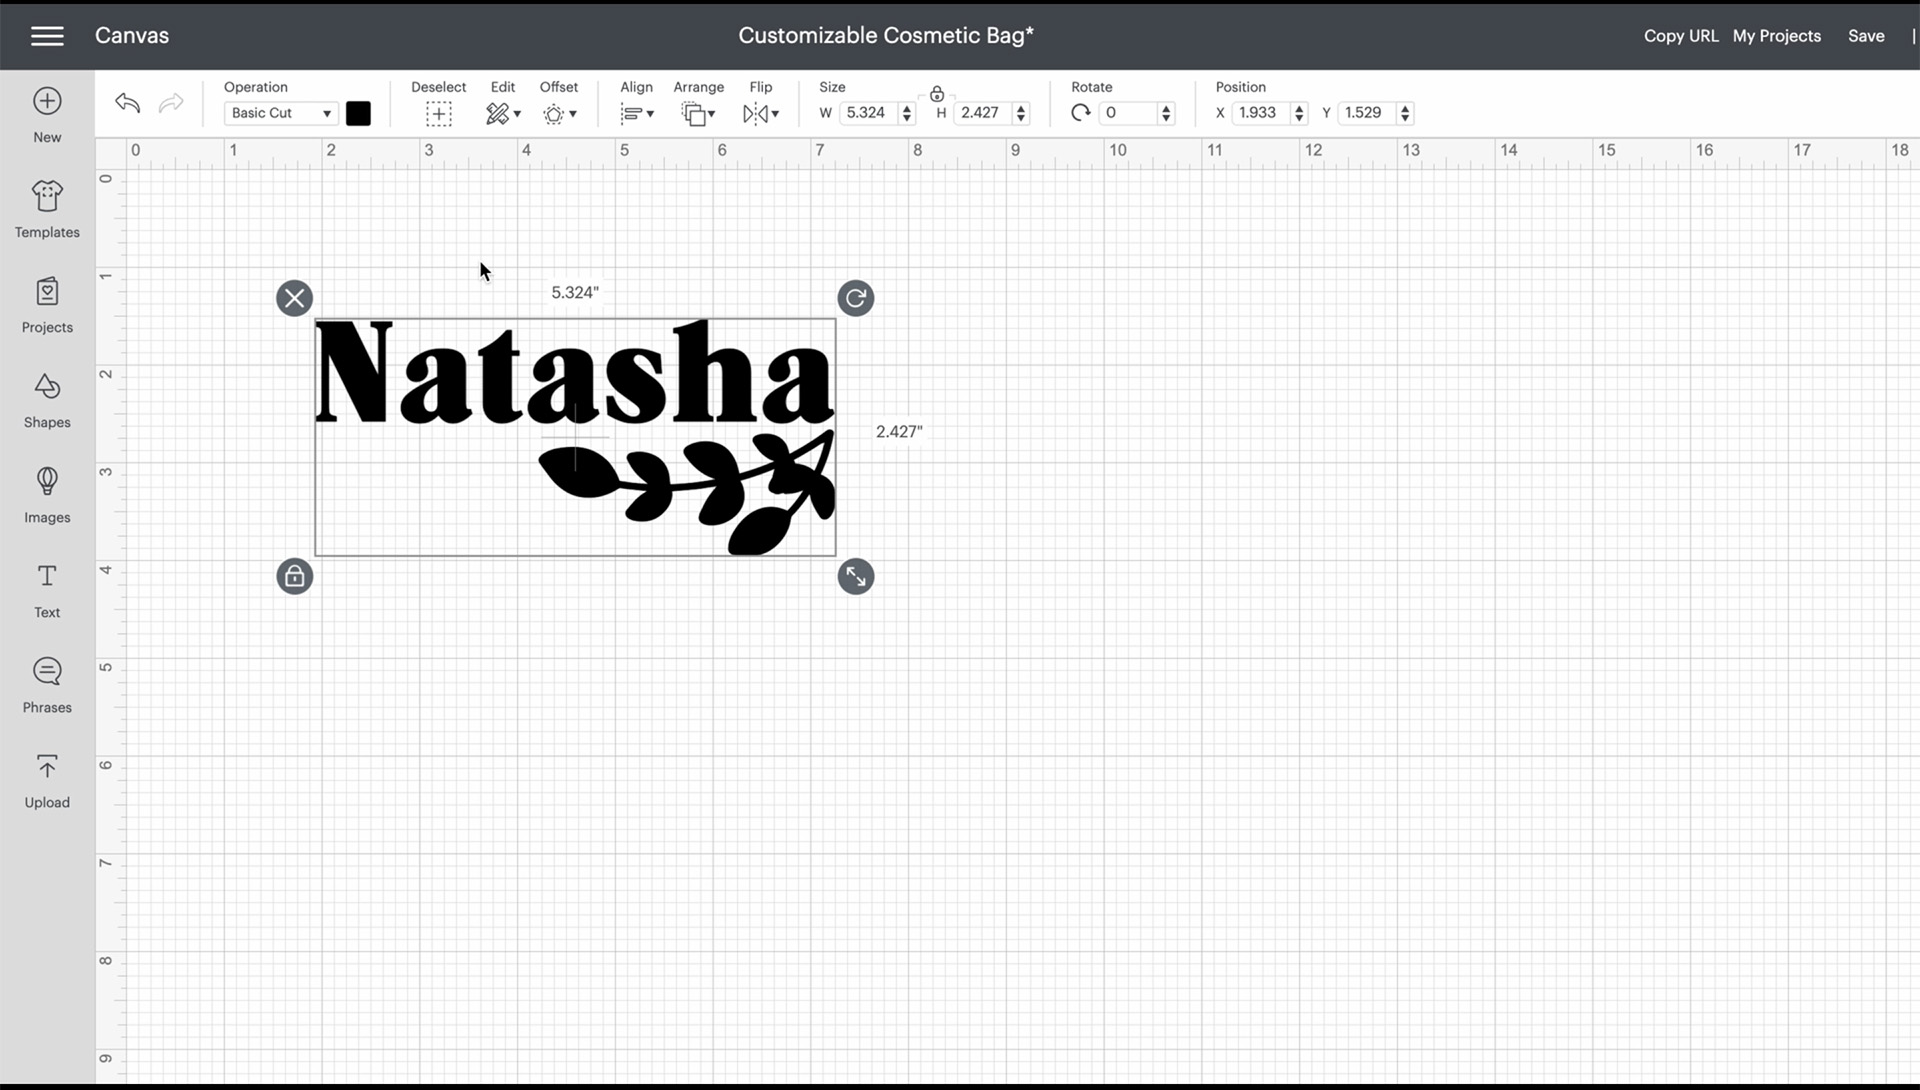
Click “Make It” and select “On Mat” when asked how you will load all of your materials. Click “Continue.”
Step 2
We will need to mirror our design, so toggle the “Mirror” option, then “Continue.”

On the next screen, select the material you are using: Infusible Ink Transfer Sheet.
Step 3
Remove the liner from your cutting mat. Adhere your Infusible Ink material on the mat, lining up the corners.
Insert the mat into the machine and press the Load button. Once the Go button starts blinking, press that button to start cutting your design.

Step 4
Once the machine is done cutting your design, unload your mat and fold it over. Carefully and slowly remove your Infusible Ink material from the cutting mat. Place the liner back over the cutting mat.
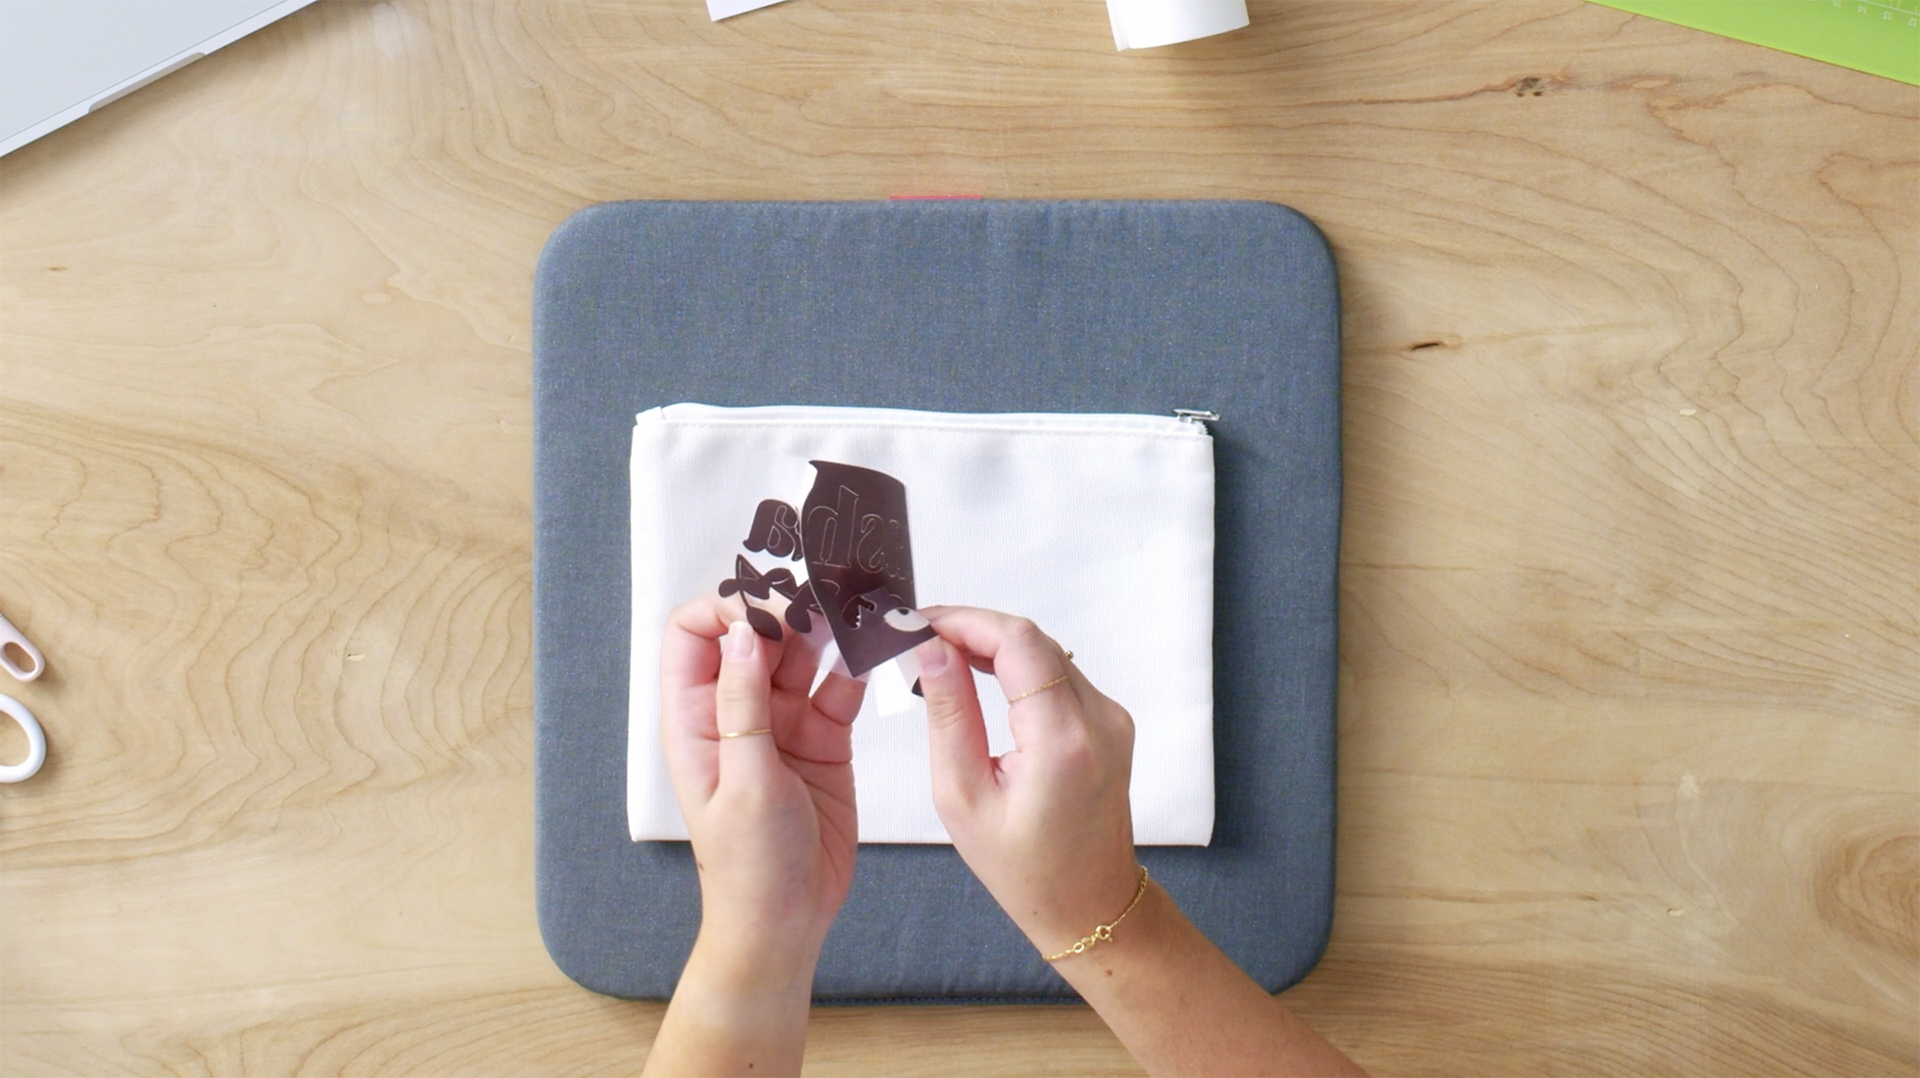
Slowly peel back the top liner from the excess material.
*Fun Fact: Many Infusible Ink colors may look muted, but will turn more vibrant once activated with heat. Although this material looks slightly brown, once it is activated with heat, it will turn black.
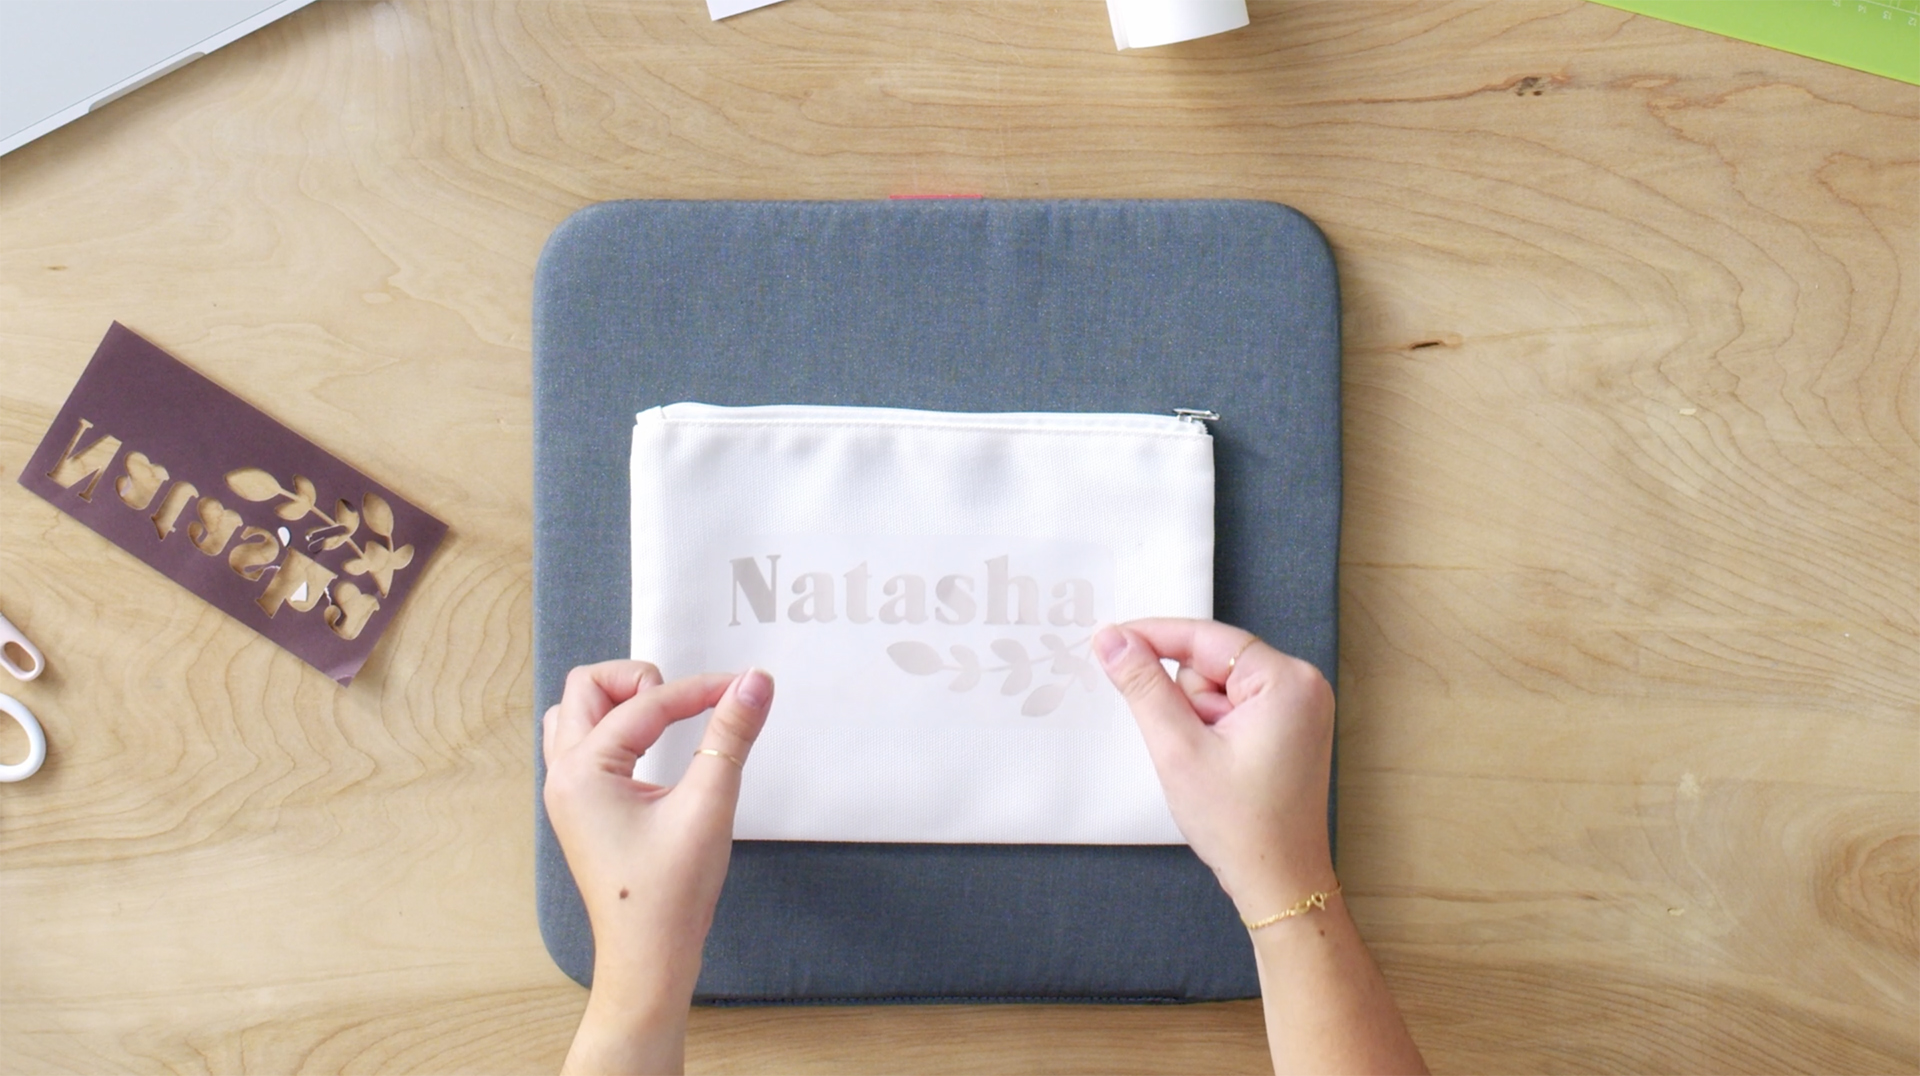
Once you are done weeding off the excess material, position the design on your Cosmetic Bag Blank. You’ll notice the image is cut backwards because we mirrored it.
Step 5
Use the Cricut Heat App to send the perfect time and temperature settings to your Heat Press.
Put a piece of cardstock inside your cosmetic bag, or whatever blank you are working with. This protects the inside of the bag in case the Infusible Ink bleeds through.
*Tip: Do a “pre-press” to get rid of any moisture, and use a lint roller to make sure your surface is speck-free.
Once the surface has cooled down, position your design onto your blank
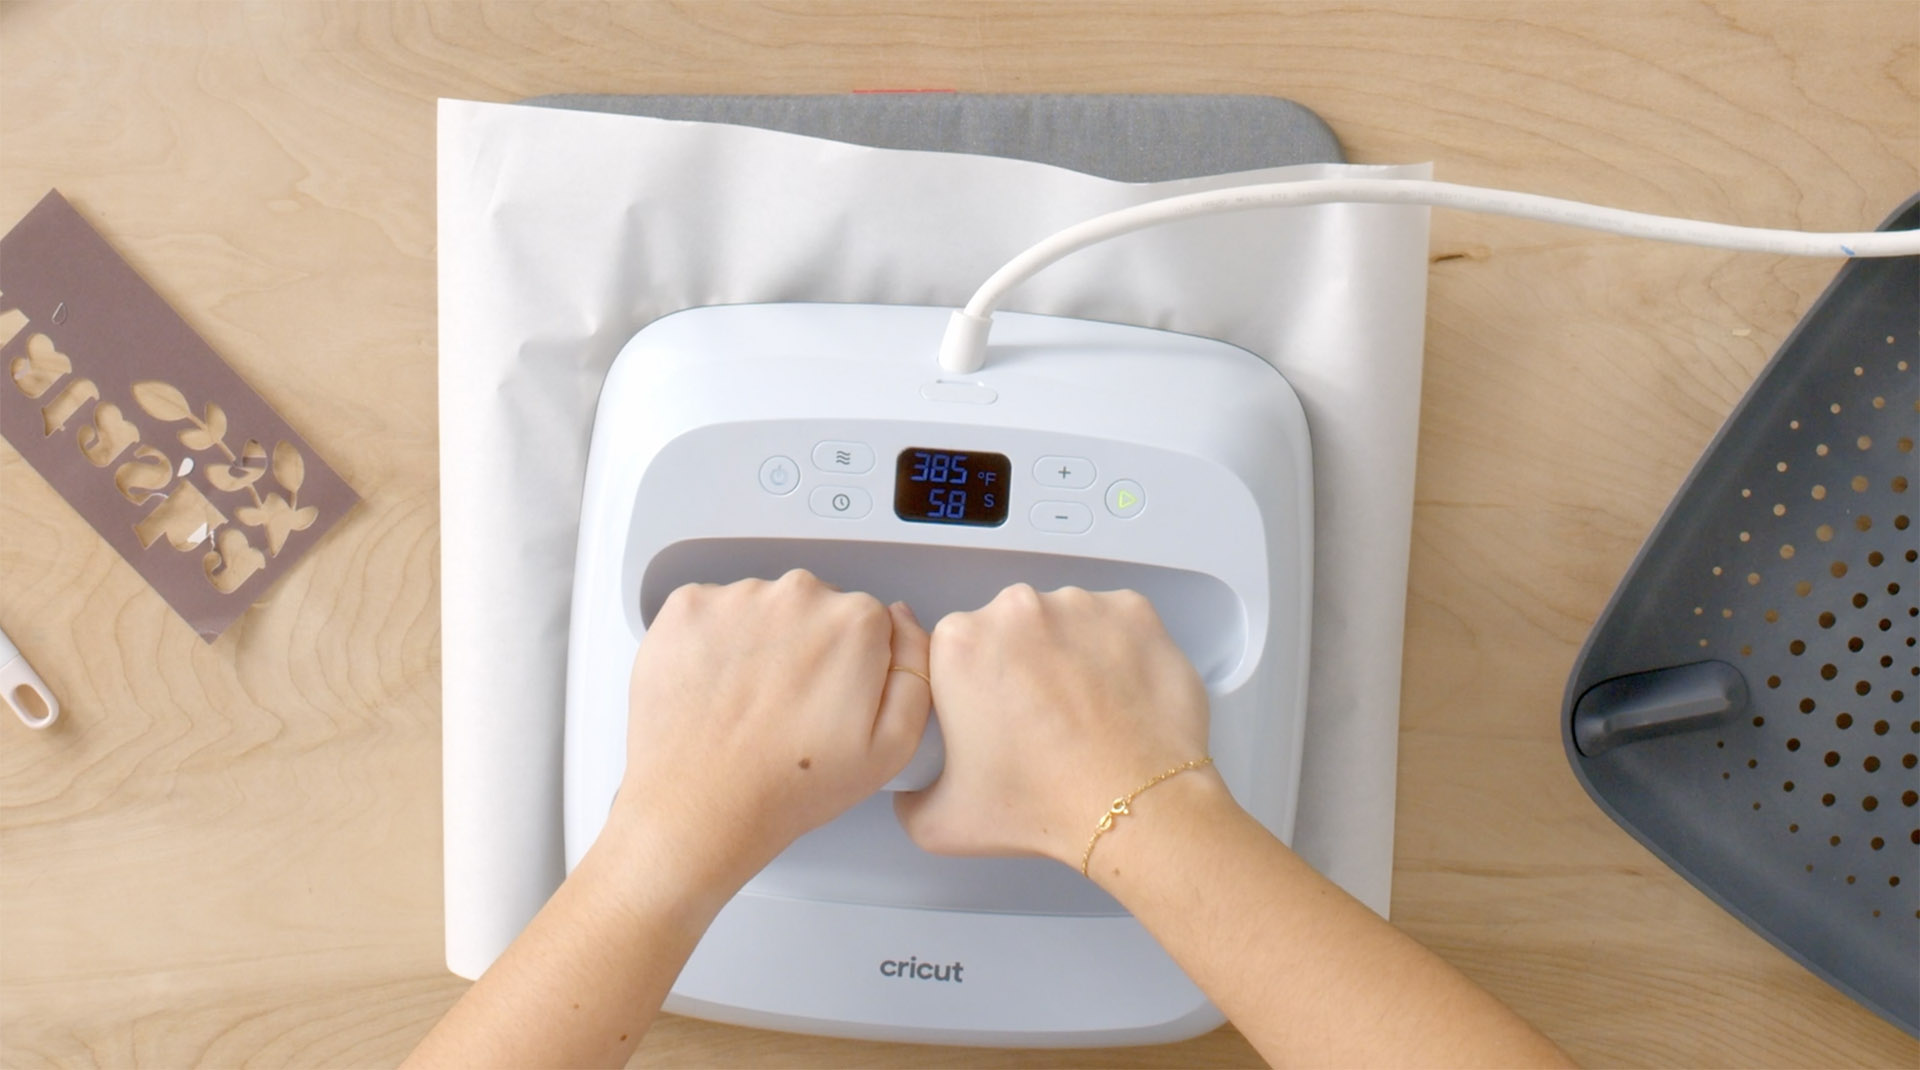
Step 6
Place butcher paper over the design. This prevents transferring any Infusible Ink onto the EasyPress.
Now place the EasyPress over the butcher paper and press the Go button.
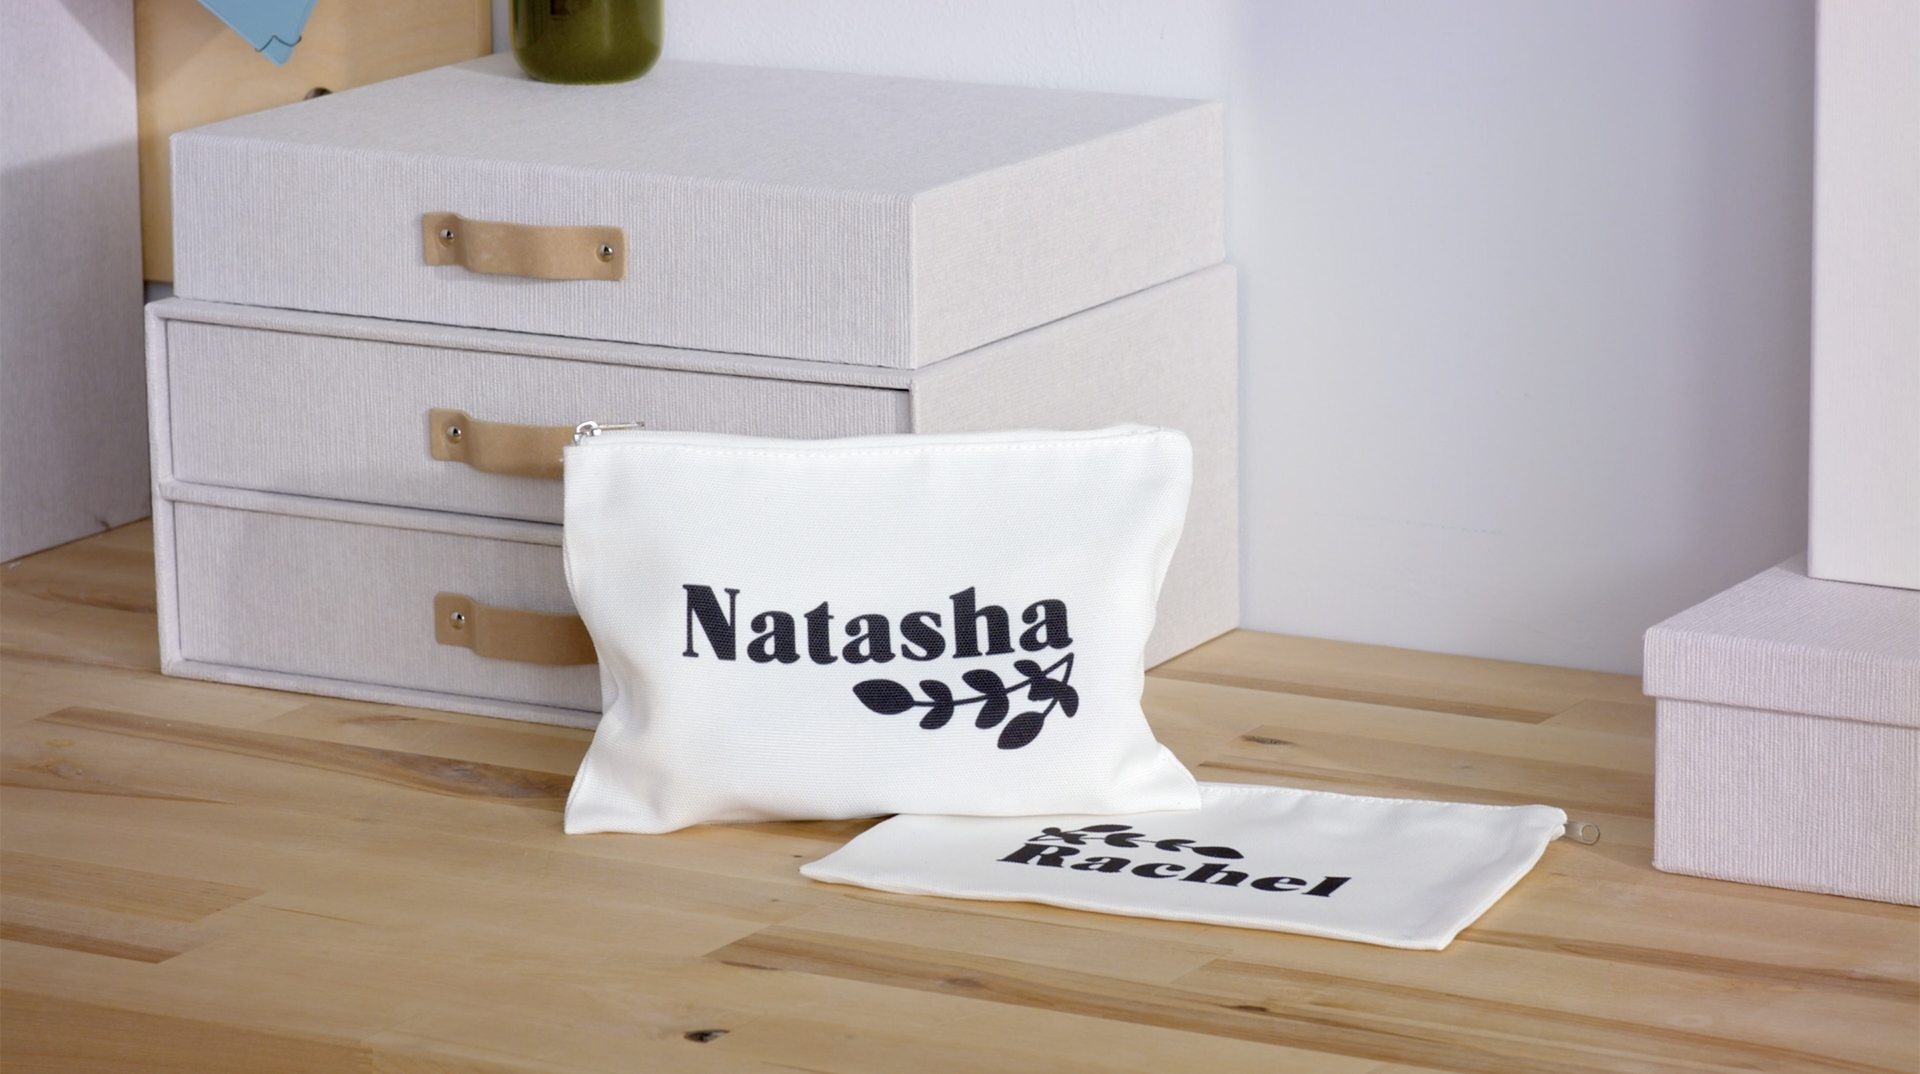
Voila! Now you have a cute, functional cosmetic bag that will be easy to tell apart from the others. Share your creations with us by using #cricut.

Search How-To
I want to make...