How to make a Christmas ornament with Cricut
Skill level
Beginner
The holidays are here, and I’m ready for ALL the festive DIYs. The first project I’m making this holiday season is a simple Christmas ornament. This beginner-level project takes just a few supplies and I was able to complete this in under 20 minutes.
I love how the ornament turned out, and I’m excited to make more personalized ornaments as gifts for my family and friends!
Supplies needed
Print this list
How to make a personalized Christmas ornament with Cricut
Step 1: Choose your design
I start by browsing Design Space for inspiration. There are hundreds of thousands of images that you can use to make the perfect ornament for yourself or for a loved one!
By the way, Design Space such a fun place to seek inspiration. In my free time, I like to scroll through Design Space for my next project idea. The featured content changes often, and I also get personalized recommendations, so I always find an image or project I will bookmark to make later.
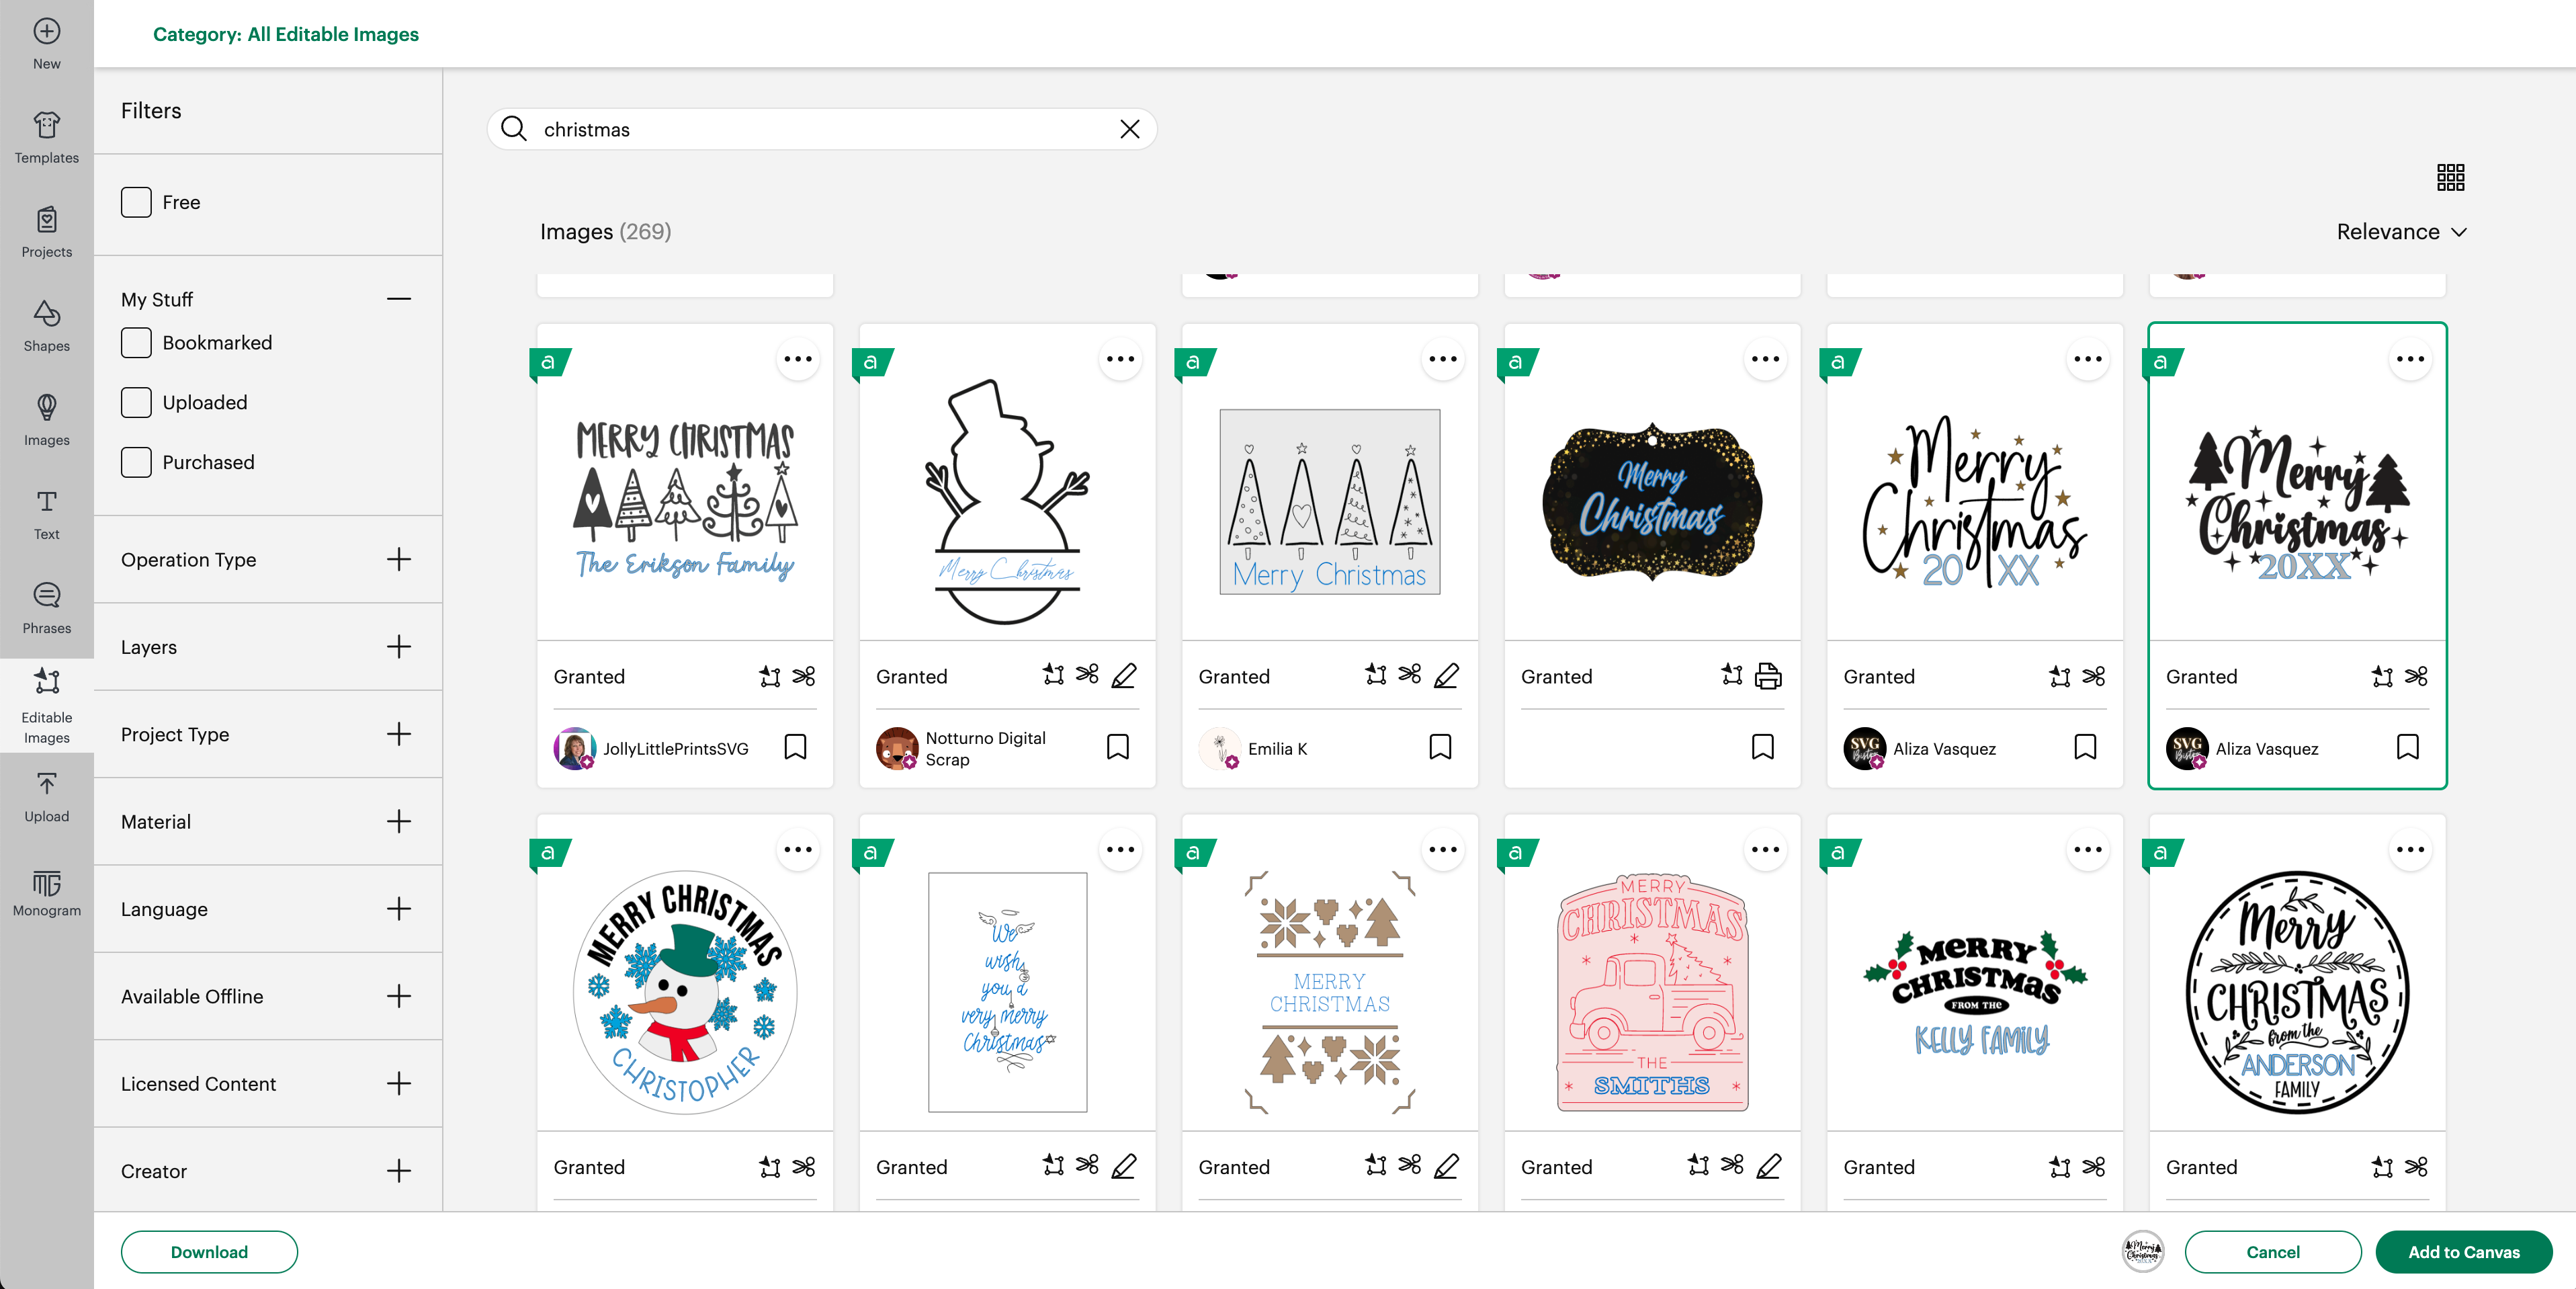
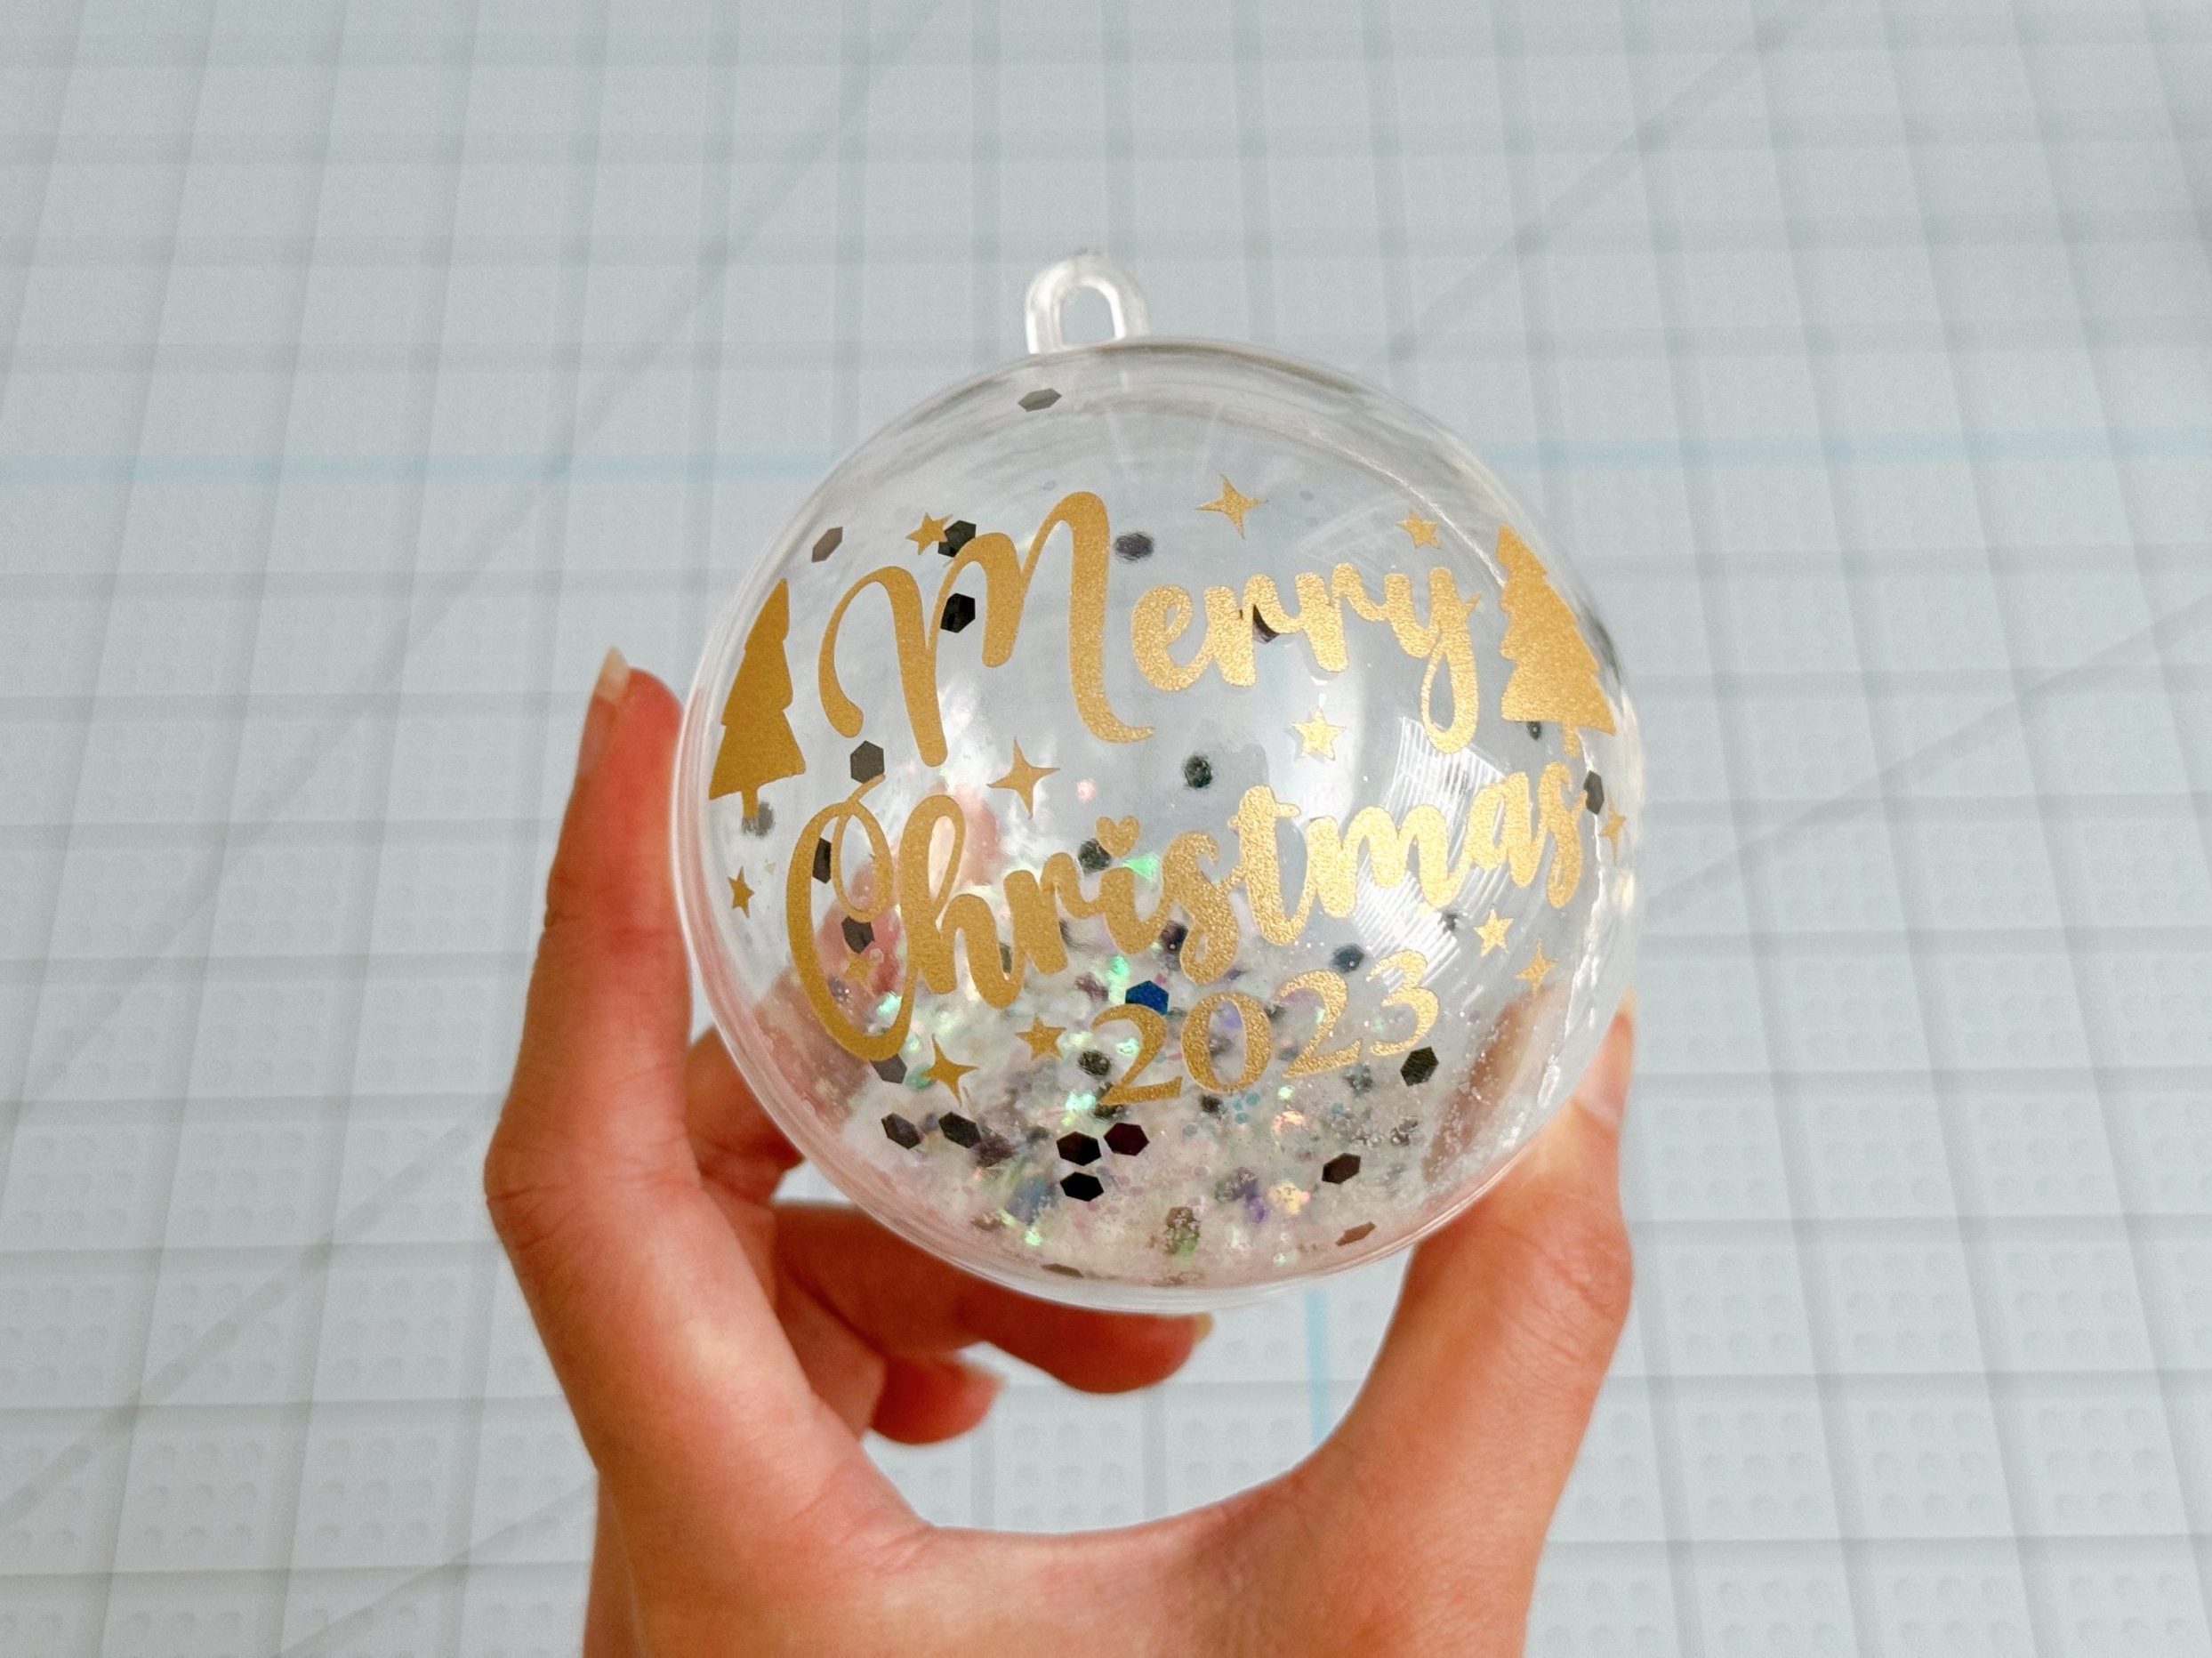
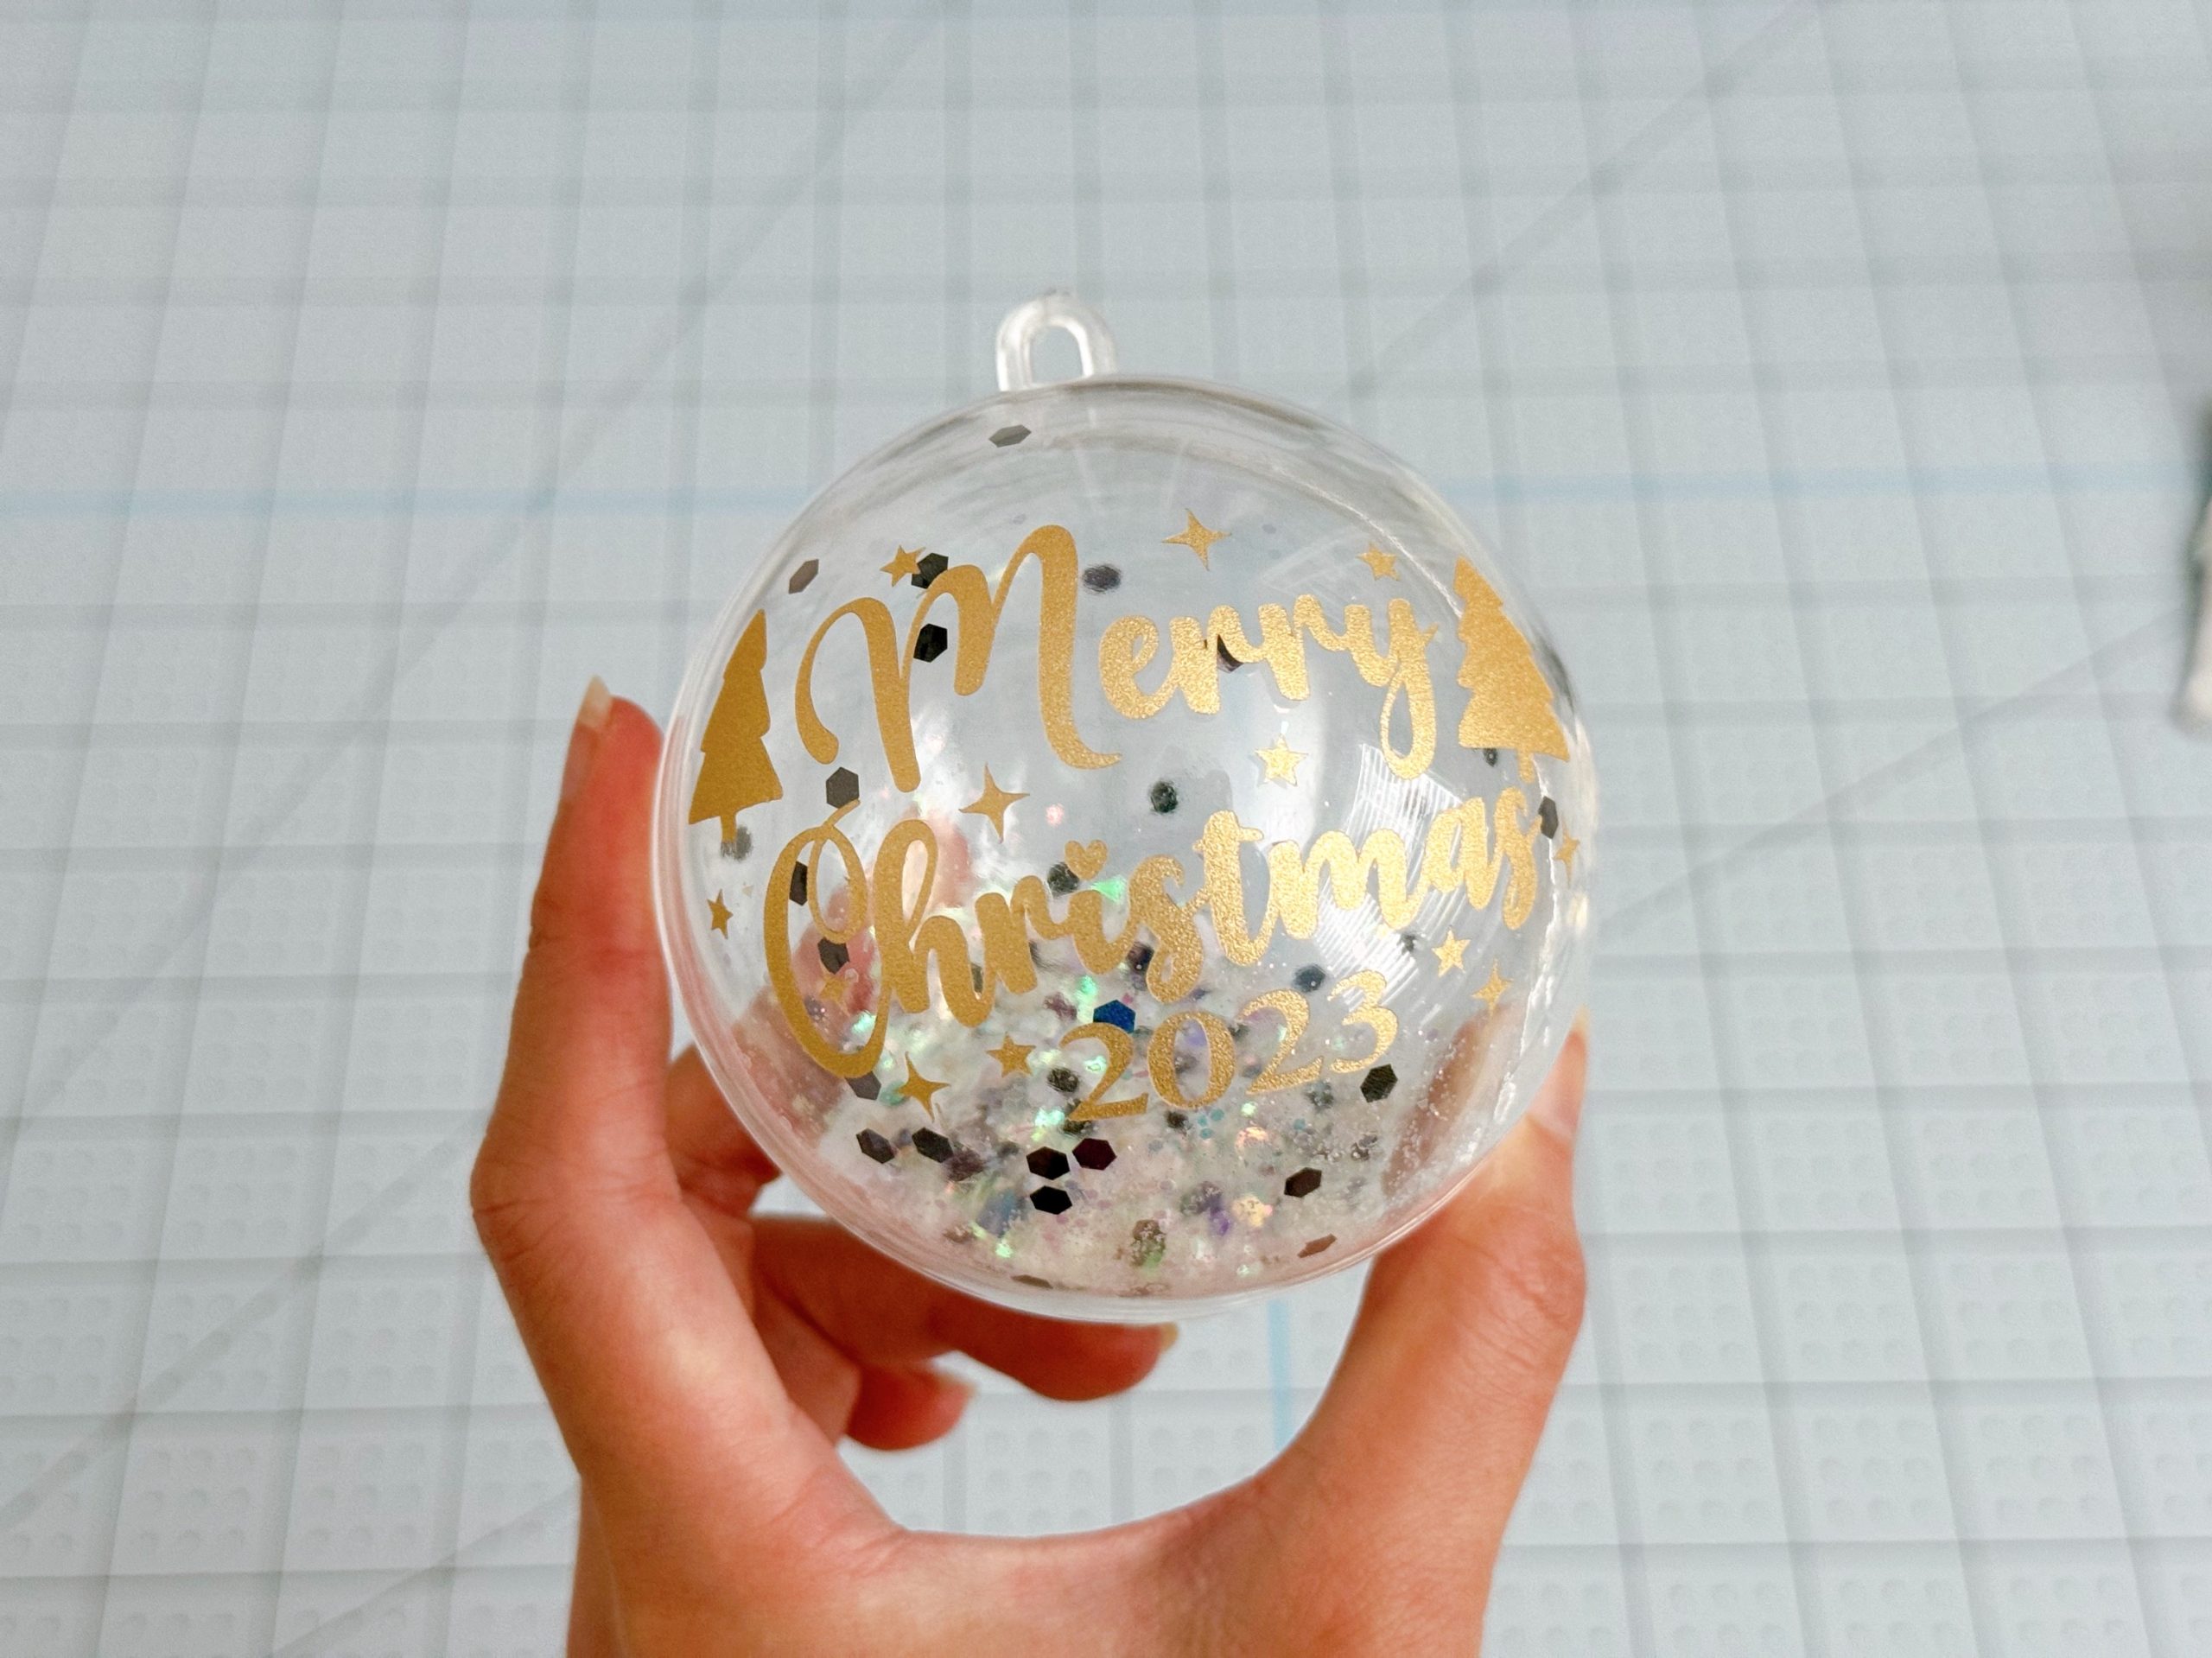
For this ornament project, I am especially loving the Editable Images which makes it extremely easy to adjust and personalize the design in just a few clicks. I found a ‘Merry Christmas 20XX’ Editable Image that I like. All I have to do is double click on the year and type in the current year, 2023! The image number is #M4D52E4BA, and you can search for this in Design Space if you want to use this image yourself.
This design is great because you can use it year after year. Or, you can take a totally different approach and replace the editable text with something else, like someone’s name. That would make an awesome personalized gift!
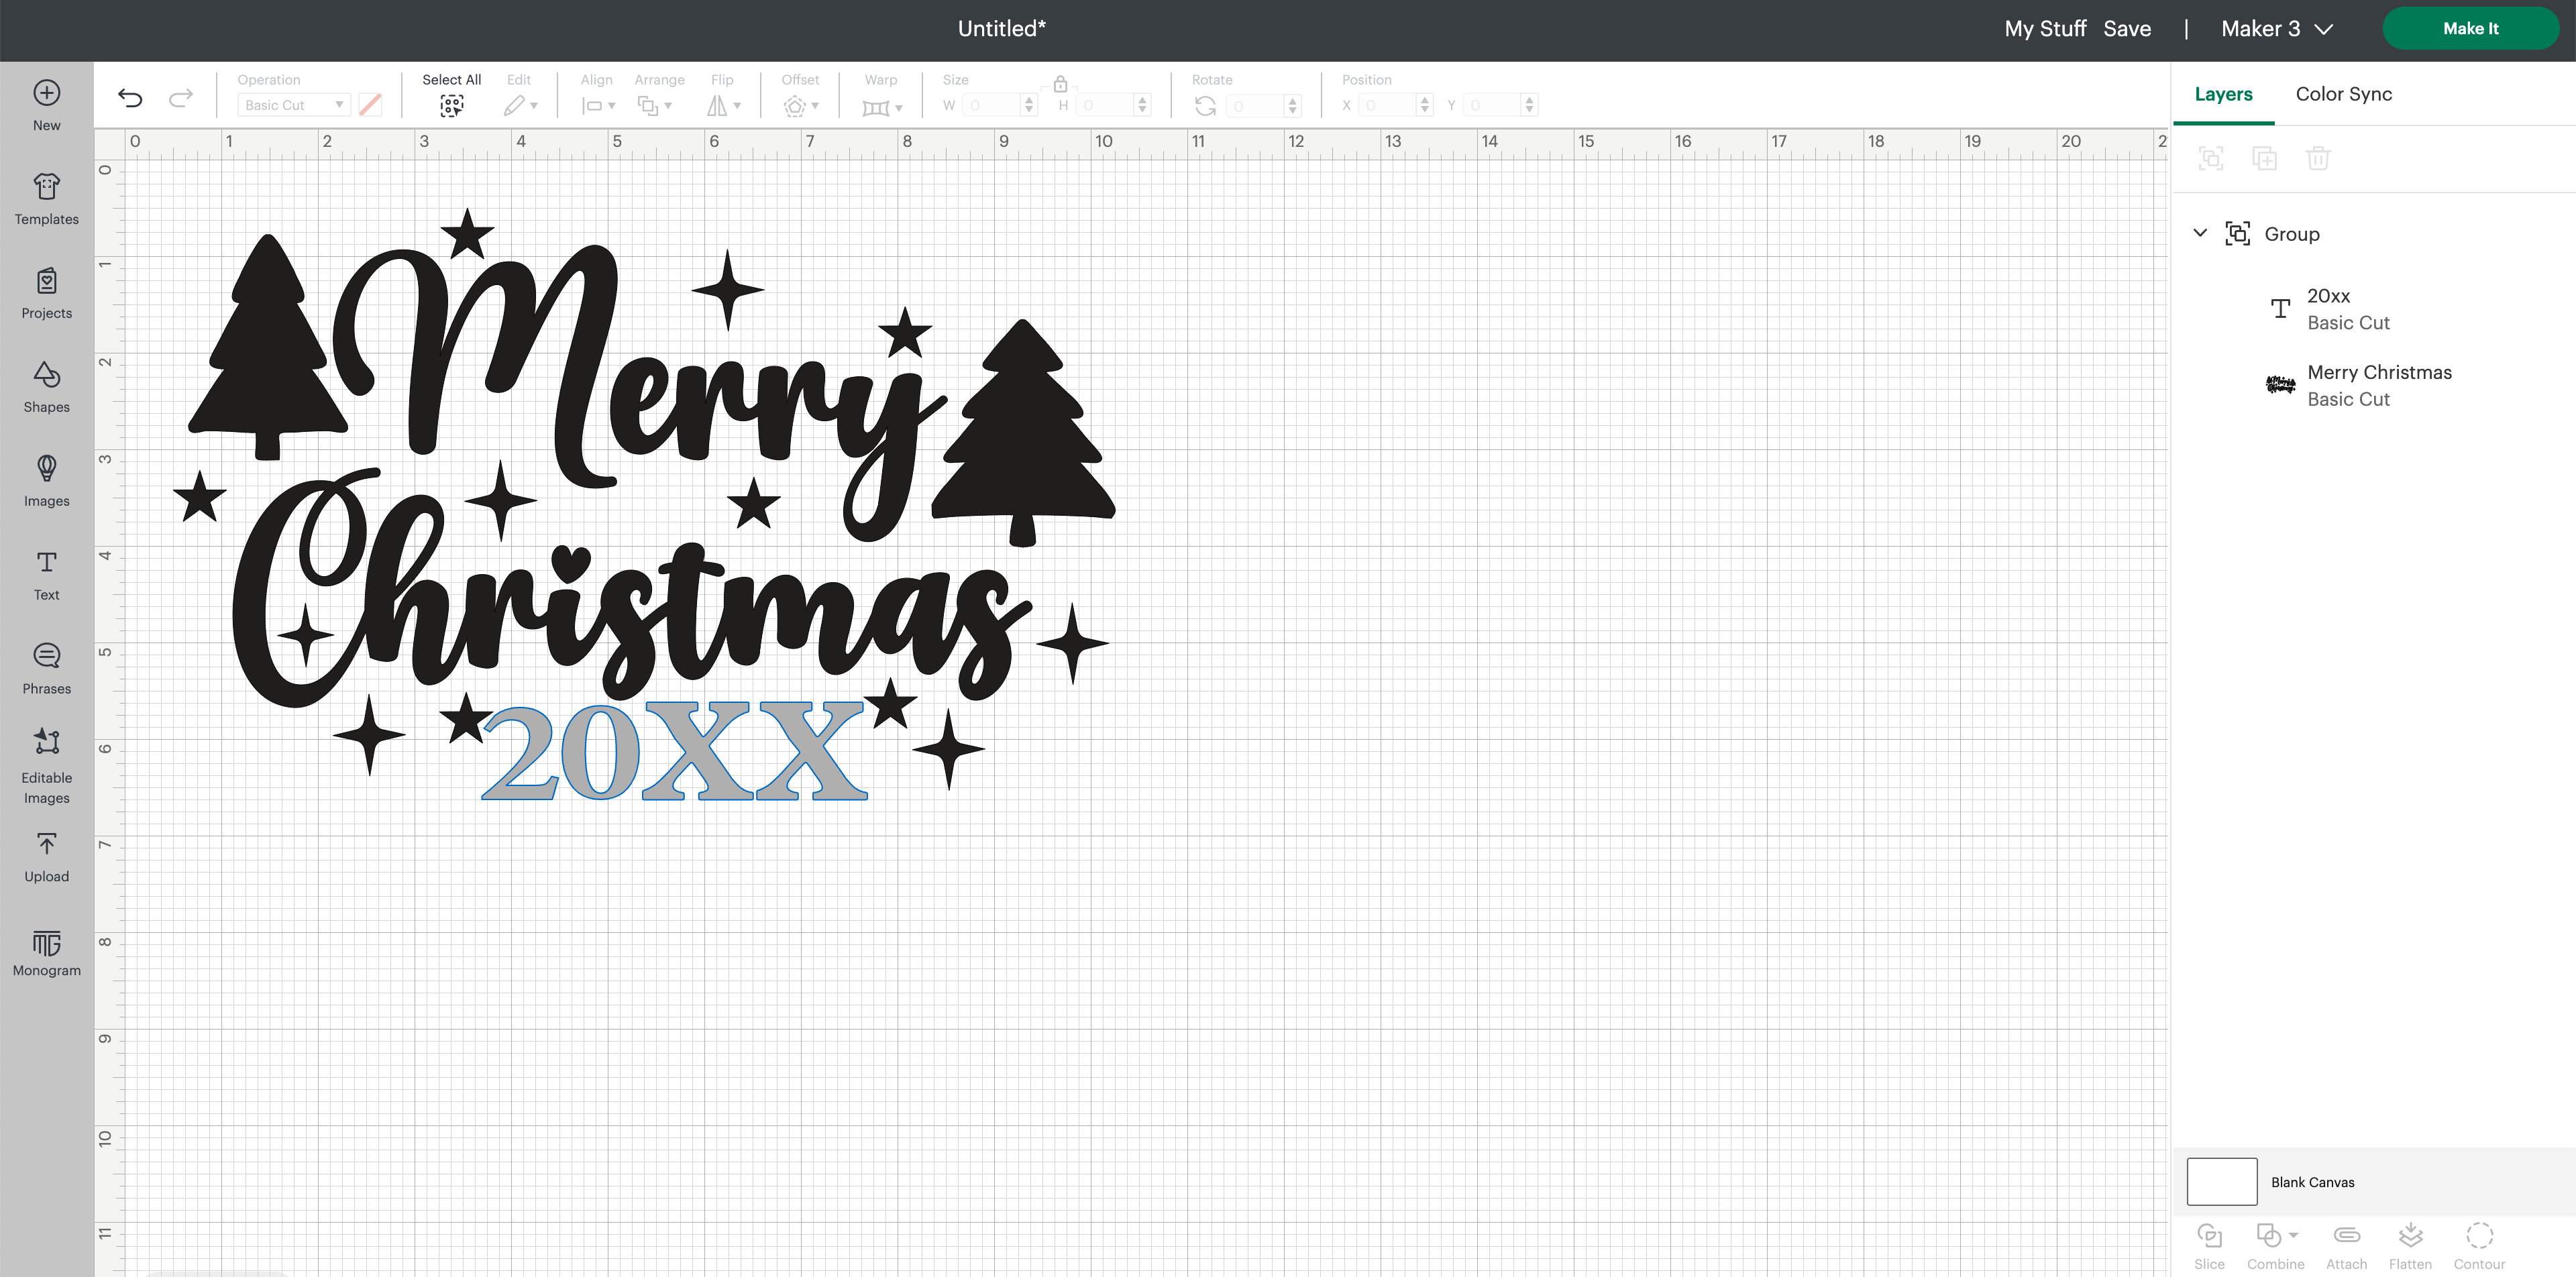
I am also going to adjust the size so it will fit on my ornament. Now that my design is prepped, I am ready to start cutting!

Step 2: Cut your design
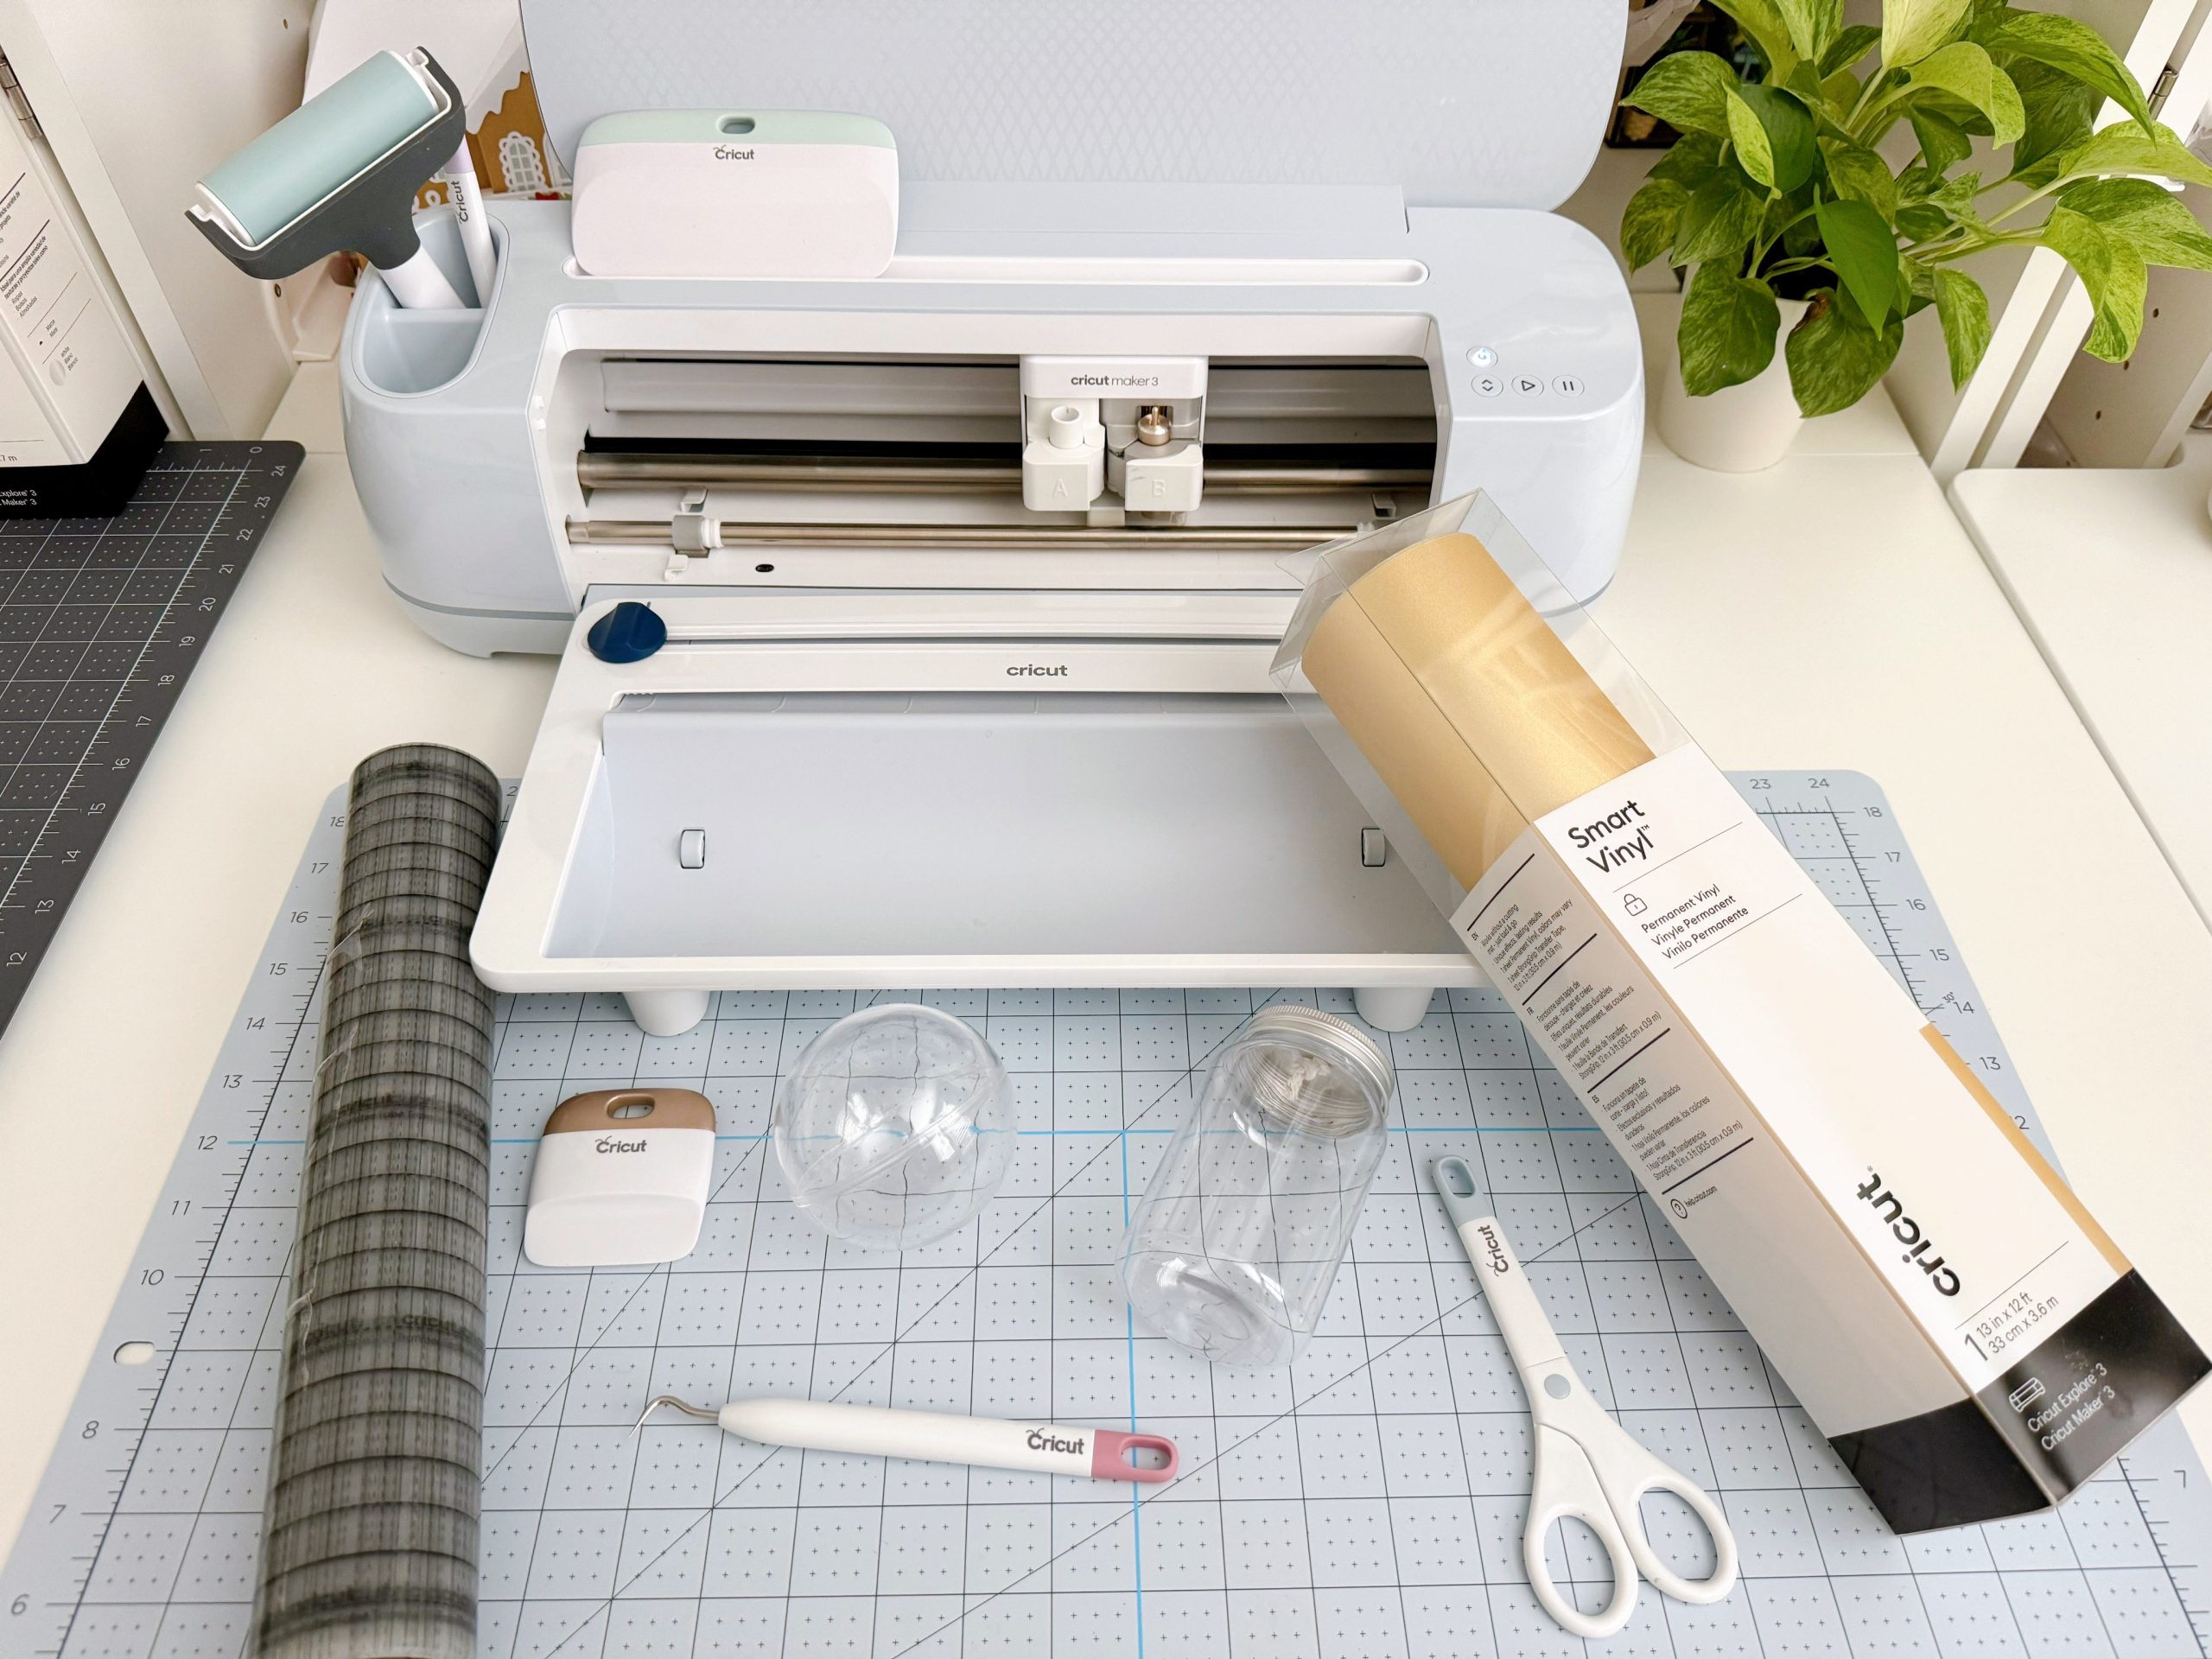
I’ll be using my trusty Cricut Maker 3 for this project, but you can make this with any Cricut cutting machine you own. I’m also using Smart Vinyl which does not require a cutting mat! I have my vinyl loaded in the roll holder, and now I click ‘Make It’ in Design Space to start the cutting process.

Step 3: Weeding
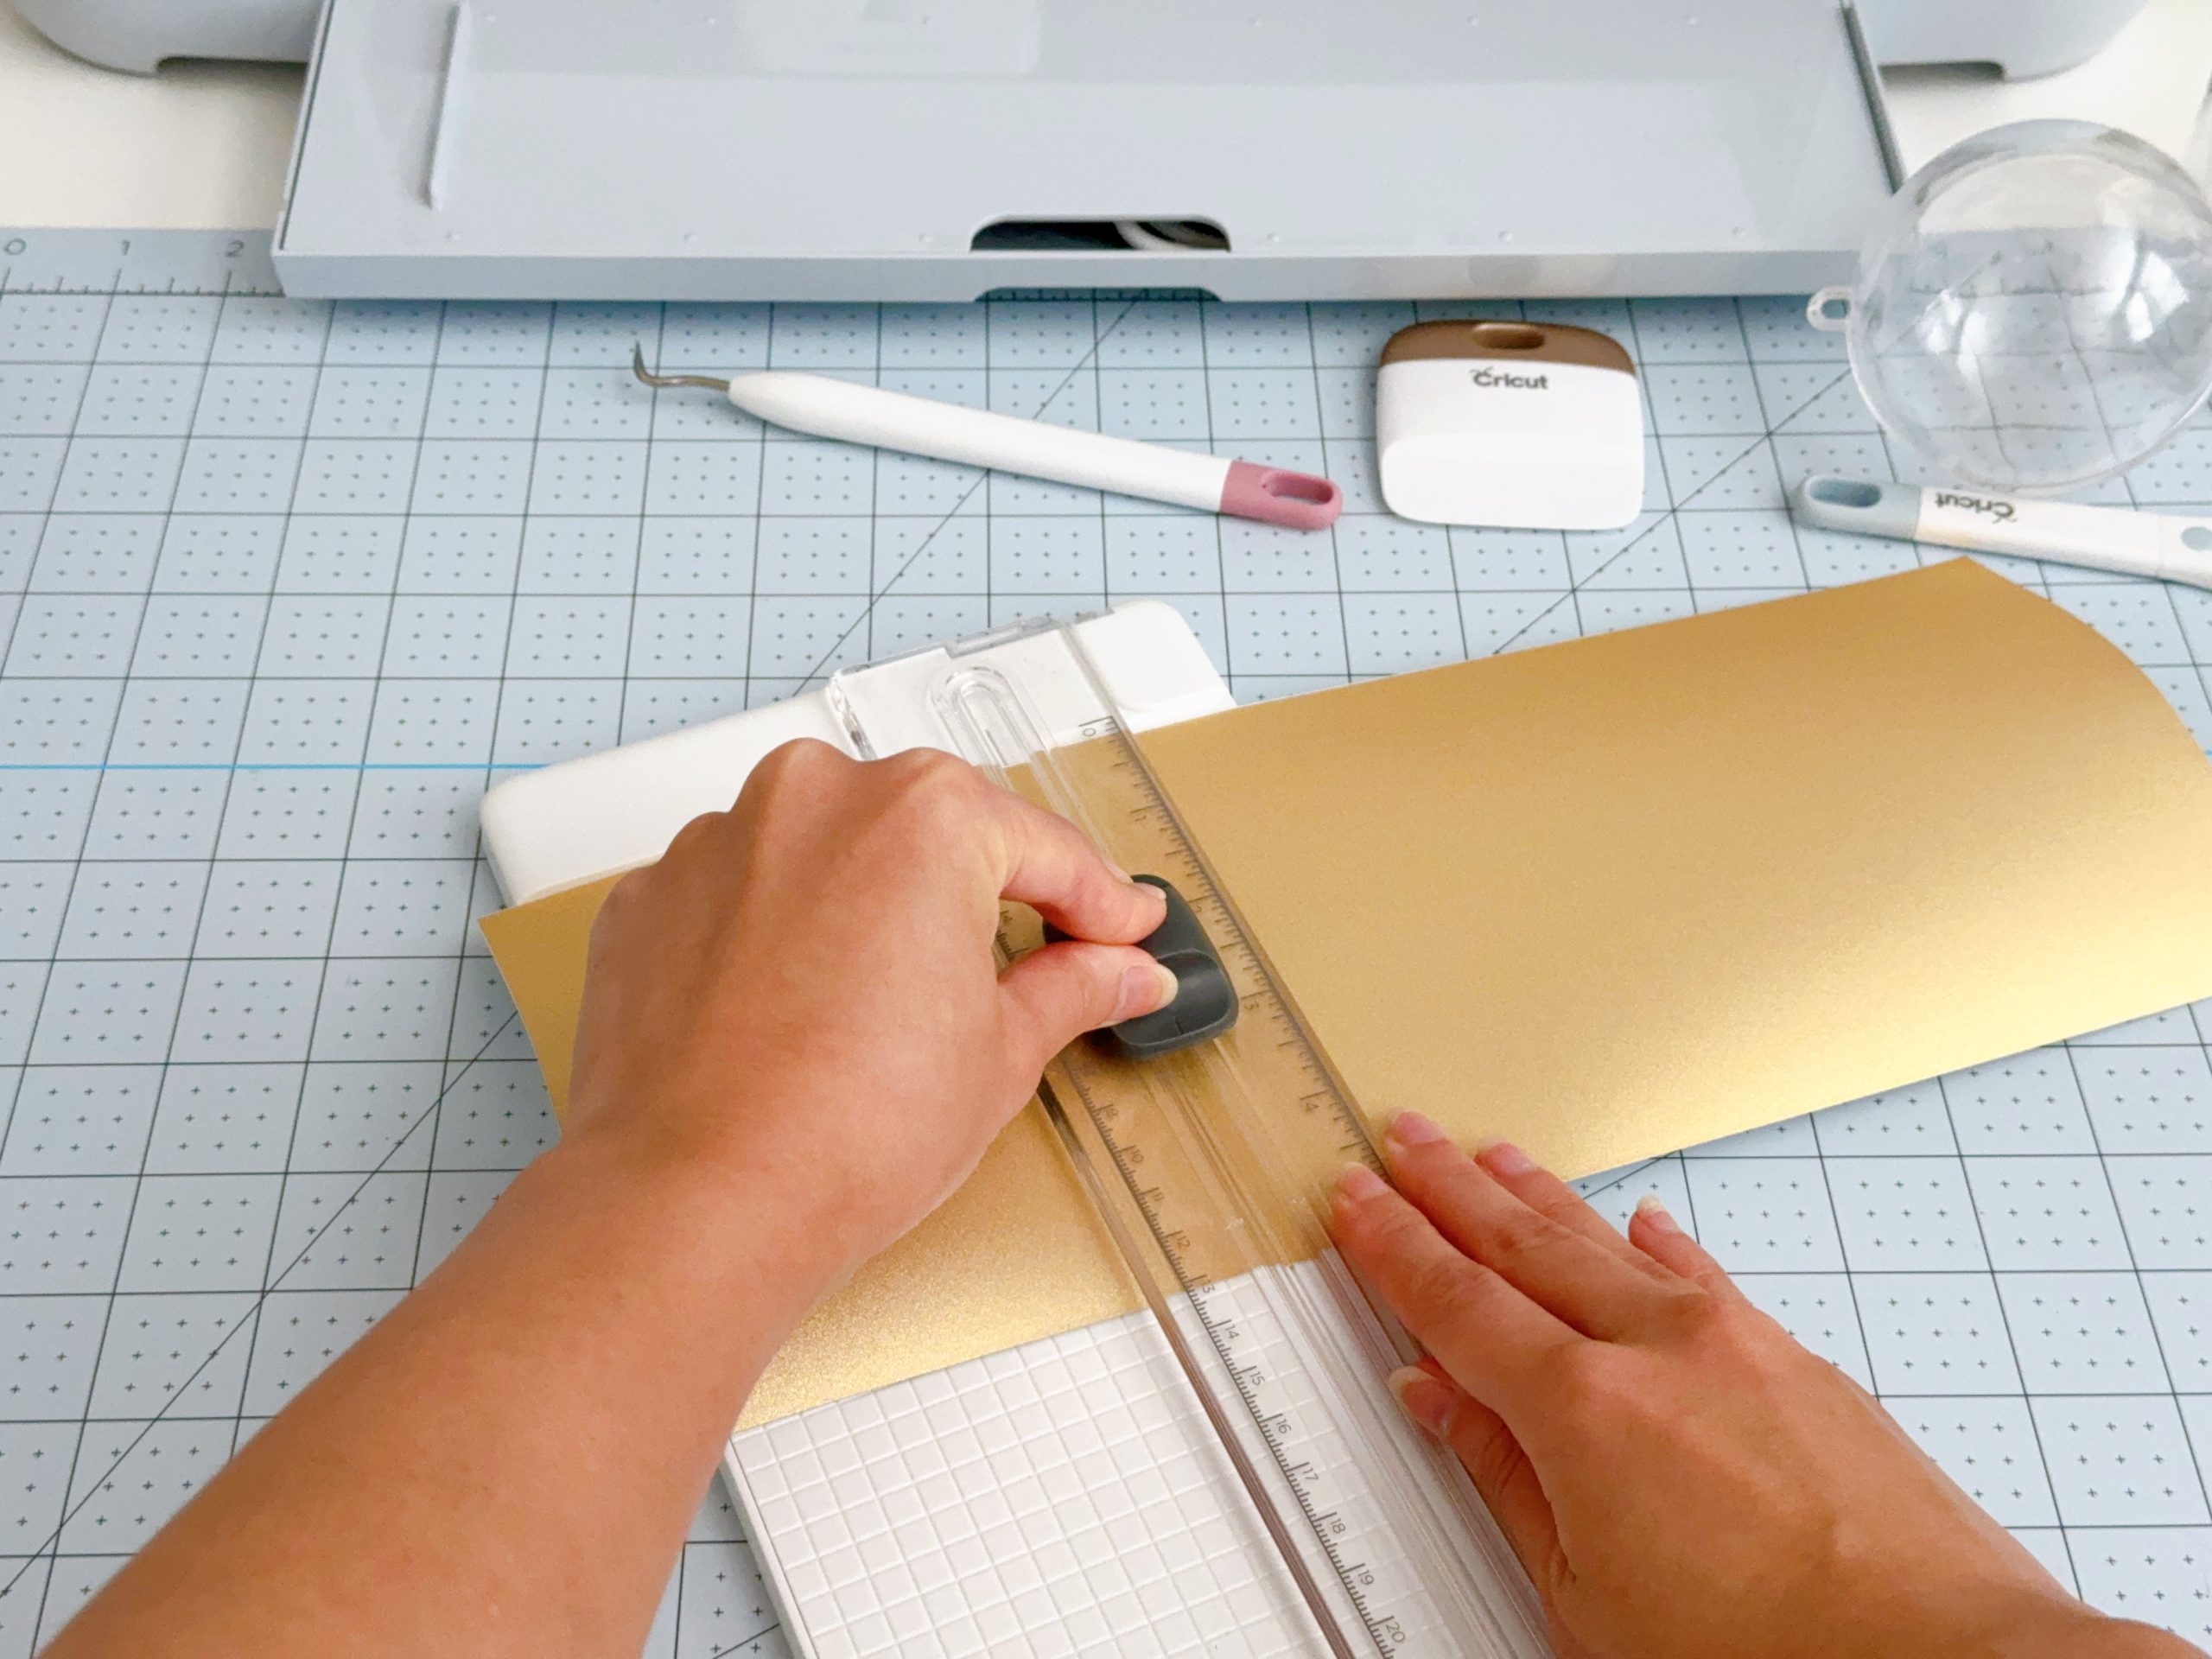
Once your design has been cut out, the next step is weeding your design. First, I like to trim the excess unused vinyl from my design to save for a future project. These scraps are handy for small vinyl decals! If you didn’t know, you can still use your Smart Vinyl scraps for a future project – you just need to stick them on a cutting mat.
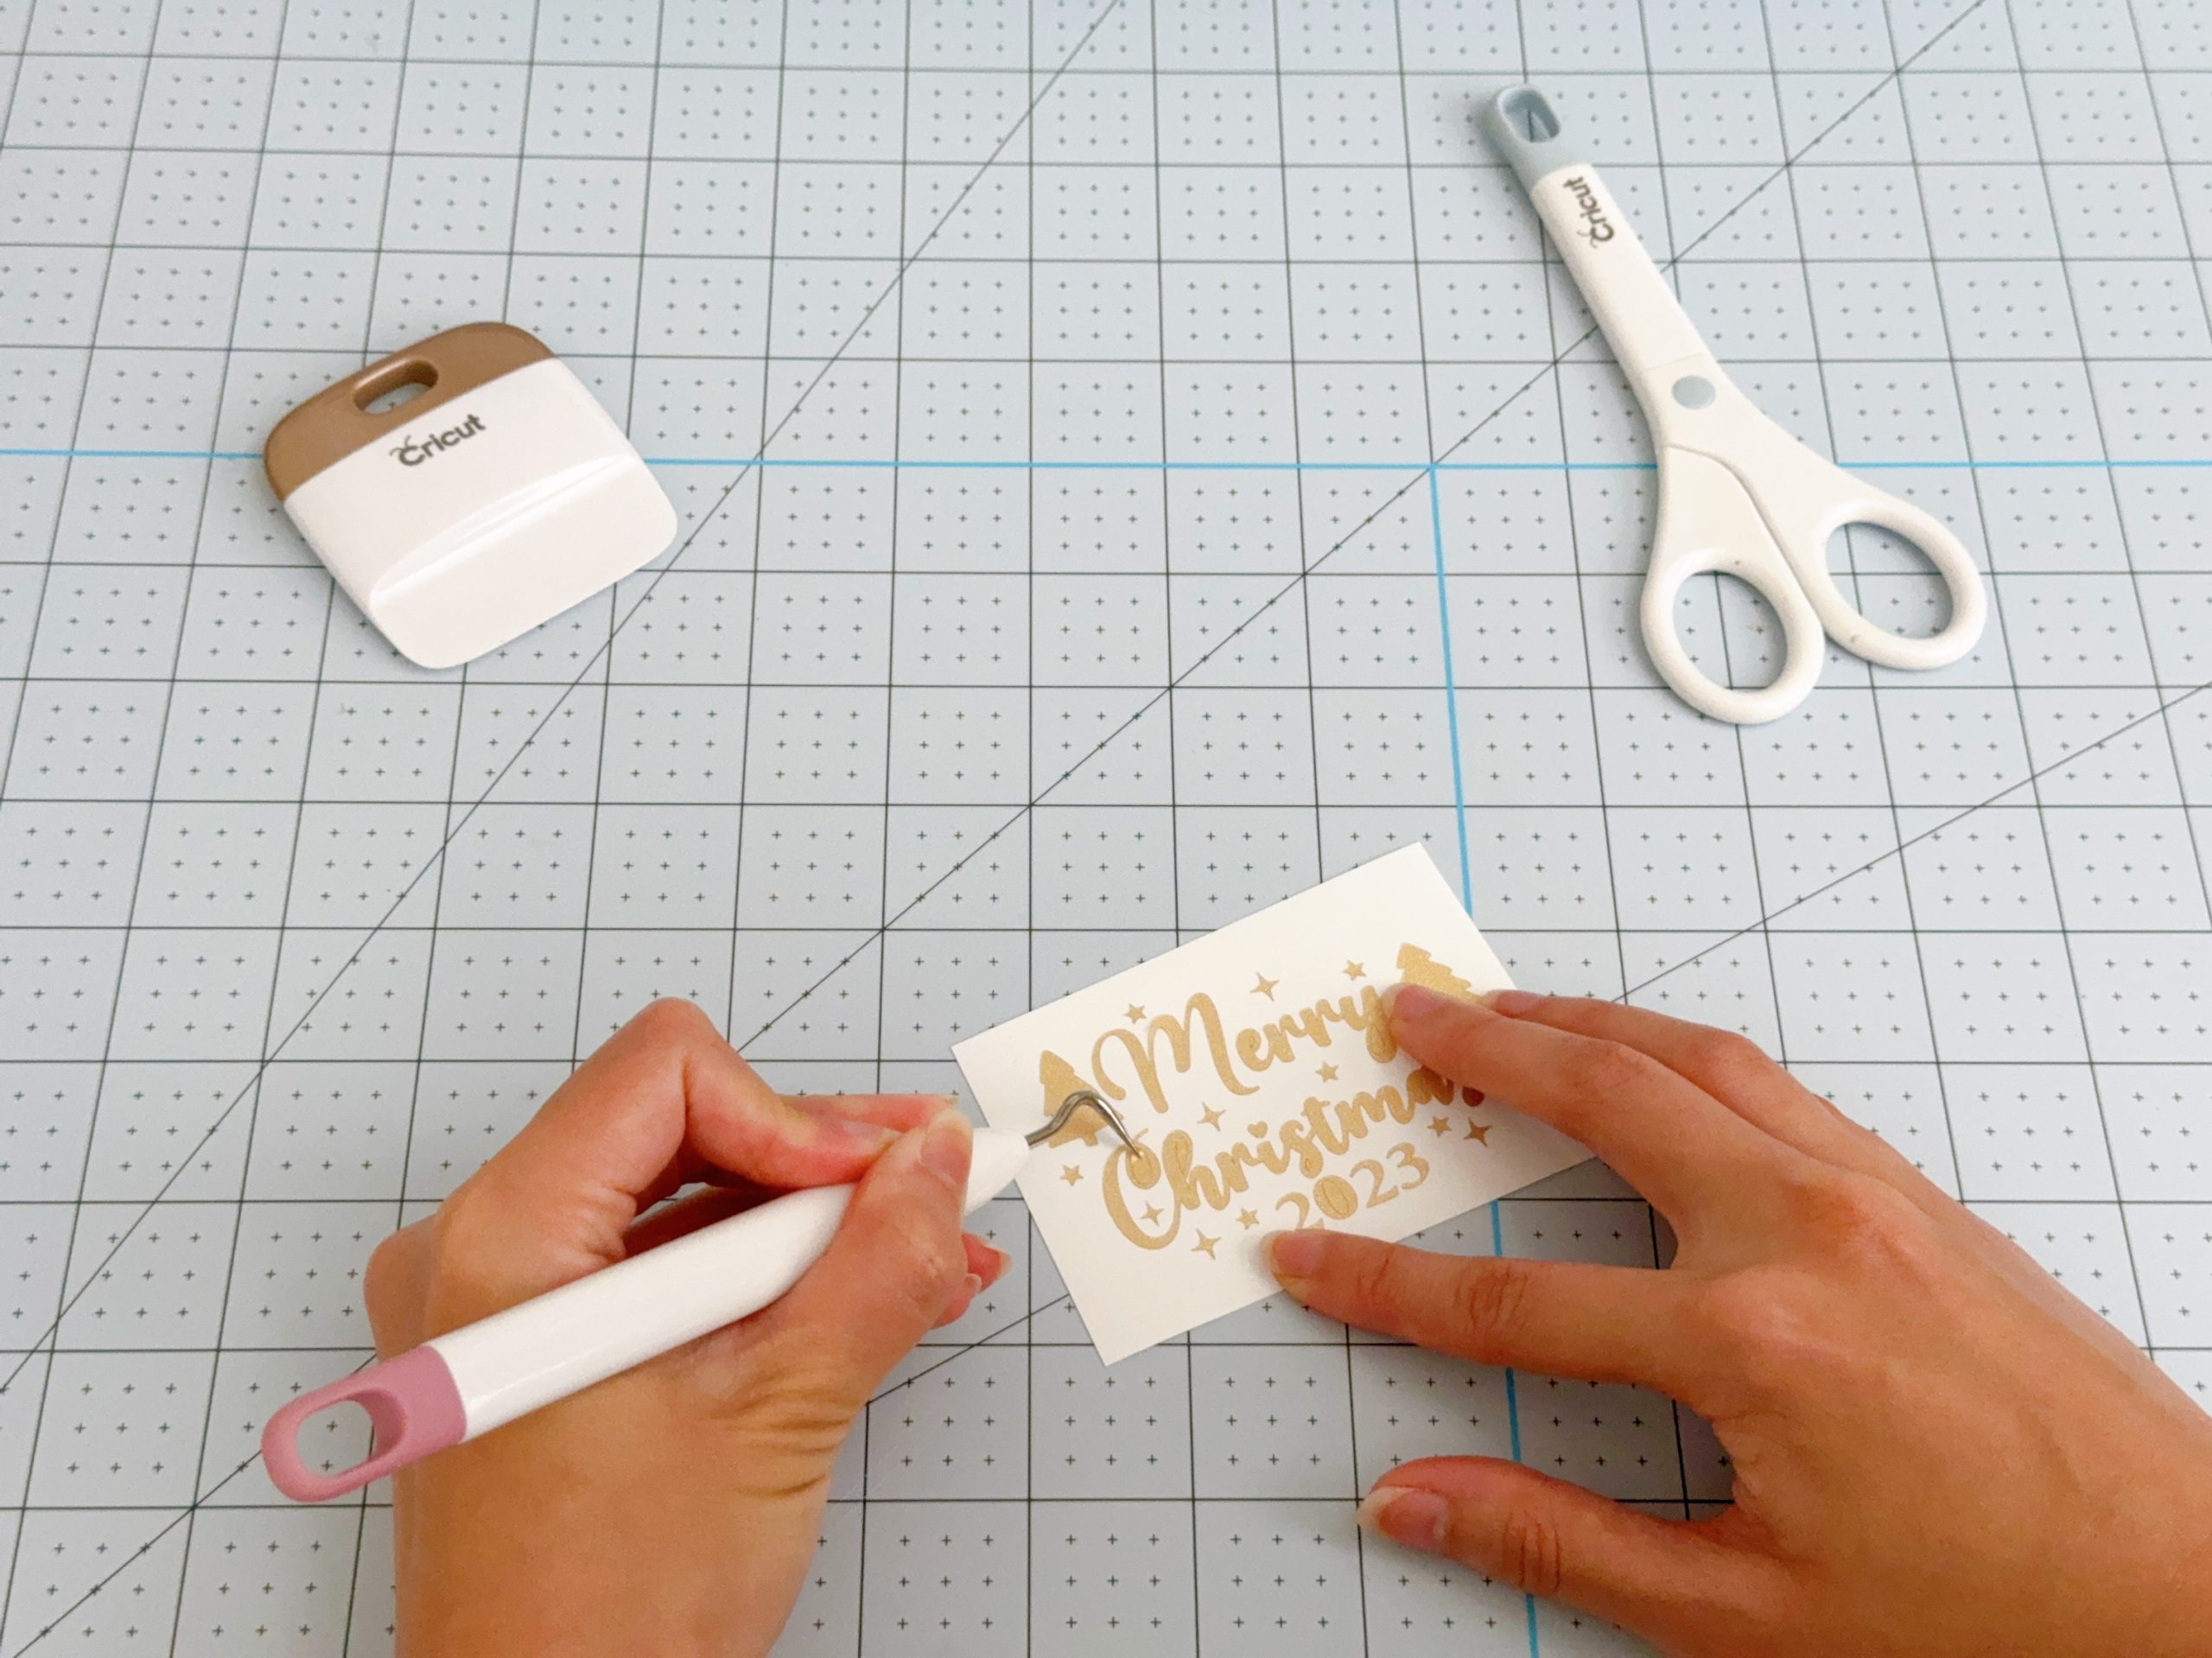
Now, I use my weeding tool to remove the excess vinyl I don’t want in my decal. Pay close attention to make sure you’ve removed all the unneeded pieces, such as the inner pieces of the letter ‘E’ and ‘A’.
Step 4: Transfer Tape
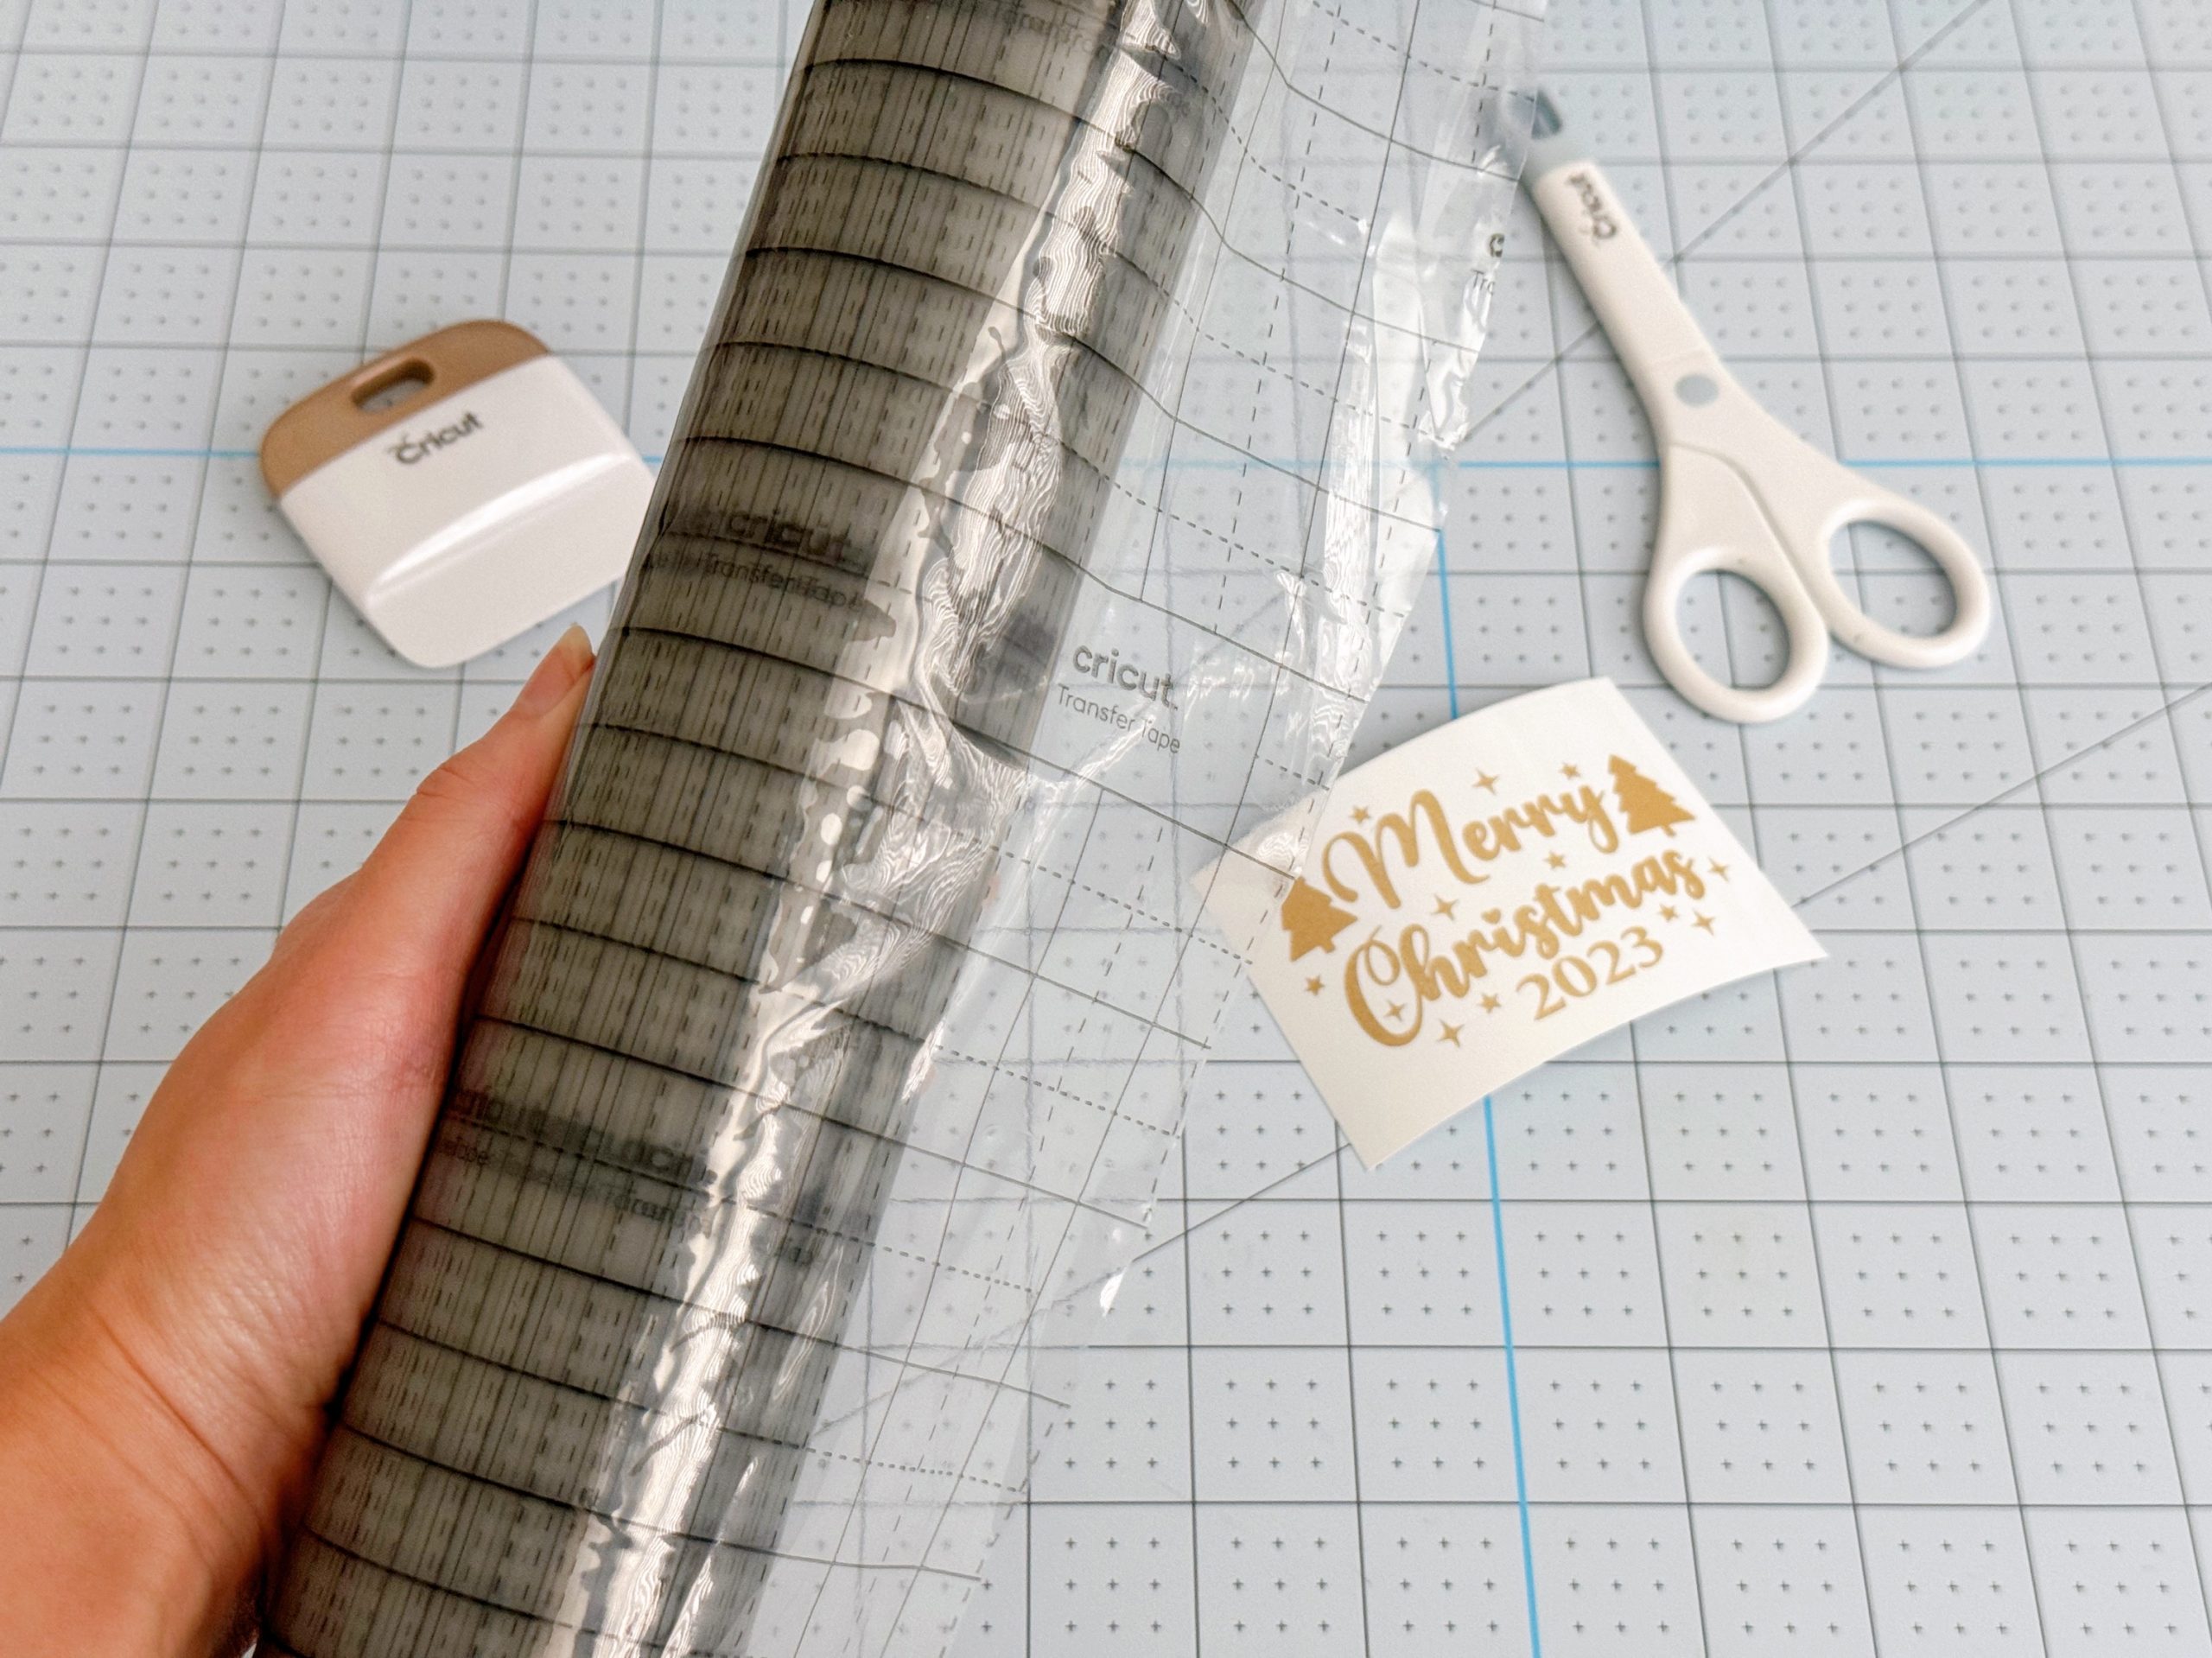
Next, you will use transfer tape to transfer your vinyl decal to your ornament. I have cut down a piece of transfer tape that is approximately the same size as my vinyl decal.
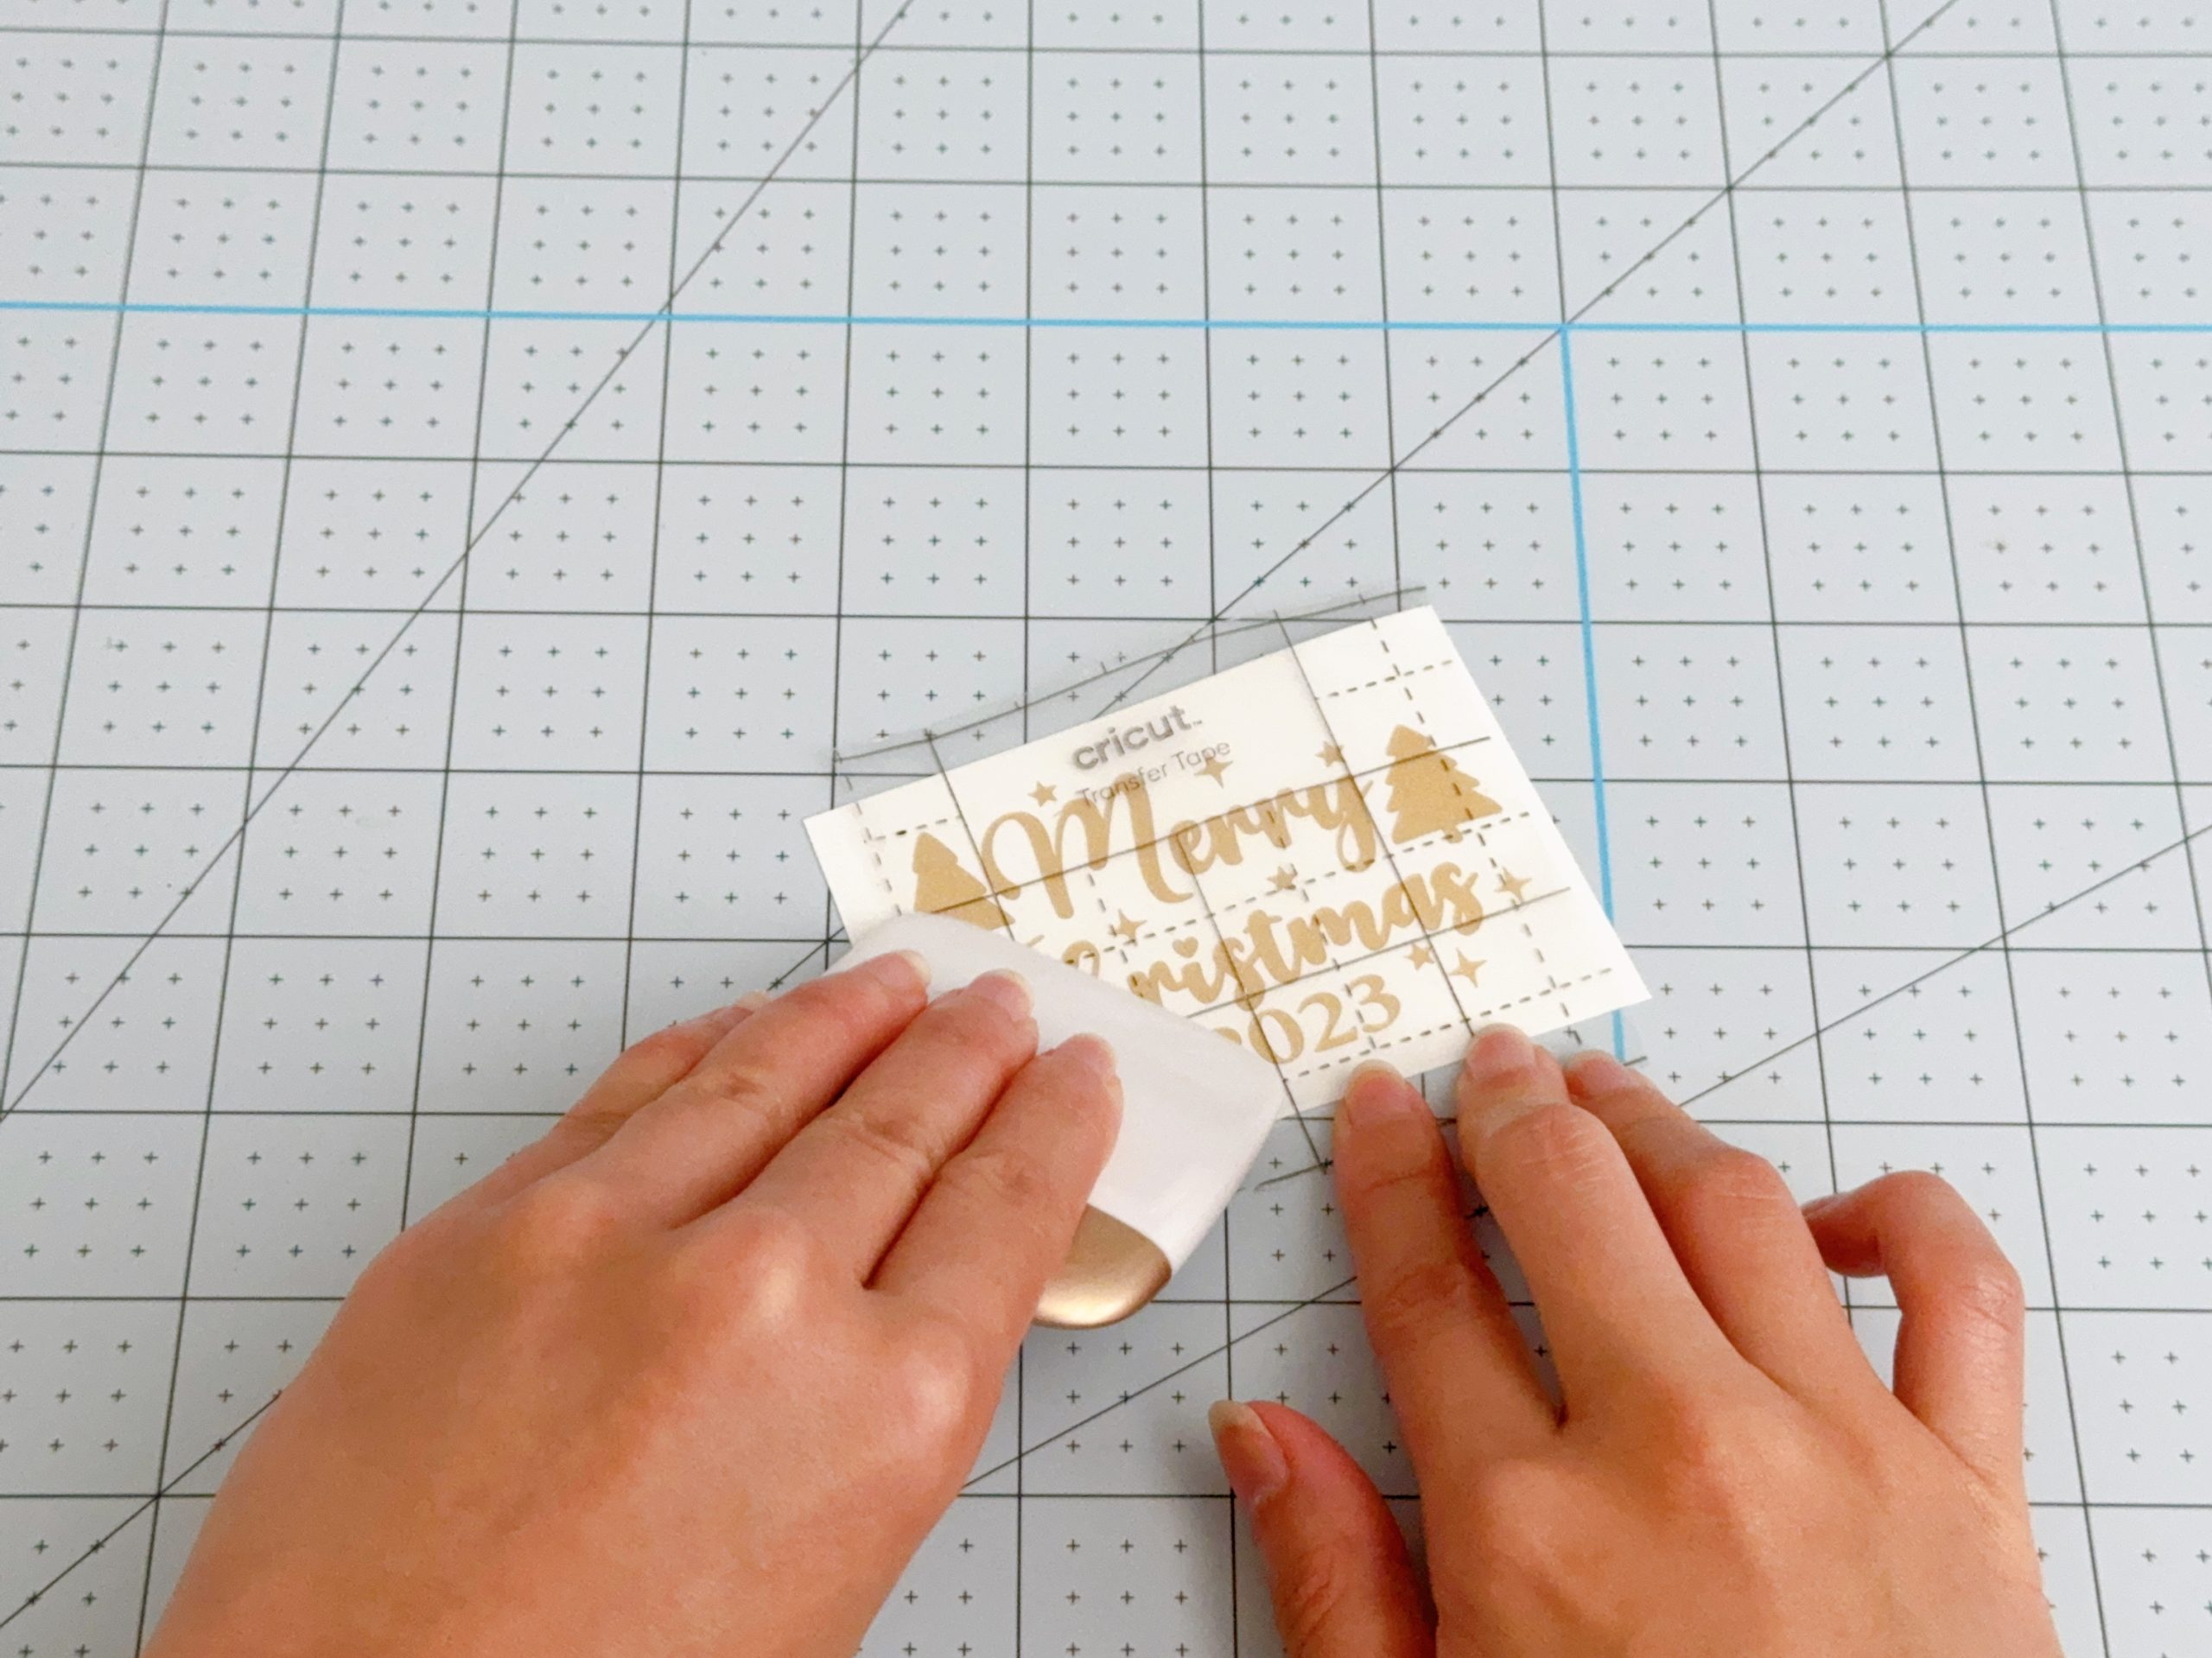
Taking my scraper tool, I will scrape the transfer tape back and forth over the vinyl several times, using moderate pressure. This process is called ‘burnishing’. I also like to flip it over and scrape the backside a couple times to really make sure the vinyl is adhered to the transfer tape!
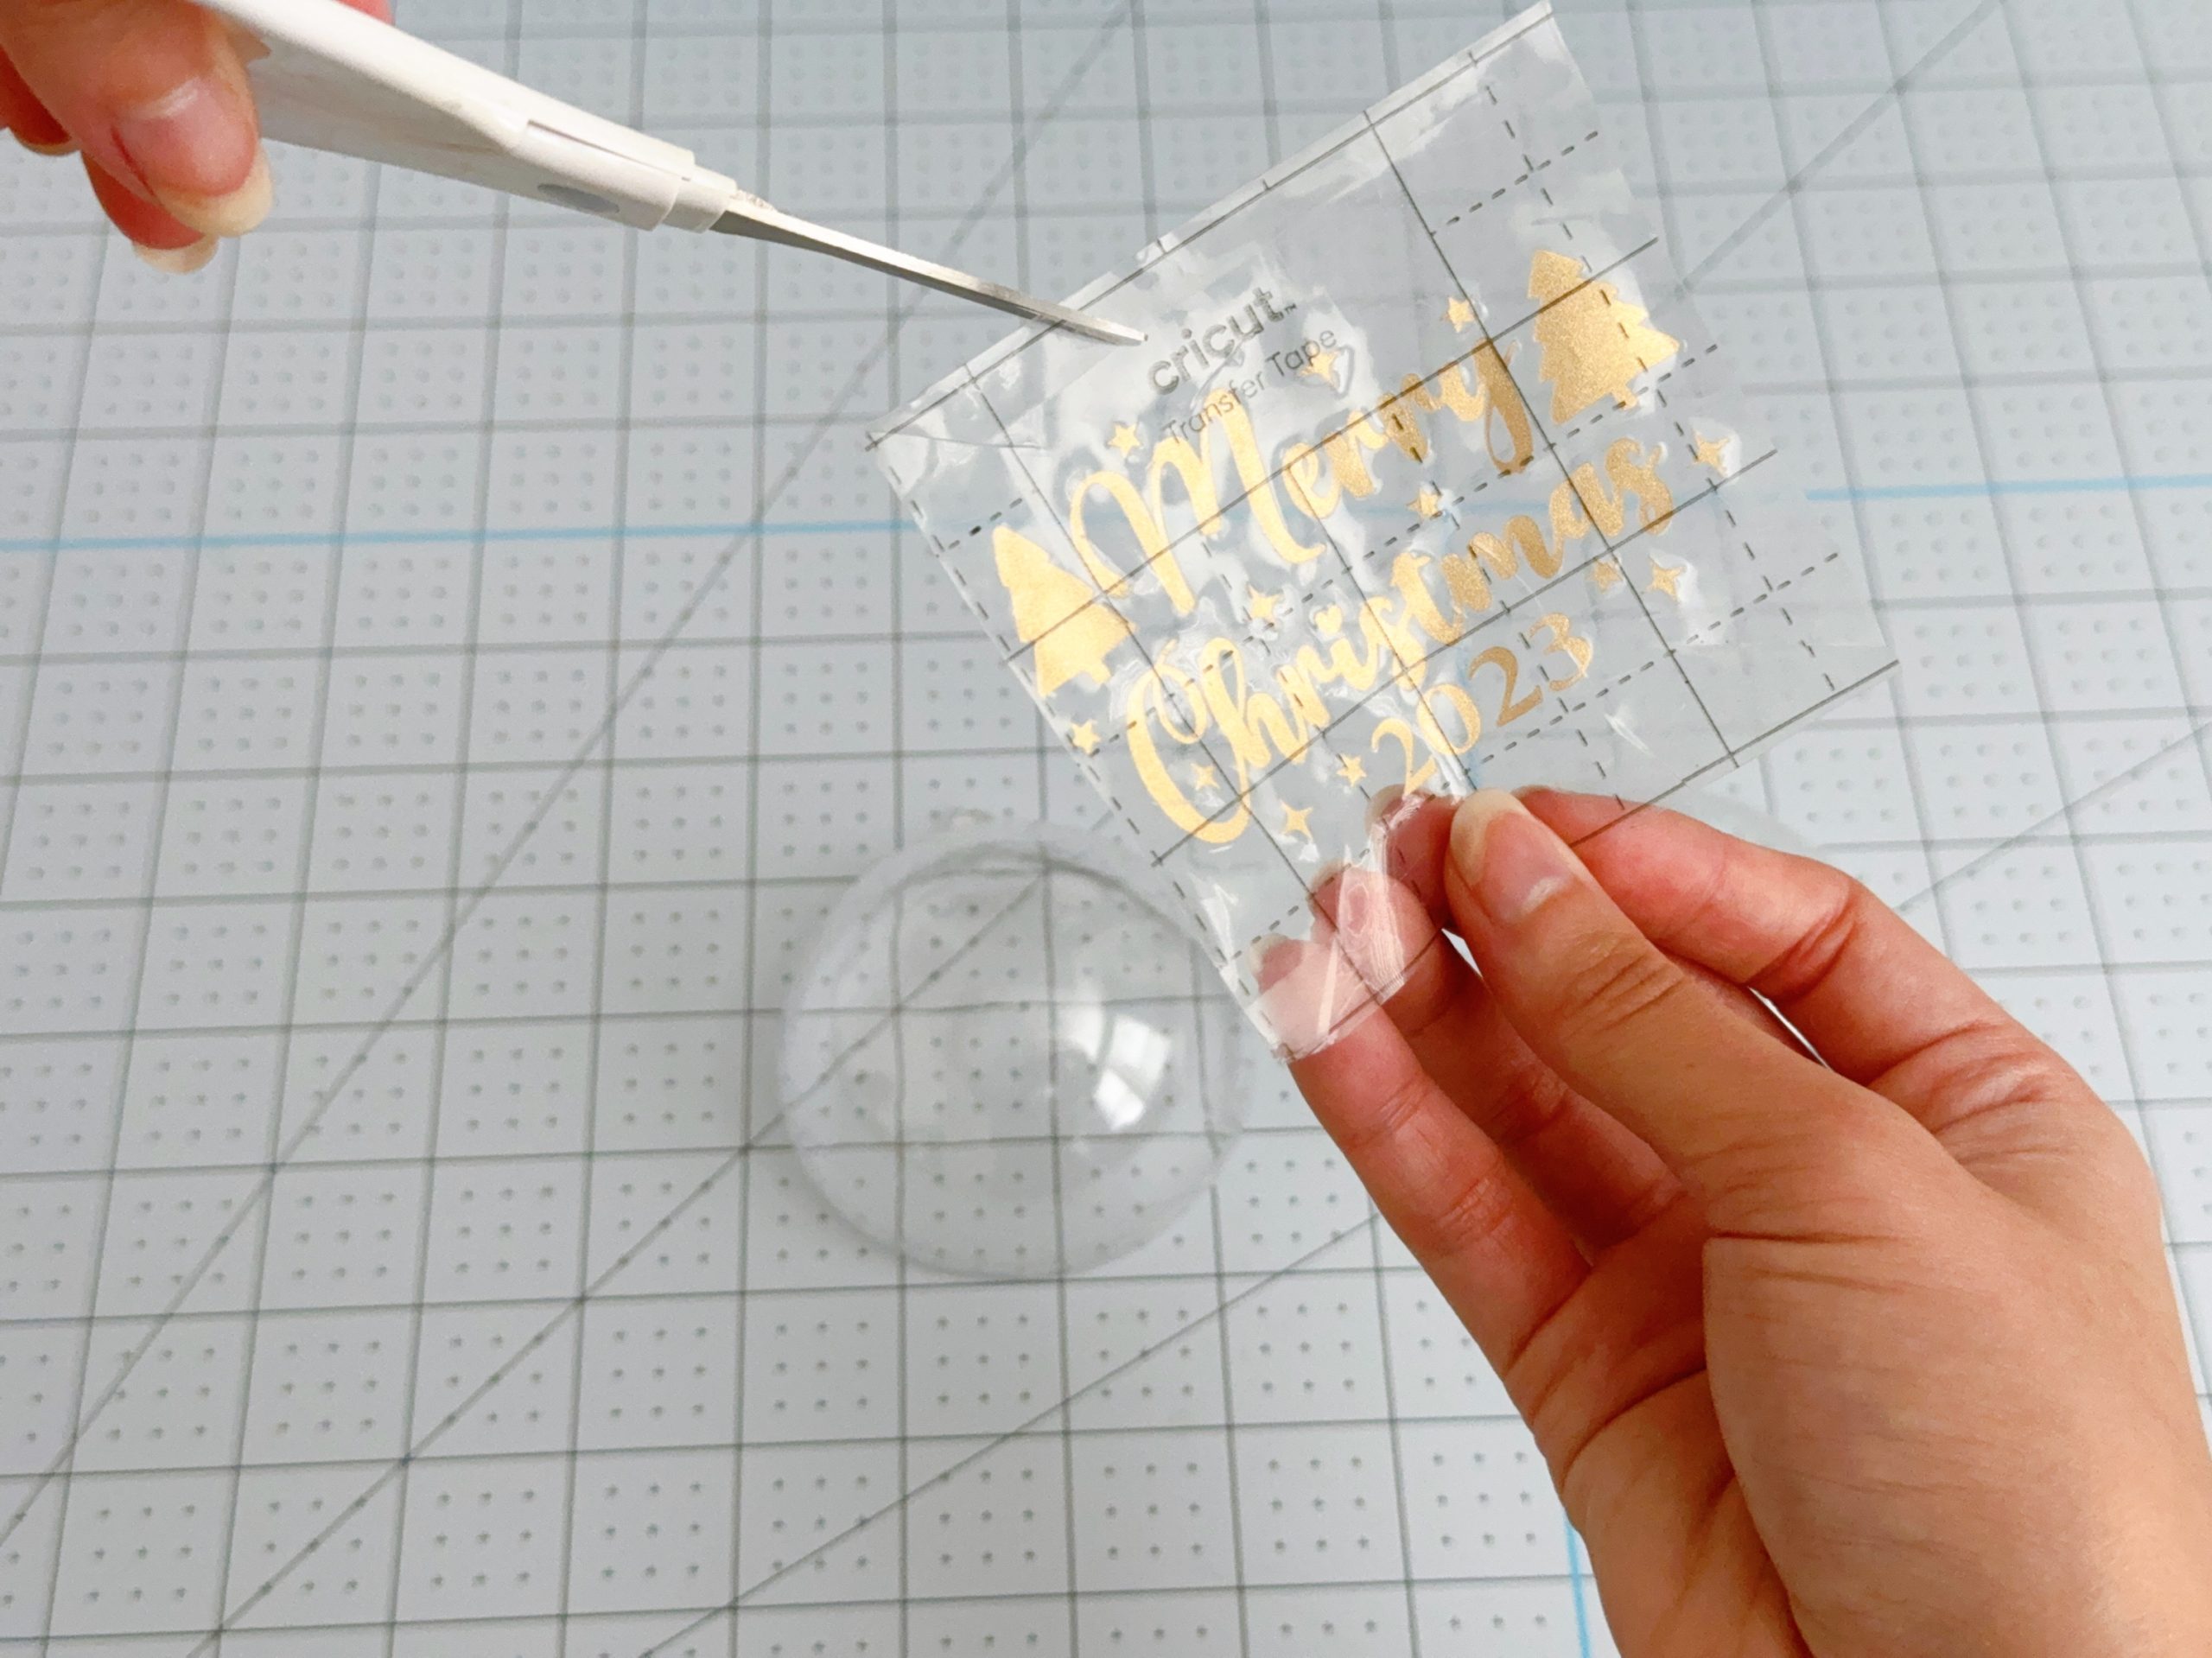
Another pro tip: when putting vinyl on a curved surface, you will have an easier time if you cut some slits around the transfer tape so it’s easier to lay flat.
To get a more steady hold of my ornament, I have detached it so I can lay it flat on my table. That way, it won’t move around as I’m applying the vinyl to it!
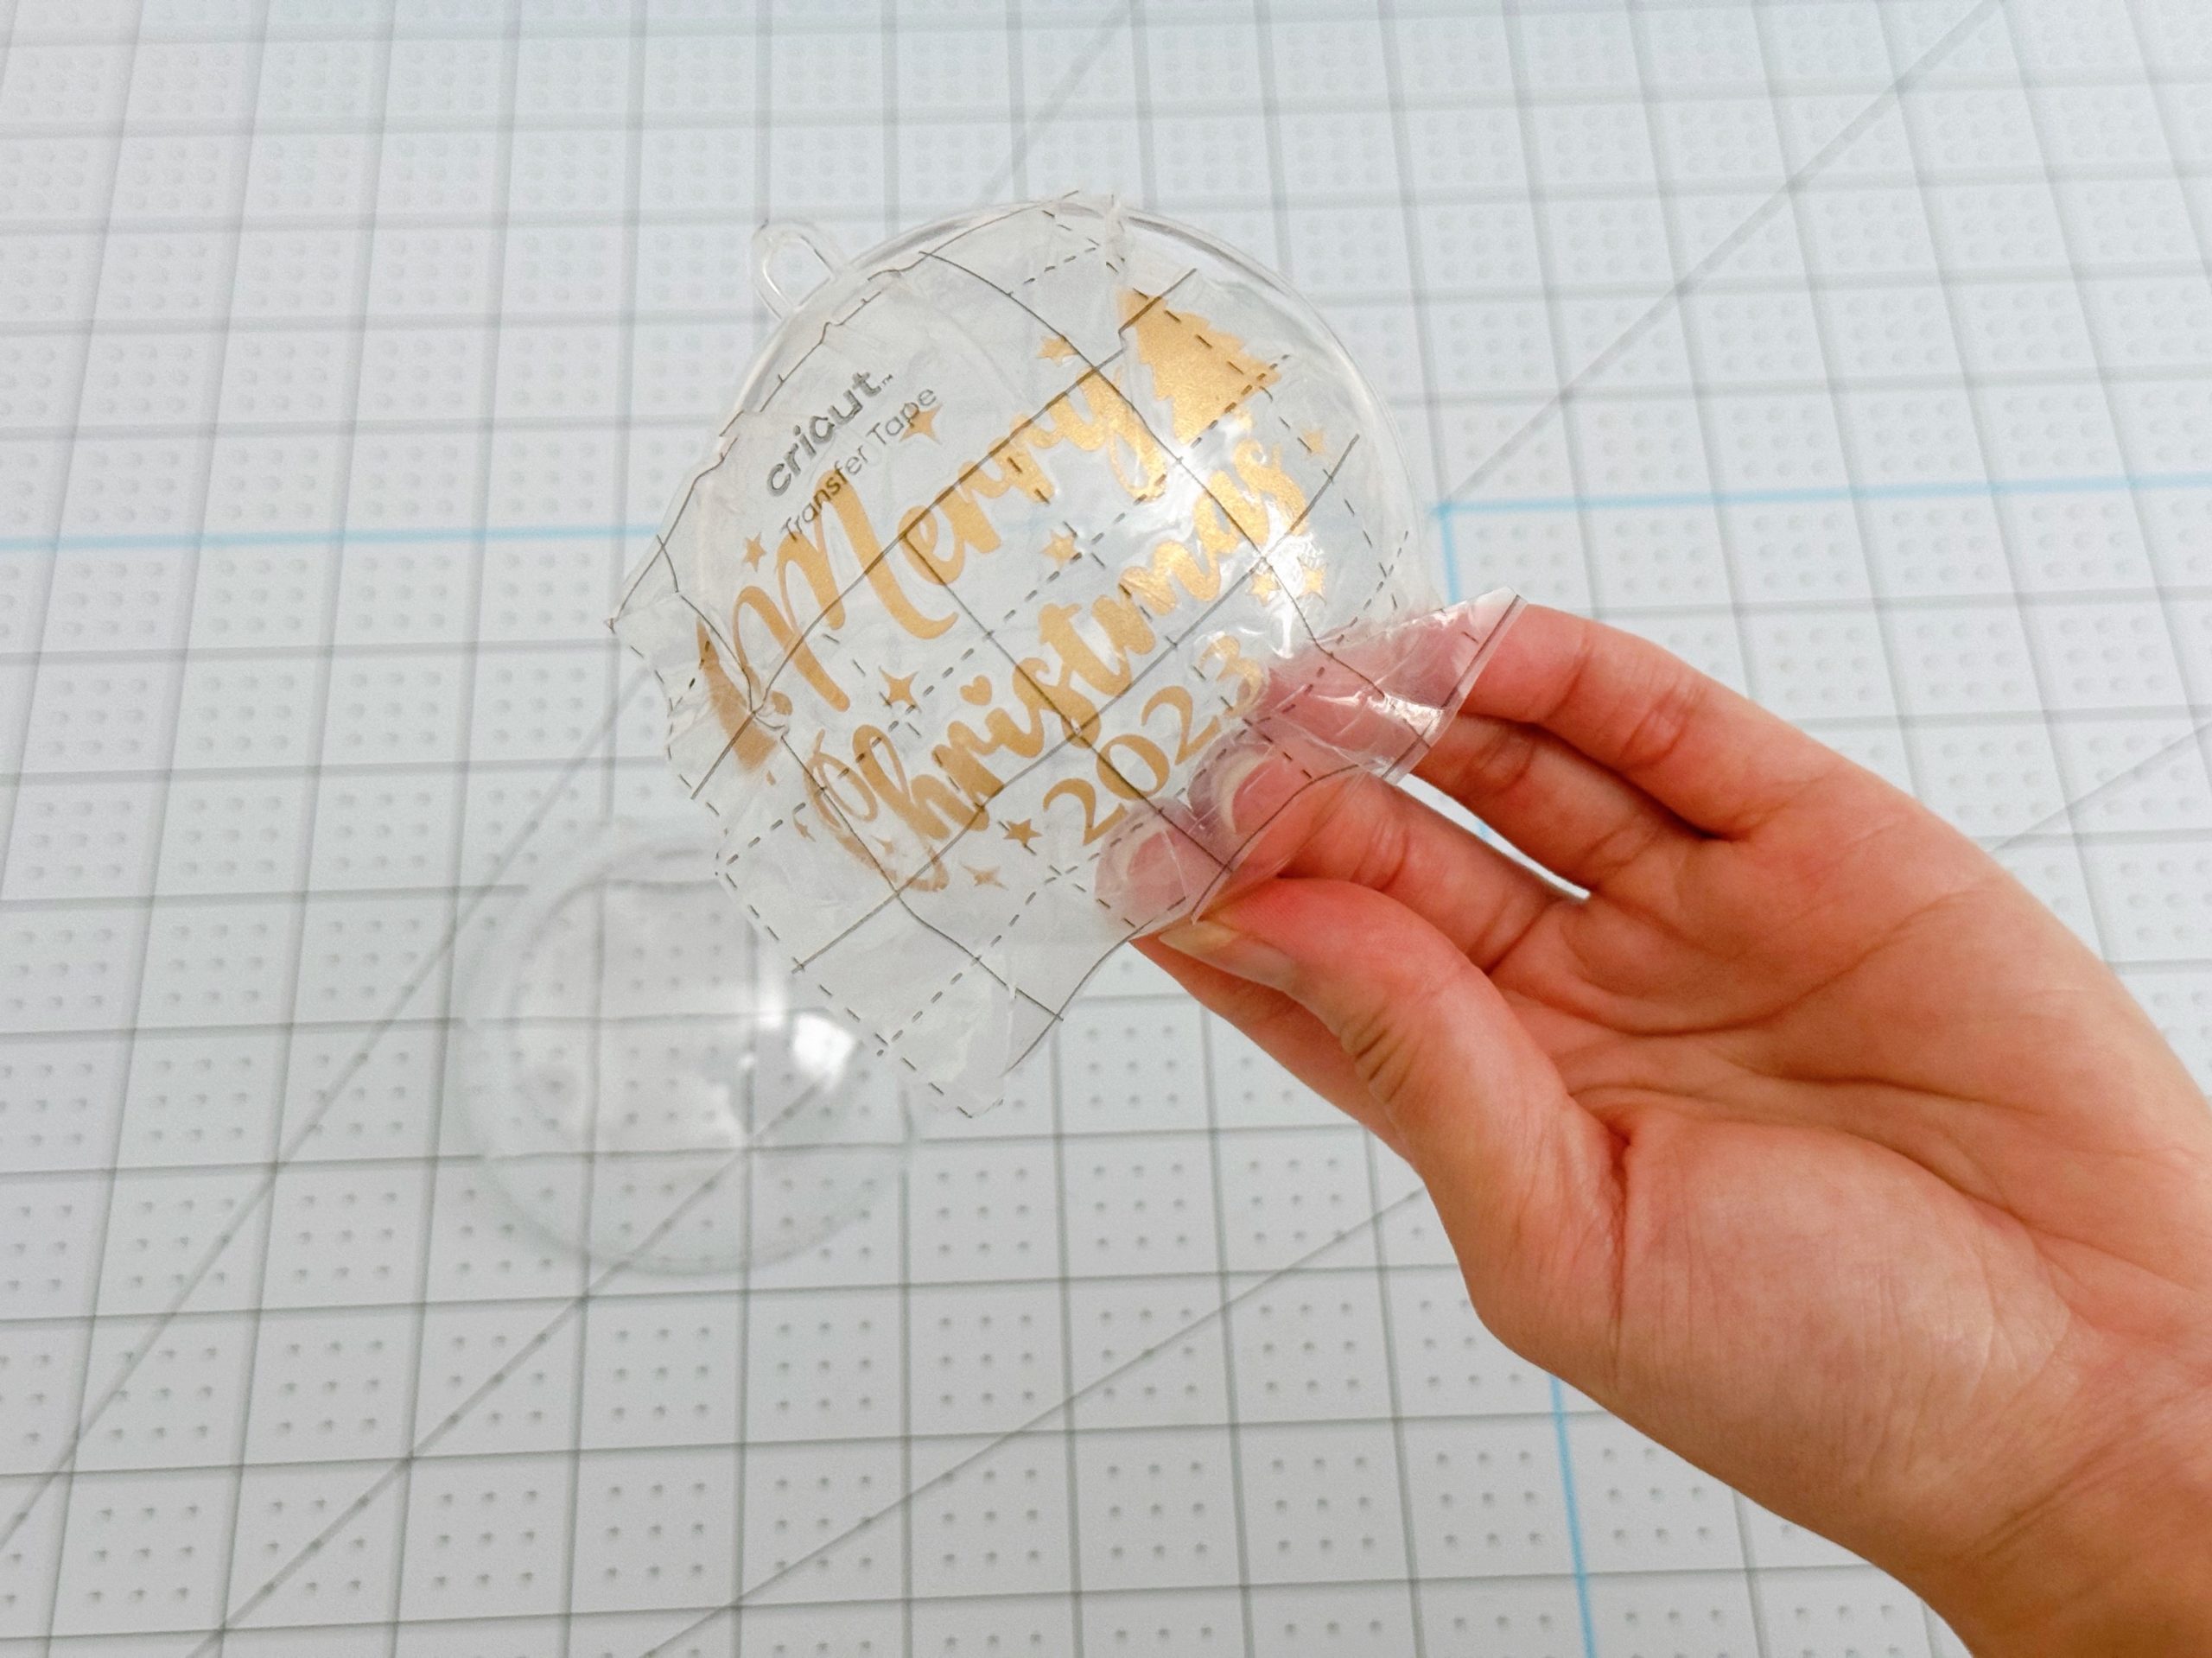
I slowly apply the transfer tape over my ornament, trying my best to eyeball the alignment so it’s centered. I use my fingers to press down the transfer tape flat – you can also use your scraper tool to ensure it sticks firmly to the surface of the ornament.
Once I’m happy with the placement, I carefully peel off the transfer tape to reveal my final design!
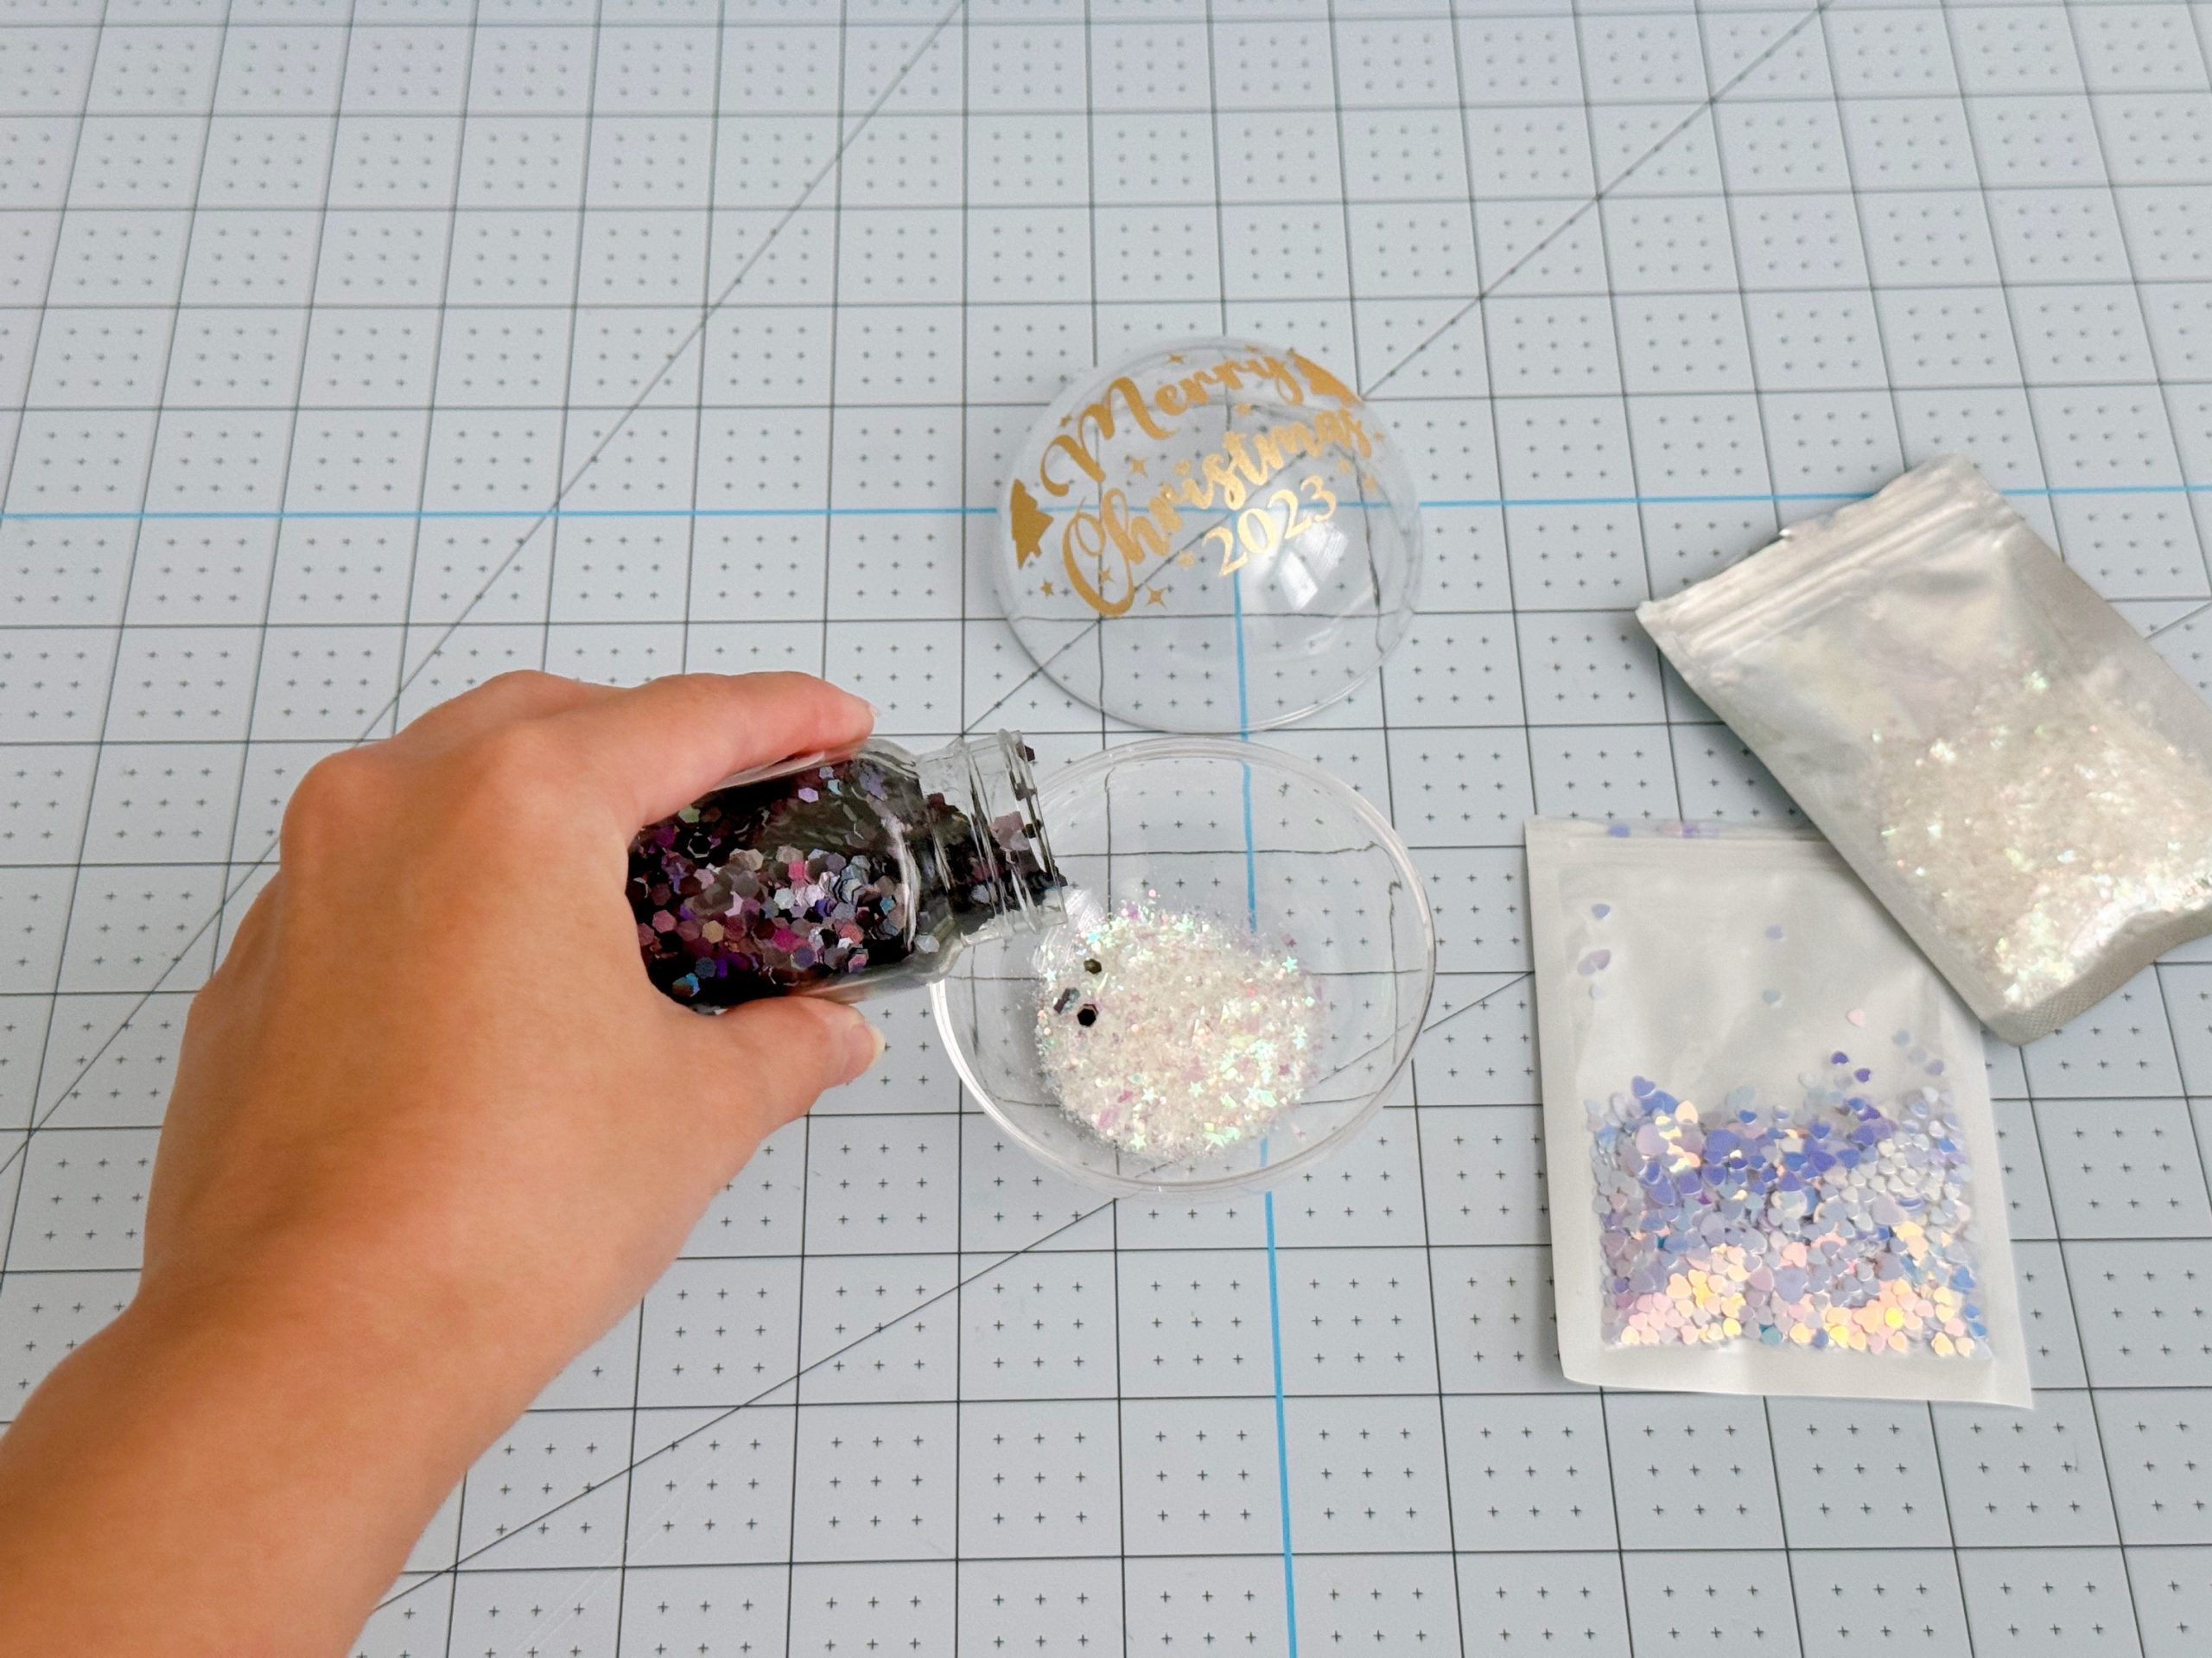
Step 5: Assemble your Christmas ornament and enjoy!
Since I used a clear acrylic ornament, I felt that it needed a little something to make it pop! There are lots of things you can place inside the ornament, like a small photo of a favorite moment from this year or a trinket from a recent vacation, for example. I opted for a little bit of glitter in assorted shapes and colors!
Once I was happy with the final look, I popped the two pieces of the ornament back together, and now I have a beautiful ornament to hang on my Christmas tree this year!

Related Making


Search How-To
I want to make...