DIY book covers with Cricut
Skill level
Intermediate

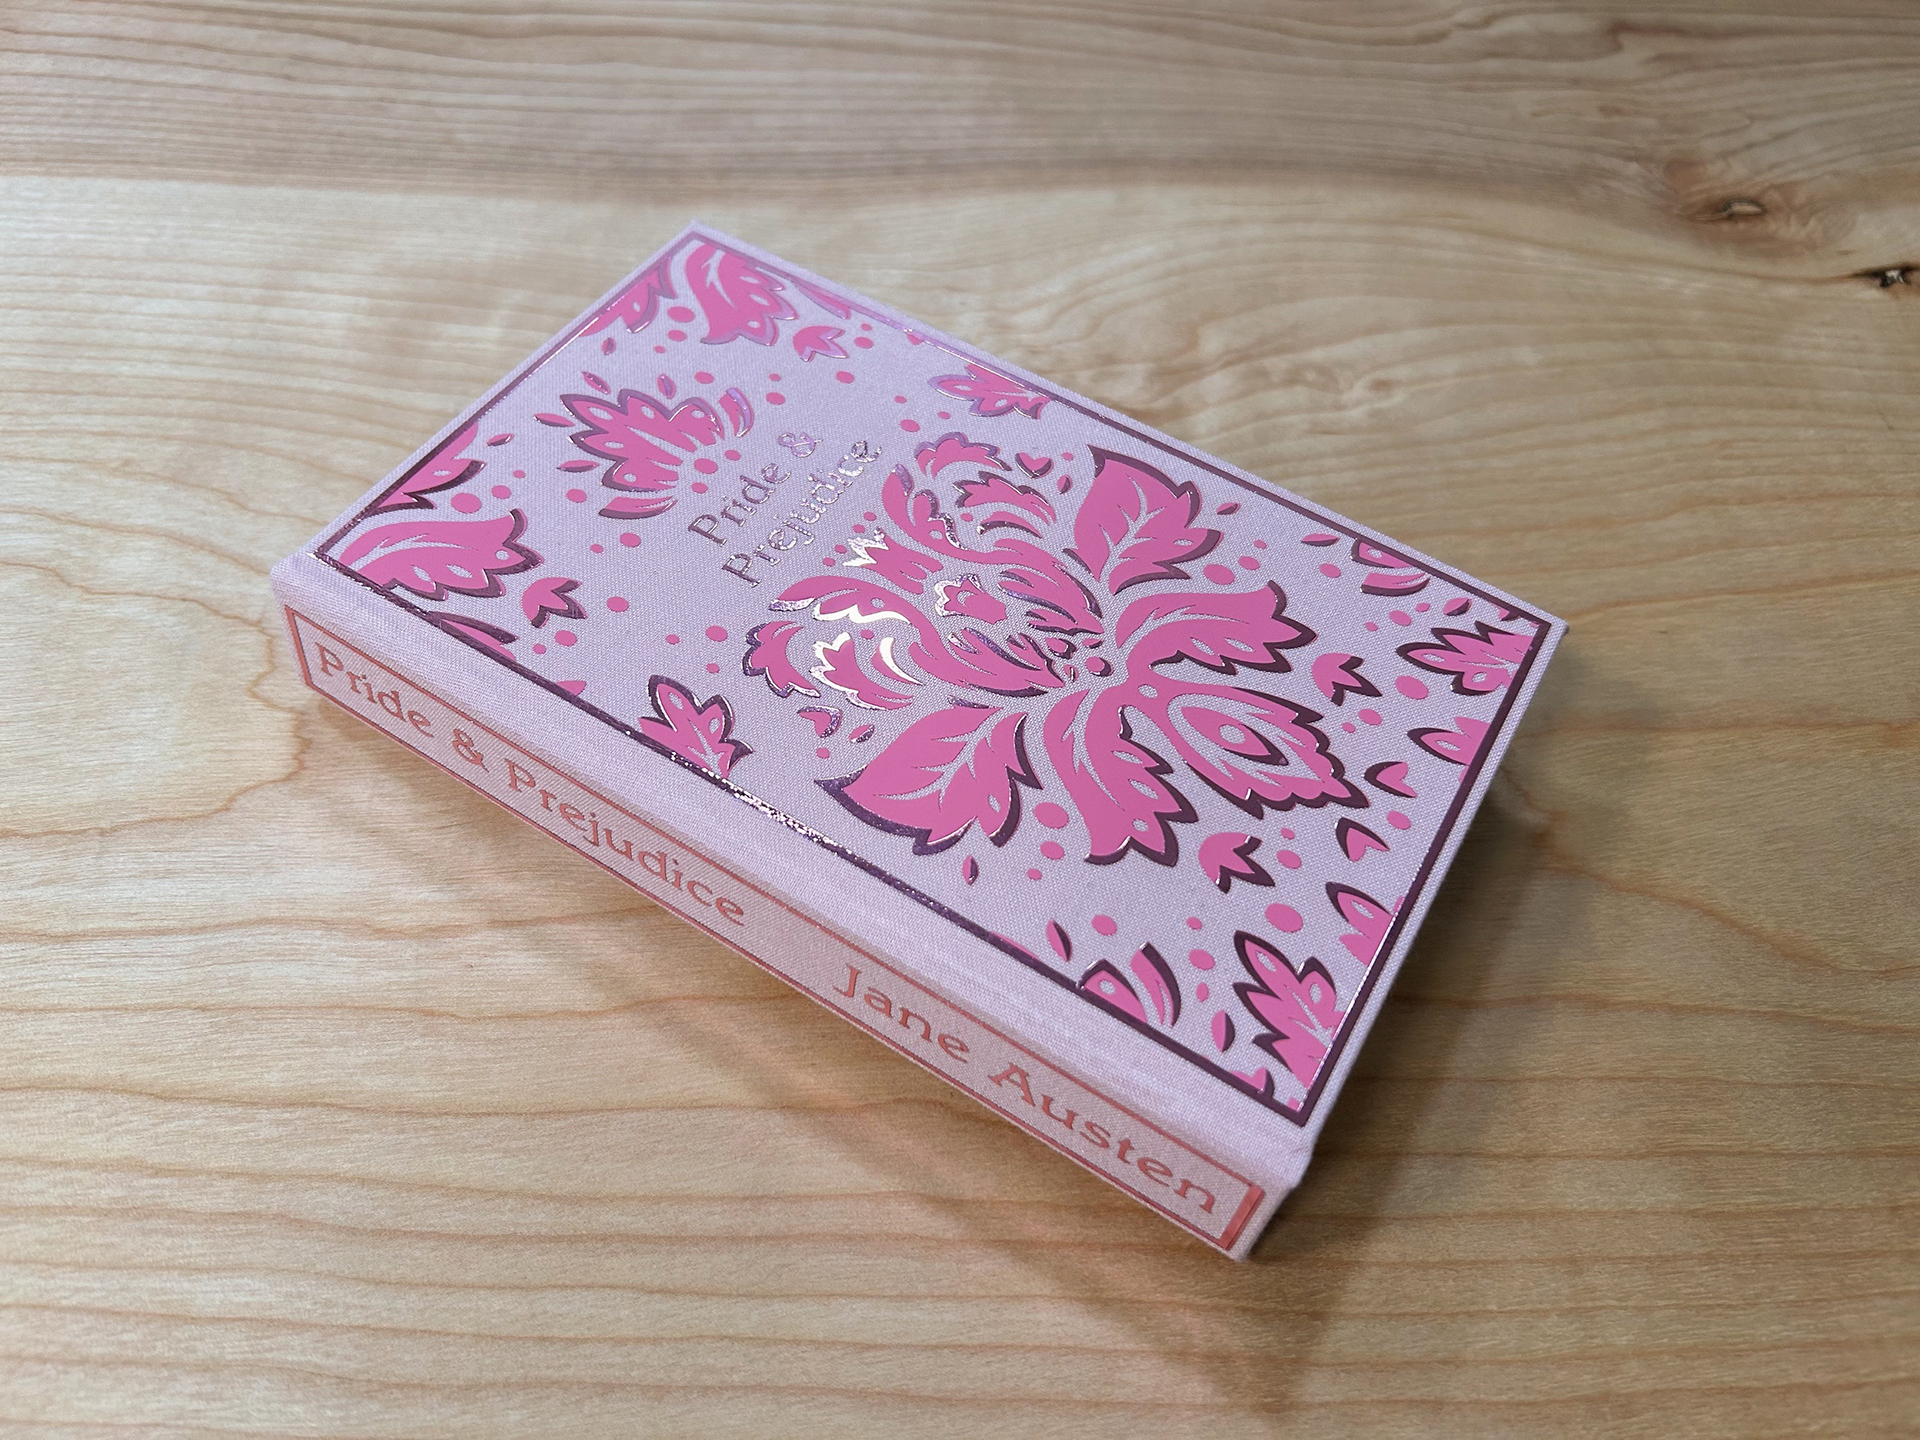
In a world of e-books, finding unique, one-of-a-kind hardcovers can be rare. I had a very old copy of Pride and Prejudice that was falling apart and in need of some revamping. I repaired the spine and fired up my Cricut Maker 3 to create a hardcover out of chipboard and an iron-on design I created in Design Space. Not to worry, it’s easier than it sounds. I’d say my first attempt, a Pride and Prejudice book cover, was a success! Follow along to make your own custom book covers.
Supplies needed
How to make custom book covers
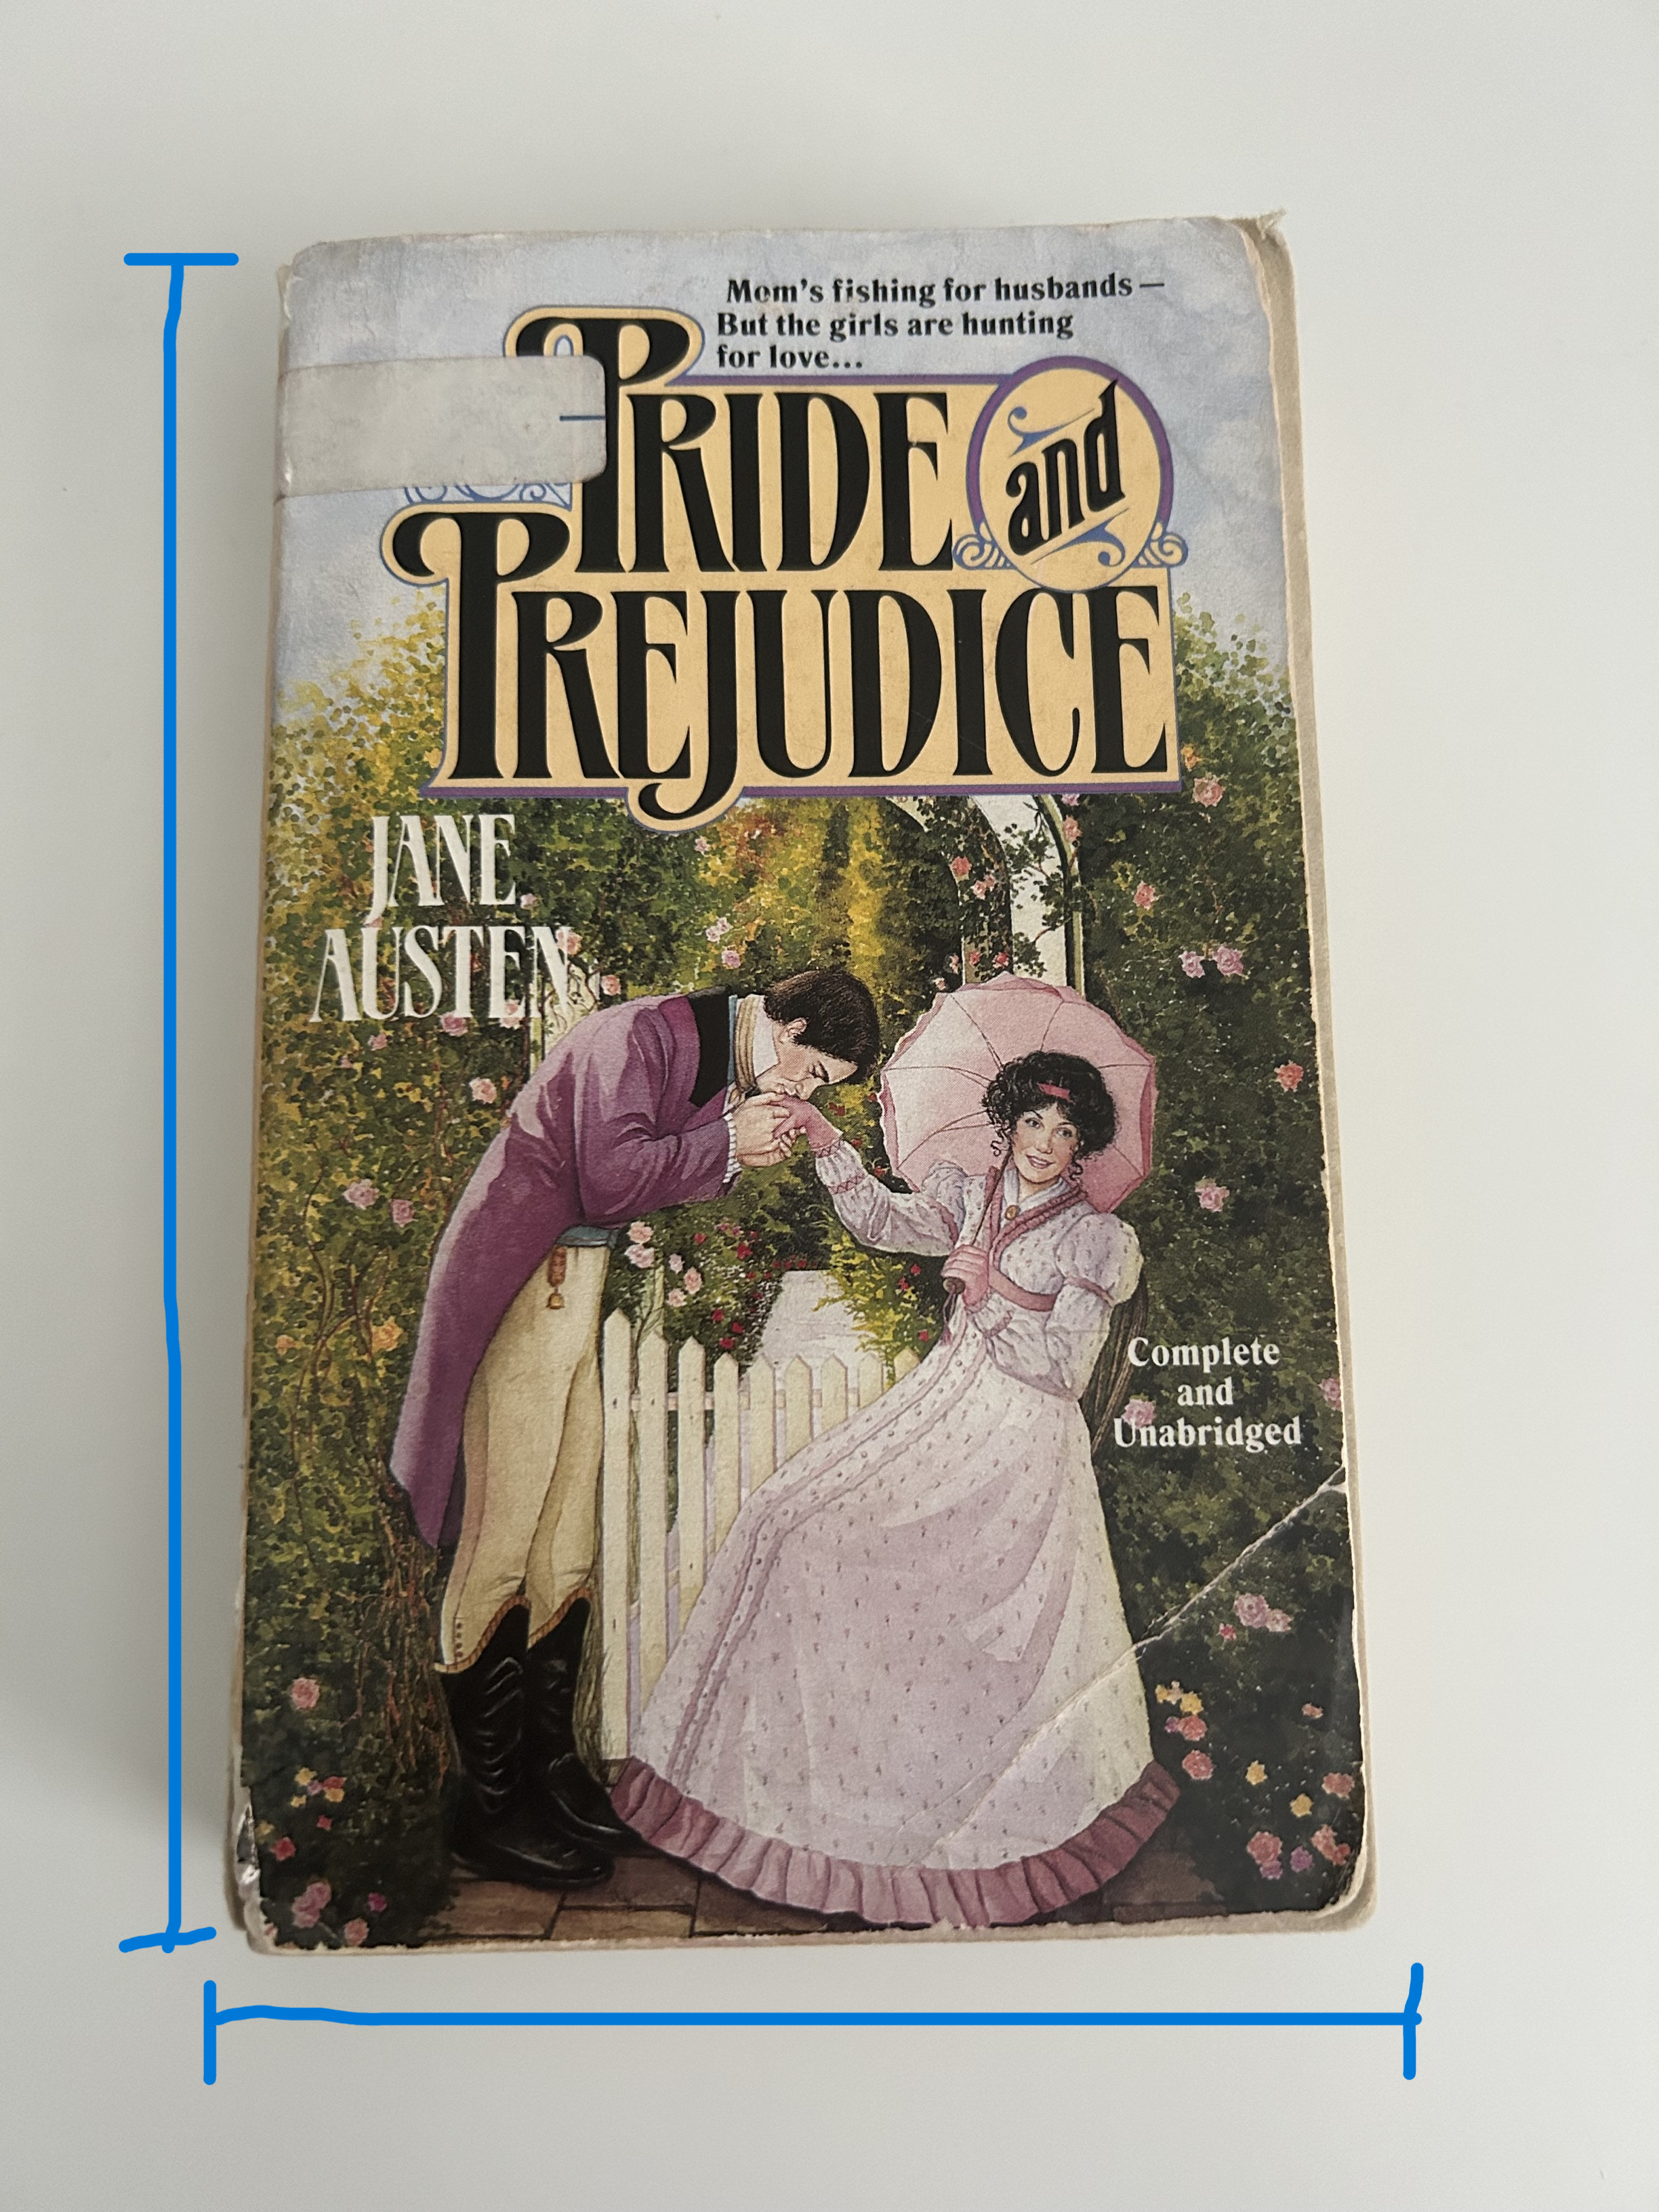
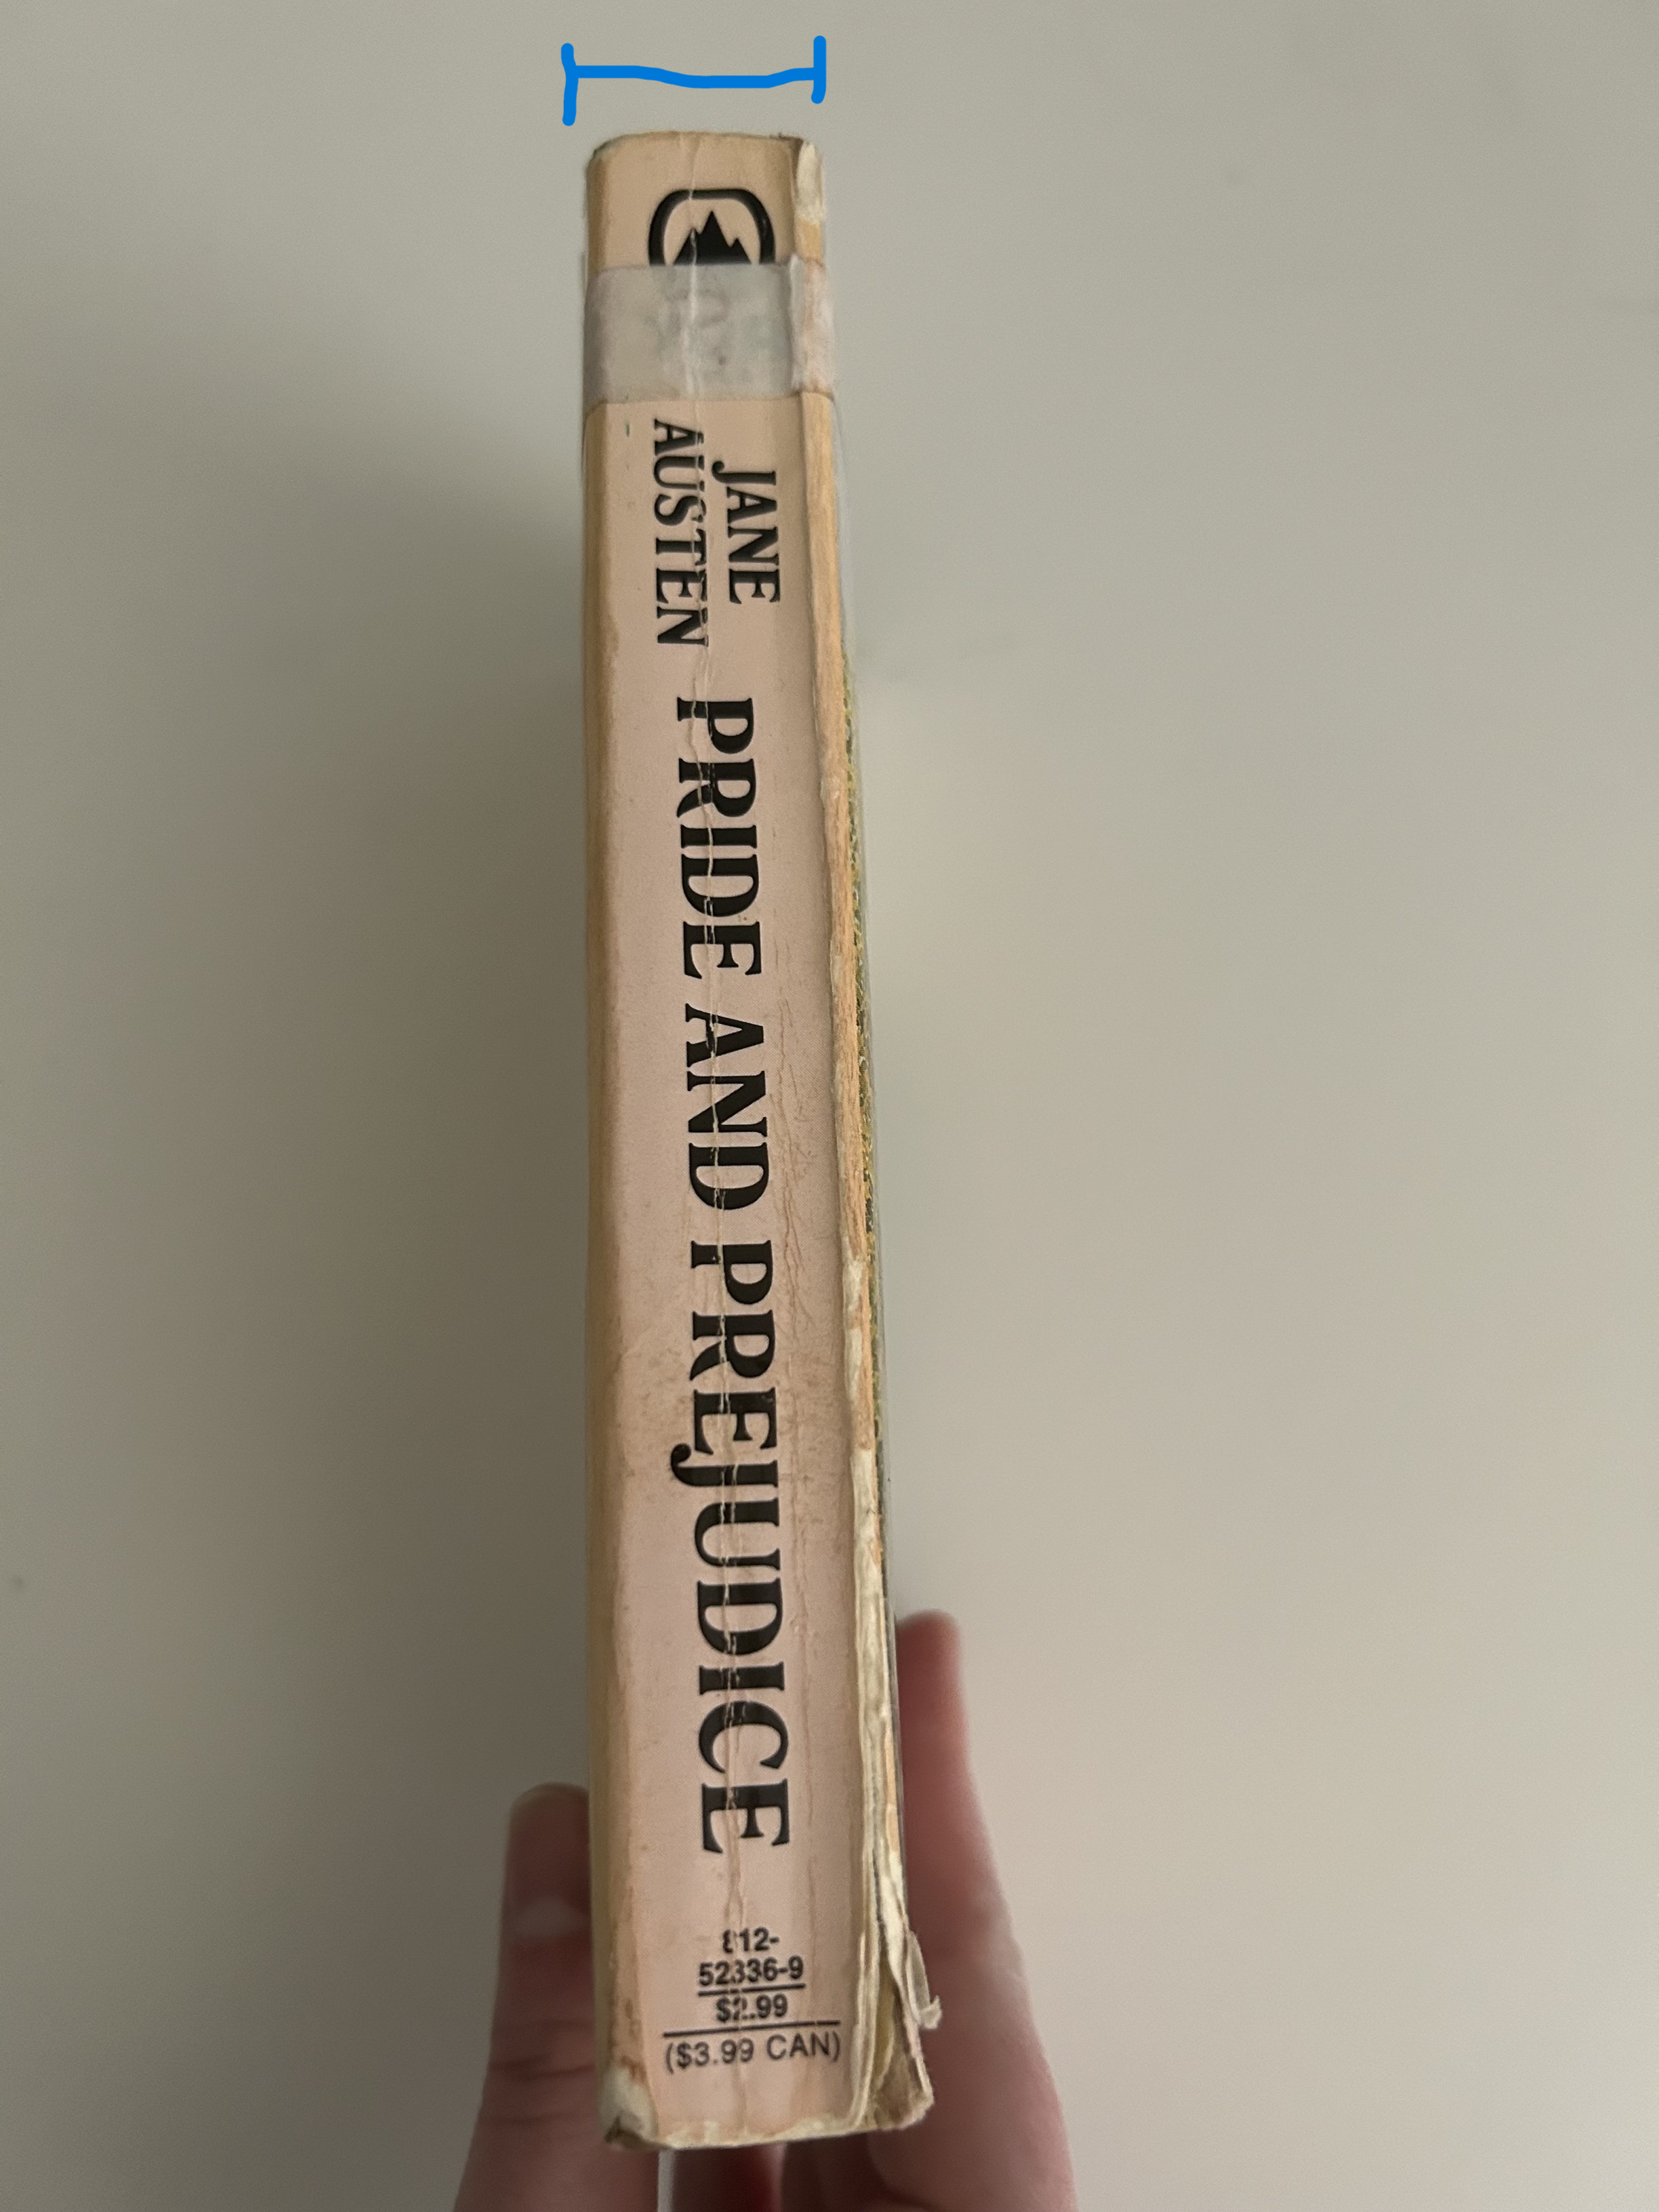
Measure your text block
First, you’re going to want to remove the cover of your book so you get the text block. Since my book was already falling apart, I was able to remove mine pretty easily, but feel free to search how-to videos. Measure 3 places on your text block with your ruler (see blue lines in photos below). Measure the height of the block, width of the block, and width of the spine. Write down those measurements and add 8mm (0.314 inches) to the height of the book.
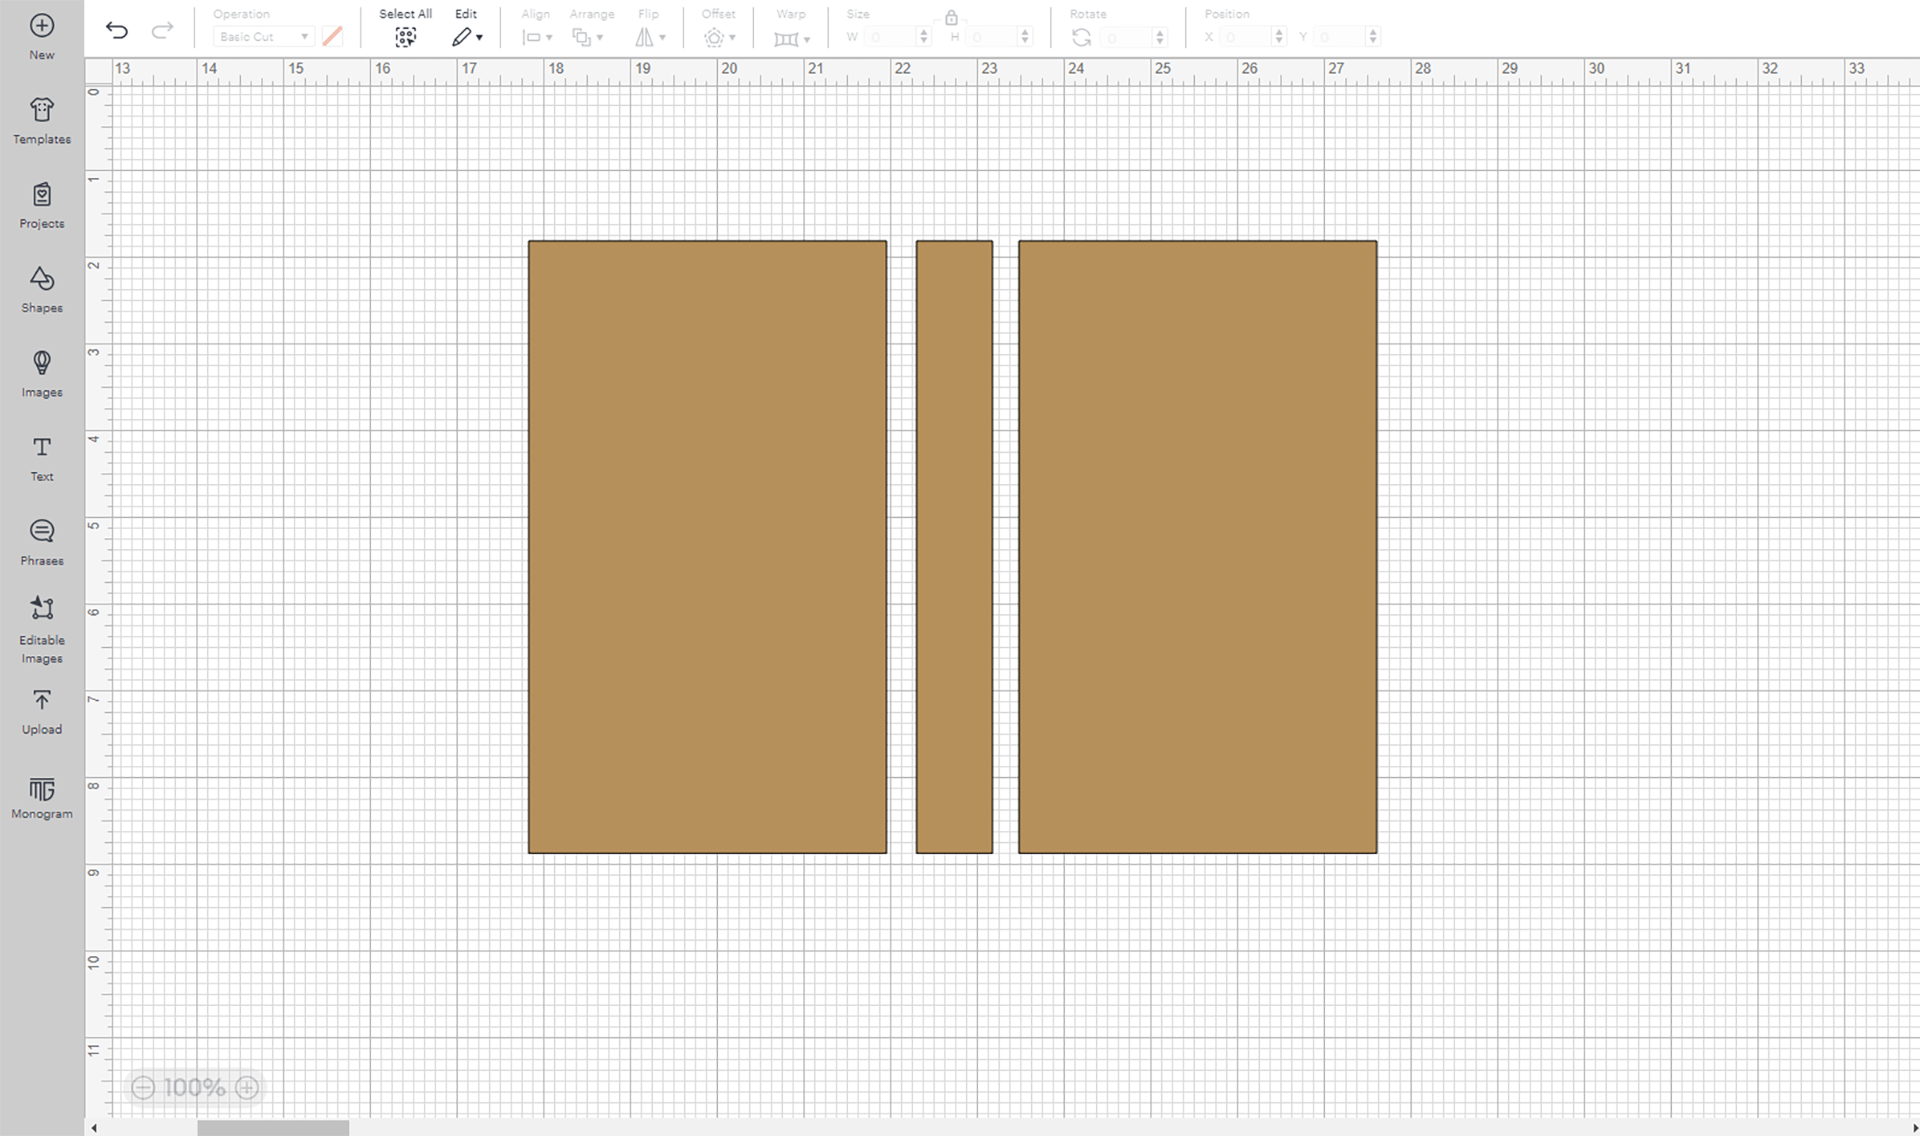
Design the covers
In Design Space, create 3 square or rectangle depending on the shape of your book. Two rectangles will have the same width as the block and same height as the block (including the 8mm). The third rectangle will have the same width as the spine and the same height as the block (including the 8mm).
You will then cut the 3 shapes out of chipboard, which creates the spine and front and back covers.
Cut out book cloth material
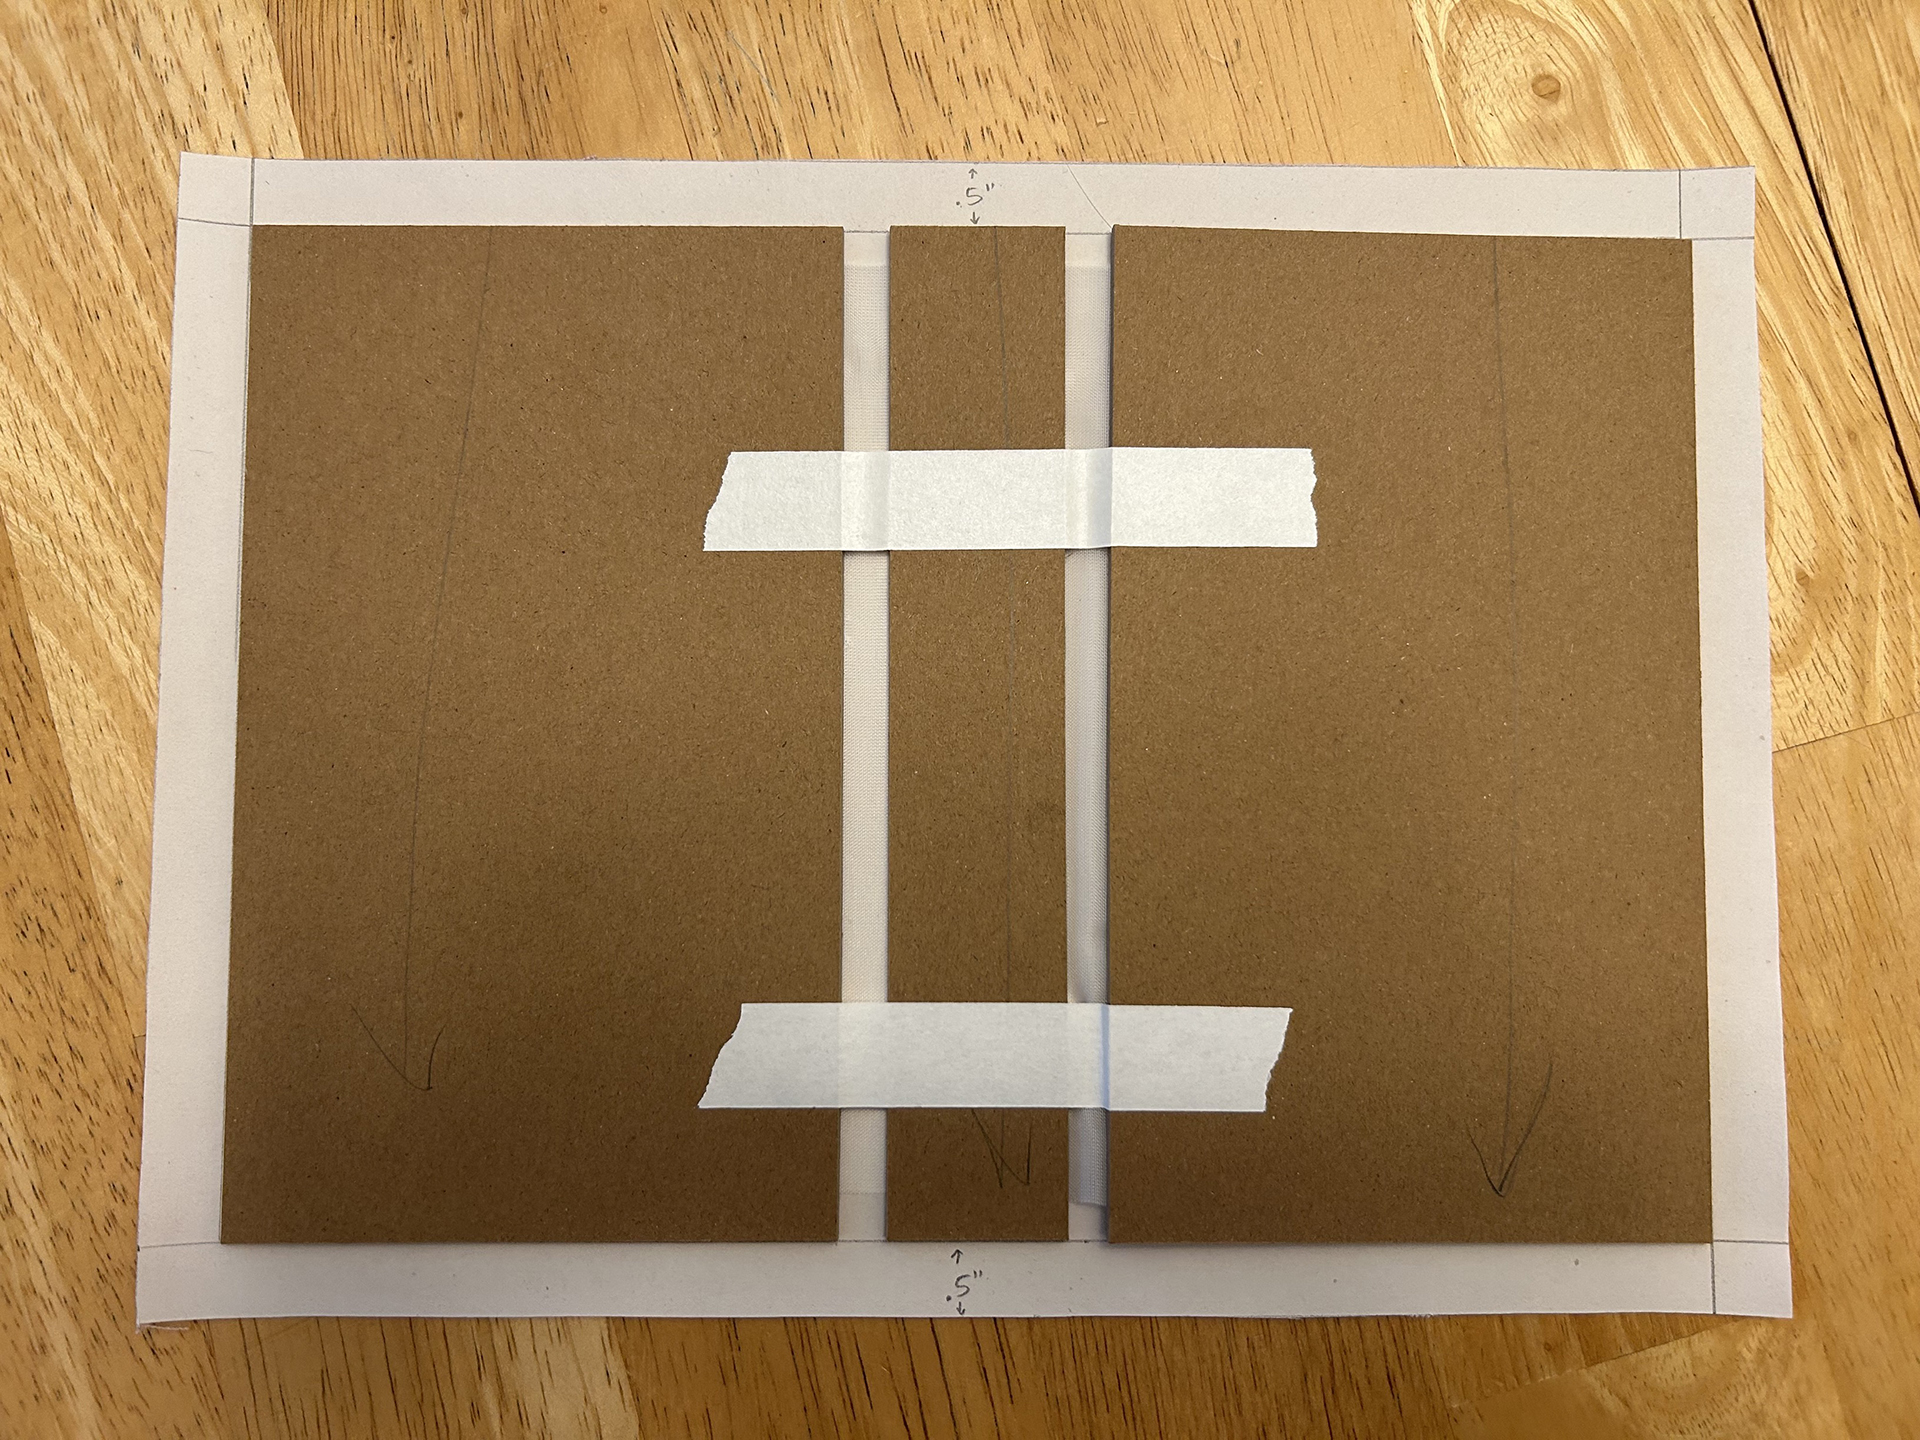
Place the chipboard covers on the paperbacked book cloth. Make sure to leave 3mm between the back cover and spine, and 3mm between the spine and front cover. Once you are happy with the placement, you can tape the chipboard in place so everything stays together. Make sure that the chipboard pieces are flat and aligned on the bottom and top so that everything stays straight. Then measure out 2-3 cm around each side of the book on the book cloth and cut along those lines.
Create endpapers
Next, you’ll want to create endpapers for your book. Endpapers are glued to the inside of the cover and the very edge of the first and last page of the book. They help take up any strain from opening and closing the book, which helps protect the book itself.
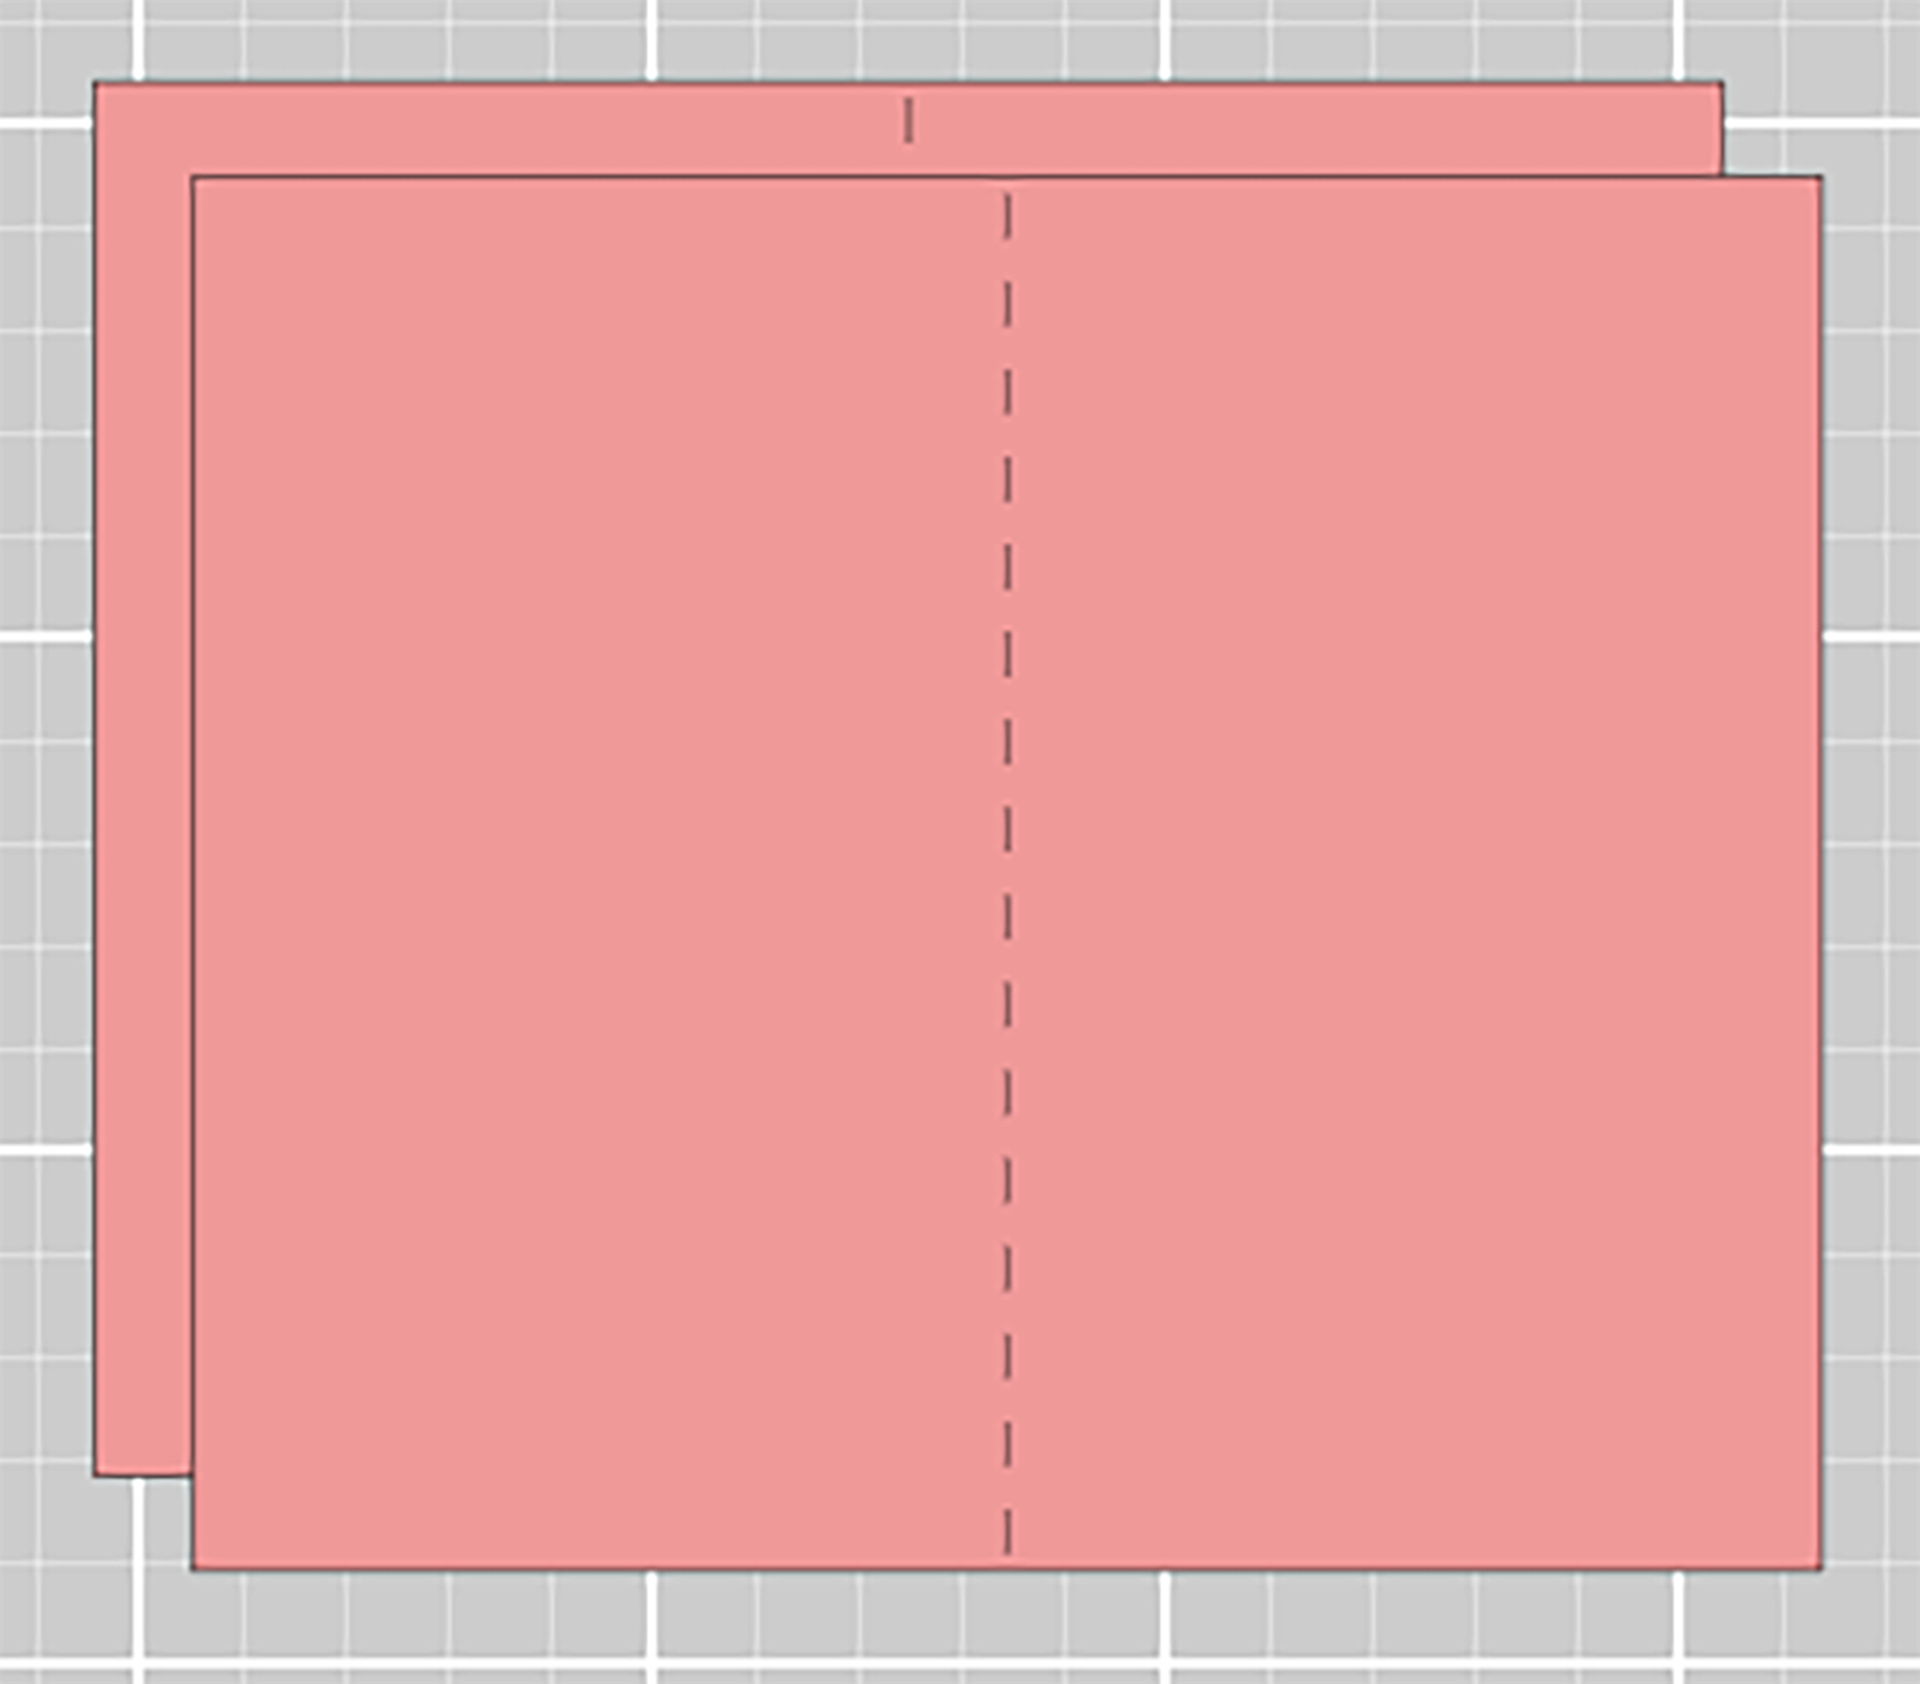
To create these endpapers in Design Space, you will create two rectangles that are the same height as the book (including the 8mm), but double the width of the book, since you will fold the endpapers in half. Then you’ll have your Cricut machine cut these out of the cardstock of your choosing. If you want, you can also add a score line down the middle so that you don’t have to fold it yourself.
Gluing
Endpapers
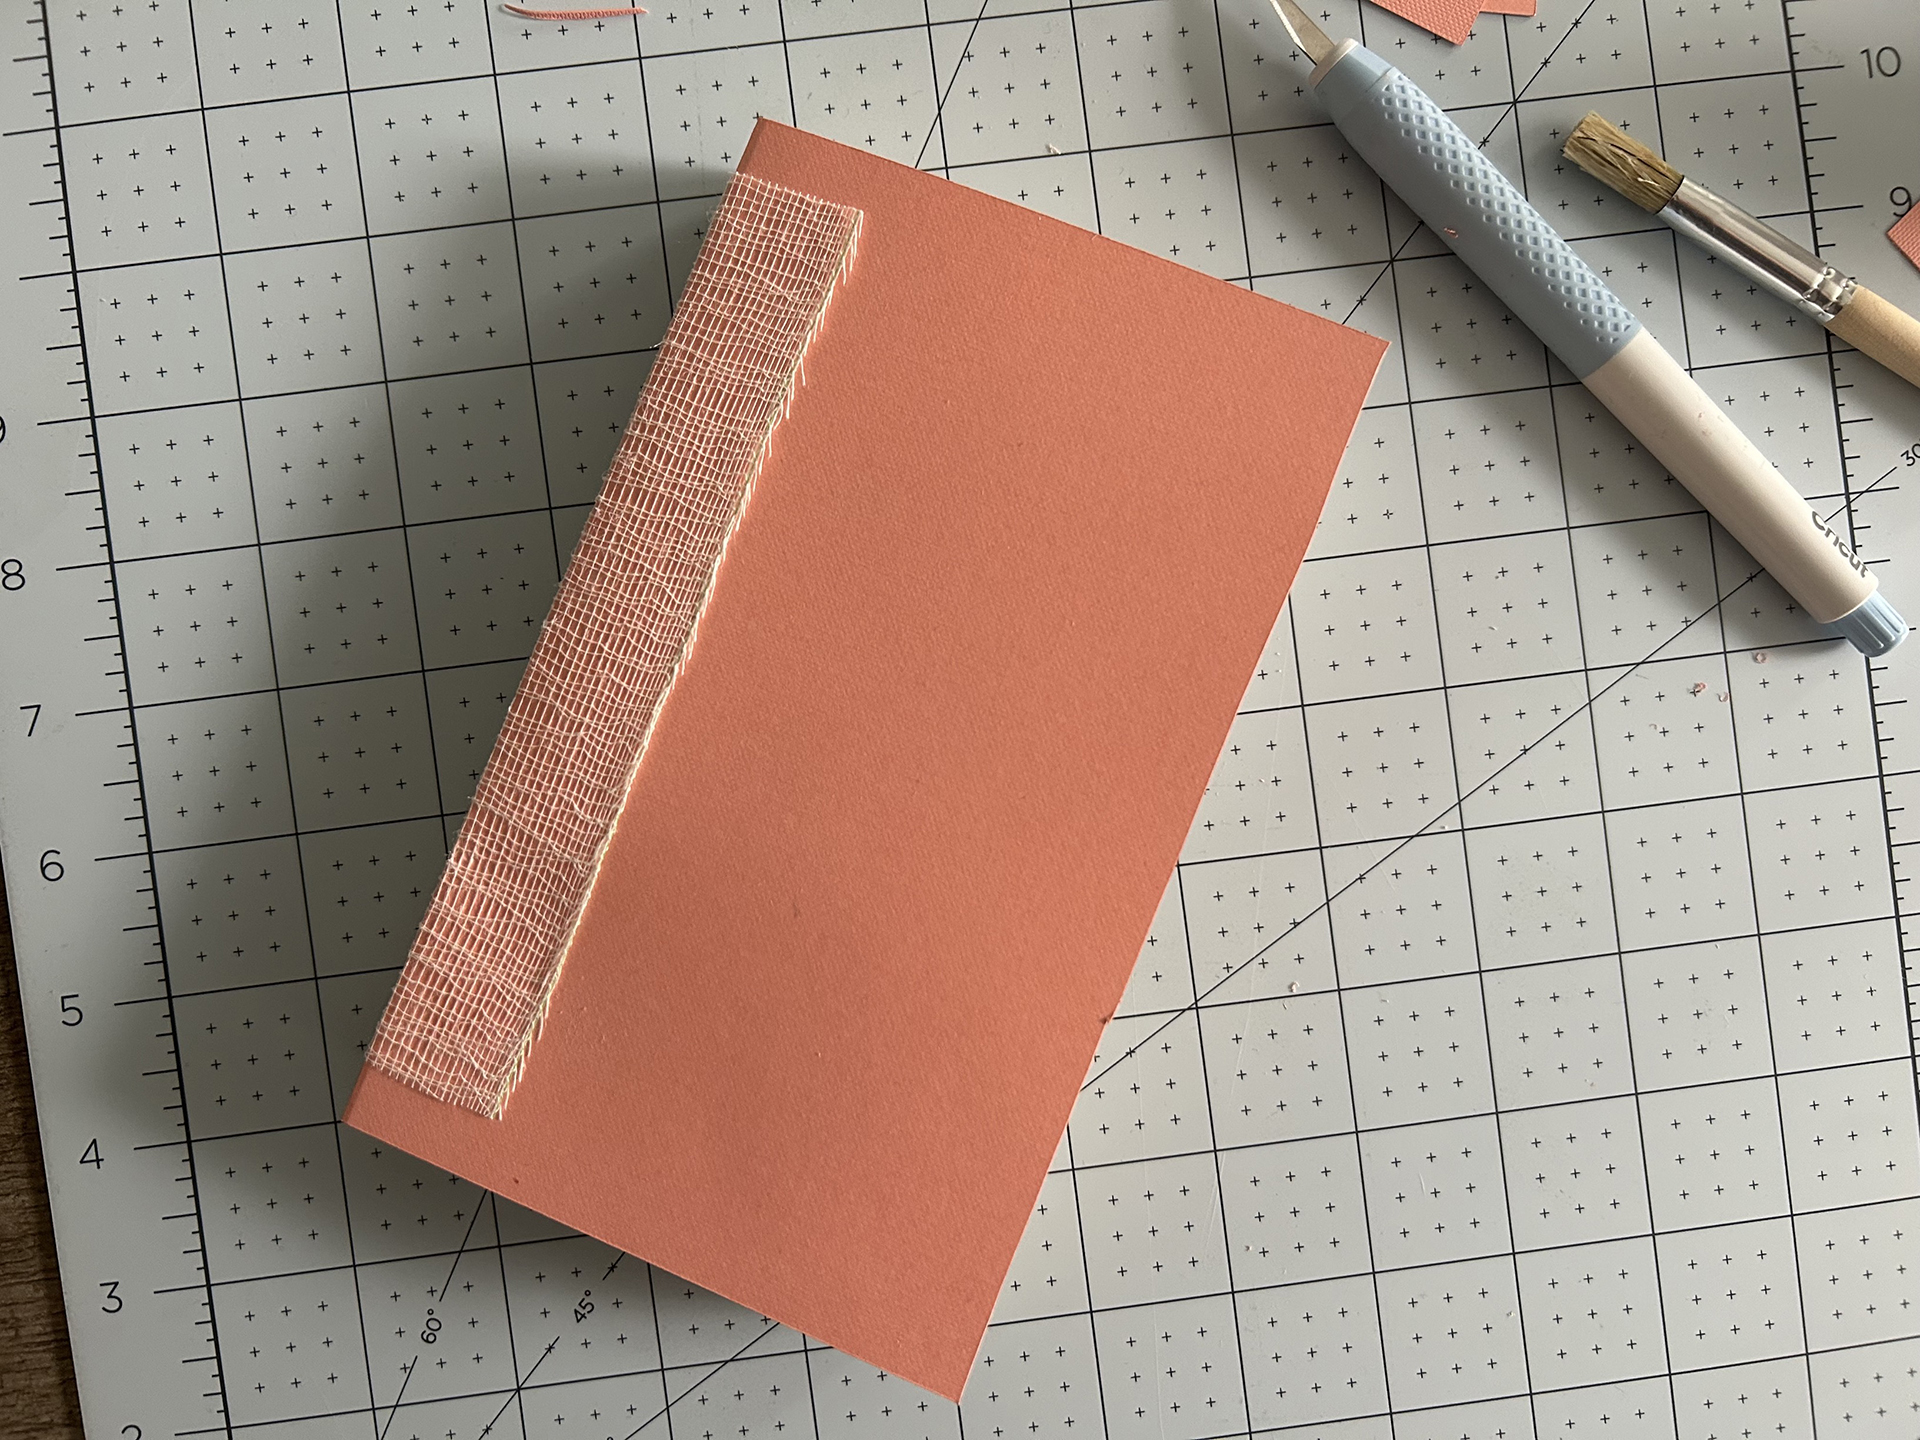
With your end papers folded in half, spread some glue (about 1mm wide) from the top to the bottom on the edge where the fold is. Then place the glued side onto the text block so that the glued edge aligns with the spine of the book. Repeat this process for the back of the book (or front if you did that first).
Spine
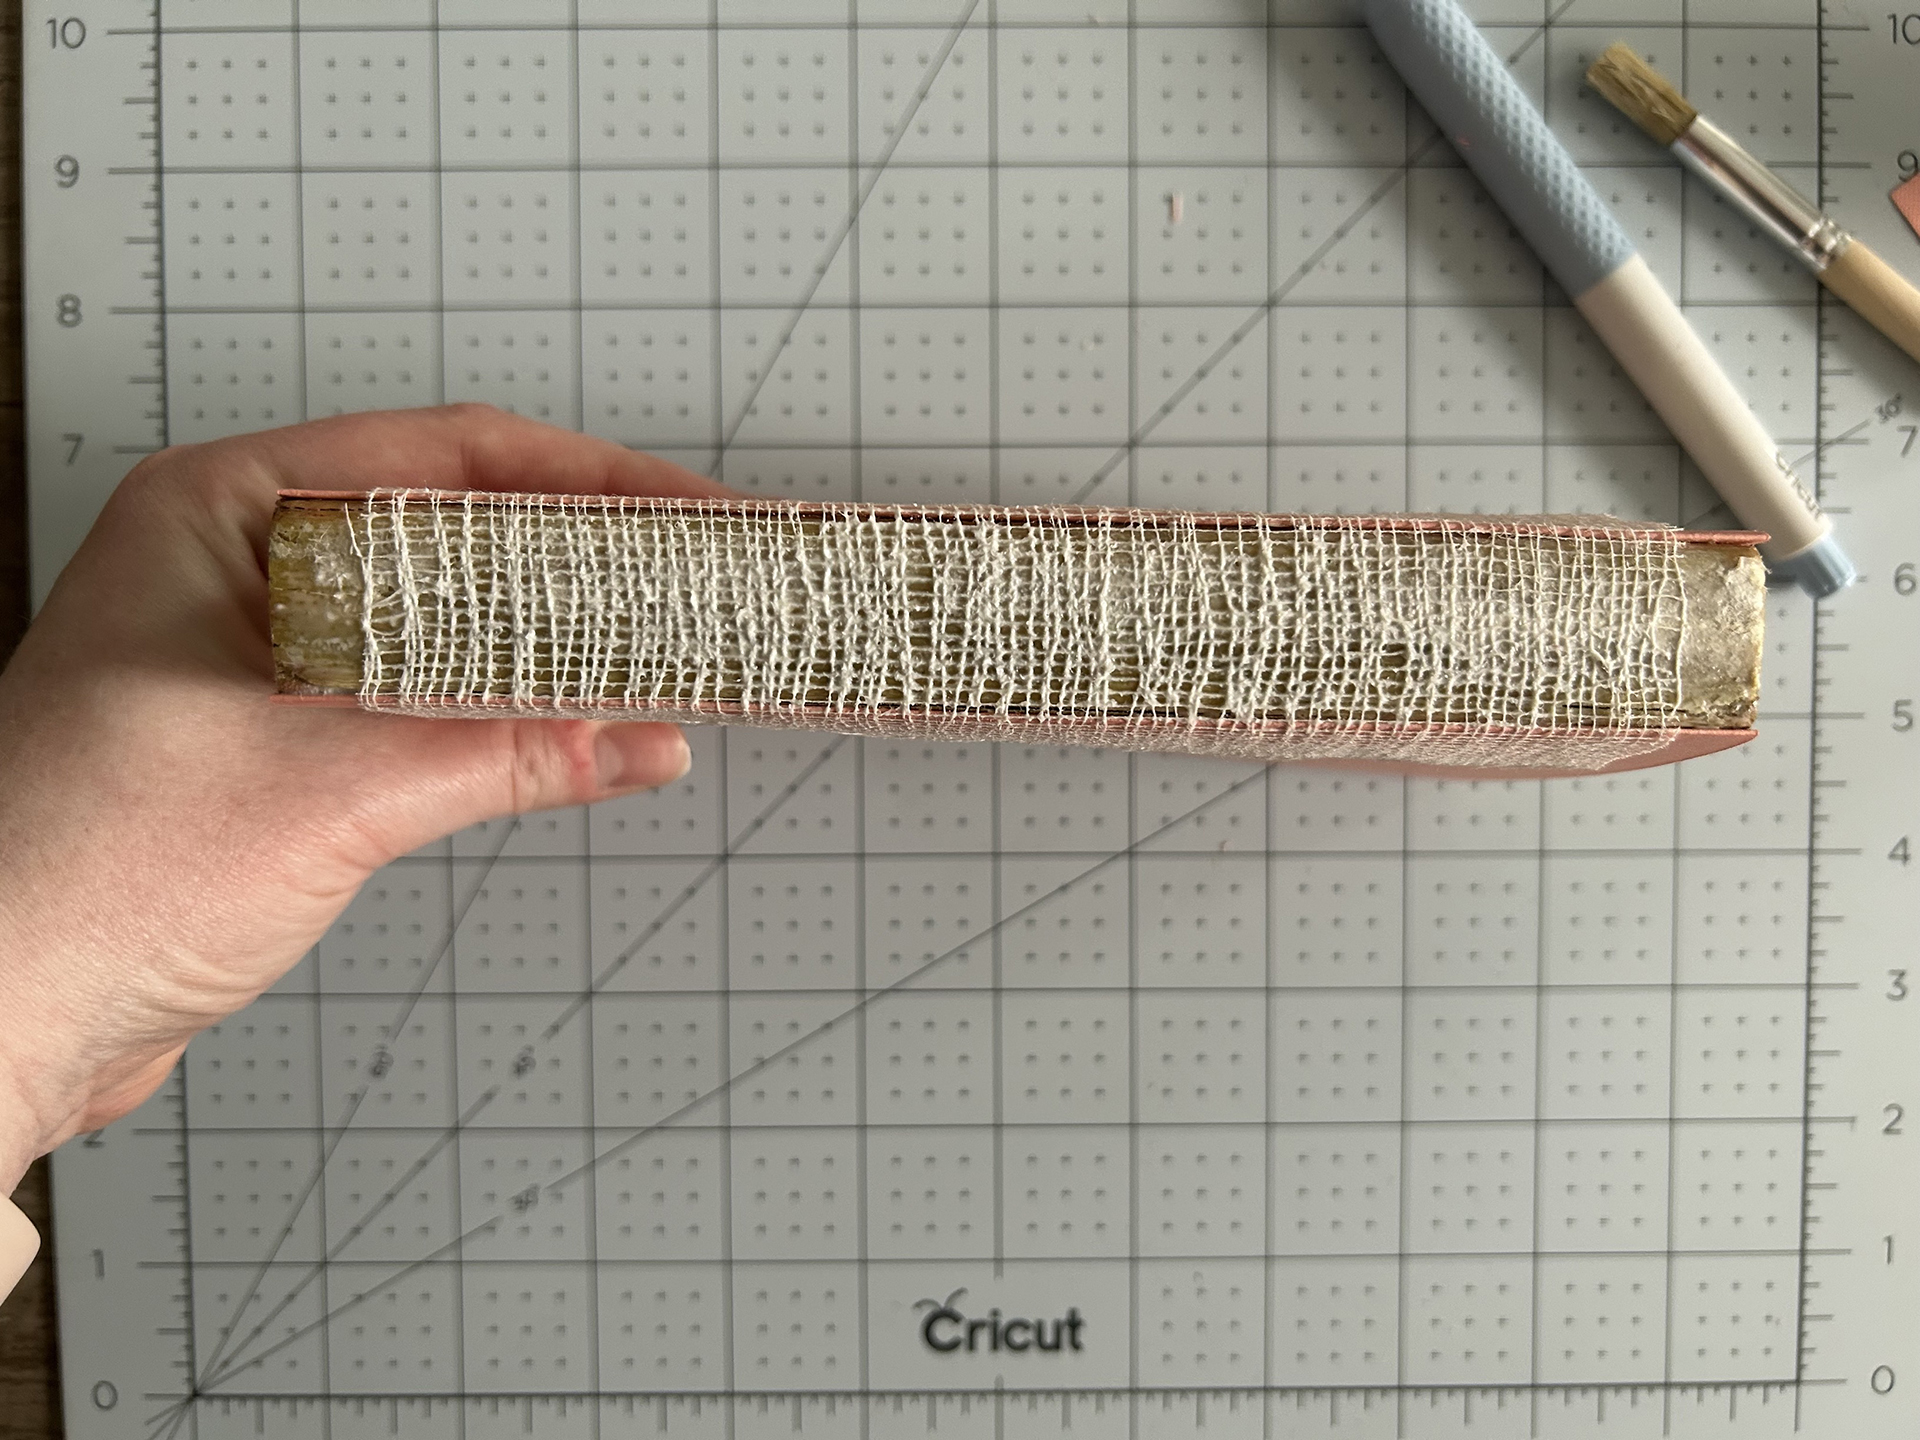
Once you have the endpapers glued down, you’re going to want to reinforce the spine with the bookbinding repair cloth, or your lightweight fabric. You’ll want to cut a rectangle that is the width of the spine + 2 inches (so you’ll have an inch overhang on both sides) and it should be about an inch shorter than the height of the spine. Spread your glue on the spine and place the cloth over the glue.
Chipboard
The last thing you’ll glue right now is the chipboard to the paperbacked book cloth. Make sure everything is centered and you have the 2-3 cm border around each side. I would recommend gluing down the chipboard spine first and then putting glue on front and back covers one at a time. Once that is glued down, take your scissors and cut off the corners, leaving a little bit of a gap between the corner of the chipboard and the edge you just cut. I cut one corner too close on mine, so part of the chipboard is peeking out. Once those corners are cut, you’ll want to fold over the top and bottom edges and glue them down. Then glue down the left and right sides.
Press
For the text block that you just added endpapers to, put a scrap piece of paper on the top and bottom of the book, and then put it in a book press. If you don’t have a book press like me, you can just use a stack of heavy books. Let this sit for at least an hour before removing the stack of books.
Do the same thing with the chipboard that you just glued down. Make sure you keep it on a flat surface and put scrap paper over the cover to stop the glue from seeping. Add a stack of heavy books and let it sit for at least an hour.
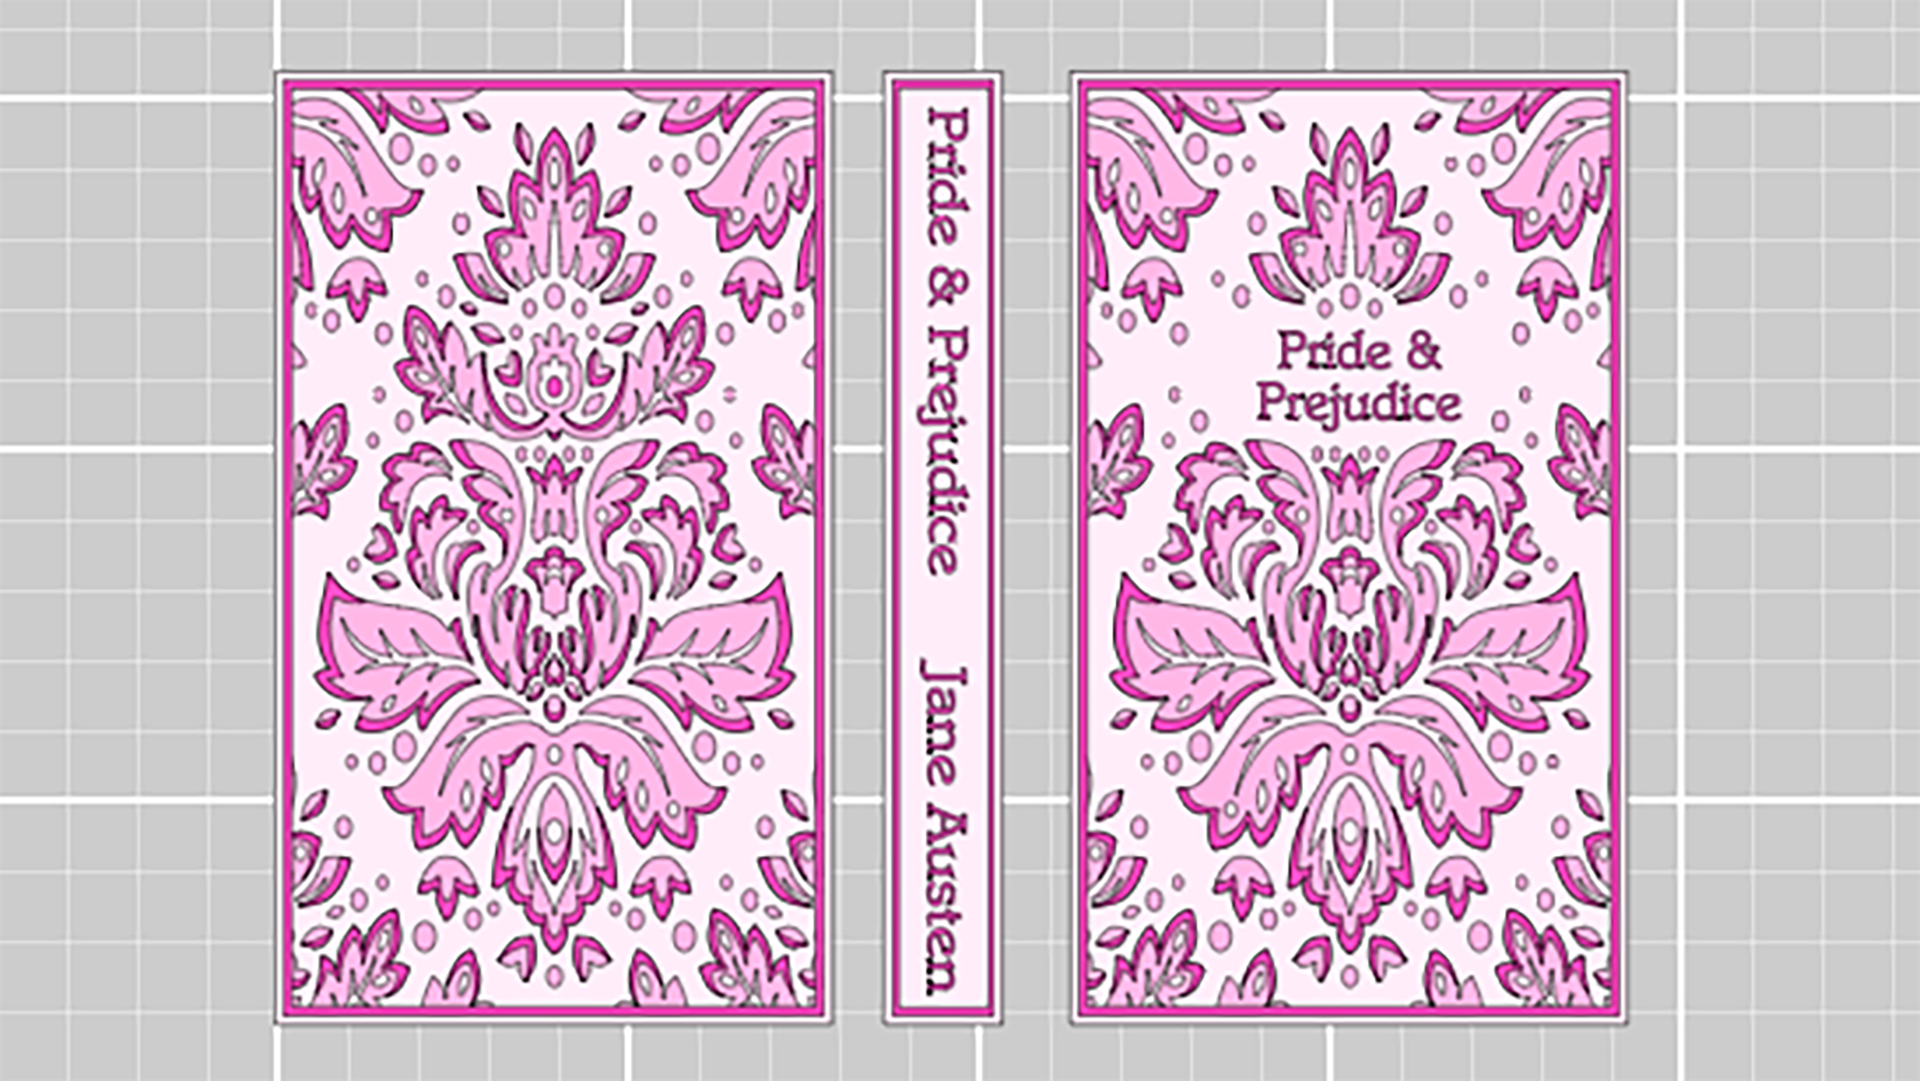
Cut and weed your design
While all of those pieces are drying, head back into Design Space and design your book covers and spine. I designed everything on the same canvas as the chipboard and paper pieces, just to make sure my design would fit. Once I was happy with how everything looked, I put the two colors of iron-on through my Cricut to cut out. As with all iron-on, make sure the shiny side is down and your design is mirrored! Once everything is cut, you can weed your design while you wait for everything to dry.
Press design onto the fabric
For this part of the project, I heated up my Cricut mini heat press to the lowest setting, but you can also use an Easy Press as well. My book was quite small, so I wanted to use a smaller heat press. If you’re using more than one color (like I did) go ahead and press the bottom color. Once it has cooled, you can peel the backing away and layer the top color over the bottom color. Make sure that the backing on the top color covers the bottom color (if it doesn’t, your design will heat back up and smear). If your iron-on isn’t sticking in some places, you can go over those places with your heat press to help it adhere better. If you notice that your iron-on still isn’t sticking, make sure that you wait for it to cool down completely before removing the liner. I was very impatient and thought the iron-on wasn’t working, but it was really just me lifting the backing too soon.
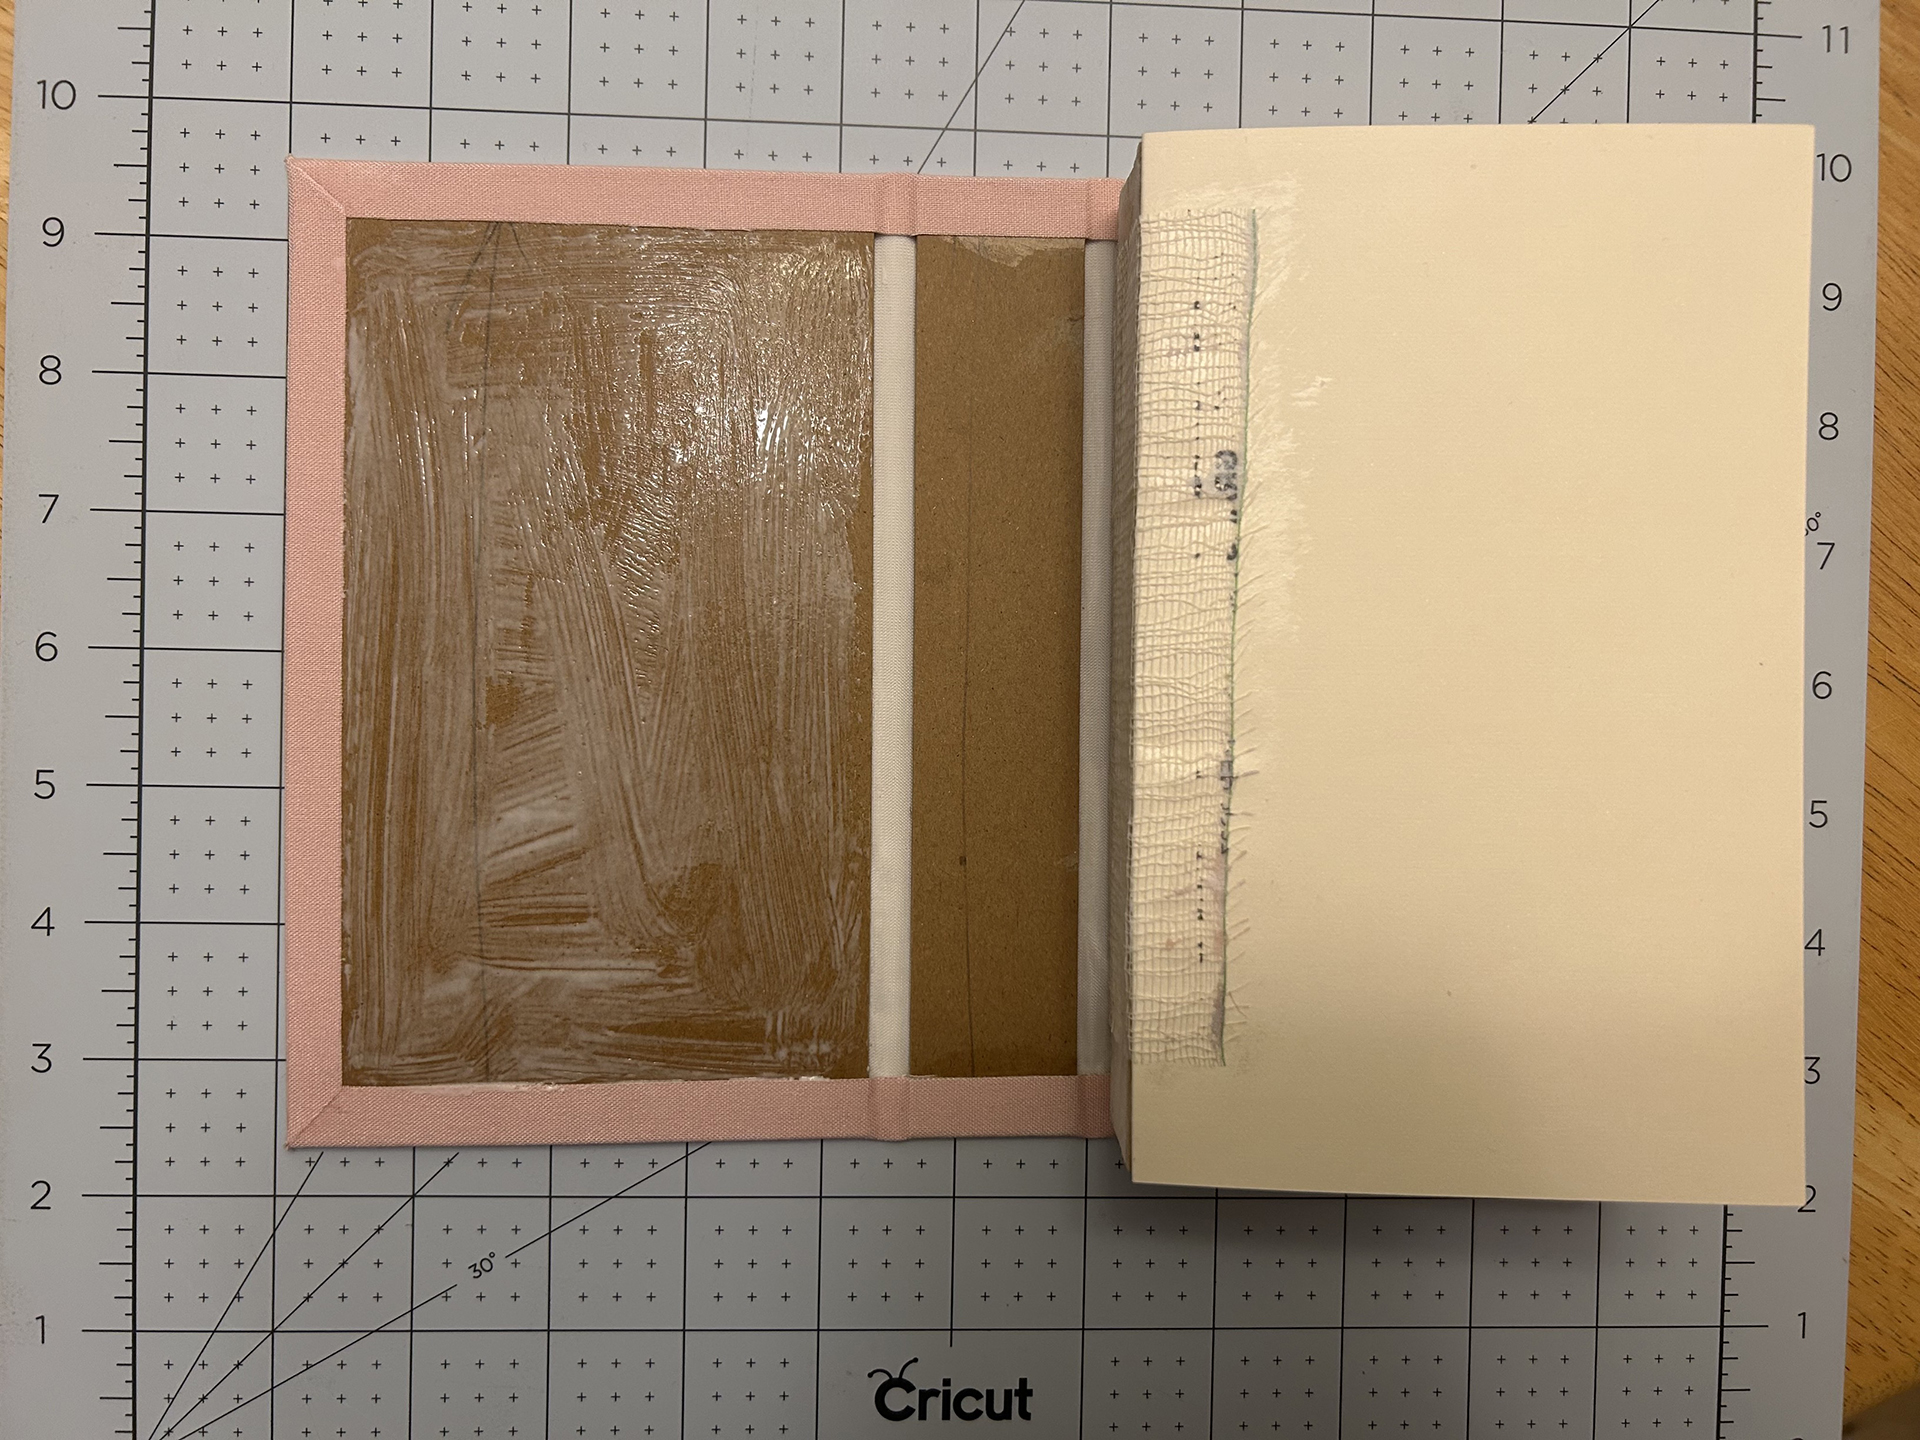
Glue endpapers to inside of DIY book cover
Once the cover is looking how you want it to, it’s time to glue the top of the endpapers to the inside of the covers. Spread a good amount of glue and carefully glue the endpapers to the cover. Do this on both sides.
Press finished book
Once those are glued, you’re going to put the whole book in your book press. Or just place a stack of heavy books on top and let it sit overnight. Remove the book from your press once it’s done drying.
Enjoy your new DIY book cover
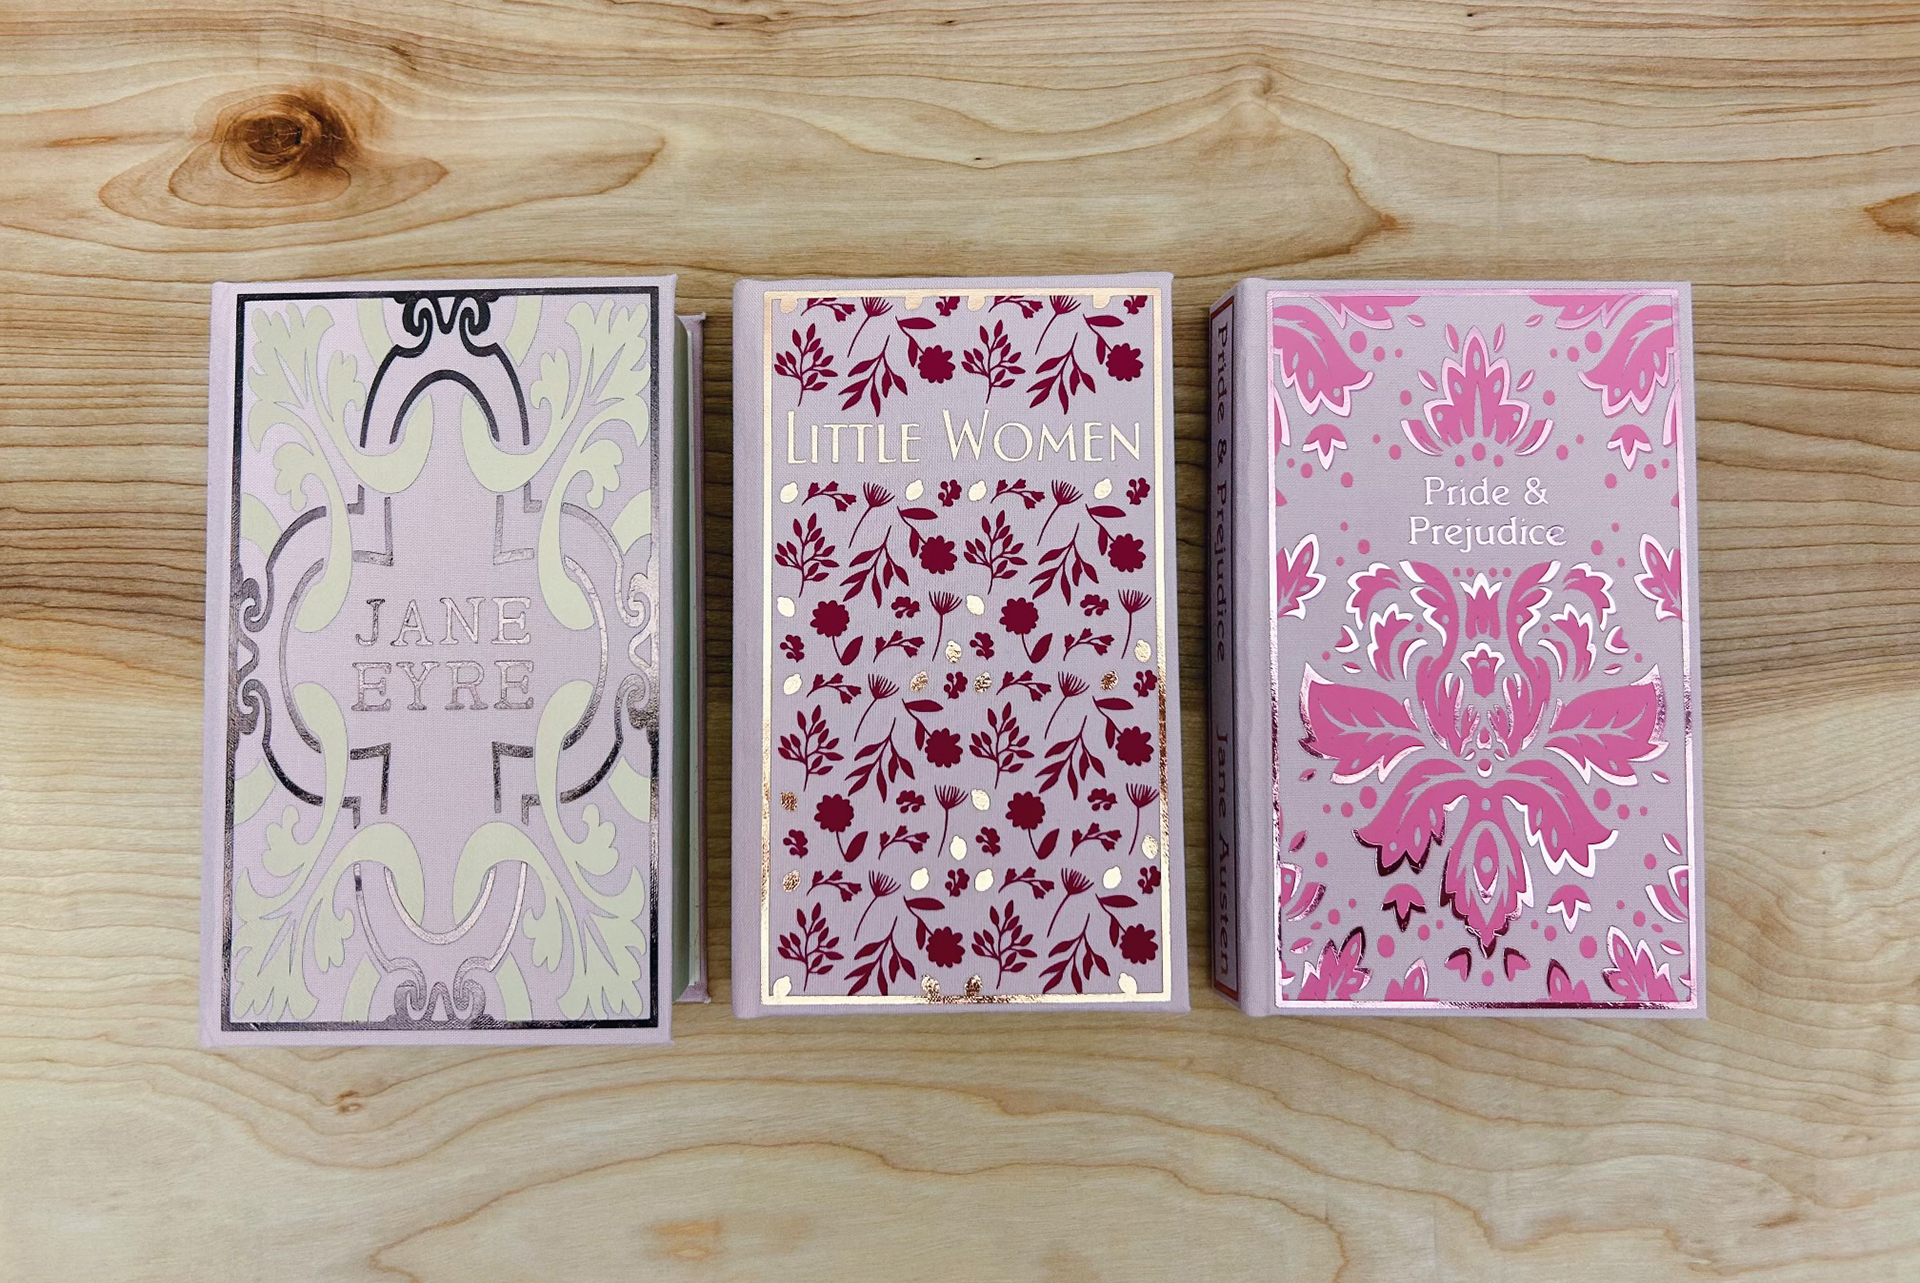
And that’s it! You can now appreciate your labor of love, and if you’re like me, you won’t stop talking about it to anyone that will listen! They make great coffee table books, or just beautiful displays on your bookshelf.
If you decide to create some DIY book covers for your beloved books, make sure to tag #Cricut on social media so we can see what you’ve made!

Related Making


Search How-To
I want to make...