We asked our community to help us help you! We received questions from makers on topics around their machines, Design Space, materials and more. Want to know what was asked? See your questions and our answers below.
Whilst we have a detailed Ultimate Beginners Guide available on our blog, we wanted to answer your burning questions.
Here’s what was asked…
Design Space
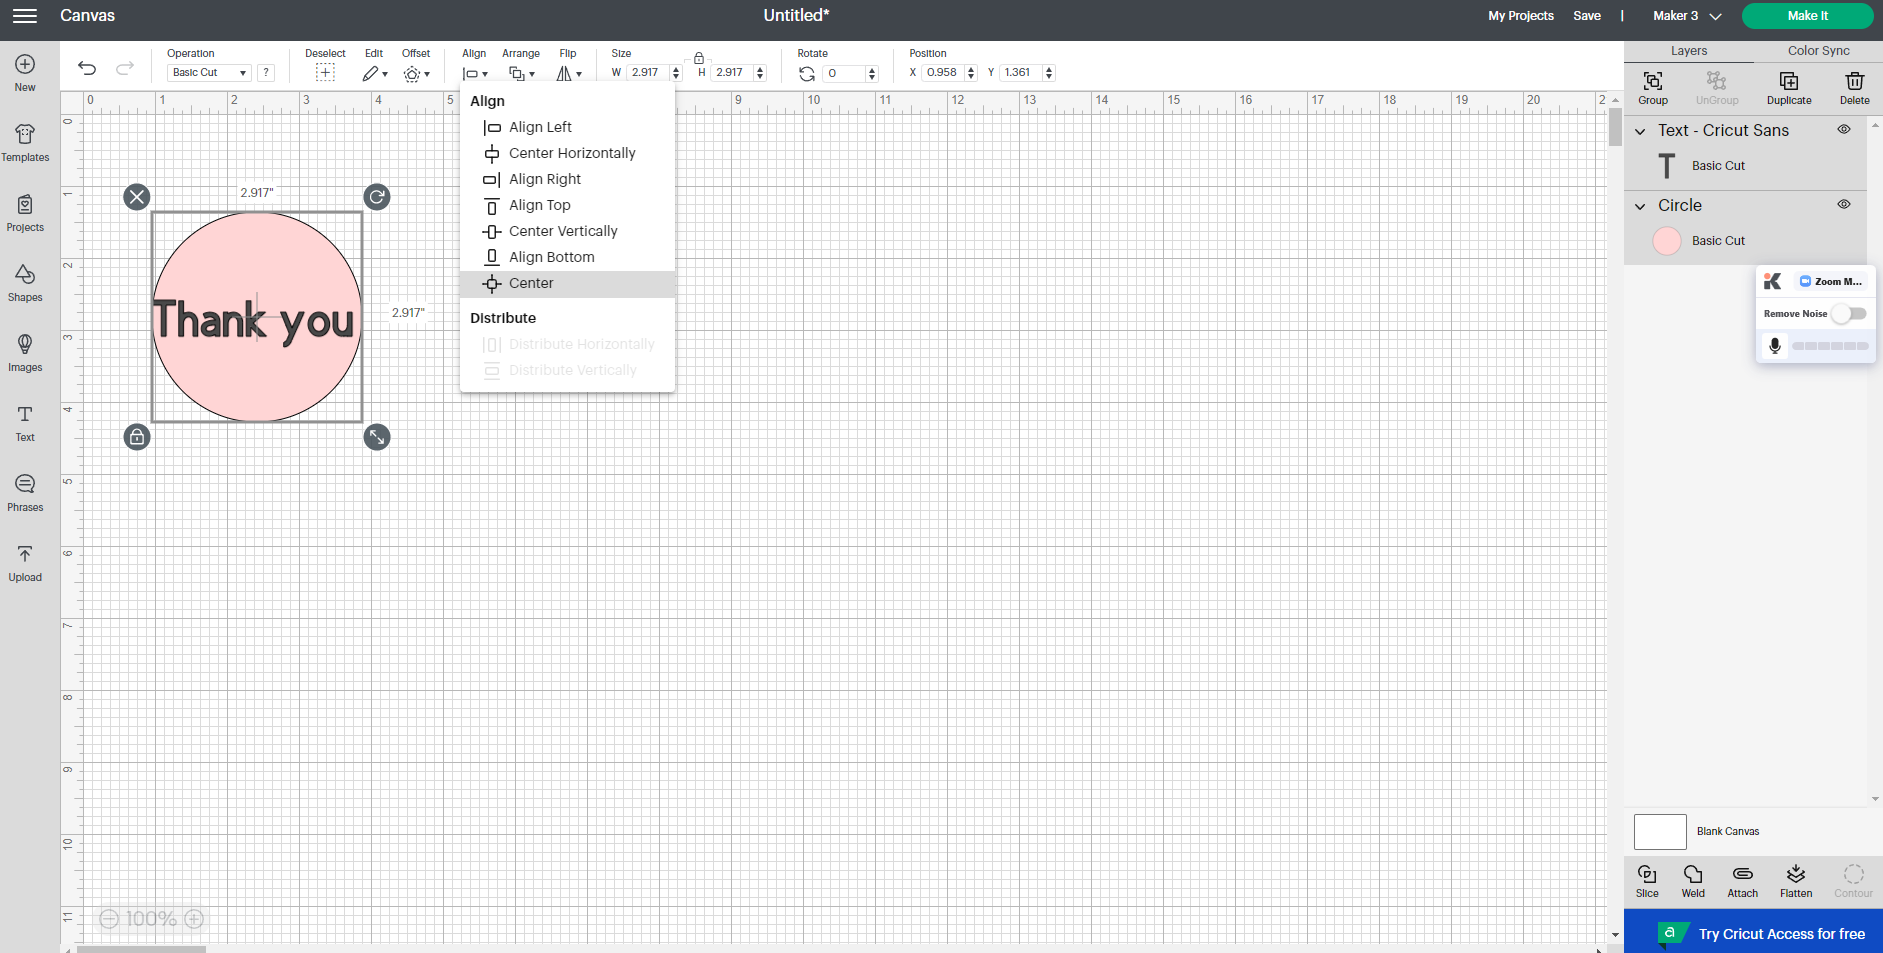
How do you layer things and centralise them?
To centralise multiple layers, select the layers on the canvas by highlighting them all then, in the ‘Edit’ bar or on the top bar of Canvas, select the ‘Align’ tool. You will see multiple ways you can align your layers including a ‘Central’ option.
You may then want to use the ‘Group’ tool to move them around on the canvas and keep them in formation. To learn what group is and other tools, see our terminology blog here.
What do contour and slice do?
These are two powerful tools that can change the way an image looks. Find out more about the contour tool and how to use this here. For how to use the slice tool, see our blog here. The slice tool cuts into overlapping shapes or text from one another.
Are you going to add more designs to the Cricut Joy app?
We are always uploading new images that can be sized to use with Cricut JoyTM and projects for the Cricut Joy too. Make sure your machine selection is Cricut Joy to see all compatible images and projects.
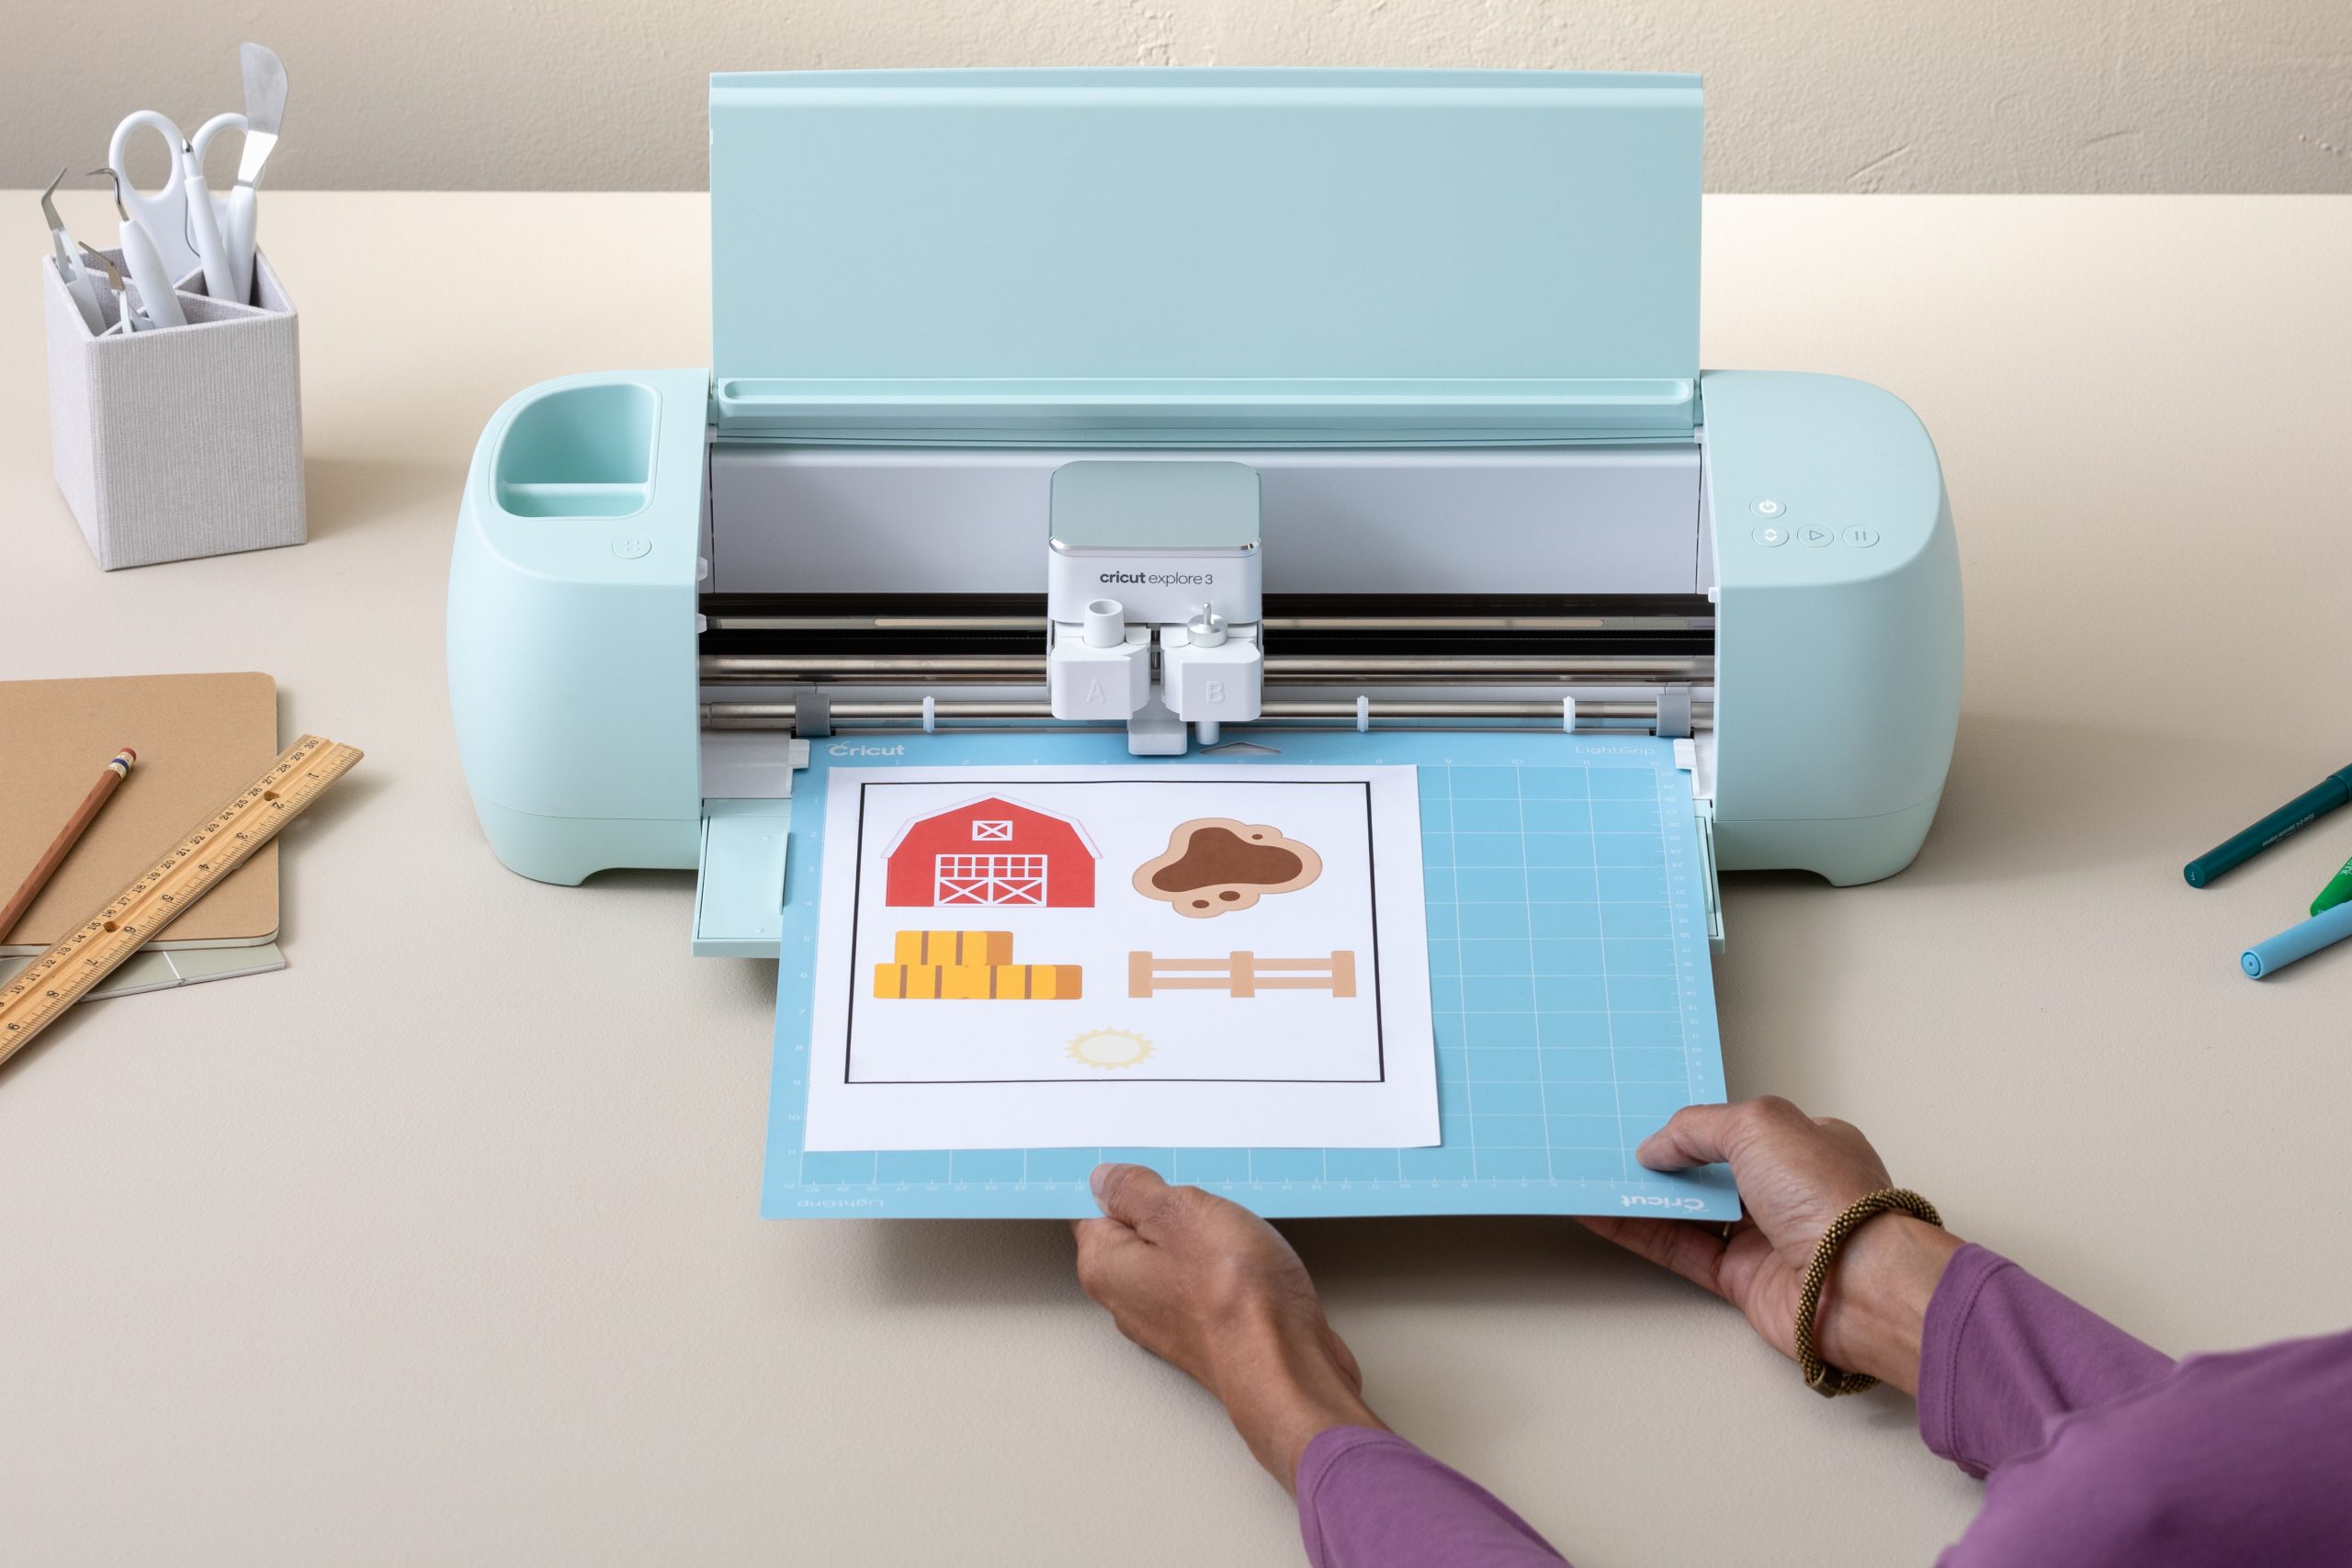
How do I use the SnapMat feature?
SnapMatTM is a great feature that can be used on your iOS devices. Learn how it works here. SnapMat helps you visualise image and text placement by capturing a photo of your material on the cutting mat. You can see the layout as a virtual mat preview. Images and text can be repositioned over the photo for ideal placement.
Machines and Heat Tools
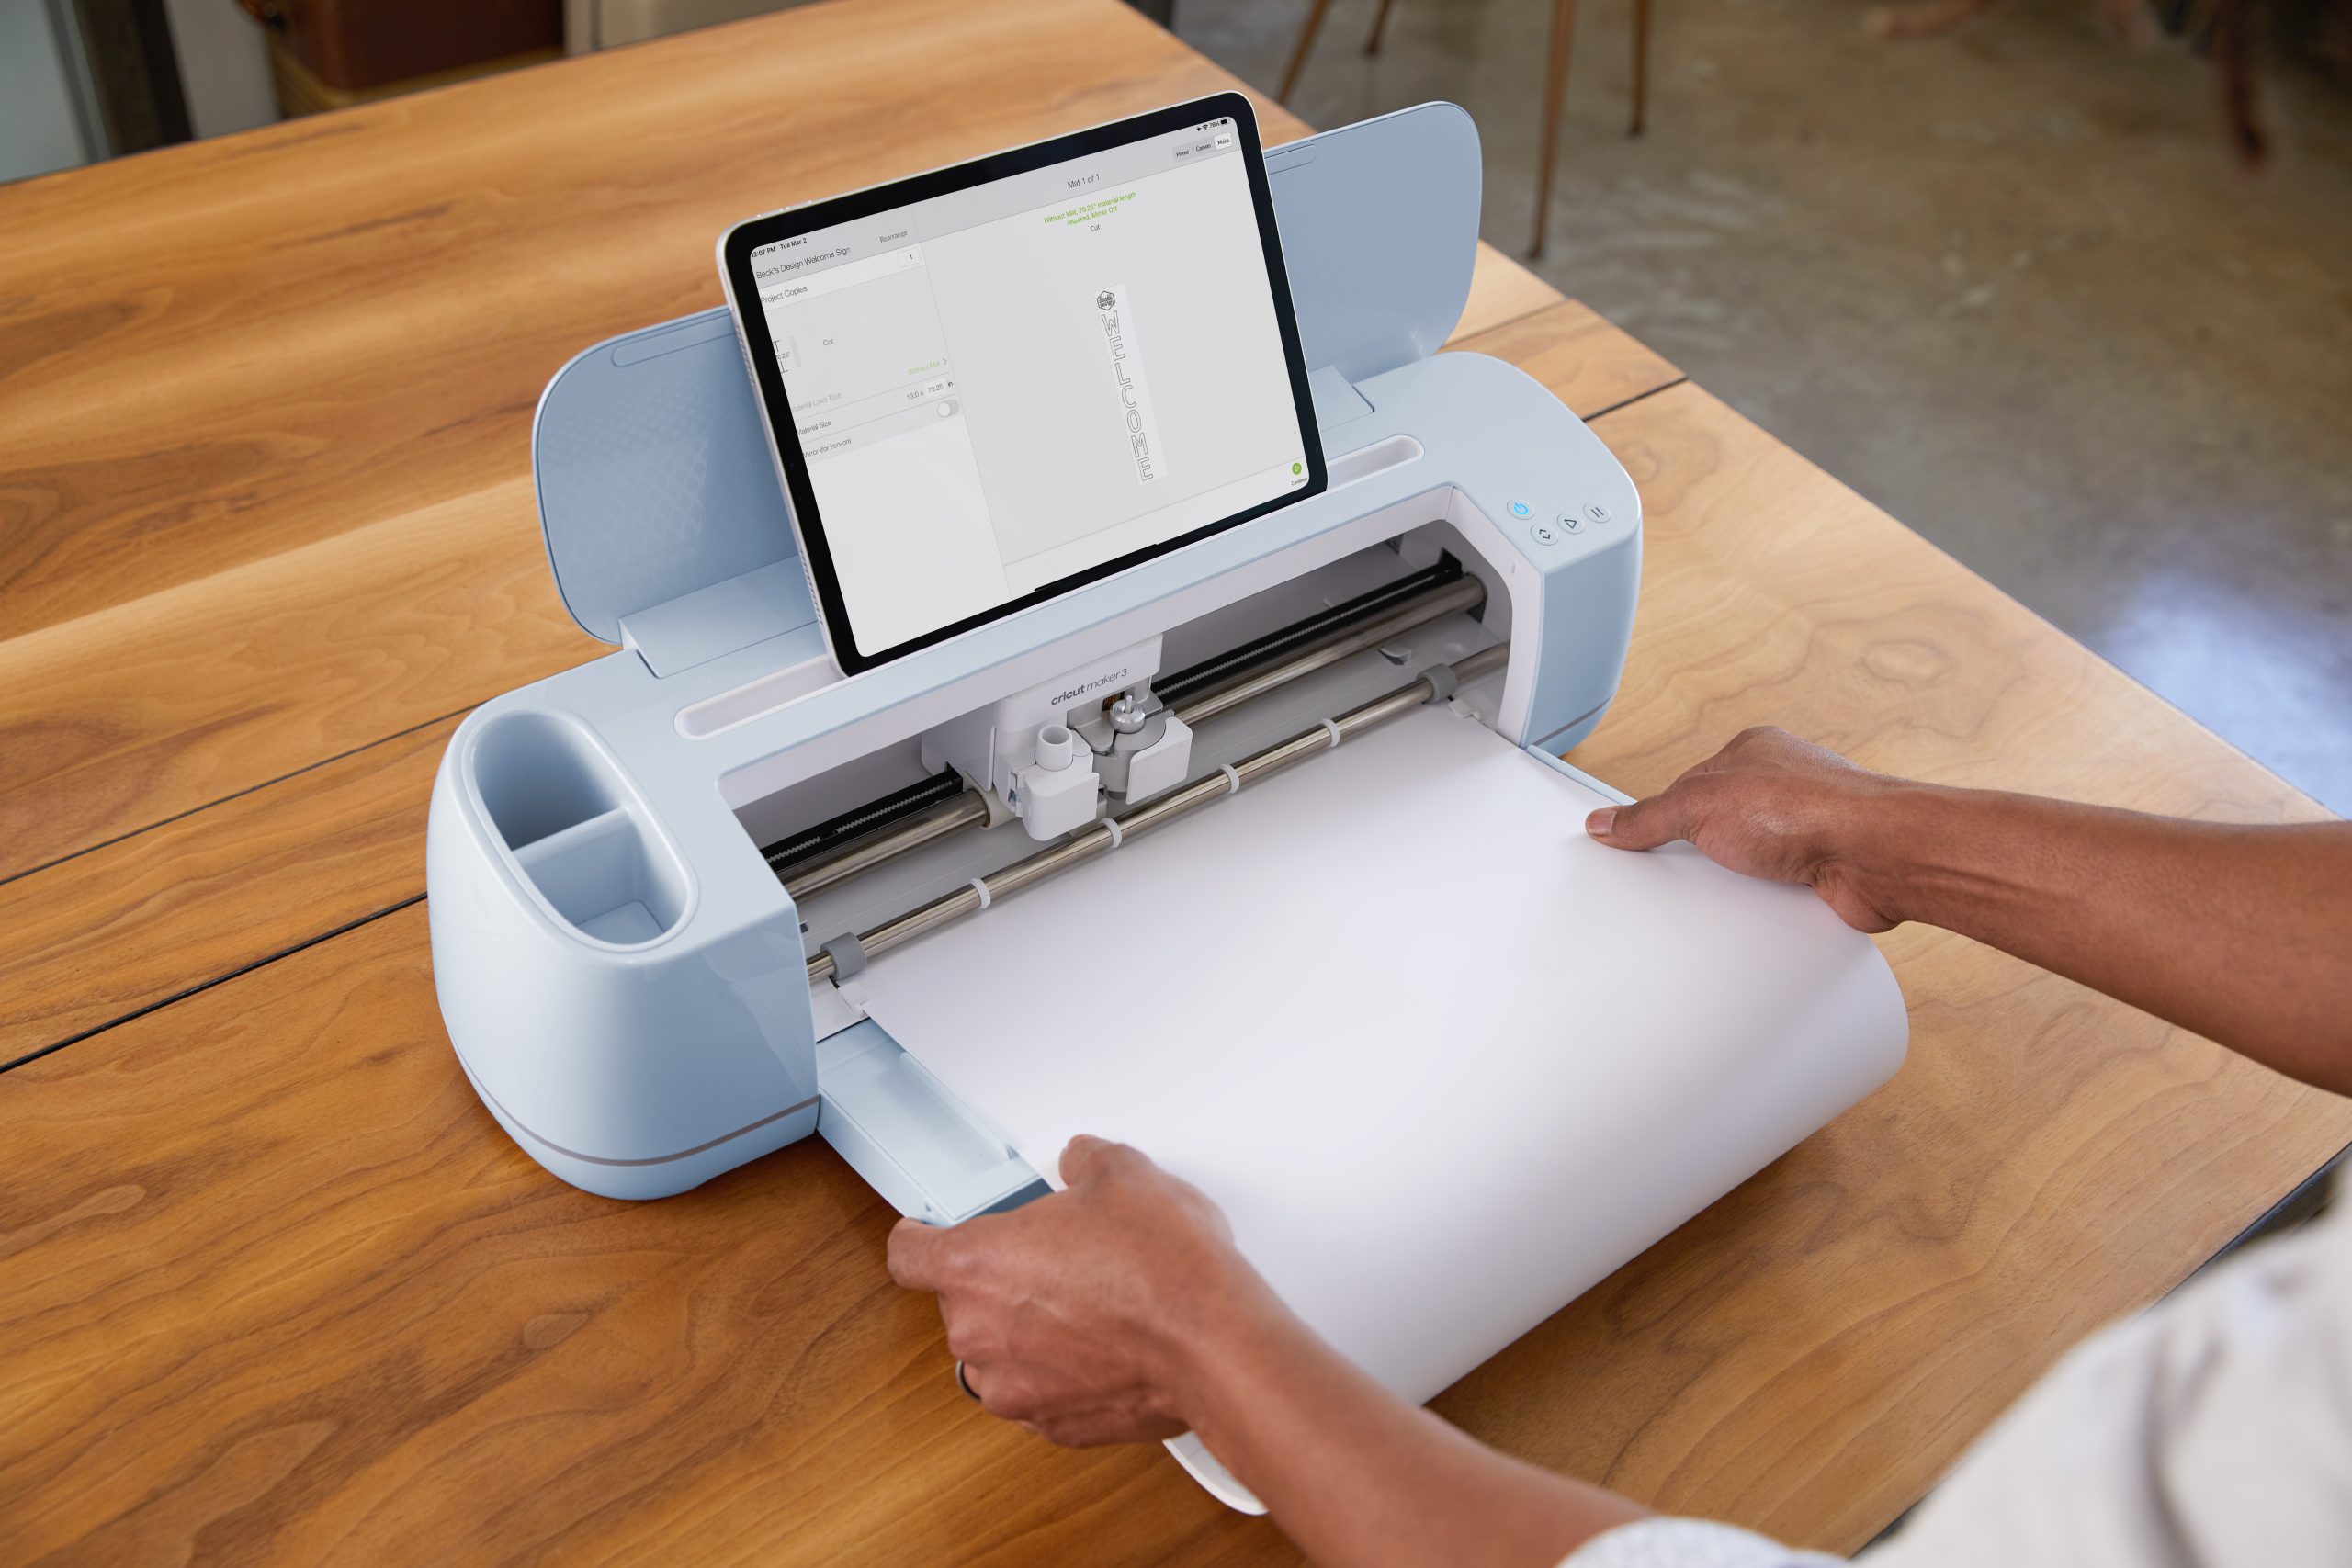
I’ve got the Cricut Explore Air 2. I’ve only used vinyl and card, what more can I use with it?
The Cricut Explore AirTM 2 is a great machine that can cut over 100 materials and is compatible with tools including writing, and foiling and has Print then Cut capabilities.
To learn more about Print then Cut, see our blog here.
Want to learn all the materials you can cut with Cricut Explore Air 2? See our material compatibility list here.
What tools come with the Cricut Mug Press?
The Cricut Mug PressTM is an amazing heat tool for adding personalisation onto mugs with Infusible Ink technology. When purchasing the Cricut Mug Press the box includes:
Cricut Mug Press™ heat press for mugs
USB cord for activation
*Product will not function until activated using PC/Mac computer with USB port and internet connection.
We have written an article on everything you need to know about the Cricut Mug Press which you can find here.
How does the Cricut Mug Press work?
We’ve got some great articles that cover this. Firstly the All about the Cricut Mug Press blog is a great starting point.
If you want to learn more through a tutorial this Cricut Mug Press Tutorial shares the process step by step, from how we create our design in Design Space to the big reveal when we peel back our Infusible Ink backing to see our beautiful designs applied to our mug.
My machine is having issues with cutting materials, what is wrong?
If you have been using the same blade for a while, it might be time to change the blade. Learn how to change the blade here.
Similarly, if your cutting mat is losing its stickiness, this can also affect the cutting of your materials.
Makers Materials
How do we clean the mats without losing stickiness?
Here are some of our top tips on prolonging the life of your cutting mat.
· Remove large debris with tweezers
· Avoid scraping the mat. Scraping will push material debris deeper into the adhesive.
· Wash the mat as follows:
· Keep the mat flat supported by a firm surface, and place in the sink.
· Run lukewarm water over the mat. Use a plastic, hard-bristled brush to gently scrub in a circular motion until the entire surface of the mat had been cleaned.
· Pat dry with a paper towel.
· Let mat air dry completely for stickiness to return.
In time, you will always need to replace your cutting mats for effective cutting with your materials.
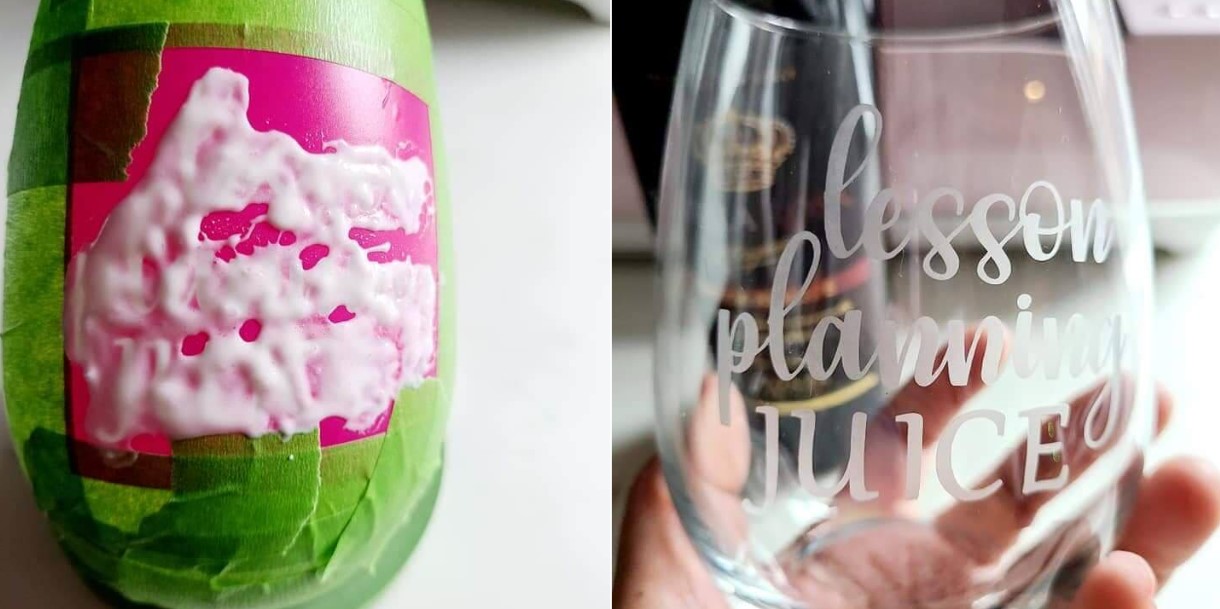
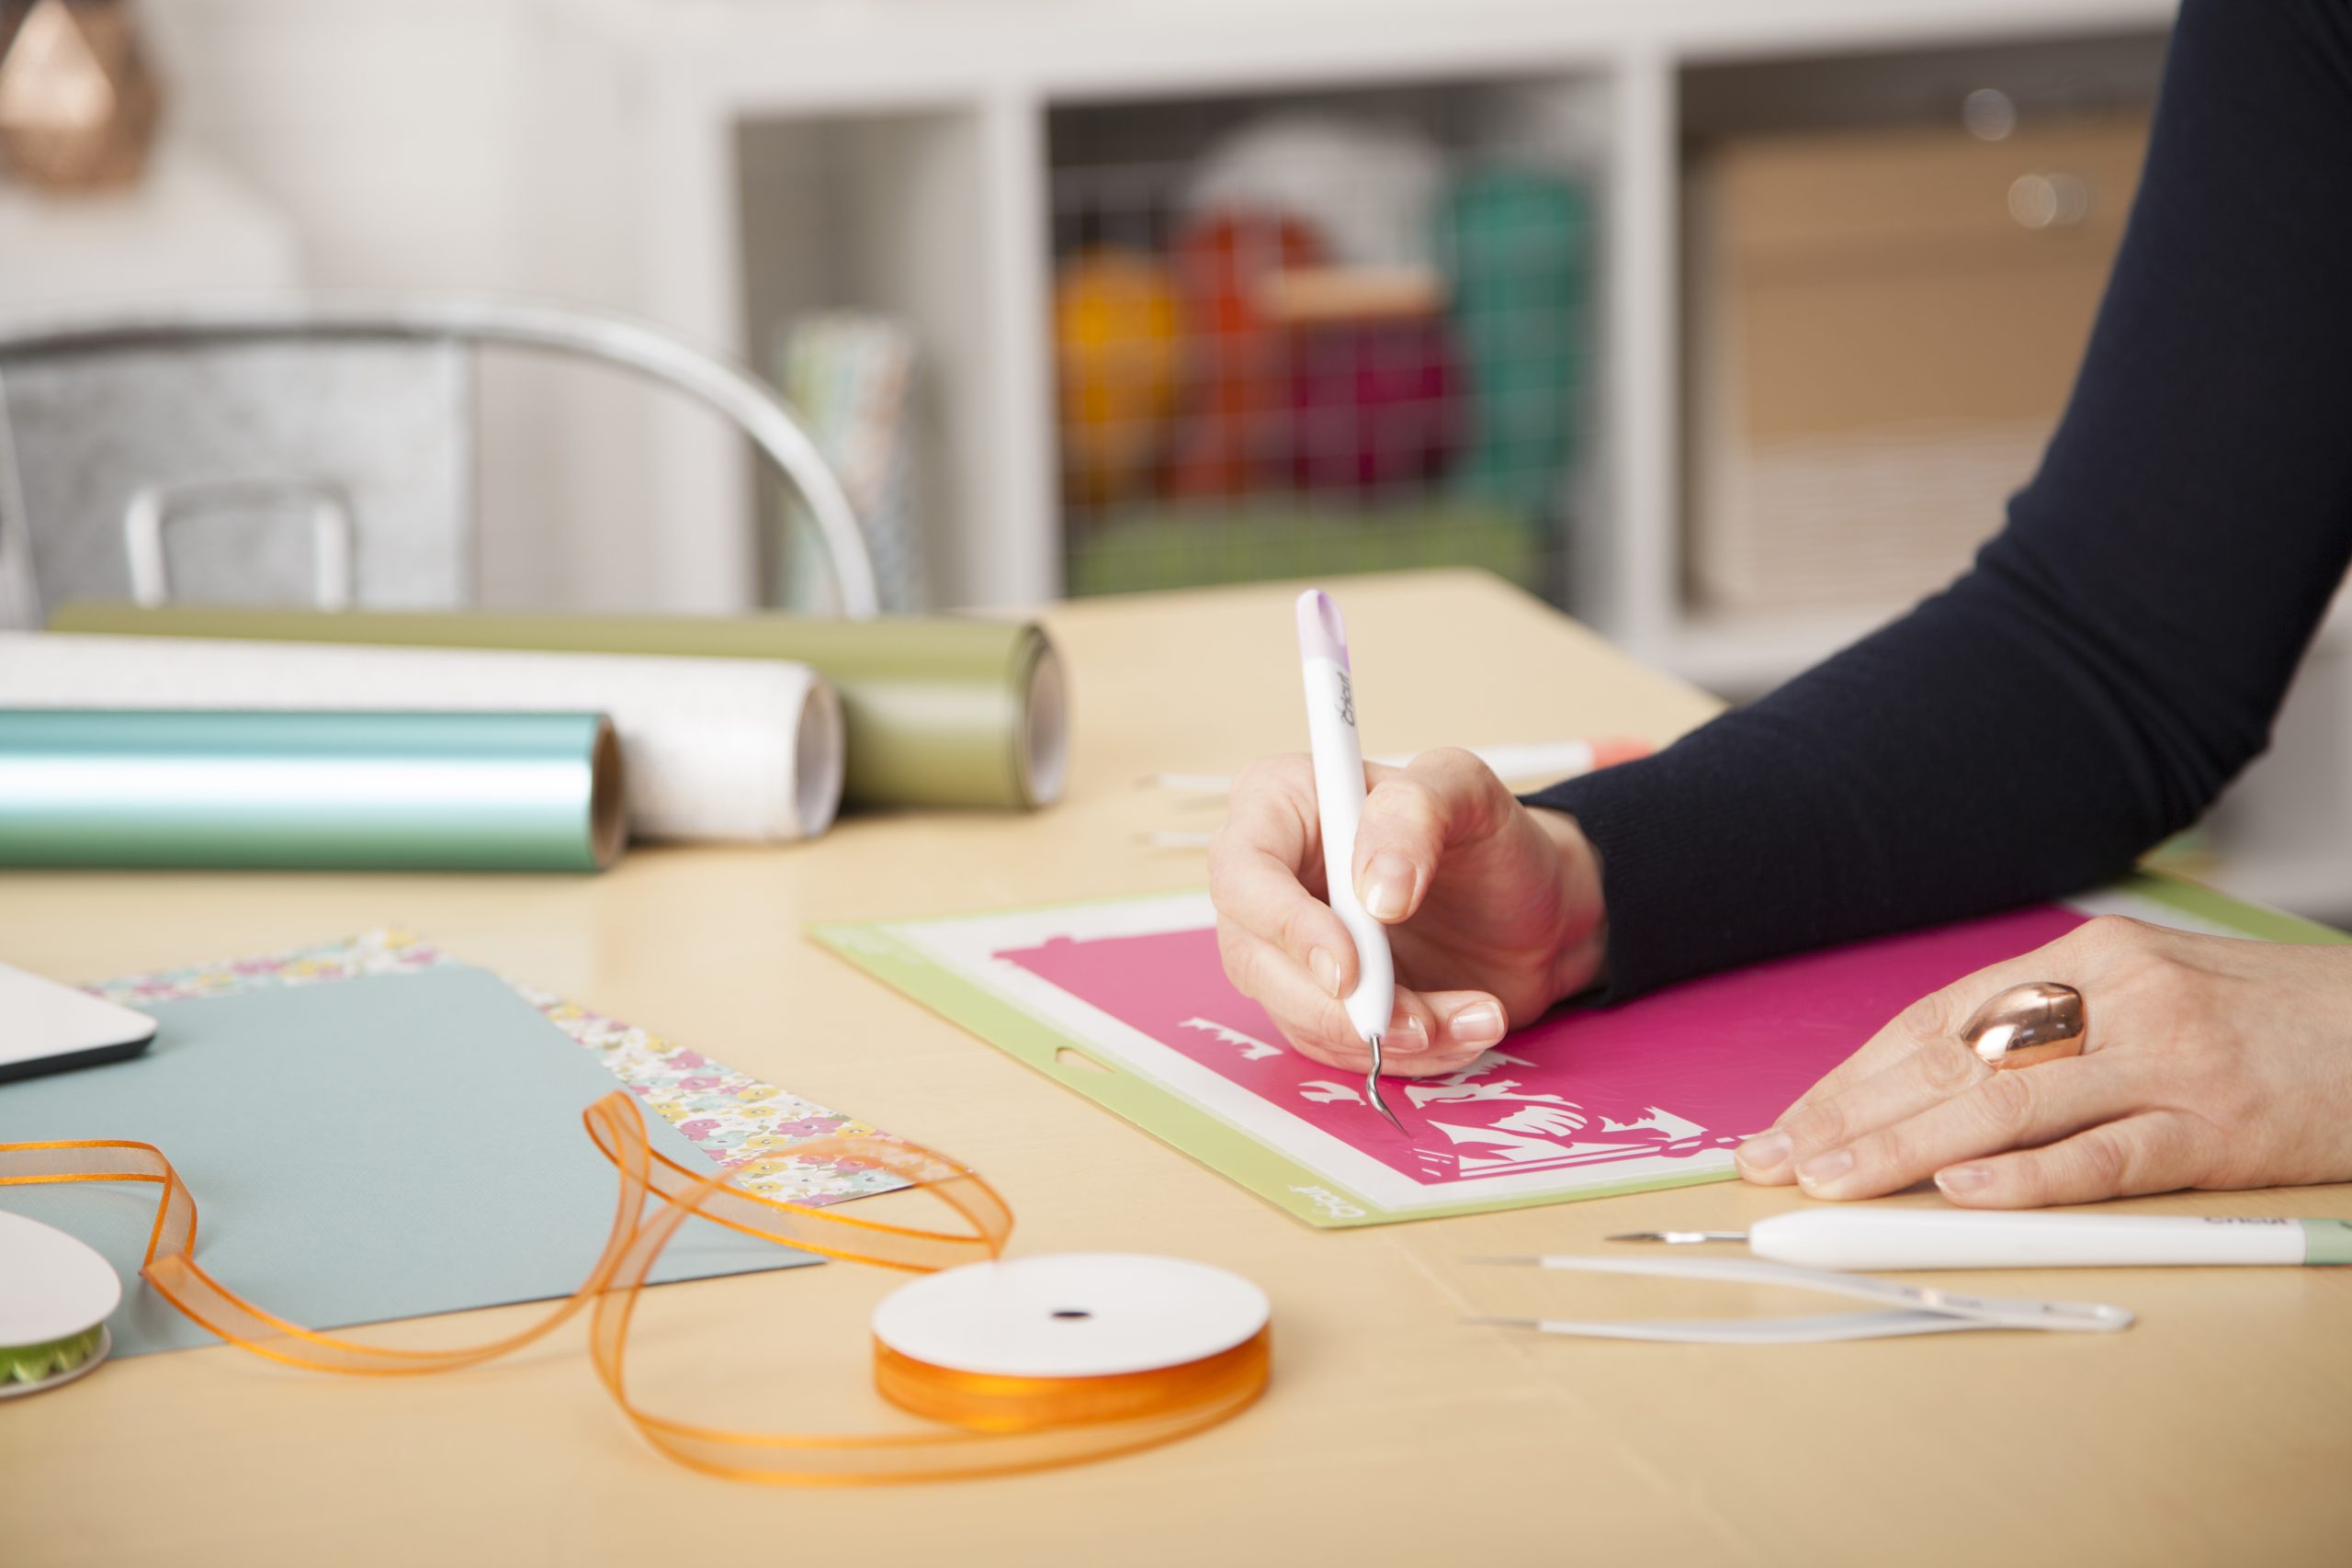
What is the best way to weed small vinyl cuts?
Start in the centre removing all the unwanted pieces and work your way outwards. By doing this the outer layer helps keep your cut image on the backing and reduces the chance of moving the image around when removing pieces.
Cricut Support
Cricut Learn is a great place online for learning about materials, your machine, Design Space tips and more. There are even workshops you can book onto. Find Cricut Learn here.
Cricut Help Centre is also a great place to search for information quickly. Find the help centre online here.
If you need more support with your Cricut products you can call Member Care.
Want to be featured? Make sure to tag @cricut_uk in your makes on social media.
You Might Enjoy…