Engraving with Cricut – everything you need to know
Did you know that engraving is possible with your Cricut machine? The Engraving Tip for Cricut Maker allows you to add personalised text or create monograms, draw decorative flourishes and embellishments, or inscribe your favourite quotes on a variety of materials.
Below we have listed everything you need to know about this impressive tool.
Which machines are compatible with the engraving tip and housing?
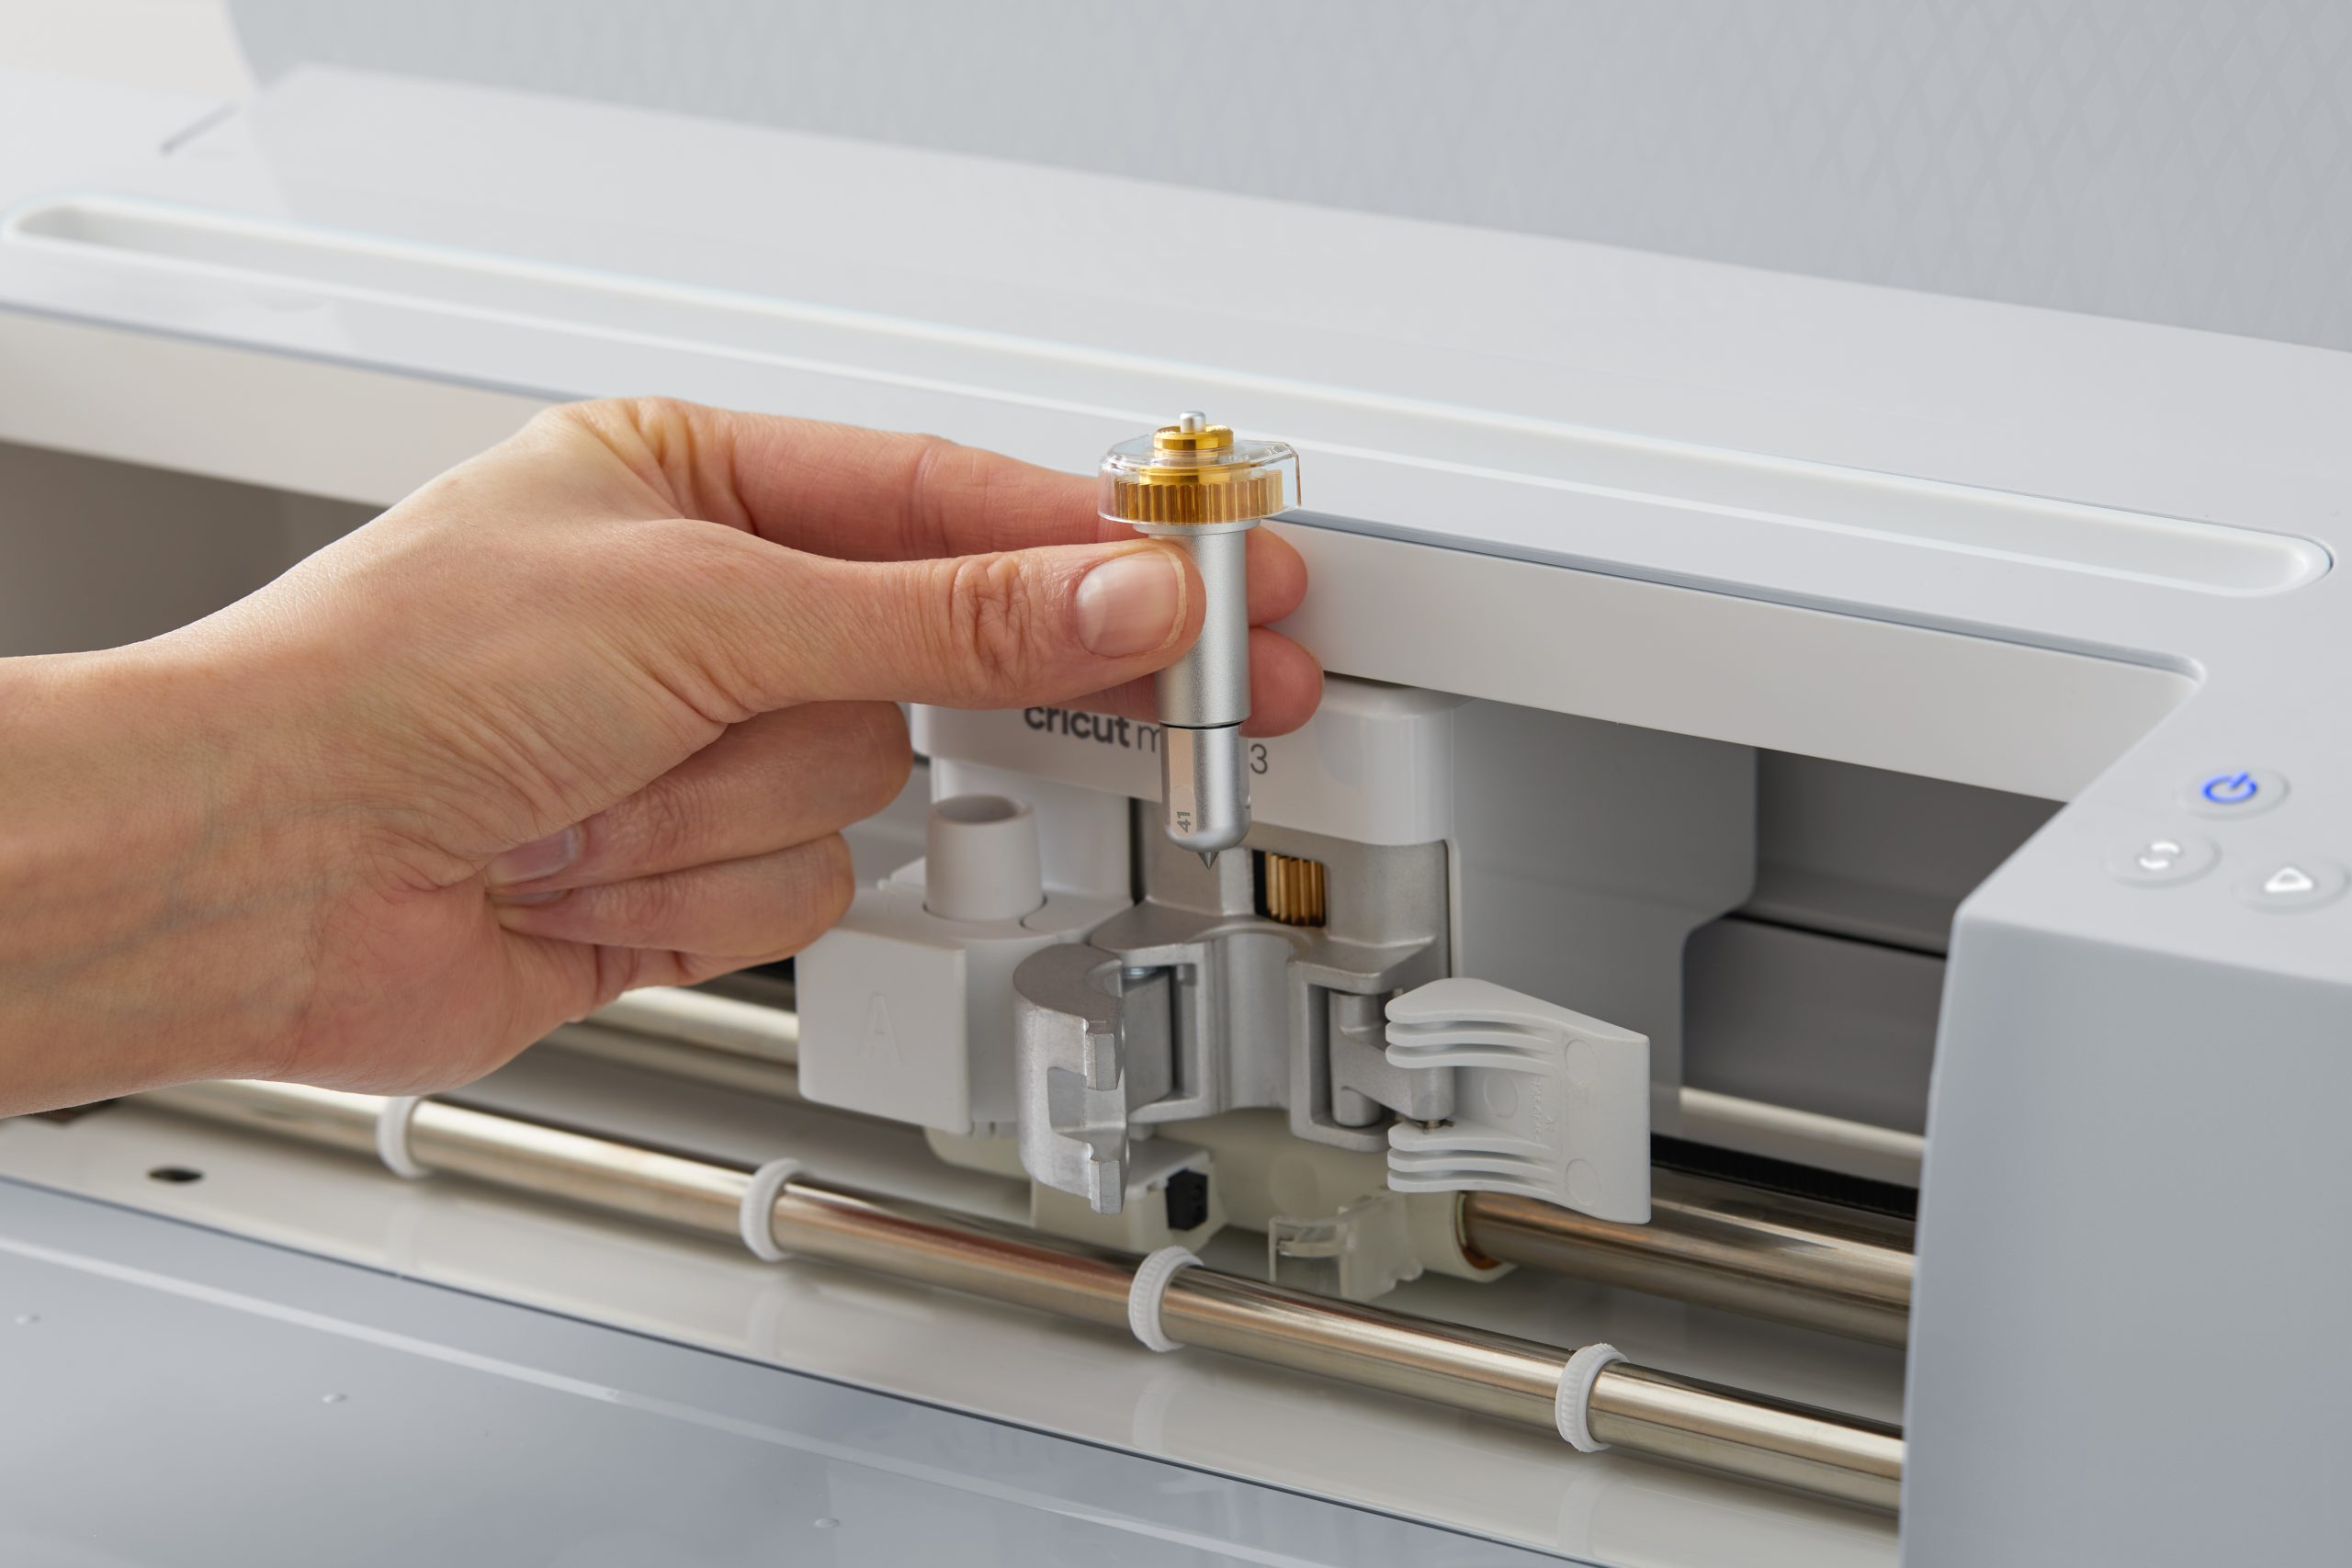
Cricut Engraving Tip is compatible with Cricut Maker™ and Cricut Maker™ 3 only and requires a QuickSwap™ Housing and engraving tip.
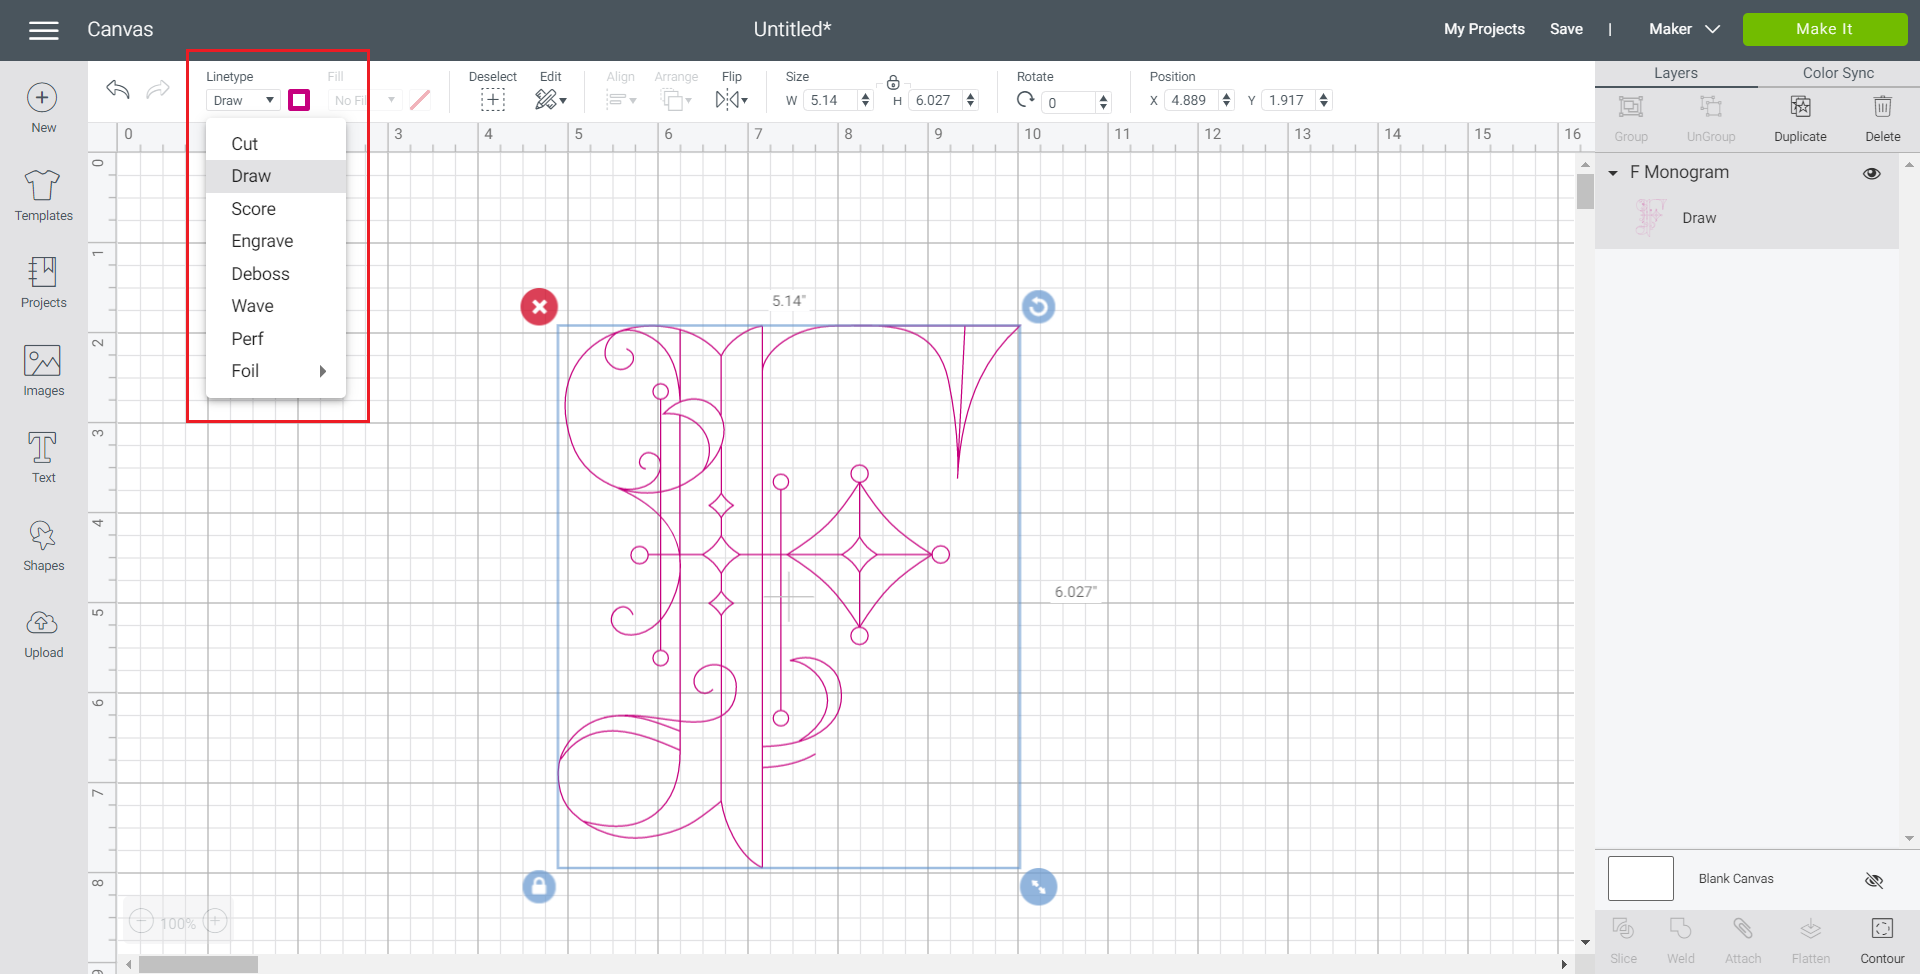
How do I change my cut layer to an engrave layer in Design Space?
You will need to change the ‘Linetype’ on the edit bar to Engrave. This is different on a desktop vs tablet/ mobile device so check out our step-by-step instructions here.
What can I engrave?
Did you know you can engrave faux leather, aluminum sheets, thin metals, and vinyl record? These materials are perfect for showcasing beautifully engraved designs.
Any materials that are not compatible will be greyed out when selecting your material. You can also check out the full list of compatible materials here.
Tip – Before working with tooling leather, use a damp sponge to soften the fibers for the best-engraved results.
How do I position my design on the cutting mat so that it engraves where I want it to?
When you are finished creating your design in Design Space, select ‘Make It’. On the next screen, the project preview screen, select and drag your design to the location on the mat where you would like it to engrave. Place your material on the actual mat in the corresponding location. If using the Cricut Design Space mobile app on an iOS device, you can use the SnapMat feature to accurately position your design.
Top tips for preparing your mat
The StrongGrip mat is best for thicker materials and you can even use masking tape around the sides of your material for extra security. Make sure the tape is not overlapping with the material space that will be engraved.
When working with thicker materials, always move the white star wheels on the roller bar all the way to the right. This gives clearance for thicker materials and ensures you won’t end up with track marks on your final project. Additionally, make sure the material is never wider than 11″ (28 cm).
Aftercare tips
Use caution when handling materials after engraving. The process can leave burrs and small fragments on metal surfaces and other materials
Do not run your hands or fingers over the engraved surface. To remove burrs and small fragments, use a lint roller or piece of tape over the engraved area. If you need to smooth rough edges, use a polishing cloth or finishing grit sandpaper (360-600 grit) to gently sand them down. Test the back of the material first in case this scratches the material.
To remove any remnant dust or debris from your machine, use compressed air or a soft cloth. Always dust toward the outside of the machine rather than into/through the machine.
Project ideas for engraving
Acrylic LED lights
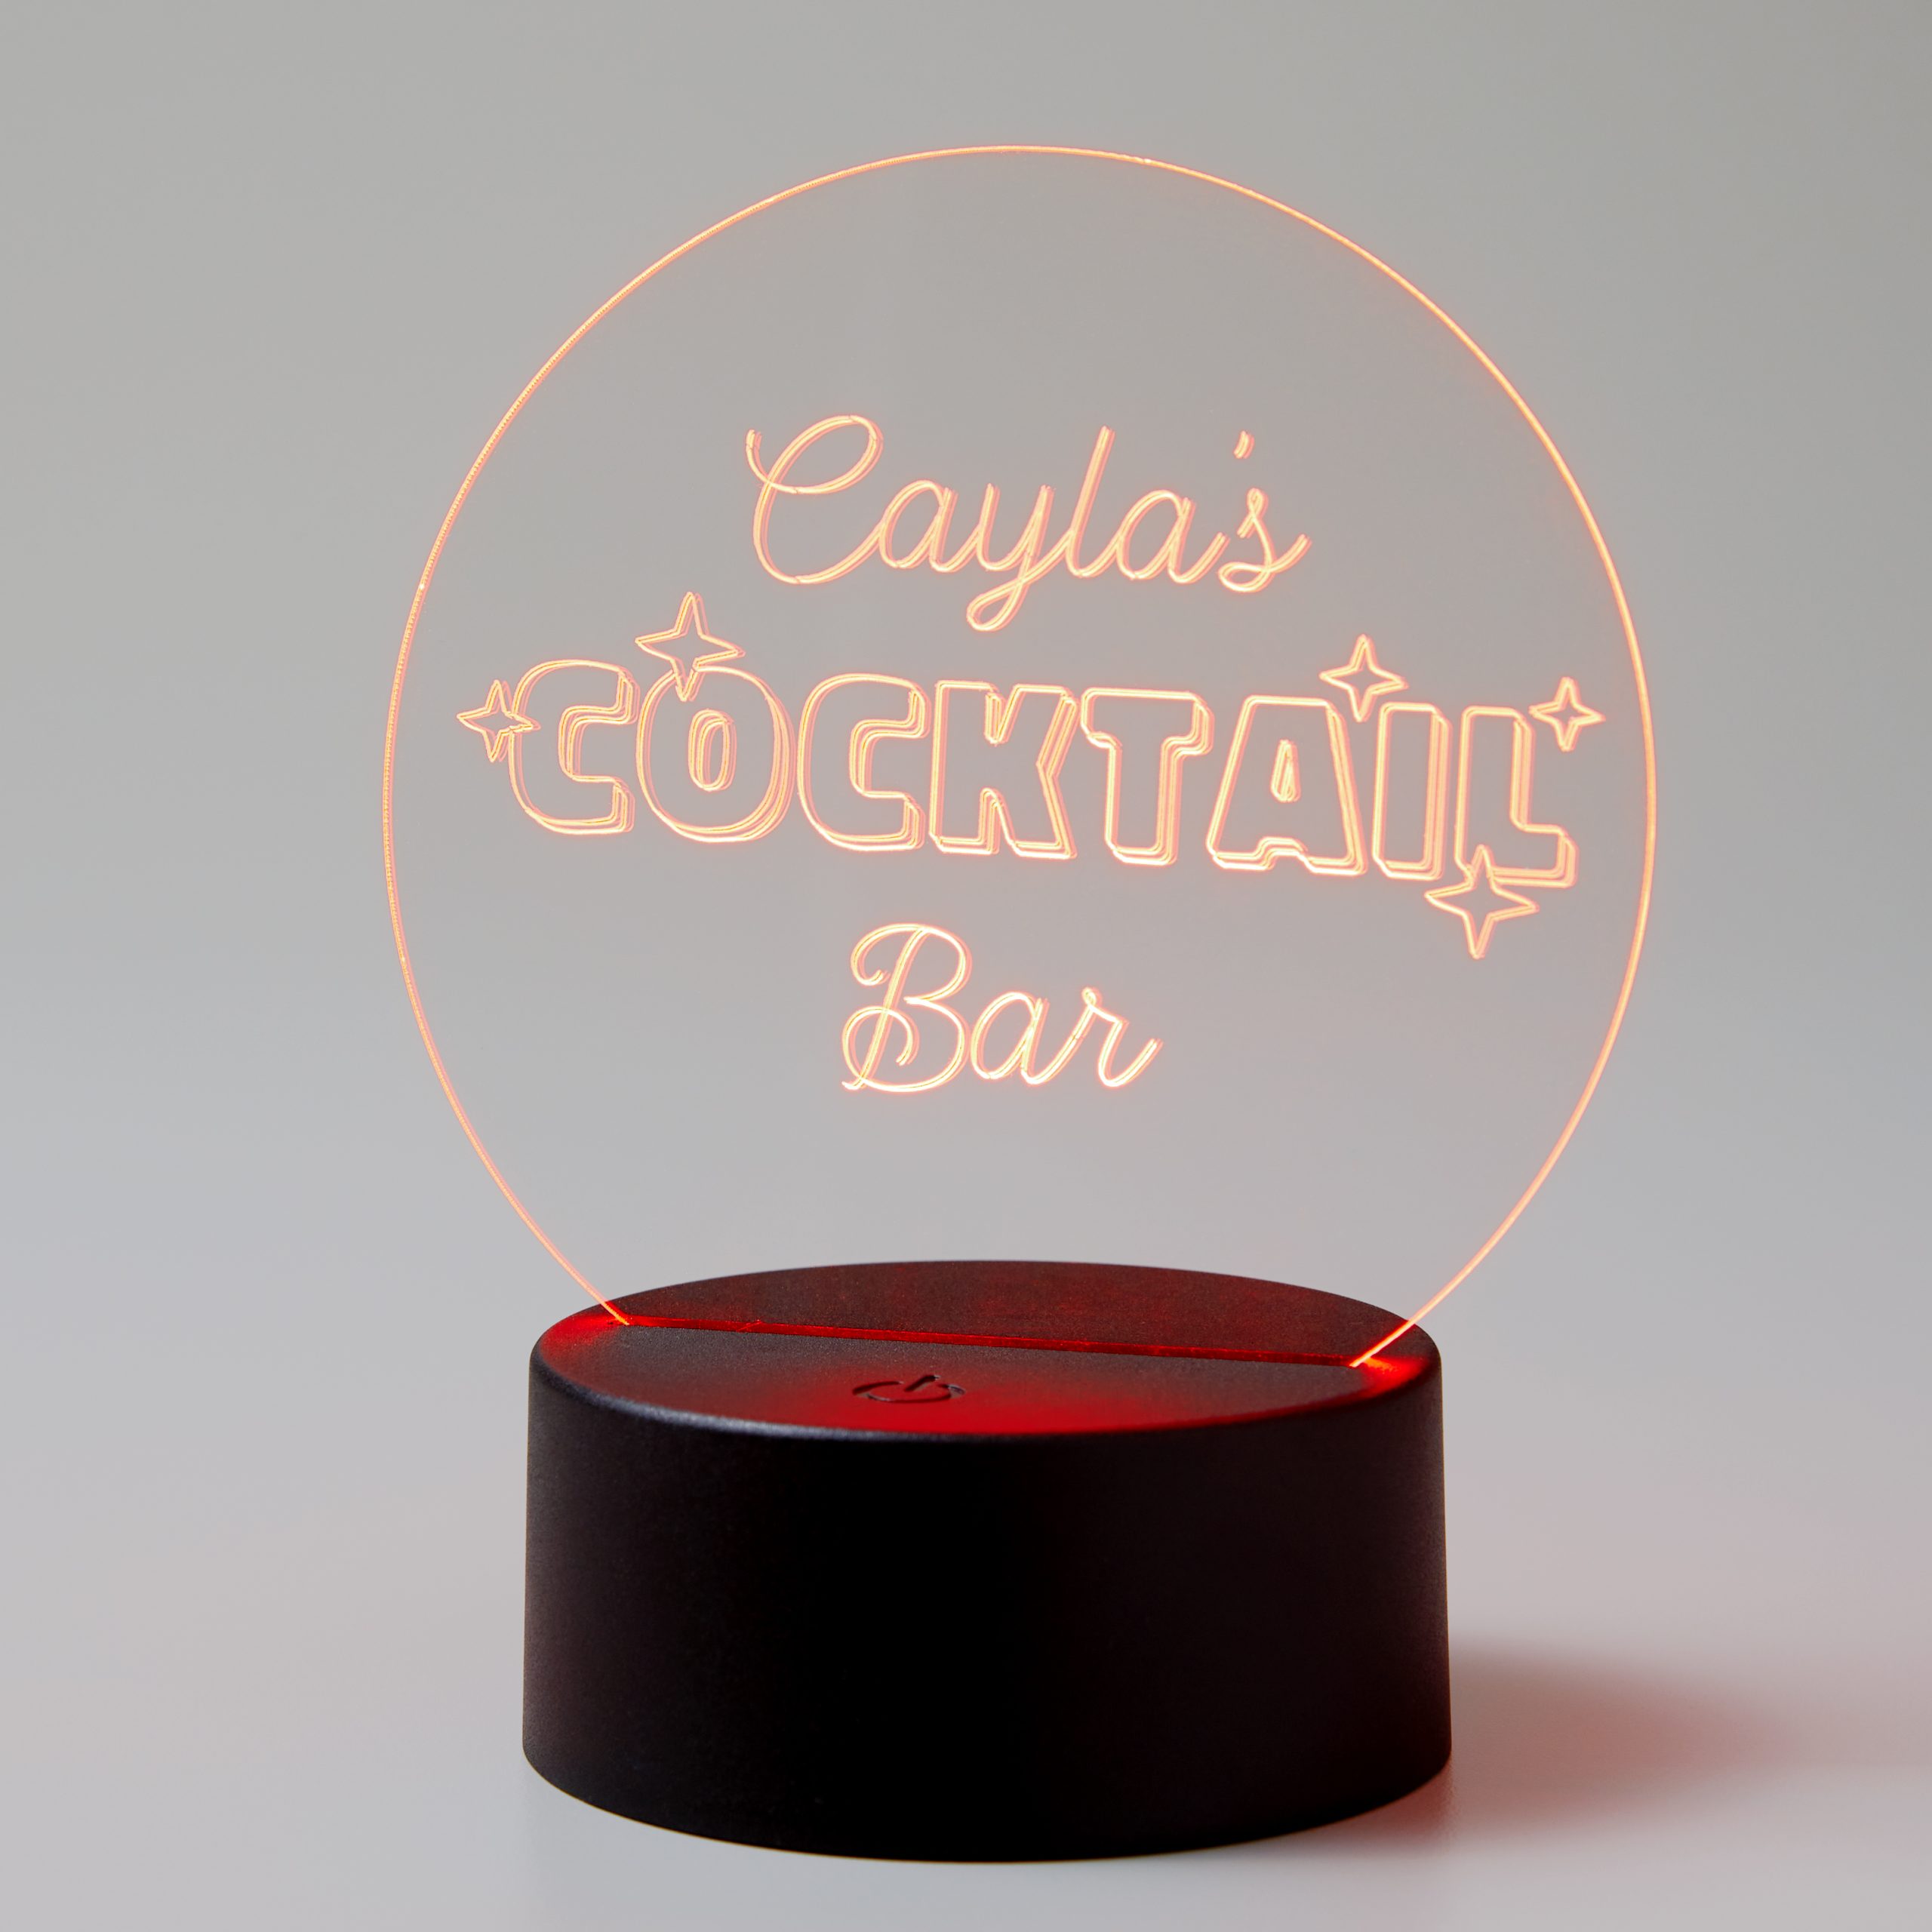
Night lights never need to be boring. Personalise a night light with a name or theme by placing the acrylic material onto your mat, and get engraving with your chosen design.
This is a ready-to-make project in Design Space with step-by-step instructions to show how this can be achieved.
Metal plaque wall art
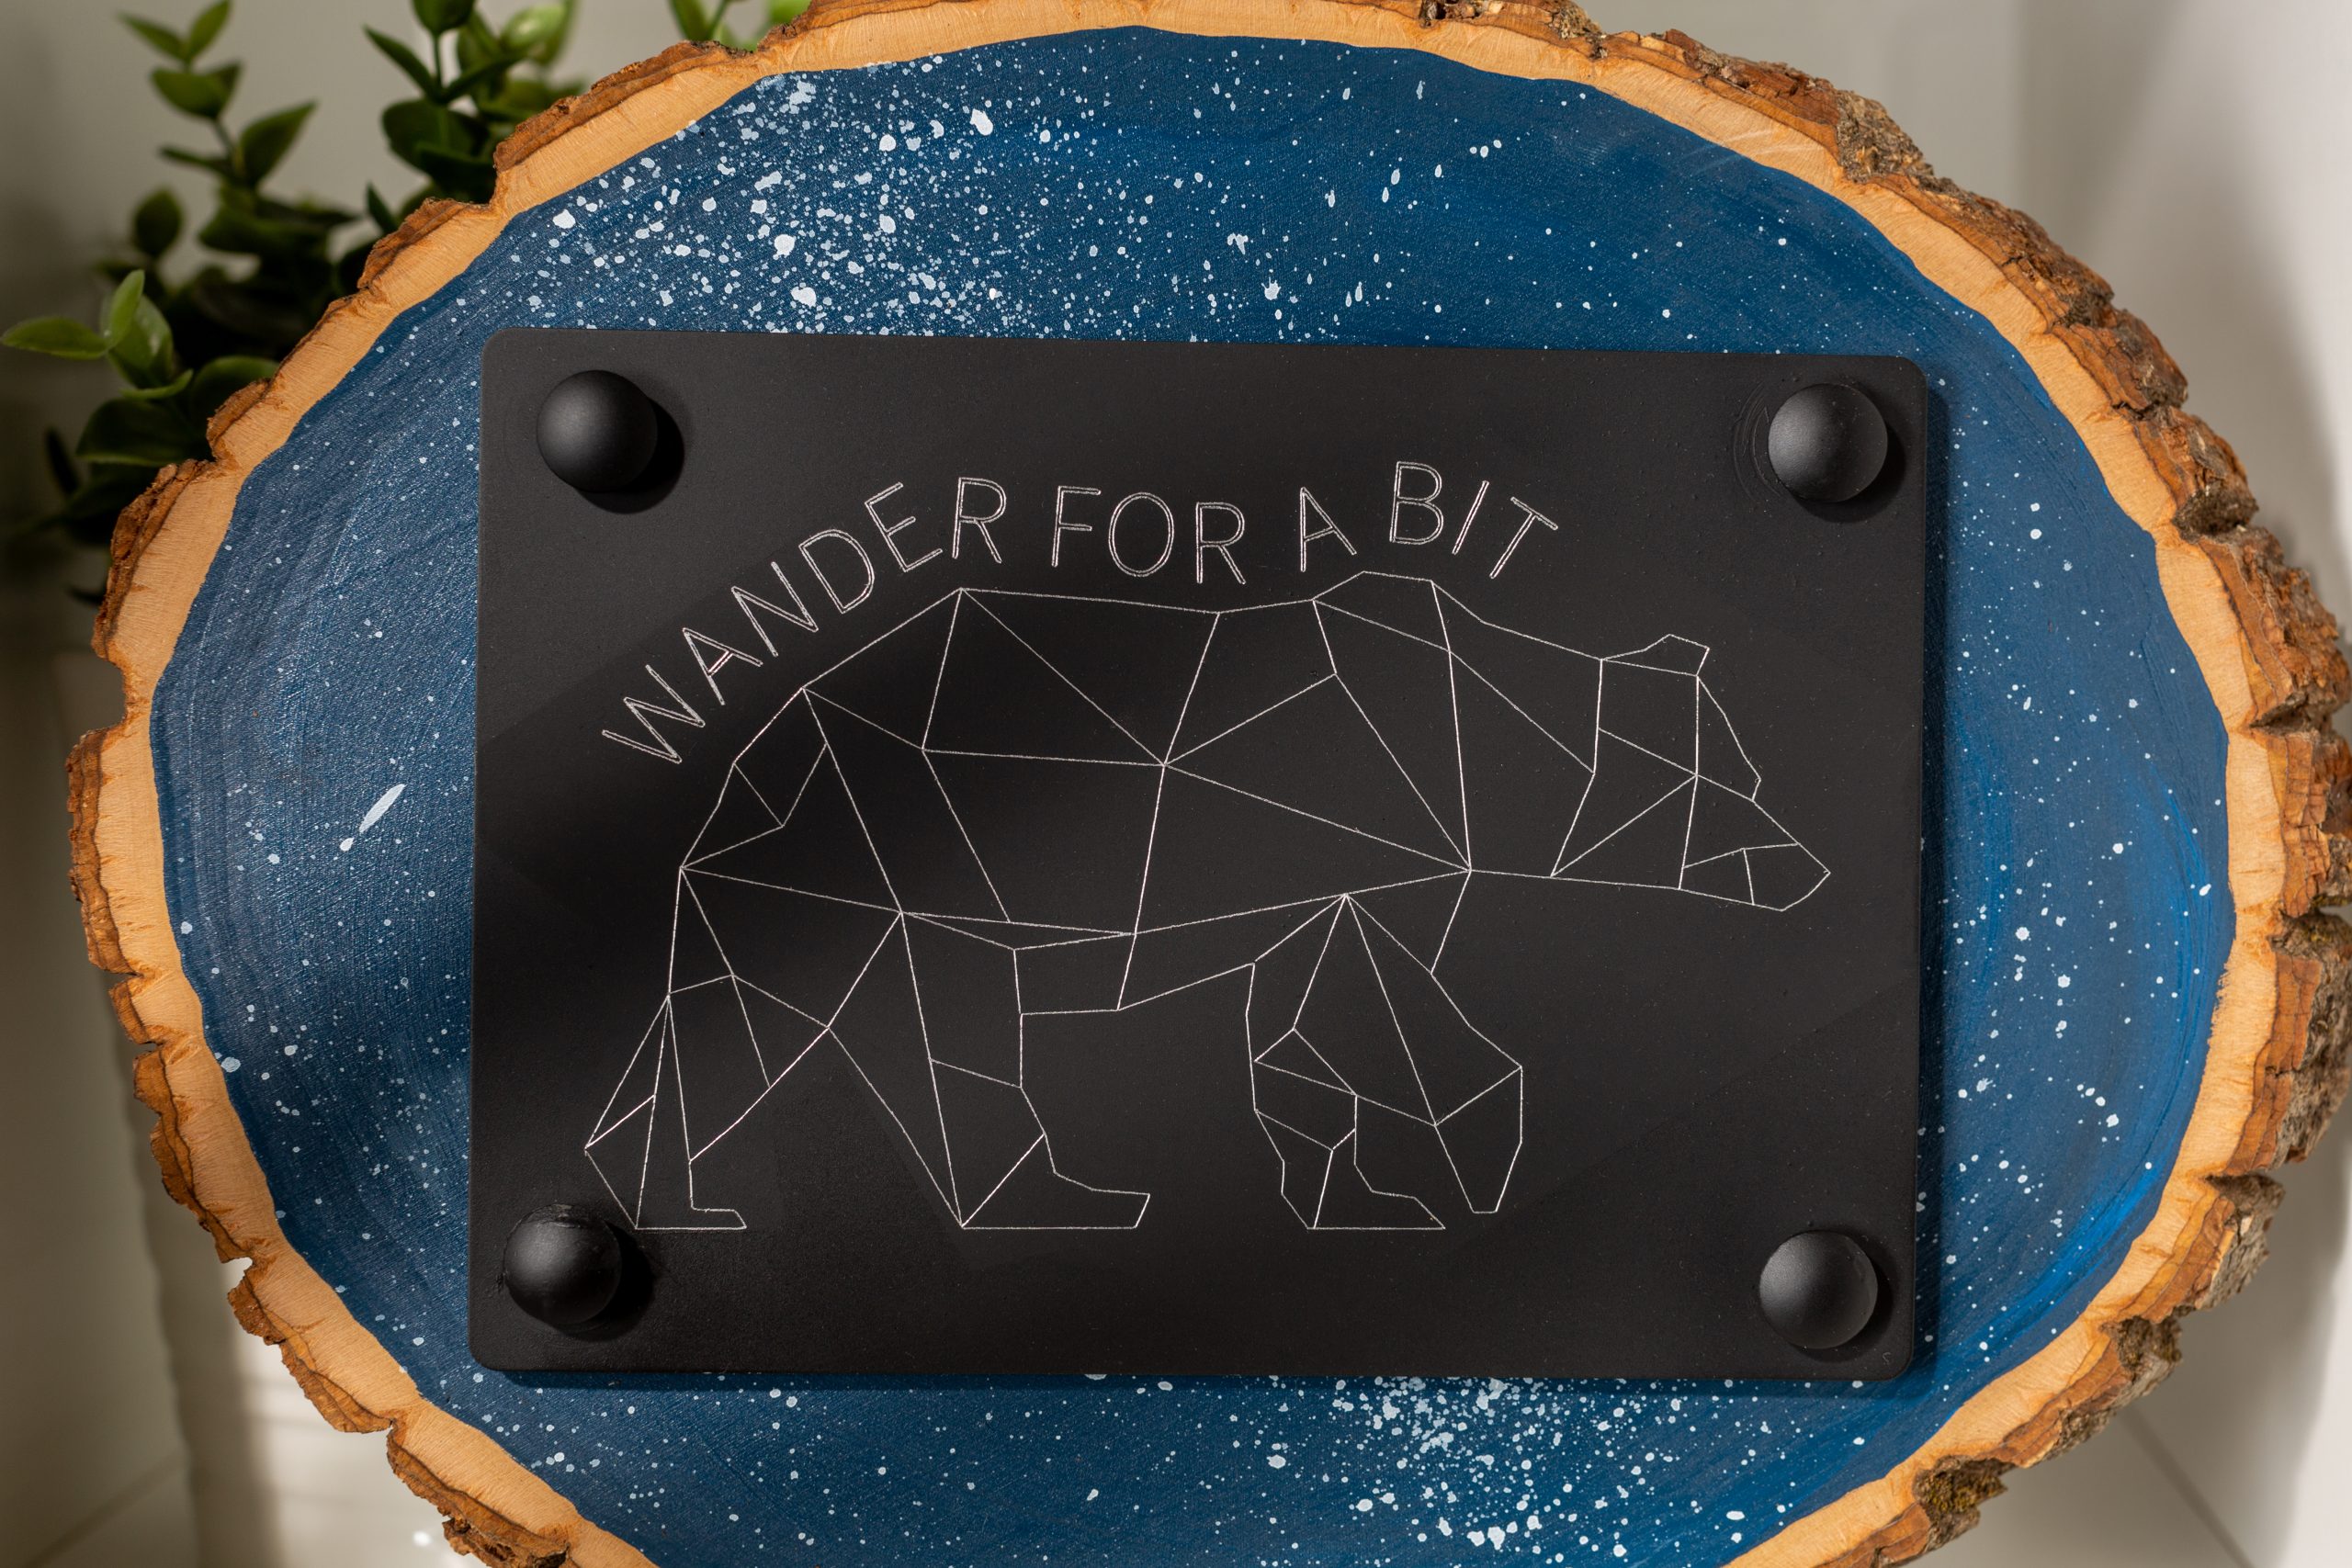
We love this project bear-y much. Use a bit of paint to really make the engraving stand out like we did in this project that is available as a ready-to-make project in Design Space.
Jewellery
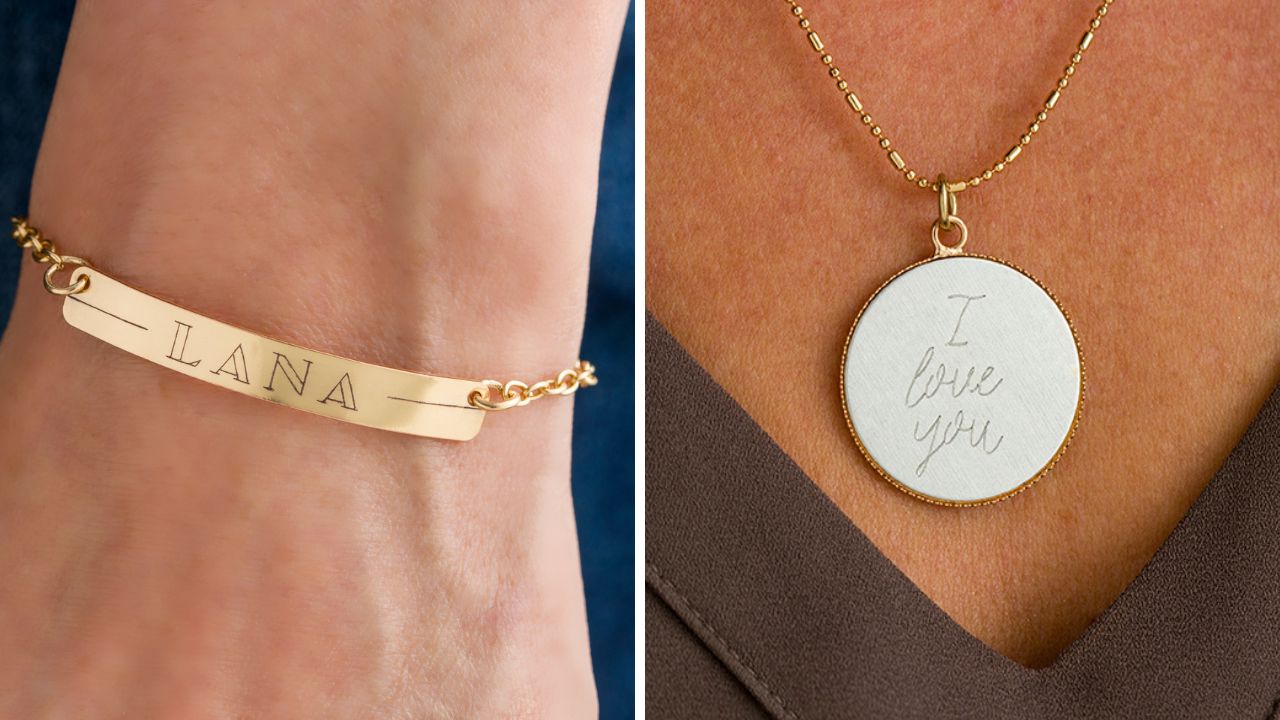
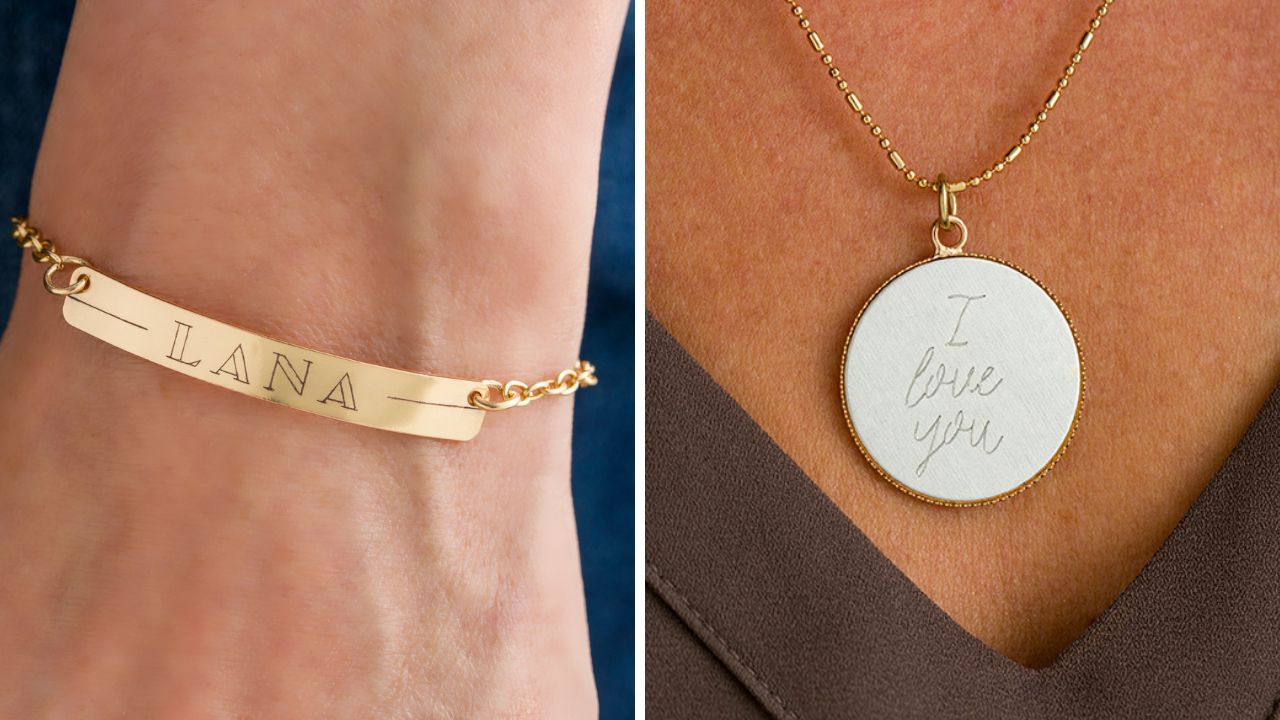
It’s time to get excited because personalising your own jewellery is a lot of fun. Whether it’s for you, your bestie, or as gifts for your loved ones, you can create something truly unique.
You will need some metal blanks to engrave with and then attach this to a chain once engraved. When working with jewellery it’s really important to make sure the engraving design on the mat preview matches where the blank is on your physical cutting mat.
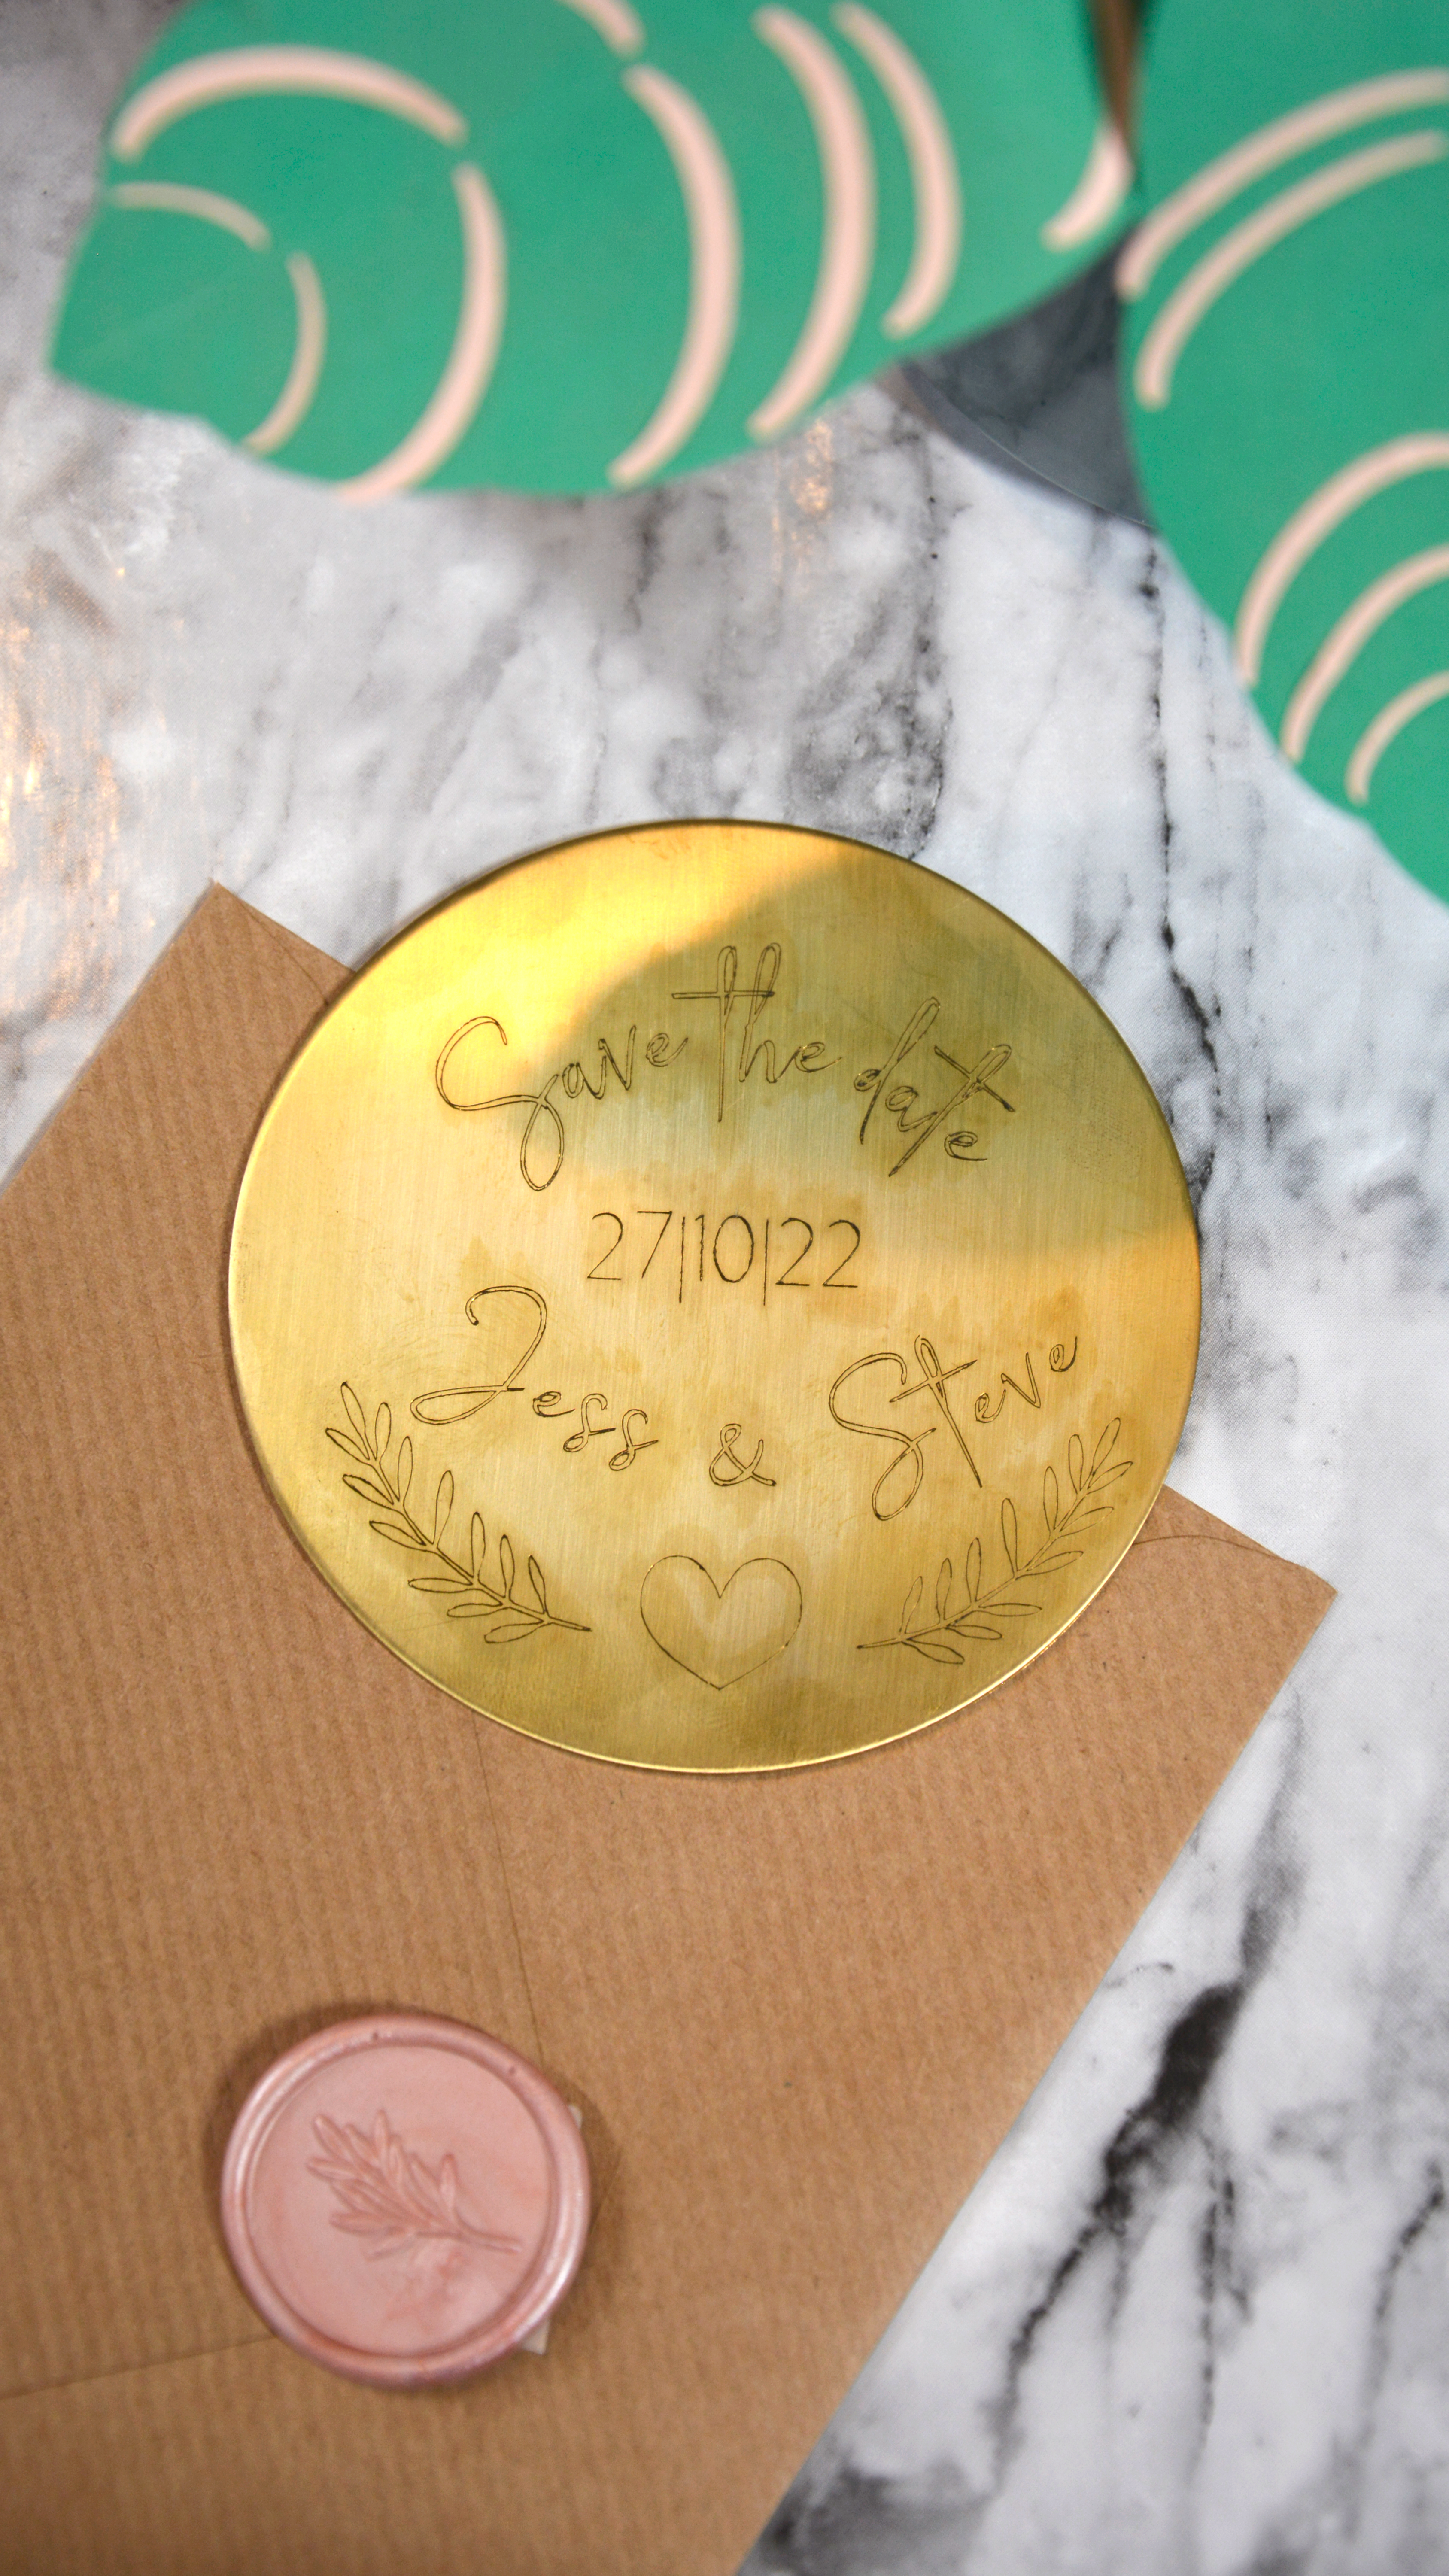
An alternative save the date idea
For a different wedding idea, create engraved save-the-date invites. They look impressive, are personalised, and can be a keepsake for you and your guests.
Finding Help
Find the engraving tip FAQ page here.
Find the all about engraving tip help page here.
Want to know more about Cricut Maker Tools? Check out our blog here.


