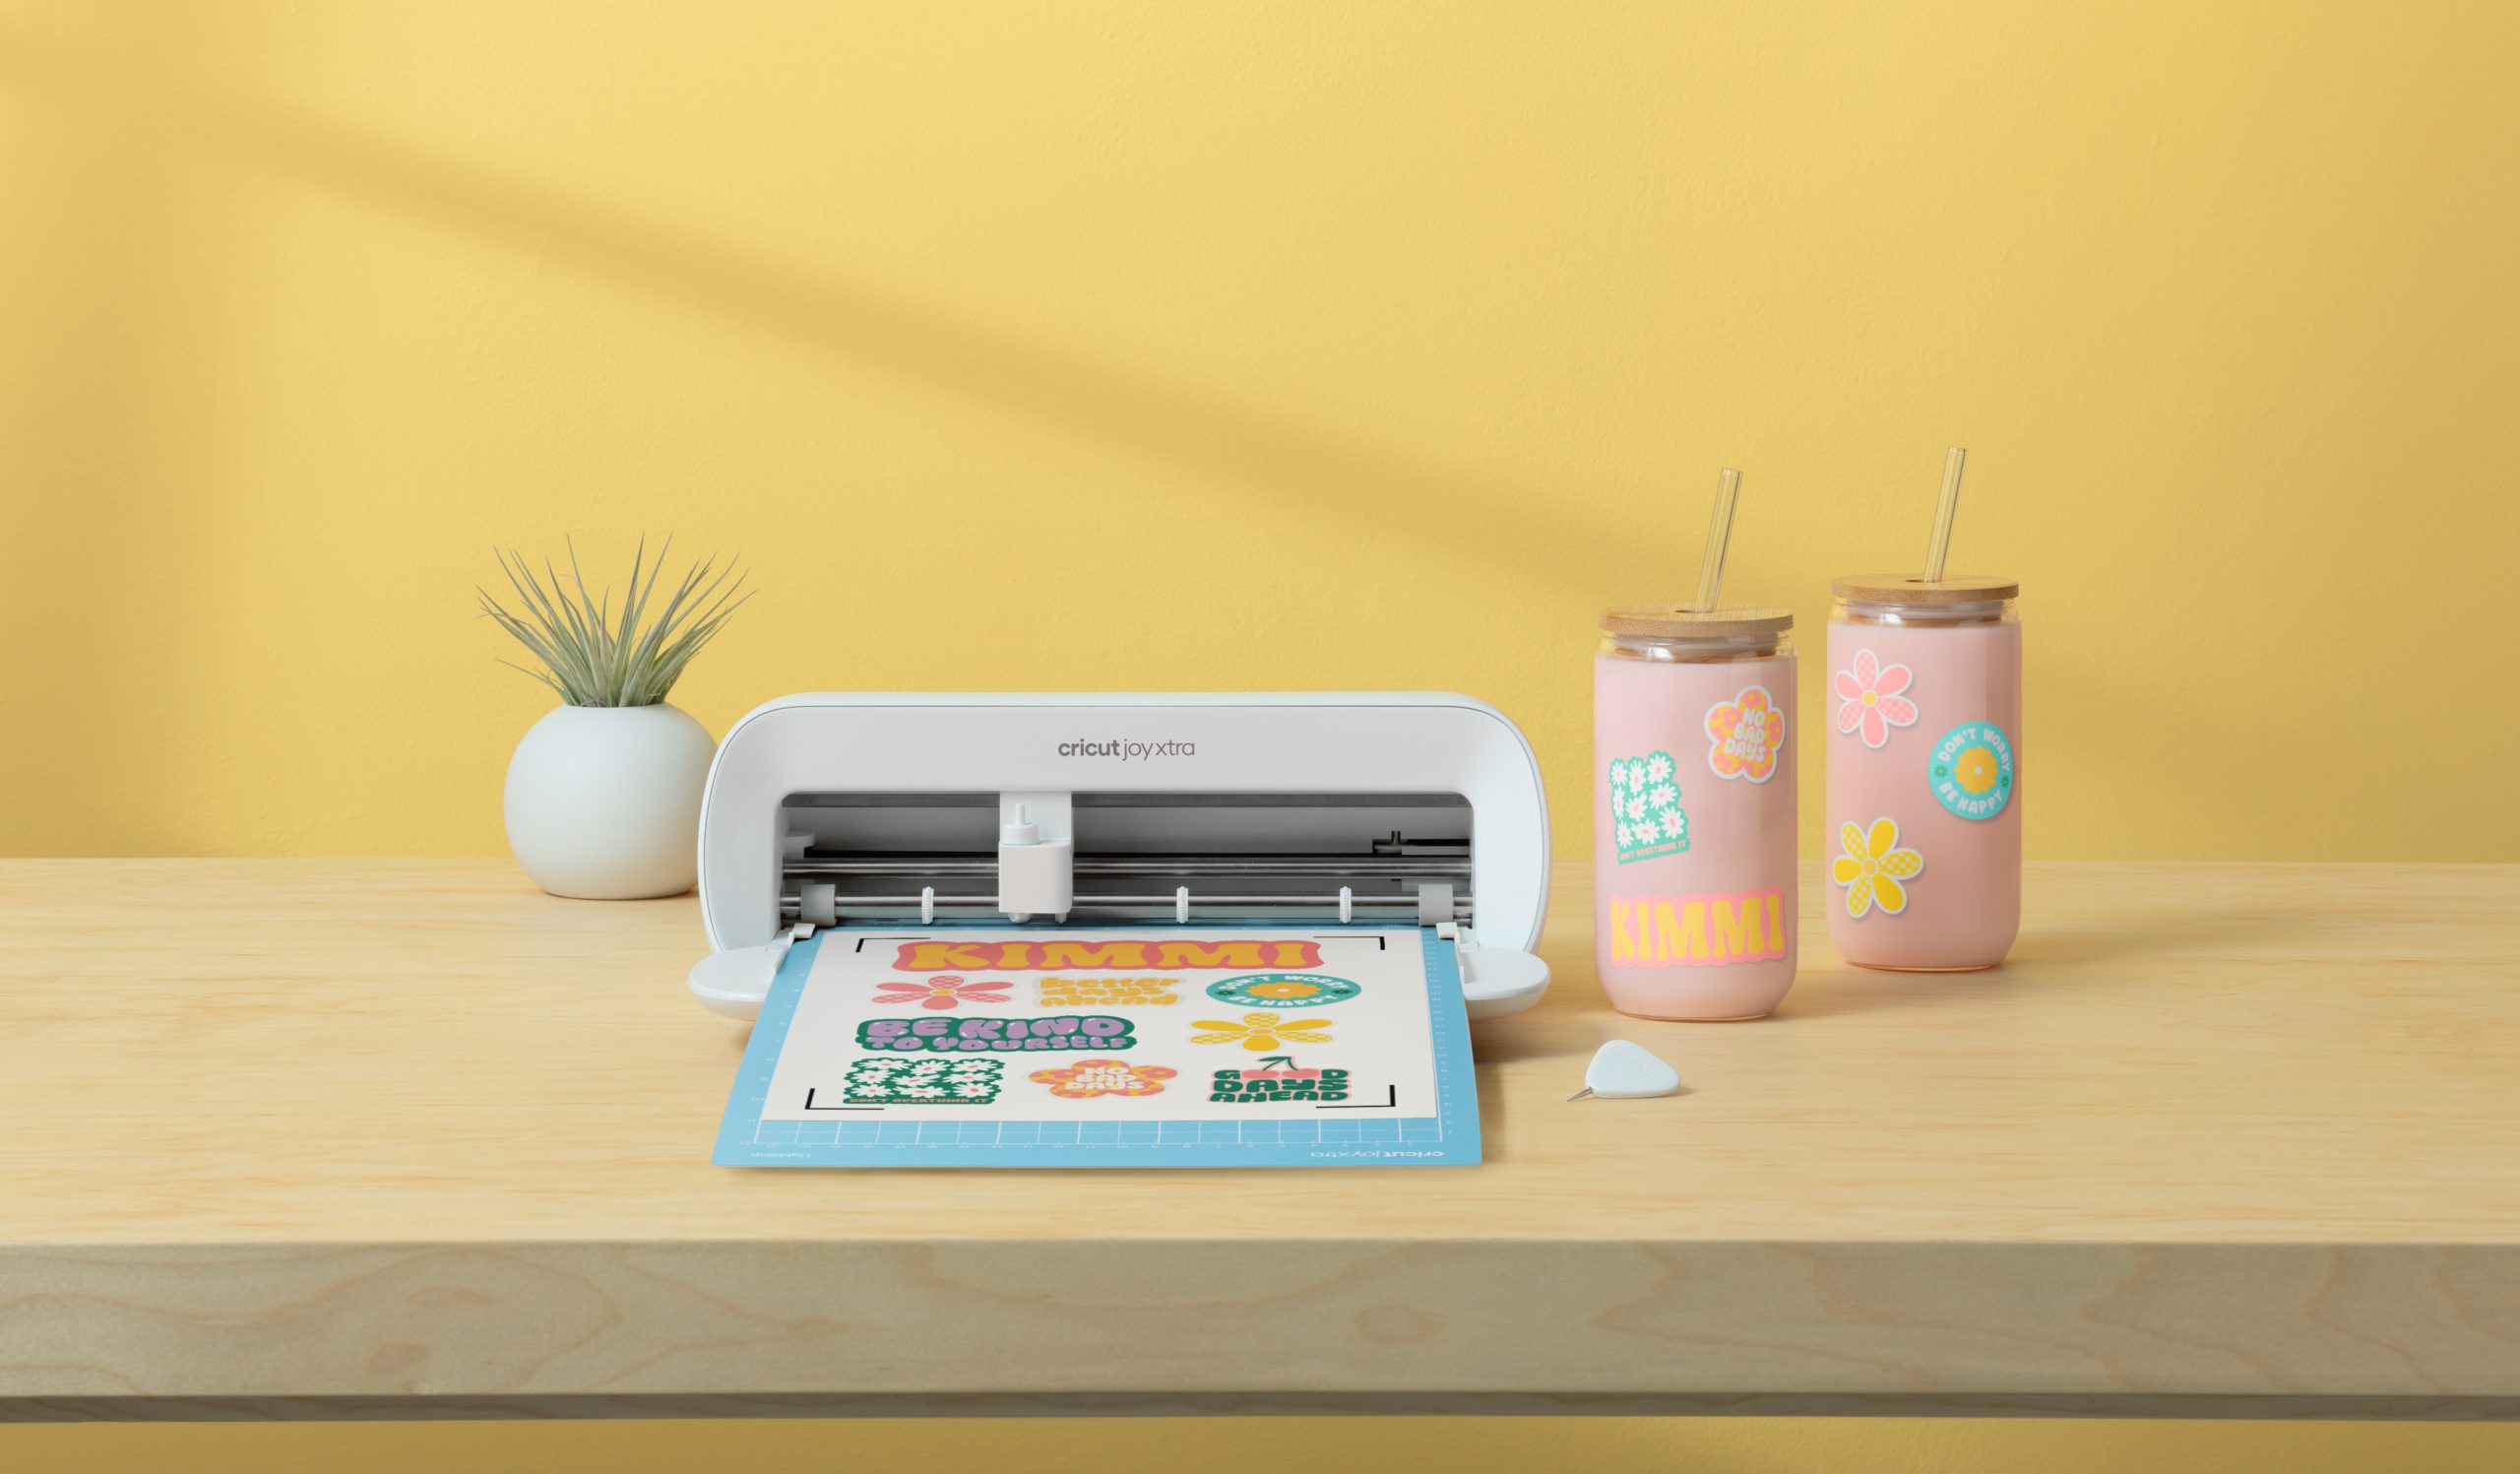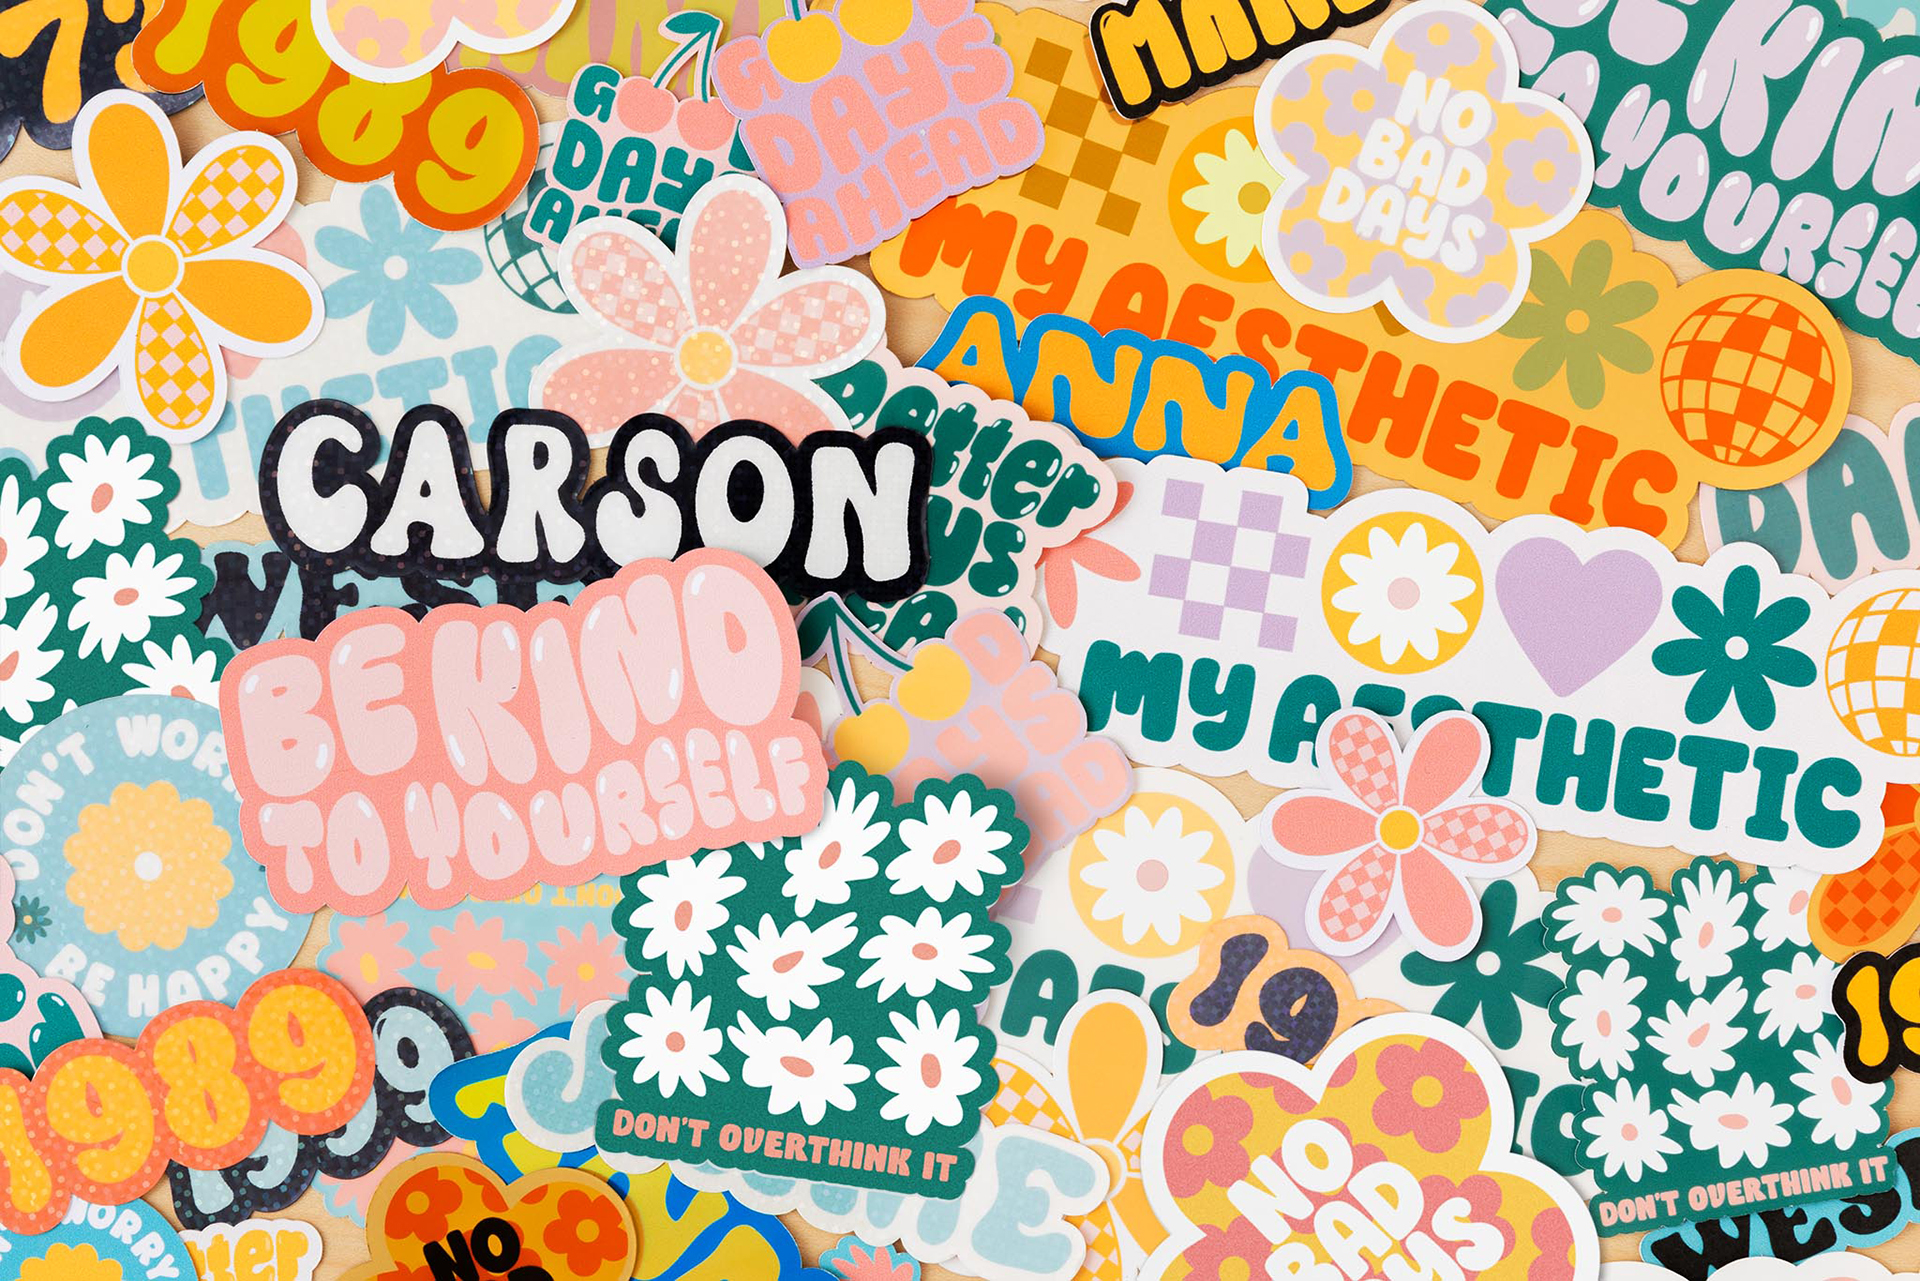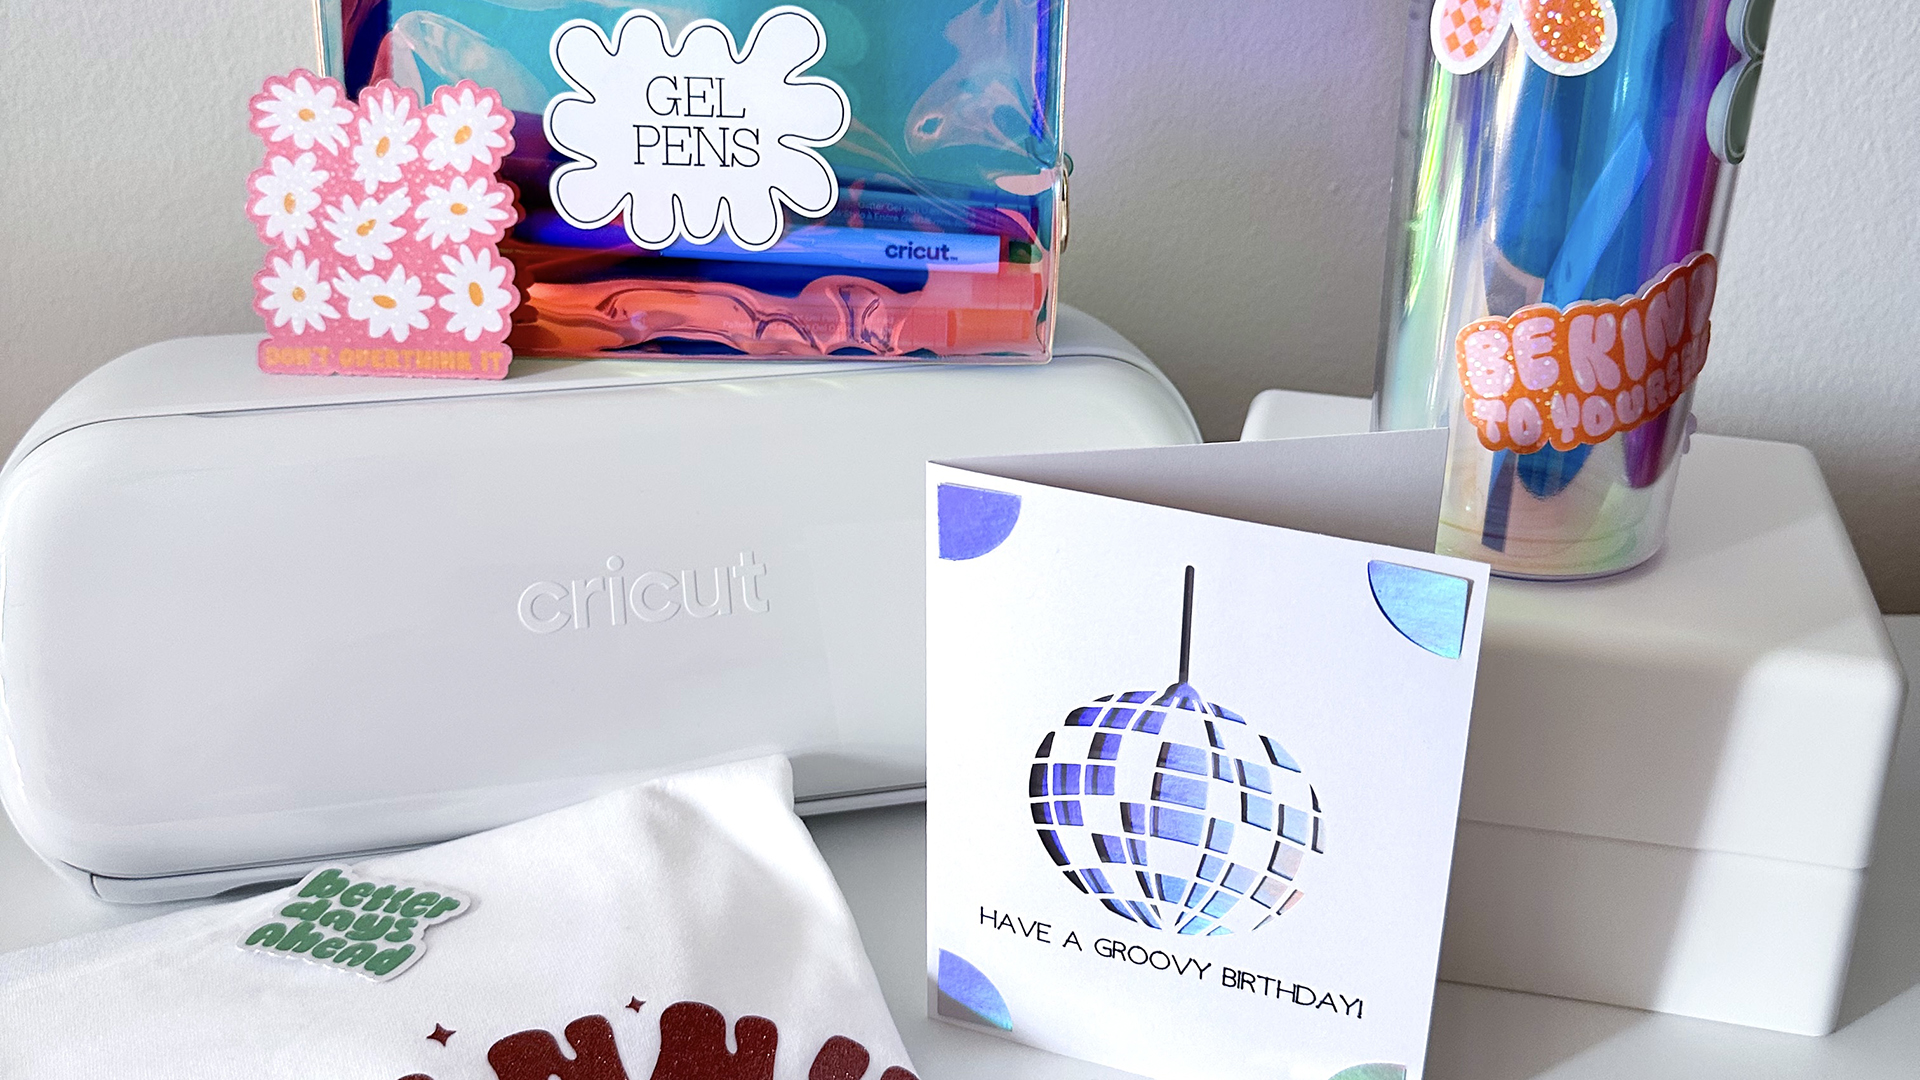
Did you know on your Cricut machine you can cut around printed items? Cricut ‘Print Then Cut’ is a great way to create printed stickers, bookmarks, invitations and so much more. Below we answer your burning questions on how to use print then cut for your next Cricut projects.
Which machines are compatible?
The following machines are Print Then Cut compatible:
Cricut Explore Air 2™
Cricut Explore Air™
What is Print Then Cut?
Print Then Cut is an operation type in Design Space. It allows you to use the software with your home printer, print out your items, and then use the Cricut machine to cut around them.
The benefits of using Print Then Cut are creating accurately sized printed items, using our extensive image and font library to create your print then cut designs, and cutting to a specific material thickness.
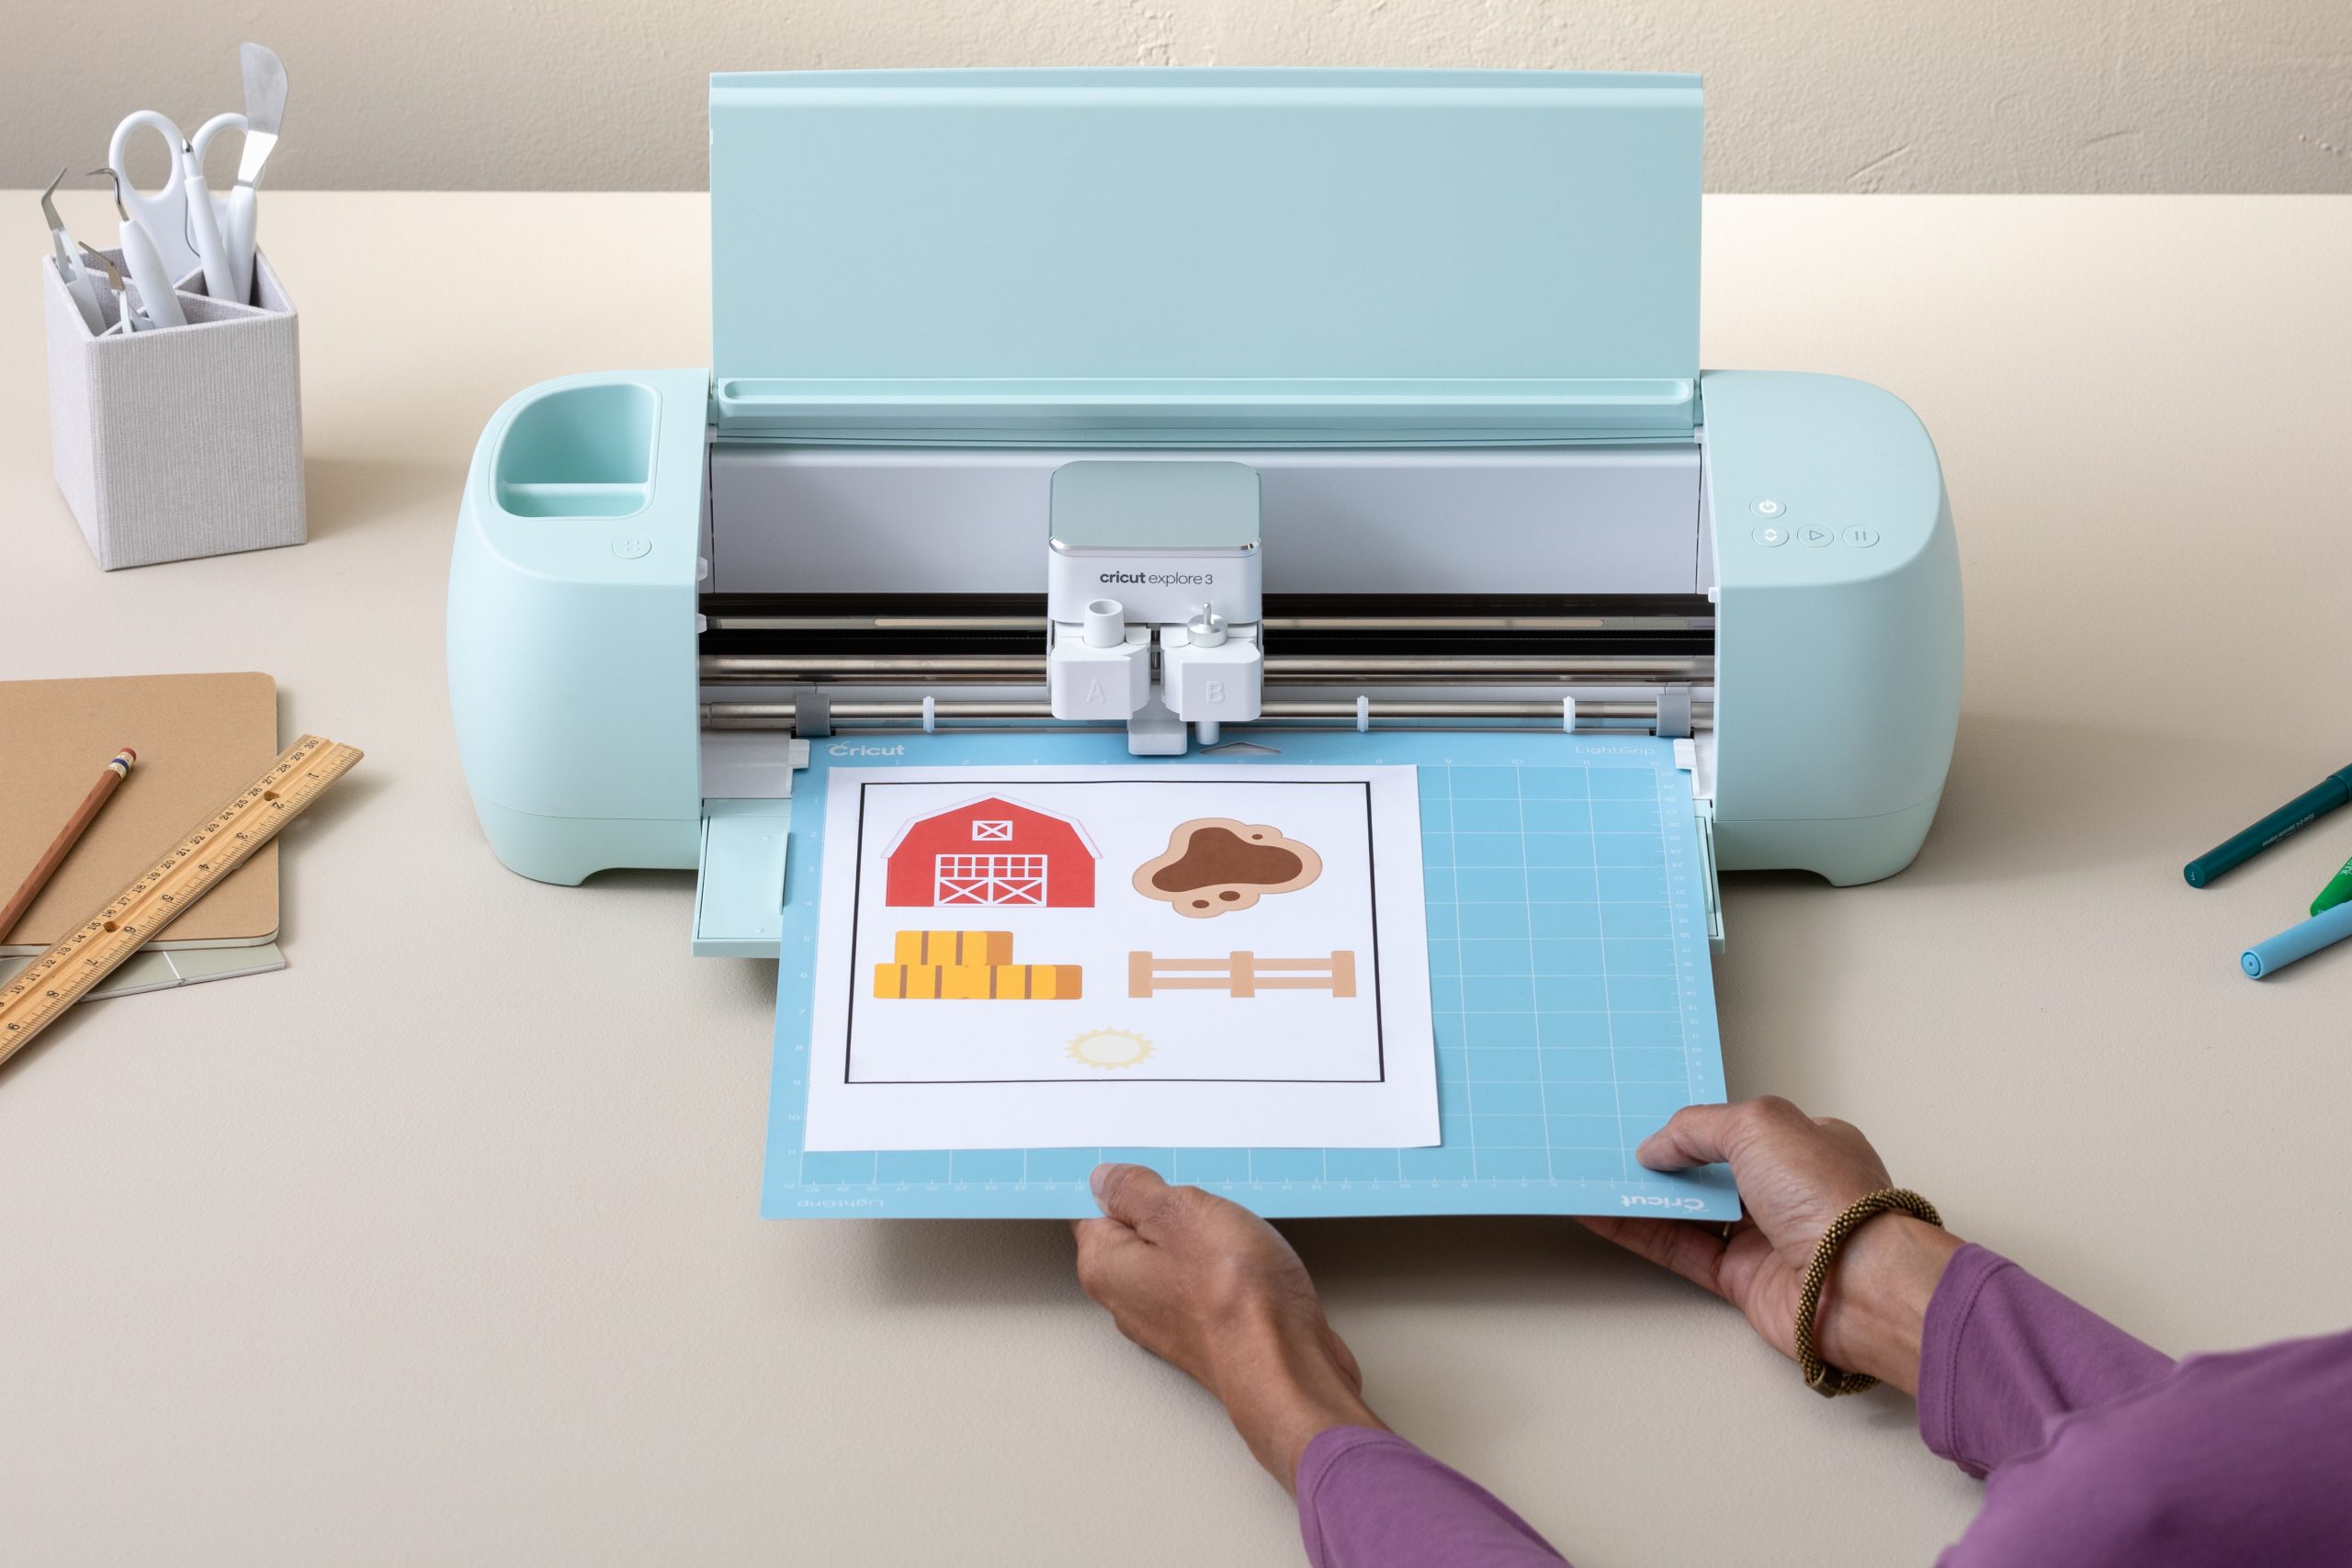
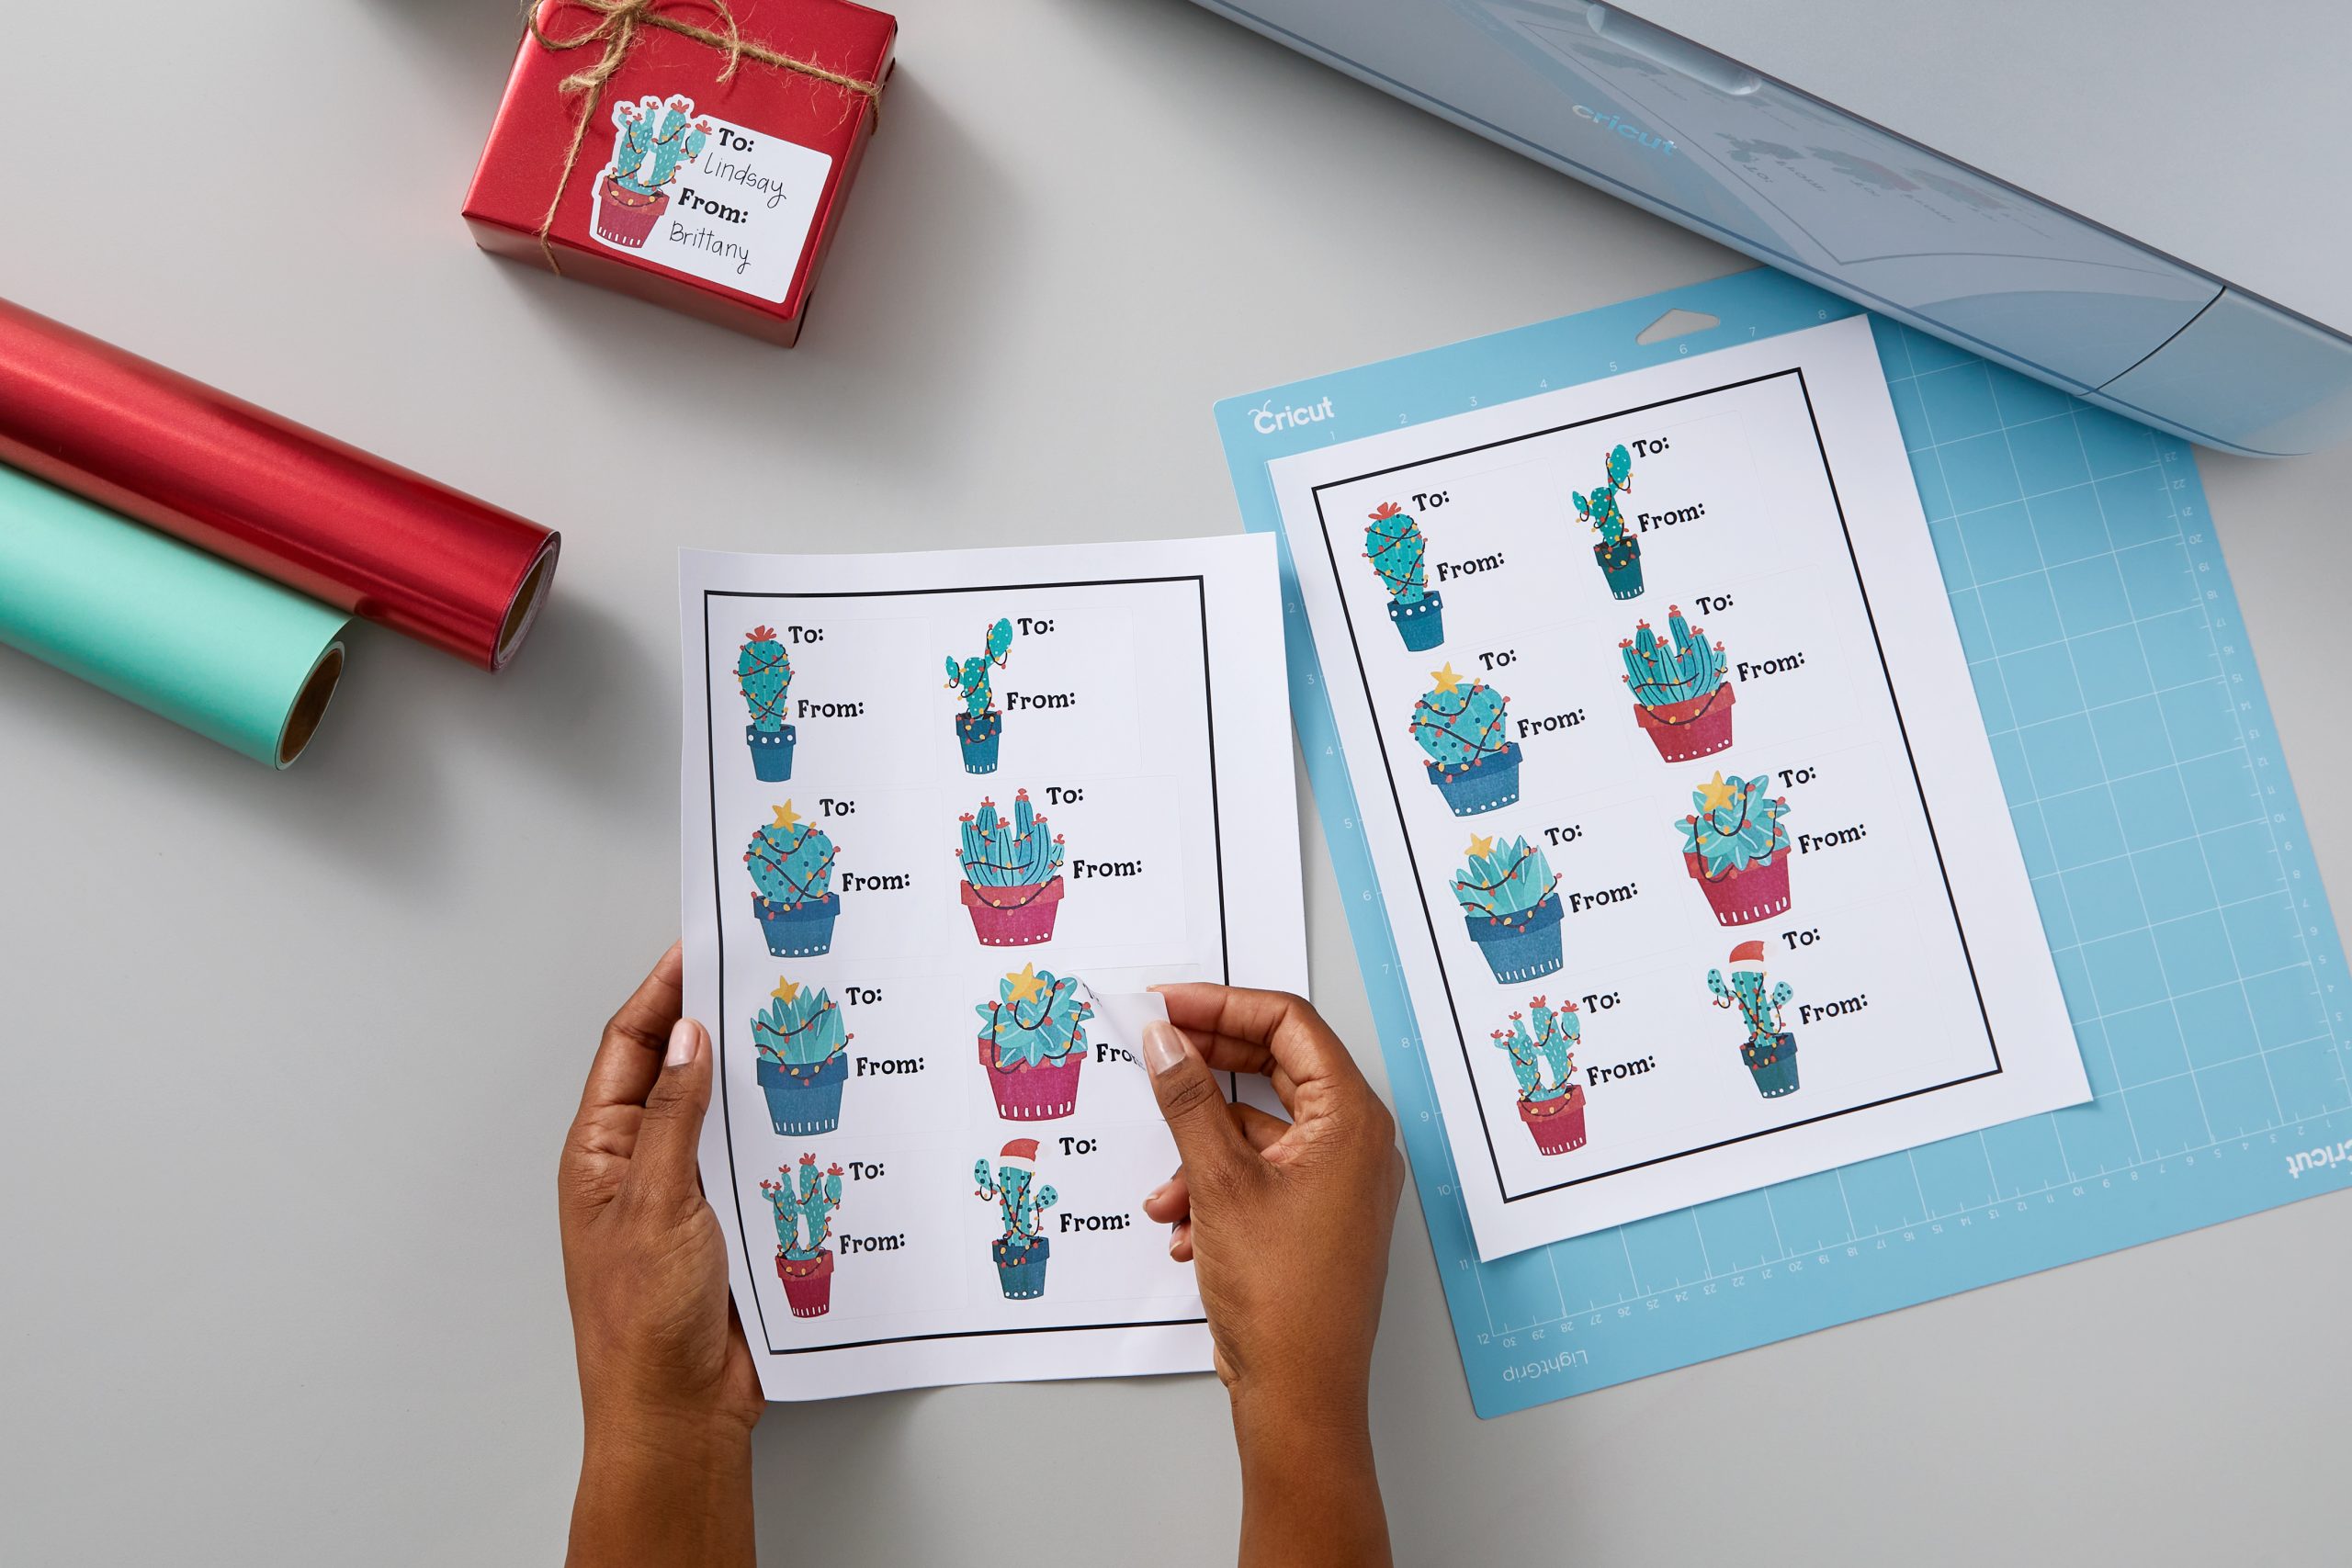
You will see when you print out your images, black scanner bars are at the corners of the page or have boxed your images in. These markings are used by the Cricut machines scanner to determine where the images are placed on your cutting mat.
What do I need to get started?
Your compatible machine (see list above)
A home printer – there are many recommendations by Cricut makers on which printer they love to use. Please note the printer needs to be an Inkjet Printer and not a laser printer.
The material you plan to print on. We recommend white cardstock, printable sticker paper, printable vinyl, and printable clear sticker paper.
Design Space on a compatible device
LightGrip Cutting Mat (the blue cutting mat)
Which Devices are compatible?
At this time the Print Then Cut feature is not fully supported on Android. You may design and save Print Then Cut projects with the Android app, but to print and cut these projects you must use Design Space on a Windows/Mac computer or iOS device.
How do I find Print Then Cut images?
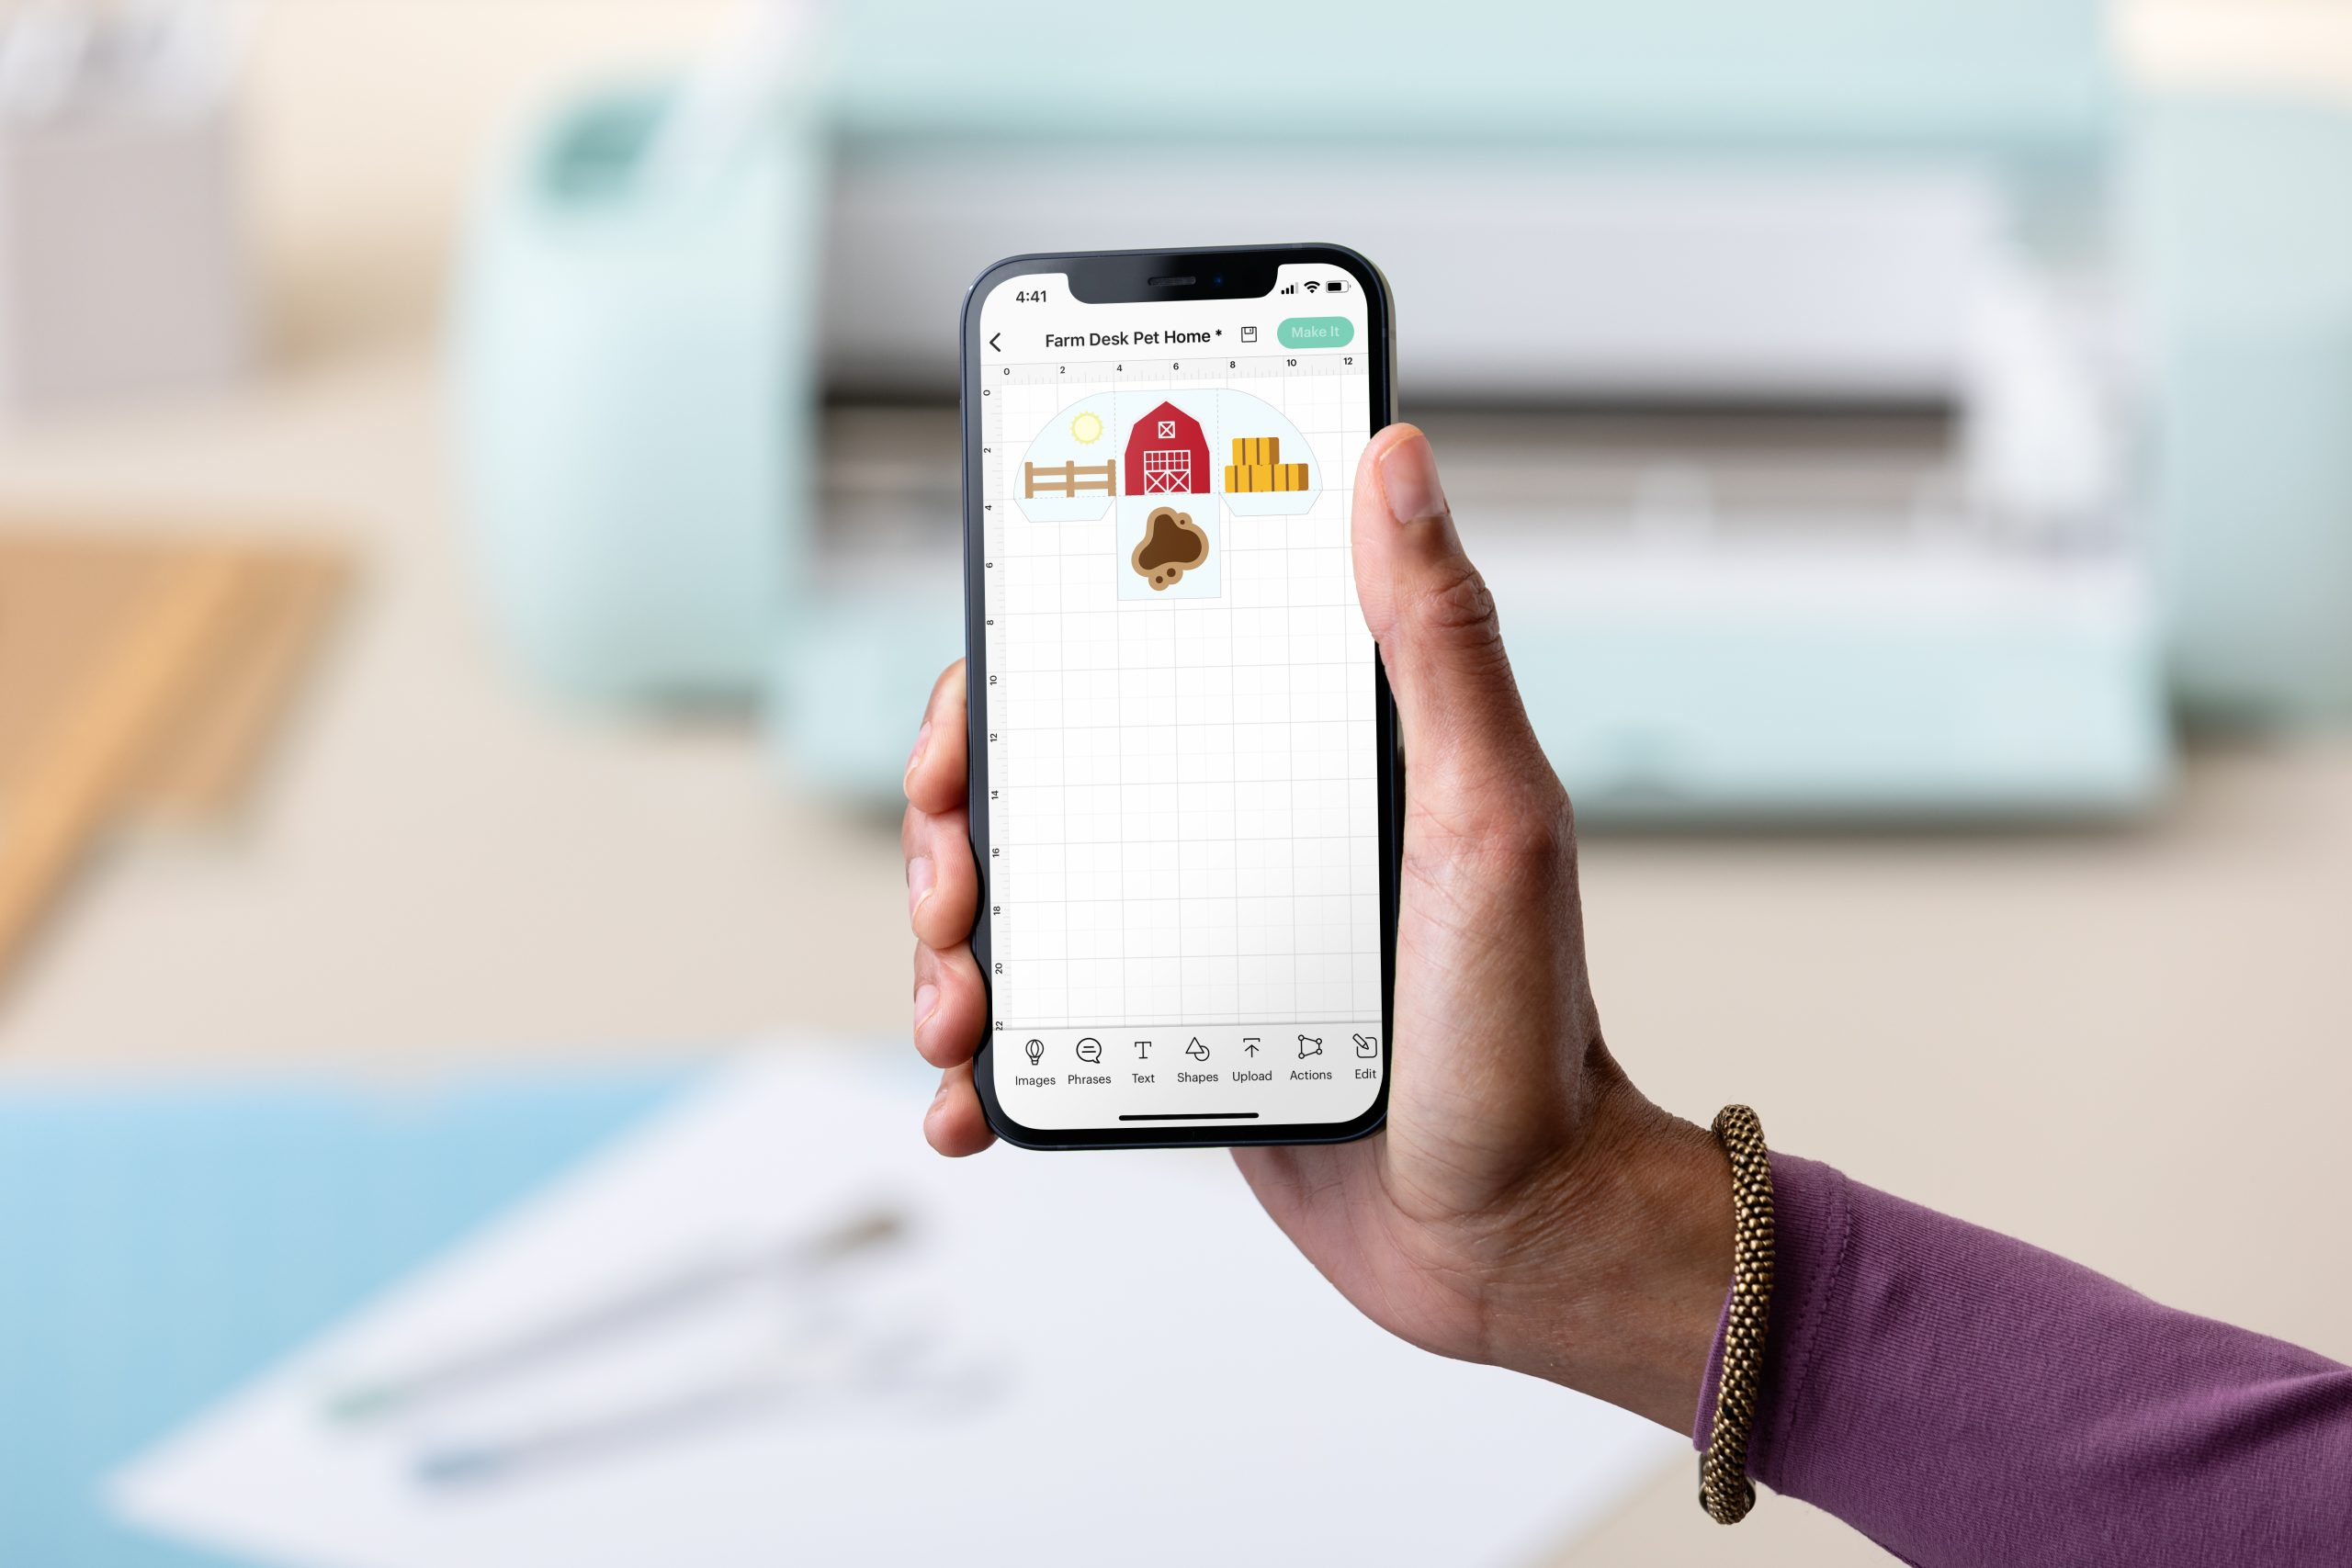
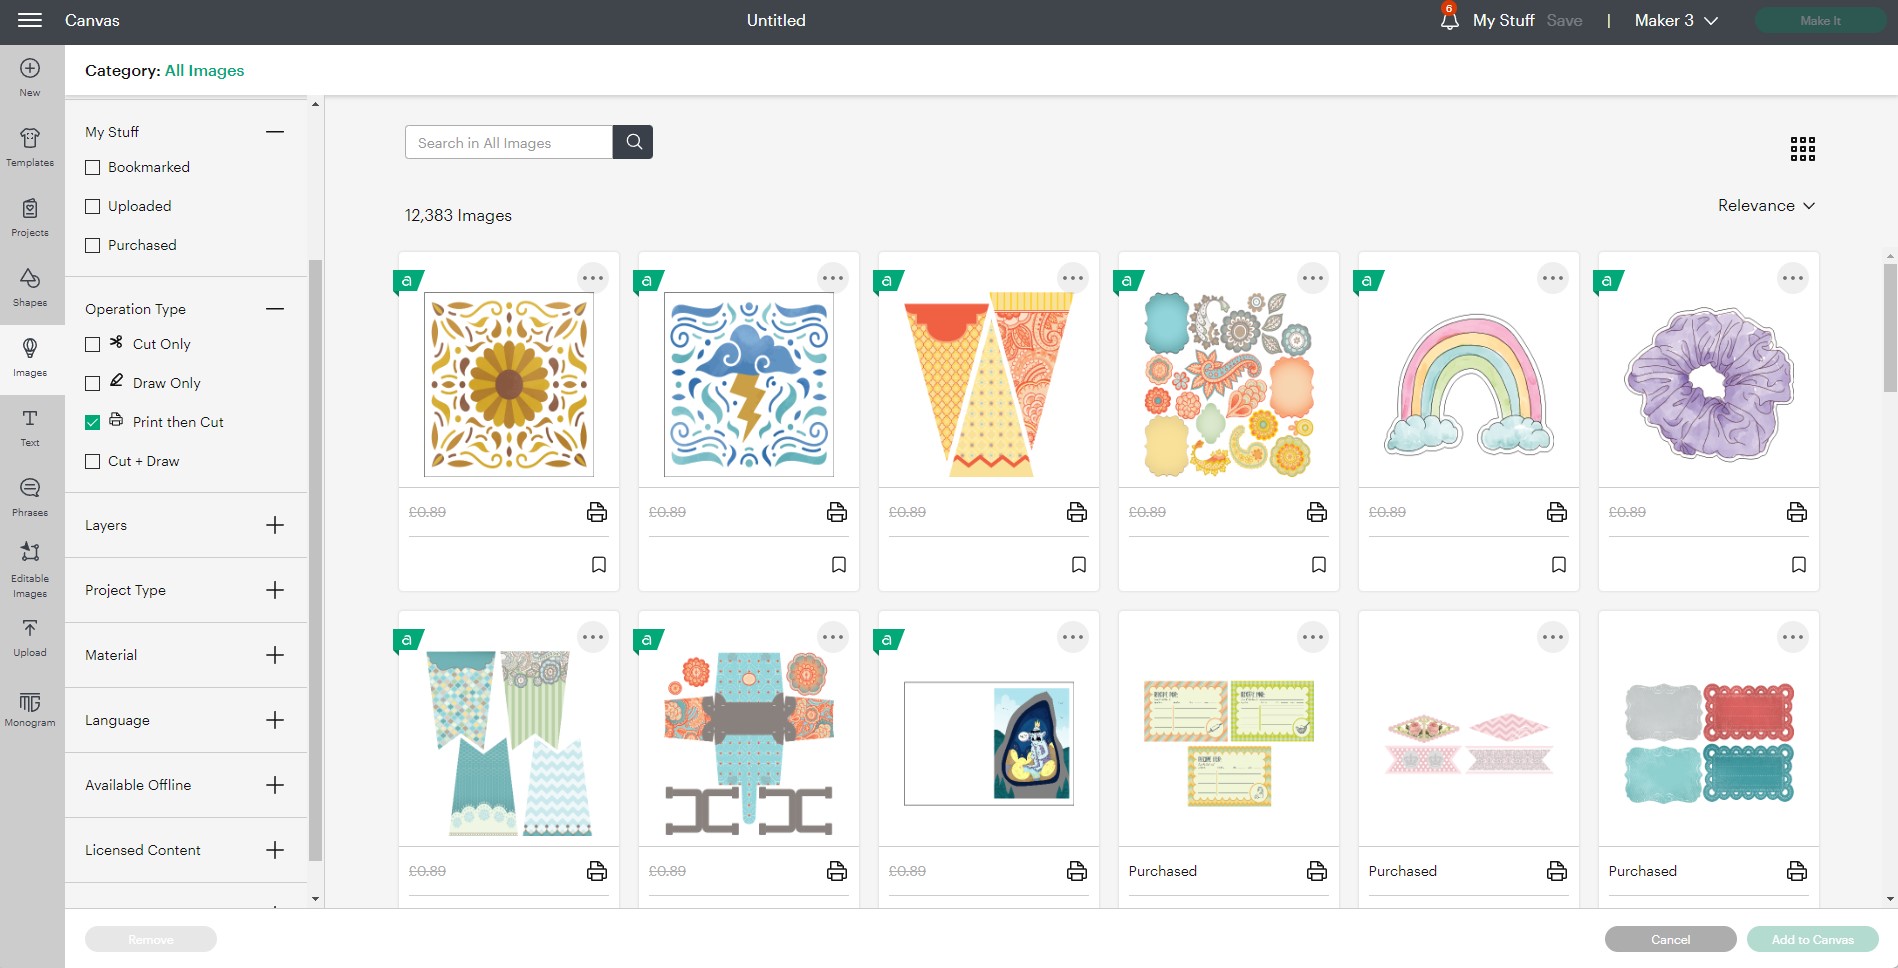
Open up Design Space and start a new project. Select ‘images’ from the menu. You will be taken to our image library and will see a filter menu. In the filter menu, select ‘operation type’ and tick the ‘Print Then Cut’ option. This will show images that are already Print Then Cut compatible.
How do I make my own Print Then Cut images?
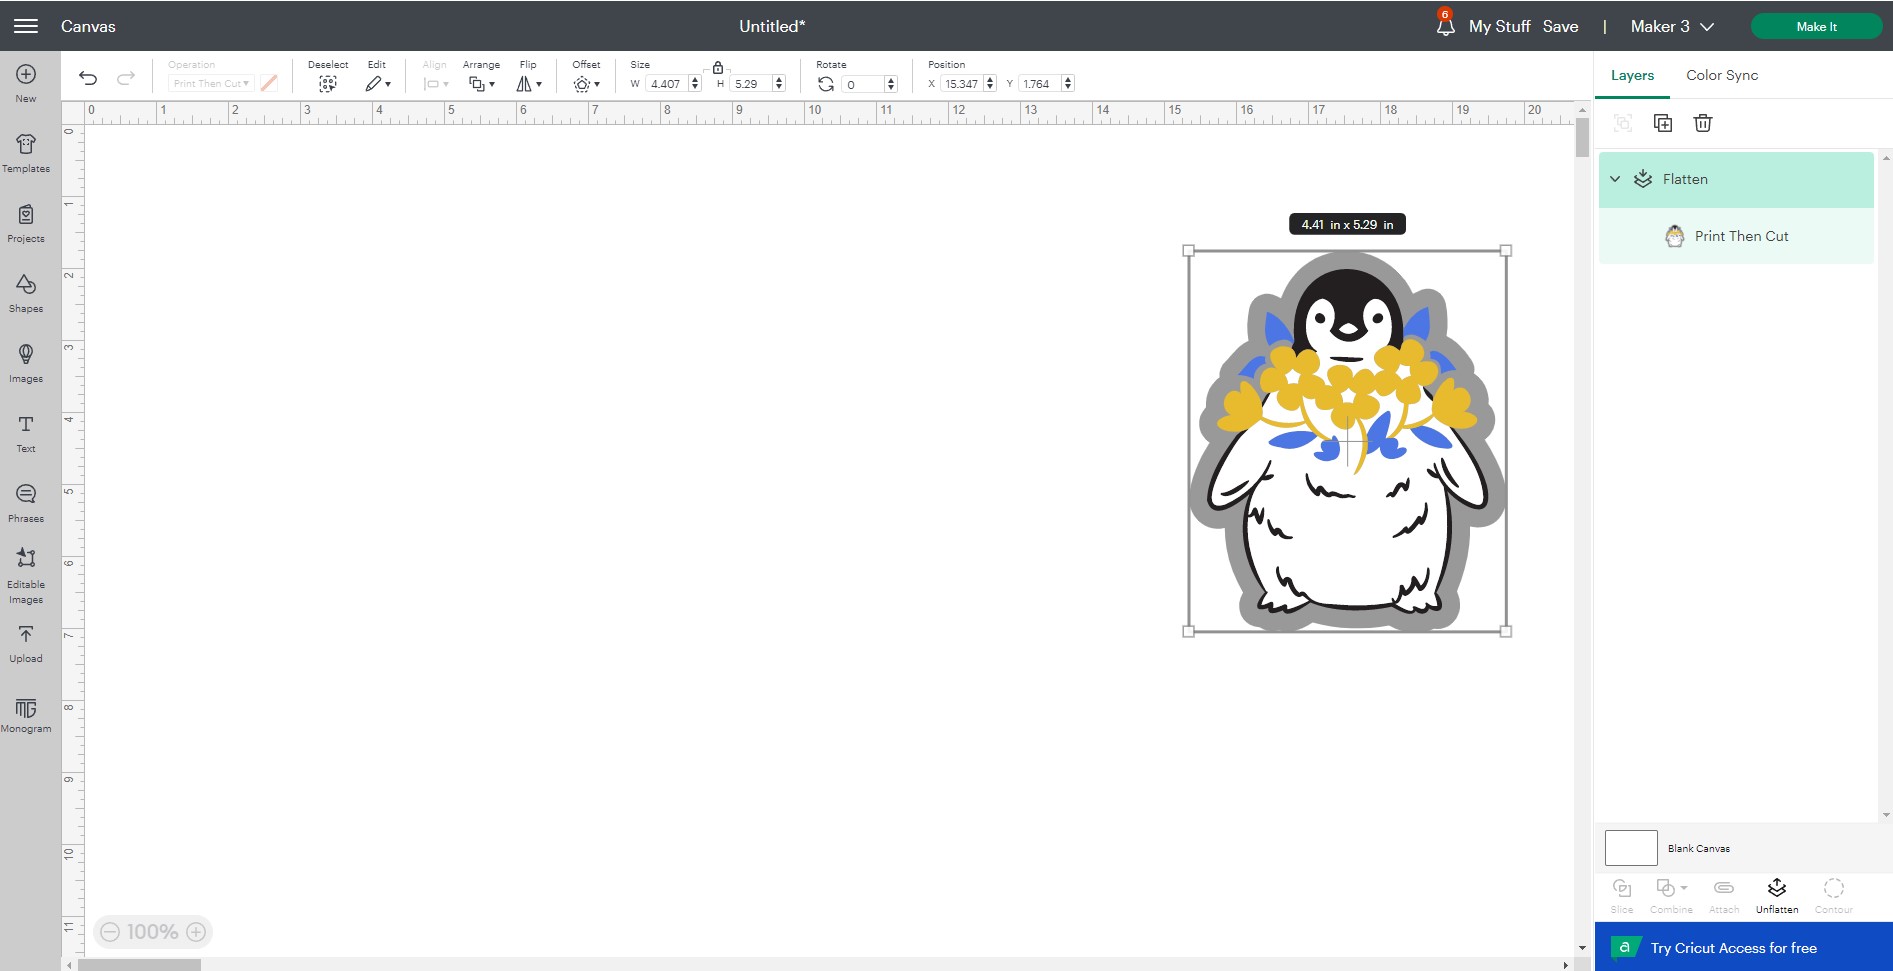
You can turn any cut image into a Print Then Cut image. To do this, select a cut image and add to canvas.
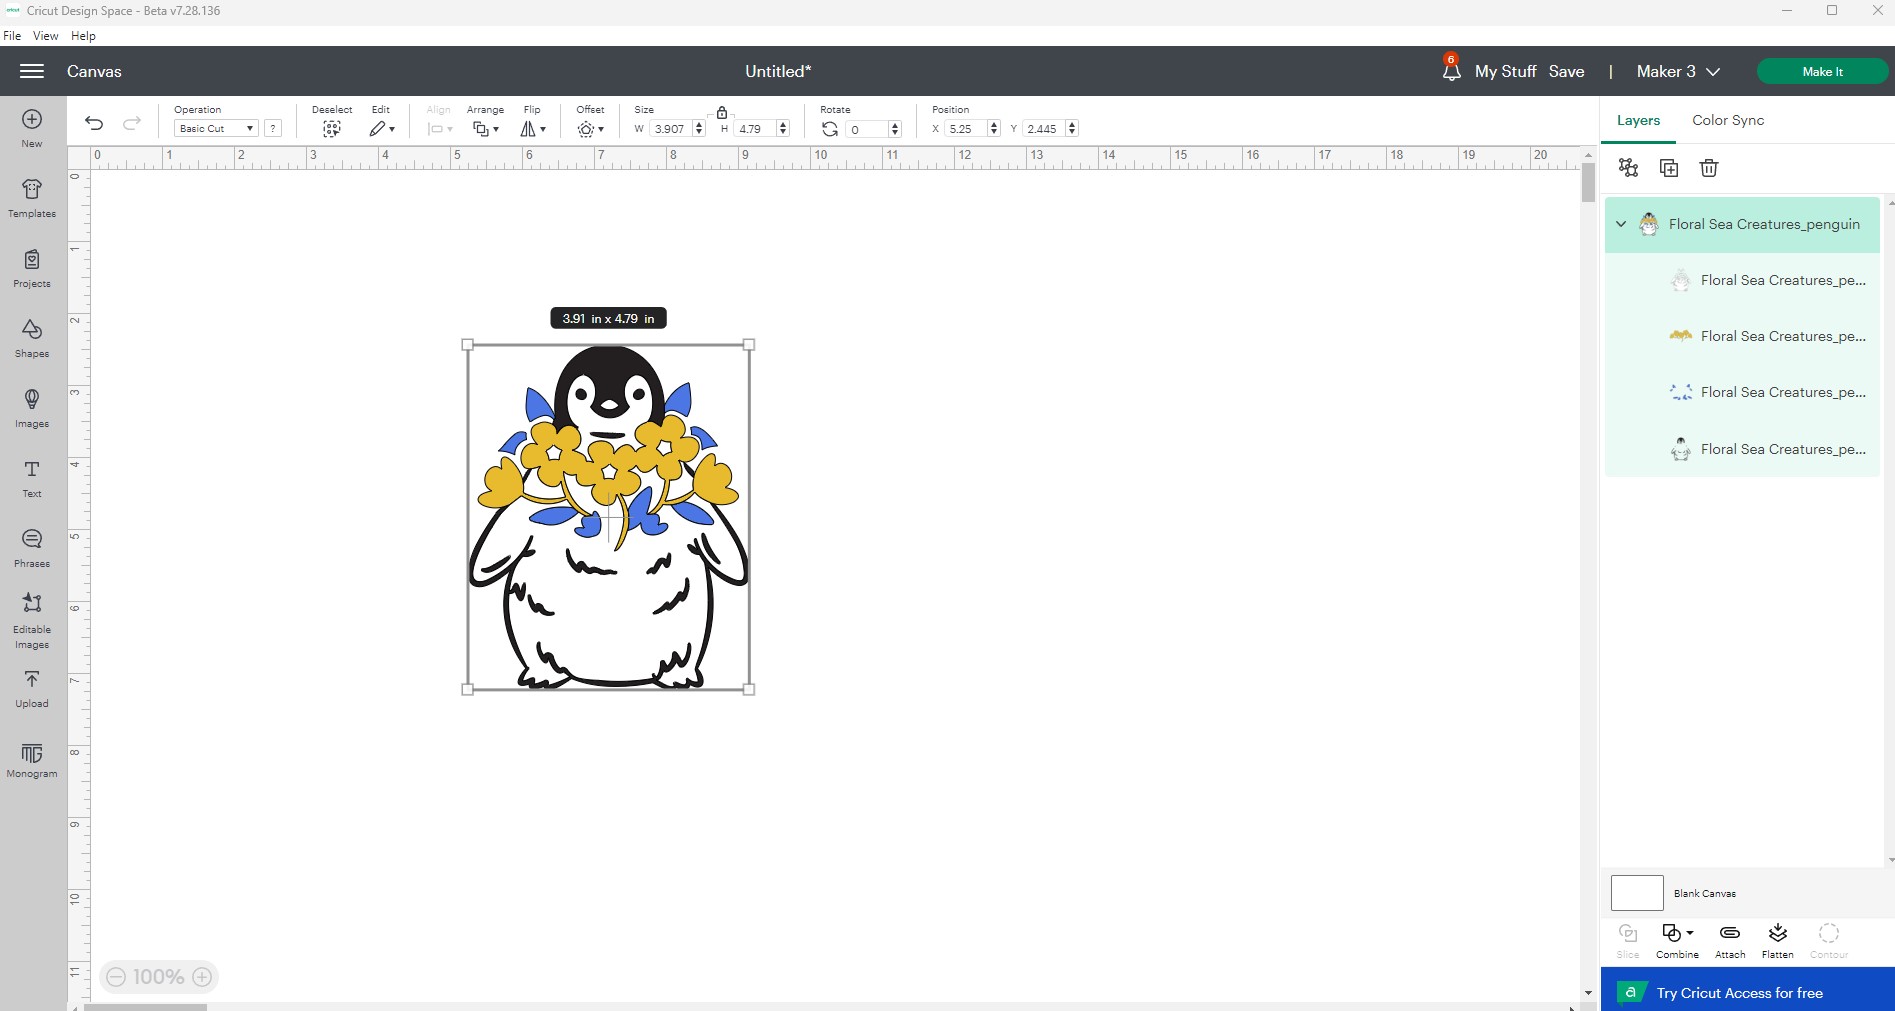
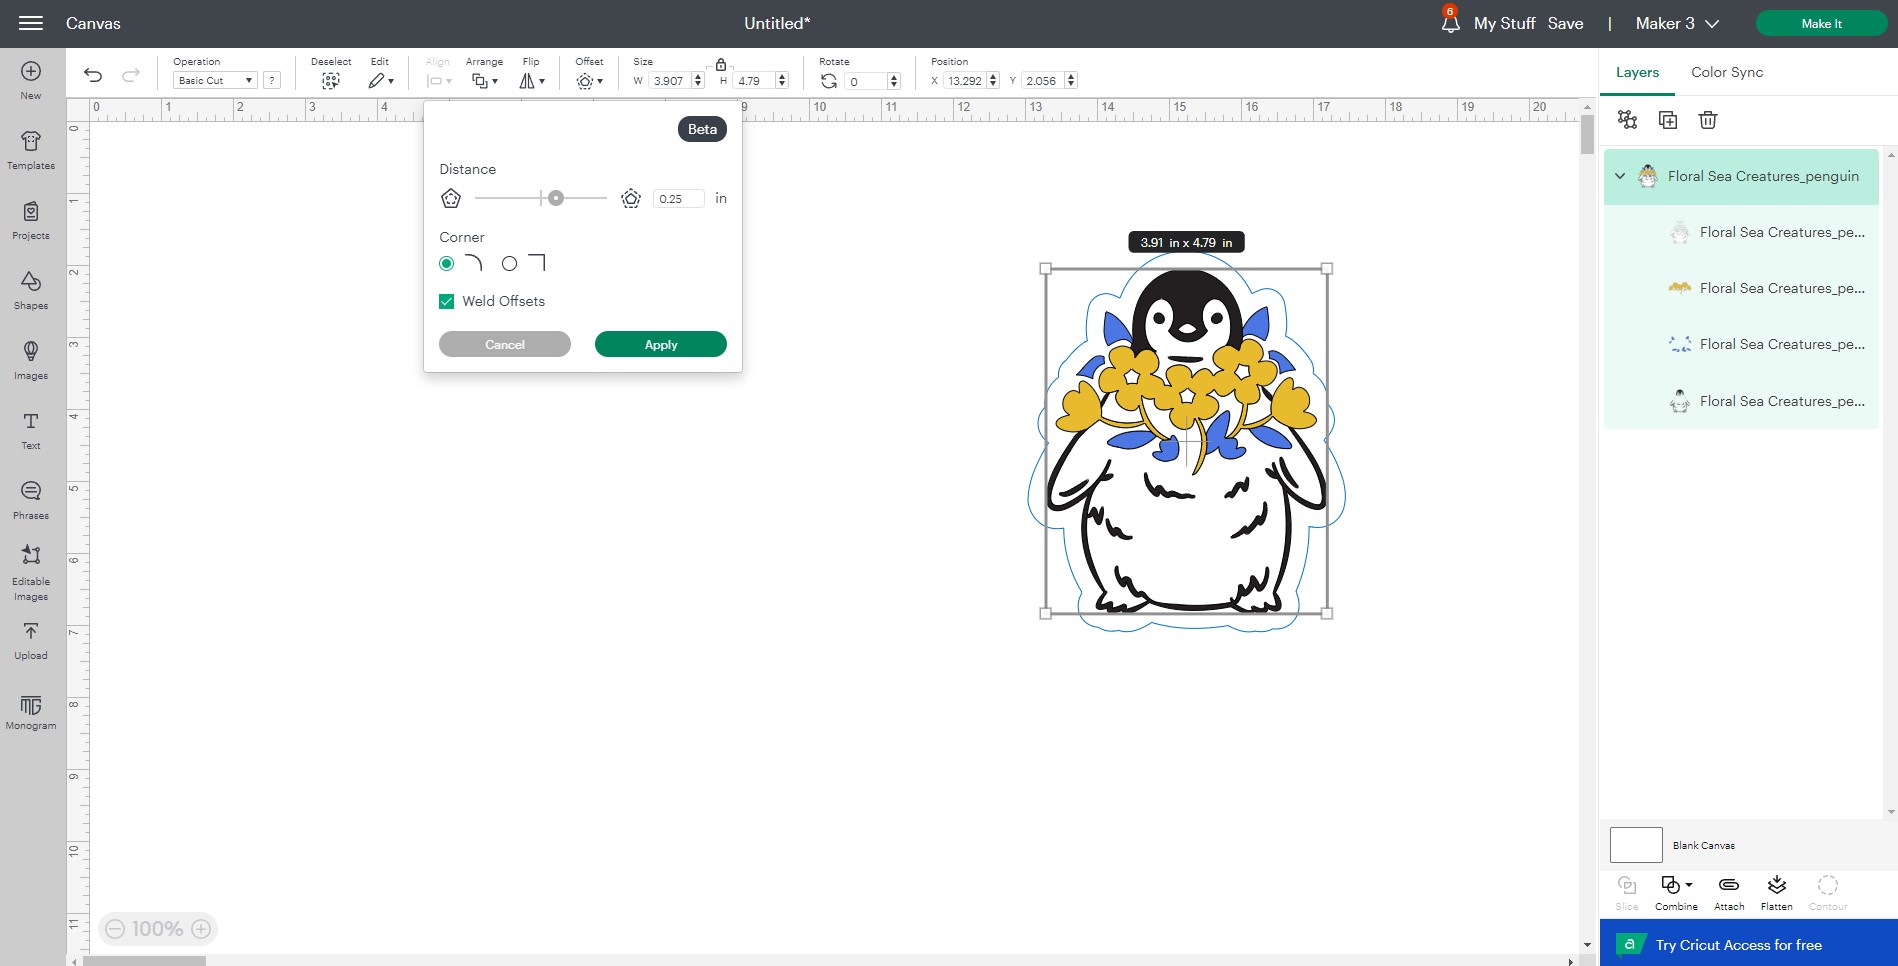
If the image you selected does not already have a bottom layer that is a background layer, create one by using the offset tool in the edit bar. You can adjust the distance of the offset layer and will see how that changes the layer from the blue preview outline.
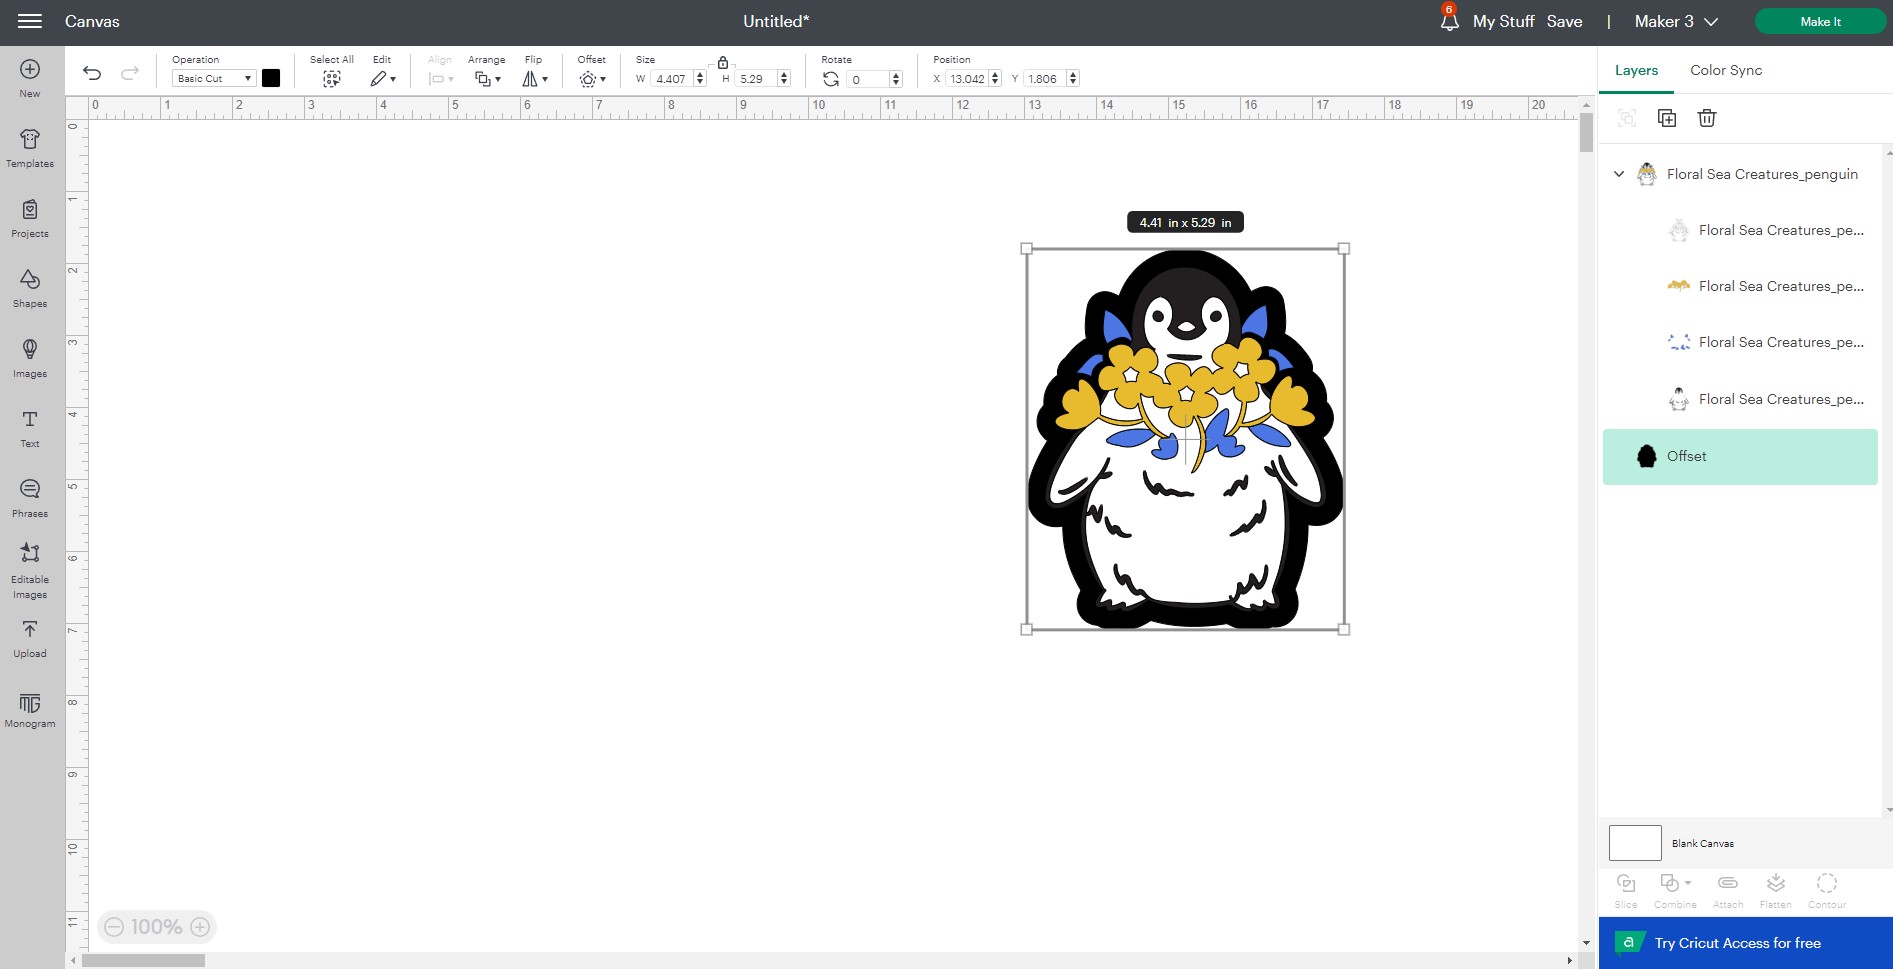
Once you are happy click ‘apply’ and you will see your offset layer has been created.
Select all the layers and use the ‘flatten’ tool in the bottom right-hand corner (or actions menu). You will see all layers have merged together and the layer is now called a ‘print then cut’ layer. You can unflatten them if you need to amend the images, just remember to flatten them again before going to clicking ‘Make it’.
How do I change my material size?
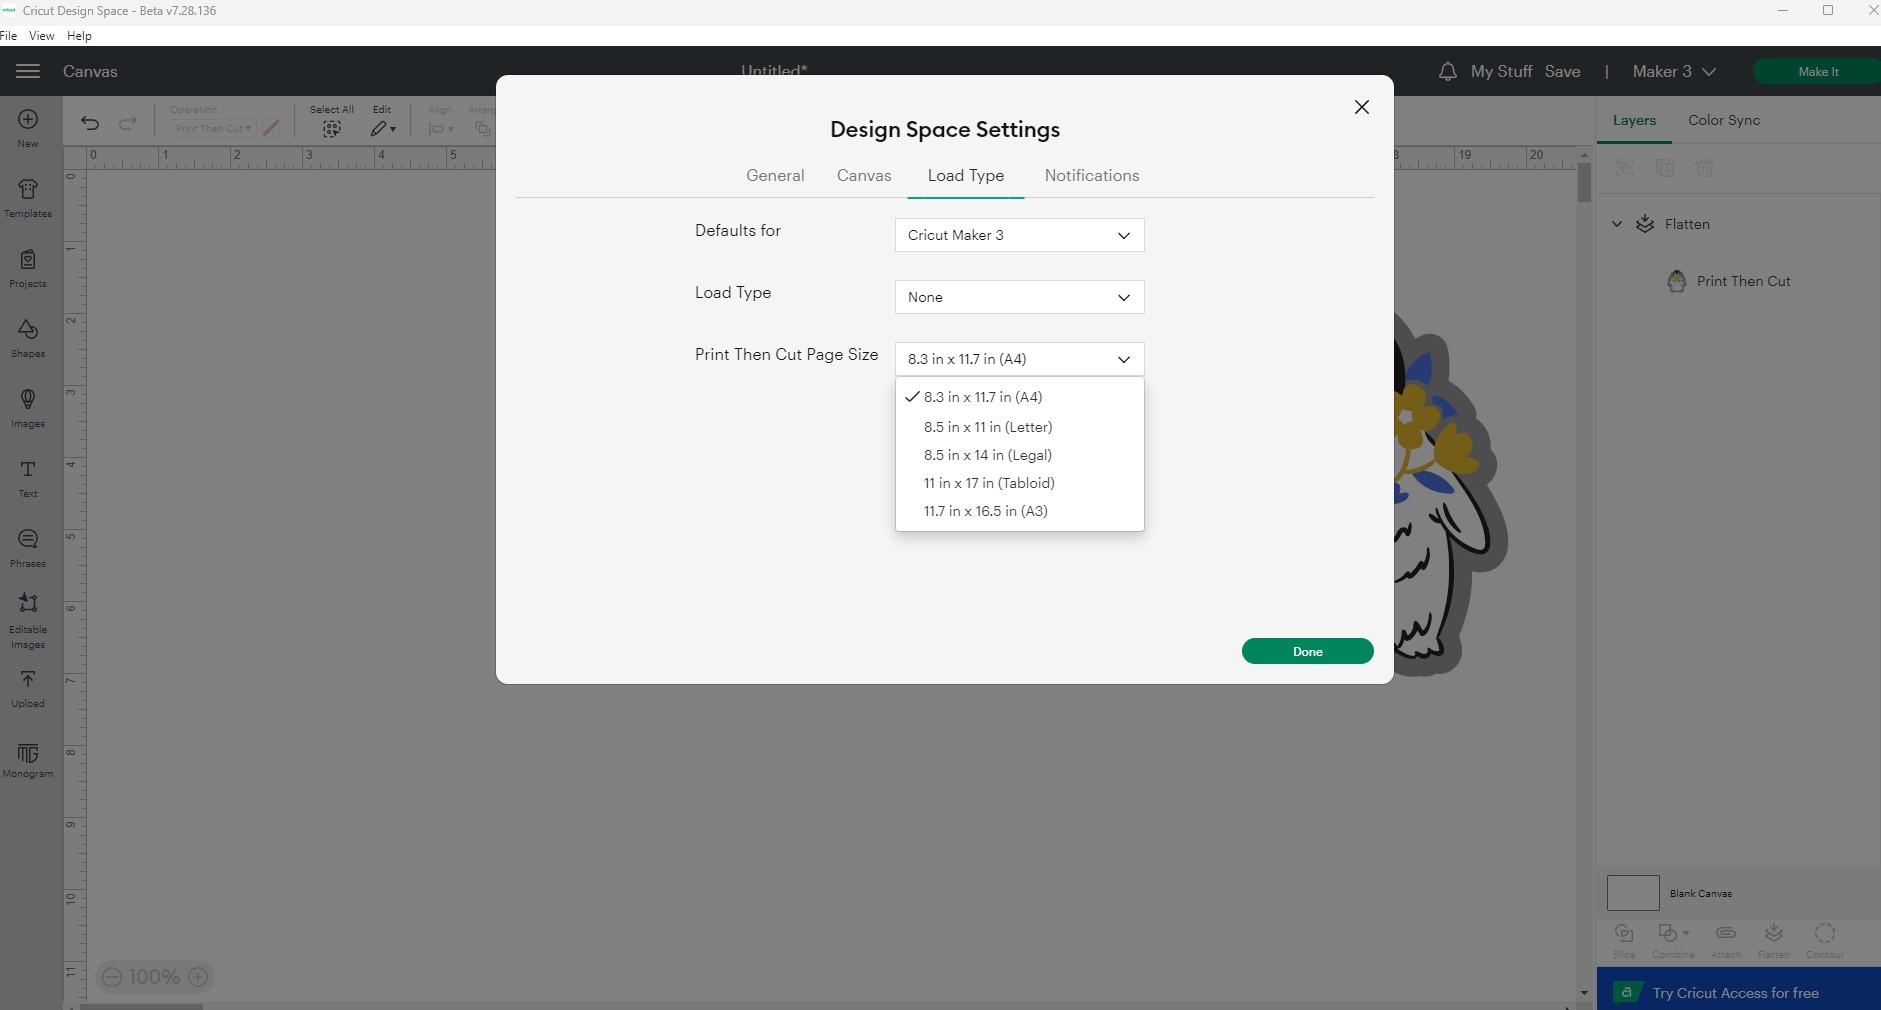
You can now print up to A3 and every time you are using a material it is important to check that the right material size has been selected. To do this, head to the top left menu in Design Space and choose ‘settings’ in the dropdown.
In the Design Space settings, click ‘Load Type’, then select the correct material sizing in the ‘Print Then Cut Page Size’ dropdown.
Why can’t I print on coloured card?
Reflective materials, coloured materials, or materials containing any kind of pattern may interfere with the cut sensor marks being read by the Cricut machine. We recommend using an Inkjet Printer and white materials for all your Print Then Cut projects with Cricut Explore and Cricut Explore 3. The Cricut Maker and Cricut Maker 3, though, can Print Then Cut on light to medium-coloured papers.
Why do my colours not match with my printed item vs Design Space?
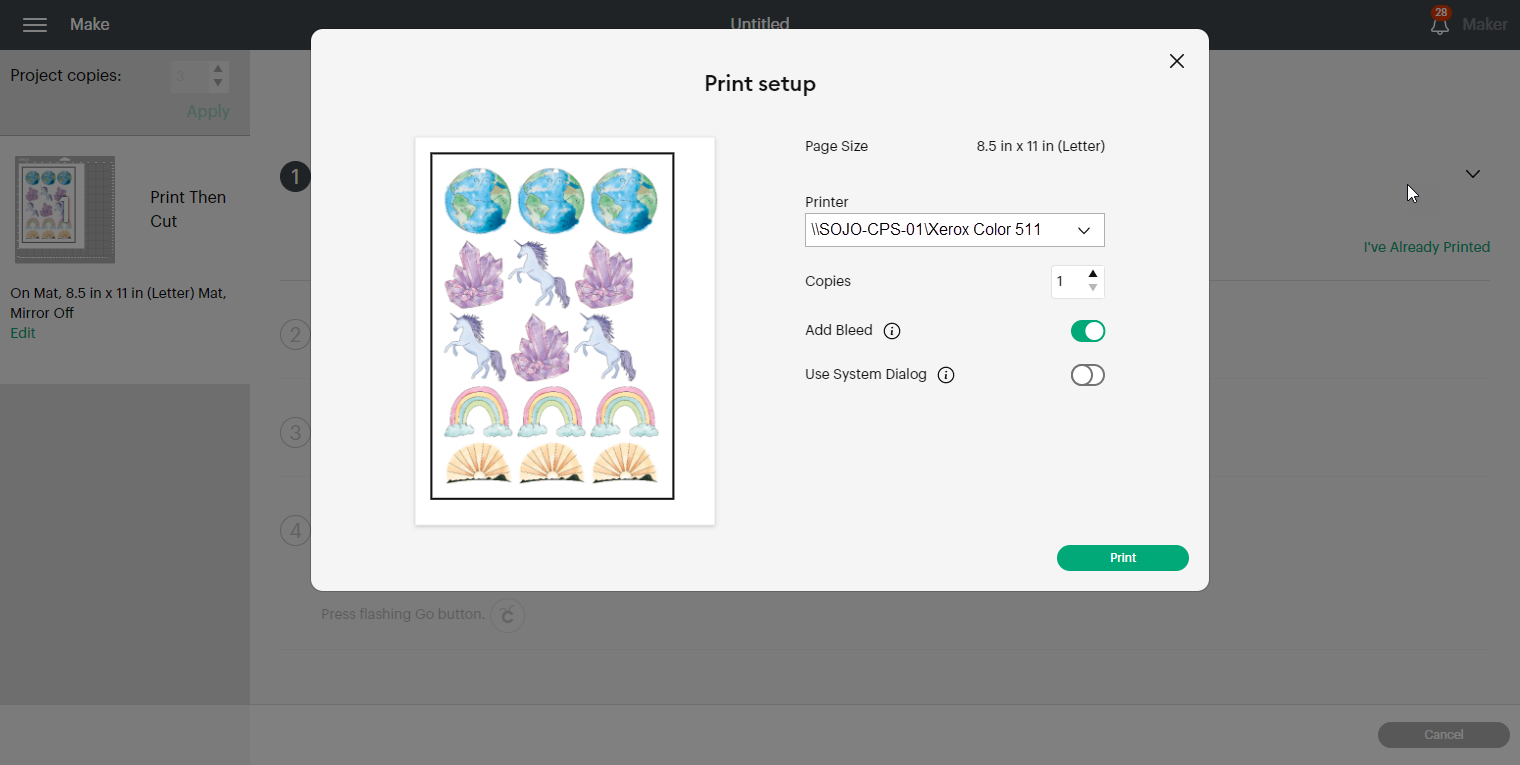
It is really important when sending to print that the correct printer settings are selected for your printer. After the mat preview stage you will see the button ‘Send to Printer’. From there, you will find a few options.
One is whether to add bleed. An image bleed will automatically be applied to the image(s) so that there is no white border left once the cut is complete. You may untick this if you do not have edge-to-edge colour images.
The other is to use ‘system dialogue’. Always tick this. As once you select ‘Print’ a new dialogue box opens up which is your printer settings! You can tailor the print to the material and quality type you need. Make sure options such as ‘fit onto page’ are not ticked as this may change the size of your images.
For learning what settings work best with the material you are printing on, experiment with different settings and compare the results. Then note down those settings for future uses.
Which material settings should I use for sticker sheets?
With Cricut Materials, these have been tried and tested to give you the best experience when making. Print then cut is no different with a range of printable sticker paper, printable vinyl, and printable clear sticker paper. These all have their own settings in the material dropdown and will create a sticker sheet when selected.
Why do I need to calibrate my machine for Print then Cut?
Print Then Cut calibration ensures your machine cuts precisely along the edge of your printed images. There are step-by-step instructions for how to do that on each compatible device here.
Share your makes with us
We cannot wait to see what you create! Make sure to share with us on social media by tagging @cricut_uk on Instagram and TikTok.
Share with our community on Design Space by publishing your project live. Find out how to publish and share projects in Design Space here.
You Might Enjoy…