Make a pillow sham with your July quilt Block of the Month
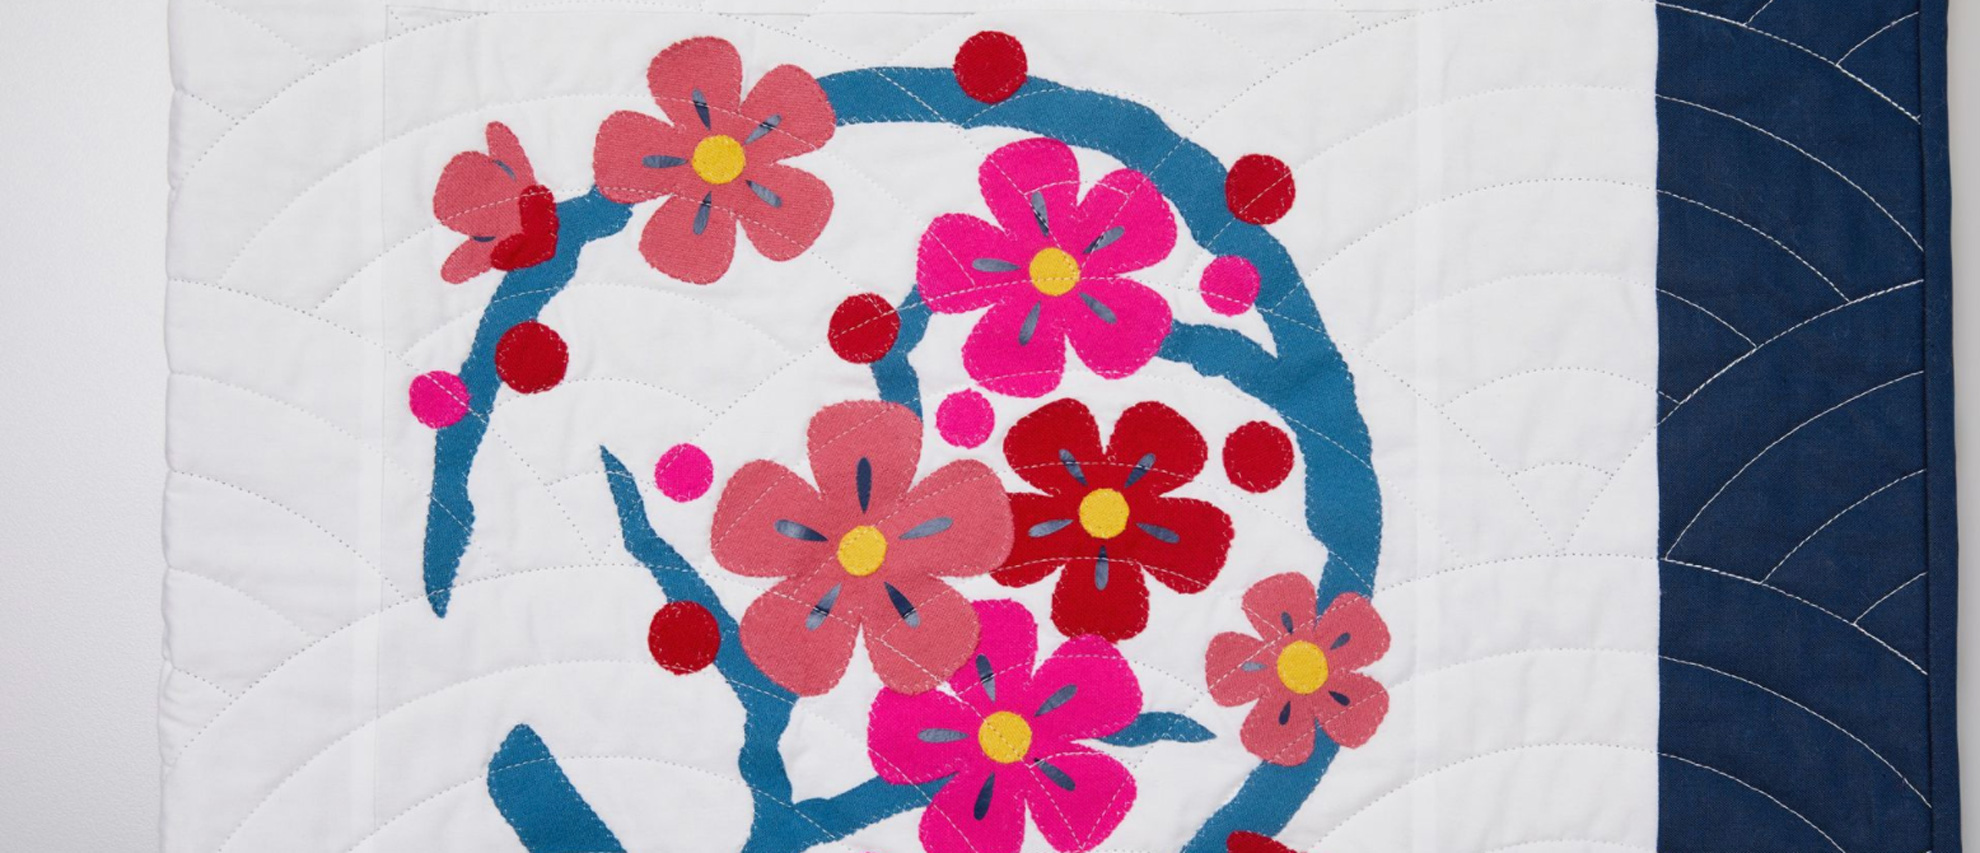
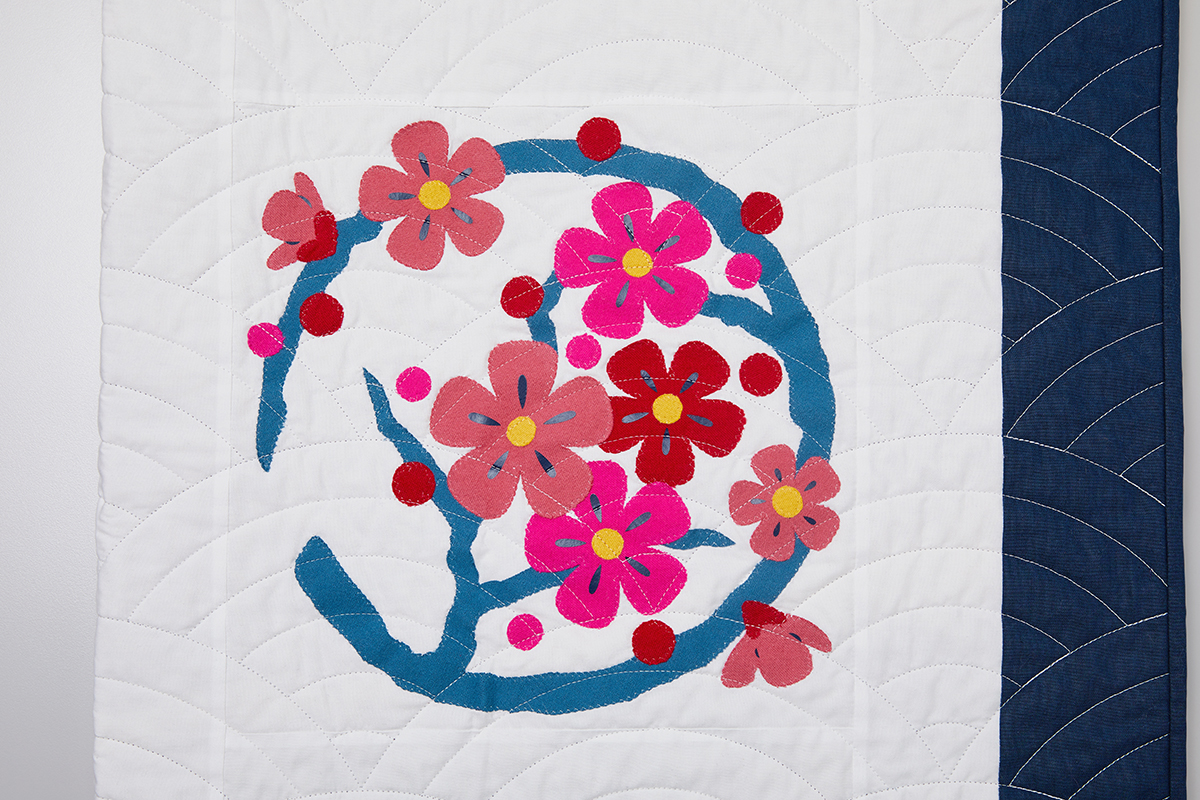
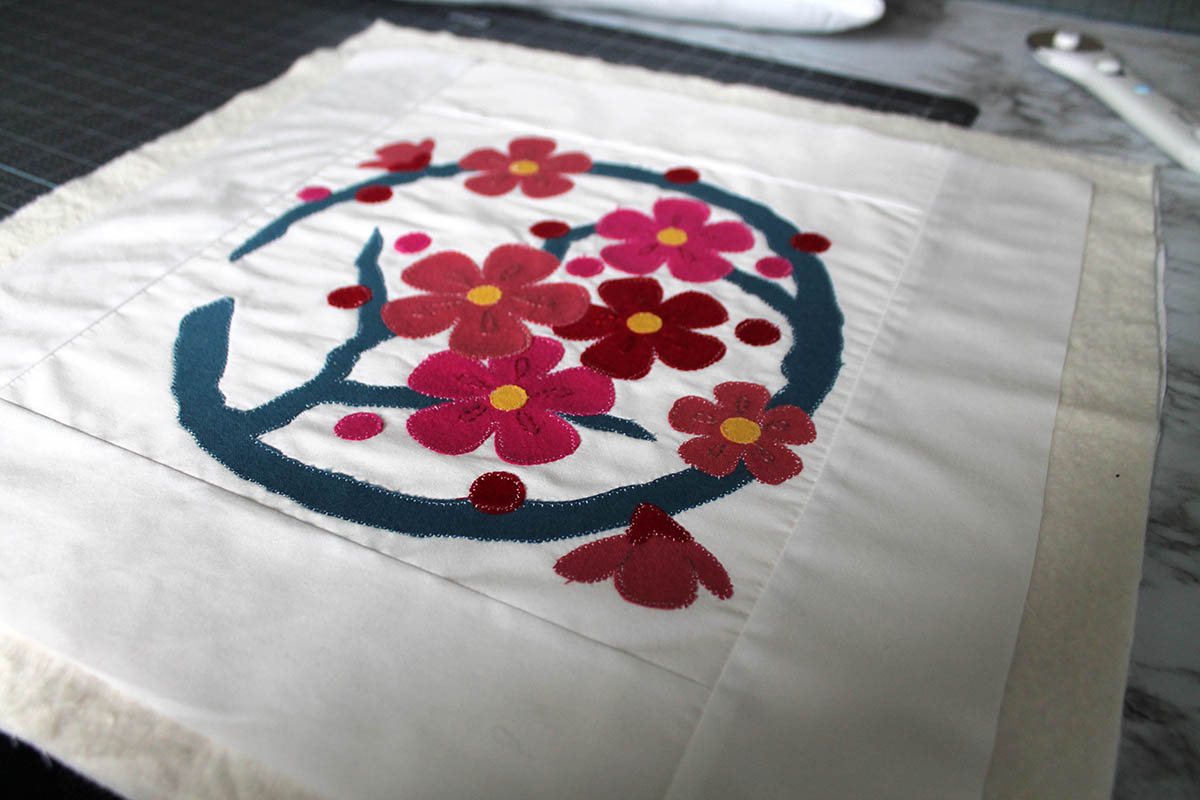
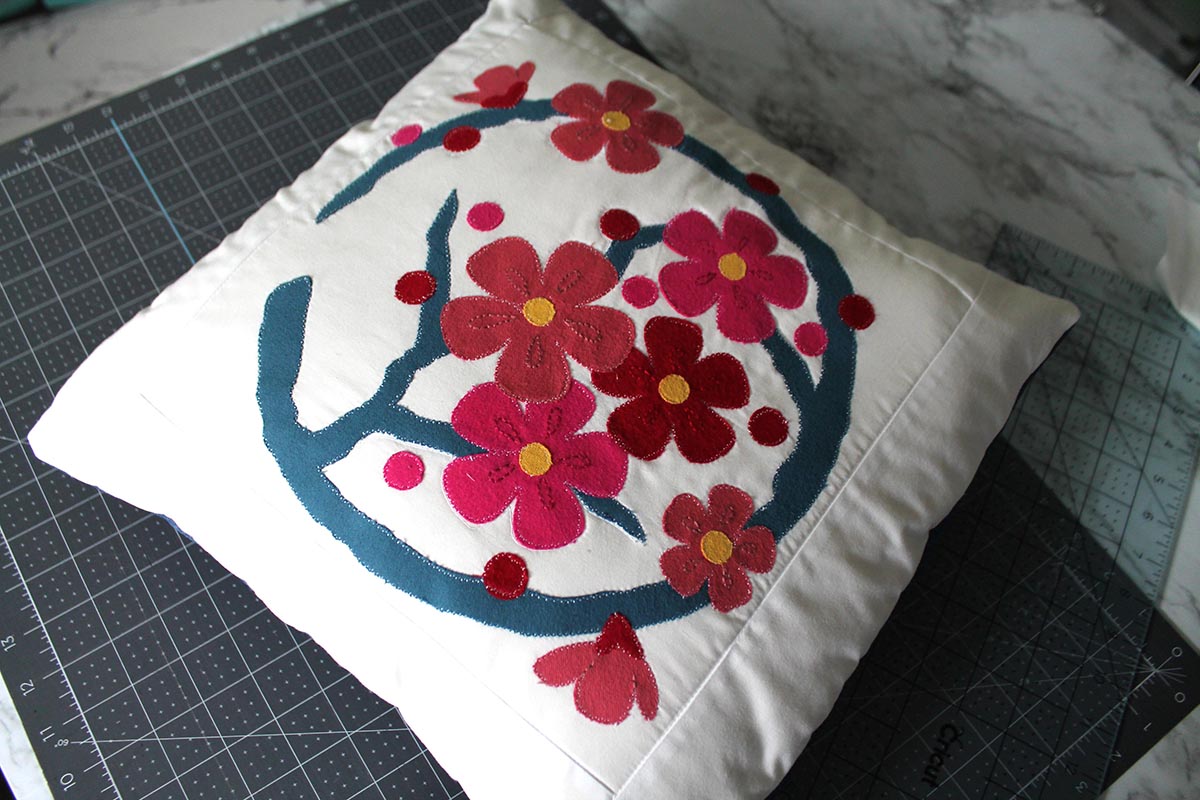
This beautiful, Japan-inspired floral block for the July Quilt Block of the Month is a little different from the last two blocks.
This month, we’ll be making this block into an envelope-style pillow sham.
Check out the July Quilt Block of the Month project page in Cricut Design Space for a full list of material needs and step-by-step instructions to make your block. For the envelope-style pillow sham instructions, read on!
Materials needed
- July Quilt Block of the Month
- pillow insert
- ½ yd white cotton
- scrap of batting or light-colored fleece
- ½ yd backing fabric
We’ll use the ½ yd of white cotton for sashing, but feel free to use your choice of background fabric instead. For the backing fabric, we’ve opted to use some medium-weight denim. The great part about an envelope pillow sham is that you don’t need buttons, zippers, or any other closures so it is so simple!
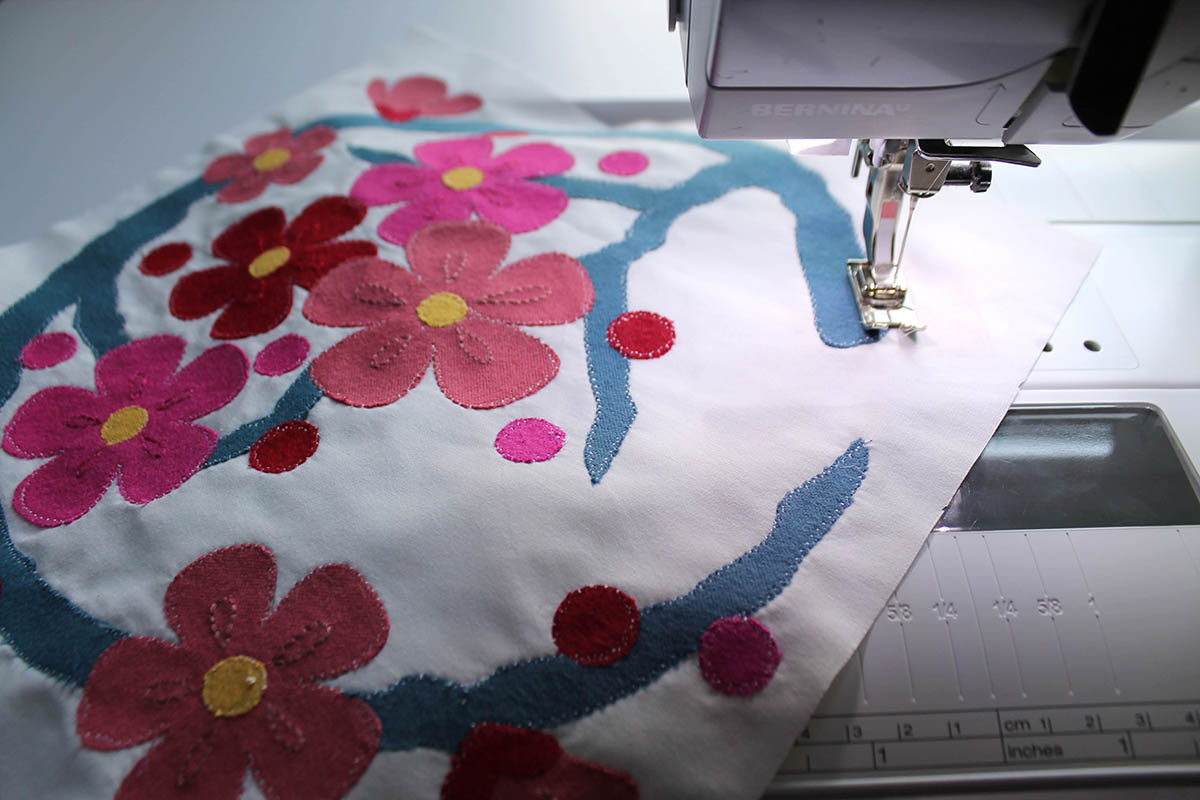
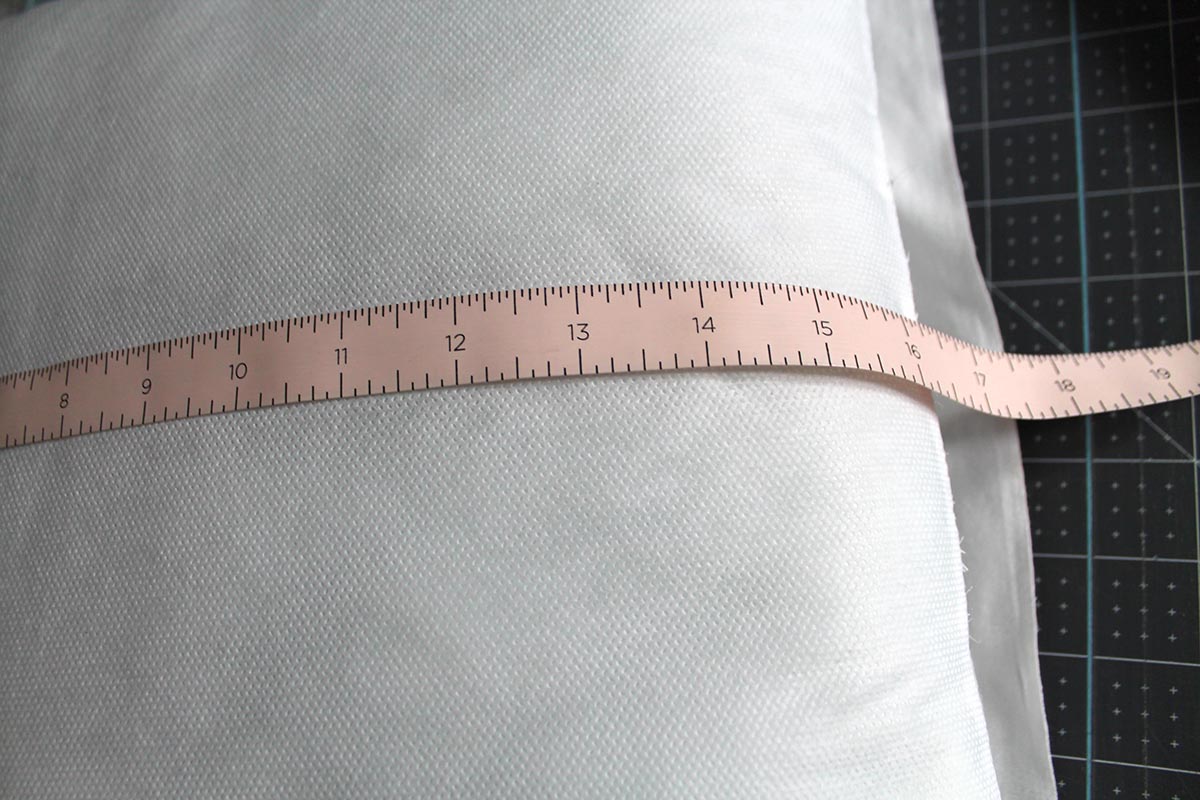
Start with your completed quilt block, making sure that to stitch down all edges. Then, measure your pillow insert to get the fabric requirements. Our pillow was approximately 16 in2, but yours may be different if you have a larger or smaller pillow.
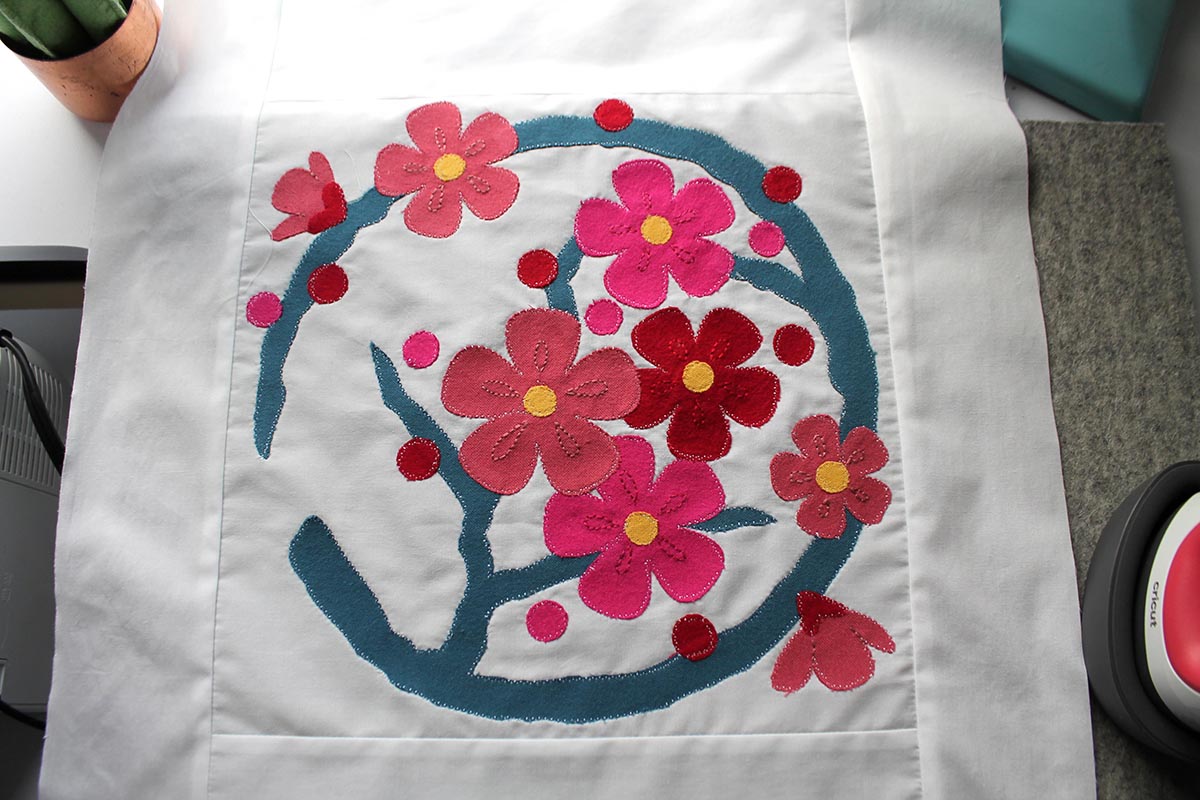
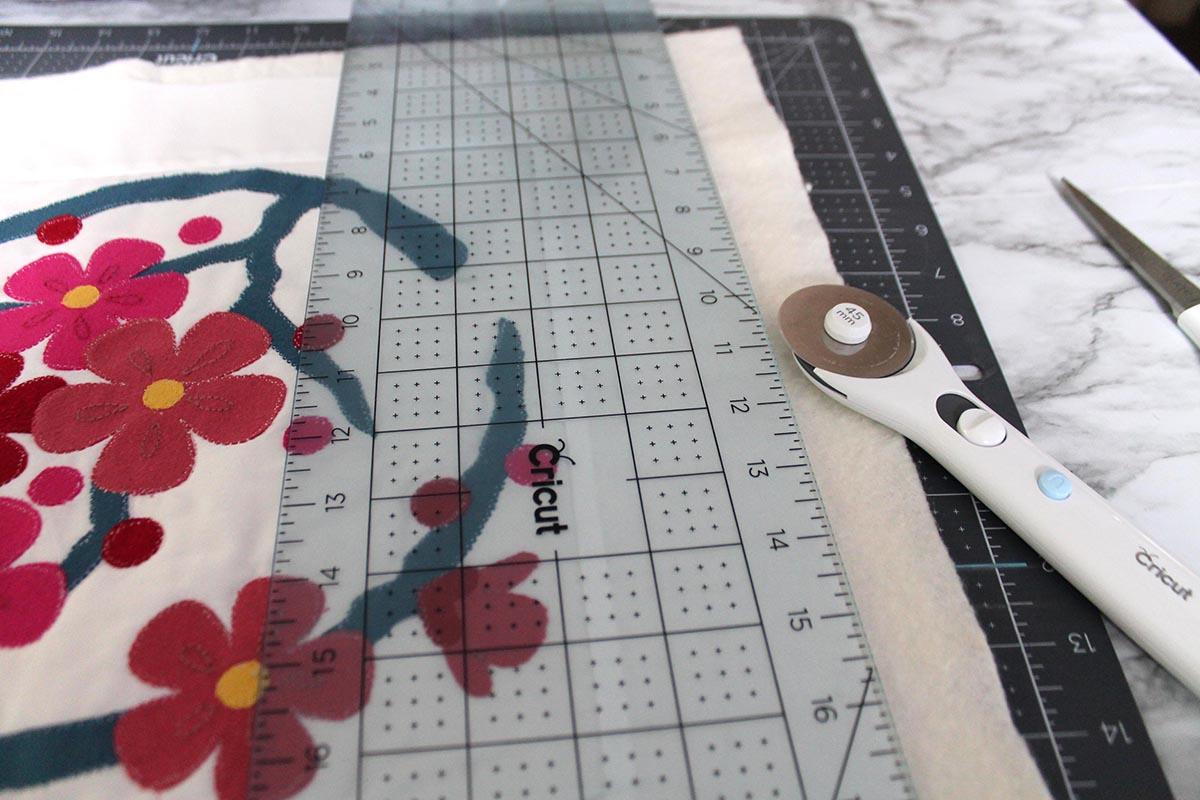
Since our pillow is so much larger than the original 11.5″ block, we need to increase its size to at least 17″. To do this, we cut 3″ wide strips of our white fabric and sewed them onto two sides of our block with a ¼” seam allowance. After sewing, we pressed the seams away from the block.

Then we used the 3″ sashing on the remaining two sides with a ¼” seam, remembering to press seams away from the block.
Next, we created a “quilt sandwich” by layering the block with batting and white fabric. Feel free to use basting spray or pins if desired. We also did a little bit of quilting throughout the design and “stitch in the ditch” along the sashing.
Once that’s done, trim the quilted block to the edge of the block with the sashing so that it is square. Our block ended up measuring approximately 16.5 in2.
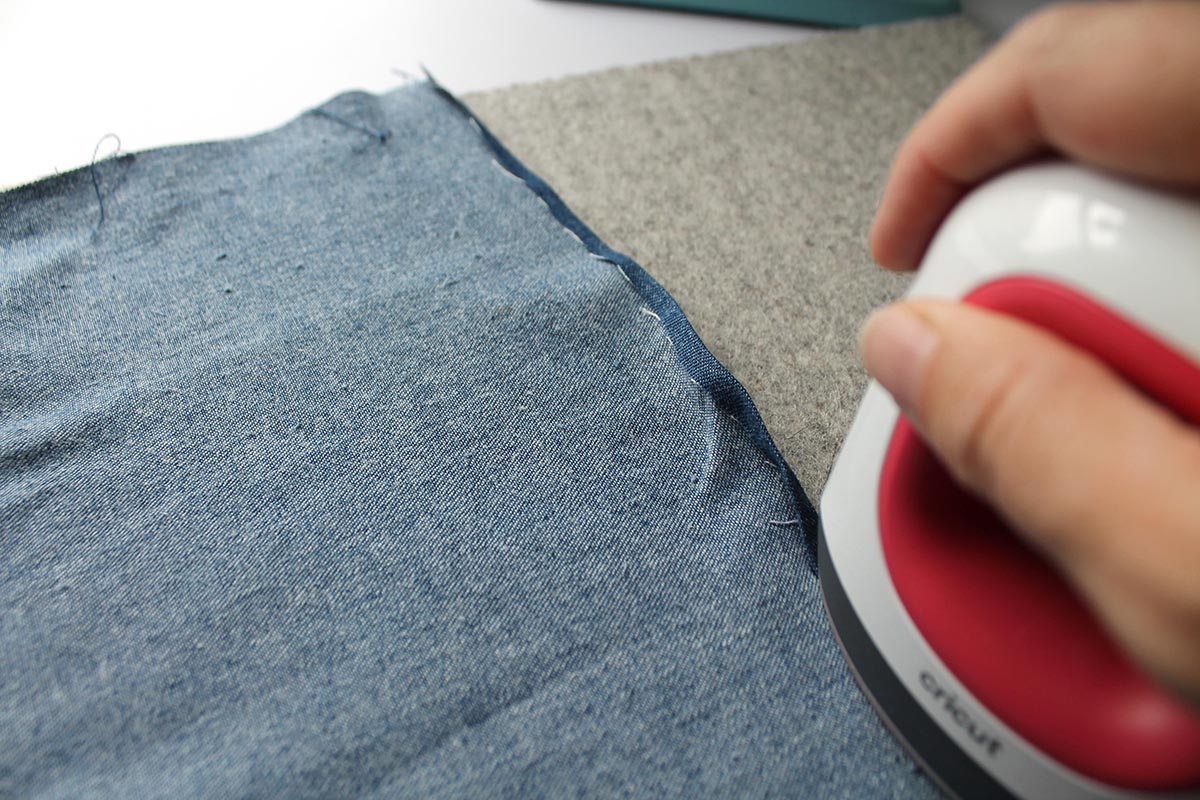
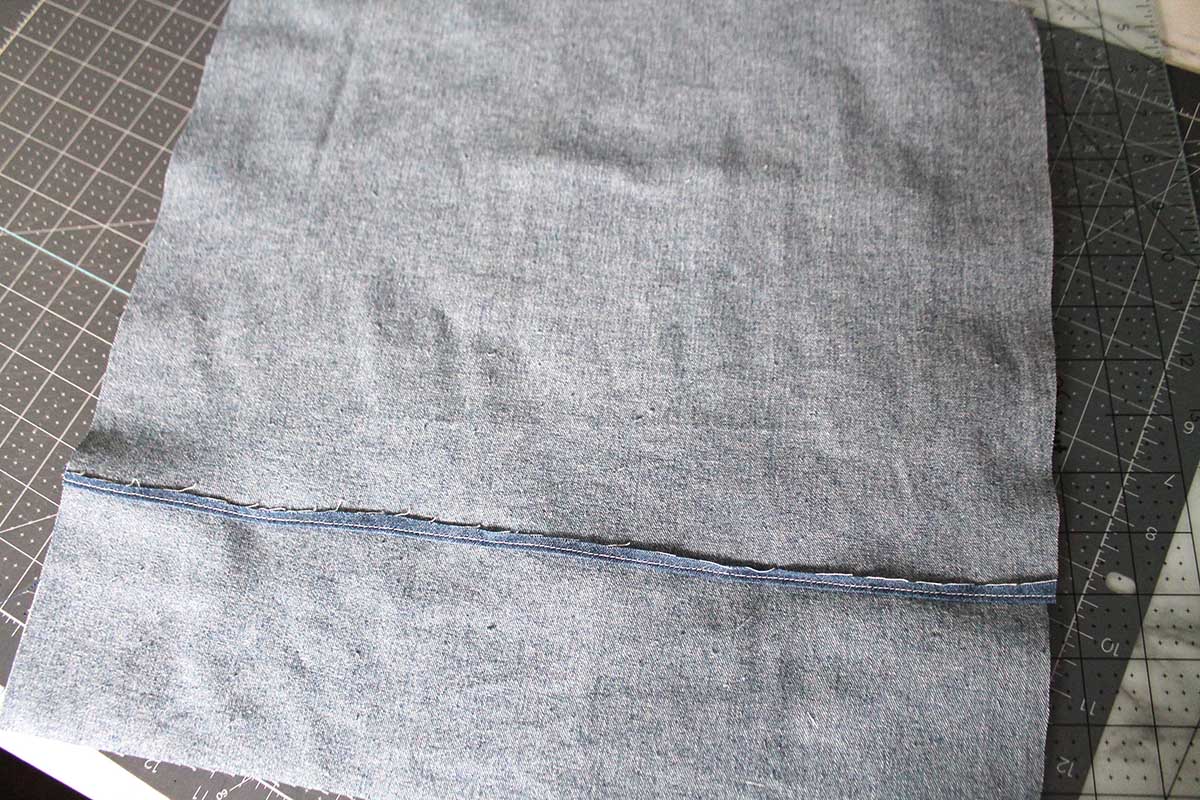
To make the back, we cut two 16.5″ x 11.5″ rectangles out of the medium-weight denim and created a hem on one long edge of each of the two pieces. We pressed the edge over twice and topstitched it down.
Next, we placed one of the hemmed pieces (right sides together) so that the unhemmed sides aligned with the edges of the pillow top. The hemmed edge should now be right across the middle.
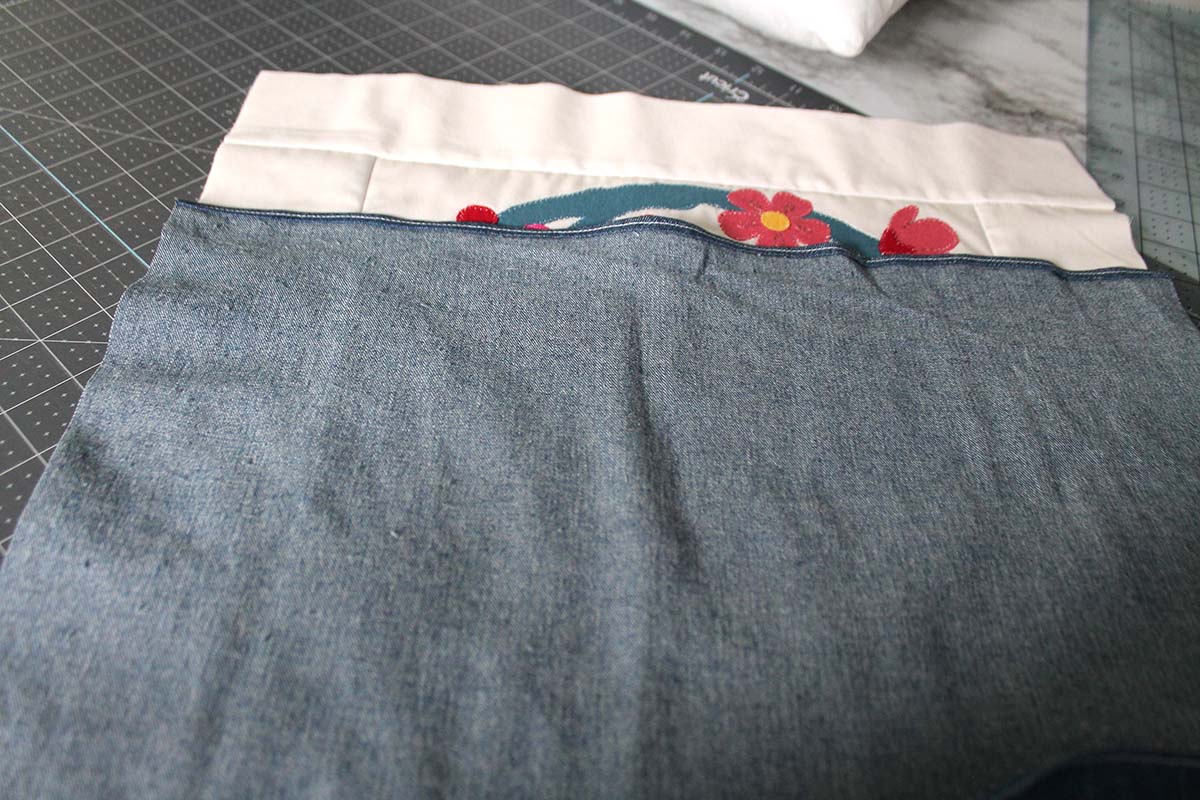
Then we placed the second hemmed backer piece so that the unhemmed edges aligned with the edges of the quilt block, and the hemmed edged overlapped the previous hemmed piece. Once that was all aligned, we simply sewed all the way around the edges with a ¼”.
Now it’s time to insert the pillow into the completed sham. Simply turn the completed pillow sham right side out using the hemmed opening, press, insert, and you’re done!
The best part about this project is that you can do make this pillow sham style with any of the blocks.
We hope that you make the July Quilt Block of the Month and make sure to tag us on social with your projects using #CricutBlockOfTheMonth.
Check back next month for the next block and more inspirational projects!
Related Making


Search How-To
I want to make...