It’s Rumana (from The Little Pomegranate) back here on the Cricut Blog and this time we’re turning our focus to Eid! Can you believe how quickly the month has flown by already? I like to try and start my Eid preparations early so I can try and keep the last 10 days relatively calm, but I still end up until 2am the night before Eid in a scramble to get everything done!
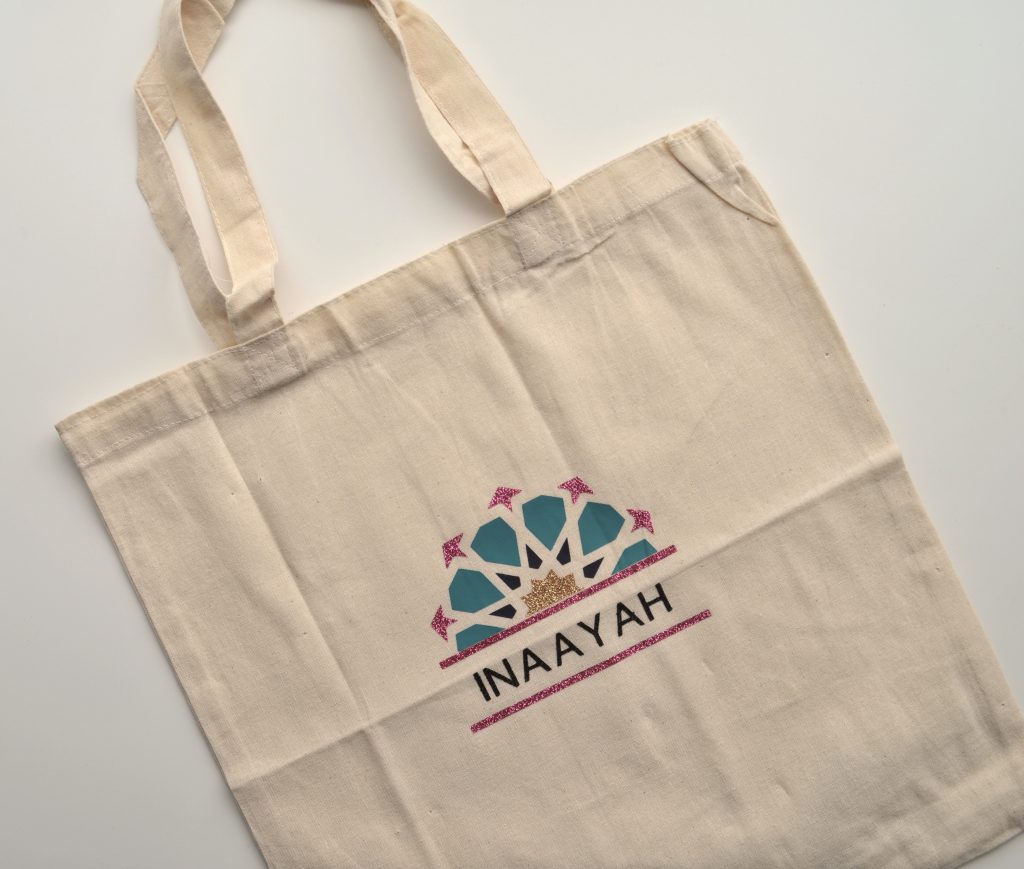
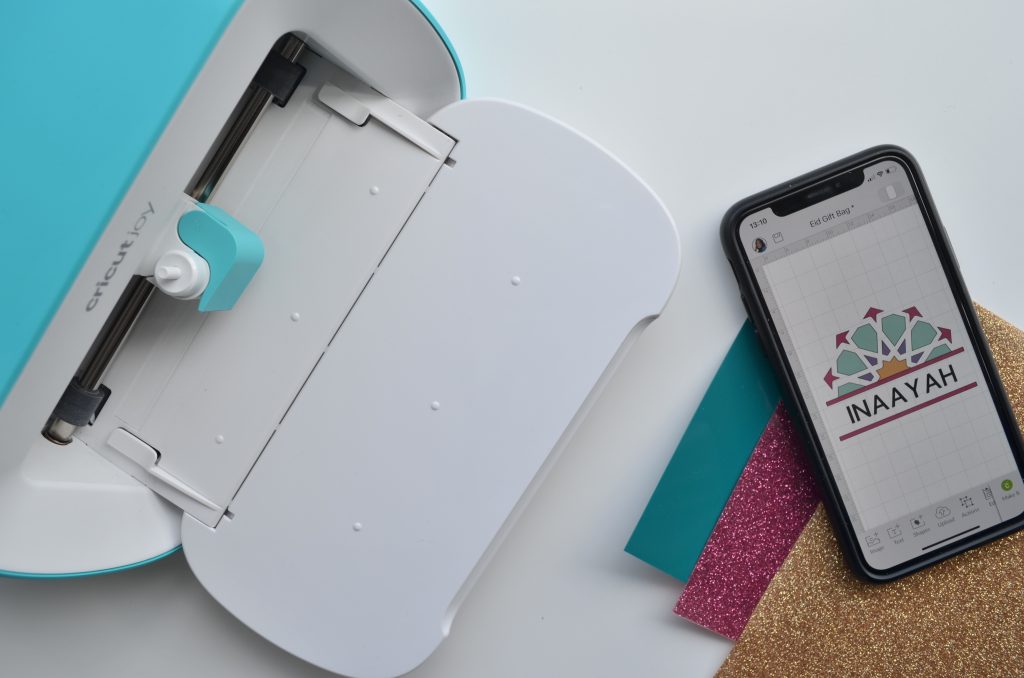
With Eid comes the chance to celebrate with family, food, new clothes and gifts. But with the reflections of the month I’ve been more conscious of the environment and how I can try to reduce the waste that comes out of my home. One of the things I’ve cut out is wrapping paper. As beautiful as it is, sadly most of it is not recyclable. But not wanting to miss out of the glitz of wrapping paper I decided to make personalised, reusable gift bags for the children in the family. Something that they could use again and again or be used for general day-to-day use. This is a really quick an easy project which you can resize for all sorts of bags. You could even use a Cricut Blank and use infusible ink as well. I made this one on my Cricut Joy.
For my version I’m using:
- Smart Iron On Vinyl in: Pink (Glitter), Navy and Teal
- Glitter Iron On Vinyl in Glitter Gold and Glitter Black
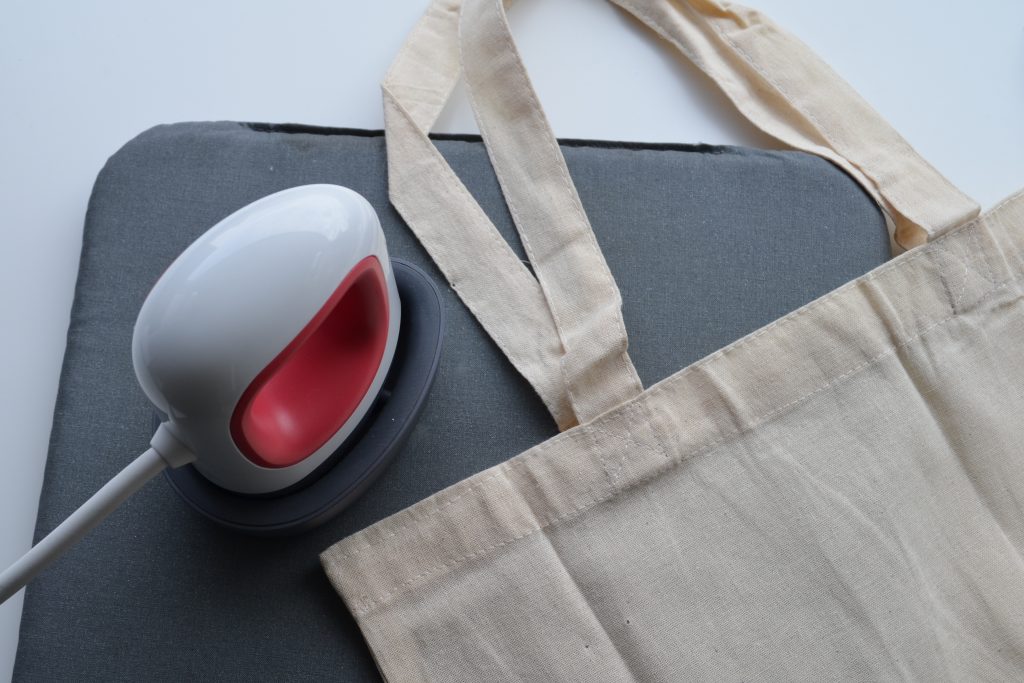
- Mini Easy press
- Heat Proof Mat
- Cotton tote bag
Download the SVG file from my blog post and follow the instructions to import it into Design Space.
Step 1
Cut your vinyl out following the instructions on Design Space. If you’re adding a name, I used the font ‘Mukta Mahee’ which is a standard ‘System’ font.
Step 2
Cut around your pieces to reduce waste when weeding.
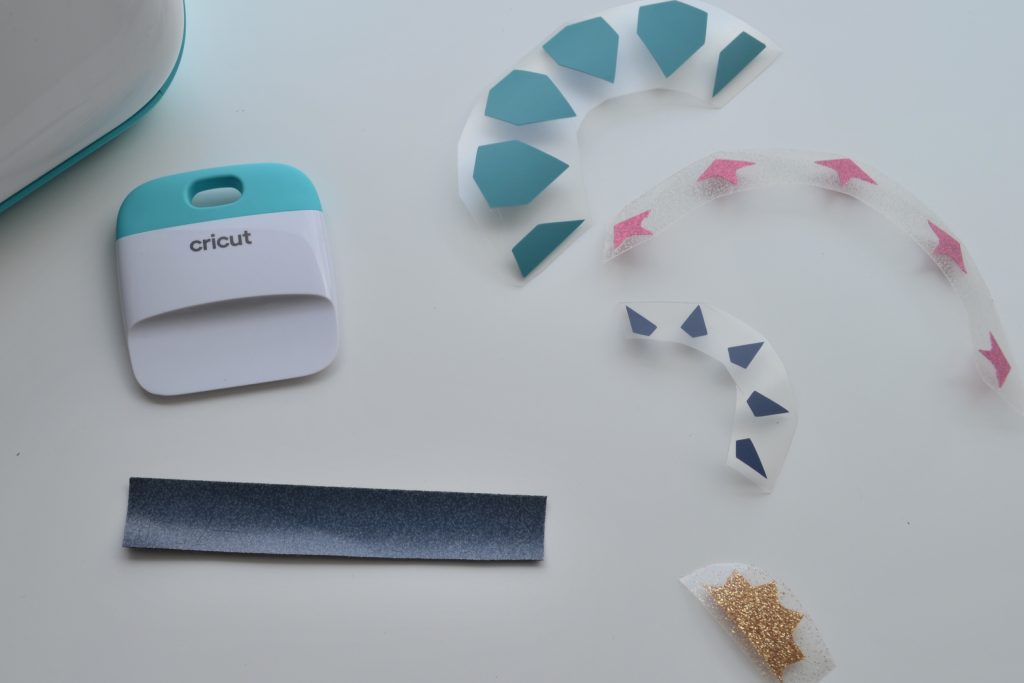
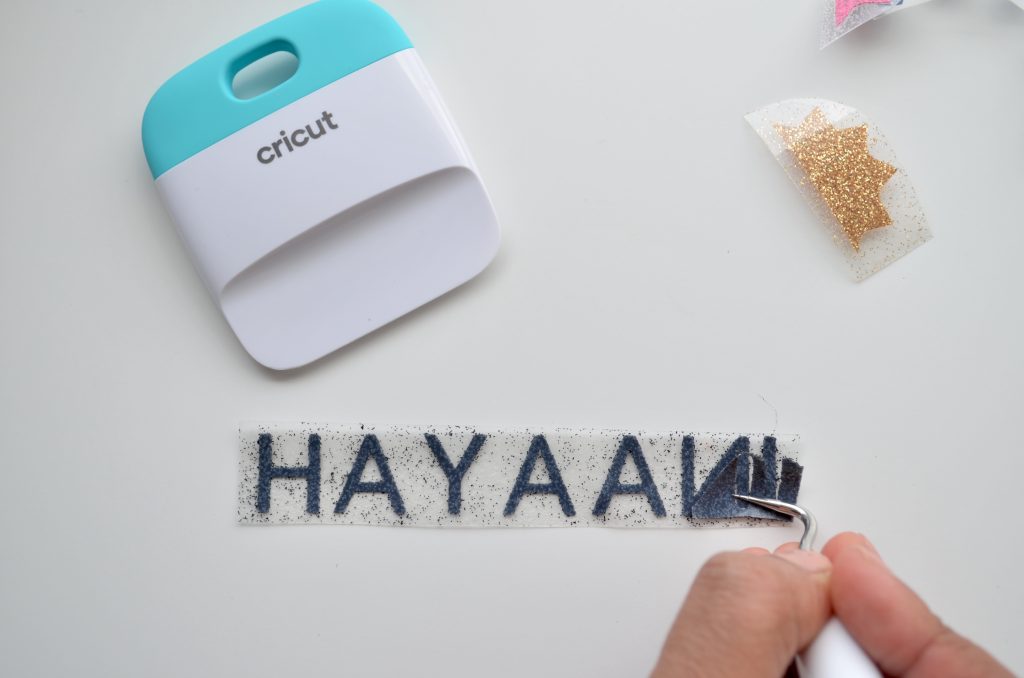
Step 3
Use a weeding tool to help weed all your layers.
Step 4
Follow the instructions on the Heat Guide to apply the vinyl to your bag. Make sure you pre-press your bag.
Step 5
I start with the name, measuring it out to sit in the centre of the tote bag.
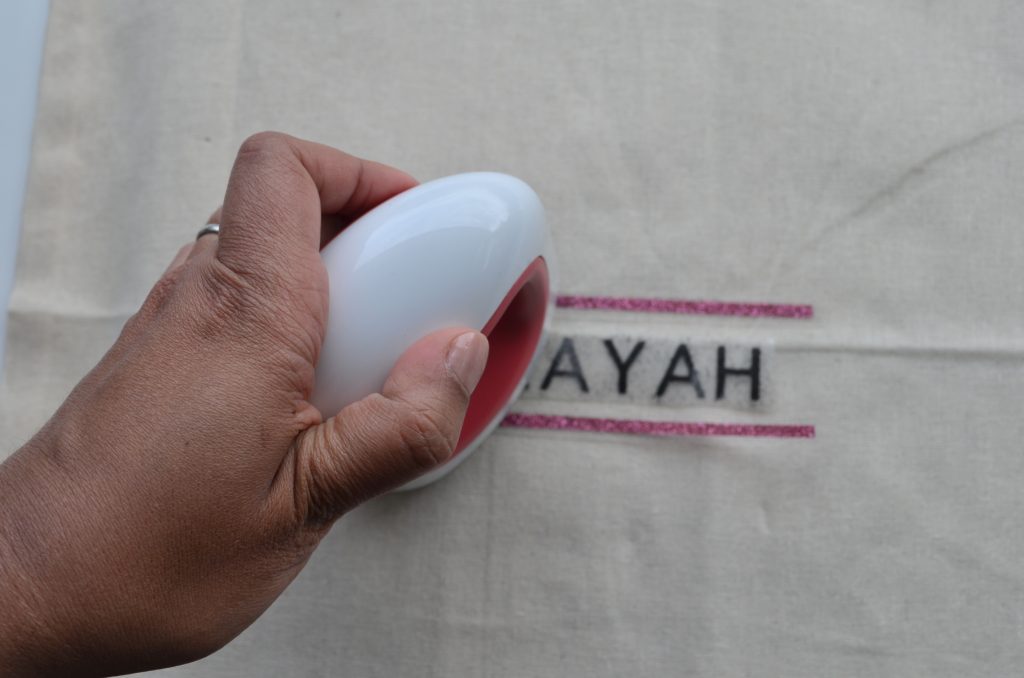
Step 6
Work your way out, starting with the centre star.
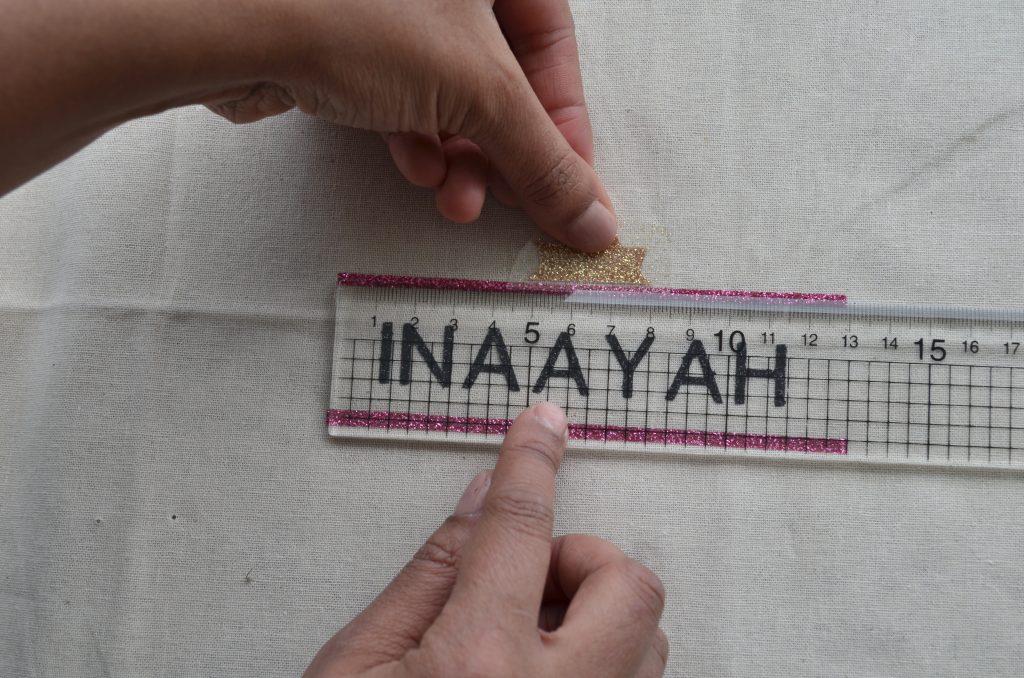
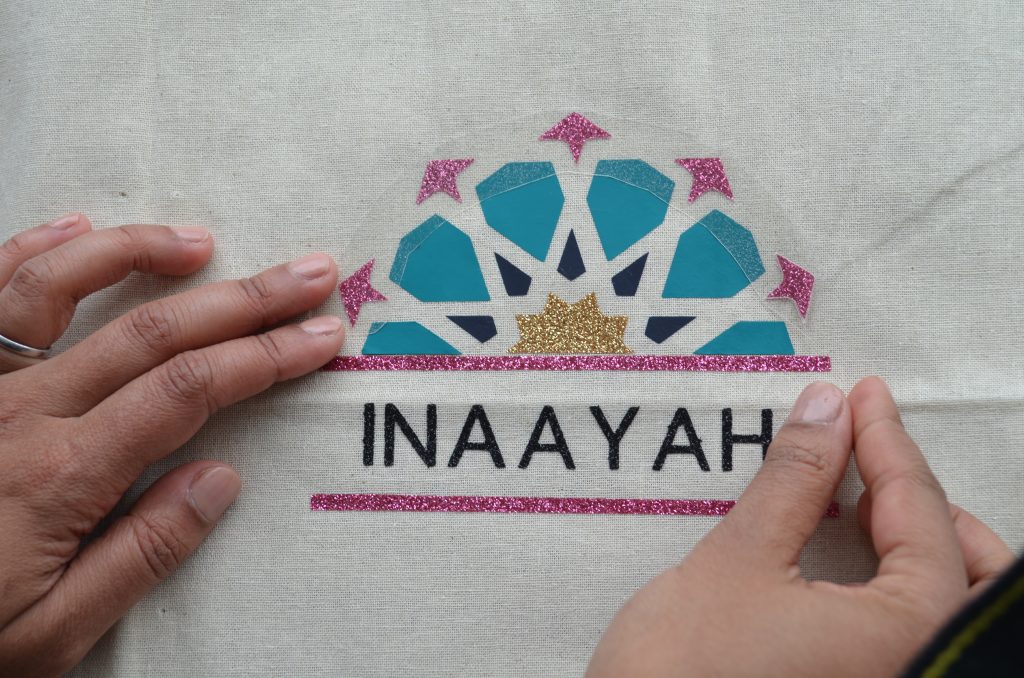
Step 7
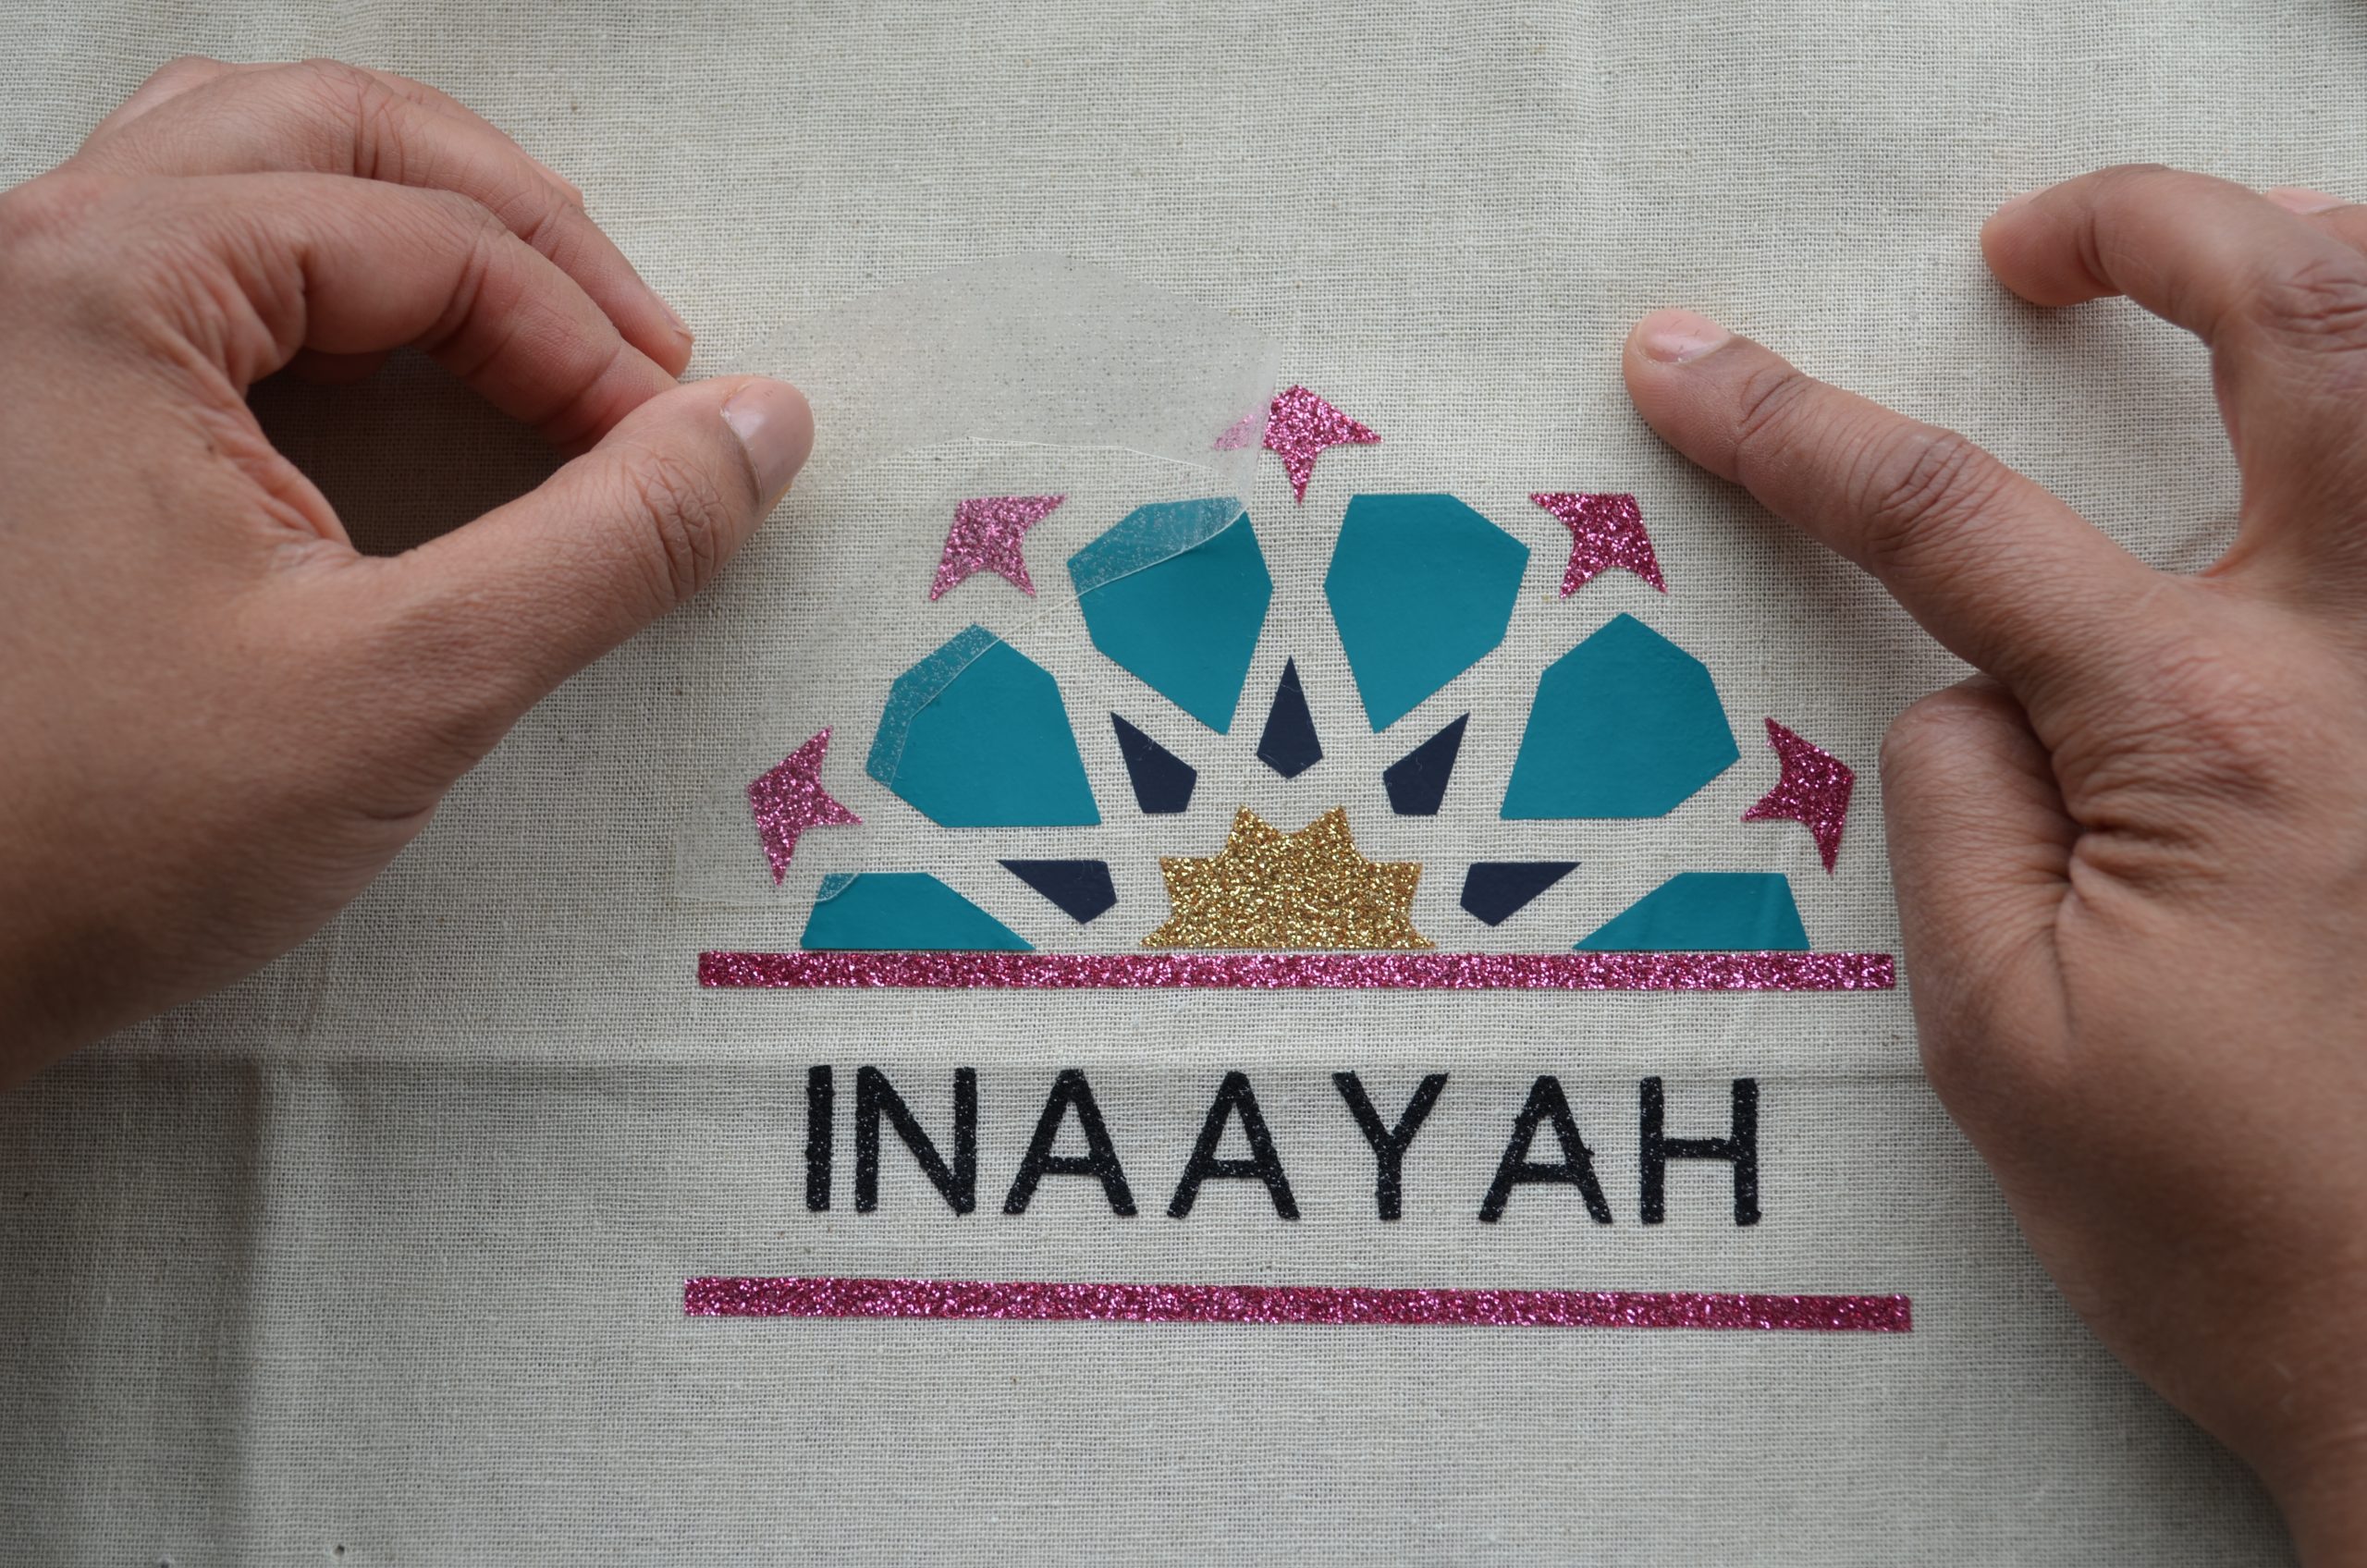
Peel off the plastic carrier before moving onto the next bit. Follow the Heat Guide instructions and covering any of the vinyl you’ve already applied.

I hope you enjoy making these. They are really easy to make and I’ve already used my daughter’s one for other special days including her birthday. The gift that keeps on giving!
You Might Enjoy…