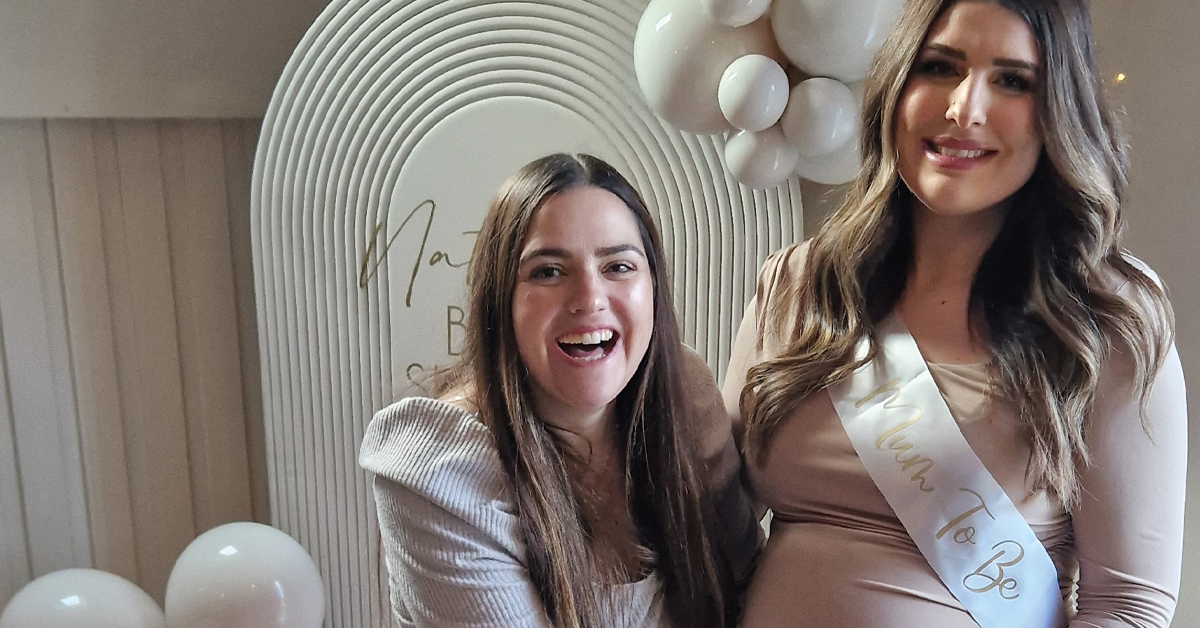
How to plan a wedding: The Story of a Bride To Be.
Discover essential tips and strategies from our Cricut crafter planning her dream wedding. From setting the vision to crafting timelines, this guide has you covered.
Welcome to the first instalment of our series following bride-to-be Clare Elman’s journey planning to her picture-perfect wedding day, all with the help of her trusty Cricut machines.
Throughout the series, we will delve into Clare’s creative process. We’ll be exploring how she harnesses the power of Cricut technology to craft a personalised wedding. We’ll look at decorations, invitations, and special touches for her dream wedding.
Follow along as we uncover the tips, tricks, and DIY hacks Clare employs to turn her wedding visions into reality. Whether you’re a seasoned DIY enthusiast or a bride-to-be seeking inspiration, this series promises to be a treasure trove of innovative ideas and heartfelt moments.
Clare Elman: Bride to Be – Part 1 How to plan a wedding
As a crafter, planning your wedding can be so exciting, especially when you’re eager to infuse it with your own personal touch. As a passionate Cricut crafter and a 2024 bride currently planning my wedding on a budget, it’s overwhelming to know where to start, especially when you already know all the possibilities that Cricut can bring.
For me, I decided to work backwards. I am easily distracted and would make 80 different crafts if I could! Realistically there isn’t the time or the budget. I know what I can make with my Cricut, but I started with what I wanted my wedding to look like. Here are my tips and details of how I created my plan.
Set the Vision Together
Although I am the one doing the crafting (and crafting at every opportunity) we want our joint vision to align. I am very guilty of seeing something on Design Space and rolling with it, so having a document that my partner and I can both edit ensures that the projects I create match both of our expectations.
We use Notion as a family, so we created a Notion board and split it into a number of pages. The first page catalogues the known details, such as: where we are getting married, times, important figures, people we want remembered at the wedding, etc. We also have a list of non-negotiables, negotiables and things that we are both flexible about.
Define Your Aesthetic
Once we had all the important items out of the way, we started to think about how we wanted our wedding to look.
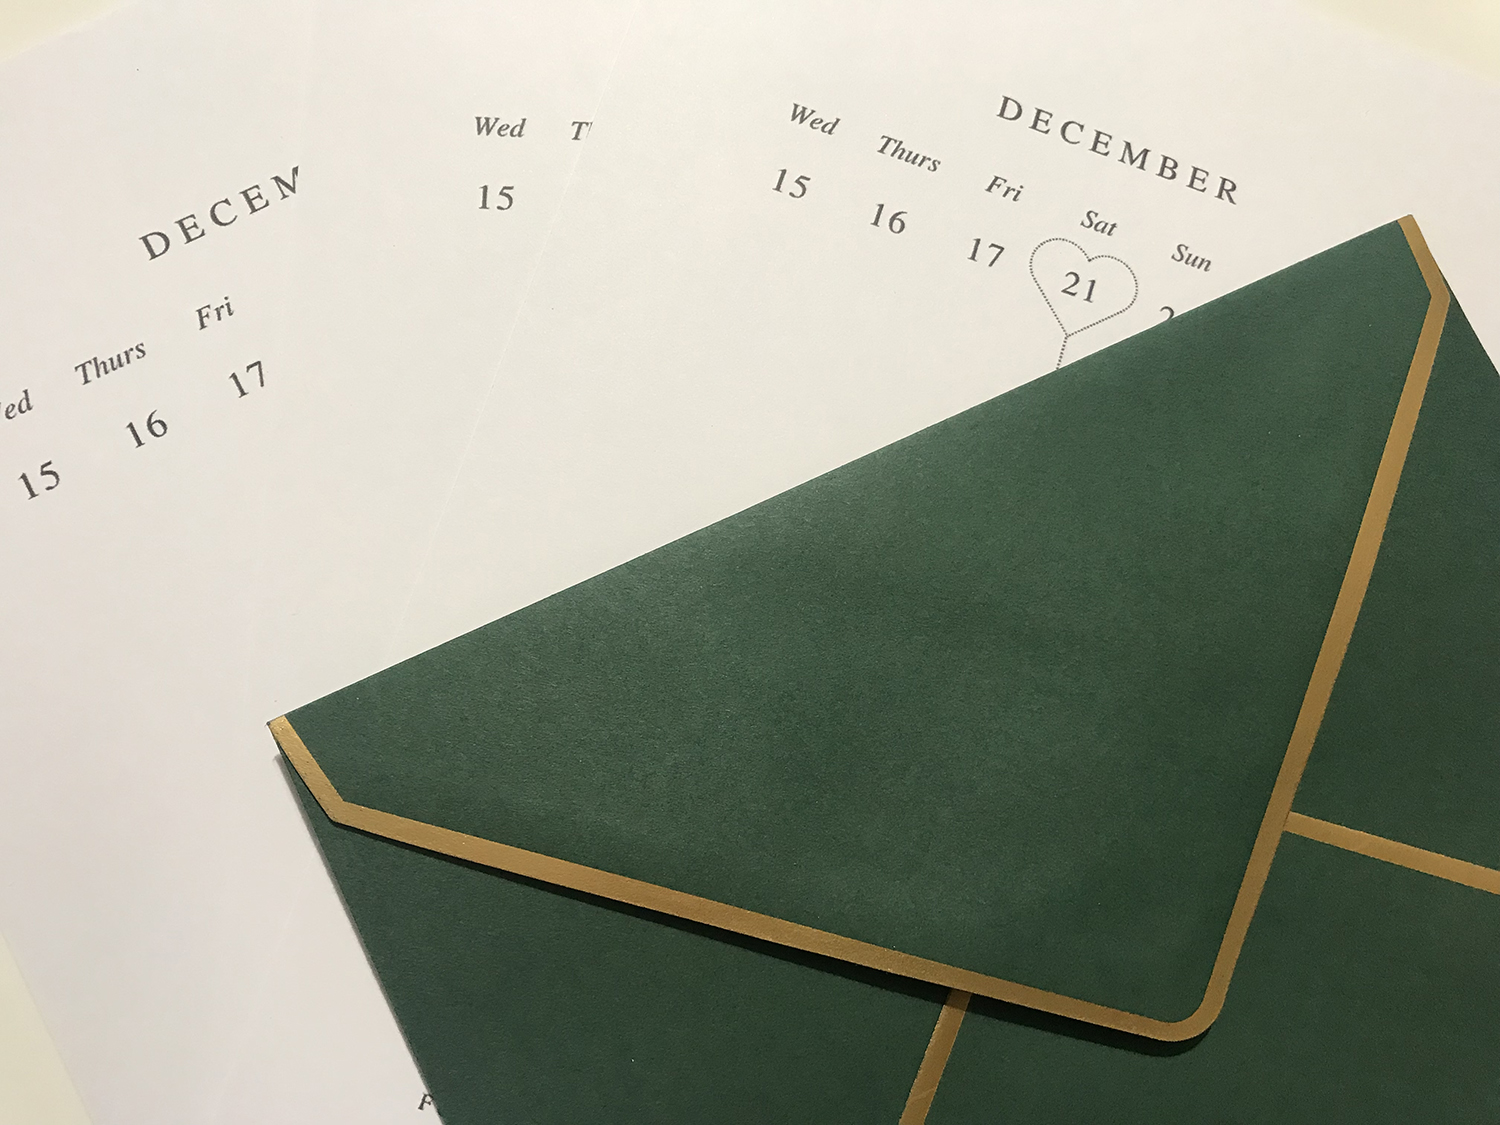
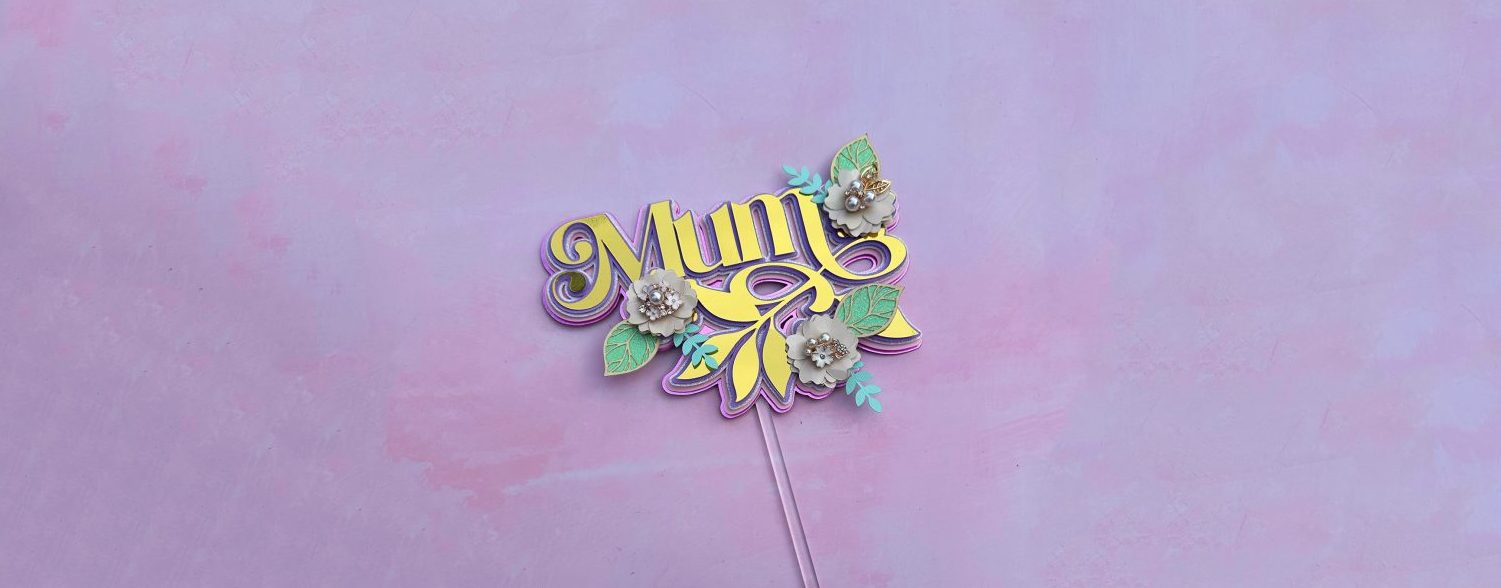
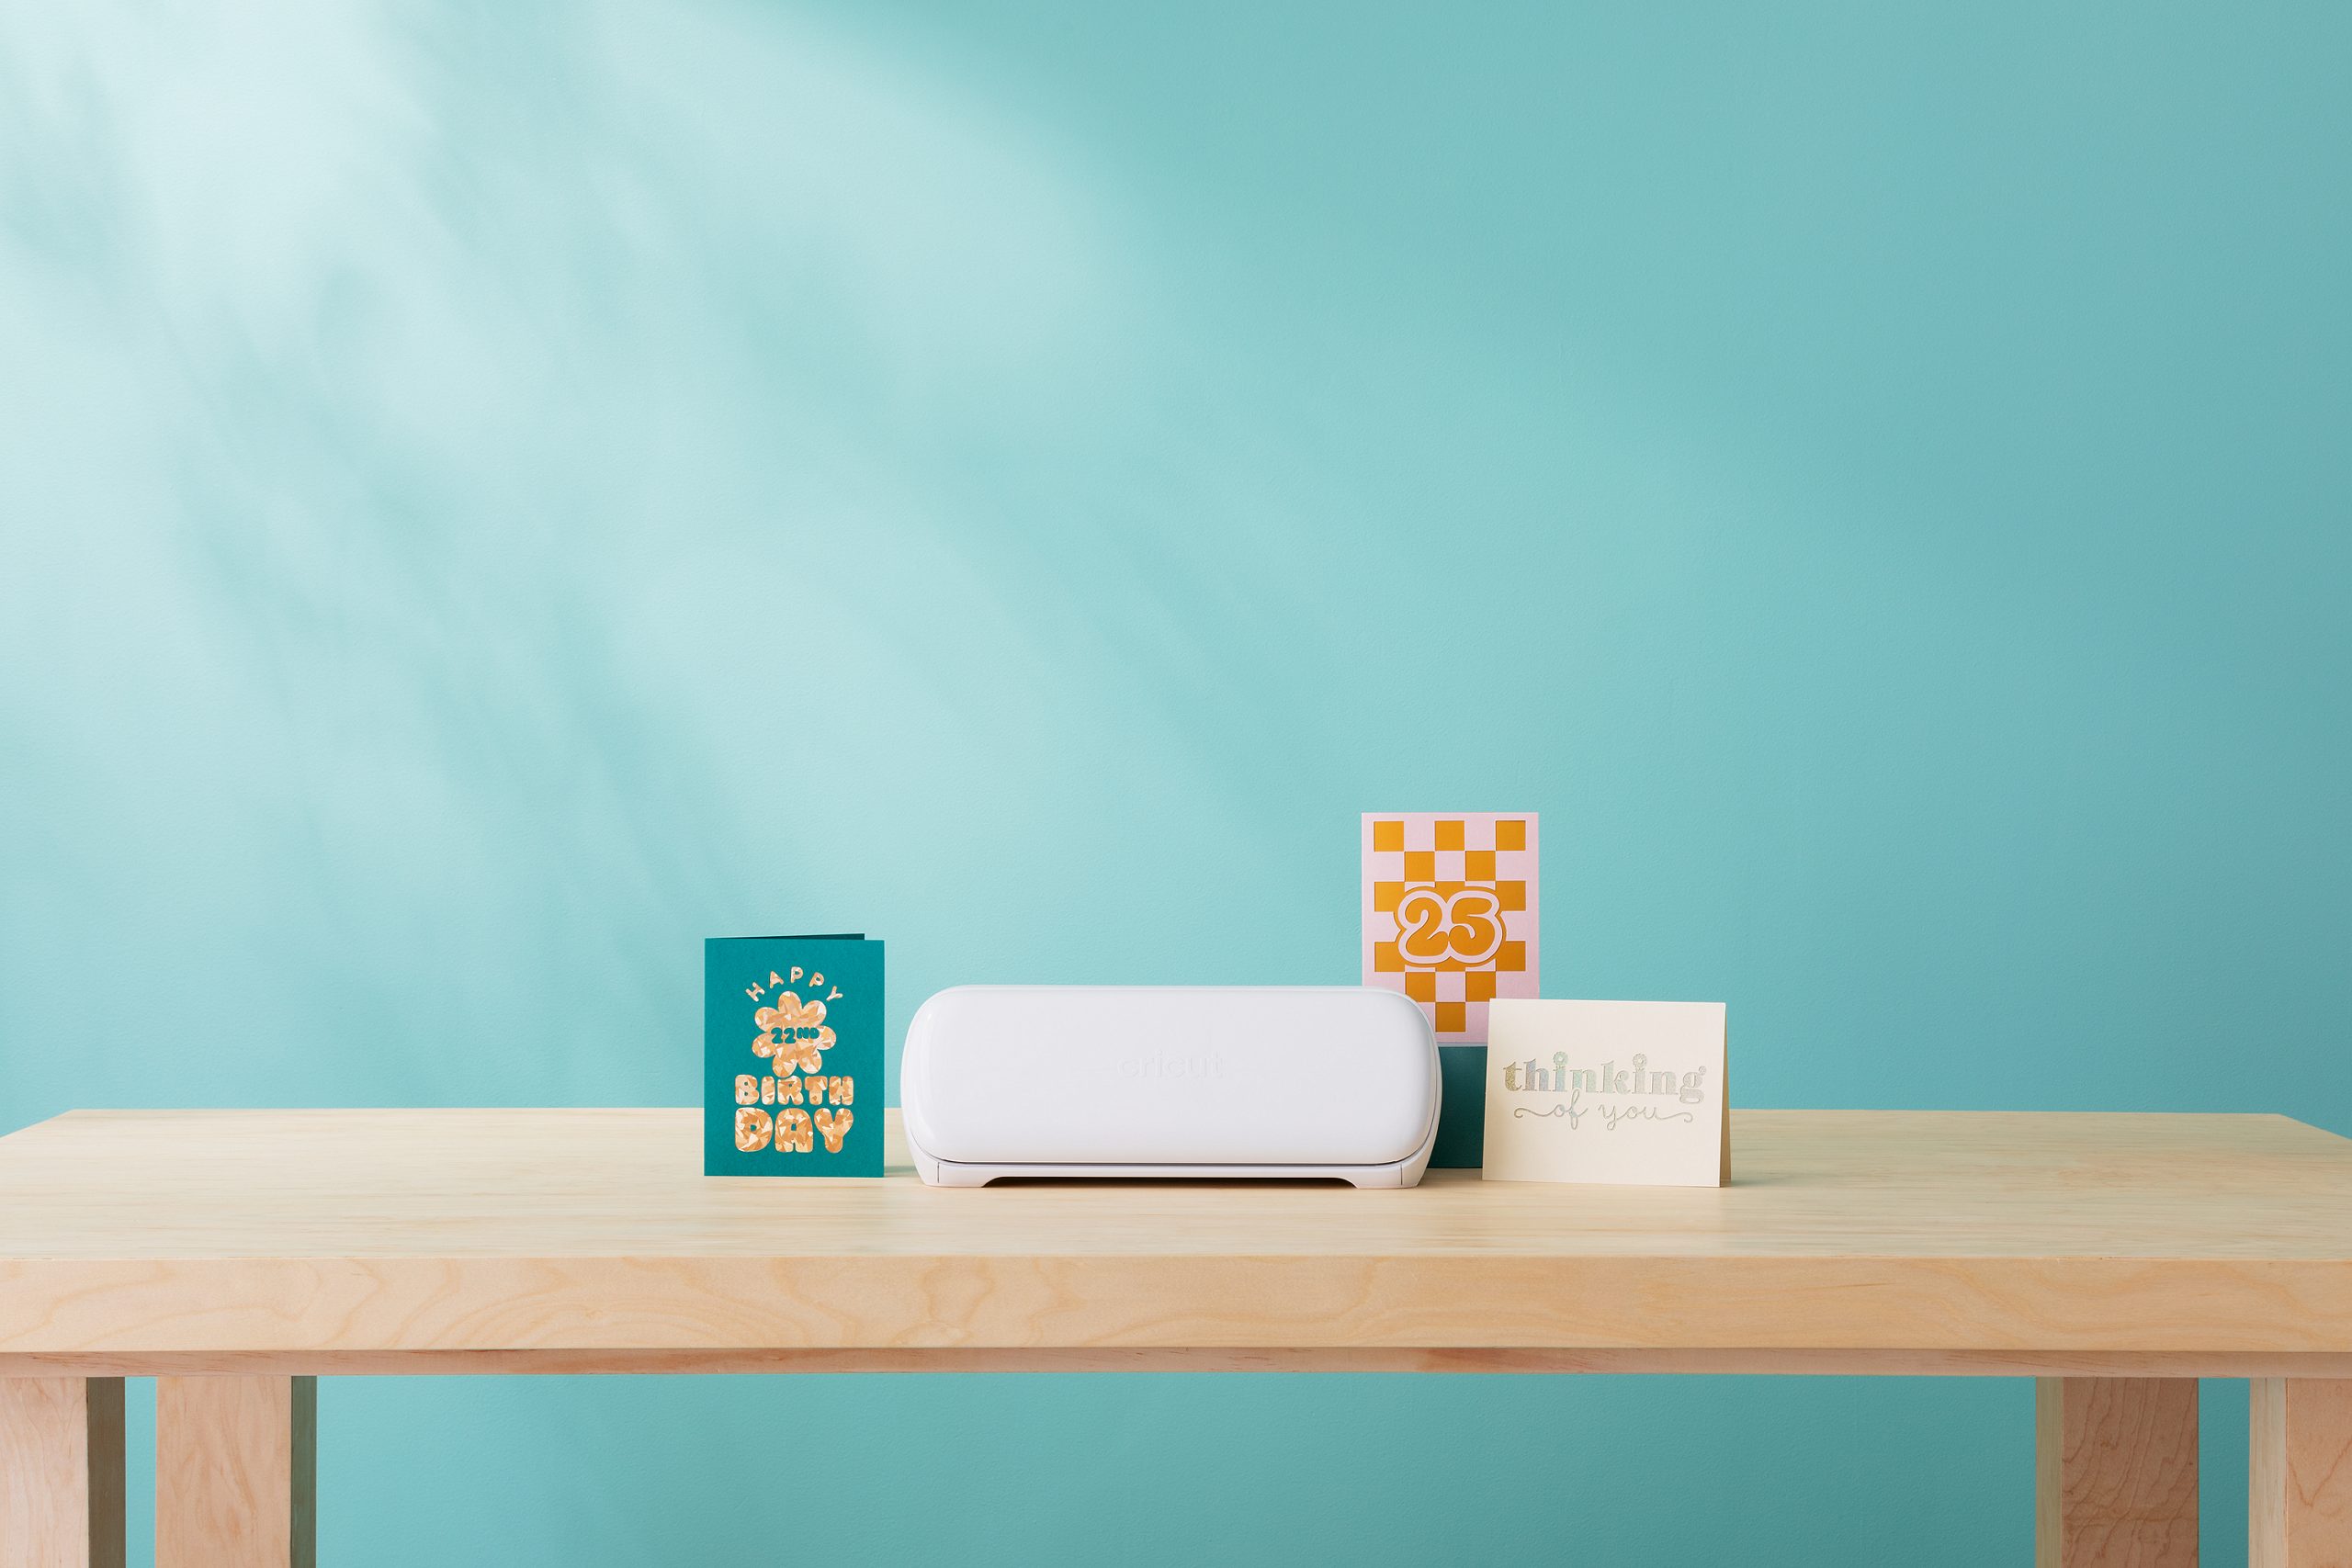
Our idea is to lean into the Winter aspect of our wedding. We chose the season as a theme, tying in the greens and gold of Christmas as our colour scheme. We are sure that we want to utilise gold foiling on our invitations. I also know that I want gold vinyl on anything I can have it on, such as ribbon and our ring boxes. I added these details into the plan straight away.
We also know that we want to have as many personalised items as possible for our wedding guests. It’s really important to us that things from our wedding can be used again. I also added that into the plan.
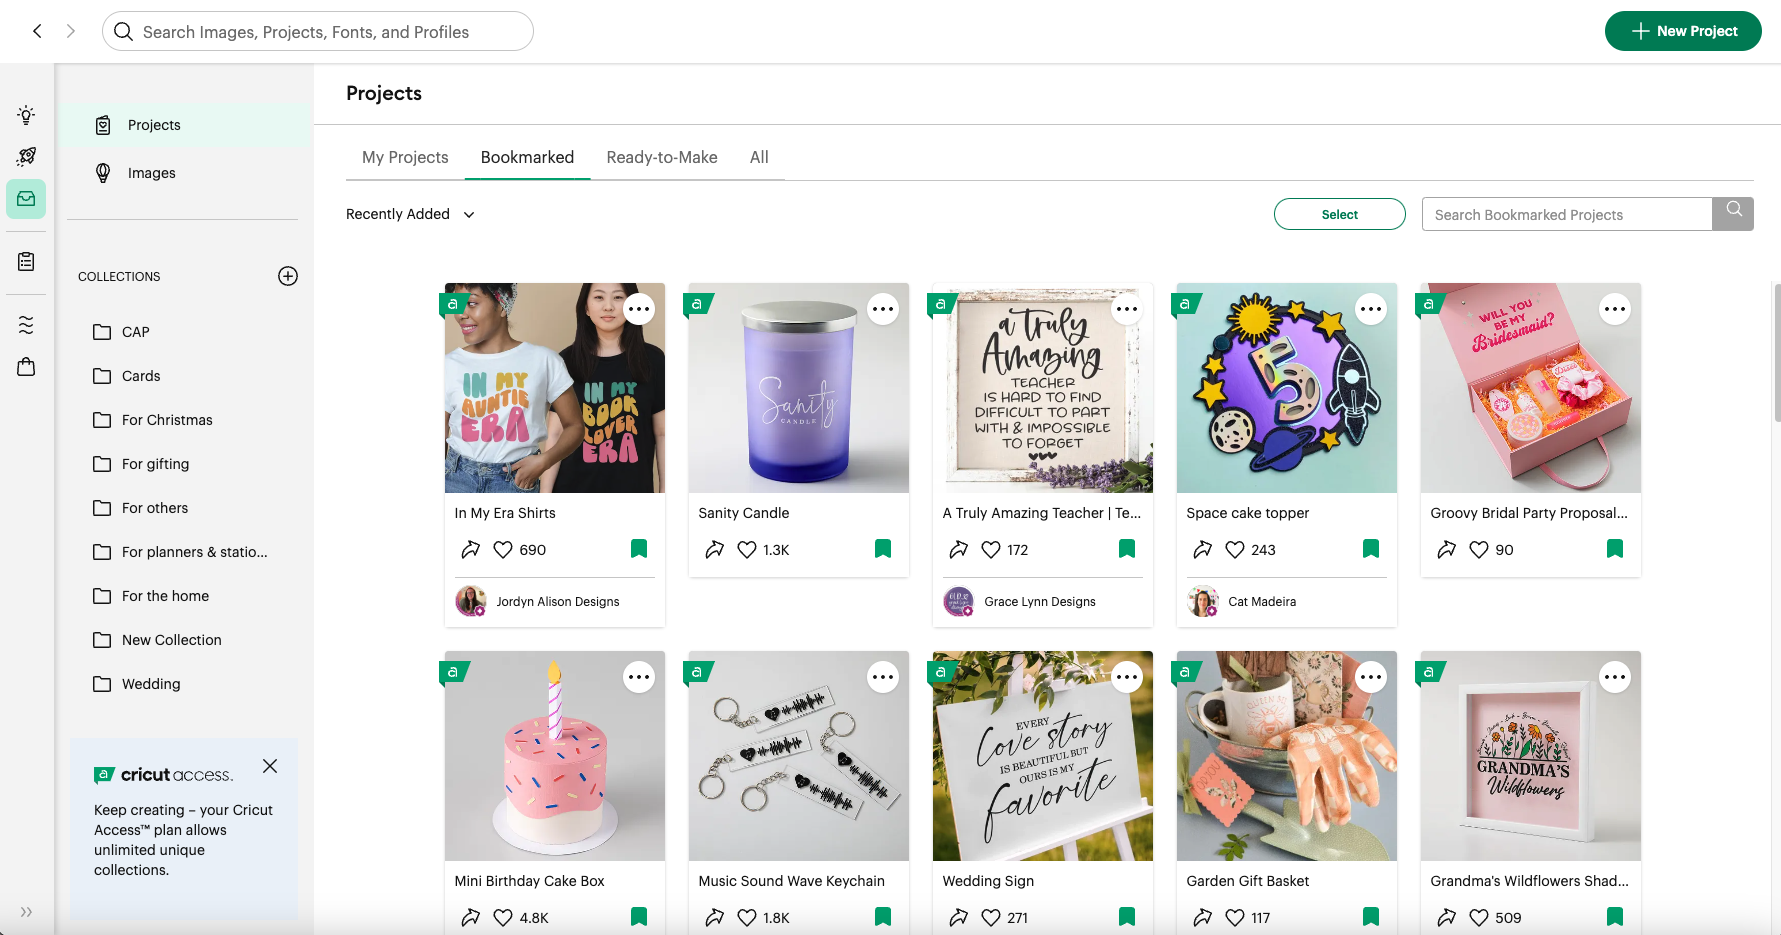
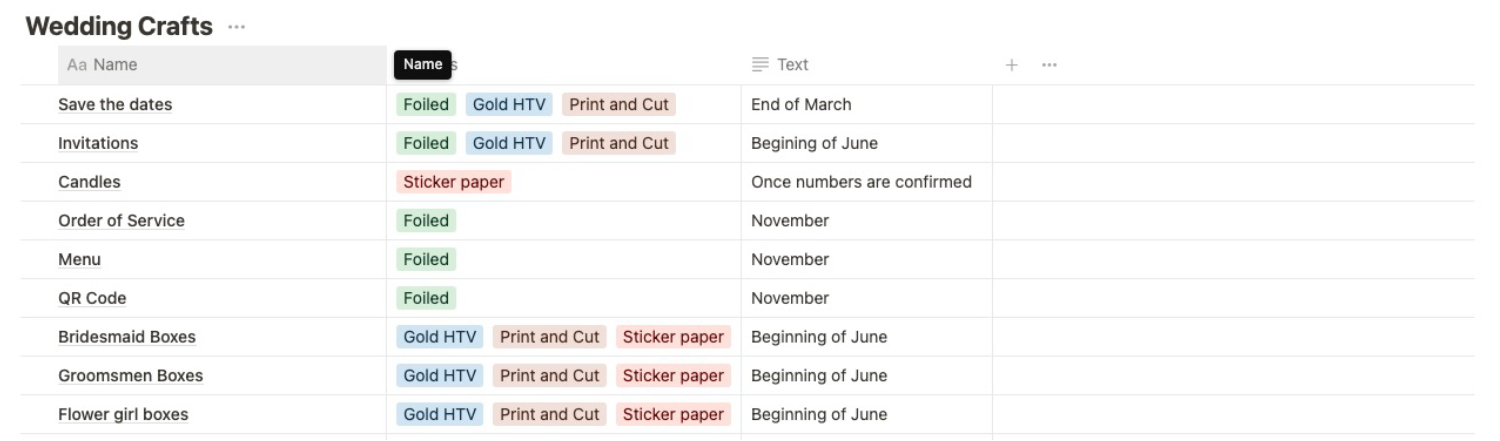
Create a Checklist
Having never planned a wedding before I had no idea how much stationery was involved! Breaking down the planning into tasks and manageable categories means that I can see which elements we can add our own personalised touch and theme into. For example as I am making my wedding invitation sleeves I can add some foil in there. I can also use gold pens to add my guests’ names.
Creating the categories means that I can think about doing certain jobs at the same time. Once complete I can box them up and save them for when they are needed.
Curate a Mood Board
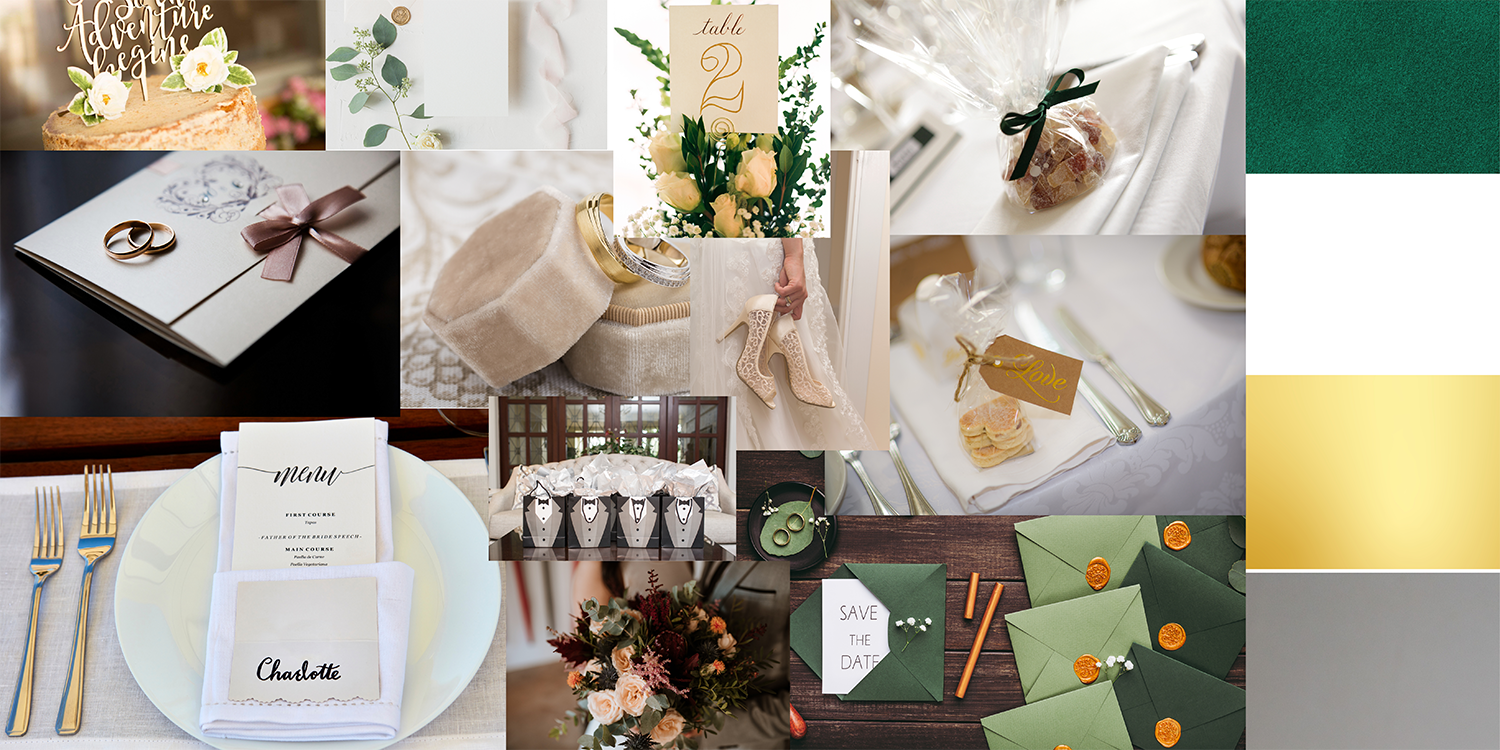
Visualising my wedding as a mood board allows me to put all my thoughts onto paper. I use Design Space and projects saved in the Community area for inspiration. Seeing what has already be made and which elements of those projects I like helps me to visualise my projects. A deep dive into Pinterest for ideas and DIY projects resonating with my style also helps. I also use the keywords Cricut and Cricut Maker in my search. This ensures that I can make the suggested projects with the tools I have. The gathered images, colour palettes, and design elements all work together to evoke the mood we want to create.
The mood board has now become my point of reference. I can now refer back to it at any point throughout the planning process. It helps me to make sure I am on track with my theme.
Plan Your Crafting Timeline
I’m doing my wedding craft projects in the evening, while being a mum to a toddler. Making sure that I have sufficient time to do everything is essential.
With our wedding taking place in the winter, I still want to enjoy all the Christmas plans and traditions that we normally do. My aim is to have everything boxed up and at our venue by the middle of November to make sure I have time to enjoy Christmas. My plan takes this into account and I’m looking at creating the majority of things for our evening guests first as I know we’ll have 90-100 guests. I can then add more items if needed. I will be leaving the personalised items for the day guests until the middle of August when our invitations will be back. Planning ahead like this is vital for keeping on track. I don’t want to run out of time and have to rush or stress closer to the wedding date.
We’re looking forward to seeing how Clare’s wedding plans come along and we will have another update soon.
We want to see your wedding creations too, so share them with us by tagging @cricut_uk on Instagram and TikTok. Join our community on Design Space by showcasing your projects live. Learn how to publish and share projects in Design Space by clicking here.