Welcome to Cricut 101 – Getting to know Design Space. In this article, we will look at Weld. We’ll answer the questions ‘what is Weld’ and ‘how to Weld’ in Design Space.
How to use the weld tool in Cricut Design Space
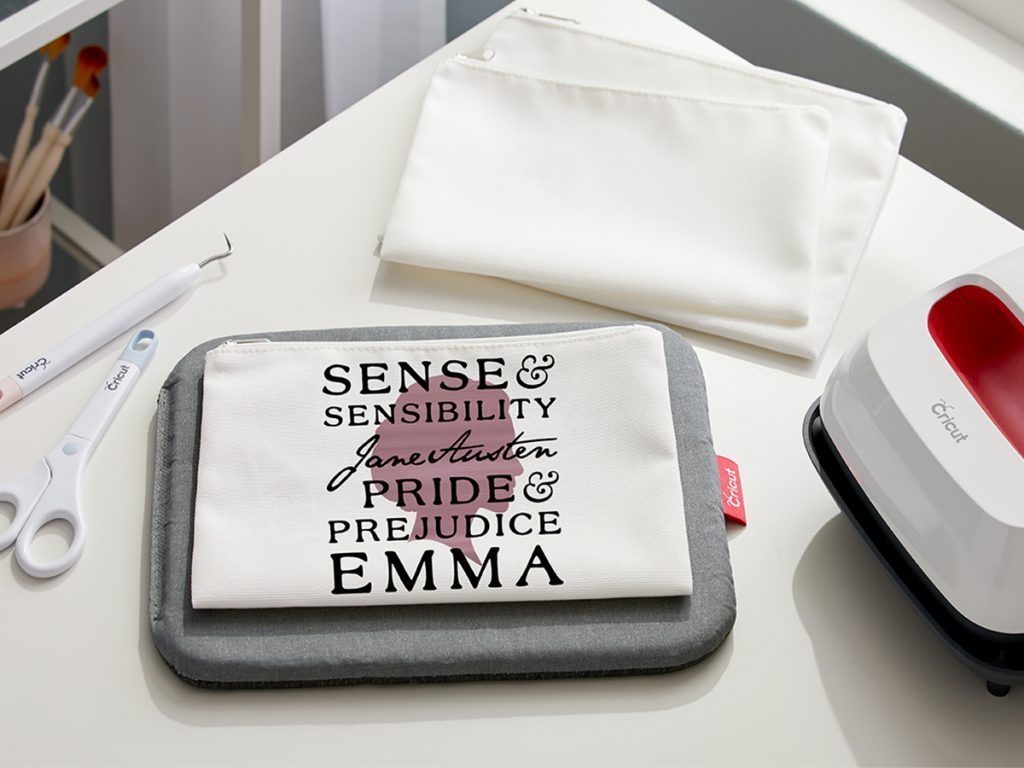
The Weld tool allows you to join shapes to create a single customised image by removing any overlapping cut lines. This can be a great way to simplify a design, keep the letters of a word connected (as seen in the image above), or combine shapes to create new designs.
If you are working with multi-layered images, you may want to ungroup the layers to arrange them separately before welding.
How to use the Weld tool:
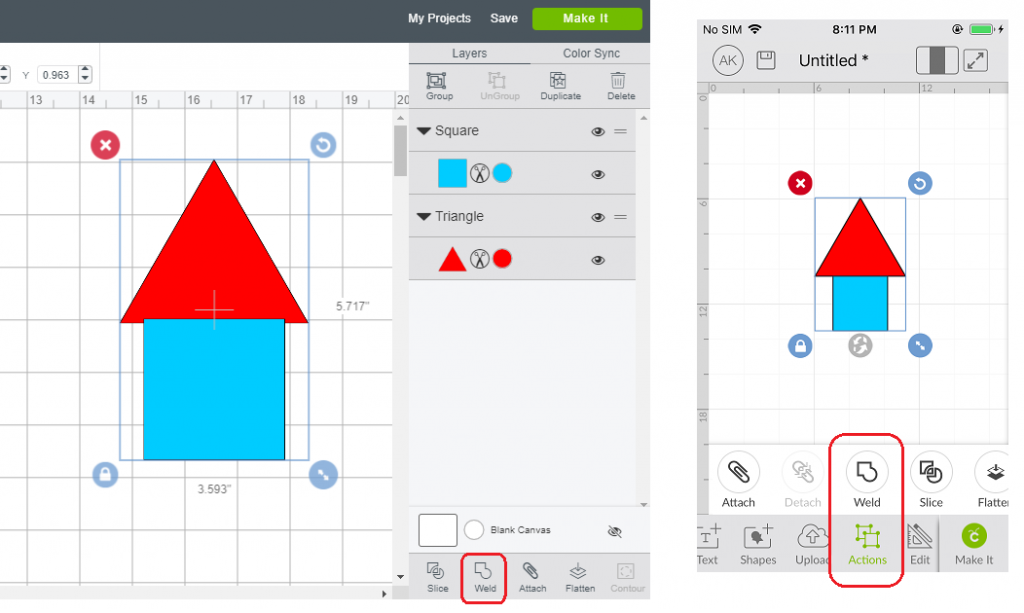
- If you are welding two images together, make sure the images overlap with each other.
- Select all images that will be welded together. Once two or more layers are selected, the Weld tool will become active.
- On a computer, click Weld in the Layers panel to merge the selected images. On iOS/Android app, Weld is available under Actions menu. Wherever cut paths have intersected, only the exterior cut path will remain.
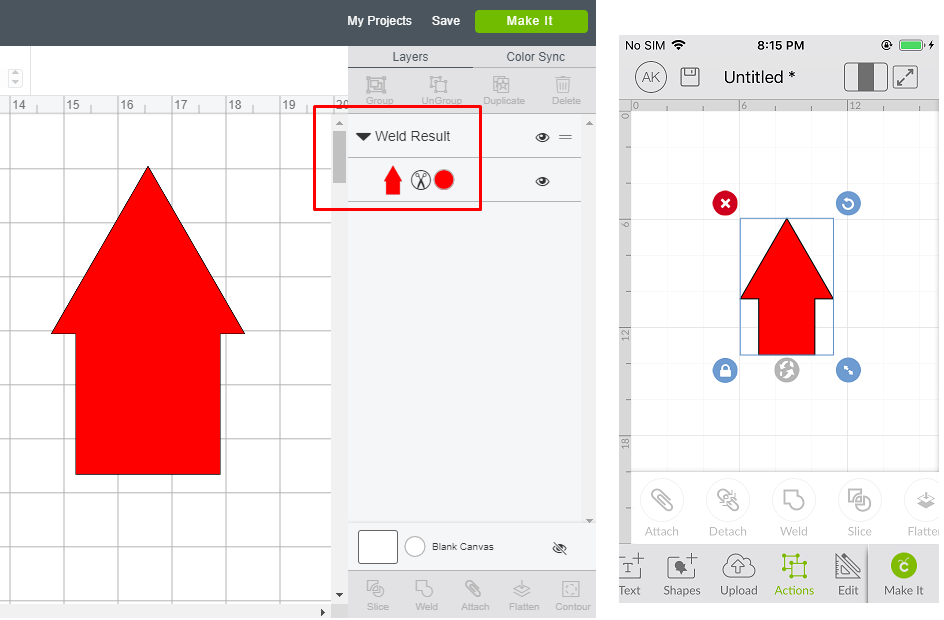
- You will know that your images are welded when they change to the same colour and the new image appears in the Layers panel. If needed, arrange your layers back to their original position.
Weld warning
Note that once a project has been welded and saved, it cannot be unwelded. A good trick when welding is to duplicate your design before welding so that you have an unwelded copy should you need to make changes. You can click the ‘Eye’ icon in the layers panel to hide these unwelded layers so that they don’t cut.
We also have an article on ‘How to upload images‘ in our Getting to Know Design Space series of blog posts, with more articles to be added over the coming weeks. Be sure to check back for more helpful tips.
You Might Enjoy…