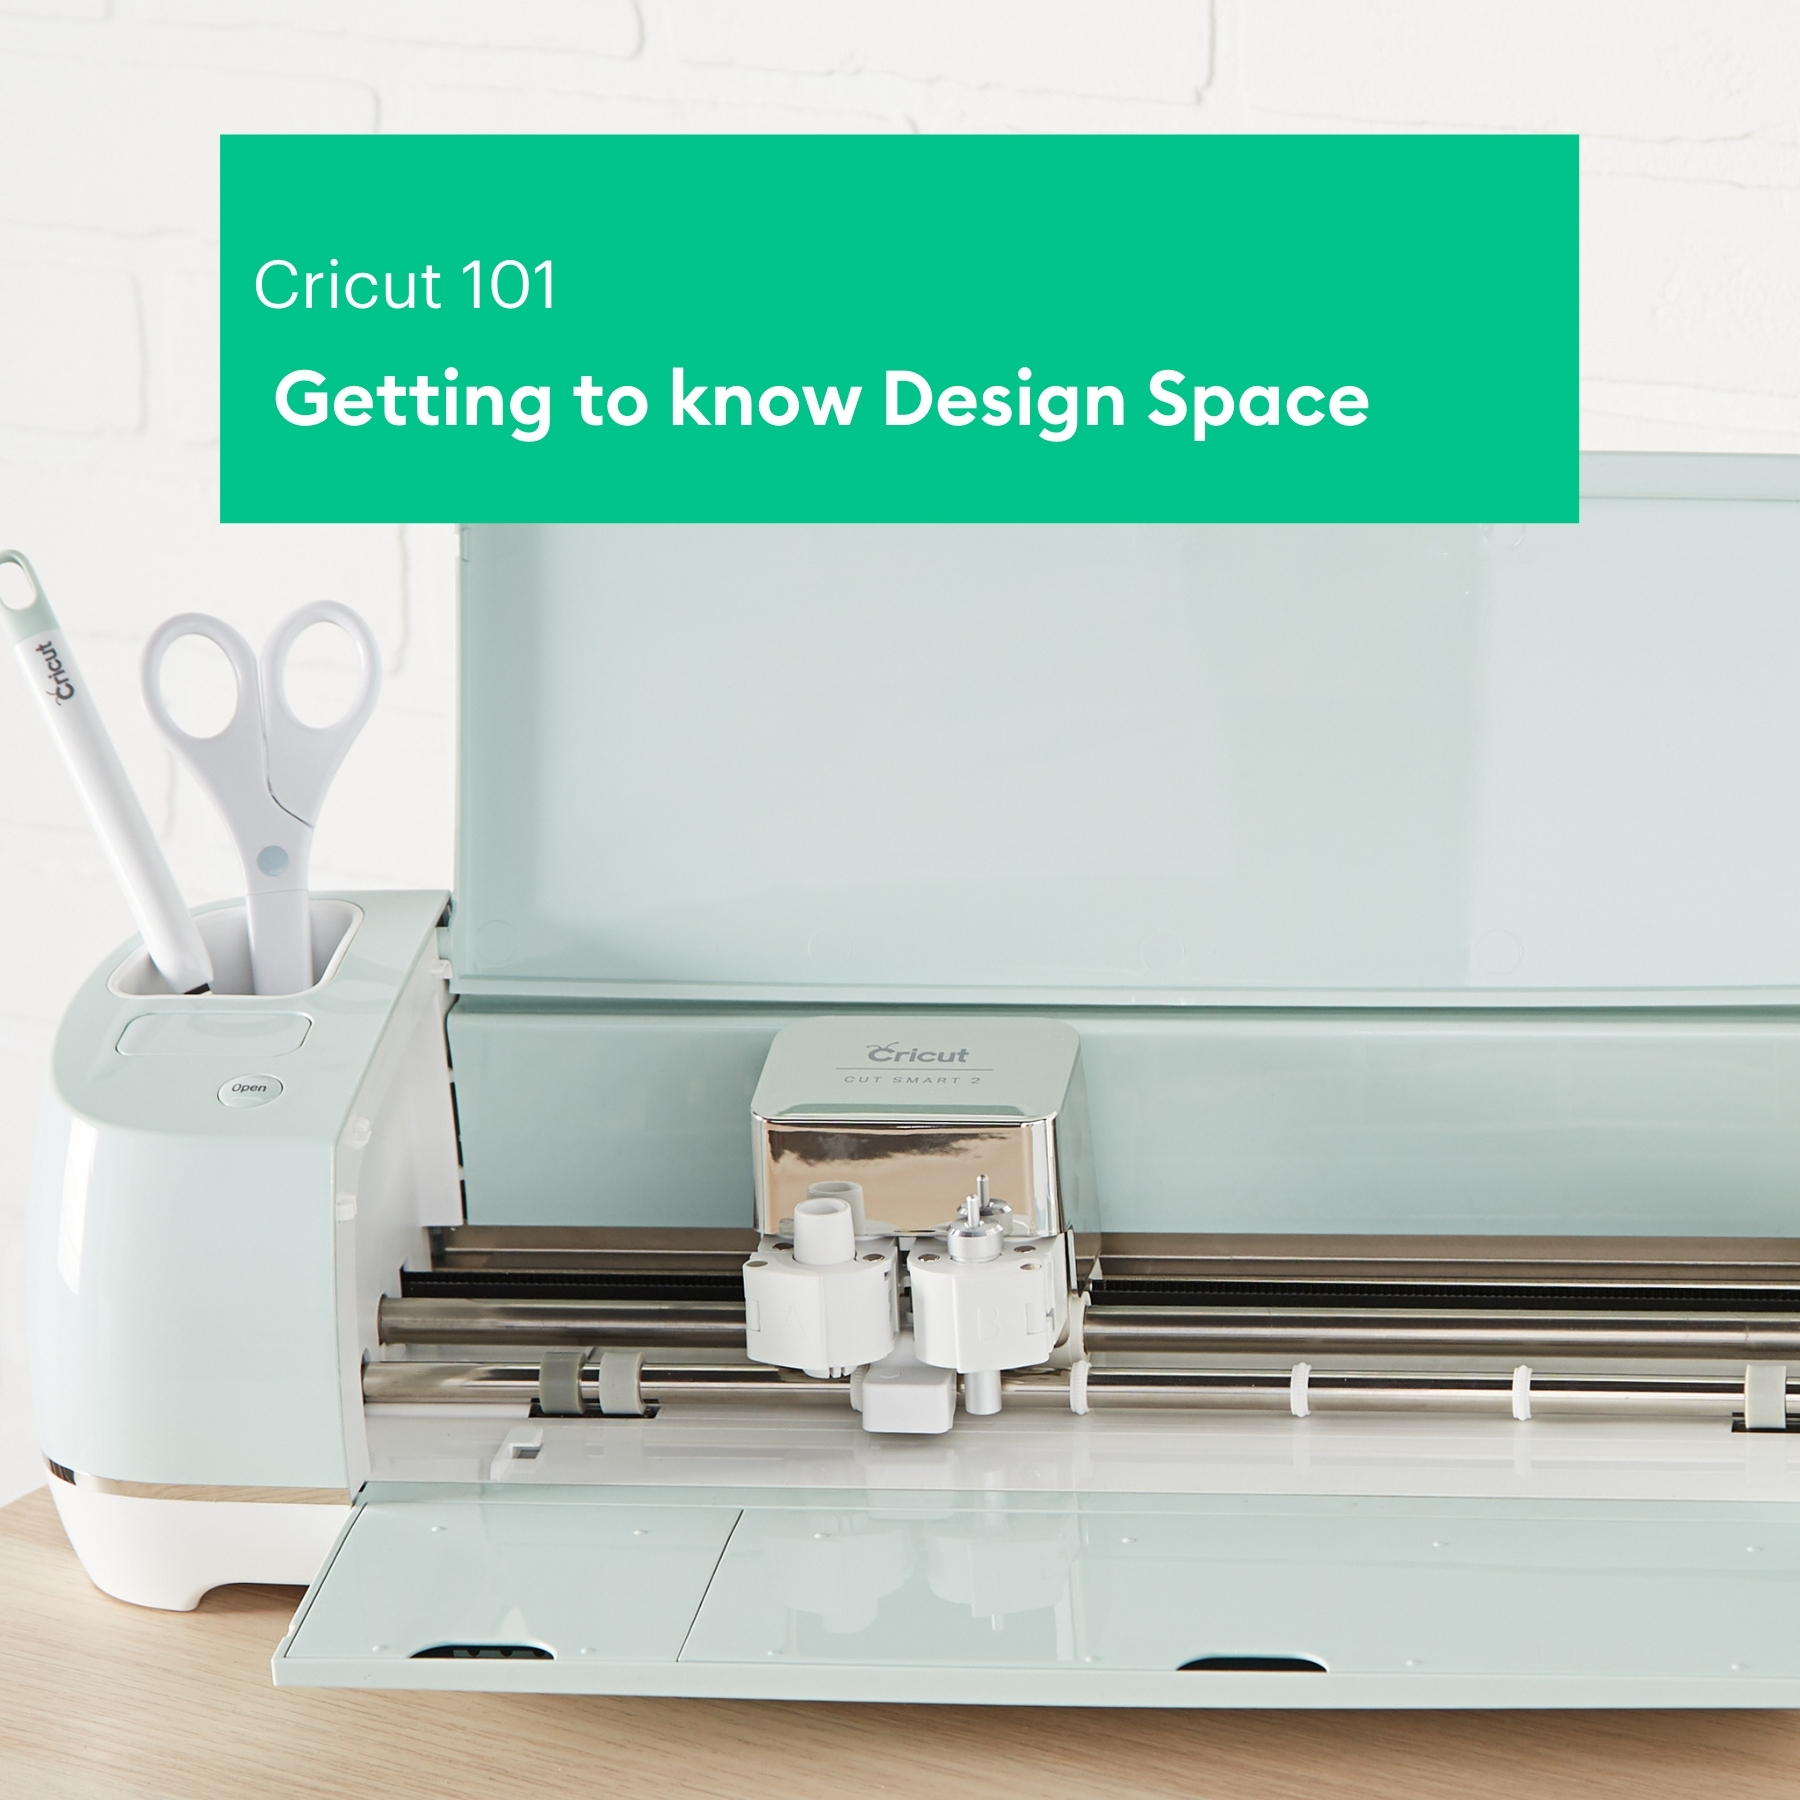
Welcome to Cricut 101 – Getting to know Design Space. In this article, we will look at how to upload images into Design Space.
There are many benefits to being able to upload your own image. Uploading a business logo means you could create stickers for your packaging. Or how about adding your child’s handwriting to be able to cut it out of vinyl or Iron-on? You can even upload your own artwork.
When you upload your image you will have the option to save it as a cut image (it will cut around the outside of the design) or as a Print Then Cut Image, meaning you can print out the image first and then cut around the outside (Maker and Explore machines only).
Upload types
You are able to upload PNG, JPG, SVG, DXF, GIF and BMP file types.
There are two different types of uploaded images: Basic and Vector.
- Basic Images, also known as raster images, include .jpg, .bmp, .png, and .gif file types. These files are uploaded as a single layer, and you have the ability to edit the image during the upload process. These are also known as raster images.
- Vector Images include .svg and .dxf file types. These files are uploaded as previously designed and will automatically be separated into layers after uploading and saving.
How to upload an image in Design Space
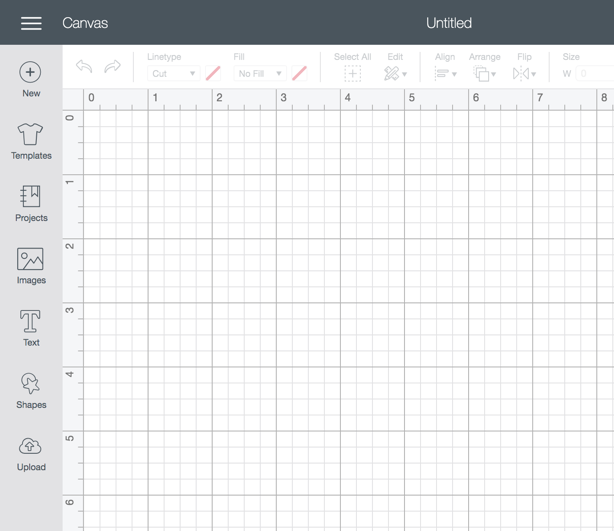
We are using the desktop version of the app for this tutorial but the process is the same if you are using a mobile device.
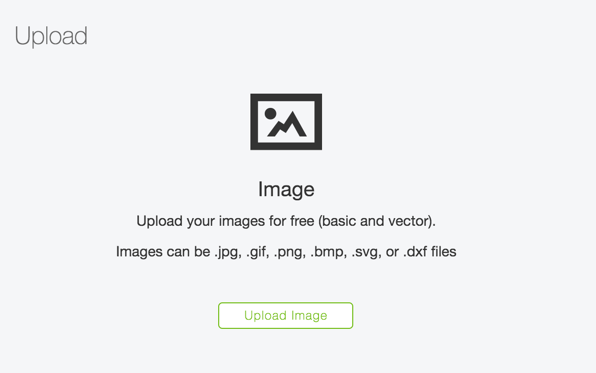
- To start, click the cloud-shaped ‘Upload’ button, and then choose the ‘Upload Image’ option. Browse your computer or device for the image you would like to upload and select it.
2. Decide if your image is simple, moderately complex, or complex based on the descriptions found on the screen. Click ‘Continue’.
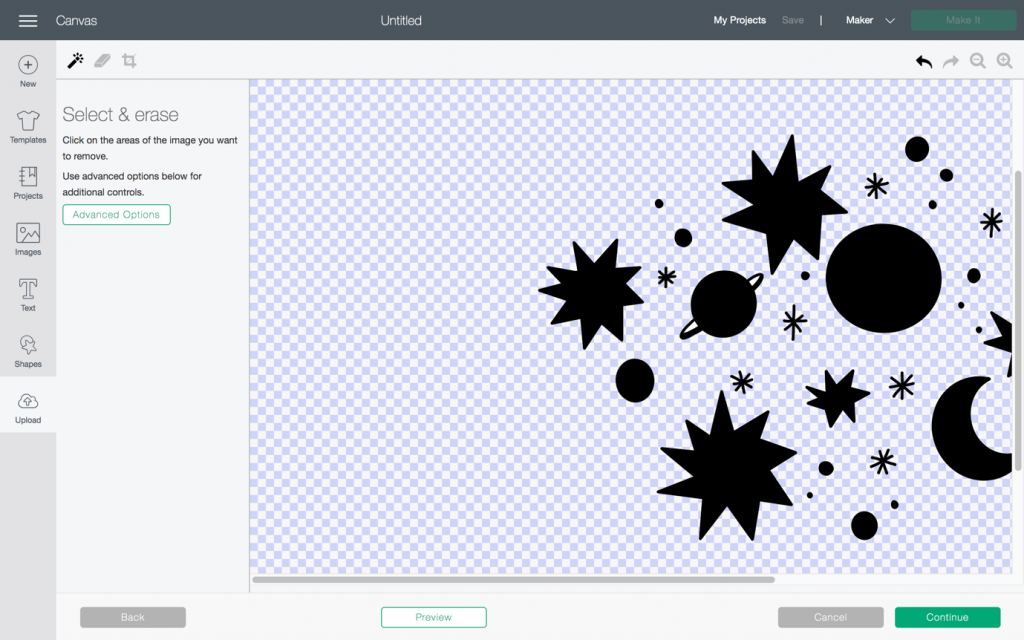
3. This will bring up a screen that will allow you to clean up your image. If your image has a background you will need to remove that.
Use the ‘Select & Erase’ (magic wand icon), ‘Erase’ (eraser icon), and ‘Crop’ (square crop icon) tools to remove the unwanted background from your image.
The checkerboard background indicates the areas that have been removed and will not cut. The solid areas represent the image you will use on the design screen.
When you choose the ‘Select and Erase’ icon and click on your image, it will automatically erase an area of the same colour tone. The ‘Erase’ icon will allow you to control which areas of background are erased.
You can also change the size of the eraser to remove larger areas at once, or be selective around more intricate shapes. You can hit the ‘Undo’ (back arrow) icon at any time if you make a mistake.
For more advanced multicoloured images, you can use the advanced settings to get a cleaner line making the ‘Select and Erase’ option much quicker.
Don’t forget to use the ‘Zoom In’ and ‘Zoom Out’ if you need to find small intricate areas inside a larger shape.
4. Once you have removed the unwanted areas, select ‘Preview’ to show the cut lines of your image. If the image doesn’t appear as desired, select ‘Hide Preview’ to return to the editing view and continue removing portions of the image until you are satisfied with the preview.
Once you are happy with your image continue to the next screen.
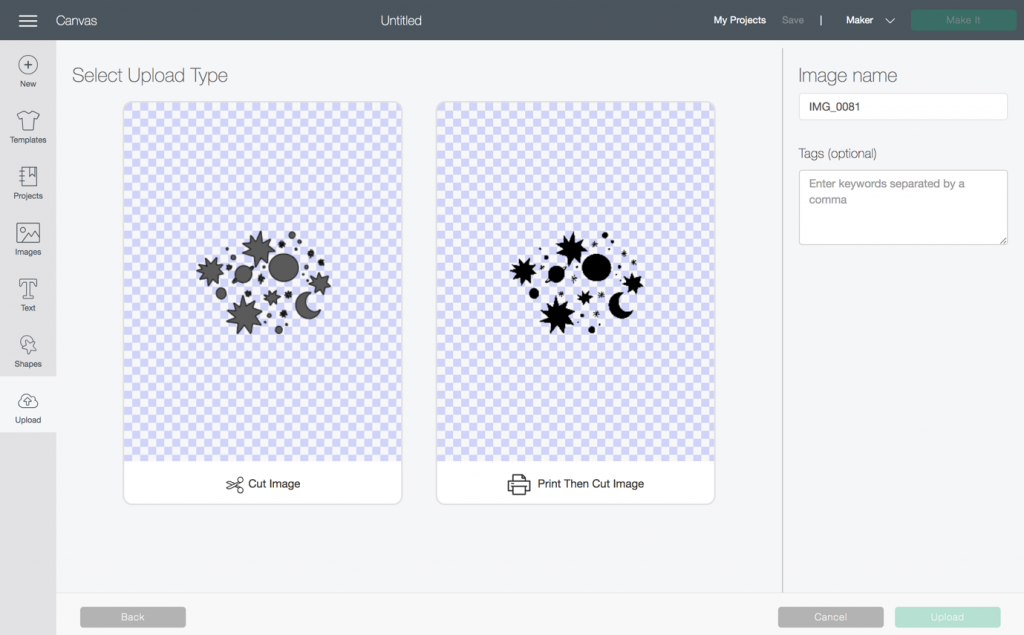
Name your image and tag it (if desired) for easy searching later. Decide if you want to save your image as a Print Then Cut or as a Cut image.
Saving as a Print Then Cut image will preserve the entire image, including internal colours and patterns, and add it to the design screen as a Print Then Cut image. Saving as a Cut image will save only the outer silhouette as the image cut path.
The image will now live in your uploaded images section and be searchable (only to you) within the image library in Design Space.
You can now add the image to the canvas and use it in your projects.
If you have more questions about uploading images the help.cricut.com resource will help. Click here for assistance with image uploads.
You Might Enjoy…