The Print Then Cut feature on Cricut Design Space allows you to print your images on your home printer and then watch your Cricut Maker or Cricut Explore cut them out with precision. No scissors required! This allows you to create stickers, toppers, and even cut round photos with ease.
Here are our tips and tricks for getting the best results from Print Then Cut:
Turn any image into a printable
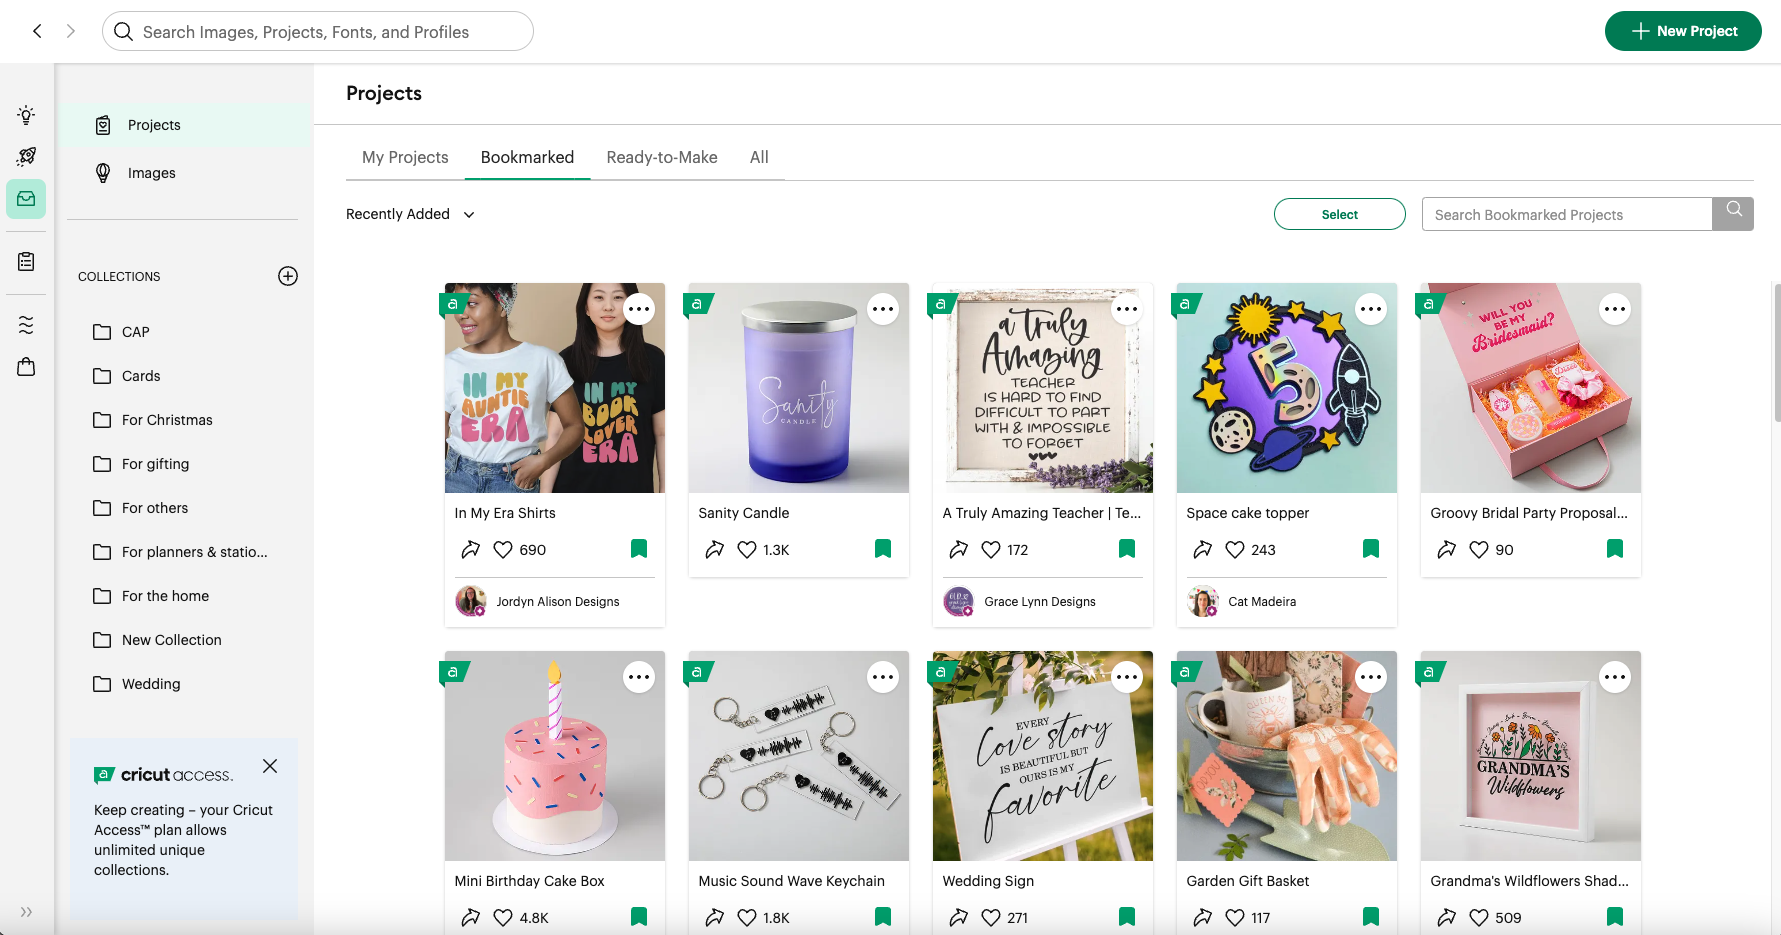
The Cricut image library contains thousands of printable images. These are pre-designed with decorative patterns and come onto the design screen ready to Print Then Cut. They show up in the Layers panel as a single layer and have a Print linetype, indicating the image will be printed on your home printer, then cut on the Cricut Explore or Maker machine.
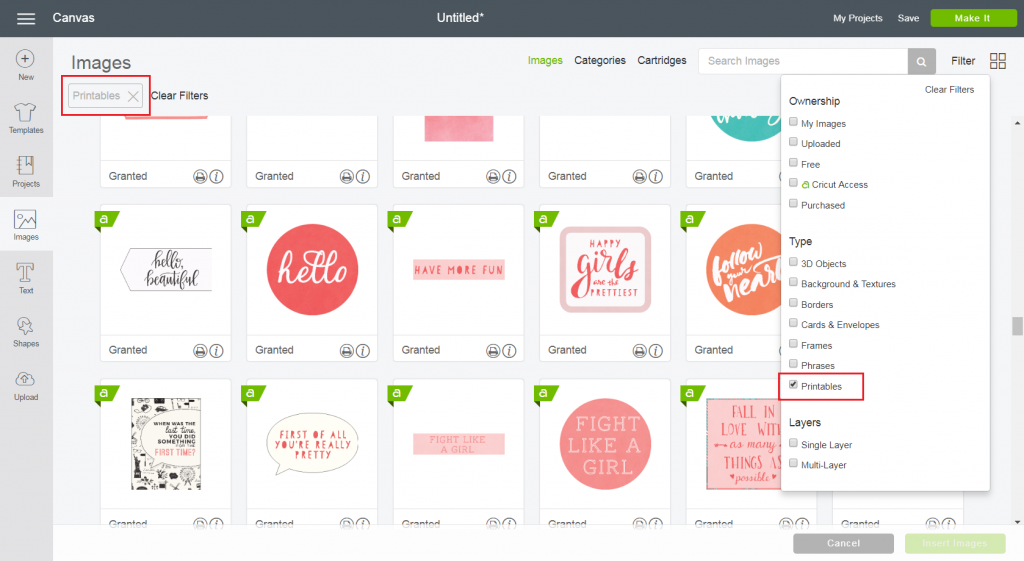
You can find Printables by clicking on the Filters icon and checking the box marked Printables. Select a Printable image (a small printer icon will appear on the image tile), add it to your canvas.
You can also change any image in Design Space into a printable image by changing the linetype or by selecting the Flatten tool from the layers panel.
Changing the linetype to Print Then Cut will treat each layer as an individual cut. Flattening the image will combine multiple layers to print together.
Look at the image below. The linetype on the rainbow has been changed to Print Then Cut. You can see in the Layers panel that each of the three arcs are still separate layers. The rock stack image has been flattened, so instead of three layers – one for each colour – it’s now one combined layer.

Remember to Flatten a filled-in shape behind your image to avoid the machine cutting out all of the details if there are spaces in the image.
If you want to add a border around your sticker, add an offset layer and include that in the layers you flatten. Find out more about offset here: https://officialcricutblog.co.uk/offset-feature-in-cricut-design-space/
Get the most out of your material
The maximum image size for Print Then Cut is 9.25″ x 6.75″ (23.5cm x 17cm) and the default material is 11″ x 8.5″ (28cm x 21.5cm). To visualise this, create a template for this size on your canvas using a rectangle shape. You can then fit all of your cuts into the template. Remove the template before attaching your cuts in place. This will allow you to get the most out of your material.

Keep it plain and simple
Reflective materials, coloured materials, or materials containing any kind of pattern may interfere with the cut sensor marks being read by the Cricut Explore machine.
We recommend using an Inkjet Printer and 8.5″ x 11″ white materials for all your Print Then Cut projects with Cricut Explore.
The Cricut Maker though, can Print Then Cut on light to medium coloured papers.
Turn on System Dialogue
On the print screen you’ll see an option to turn on System Dialogue. Switch this on to access your printer settings. Here you’ll be able to change the quality of the print and tell your printer the type of material it’s printing onto. Sometimes the System Dialogue pop up can be hidden behind your Design Space window, so you may need to minimise it or move it to one side on your computer screen.
Image Bleed options
Each image is given a bleed by default. The bleed is a small border around each image that allows for more precise cutting. Although we recommend printing with a bleed for best cut results, you do have the option to turn the bleed on or off, from the Project Preview screen. The bleed may make the printed image look fuzzy or distorted, but this border will be trimmed off in the cutting process, yielding a precisely cut image. Adding bleed means the machine will cut through a coloured section of the paper so it goes right over the edge of the cut and doesn’t have a white line where the colour abruptly stops.
Prtin Then Cut in one session
The entire process, from creating the project to the final Print Then Cut, should all be done in the same browser and on the same computer to avoid error.
While you can save your Print Then Cut project within Design Space and come back to it, switching browsers or computers in the middle of printing and cutting or saving a Print Then Cut image as a PDF and printing it outside the Design Space flow will result in incorrectly sized cut sensor marks. For best results, Print Then Cut your project in a single Design Space session.
Choose the right place on the mat
Place your printable material in the top left corner of your cutting mat, as seen in the mat preview screen below.

Position your material directly along the top left edge of the adhesive on the cutting mat. Be sure the material is straight and contains no wrinkles. This helps to ensure that the machine can properly detect the cut sensor marks around your image.
Use the Cricut LightGrip mat if you print on standard printer or copy paper.
Repeat calibration
Cut not, quite right? Follow the Print Then Cut calibration steps in the settings menu. Make sure that the calibration sheet is printed in black and white and that it’s printed in ‘actual size’.
Light up (or down)
If your machine isn’t reading the sensor marks, check the lighting. Direct sunlight, overhead reading lamps, or other lighting directed toward your machine may interfere with the machine’s sensors. You may need more, or less light, for the sensors to perform perfectly.
Suggested first projects
Here is some Print Then Cut inspiration to get you started:
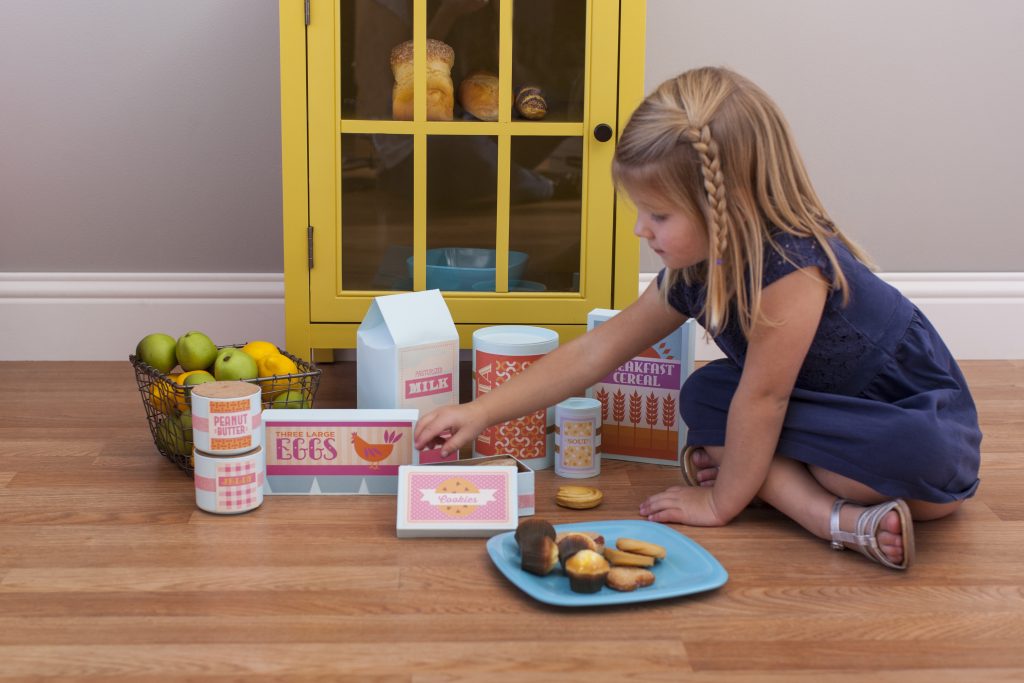
Play food labels https://design.cricut.com/landing/project-detail/5756443dee508efa43323fae
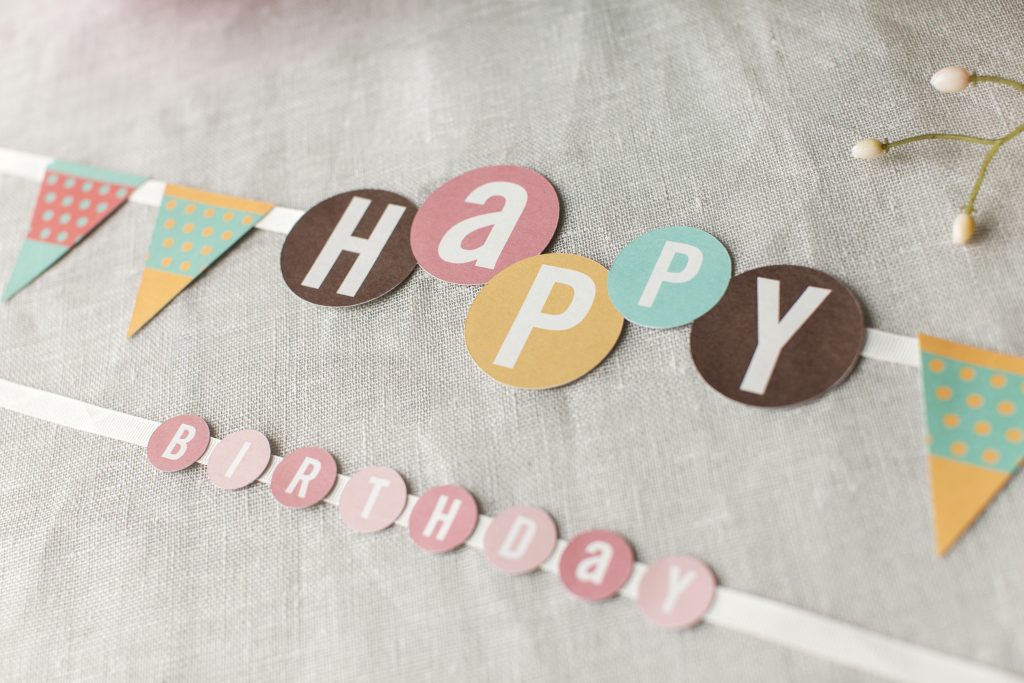
Birthday Banner https://design.cricut.com/landing/project-detail/57563613ee508efa43321e49
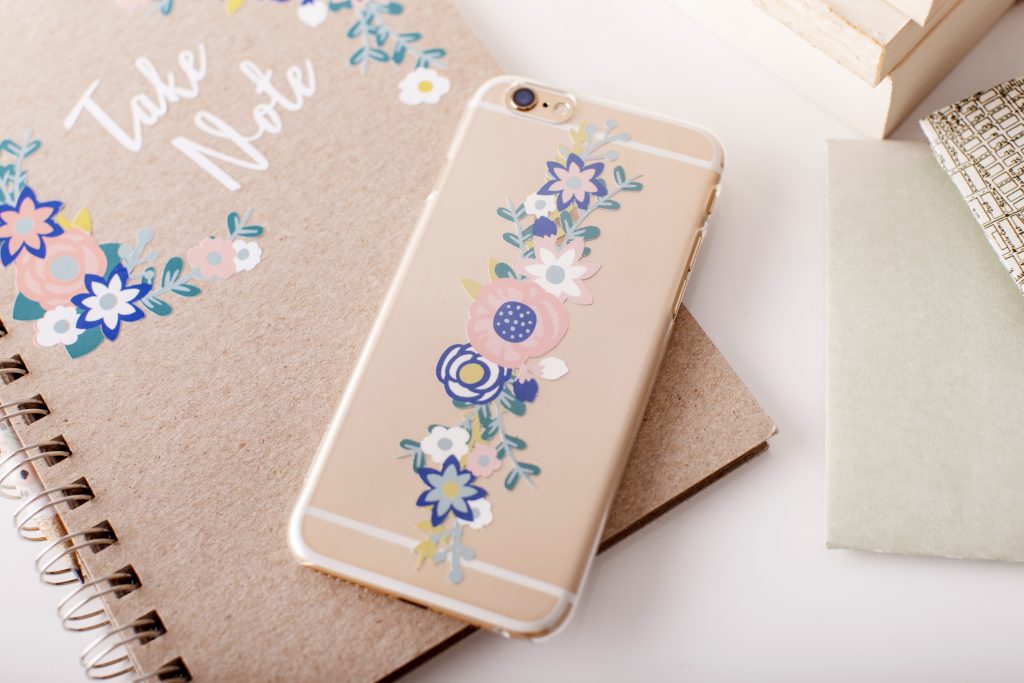
Matching journal and phone stickers https://design.cricut.com/landing/project-detail/57562c77ee508efa433212f6
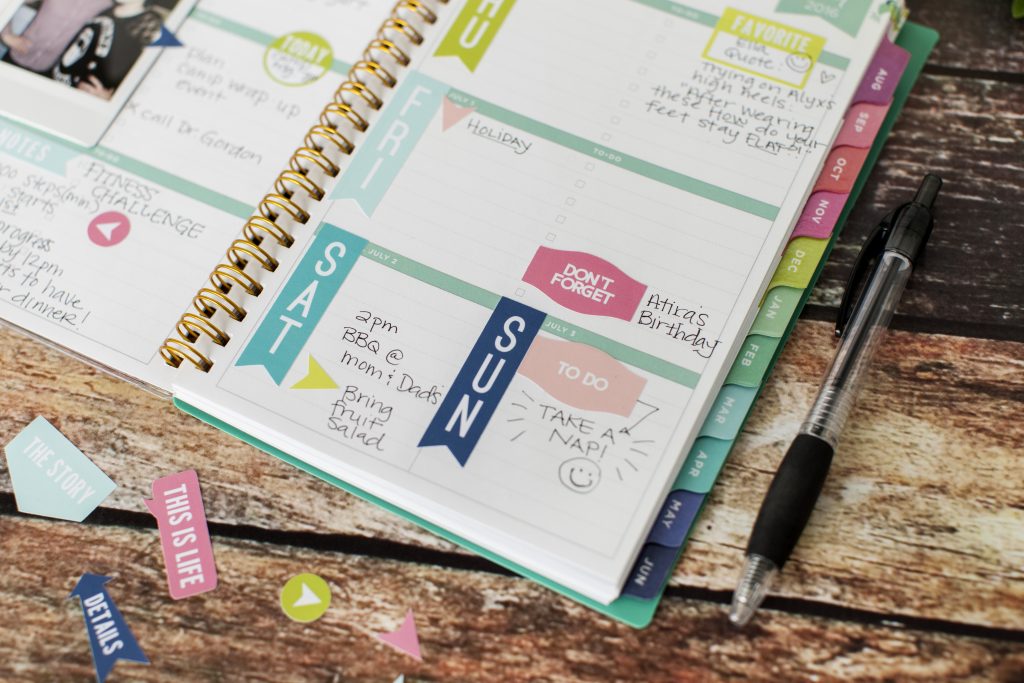
Planner stickers https://design.cricut.com/landing/project-detail/5792915f212426ff3e6c39f1
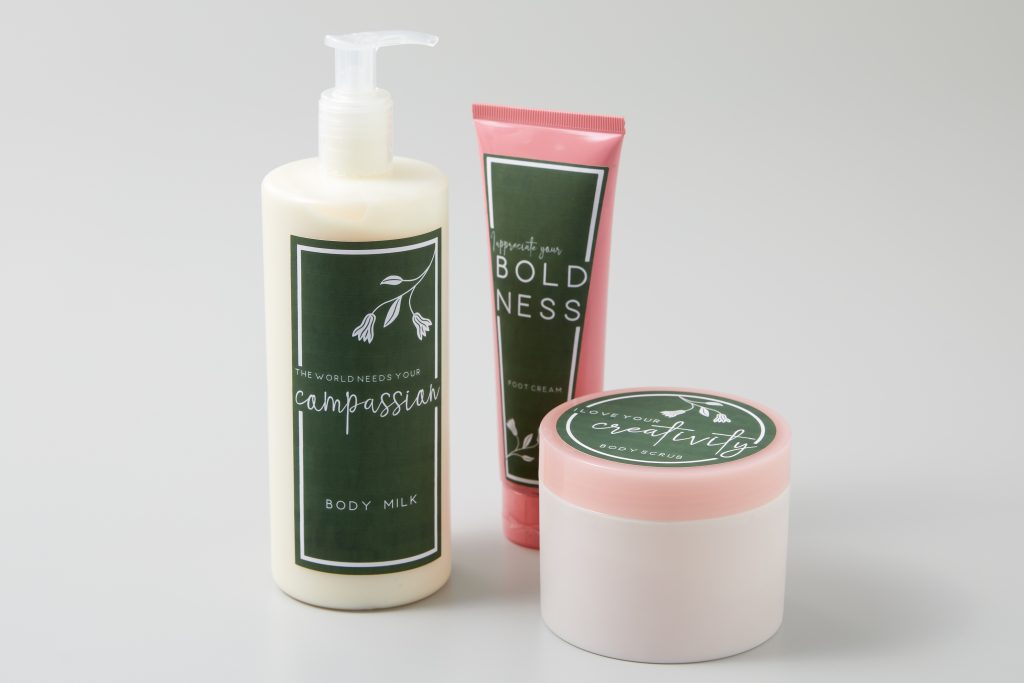
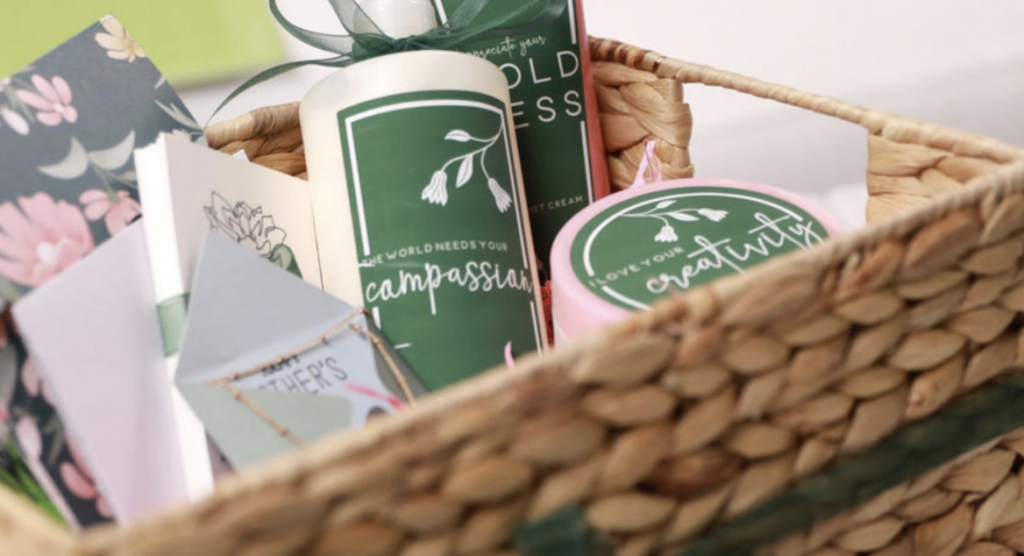
Zooey Deschanel’s Pamper Box labels https://design.cricut.com/landing/project-detail/604be03e2ac7e5110c4c87bd
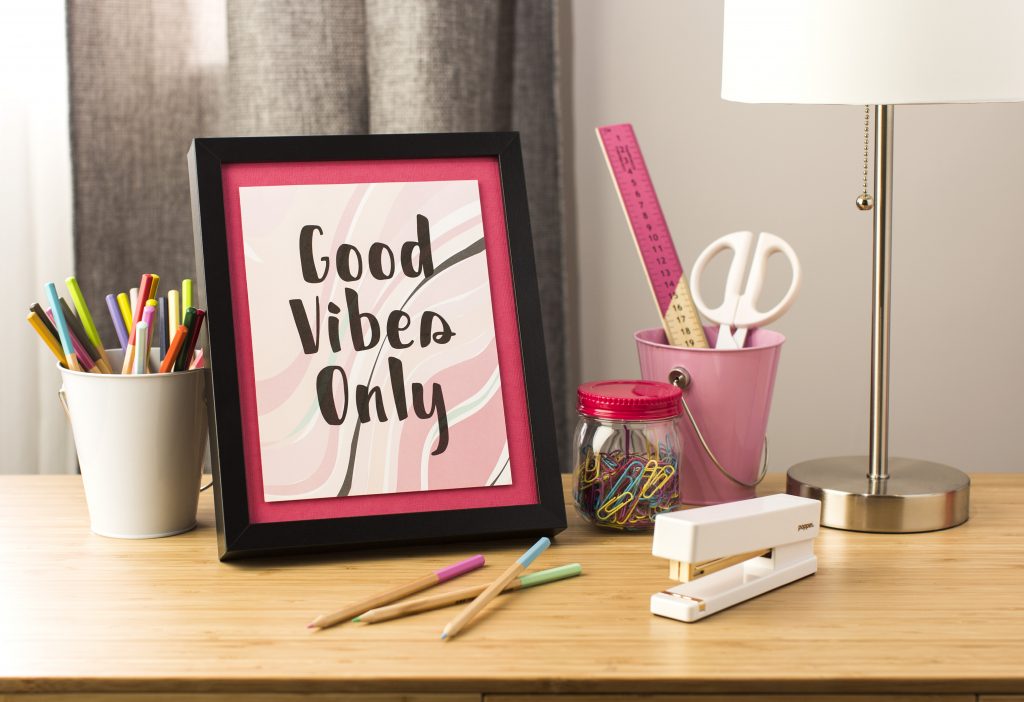
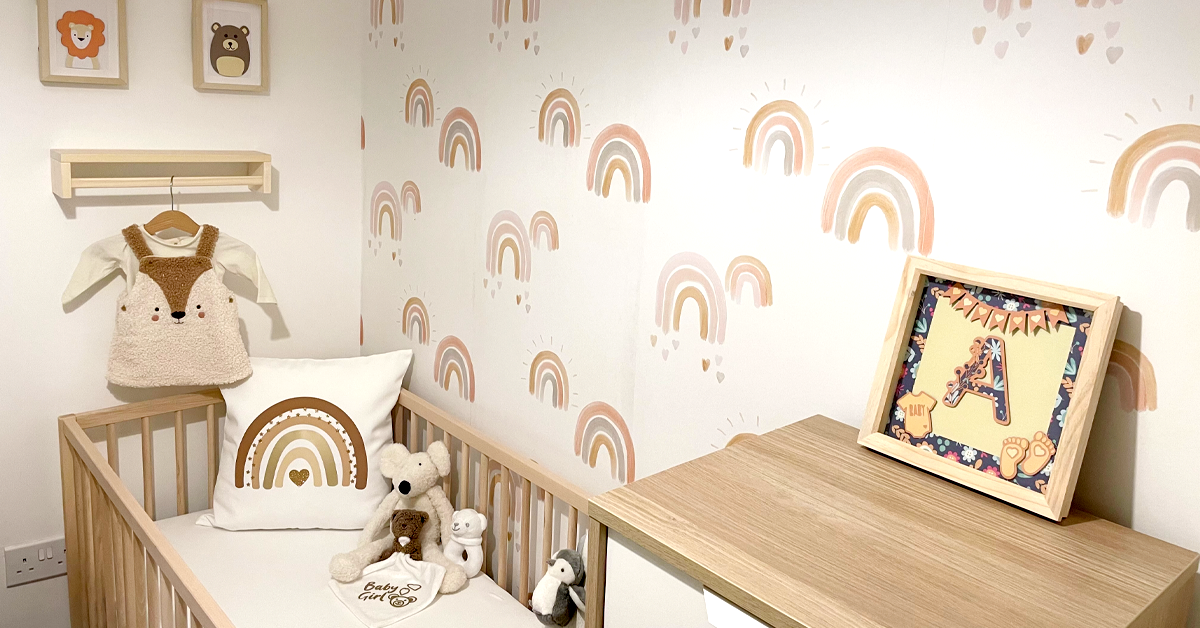
Good vibes only frame https://design.cricut.com/landing/project-detail/59b1b3d753bdc841265c4e45

Afternoon Tea Menu https://design.cricut.com/landing/project-detail/5e5d5be2d7188a0f8cccdd39
You Might Enjoy…