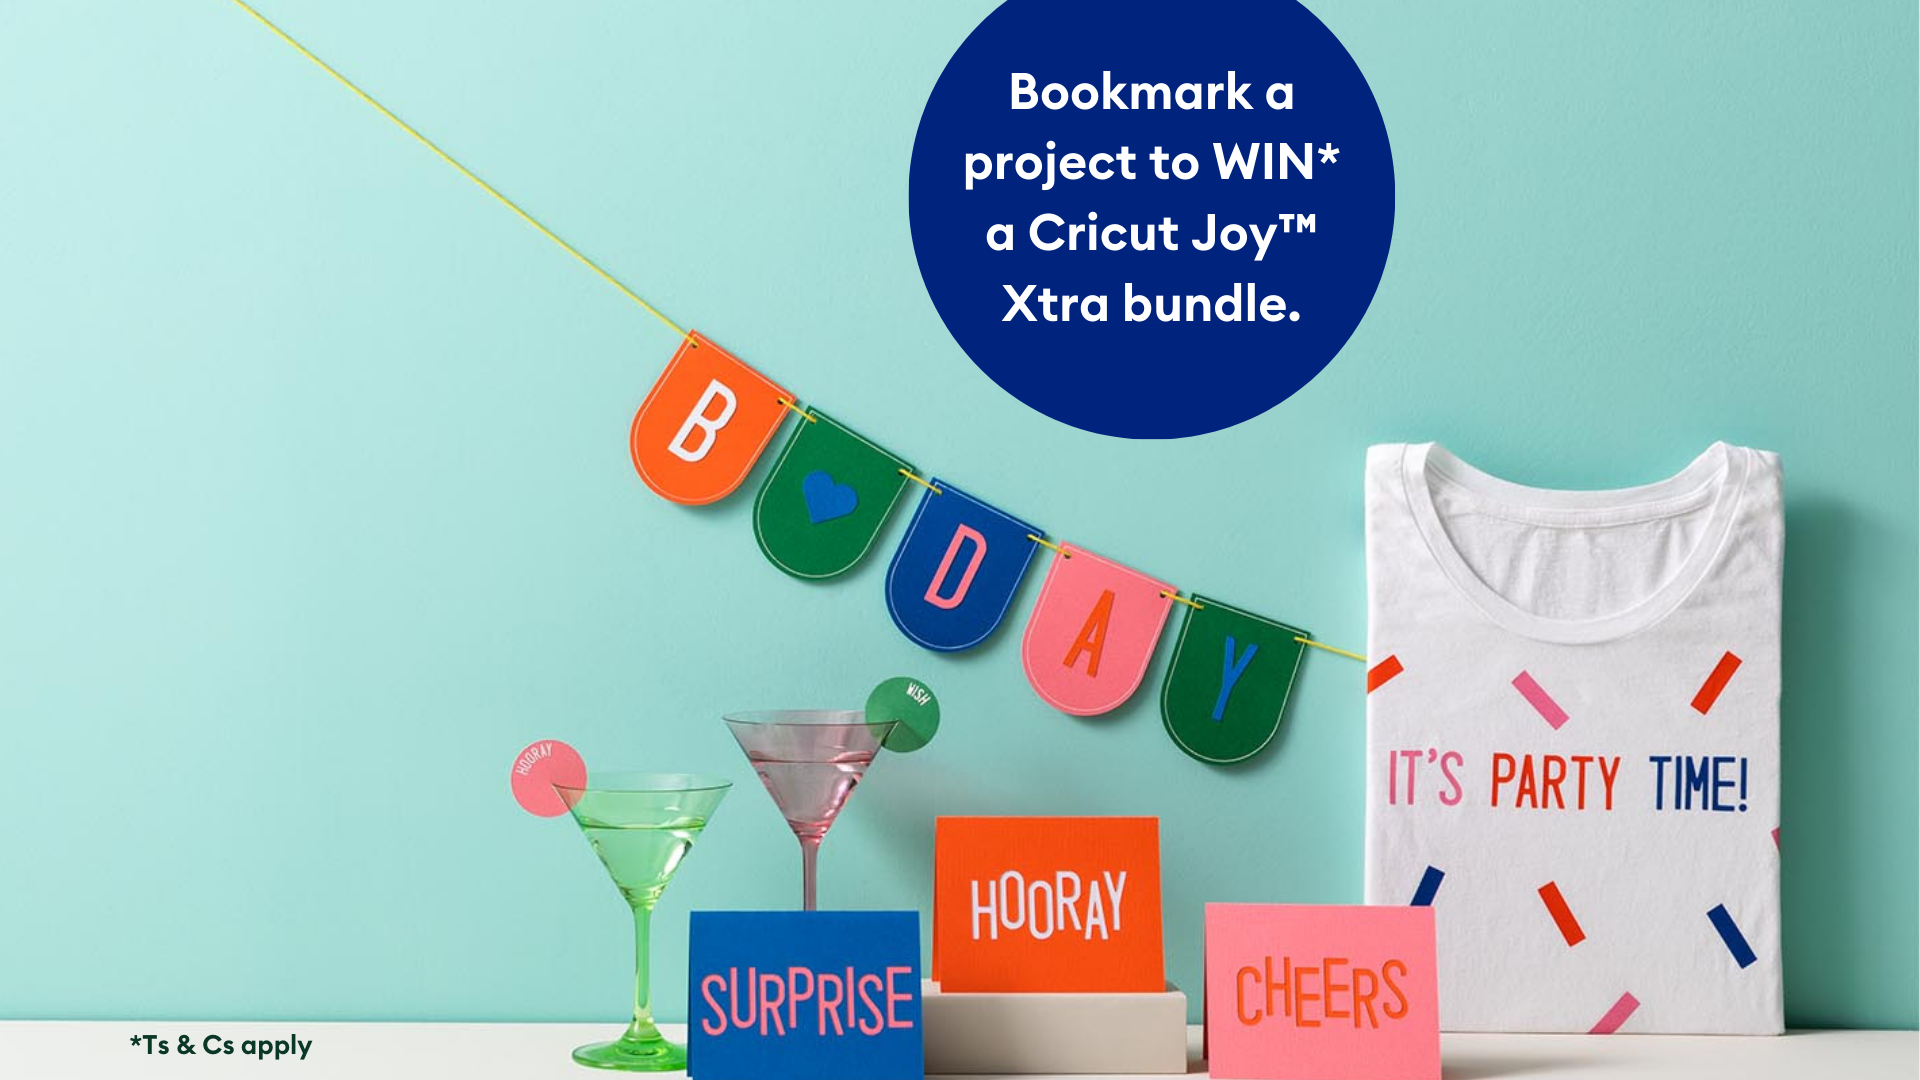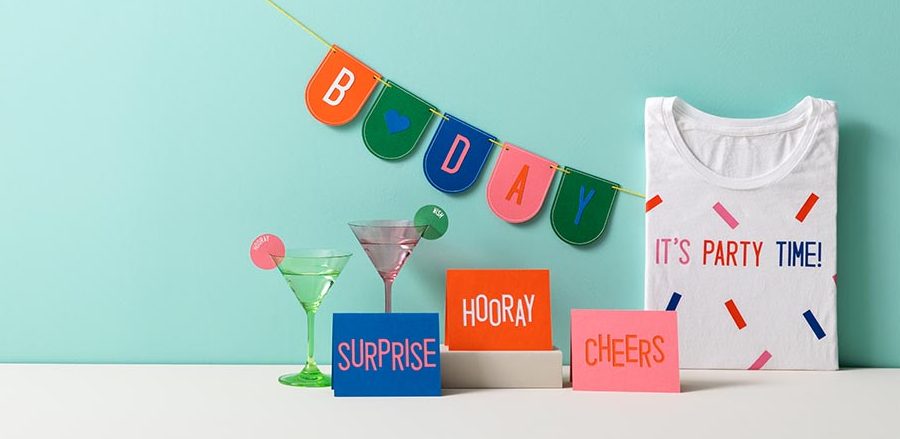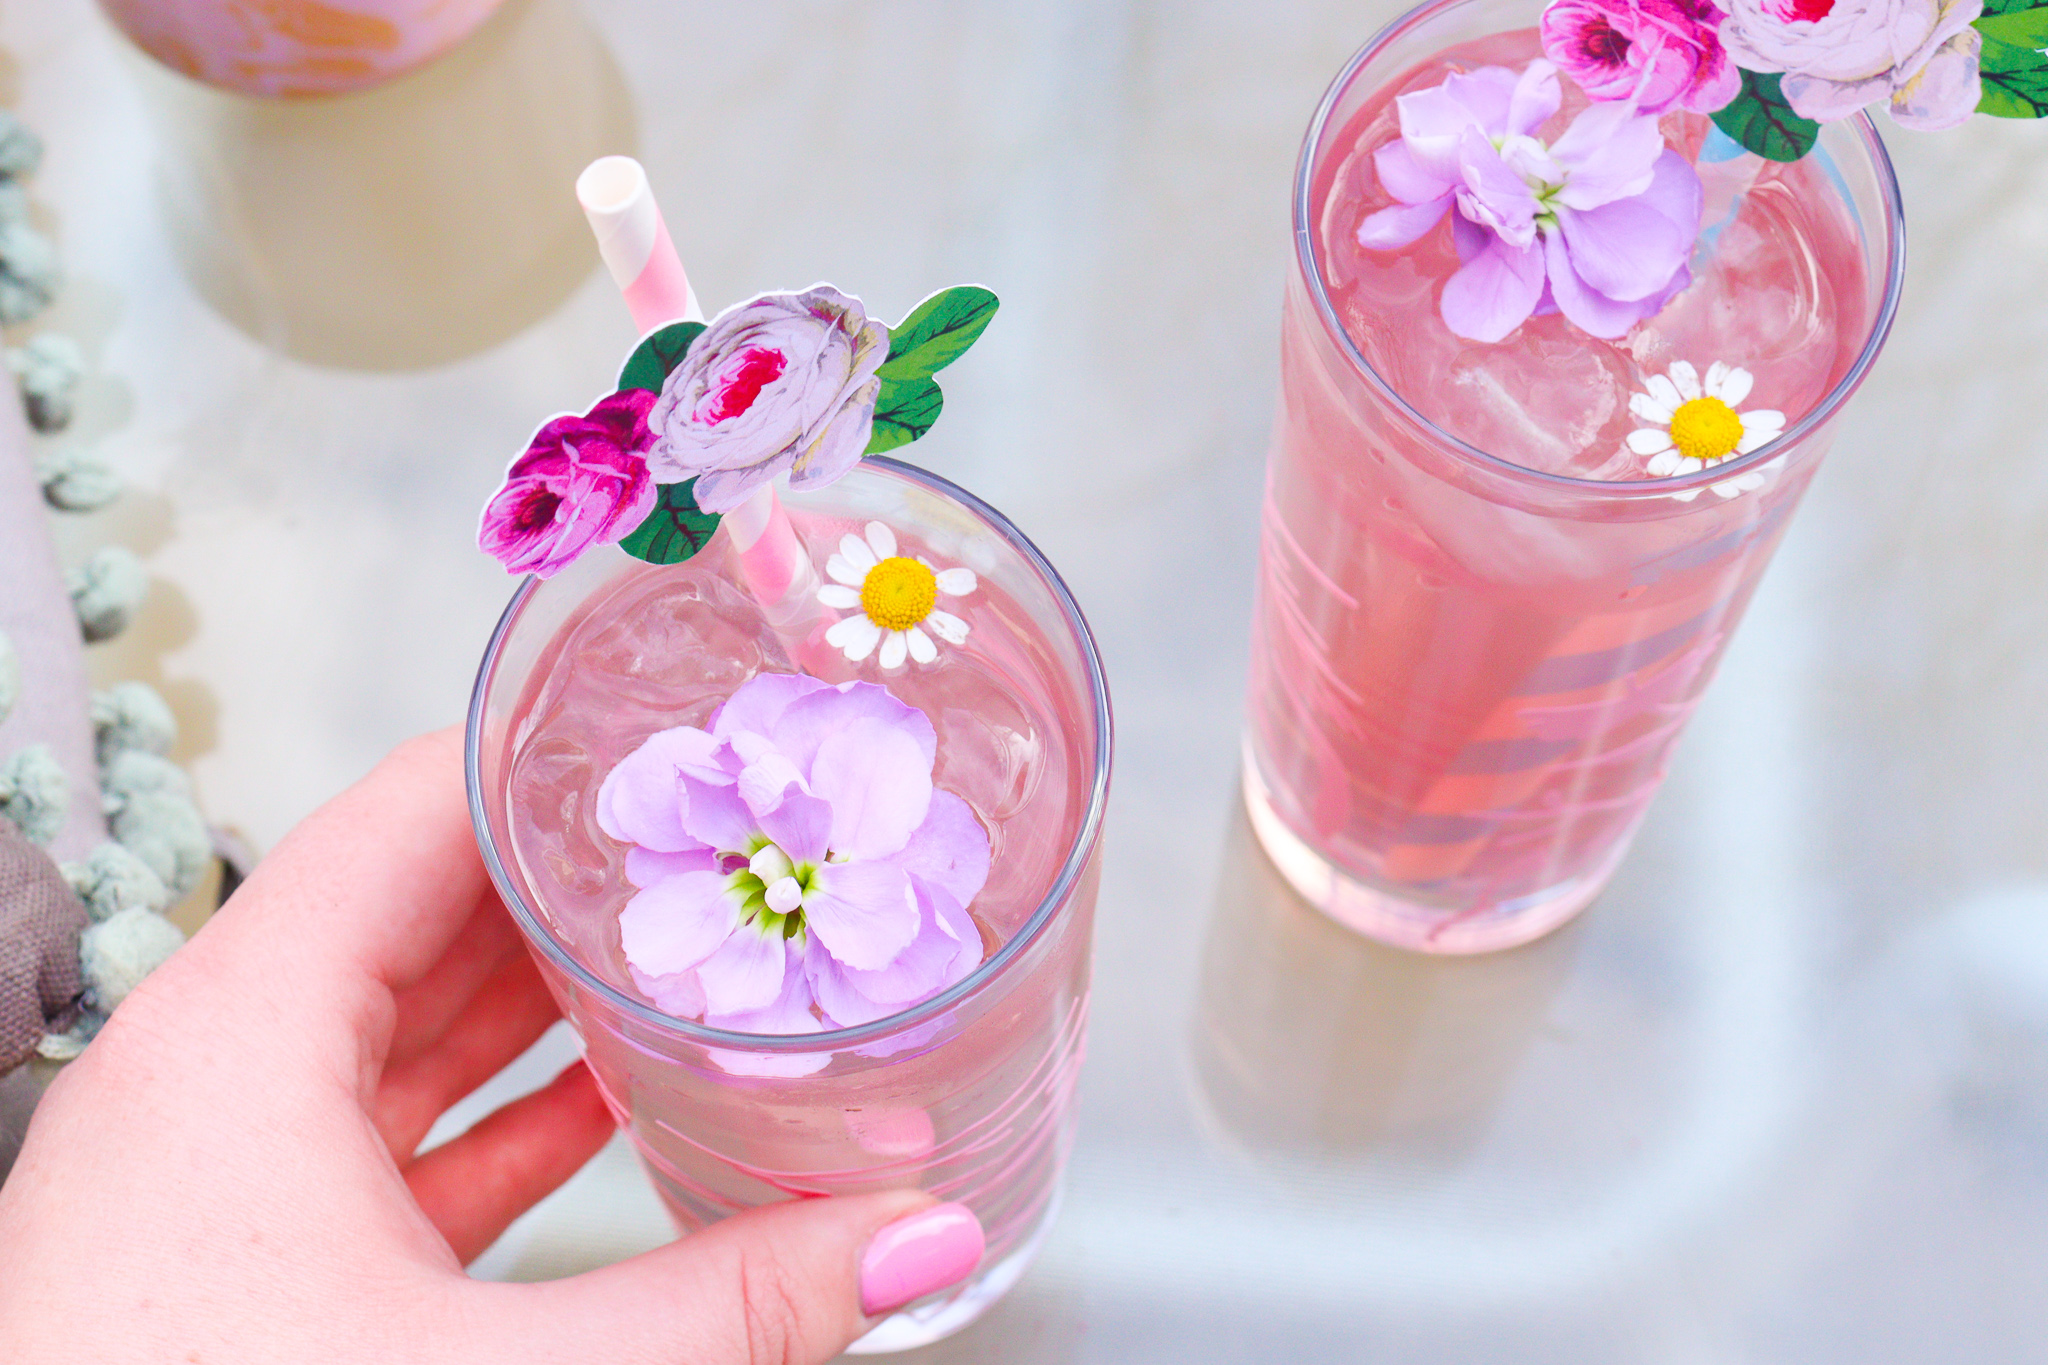
It’s set to be the summer of reunions; meeting up with friends and family we haven’t seen for too long. So here’s a tutorial for customised glasses to make your party perfectly personalised!
Read on to learn how to create a set of stunning gasses and matching straws for your next party!
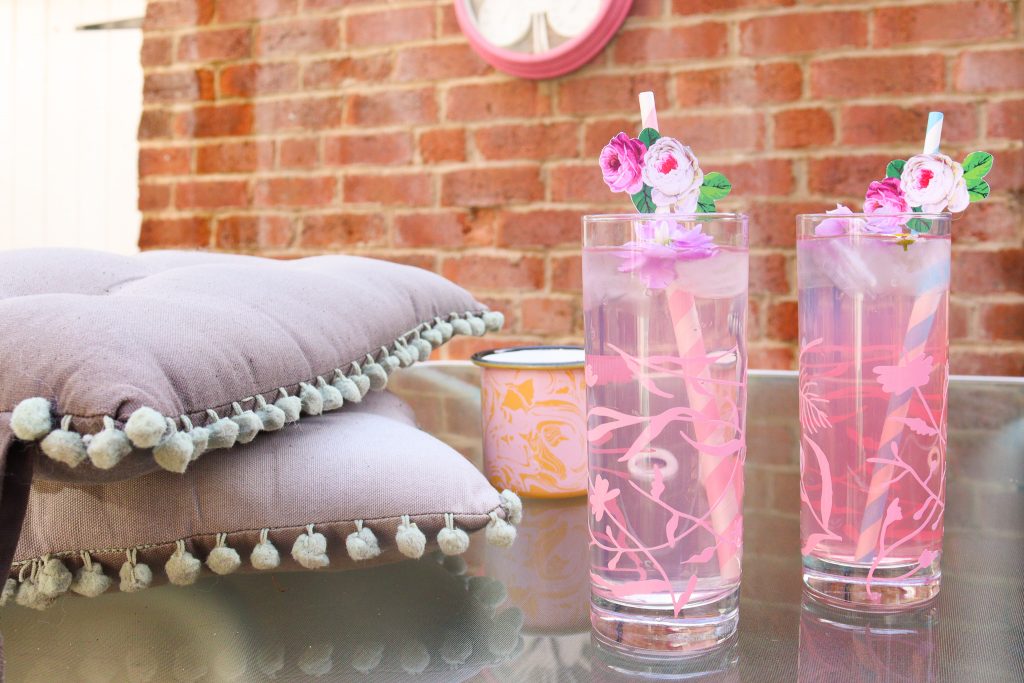
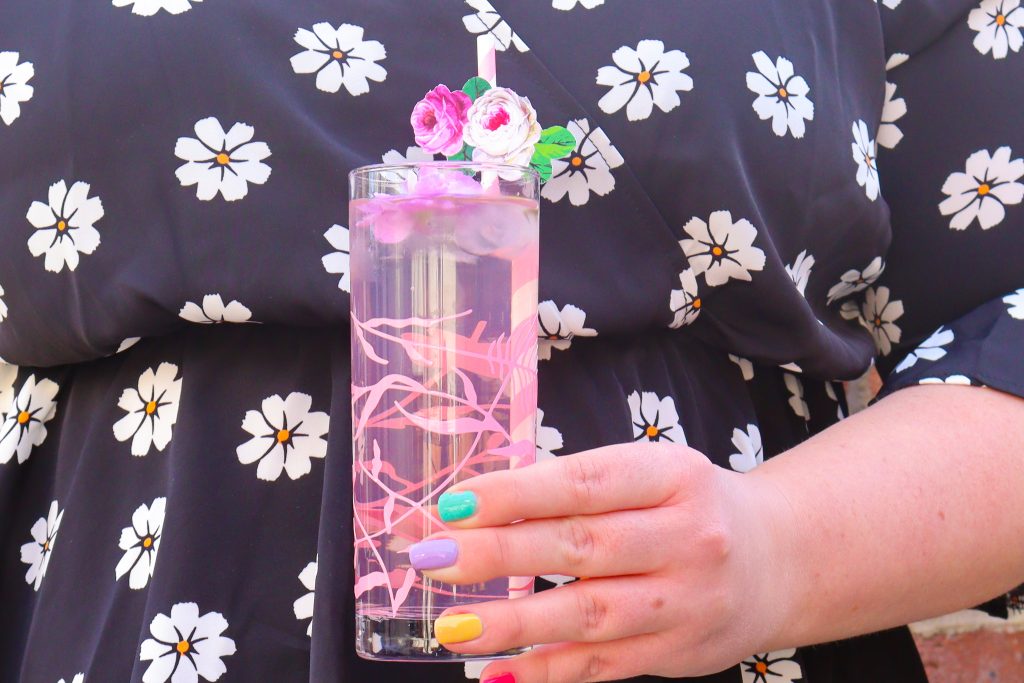
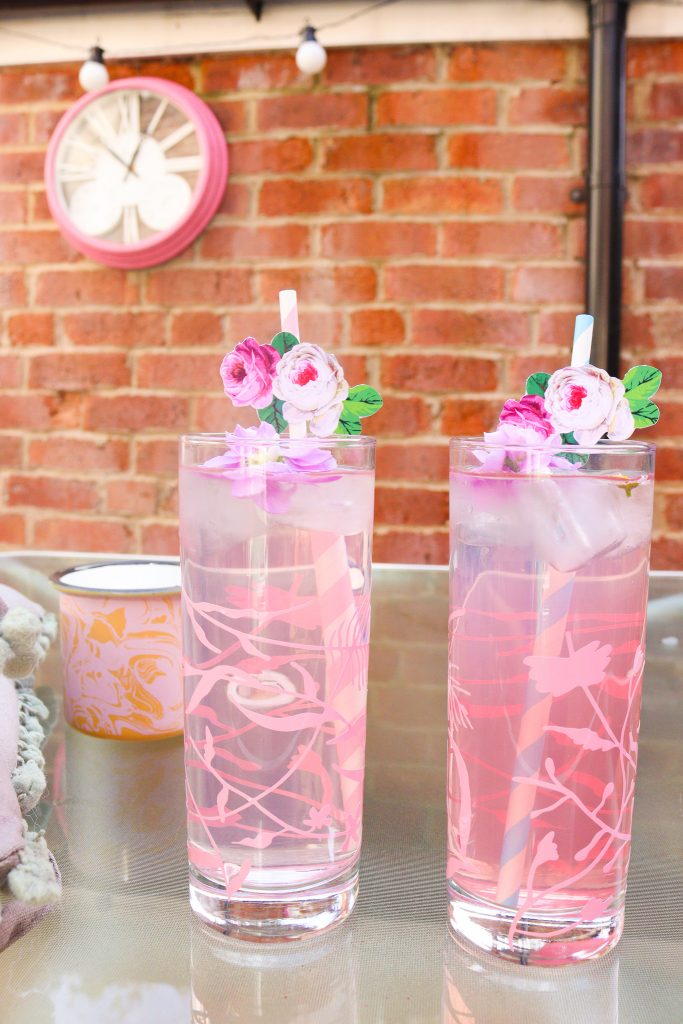
Use your machine to customise plain glasses with a floral motif, then finish off your drinks with straws topped with a beautiful classic wildflower cut on your machine.
You will need:
- Cricut Maker or Explore
- White Card
- Pink Vinyl
- Weeding Tool
- Lightgrip mat
- StandardGrip Transfer Tape
- Scraper Tool
- Printer
- Hot Glue Gun and Glue
- Paper Straws
- Glasses
Step One
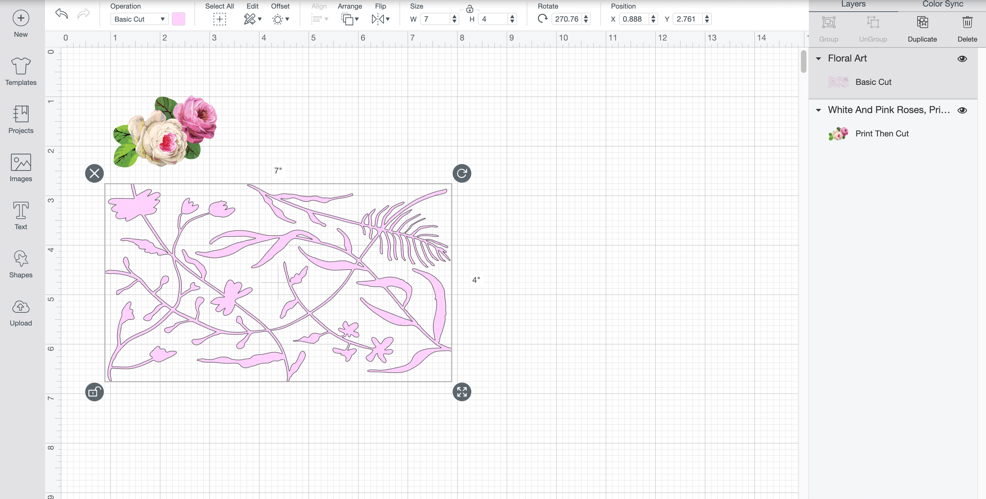
Add the images #M25C00B and #MC250315 into a new Cricut Design Space canvas. Resize the floral image to fit the width and height of the glasses you would like to put it onto, making sure to leave space at the top of the glass for drinking.
Resize the print and cut flower image to just under 2 inches (5cm) wide.
Step Two
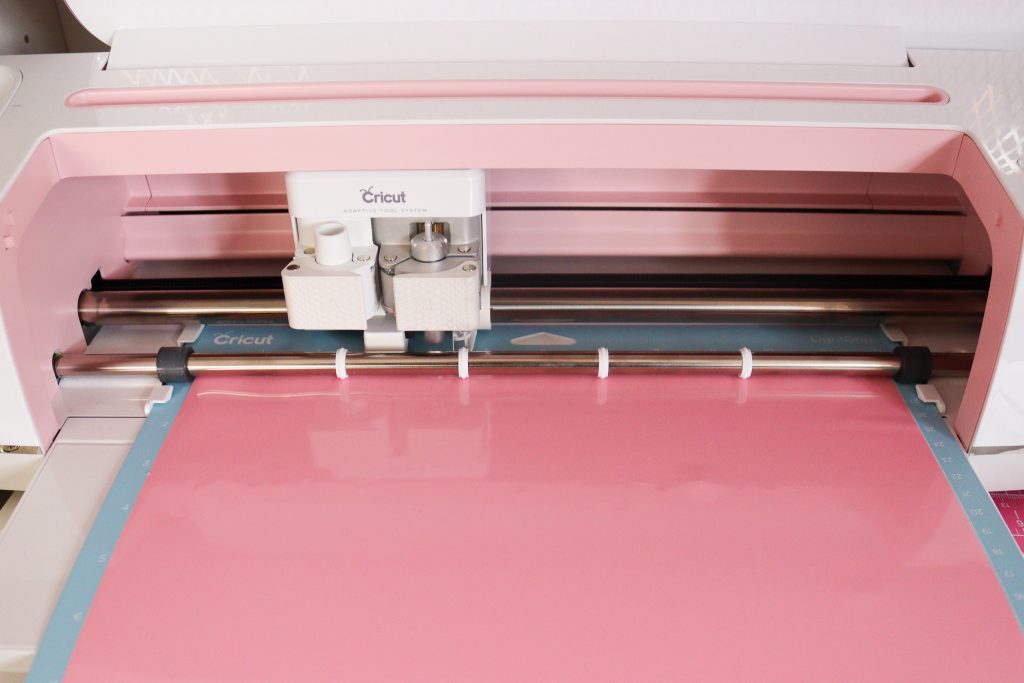
Head to the Make It screen. First cut the vinyl mat. Choose the appropriate vinyl setting for the type of vinyl you are using. Did you know you can use the search bar to find the exact material?
Then lay your sheet of vinyl face up onto the mat and load it into the machine to cut.
Step Three
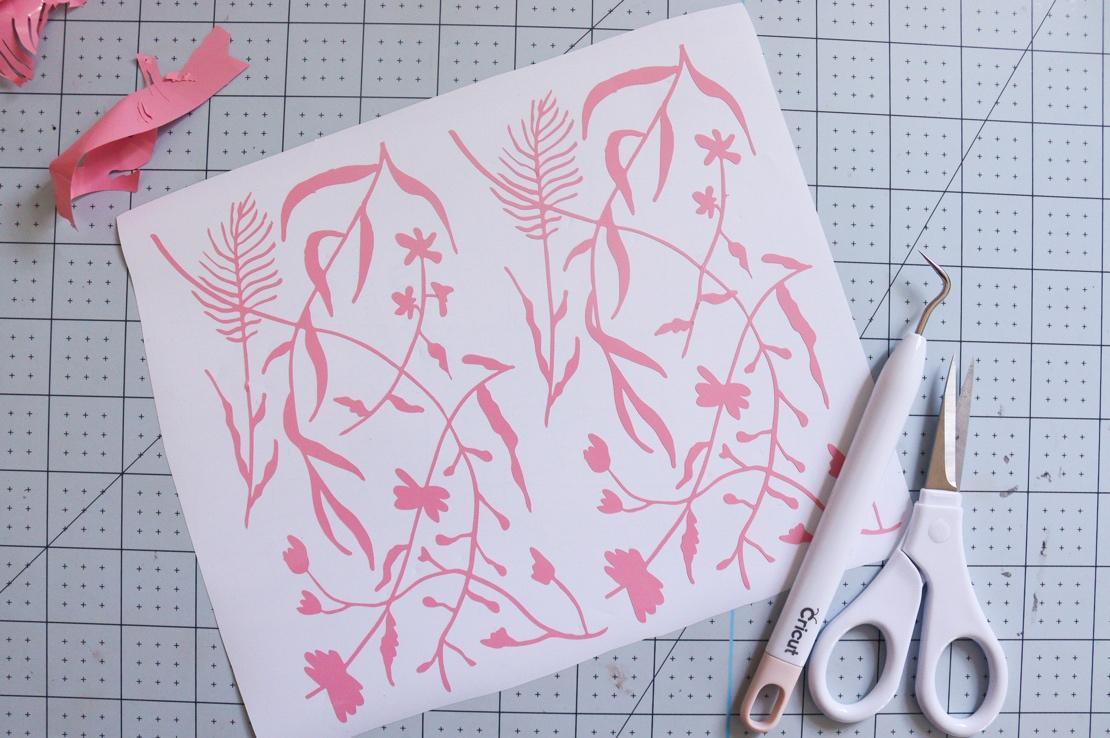
Once cut, remove the vinyl sheet from the mat and use scissors to cut around the image so that you save the uncut vinyl for another project.
Then use your Weeding Tool to remove the excess vinyl leaving just your design behind on the backing sheet.
Step Four
Use transfer tape to move your vinyl design onto your glass.
Lay a piece of Transfer Tape on top of your design, and burnish with the Scraper Tool.
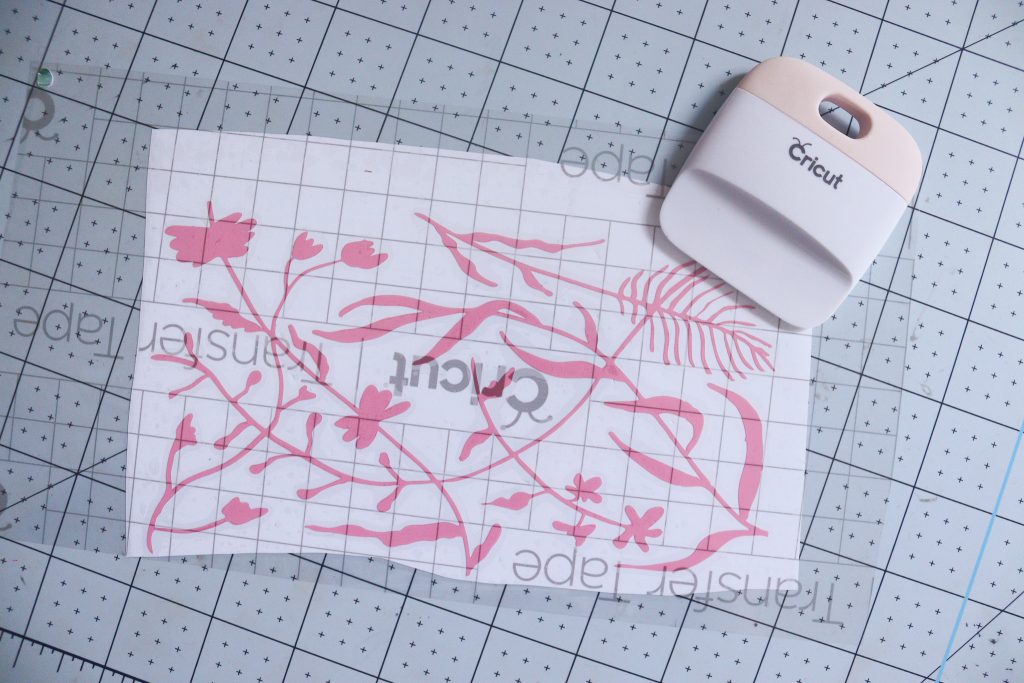
Turn the piece over and burnish the back before carefully peeling the white backing sheet away, leaving the vinyl design attached to the Transfer Tape.
Step Five
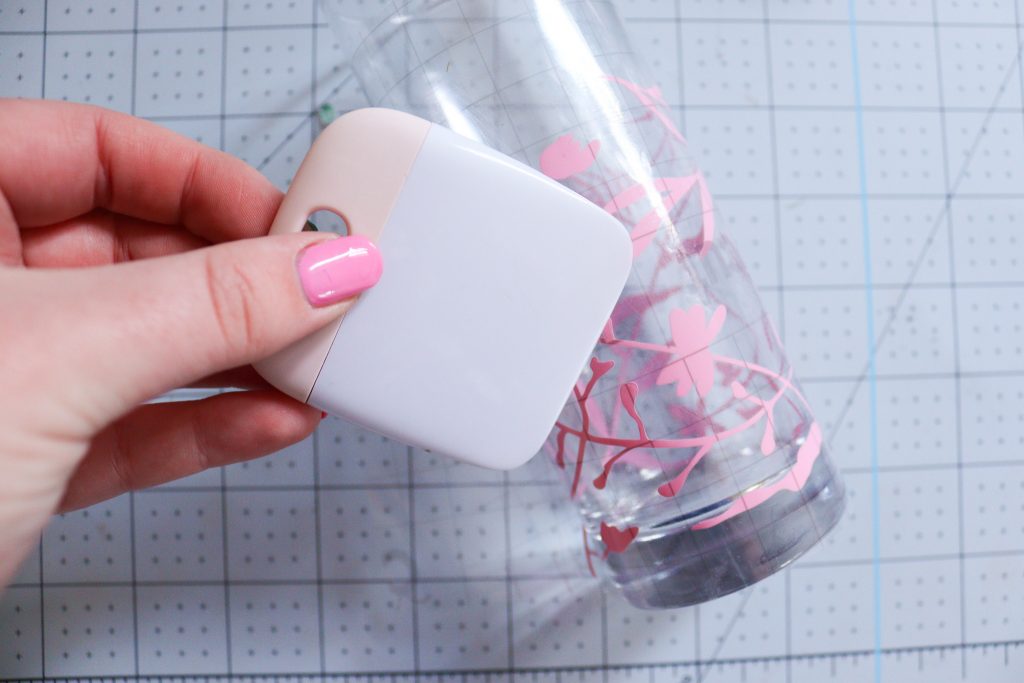
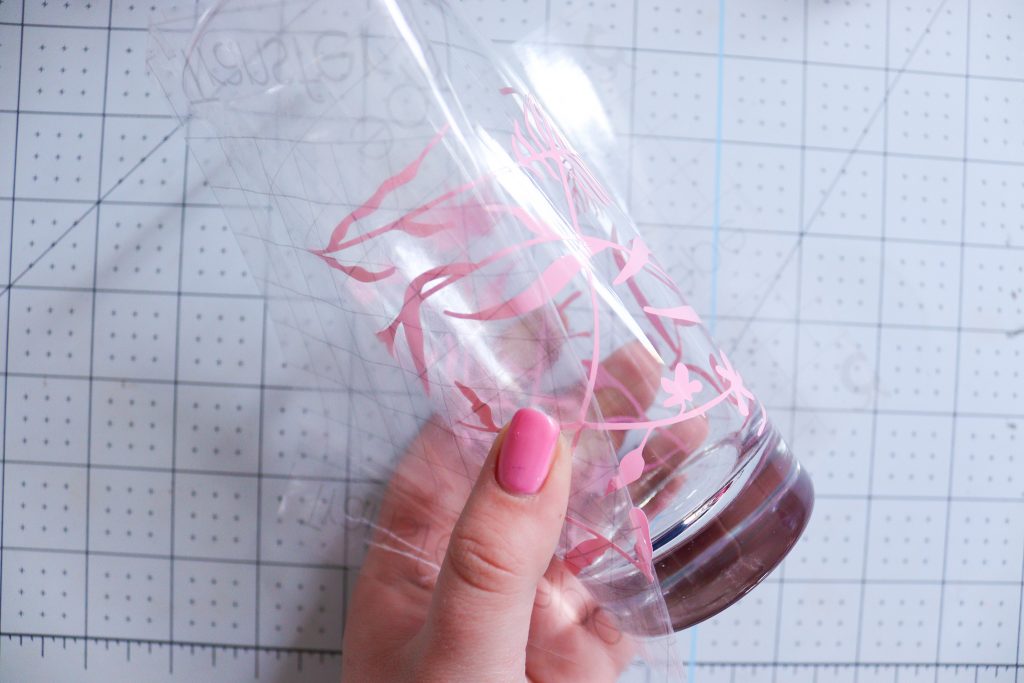
You can now place your design onto your glass, making sure the design is stuck all the way around the glass, before peeling the transfer tape back on itself to remove it from the glass leaving the vinyl behind.
Step Six
Now the glasses are complete, we can move onto the straws.
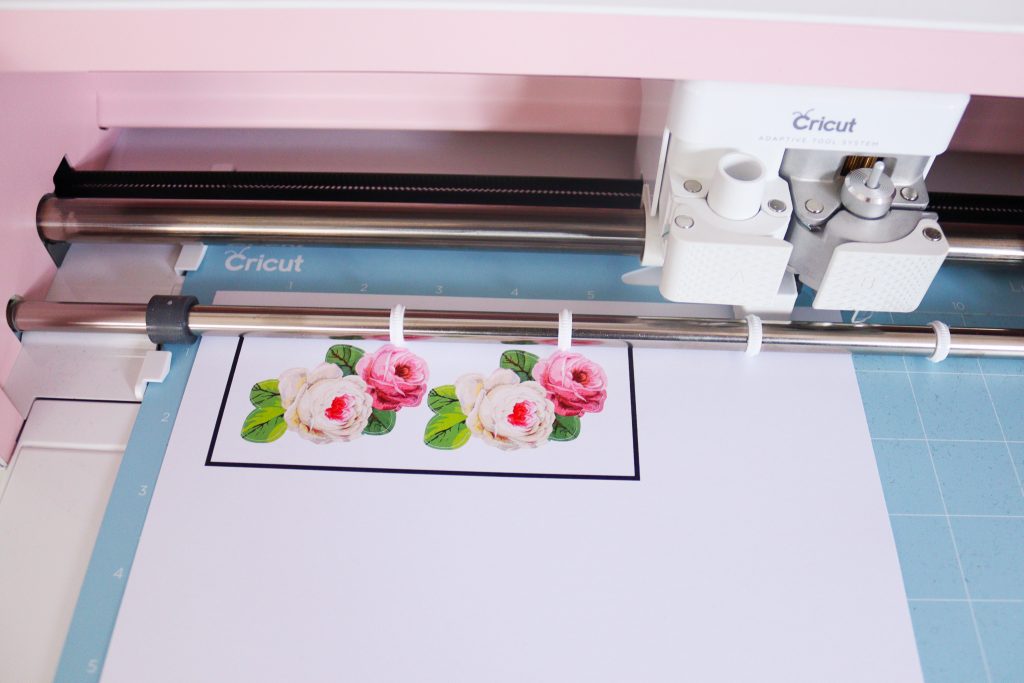
Print out the Print Then Cut design to your printer onto white card. Click here for help with Print Then Cut. Once printed, load the card onto your mat and into your machine.
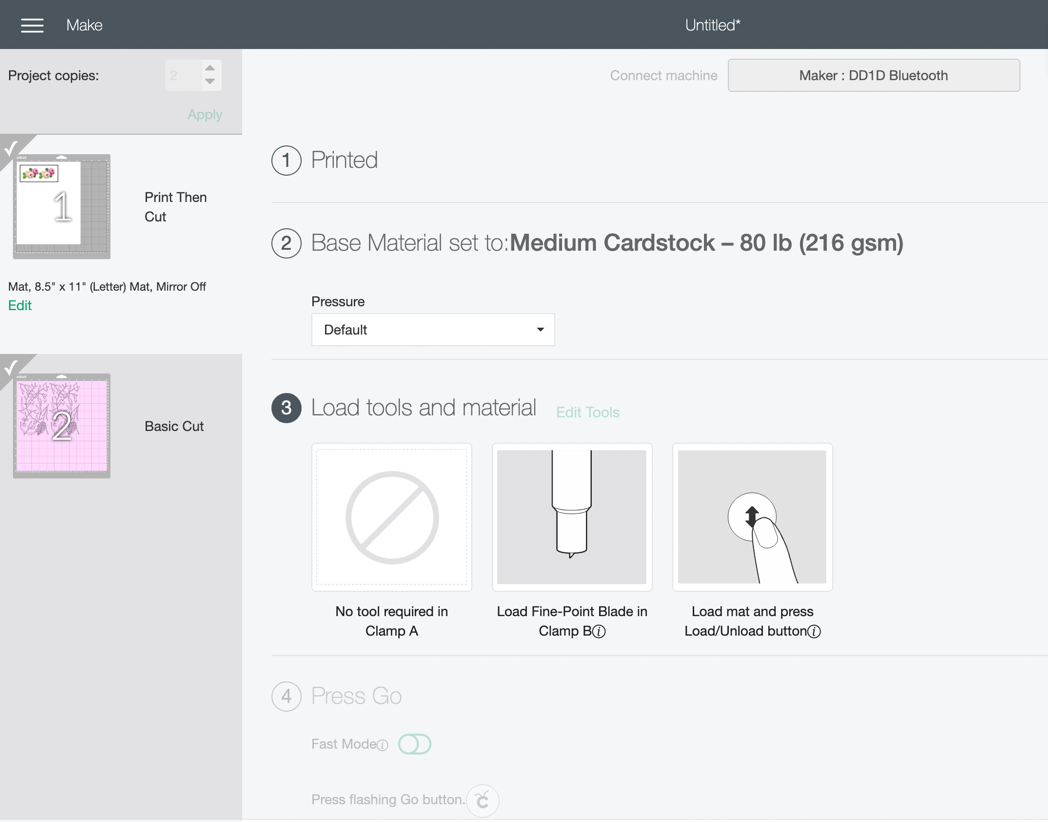
Make sure to change the cut setting to cardstock.
The machine will read the black sensor lines around the design then proceed to cutting.
Step Seven
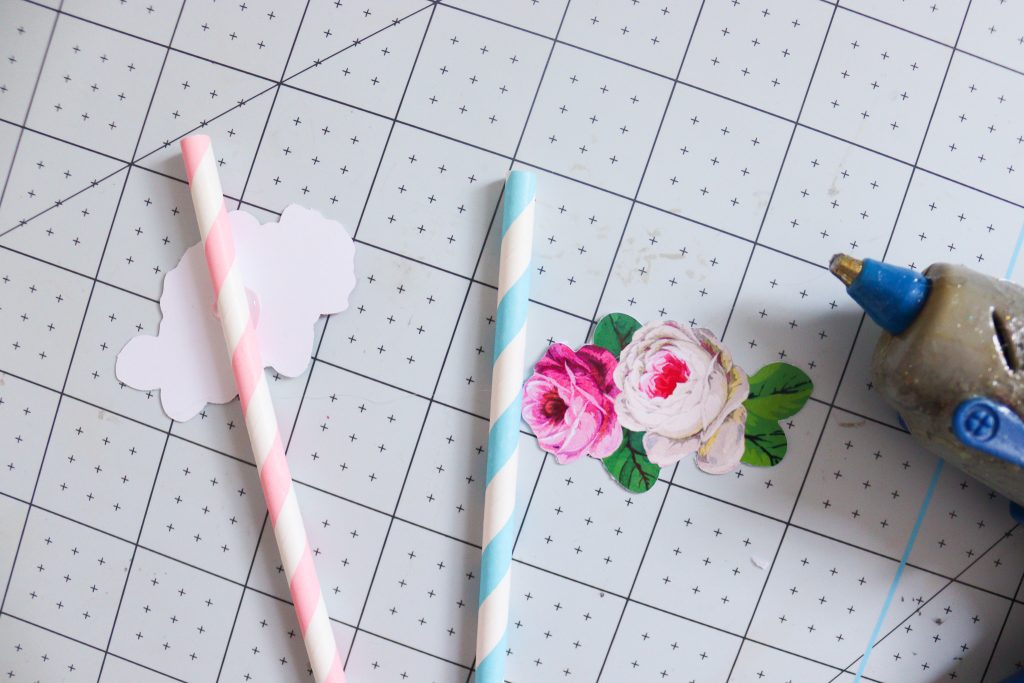
Once cut, remove the flowers from the mat then glue them into place on the top of the straws using a small blob of hot glue.
Step Seven
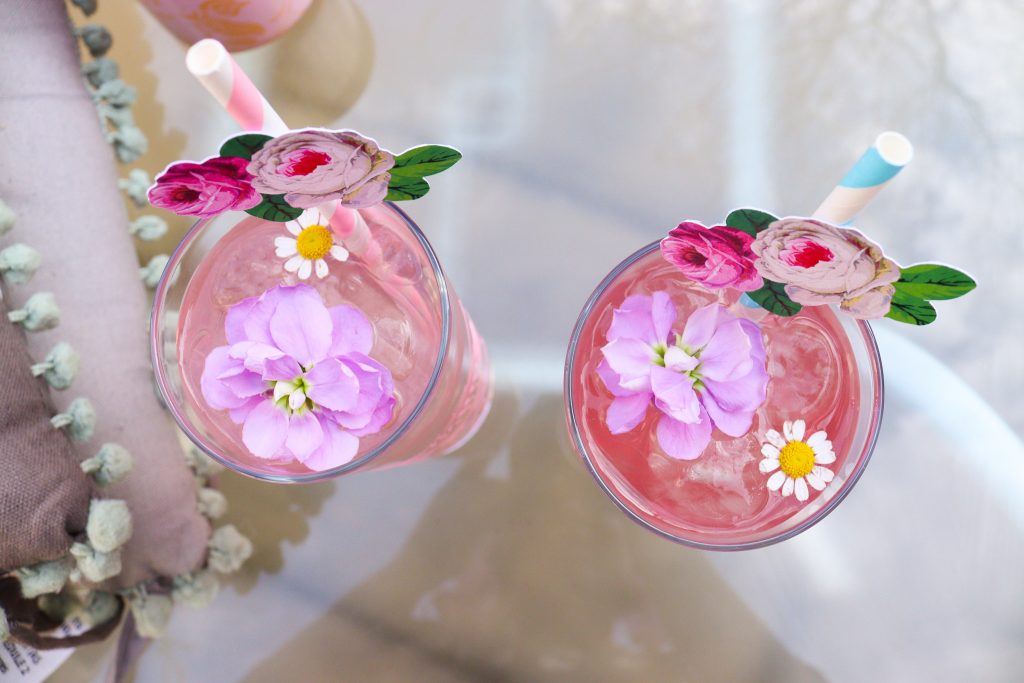
You are now ready to make up your cocktails in the glasses and add the straws to finish off your party drinks!

We have more outdoor party inspiration in this blog post: 8 DIY project ideas for an outdoor party.
You Might Enjoy…