What is Infusible Ink?
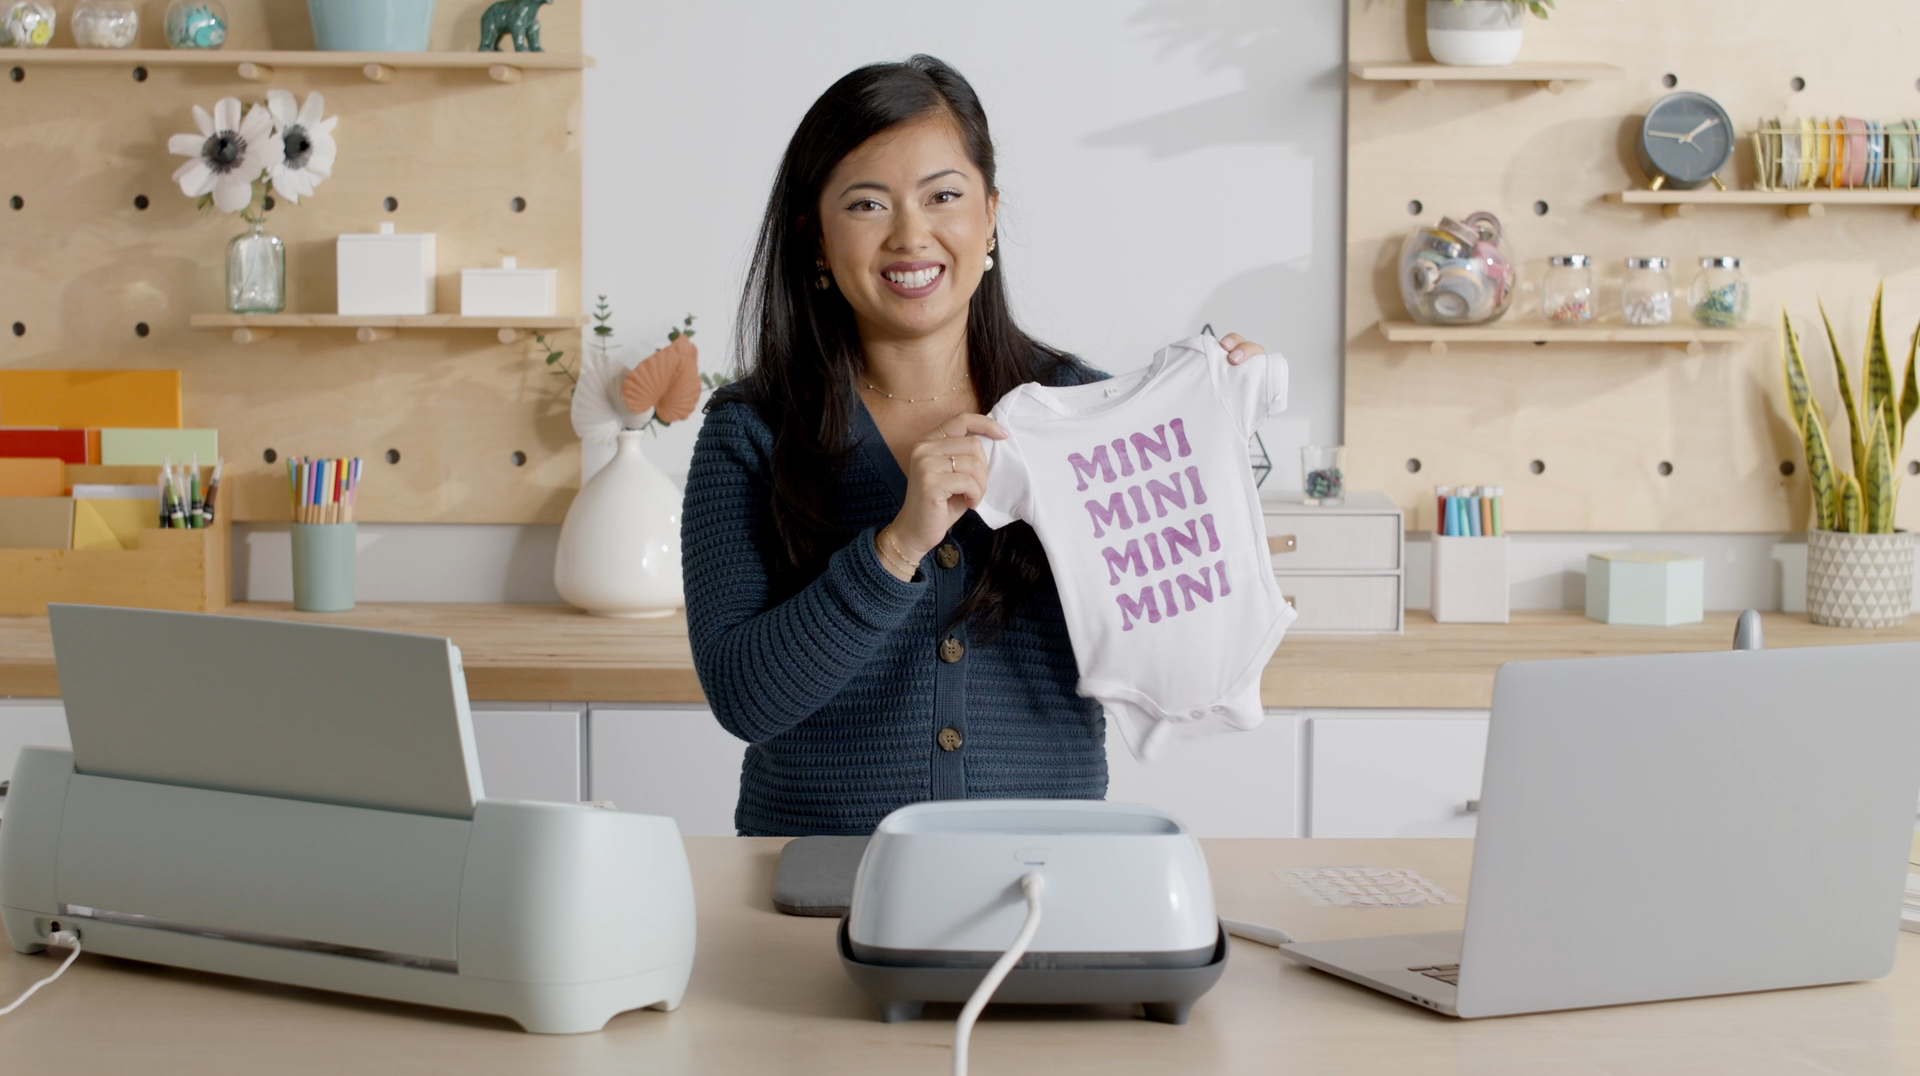
Vivid. Vibrant. Voila! Welcome to Cricut Infusible Ink, where you can create beautiful, bold designs that look truly professional on your T-shirts, totes and more. What makes Cricut Infusible Ink so special is that it looks store-bought, but it’s infused by YOU. Unlike the vinyl or iron-on process, where artwork is attached on top of a base material using adhesive, an Infusible Ink transfer actually becomes one with the material itself. The results are bright, beautiful, seamlessly smooth custom transfers that are peel-proof, flake-proof, and wash-proof.
Beginner’s guide to Infusible Ink:
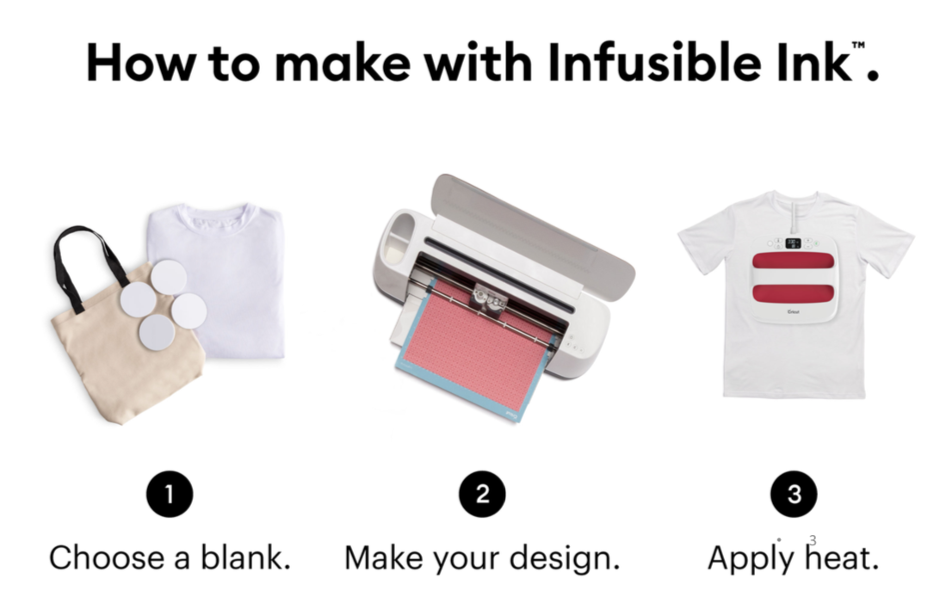
How Infusible Ink Works:
1. Choose your blank. Select Infusible Ink Transfer Sheets or Infusible Ink Pens & Markers and a compatible Cricut blank.
2. Make your design. Use Design Space and your Cricut cutting machine to cut Infusible Ink Transfer Sheets or draw with Infusible Ink Pens & Markers onto standard copy paper.
3. Apply heat. Infuse your design into your Cricut blank with Cricut EasyPress.
Transfer Sheets:
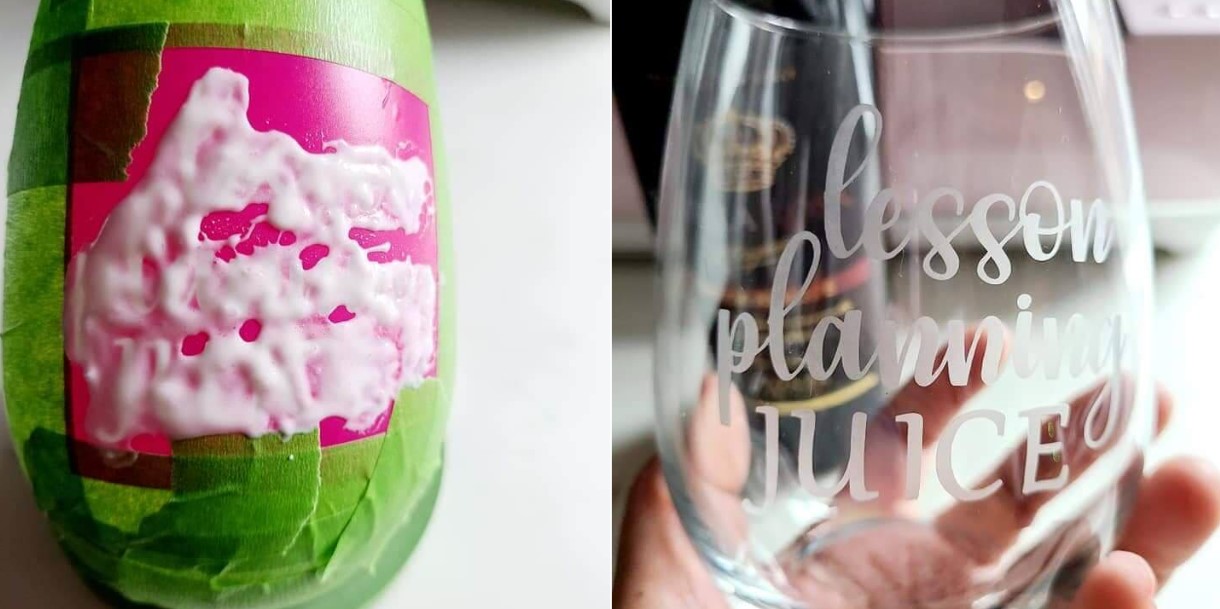
These are sheets that come in block colours or patterns, that can be cut on a Cricut machine into your desired shape or design, then applied onto a blank of your choice. You put the sheets face up onto your mat and mirror your design. You then press them face down onto your blank. The high heat of the EasyPress 2 ensures the ink transfers from the sheet onto your blank and you can visibly see the difference with the colour disappearing from the sheet after the application.
Pens:
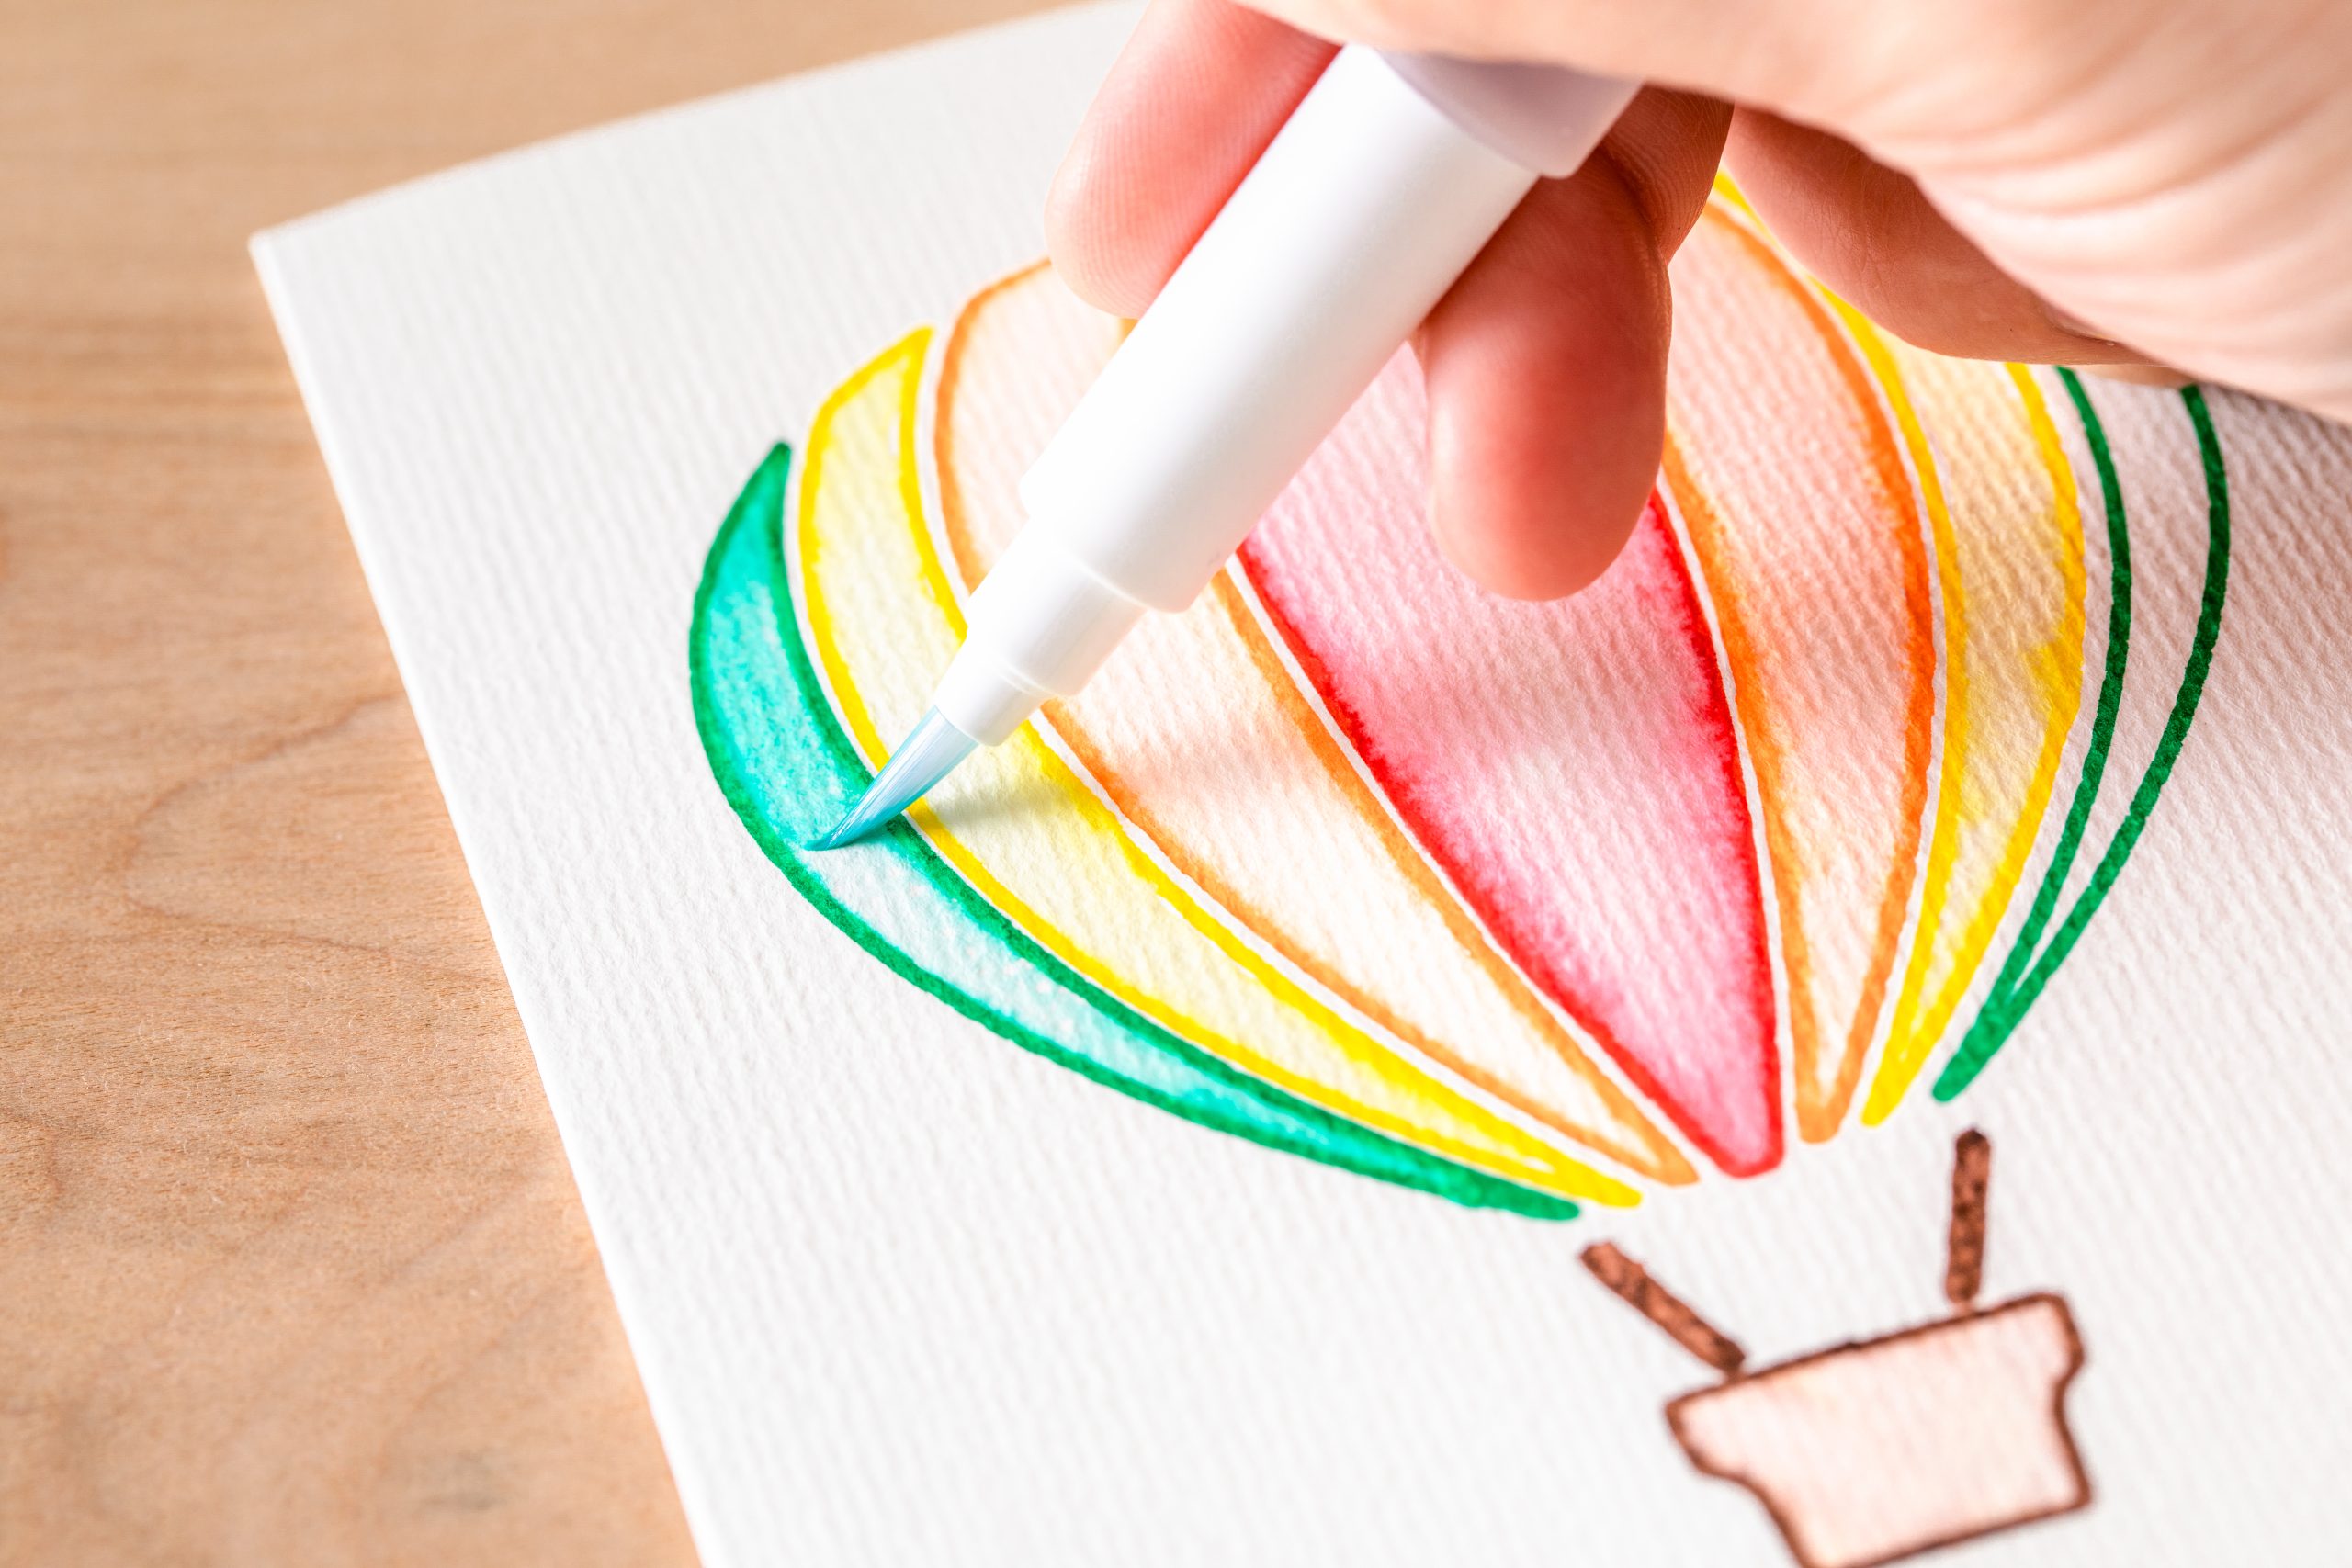
Infusible Ink pens use the same Infusible Ink technology in a pen form. These can fit into your machines so that your machine can draw a design for you, or you can draw or colour by hand before pressing your design on to a blank (just remember your image will be mirrored).
You use copy paper to draw your design onto before pressing it. If you are drawing with the machine you just pop the piece of paper onto the blue light grip mat and load it into the machine.
Note that the Cricut Joy has different sized Infusible Ink pens to the Cricut Maker and Cricut Explore Air 2. Joy pens are available in sets of 3, Infusible Ink pens for the Maker and Explore are available in packs of 5 or 30.
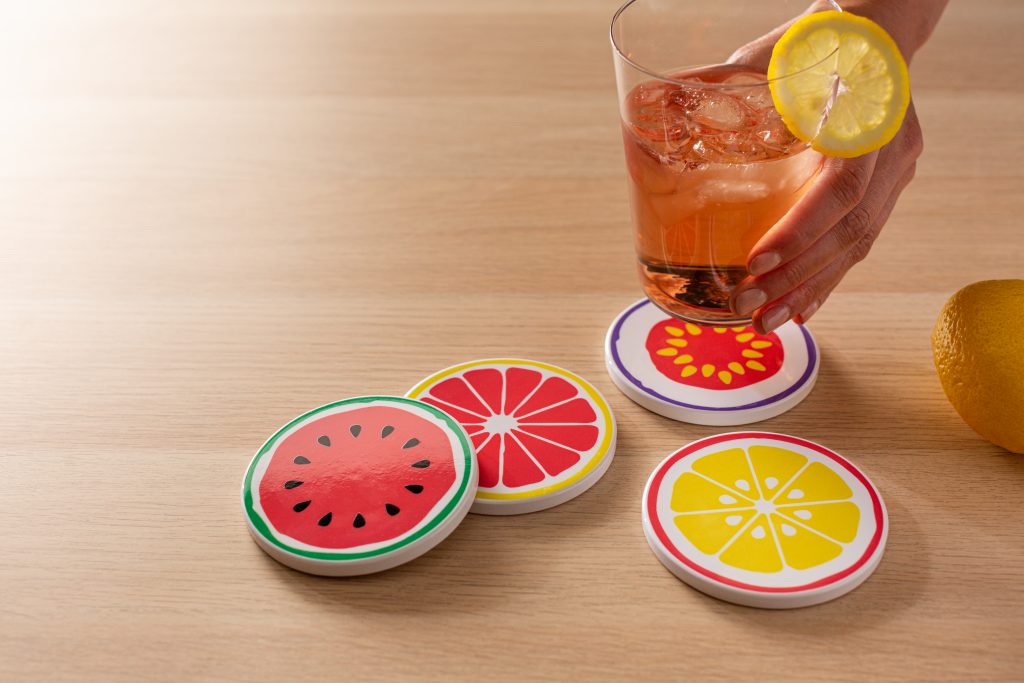
Blanks:
Because of the way Infusible Ink works it will only work with compatible blanks. We have designed a range of blanks that will give the best results, including T-shirts, tote bags coasters, cushion covers, make-up bags and a wine bag.
Here’s everything you need to make a project with Cricut Infusible Ink:
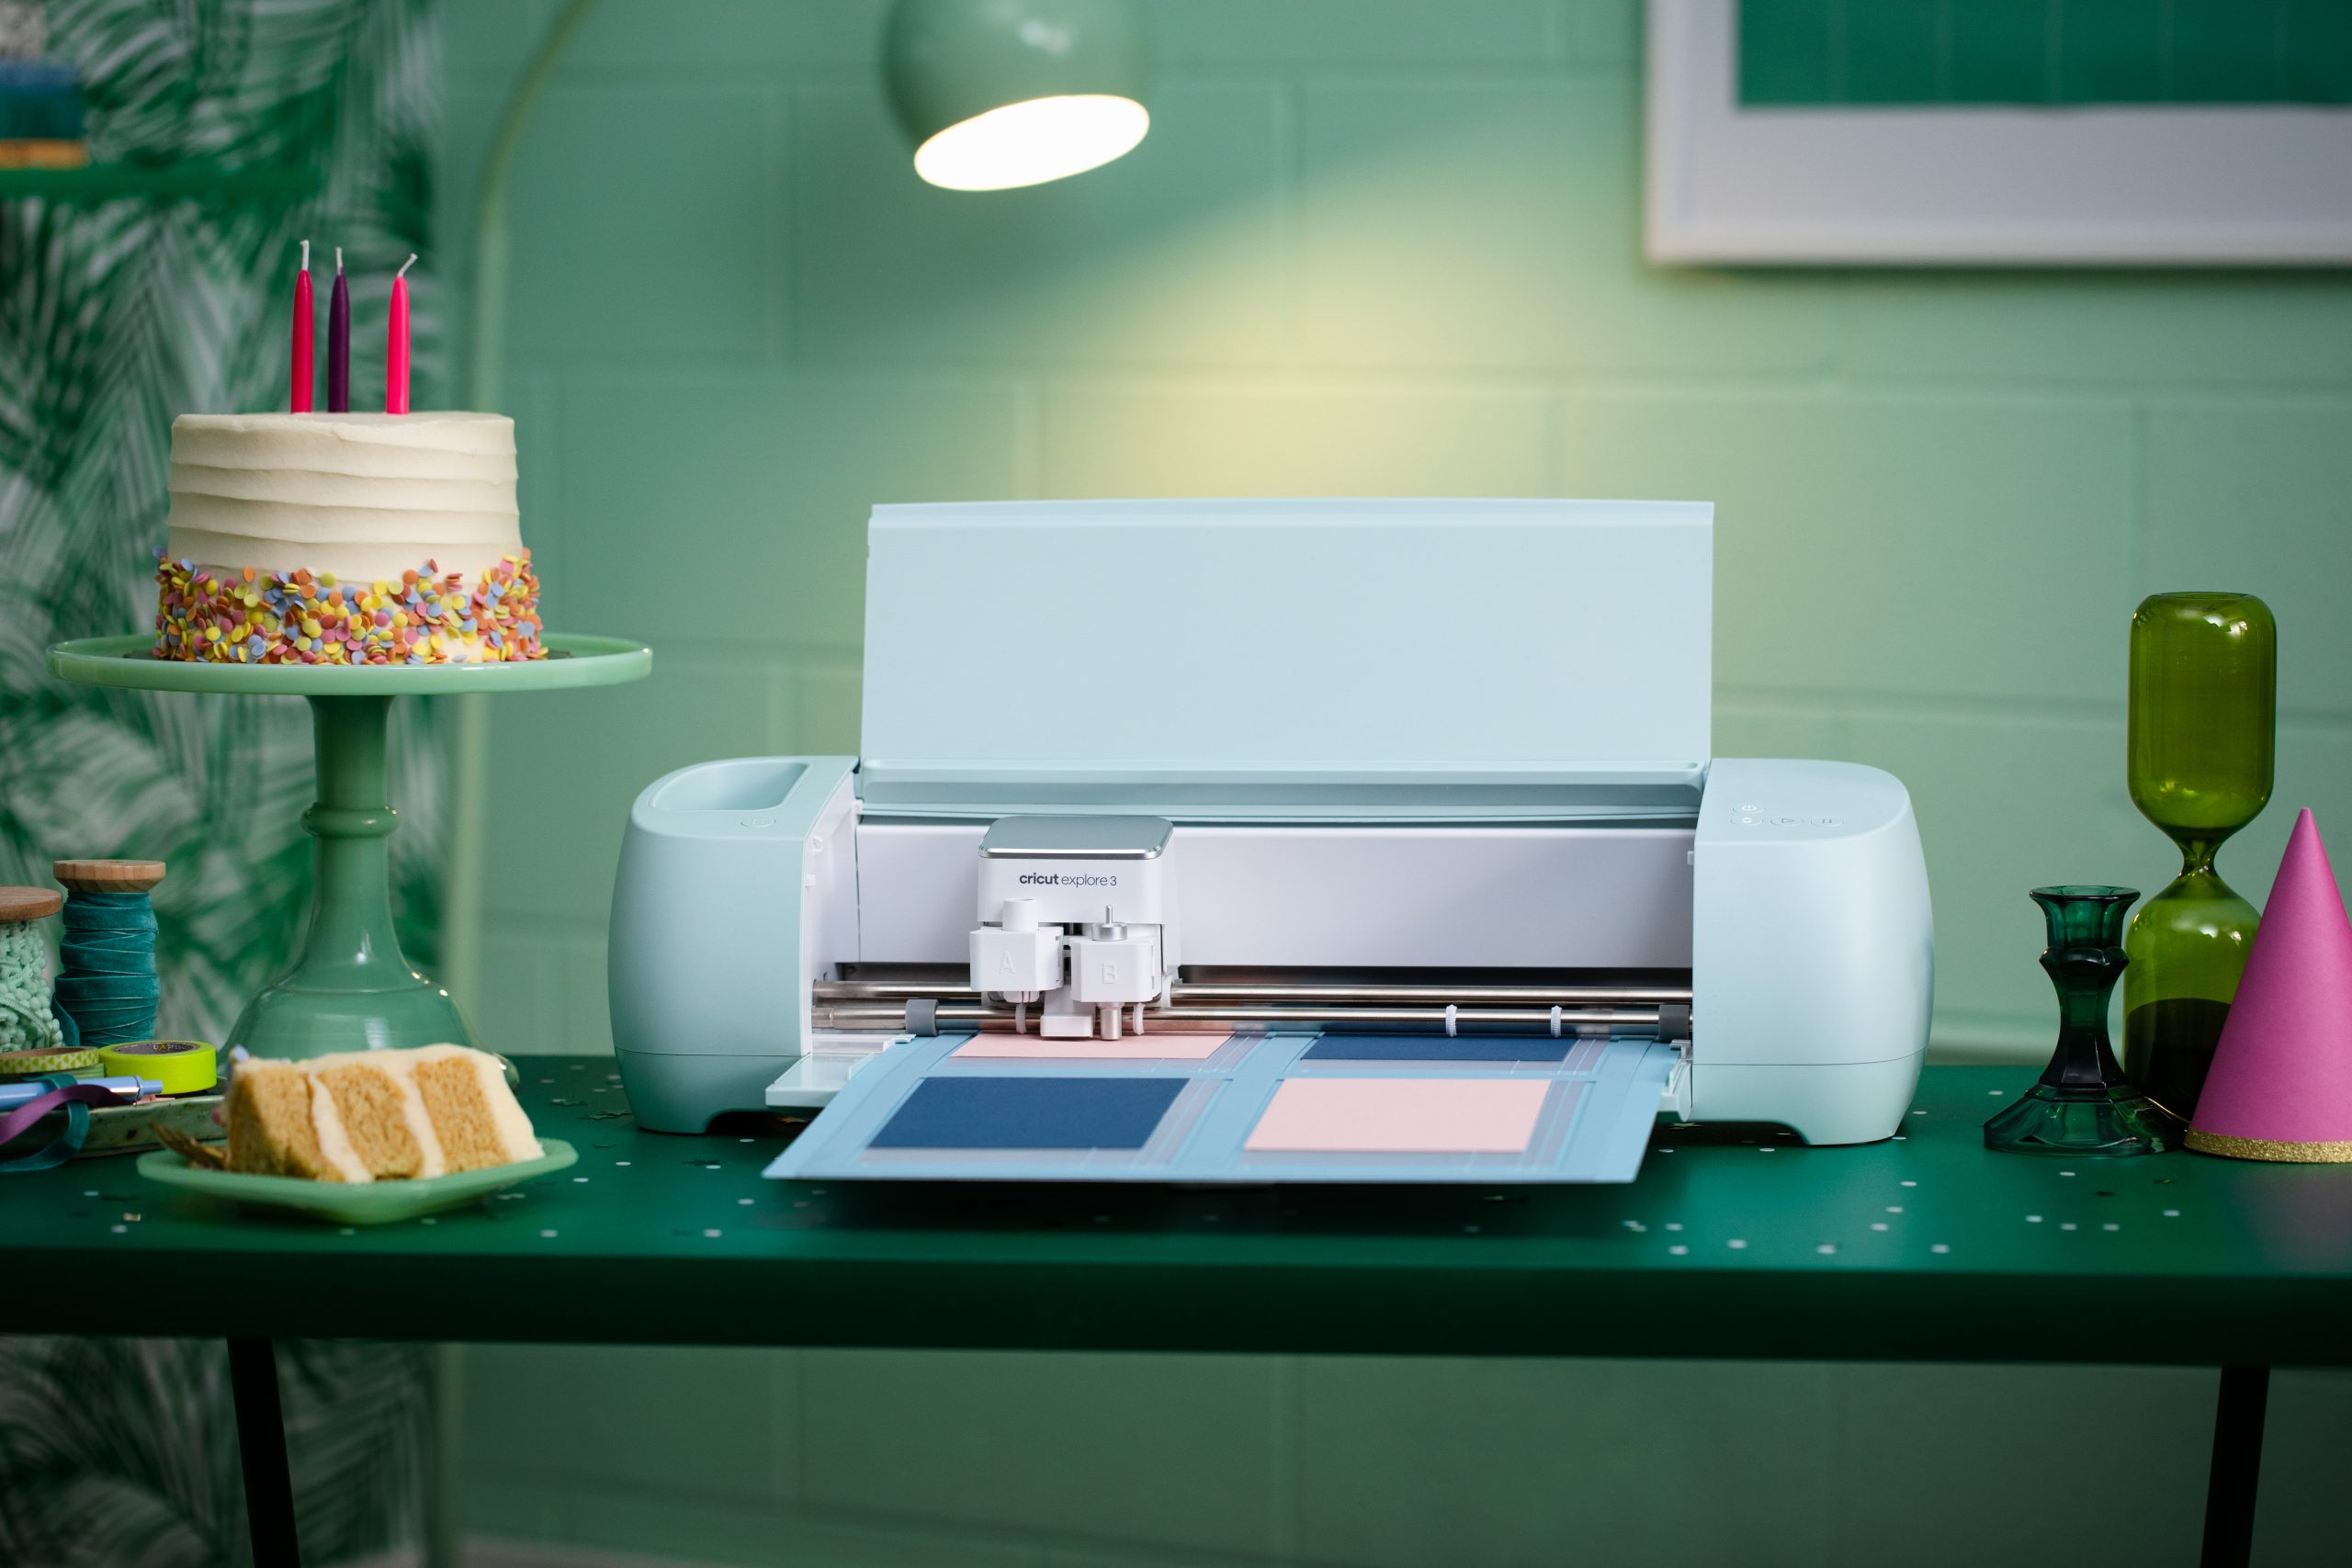
- Cricut Maker, Cricut Explore or Cricut Joy
- Cricut Standard Grip Machine Mat
- Cricut EasyPress 2
- Cricut EasyPress Mat
- Cricut Blank (compatible with Infusible Ink)
- Infusible Ink Transfer Sheets or Infusible Ink pens
- Cricut heat resistant tape
- Copy paper
- Butcher paper (comes with sheets)
- White Cardstock
- Lint-free cloth (for coaster blank projects)
- Lint roller (for fabric blank projects)
- Scissors and tweezers

How to use Cricut Infusible Ink Transfer Sheets in 5 easy steps:
Step One:
Choose an image in Cricut Design Space, make sure that it is smaller than your EasyPress. Mirror the image and choose Infusible Ink transfer sheet from the material list.
Step Two:
Lay the Infusible Ink transfer sheet face-up on the mat, then load it into the machine and start cutting. Once the cut is complete, remove the sheet.
Step Three:
Weed your design (take away the bits you don’t need) leaving only the design on the clear carrier sheet.
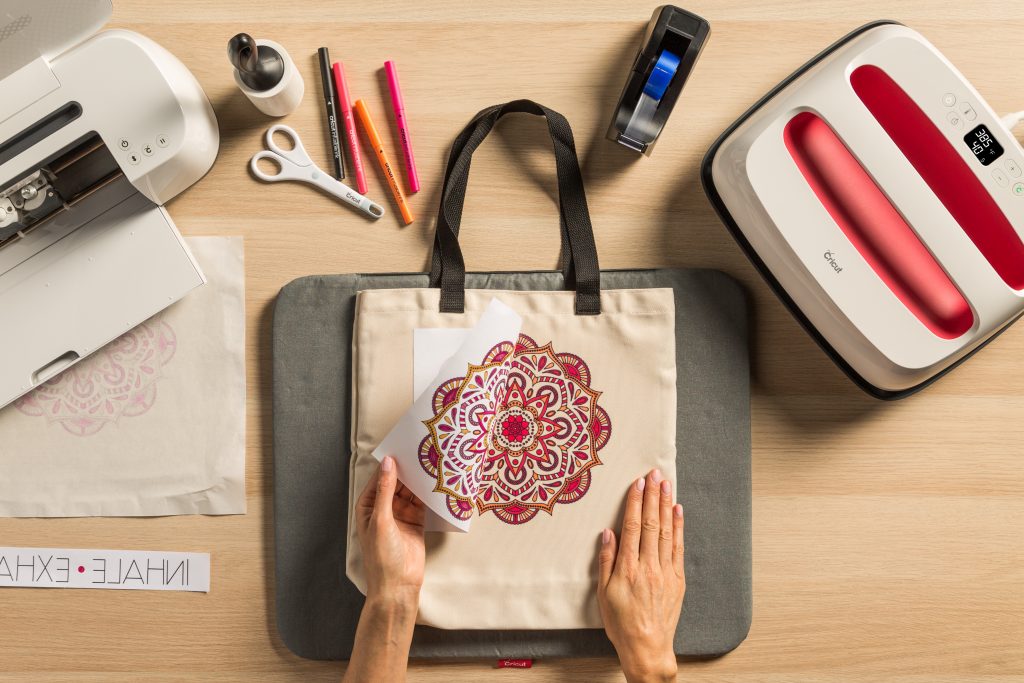
Step Four:
Next set up your EasyPress mat referring to the Cricut Heat Guide for the correct order to layer your mat and materials ensuring you lay a piece of paper onto the mat to protect it. Heat up your EasyPress, to the temperature indicated by the Heat Guide based on your chosen blank and Infusible Ink pens or sheets. Next lay down your blank on the mat. If you’re using a fabric blank, use a lint-roller to remove invisible fibres. If you’re using a ceramic blank, rub with a lint-free cloth to remove dust or unwanted particles. Add the weeded design face down onto the blank. Cover the sheet with a piece of the butcher paper. Press for the time indicated by the Heat Guide.
Step Five:
Once cooled, peel away the butcher paper and transfer sheet to reveal your completed project.
You Might Enjoy…