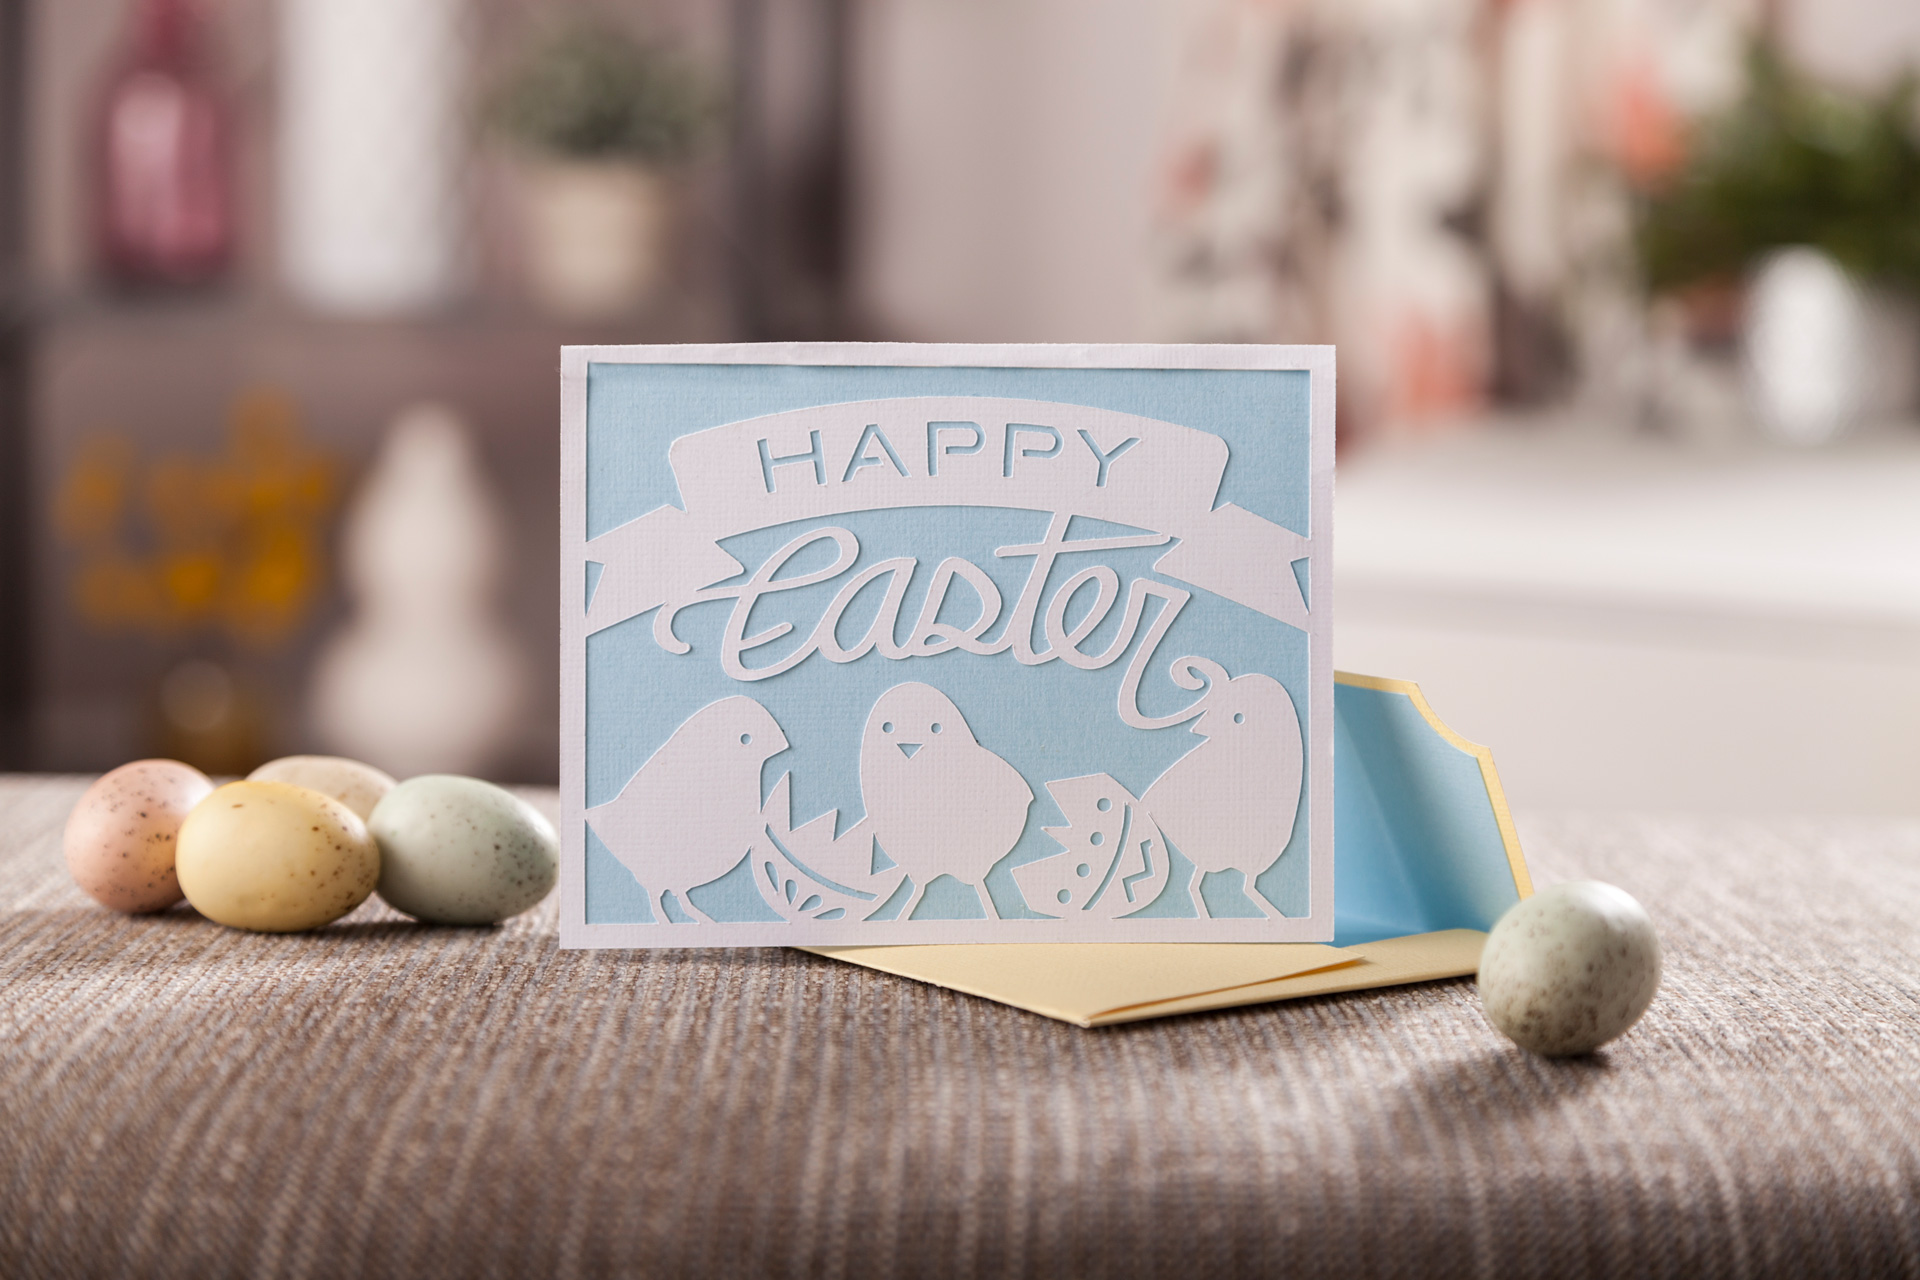
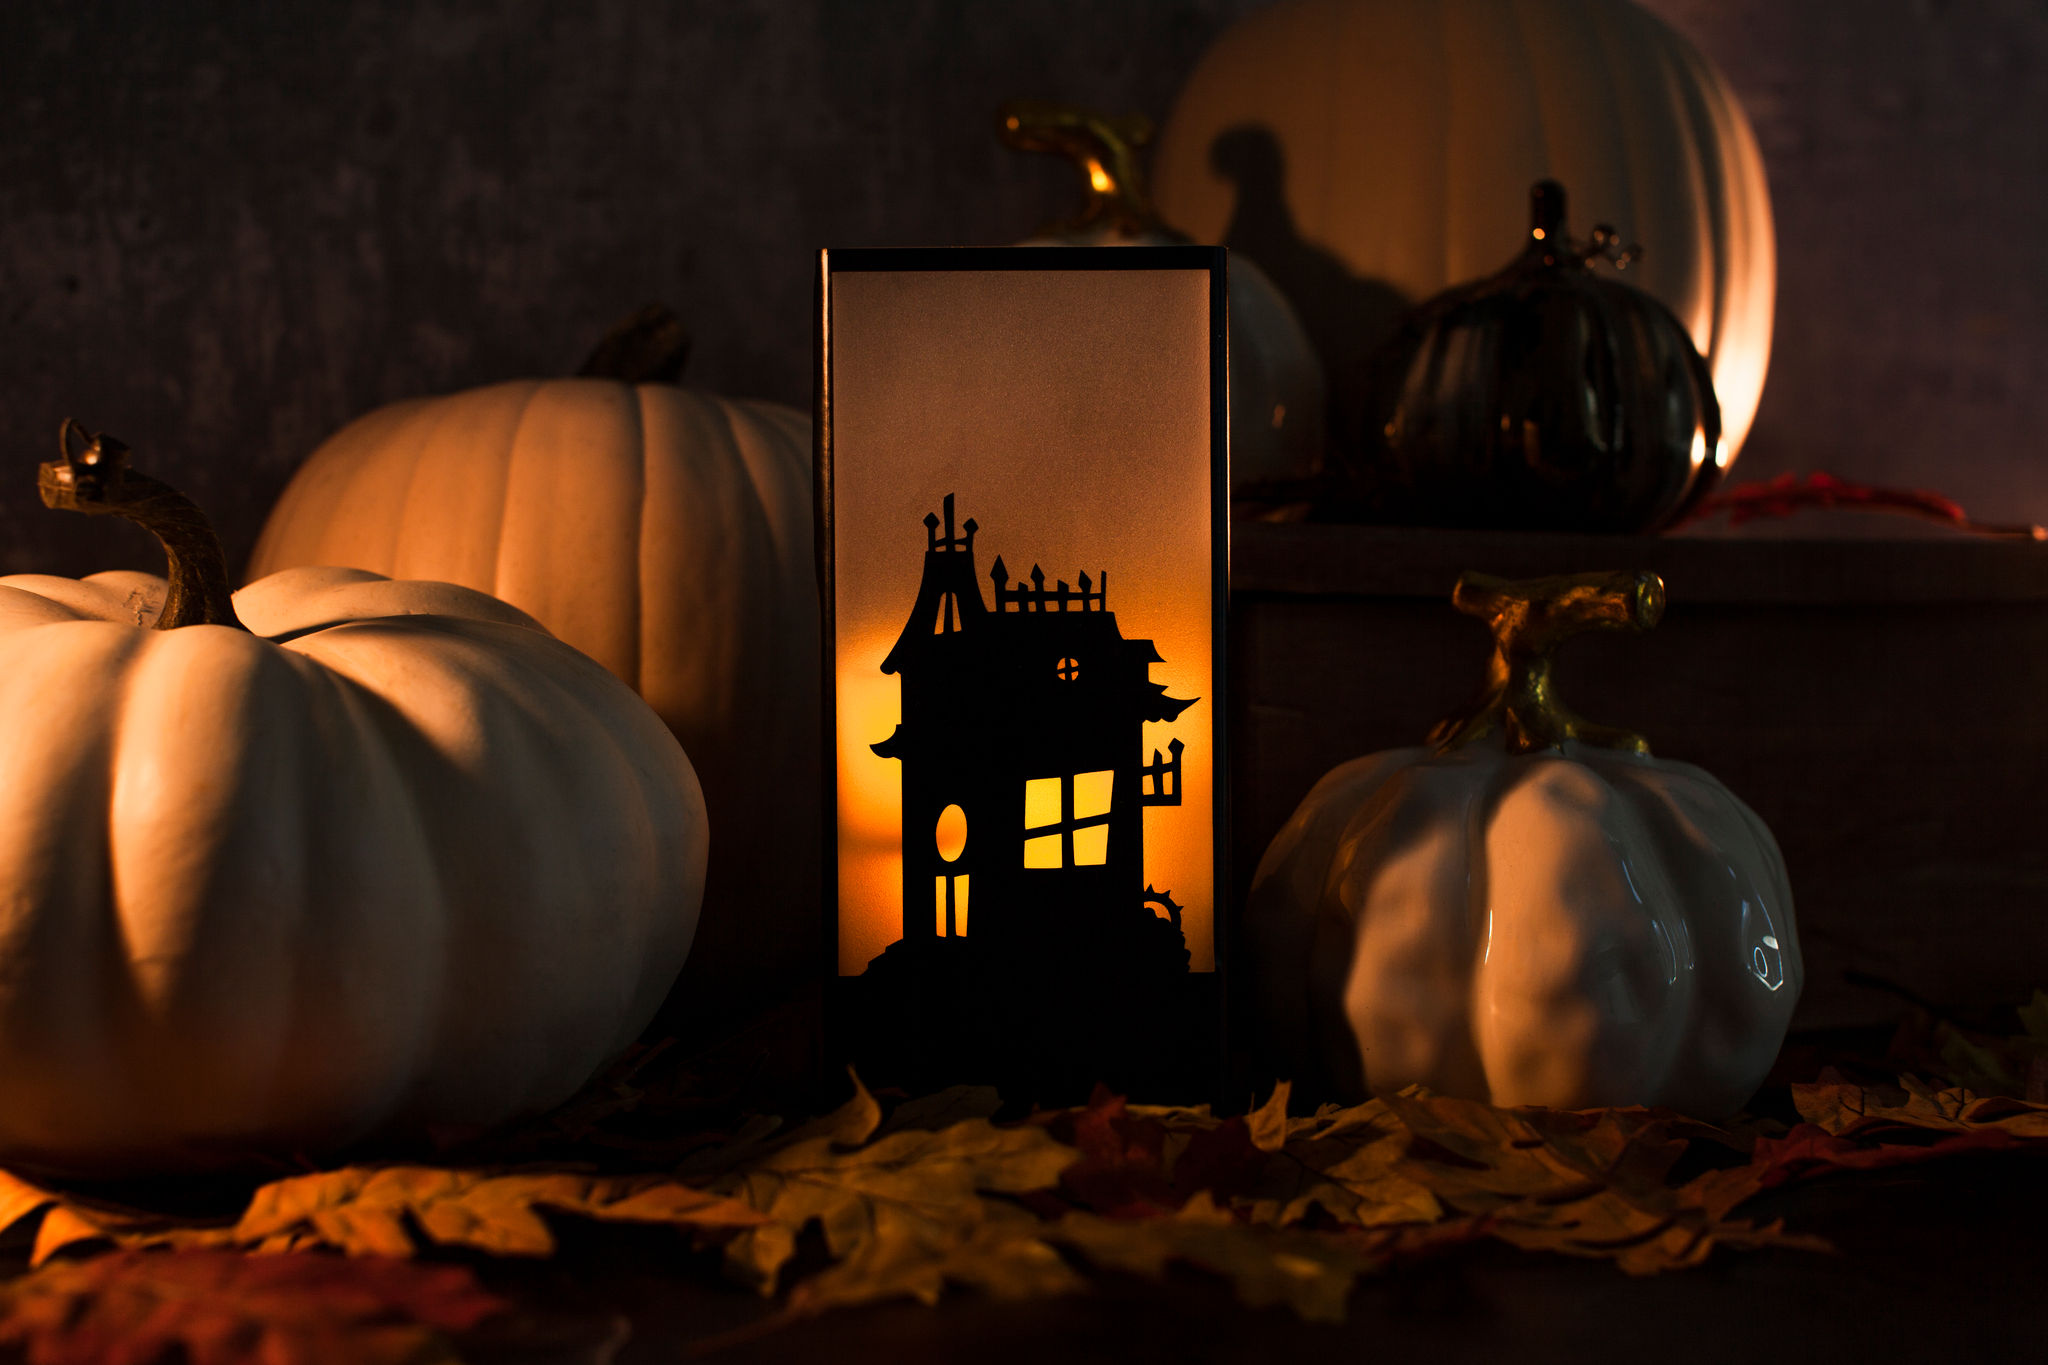
The spooky season is upon us and we could not pass it without sharing some easy window displays that will be the fright – or excite – of the street!
Temporary window displays are easy to recreate with removable vinyl and you could even add in the new glow-in-the-dark vinyl too.
What you’ll need:
- Cricut machine
- Vinyl
- Weeder tool
- Scraper Tool
- Transfer tape
- Measuring tape (to measure your window or surface area)
- StandardGrip Cutting mat if using non-Smart Materials (we recommend the 12×24 inch mat so you can make larger designs)
Designing the window
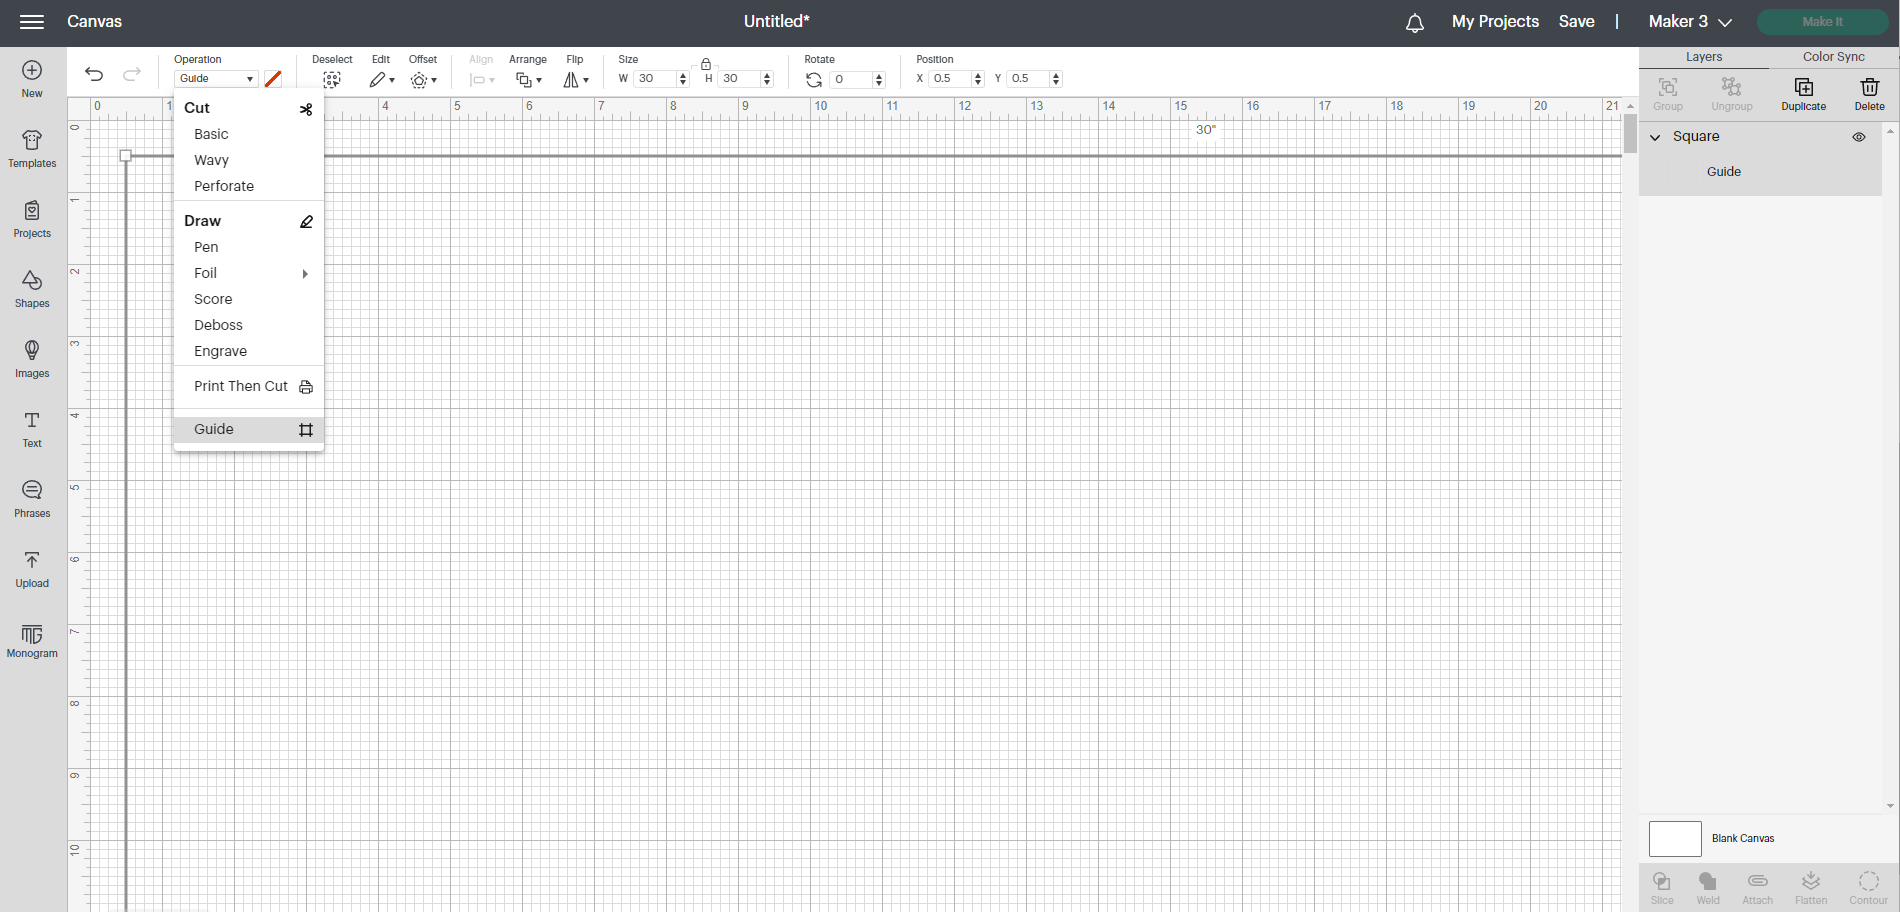
Be sure to measure the window before you start designing your window scene. Then open Design Space to begin designing. You could add a square from the shapes area in Canvas and input the dimensions of your window for reference when creating what your window display will look like. You can change this from a cut layer to a guide by going to the ‘Edit’ panel, selecting ‘Operation Type’, and changing this to guide.
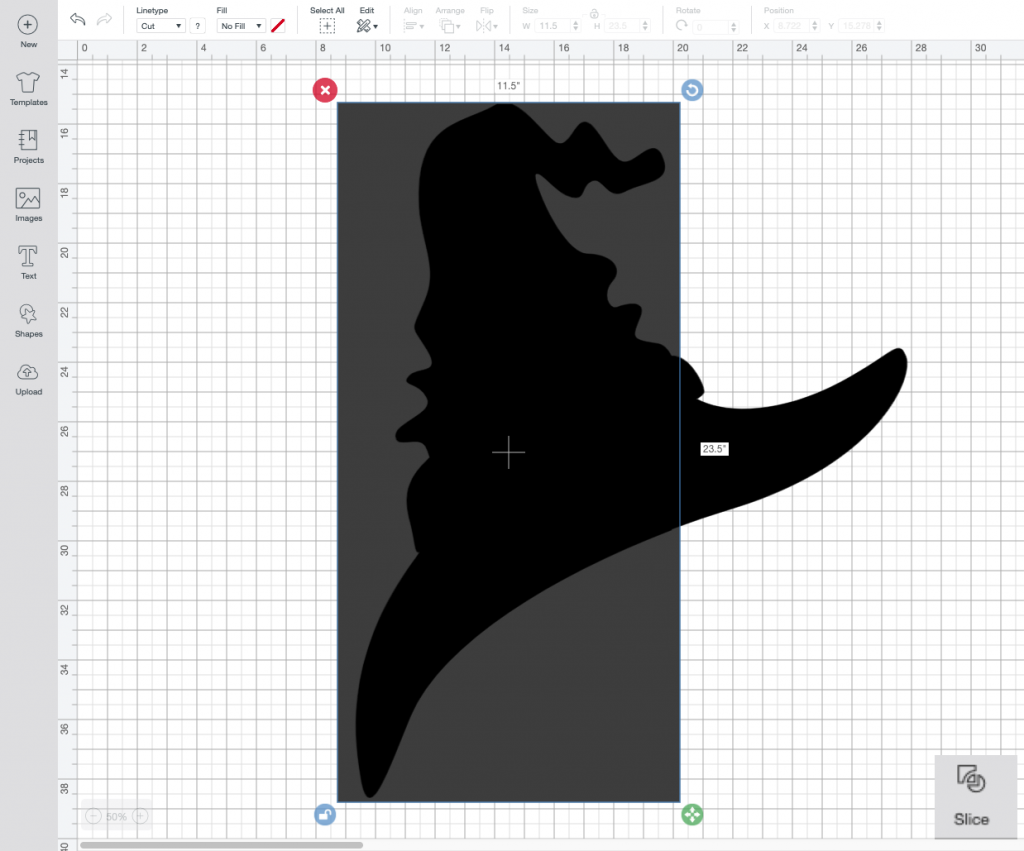
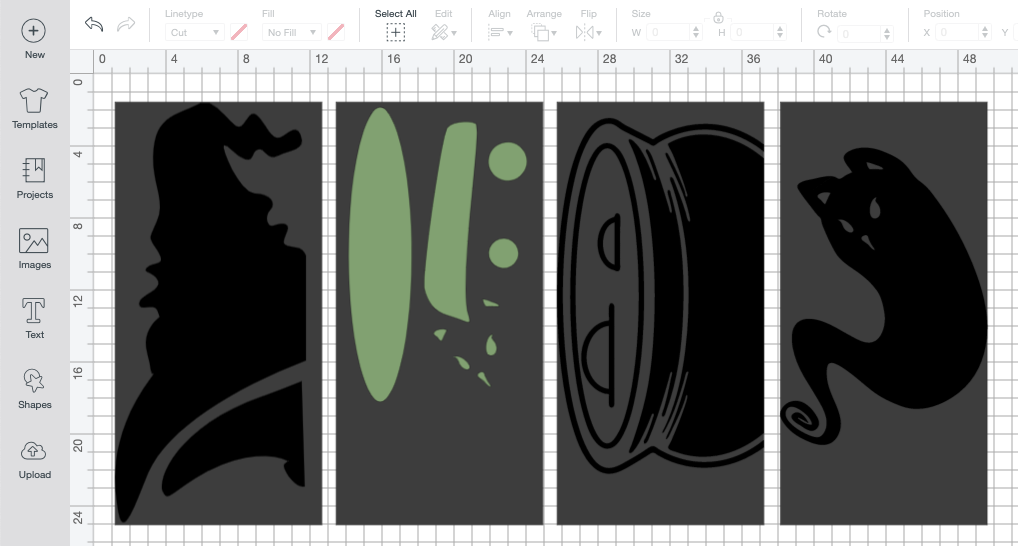
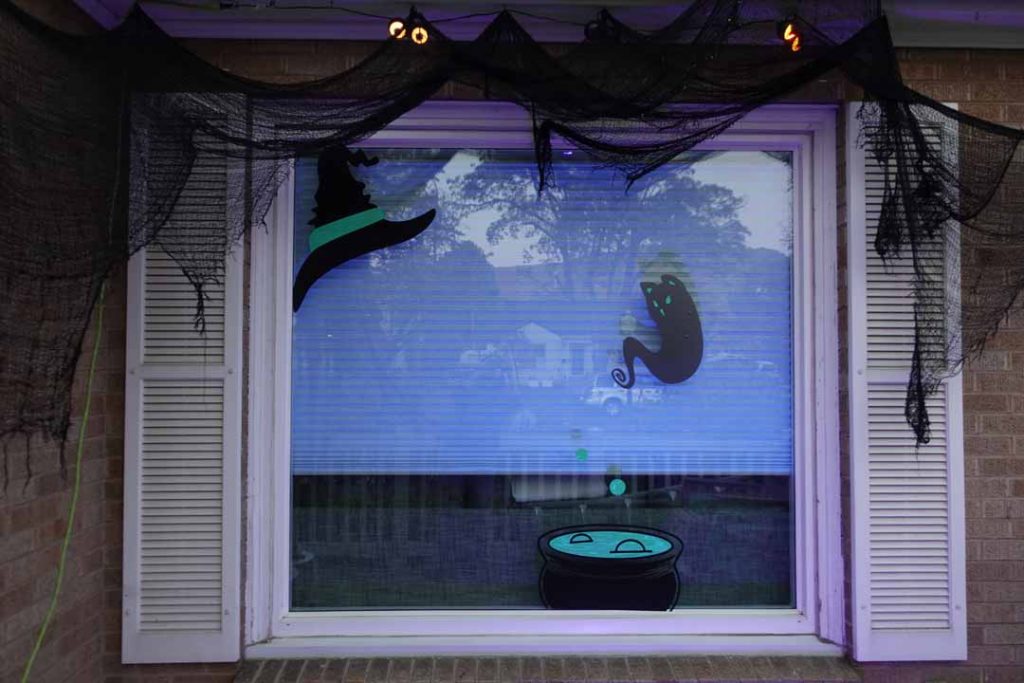
Next, add images from the library to fill the “window.” We used a witches hat (image #M3BCE4) and ghost cat (image #MF74967C) floating over a cauldron (image #ME44290F).

Tip: If any of your images are greater than the width of your machine, slice the image and join them together after cutting. To do this, select a square from the shapes area and resized it to the maximum cut size for my machine and corresponding mat, 11.5″ x 23.5″.
After you slice, delete the extraneous layers from the slice and continue to Make It! If you prefer to save more of your vinyl material, attach like colours and rotate each piece in your square shape to fit the maximum cut area in the most efficient manner.
Time to make it!
When you have all the elements for your window ready, hit Make It to cut them with your machine. Follow the on-screen instructions and input your material when prompted to do so.
After cutting remove the parts of vinyl you do not need from the vinyl backer using a weeding tool.
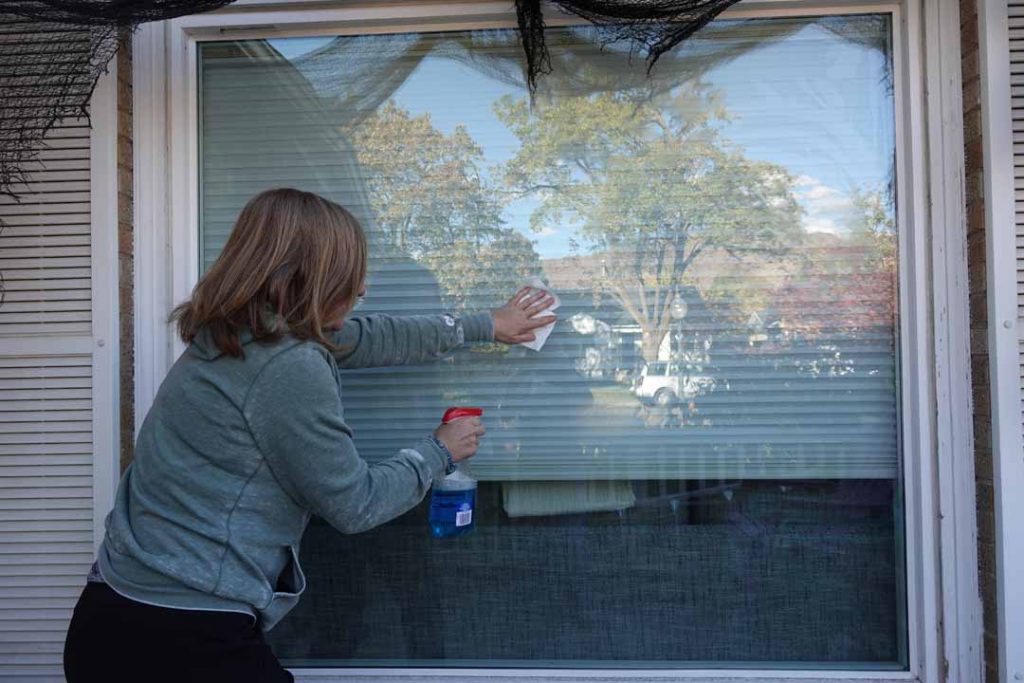
Before placing the images on your window, clean the surface to remove any residue or small bits.
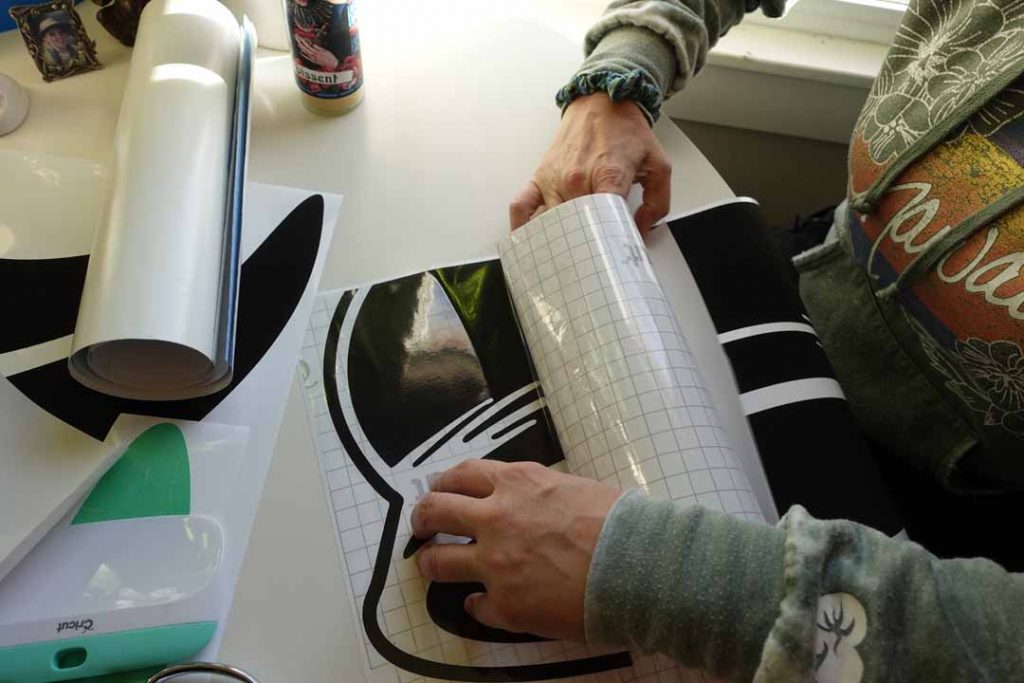
Now it’s time to use the transfer tape. Start with the top edges of transfer tape and roll it onto the design. Use a scraper tool to help smooth the tape over the vinyl design. Then apply pressure with your scraper tool to transfer over (we recommend flipping everything over for this part so you are pressing the vinyl down, onto the transfer tape).
When ready, slowly peel the vinyl backing away leaving your vinyl design on the transfer tape.
TIP: You can use Cricut Transfer Tape multiple times! Use the same piece for each vinyl image starting with the bigger images.
Continue transferring all the designs to the window or surface of where you are creating your scene and just like magic, the spooky scene comes together!
Share your spooky decor with us!
We’d love to see what Halloween decorations you are making for your haunted home. If you tag @cricut_uk on Instagram and use the hashtag, #cricuthalloween between October 4th 2022 – November 1st 2022, you will be entered into a giveaway to win one of three material bundles. These include the new glow-in-the-dark vinyl and glow-in-the-dark iron-on.
You can see the terms & conditions for the giveaway here.
You Might Enjoy…