DIY Personalised pressed flower table signs with Floral Laura
Perfect for weddings and parties, these personalised pressed flower table pieces will wow your guests.
Floral Laura is the perfect choice to guide you through beautiful party decor ideas. Laura uses vinyl to personalise the table numbers and a range of pressed flowers as the background detail. She also created an amazing video tutorial which you can see at the bottom of this post.
Over to Laura…
Whether you’re a keen crafter, enjoy crafting from time to time, or a complete beginner, adding little handmade touches to your wedding with Cricut can be such a special way to make it your own.
One way you may like to do this is by displaying your table numbers on photo frames, with the extra pretty touch of pressed flowers. You could even go as far as matching the number or pressed flowers to your colour scheme or bouquet – so lovely!
You will find all the steps to achieve this below, as well as ready-made numbers to cut on your Cricut machine through Design Spacethis link to save the project or start making now with it.
You will need:
– Photo frame (we have used a glass standing frame)
– Pressed flowers (bought or your own)
– Superglue (that dries clear)
– Wooden cocktail stick
– Cricut machine (Maker, Explore or Joy)
– Cricut tools (weeding tool, tweezers, scissors, scraper)
– Cricut vinyl (permanent or removable)
– Ruler
How to make
Step 1:
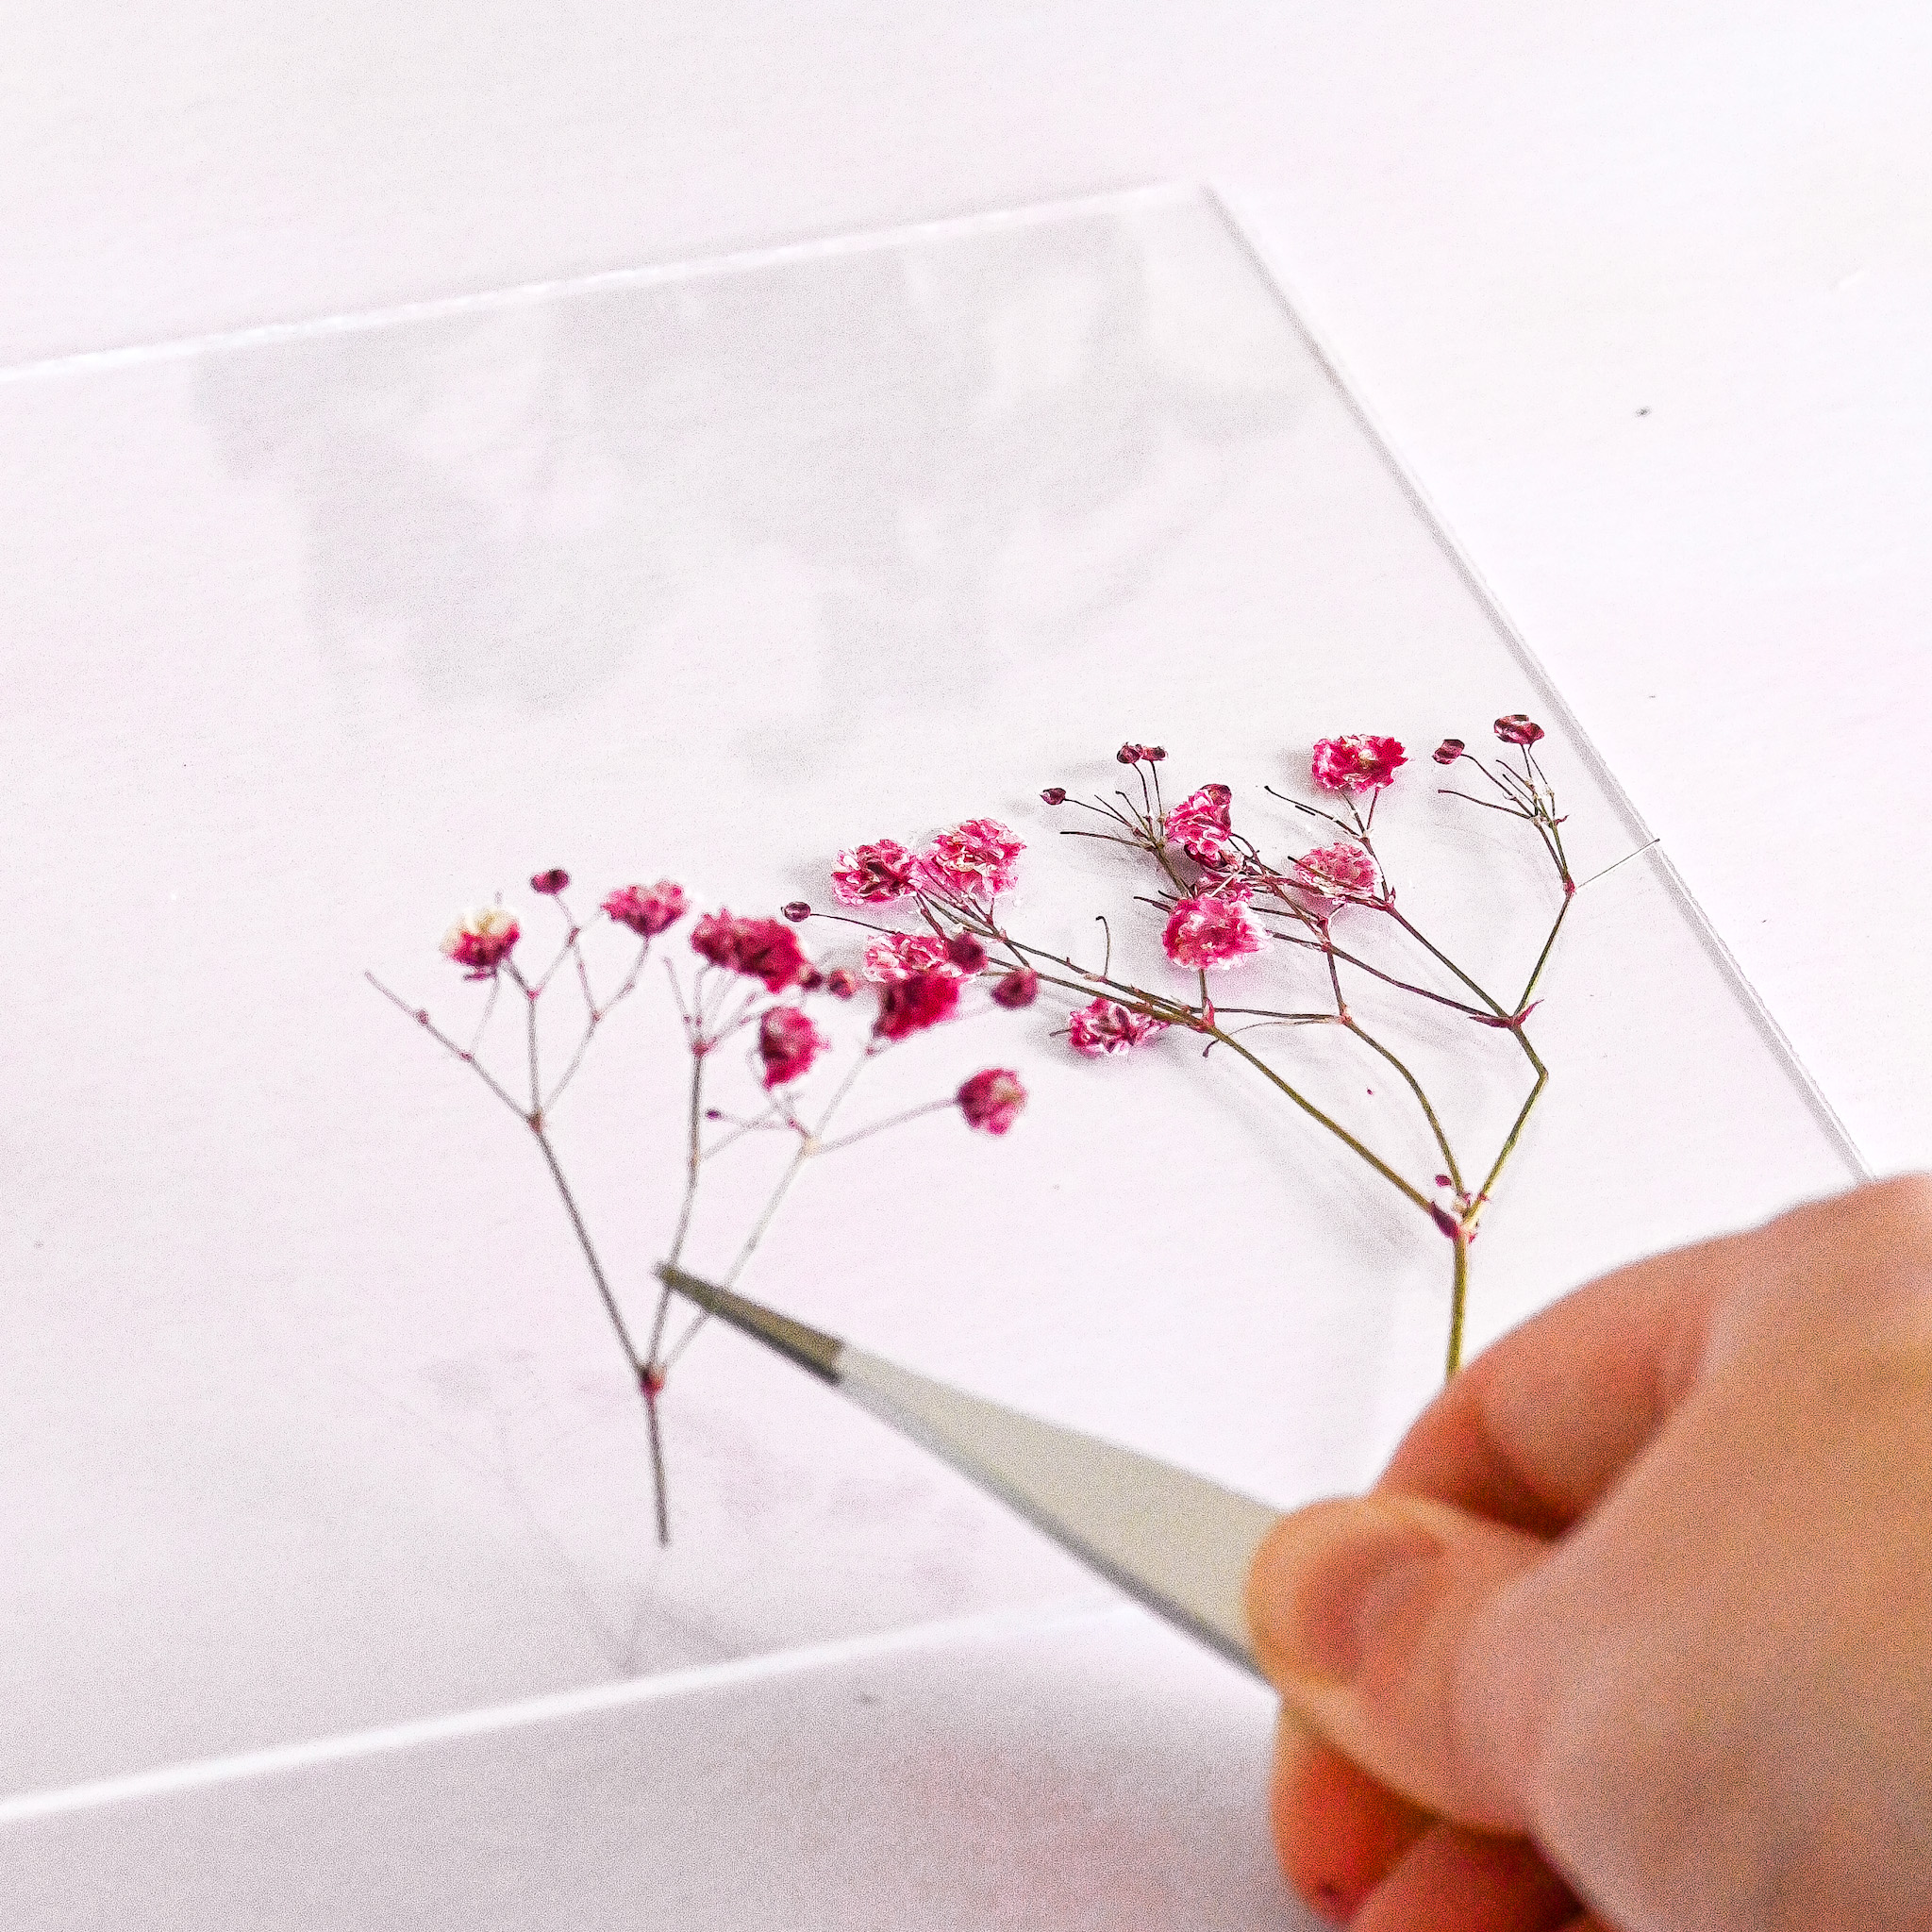
Place the back piece of glass from your photo frame face up and have a play around with the positioning of your pressed flowers.
Step 2:
Once you are happy with their position, add a dab of superglue to the end of a wooden cocktail stick. Add this glue to the back of your flower, ideally in the center of the flower or a place where the glue is less likely to be seen when dry. Gently place the flower onto the glass and press down for 10 seconds. Repeat this step with the remainder of your pressed flowers and wait until the glue has completely dried before putting your frame back together.
Step 3:
With a ruler, measure the size you require your number to be on your frame. Open Design Space, search and select ‘Table Numbers’ or follow this link. You can then alter the numbers with the measurements you need.
Step 4:
Select your vinyl colour and type, with the Cricut mini Guillotine or scissors, cut enough vinyl for the numbers to be cut out of, and place on to a ‘Standard Grip Mat’.
Step 5:
Follow the steps on Design Space to select the type of vinyl you are using (this will then automatically tell you to use the fine point blade), load your mat and select ‘go’ when instructed.
Step 6:
When the cut is complete, unload your mat and remove excess vinyl around and within the number/s.

Step 7:
With a piece of Transfer tape, adhere to the vinyl number with your scraper tool and remove the vinyl backing.
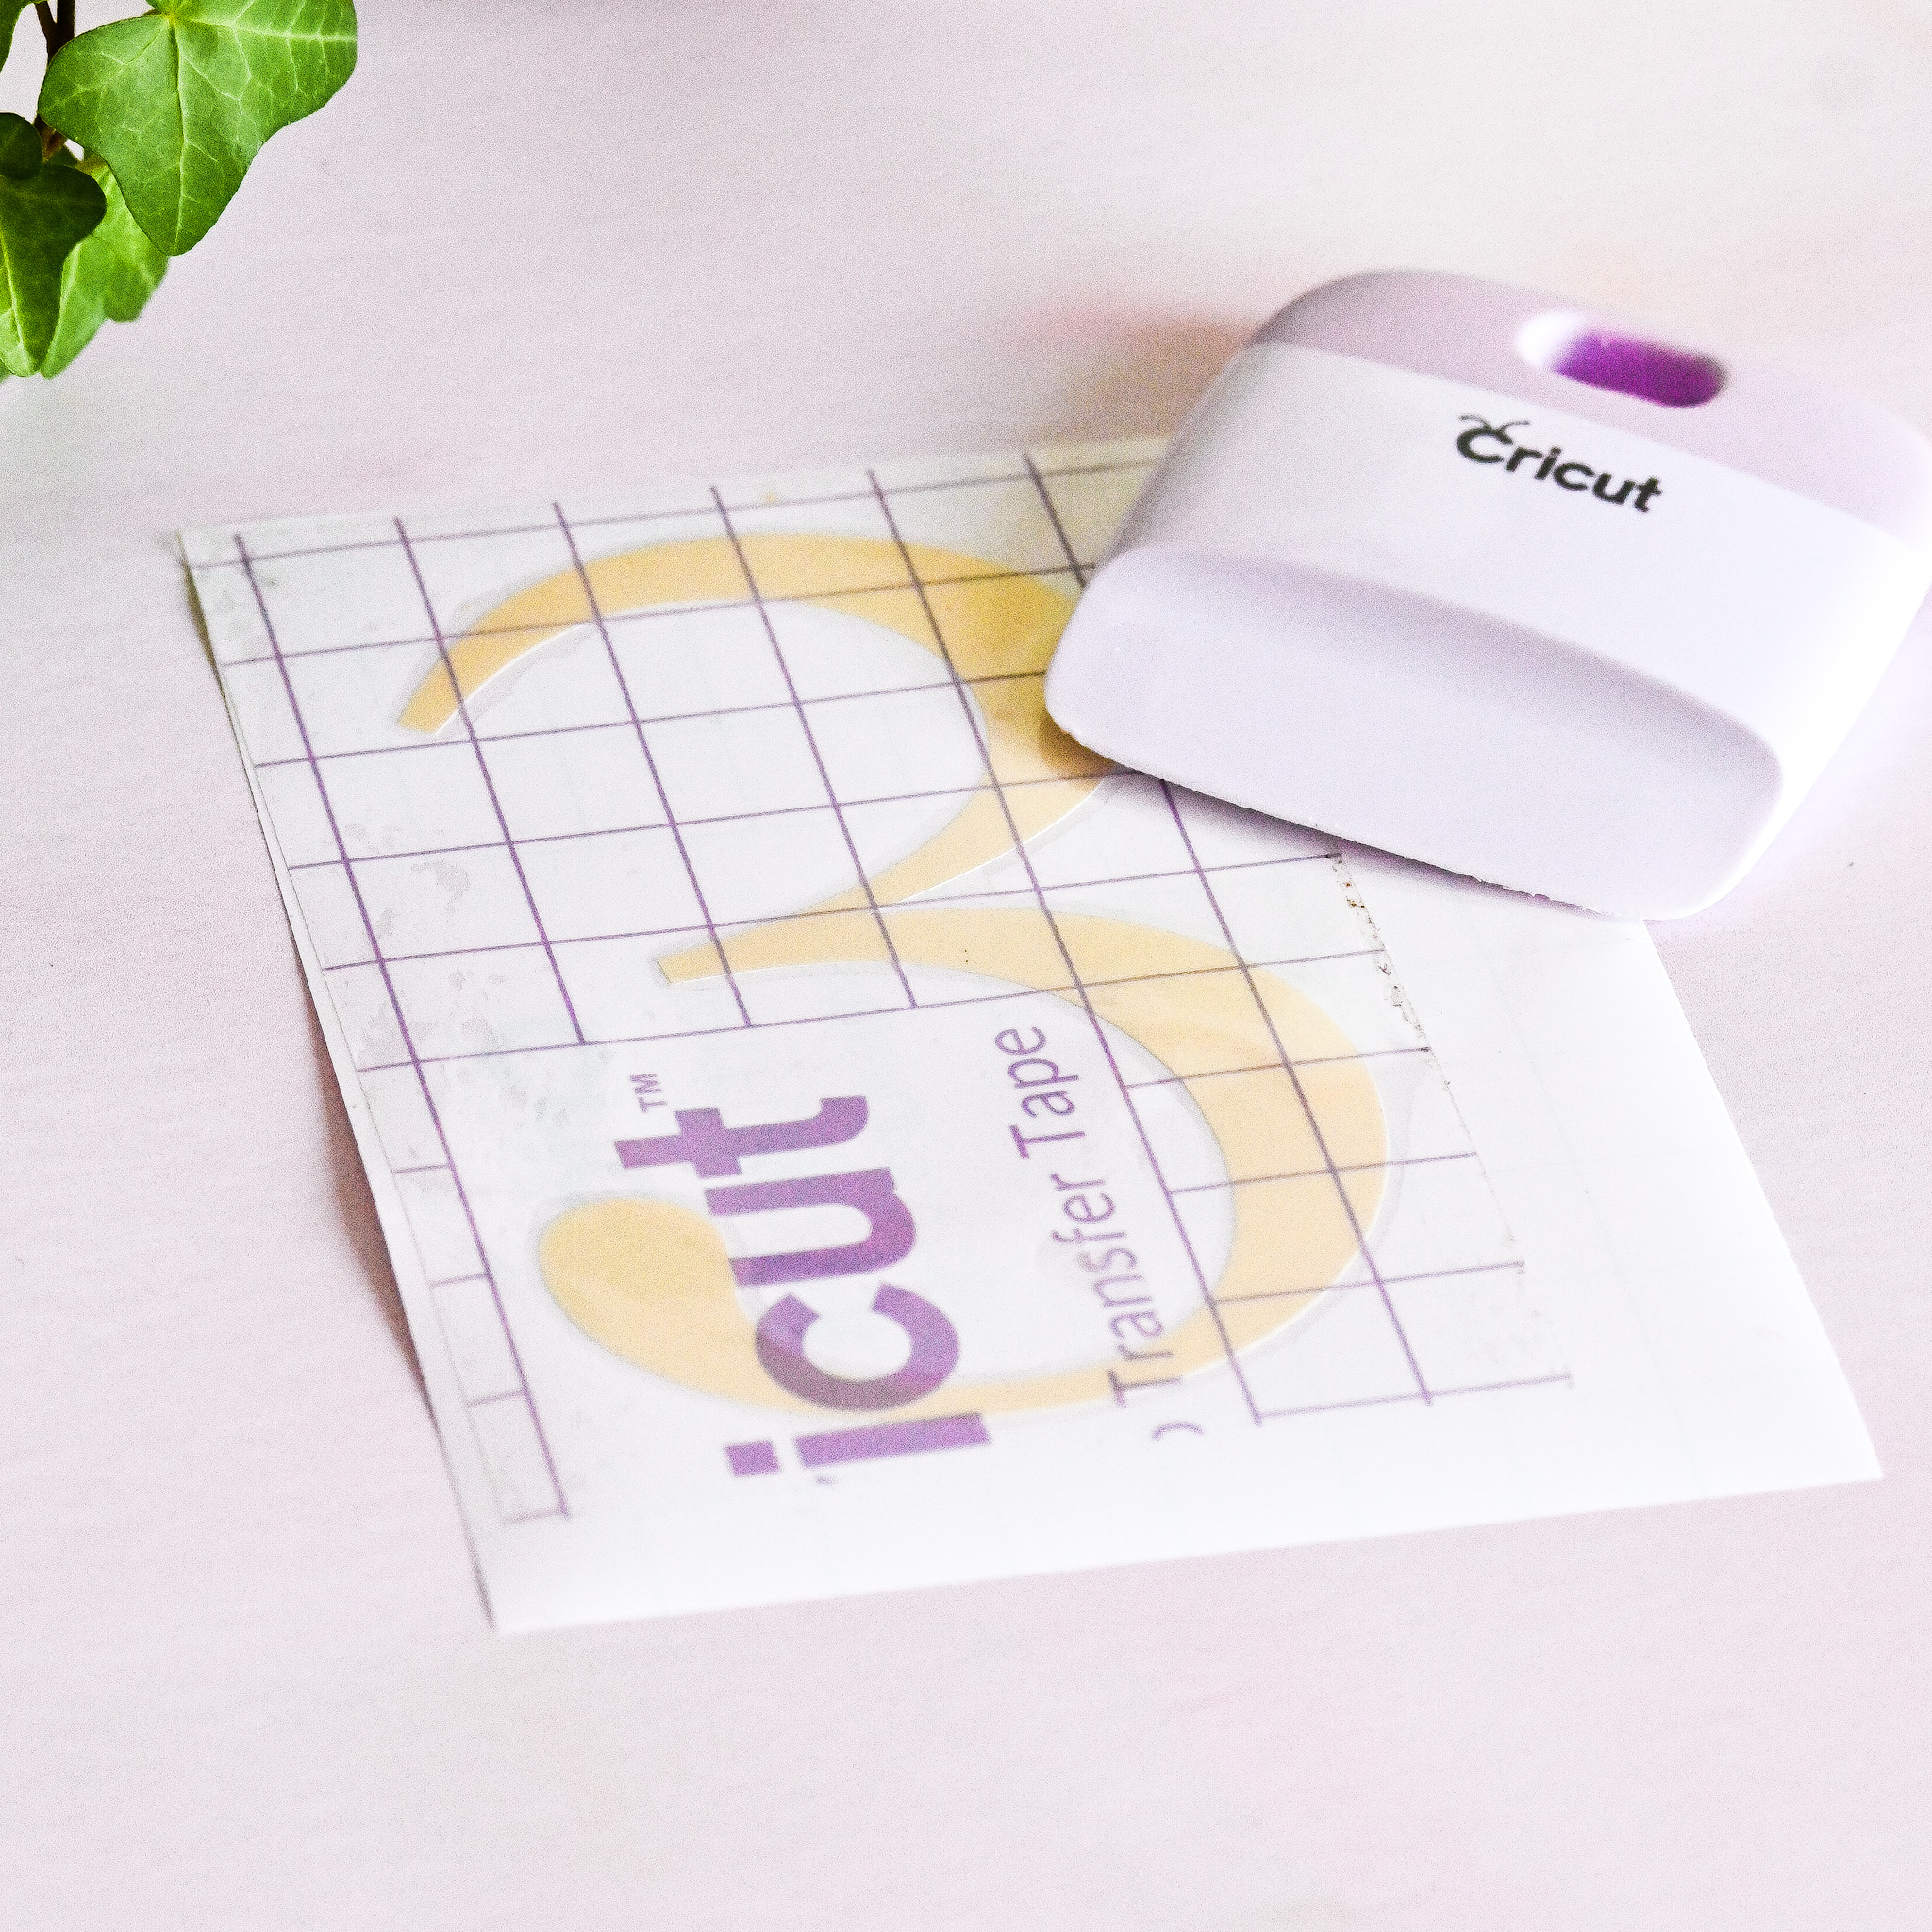
Step 8:
Position the vinyl number onto your frame, using the scraper tool to adhere to the glass and remove the transfer tape.
Repeat with each number on each frame.

Voila! Your Pressed Flower Table Numbers are ready to be displayed on your big day!
Extra tip:
– If you use removable vinyl, after your wedding you can remove the number and use the pressed flower frames for home décor Make sure to display your frame out of direct sunlight to avoid the pressed flowers fading too quickly.
You can save or make Laura’s project now with this link.
Laura is @FlorallauraUK on Instagram so make sure to check out all her project ideas here.
Share your makes with us…
Make sure to tag @cricut_UK and share your makes with us and the making community. We may even feature your project here on the blog!
You Might Enjoy…