How to use Infusible Ink for custom apparel, home decor, and bags
New blanks, new sheets, new ways for you to DIY. Here’s all you need to know about what’s new with Infusible Ink and how to use it.
What is Infusible Ink?
Unlike the vinyl or heat transfer vinyl (HTV) process, where artwork is attached on top of a base material using adhesive, an Infusible Ink transfer actually becomes one with the material itself. The results are bright, beautiful, seamless, custom projects that withstand washing, drying, and anything else your kids throw at them! Learn more about Infusible Ink.
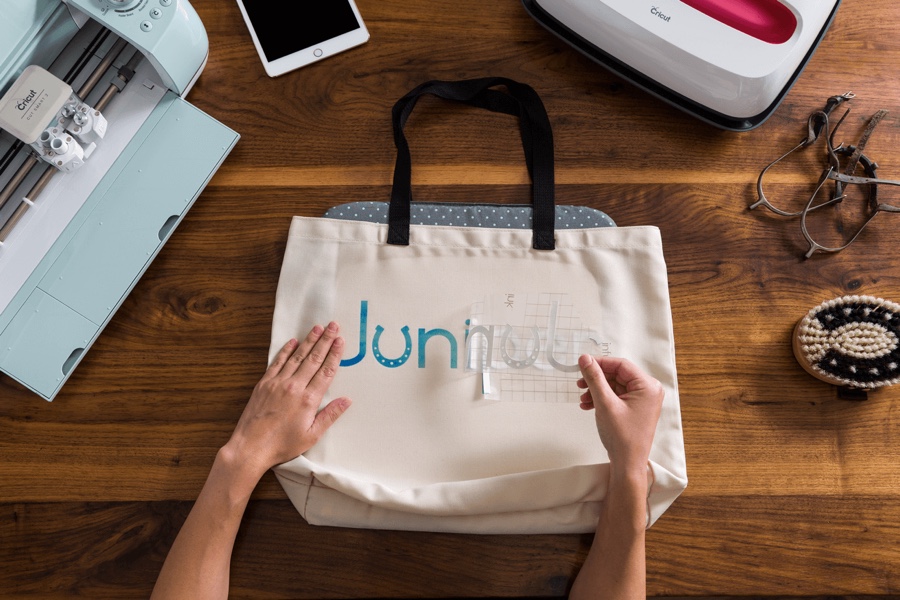
When applied using the correct temperatures, base materials, and duration of time, Infusible Ink allows a permanent design.
At Cricut, we have created a line of blanks to set you up for the best possible heat transfer experience: last year, we released baby body suits, white and grey t-shirts, round ceramic coasters, square coasters, and tote bags that are all perfect blank canvases for personalizing.
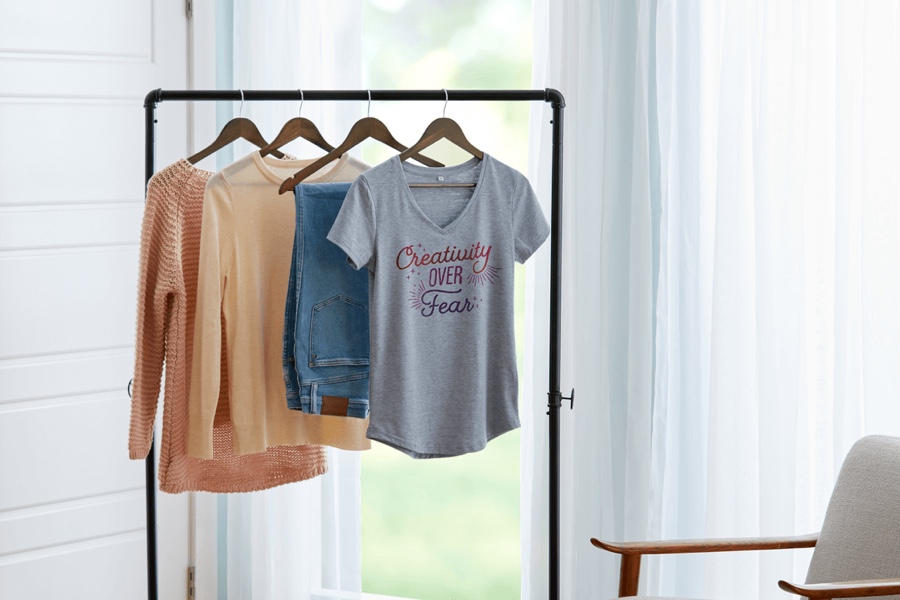
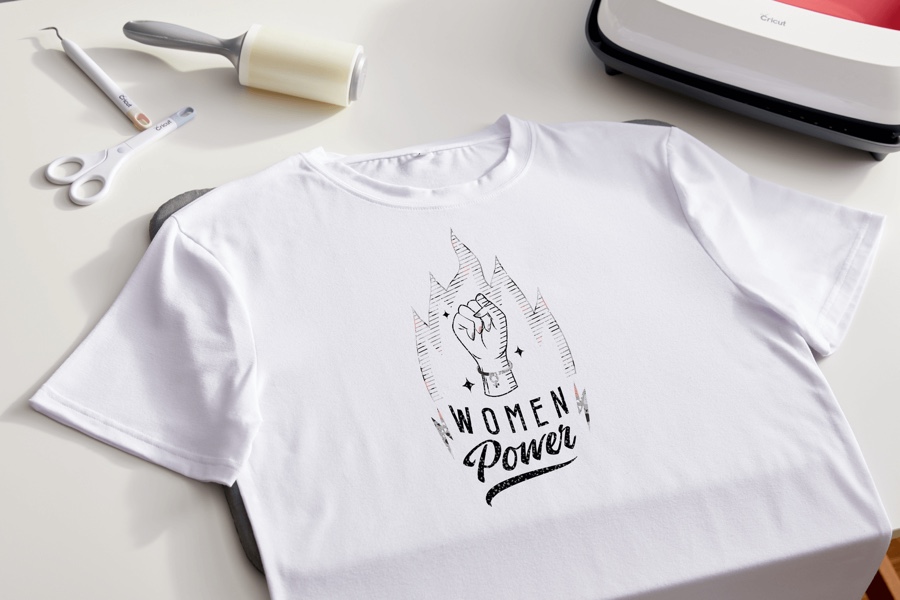
Ready to make your first Infusible Ink project?
We’ve listed step-by-step instructions below for you, and added some links that might be helpful along the way.
- New Infusible Ink Blanks
- All Tutorials
- How to make a pillow sham
- How to make a wine bag
- How to make a cosmetic bag
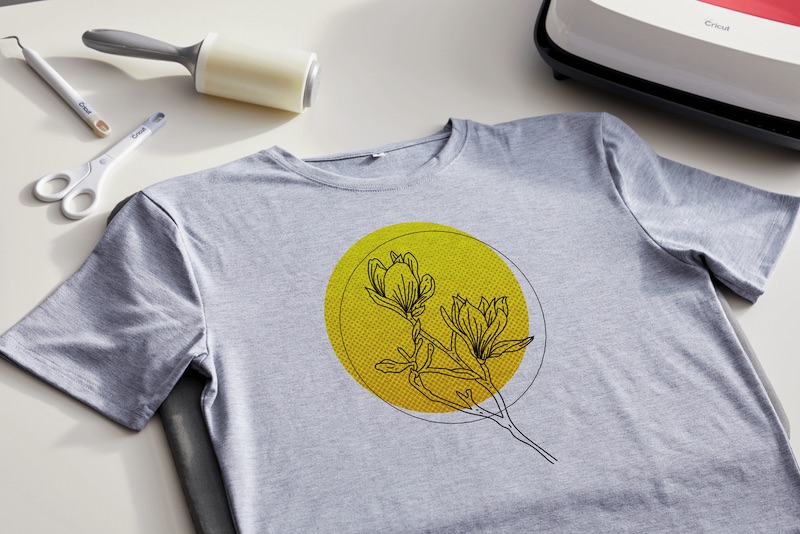
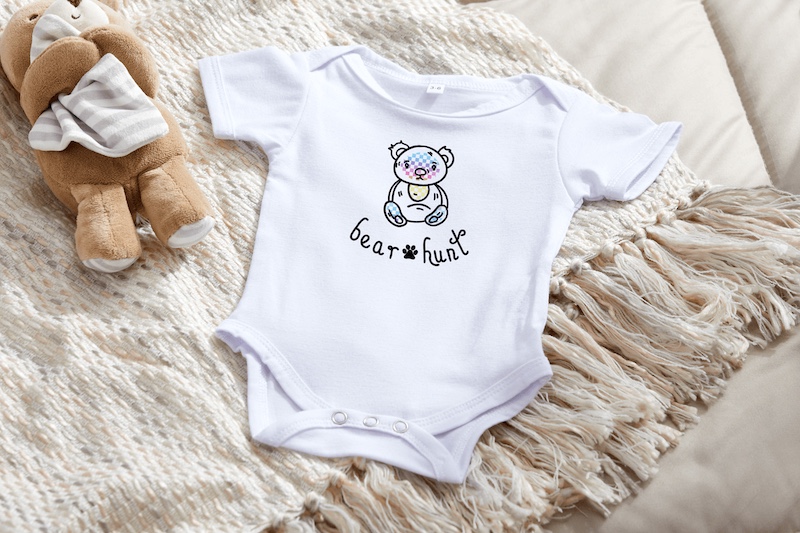
- How to make a t-shirt or baby body suit
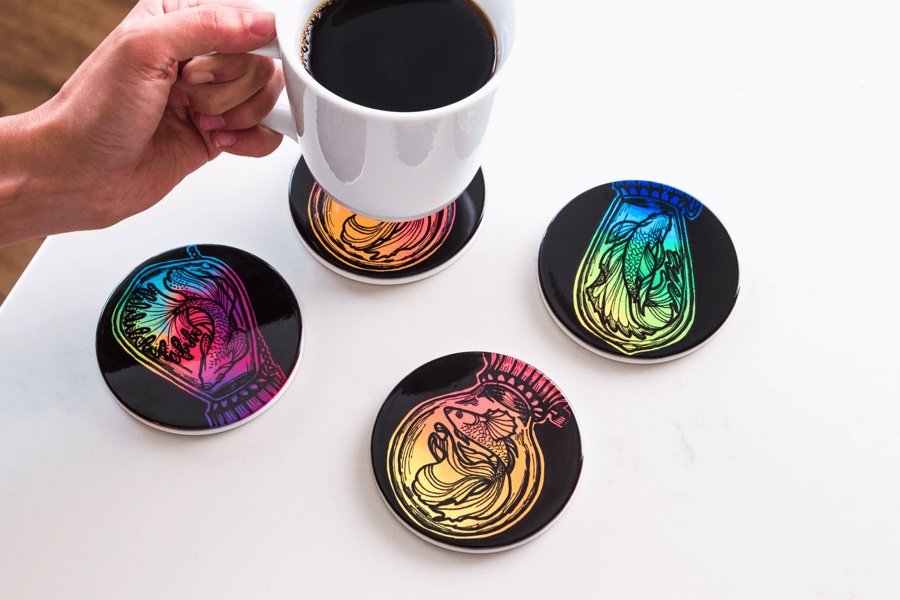
- How to make coasters
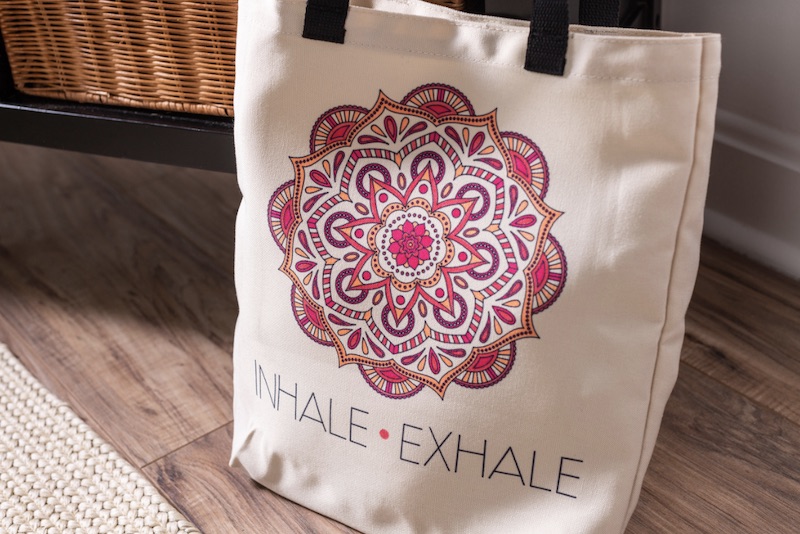
- How to make a tote bag
New blanks, new possibilities!
We’re happy to announce the latest additions to our line of Infusible Ink Compatible Blanks: 18″ x 18″ pillow shams, wine bags, cosmetic bags, and toddler-sized t-shirts.
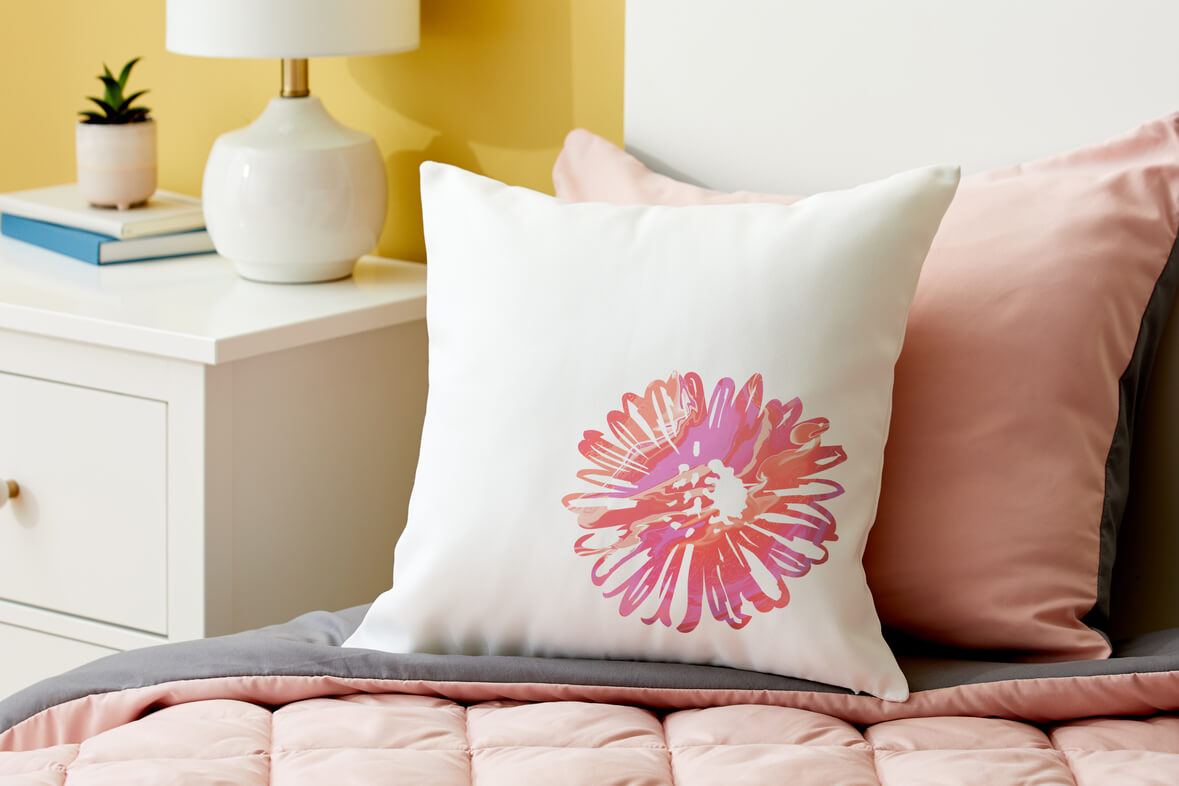

Customize your home décor with Infusible Ink compatible pillow shams


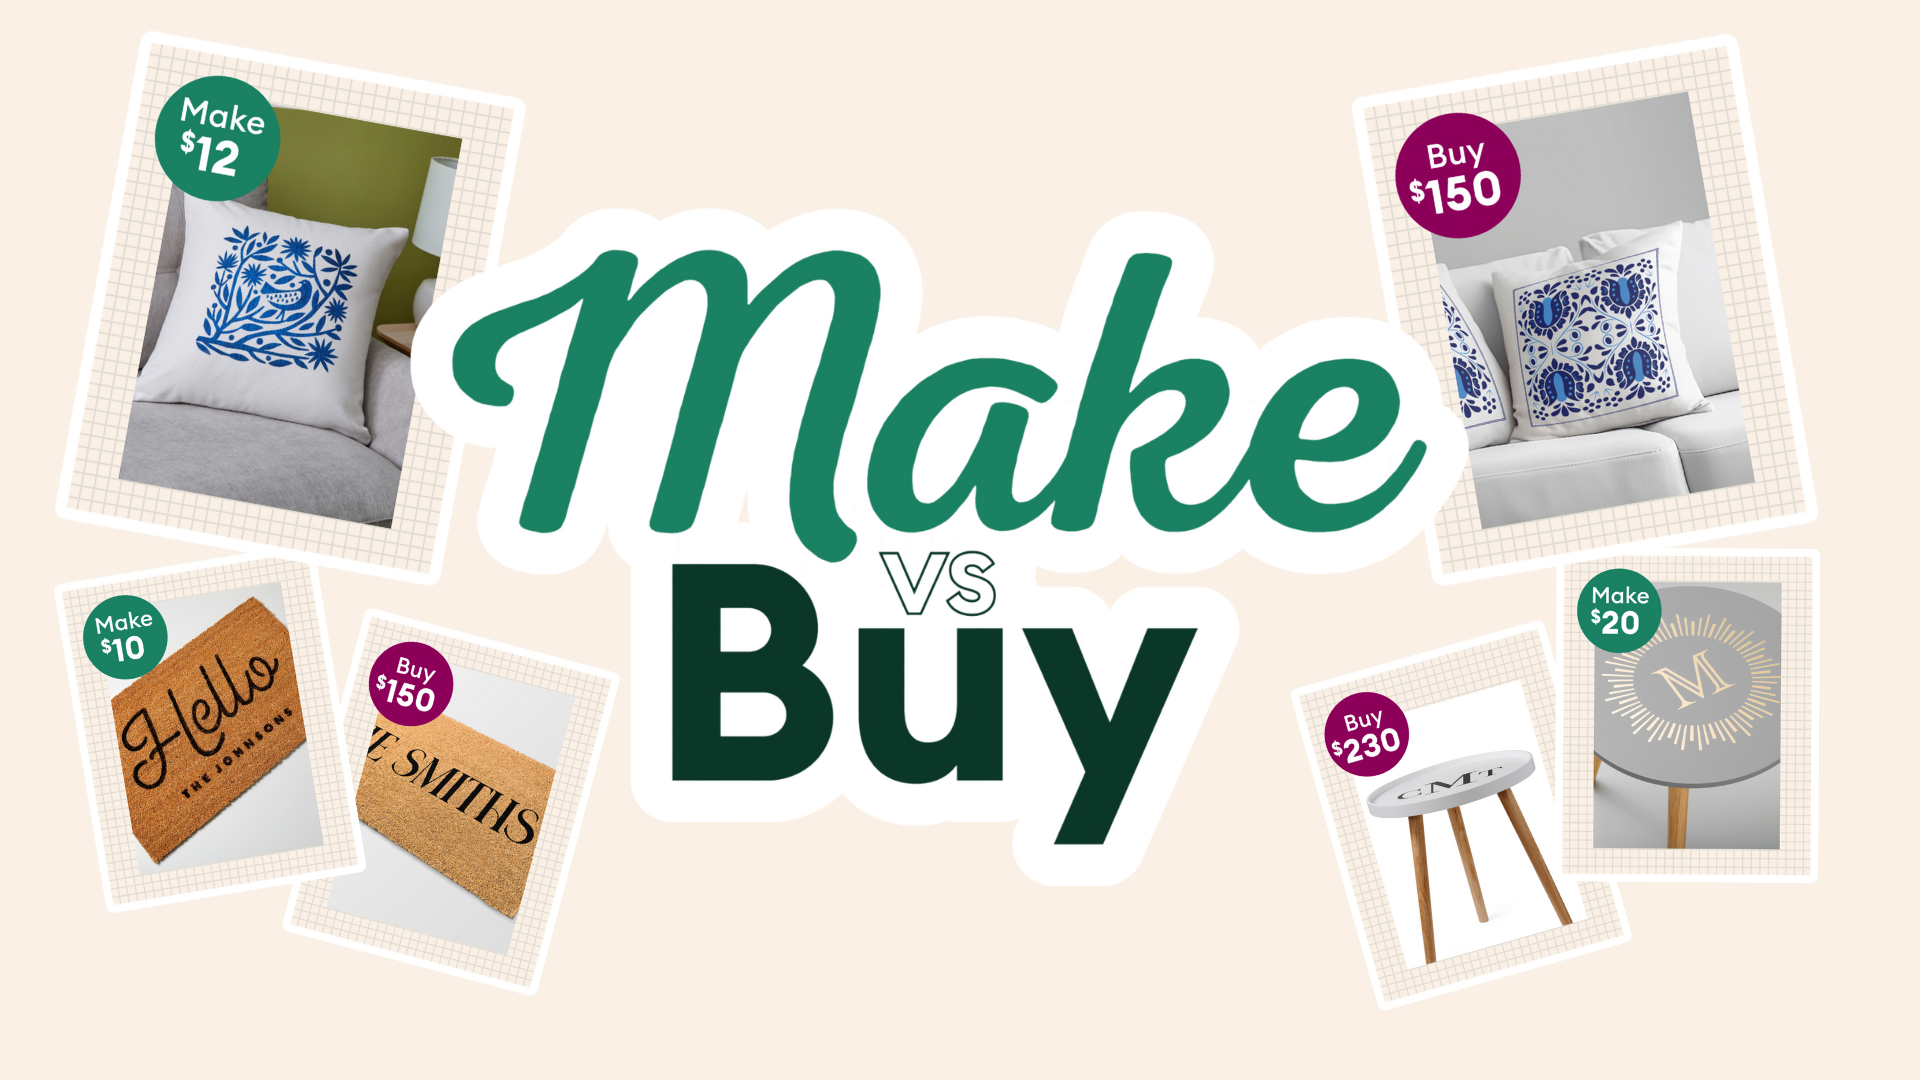
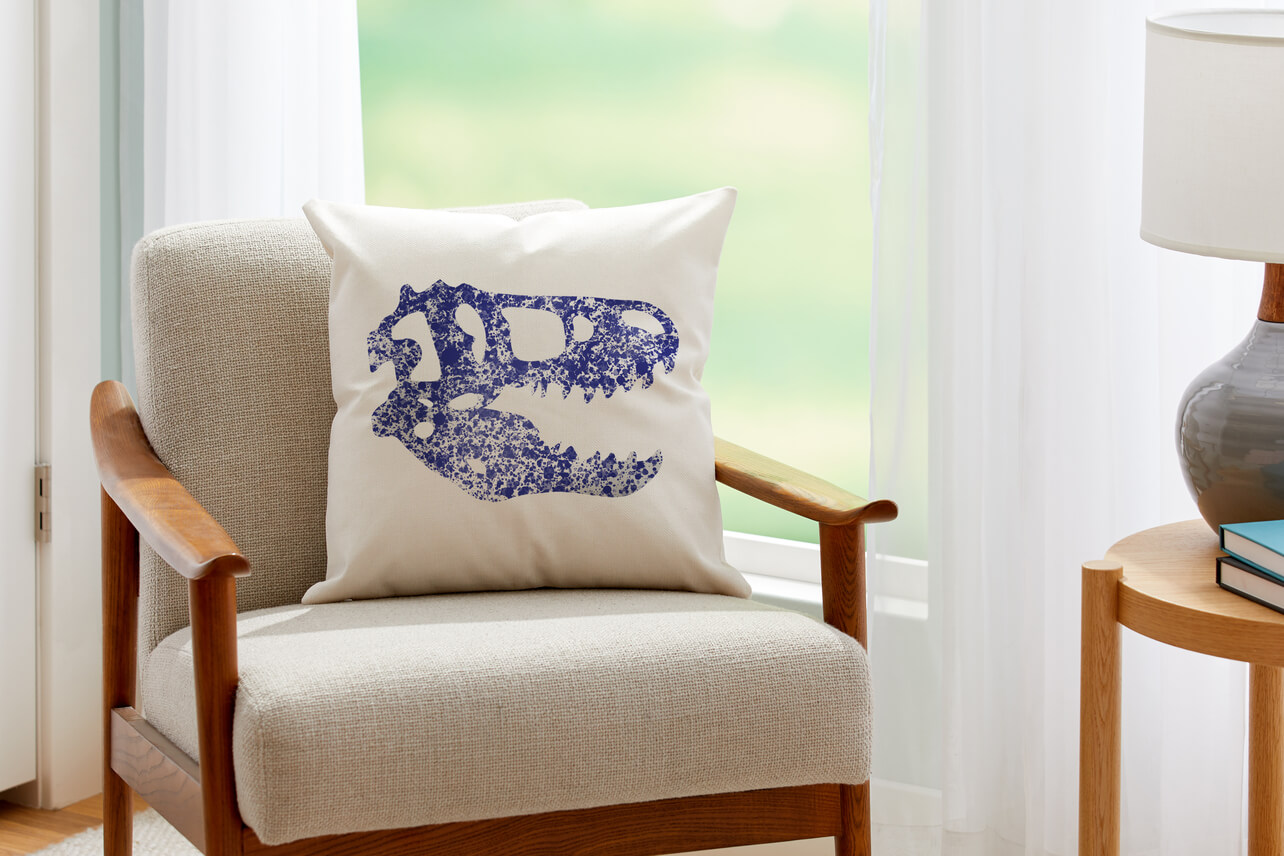
The new Infusible Ink 18″ x 18″ pillow shams come in two colors, white and cream, and are perfect for DIY home décor. Skip out on those expensive store-bought pillows and make your own professional quality, wow-worthy decor.
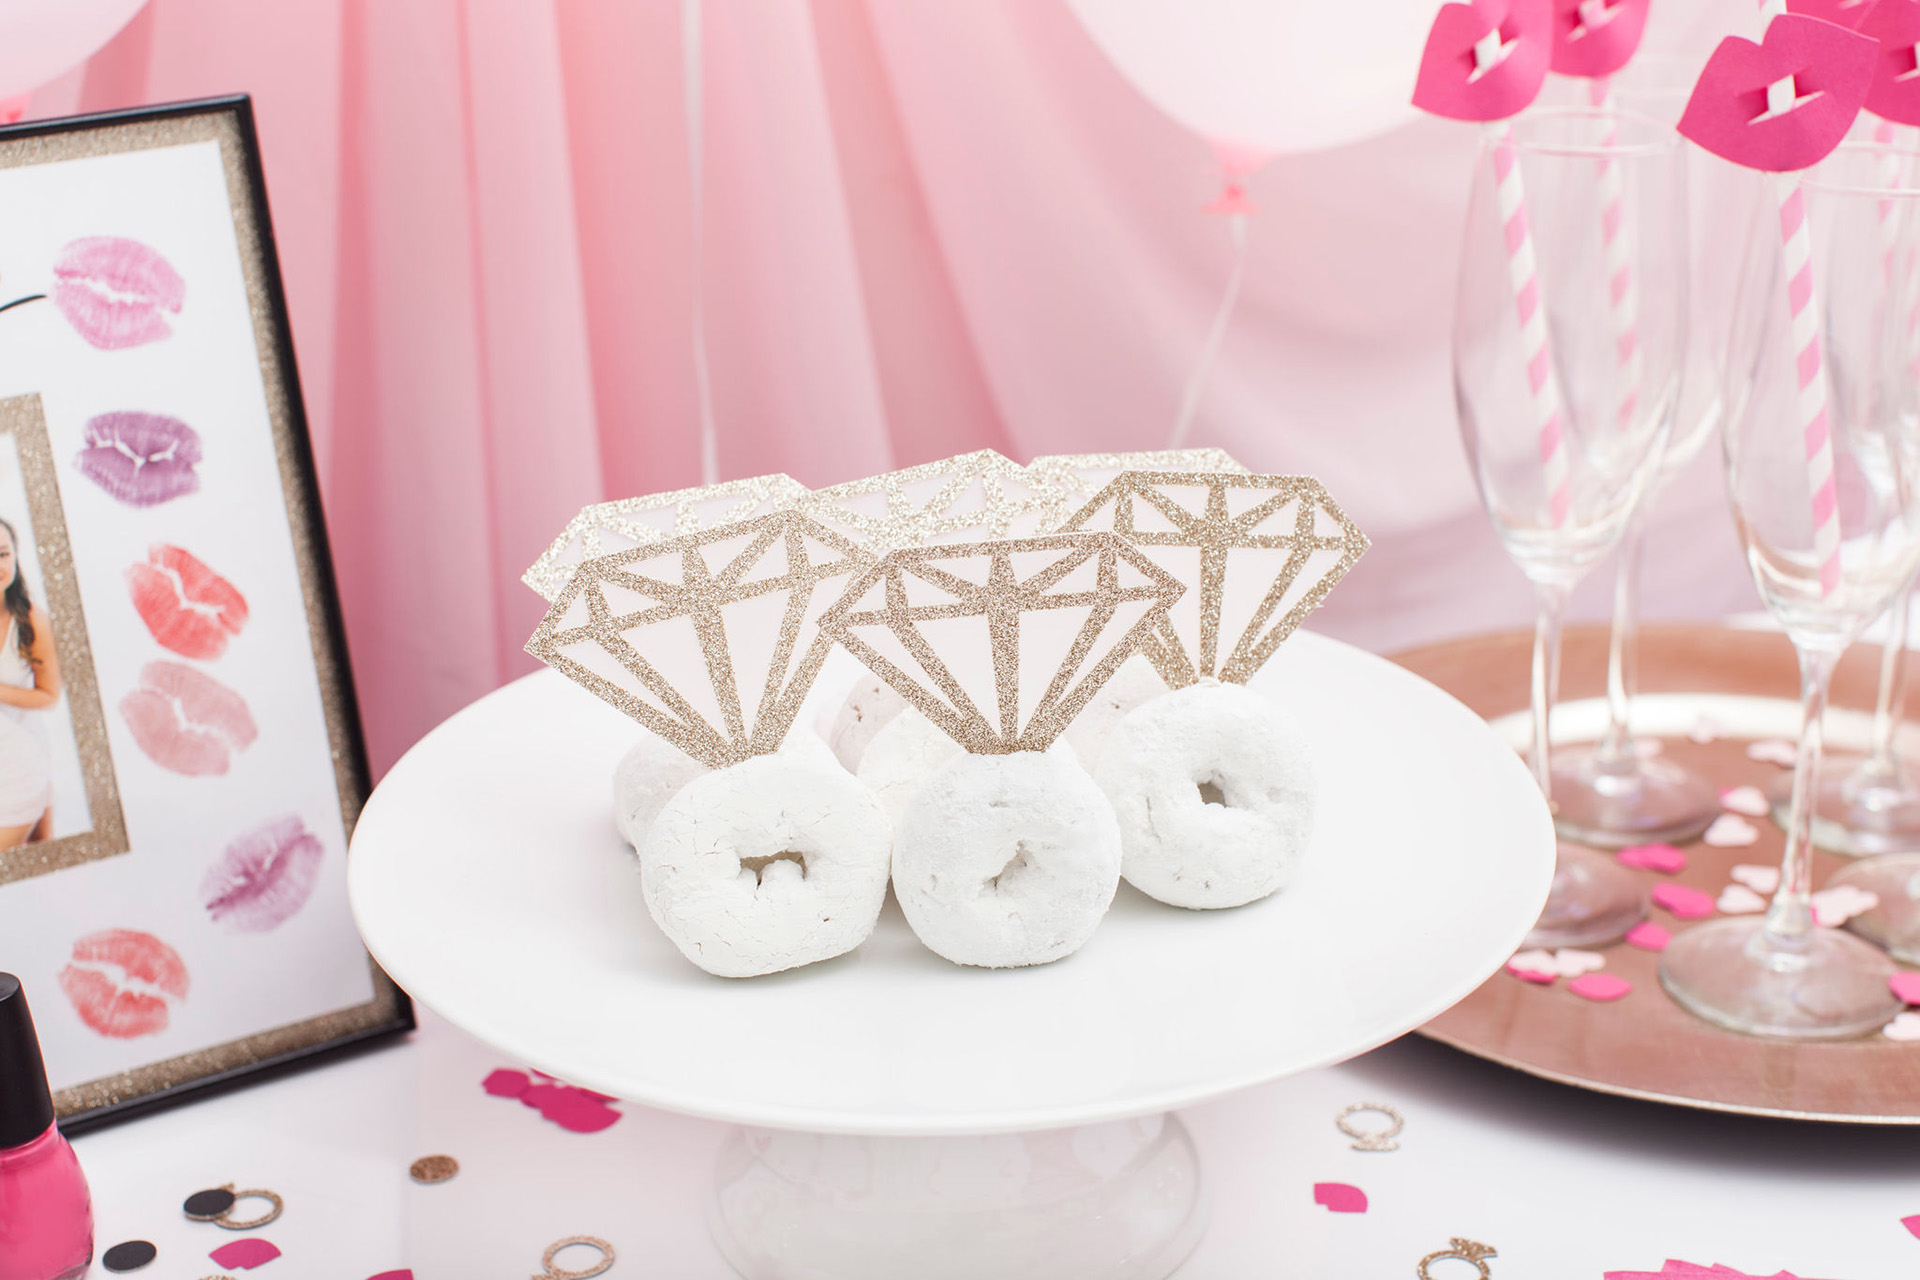
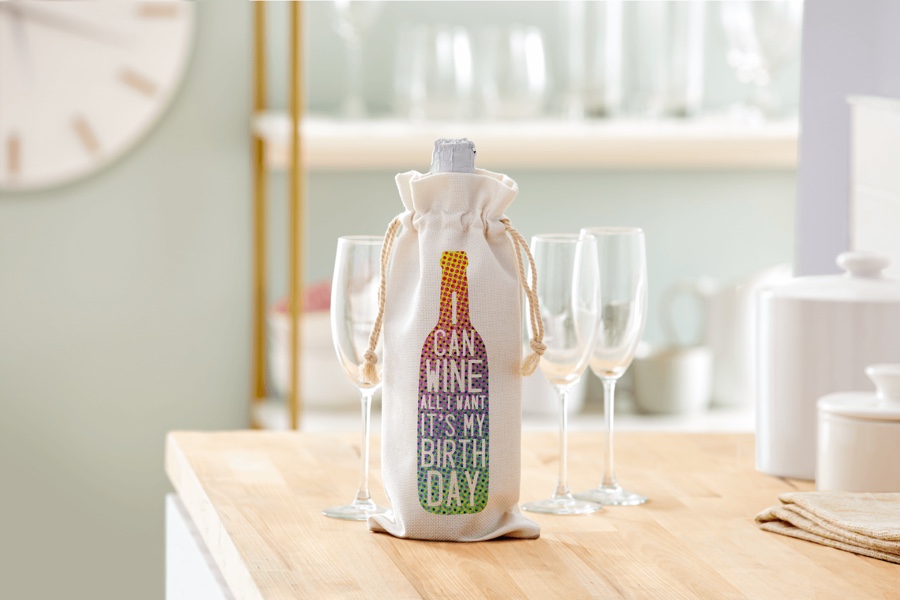
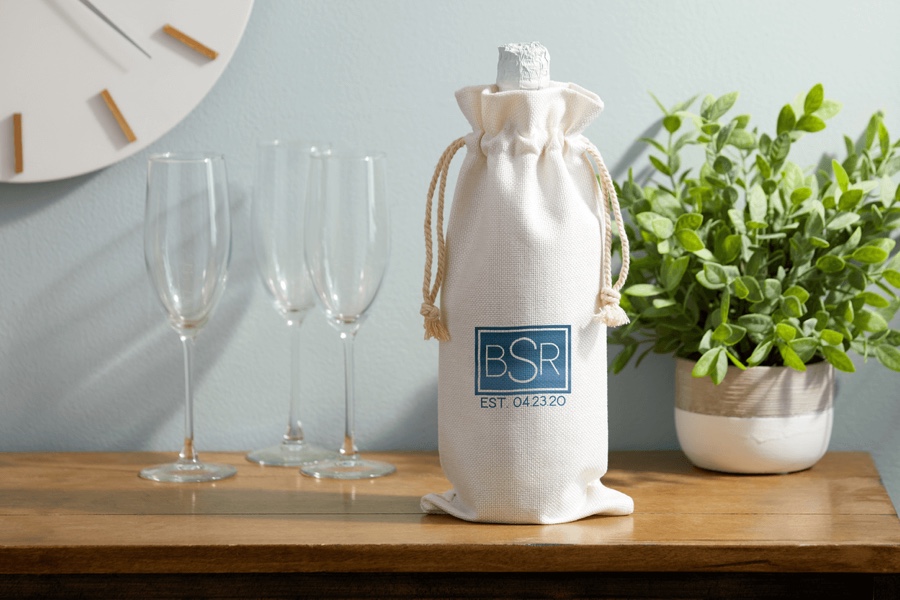
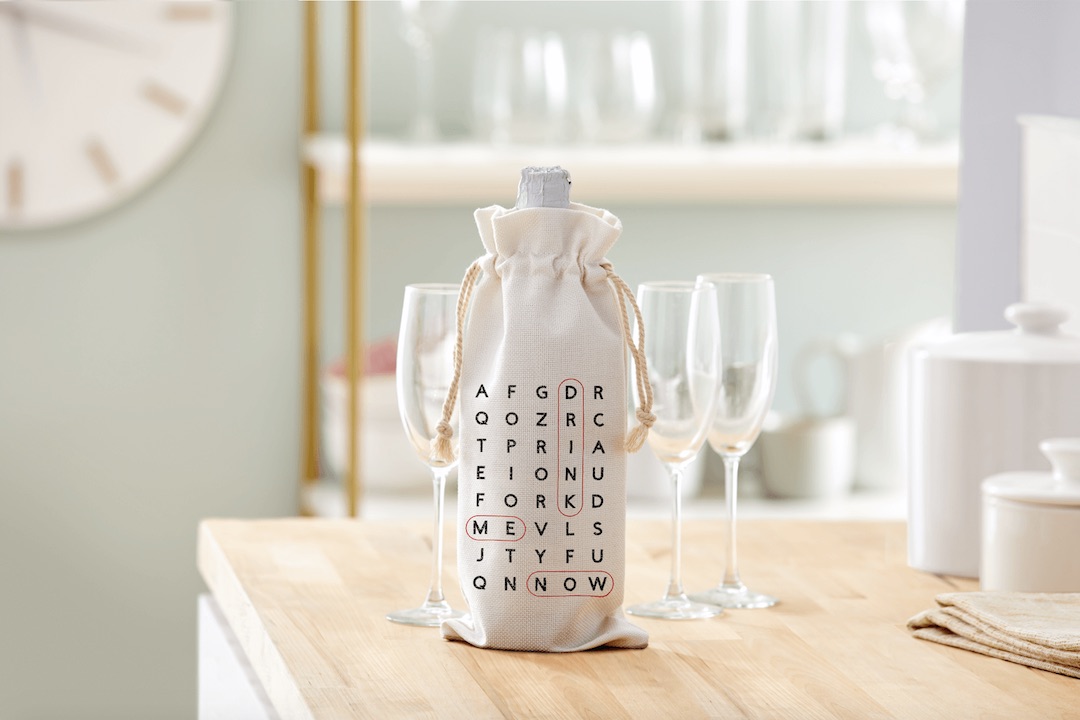
Personalize a wine bag for birthday, bachelorette, and party gifts.
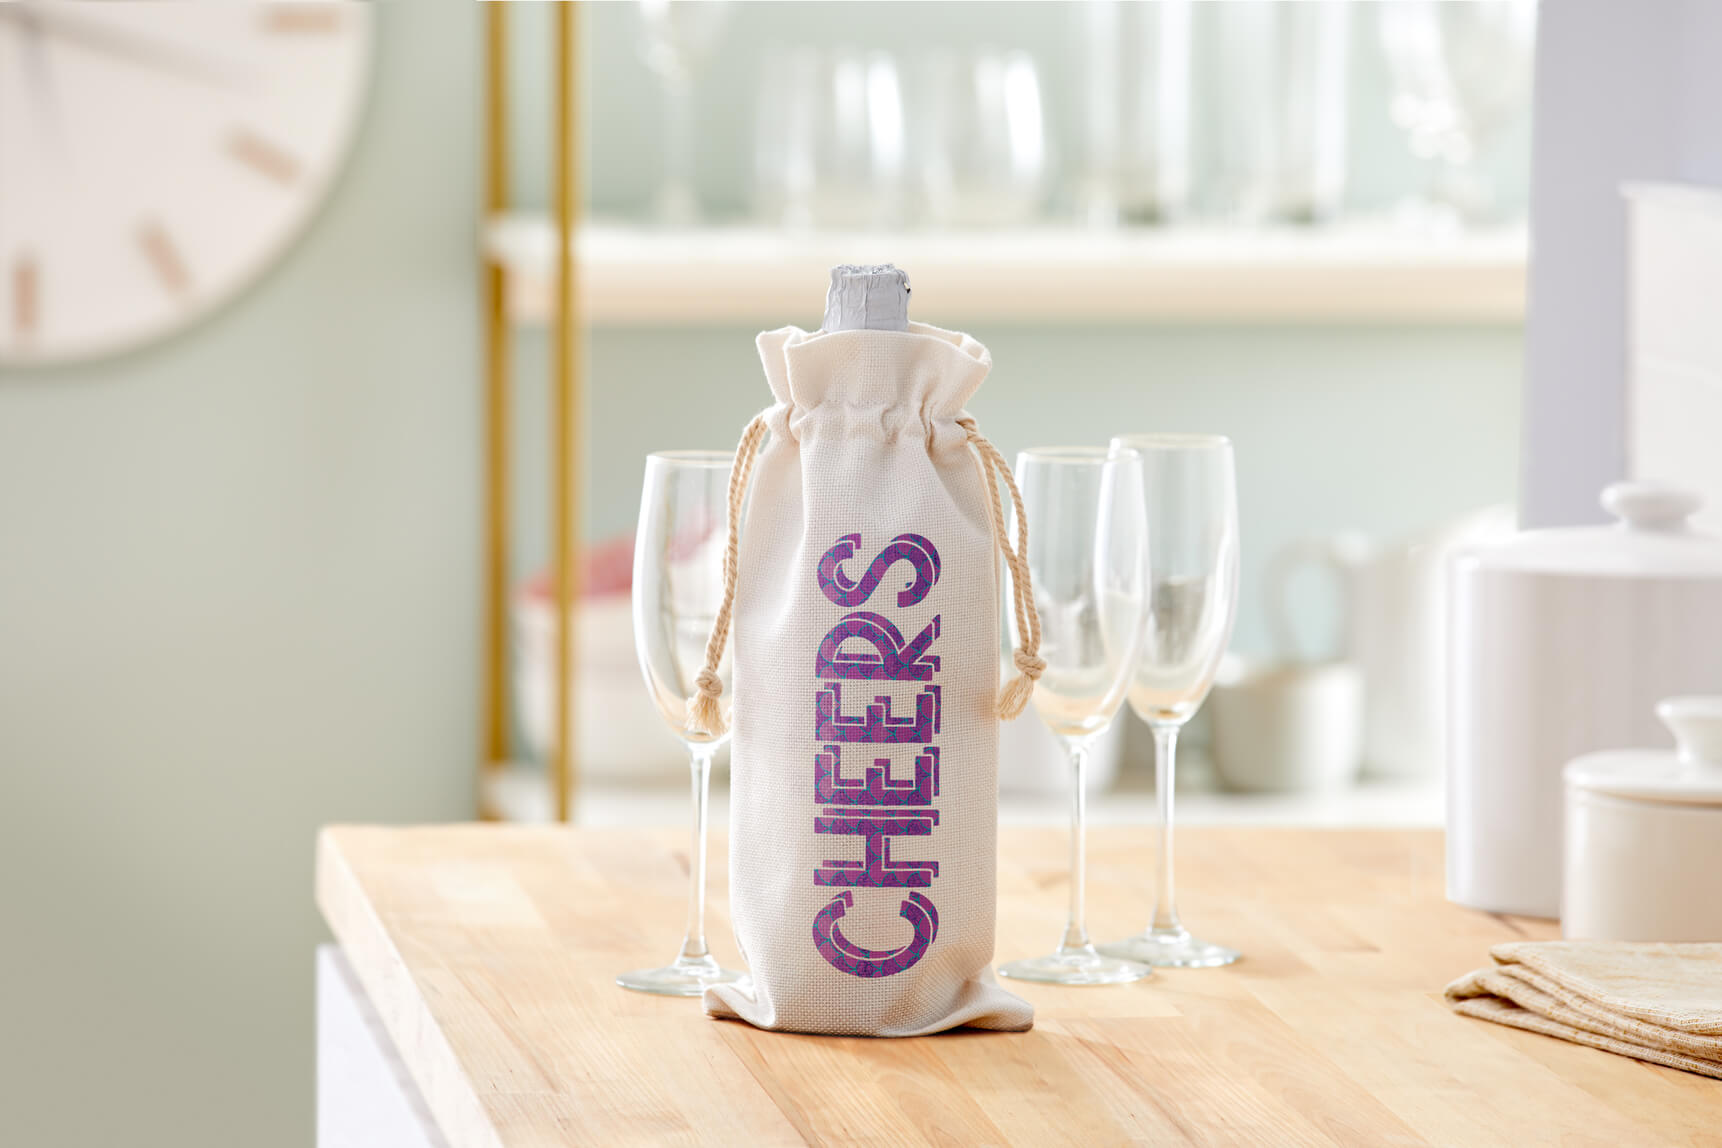
Here’s a quick, easy way to spruce up that two-buck-chuck you’re taking to a party tonight! These beautiful bags have a canvas texture and drawstring closure that add a level of sophistication to the entire project.
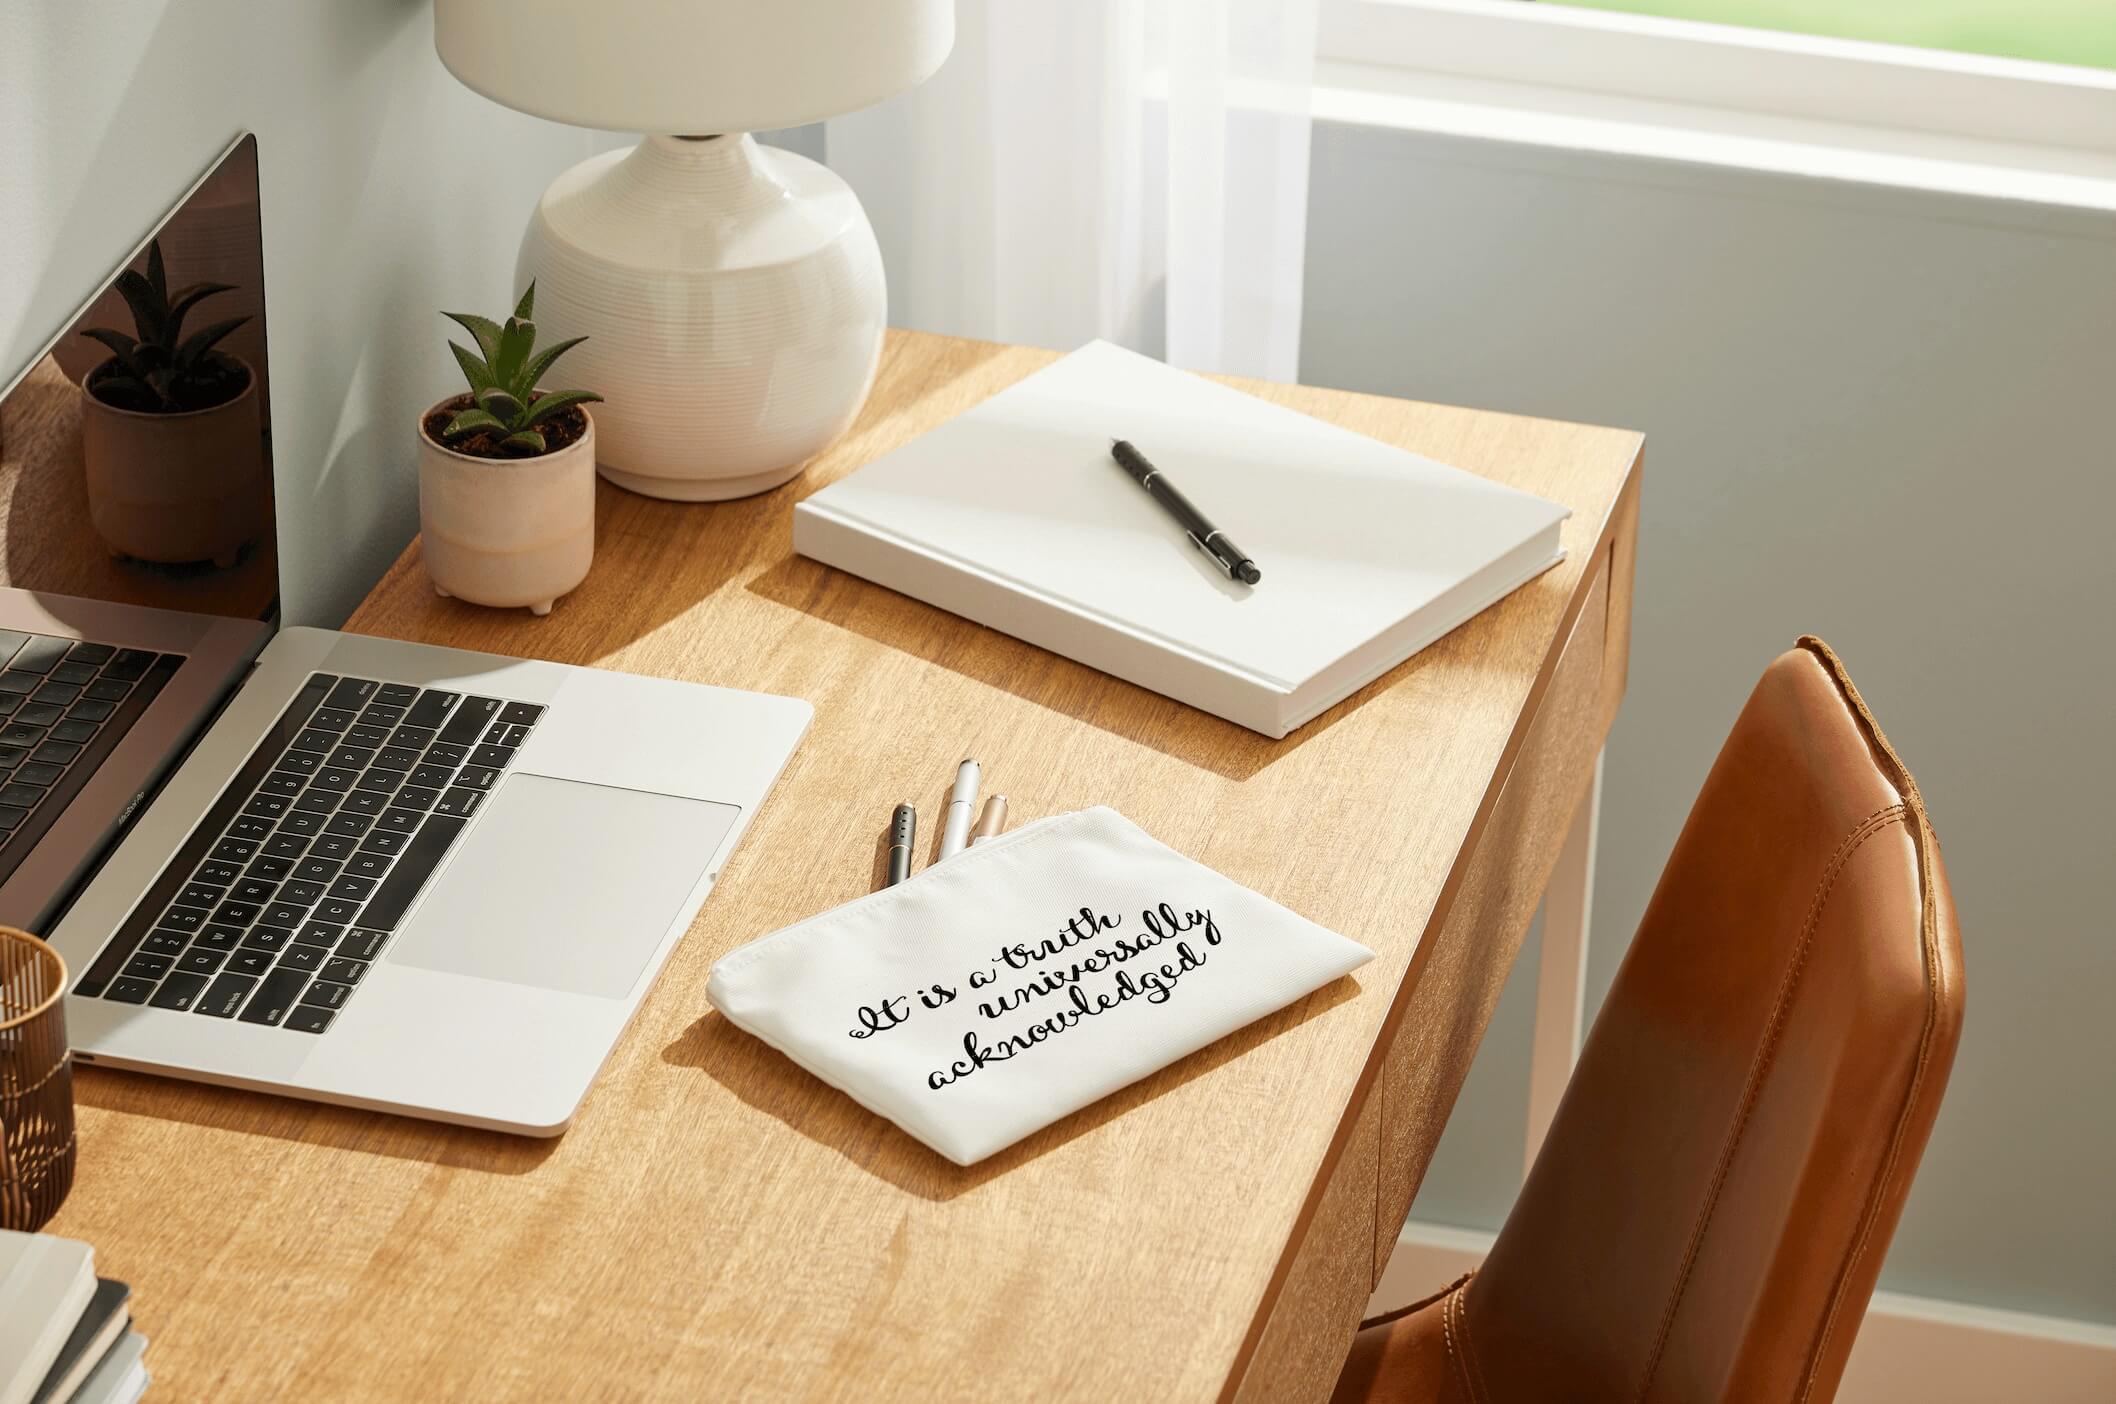
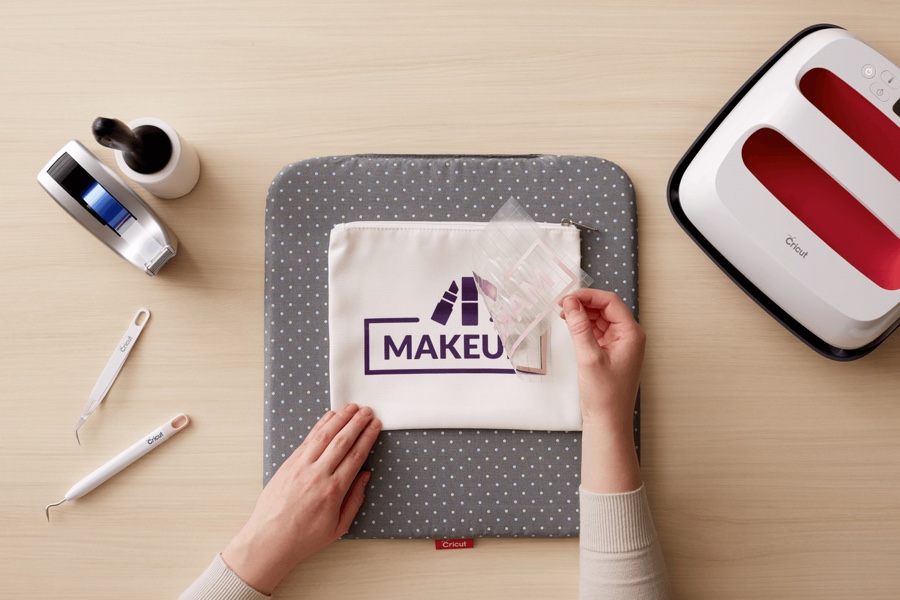
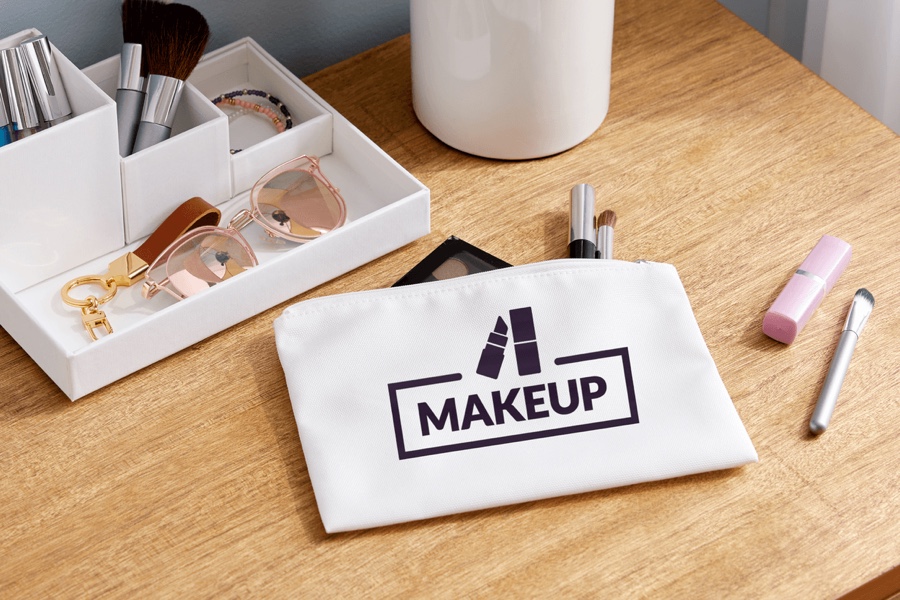
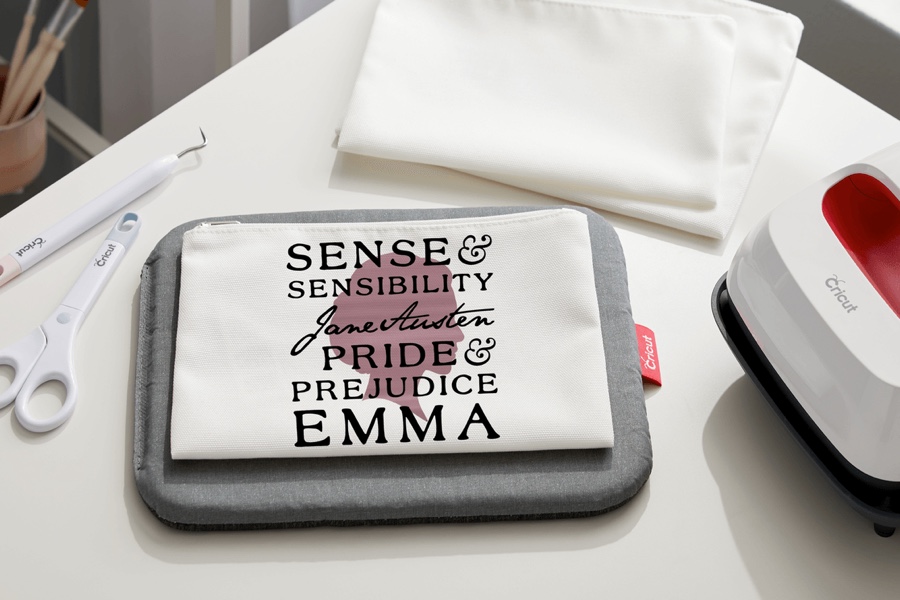
Organize everything with customizable cosmetic bags.
Perfect for makeup, cords, traveling, or even as a pencil case, we are loving organizing our homes and office spaces with a personalized touch.
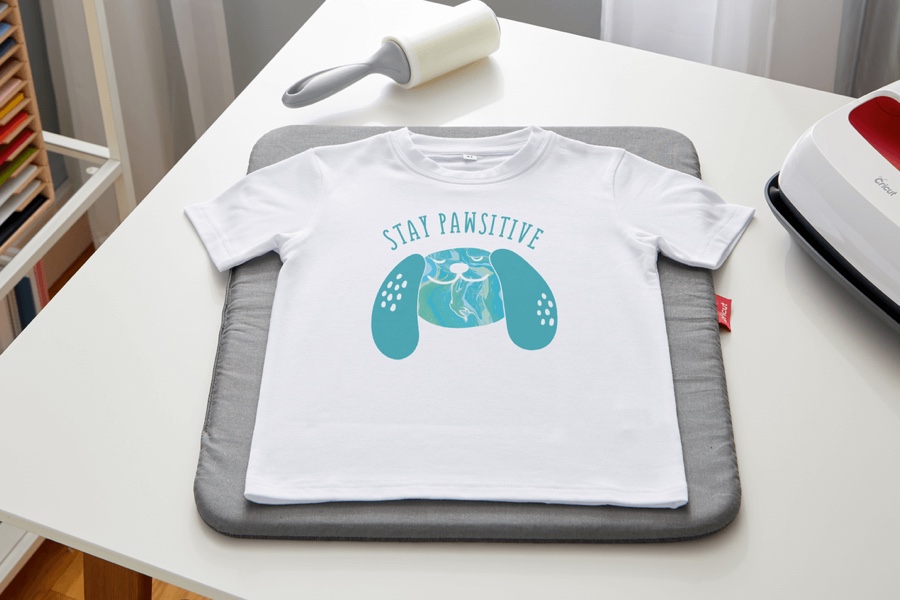
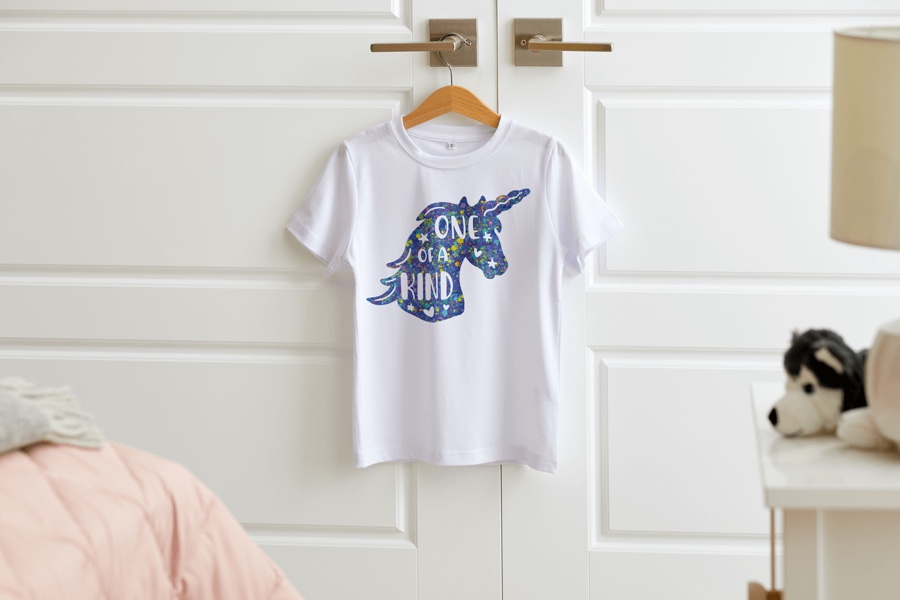
Perfectly sized tees for your toddler.
You asked and we heard you – toddler sized white tees are here in 2T, 3T, and 4T.
How to use Infusible Ink on custom home décor and organization
Make a custom pillow sham with Infusible Ink

What You’ll Need
- Infusible Ink compatible pillow sham, cream or white
- Infusible Ink transfer sheets, pens, or markers
- EasyPress, EasyPress 2, or heat press that reaches 385°
- EasyPress Mat or towel
- Lint Roller
- Cardstock (white works best)
- Butcher paper (this will come in your box of transfer sheets!)
- If you’re using pens or markers, you will need a piece of laser copy paper, likely what ever is in your printer at home!
- Heat resistant tape to secure your design if using pens or markers
- Cricut smart cutting machine or other brand cutting machine
- StandardGrip or LightGrip cutting mat
Step 1: Create your design in Design Space. We recommend to size your design so that it fits under the plate of your heat press and can be transferred in just one press!
Step 2: Prepare your cutting mat. Apply your Infusible Ink Transfer sheet ink-side up onto a standard or light grip cutting mat. Cut your design out just as you would any other Cricut project, but be sure to mirror!
Step 3: Weed your project by bending the transfer sheet away from your design and letting the cut pieces loosen from the sticky backing. Try weeding with your fingers as much as possible, but grab tweezers if you need them!
During this step, I like to also turn on my heat press and get it warmed up! Visit the Heat Guide to get the exact right times and temperatures for your project.
Step 4: Prepare your pillow sham. Lay your pillow sham on your EasyPress Mat or towel. Lint roll the fabric in any spot that your heat press will touch it (even if your design isn’t very big!) Place a piece of cardstock inside the sham to protect from ink going through to the other side.
If you don’t have cardstock, 3 pieces of butcher paper will work, too.
Step 5: Pre-heat your surface for about 15 seconds to eliminate any moisture or wrinkles.
Step 6: Apply your design. If you are using transfer sheets, place the design ink-side down and gently press to secure the sticky backer to your pillow sham. If you are using copy paper and Infusible Ink pens, grab some heat resistant tape to secure your design and make sure it doesn’t shift around on you!
Step 7: Apply heat. Place a piece of butcher paper between your project and your heat press (this is just to be safe and avoid ink getting on your press!) Press your design according to the directions in the Heat Guide. Don’t move your press during this process – keep still and apply pressure as directed.
Step 8: Let it cool and brace yourself – this is the best part! The grand reveal of Infusible Ink projects is so fun! Peel away your transfer sheet or paper and see your project come to life.
Make a perfectly-personalized wine bag with Infusible Ink
What You’ll Need
- Infusible Ink compatible wine bag
- Infusible Ink transfer sheets, pens, or markers
- EasyPress, EasyPress 2, or heat press that reaches 385°
- EasyPress Mat or towel
- Lint Roller
- Cardstock (white works best)
- Butcher paper (this will come in your box of transfer sheets!)
- If you’re using pens or markers, you will need a piece of laser copy paper, likely what ever is in your printer at home!
- Heat resistant tape to secure your design if using pens or markers
- Cricut smart cutting machine or other brand cutting machine
- StandardGrip or LightGrip cutting mat
Step 1: Create your design in Design Space. We recommend to size your design so that it avoids the seams on the wine bag. A design no more than 5 inches wide and 10 inches tall should work fine, if you have a heat press large enough. If you have a smaller press, make sure your entire design is sized so can fit under the heat plate.
Step 2: Prepare your cutting mat. Apply your Infusible Ink Transfer sheet ink-side up onto a standard or light grip cutting mat. Cut your design out just as you would any other Cricut project, but be sure to mirror!
Step 3: Weed your project by bending the transfer sheet away from your design and letting the cut pieces loosen from the sticky backing. Try weeding with your fingers as much as possible, but grab tweezers if you need them!
During this step, I like to also turn on my heat press and get it warmed up! Visit the Heat Guide to get the exact right times and temperatures for your project.
Step 4: Prepare your wine bag. Lay your wine bag on your EasyPress Mat or towel. Lint roll the fabric in any spot that your heat press will touch it (even if your design isn’t very big). Place a piece of cardstock inside the bag to protect from ink going through to the other side.
If you don’t have cardstock, 3 pieces of butcher paper will work, too.
Step 5: Pre-heat your surface for about 15 seconds to eliminate any moisture or wrinkles.
Step 6: Apply your design. If you are using transfer sheets, place the design ink-side down and gently press to secure the sticky backer to your wine bag. If you are using copy paper and Infusible Ink pens, grab some heat resistant tape to secure your design and make sure it doesn’t shift around on you.
Step 7: Apply heat. Place a piece of butcher paper between your project and your heat press (this is just to be safe and avoid ink getting on your press!) Press your design according to the directions in the Heat Guide. Don’t move your press during this process – keep still and apply pressure as directed.
Step 8: Let it cool and brace yourself – this is the best part! The grand reveal of Infusible Ink projects is so fun! Peel away your transfer sheet or paper and see your project come to life.
DIY your home organization with Infusible Ink cosmetic bag blanks
What You’ll Need
- Infusible Ink compatible cosmetic bag
- Infusible Ink transfer sheets, pens, or markers
- EasyPress, EasyPress 2, or heat press that reaches 385°
- EasyPress Mat or towel
- Lint Roller
- Cardstock (white works best)
- Butcher paper (this will come in your box of transfer sheets!)
- If you’re using pens or markers, you will need a piece of laser copy paper, likely what ever is in your printer at home!
- Heat resistant tape to secure your design if using pens or markers
- Cricut smart cutting machine or other brand cutting machine
- StandardGrip or LightGrip cutting mat
Step 1: Create your design in Design Space. We recommend to size your design so that it avoids the seams on the cosmetic bag. Keep your design around 8 inches wide and 5 inches tall for the medium bag. A design around 9 inches wide and 7 inches tall will be great on the large bag. If you have a smaller press, make sure your entire design is sized so can fit under the heat plate.
Step 2: Prepare your cutting mat. Apply your Infusible Ink Transfer sheet ink-side up onto a standard or light grip cutting mat. Cut your design out just as you would any other Cricut project, but be sure to mirror!
Step 3: Weed your project by bending the transfer sheet away from your design and letting the cut pieces loosen from the sticky backing. Try weeding with your fingers as much as possible, but grab tweezers if you need them!
During this step, I like to also turn on my heat press and get it warmed up! Visit the Heat Guide to get the exact right times and temperatures for your project.
Step 4: Prepare your cosmetic bag. Lay your cosmetic bag on your EasyPress Mat or towel. Lint roll the fabric in any spot that your heat press will touch it (even if your design isn’t very big!) Place a piece of cardstock inside the bag to protect from ink going through to the other side.
If you don’t have cardstock, 3 pieces of butcher paper will work, too.
Step 5: Pre-heat your surface for about 15 seconds to eliminate any moisture or wrinkles.
Step 6: Apply your design. If you are using transfer sheets, place the design ink-side down and gently press to secure the sticky backer to your cosmetic bag. If you are using copy paper and Infusible Ink pens, grab some heat resistant tape to secure your design and make sure it doesn’t shift around on you!
Step 7: Apply heat. Place a piece of butcher paper between your project and your heat press (this is just to be safe and avoid ink getting on your press!) Press your design according to the directions in the Heat Guide. Don’t move your press during this process – keep still and apply pressure as directed.
Step 8: Let it cool and brace yourself – this is the best part! The grand reveal of Infusible Ink projects is so fun! Peel away your transfer sheet or paper and see your project come to life.
How to make a Personalized T-shirt with Infusible Ink
What You’ll Need
- Infusible Ink compatible T-shirt
- Infusible Ink transfer sheets, pens, or markers
- EasyPress, EasyPress 2, or heat press that reaches 385°
- EasyPress Mat or towel
- Lint Roller
- Cardstock (white works best)
- Butcher paper (this will come in your box of transfer sheets!)
- If you’re using pens or markers, you will need a piece of laser copy paper, likely what ever is in your printer at home!
- Heat resistant tape to secure your design if using pens or markers
- Cricut smart cutting machine or other brand cutting machine
- StandardGrip or LightGrip cutting mat
Step 1: Create your design in Design Space. We recommend to size your design so that it fits under the plate of your heat press and can be transferred in just one press!
Step 2: Prepare your cutting mat. Apply your Infusible Ink Transfer sheet ink-side up onto a standard or light grip cutting mat. Cut your design out just as you would any other Cricut project, but be sure to mirror!
Step 3: Weed your project by bending the transfer sheet away from your design and letting the cut pieces loosen from the sticky backing. Try weeding with your fingers as much as possible, but grab tweezers if you need them!
During this step, I like to also turn on my heat press and get it warmed up! Visit the Heat Guide to get the exact right times and temperatures for your project.
Step 4: Prepare your T-shirt. Lay your t-shirt on your EasyPress Mat or towel. Lint roll the t-shirt in any spot that your heat press will touch it (even if your design isn’t very big!) Place a piece of cardstock inside the shirt to protect from ink going through to the other side.
If you don’t have cardstock, 3 pieces of butcher paper will work, too.
Step 5: Pre-heat your surface for about 15 seconds to eliminate any moisture or wrinkles.
Step 6: Apply your design. If you are using transfer sheets, place the design ink-side down and gently press to secure the sticky backer to your t-shirt. If you are using copy paper and Infusible Ink pens, grab some heat resistant tape to secure your design and make sure it doesn’t shift around on you!
Step 7: Apply heat. Place a piece of butcher paper between your project and your heat press (this is just to be safe and avoid ink getting on your press!) Press your design according to the directions in the Heat Guide. Don’t move your press during this process – keep still and apply pressure as directed.
Step 8: Let it cool and brace yourself – this is the best part! The grand reveal of Infusible Ink projects is so fun! Peel away your transfer sheet or paper and see your project come to life.
How to make coasters with Infusible Ink
What You’ll Need
- Infusible Ink compatible coasters
- Infusible Ink transfer sheets, pens, or markers
- EasyPress, EasyPress 2, or heat press that reaches 385°
- EasyPress Mat or towel
- Lint Roller
- Cardstock (white works best)
- Butcher paper (this will come in your box of transfer sheets!)
- If you’re using pens or markers, you will need a piece of laser copy paper, likely what ever is in your printer at home!
- Heat resistant tape to secure your design if using pens or markers
- Cricut smart cutting machine or other brand cutting machine
- StandardGrip or LightGrip cutting mat
Step 1: Create your design in Design Space. We recommend to size your design a bit bigger than your coaster to make sure the design covers all white spots. For the circle coaster, we recommend sizing it at about a 3.7″ diameter. For square coasters, design at 3.75″ x 3.75″.
Step 2: Prepare your cutting mat. Apply your Infusible Ink Transfer sheet ink-side up onto a standard or light grip cutting mat. Cut your design out just as you would any other Cricut project, but be sure to mirror!
Step 3: Weed your project by bending the transfer sheet away from your design and letting the cut pieces loosen from the sticky backing. Try weeding with your fingers as much as possible, but grab tweezers if you need them!
During this step, I like to also turn on my heat press and get it warmed up! Visit the Heat Guide to get the exact right times and temperatures for your project.
Step 4: Prepare your coaster. Wipe each coaster clean with a lint-free cloth (or lint roll if you don’t have a lint free cloth).
Step 5: Apply your design. Click here for a video on square coasters. Click here for a video on round coasters.
Place the design ink-side down and gently press to secure the sticky backer to your coaster. Use heat resistant tape to secure your design and make sure it doesn’t shift around on you!
Step 7: Apply heat. Place your coaster on a piece of cardstock (design side up for square coasters, design side down on ceramic coasters). Place a piece of butcher paper between your project and your heat press (this is just to be safe and avoid ink getting on your press!) Press your design according to the directions in the Heat Guide. Don’t move your press during this process – keep still and apply pressure as directed.
Step 8: Your coasters will be extremely hot after pressing! Let them cool for at least 10 minutes.
Brace yourself – this is the best part! The grand reveal of Infusible Ink projects is so fun! Peel away your transfer sheet or paper and see your project come to life.
and brace yourself – this is the best part! The grand reveal of Infusible Ink projects is so fun! Peel away your transfer sheet or paper and see your project come to life.
How to make a tote bag with Infusible Ink
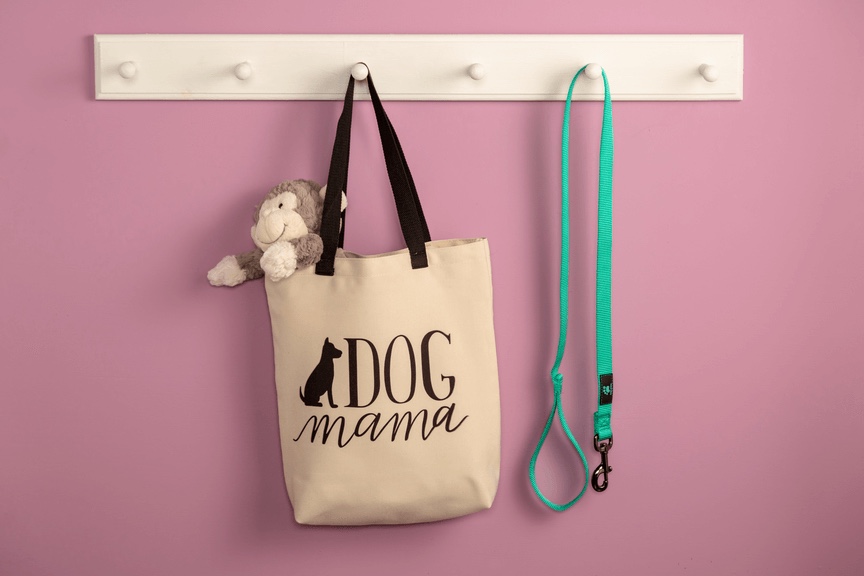
What You’ll Need
- Infusible Ink compatible tote bag
- Infusible Ink transfer sheets, pens, or markers
- EasyPress, EasyPress 2, or heat press that reaches 385°
- EasyPress Mat or towel
- Lint Roller
- Cardstock (white works best)
- Butcher paper (this will come in your box of transfer sheets!)
- If you’re using pens or markers, you will need a piece of laser copy paper, likely what ever is in your printer at home!
- Heat resistant tape to secure your design if using pens or markers
- Cricut smart cutting machine or other brand cutting machine
- StandardGrip or LightGrip cutting mat
Step 1: Create your design in Design Space.
Step 2: Prepare your cutting mat. Apply your Infusible Ink Transfer sheet ink-side up onto a standard or light grip cutting mat. Cut your design out just as you would any other Cricut project, but be sure to mirror!
Step 3: Weed your project by bending the transfer sheet away from your design and letting the cut pieces loosen from the sticky backing. Try weeding with your fingers as much as possible, but grab tweezers if you need them!
During this step, I like to also turn on my heat press and get it warmed up! Visit the Heat Guide to get the exact right times and temperatures for your project.
Step 4: Prepare your tote bag. Lay your bag on your EasyPress Mat or towel. Lint roll the tote in any spot that your heat press will touch it (even if your design isn’t very big!) Place a piece of cardstock and another Easy Press mat or towel inside the bag to protect from ink going through to the other side and bring your fabric away from the inside seams.
If you don’t have cardstock, 3 pieces of butcher paper will work, too.
Step 5: Pre-heat your surface for about 15 seconds to eliminate any moisture or wrinkles.
Step 6: Apply your design. If you are using transfer sheets, place the design ink-side down and gently press to secure the sticky backer to your tote. If you are using copy paper and Infusible Ink pens, grab some heat resistant tape to secure your design and make sure it doesn’t shift around on you!
Step 7: Apply heat. Place a piece of butcher paper between your project and your heat press (this is just to be safe and avoid ink getting on your press!) Press your design according to the directions in the Heat Guide. Don’t move your press during this process – keep still and apply pressure as directed.
Step 8: Let it cool and brace yourself – this is the best part! The grand reveal of Infusible Ink projects is so fun! Peel away your transfer sheet or paper and see your project come to life.
To learn more, visit infusibleink.com and be sure to share your projects with us! We also LOVE seeing your projects so comment here or share photos online and #cricutcreated!
Search How-To
I want to make...


