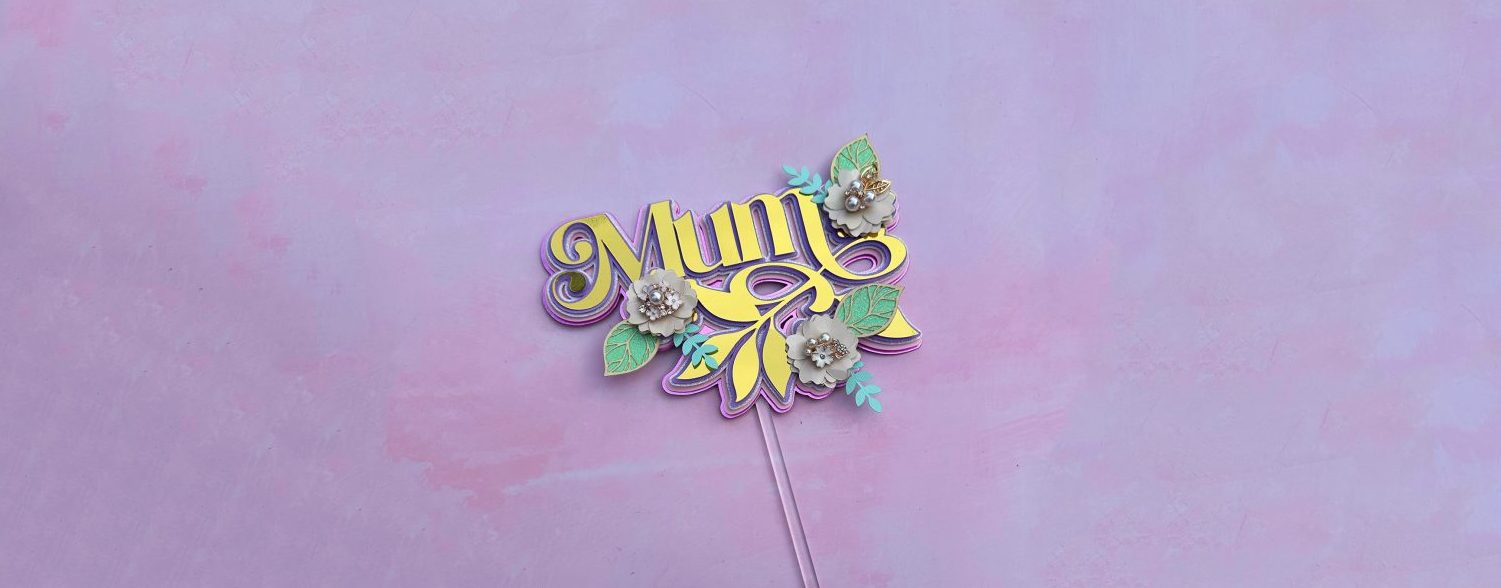
What do you need to start a Cricut Business?
If you have ever thought of starting your own business using a Cricut machine (and even if you haven’t) you’ll find these tips useful to get you off on the right foot and give you some motivation to just go for it.
Starting a business can be daunting, so we’ve compiled a list of the things you’ll need to get going and make your first sale! Be it a sticker business, T-shirt personalisation, or a business centred around using vinyl, we’ve got you covered!
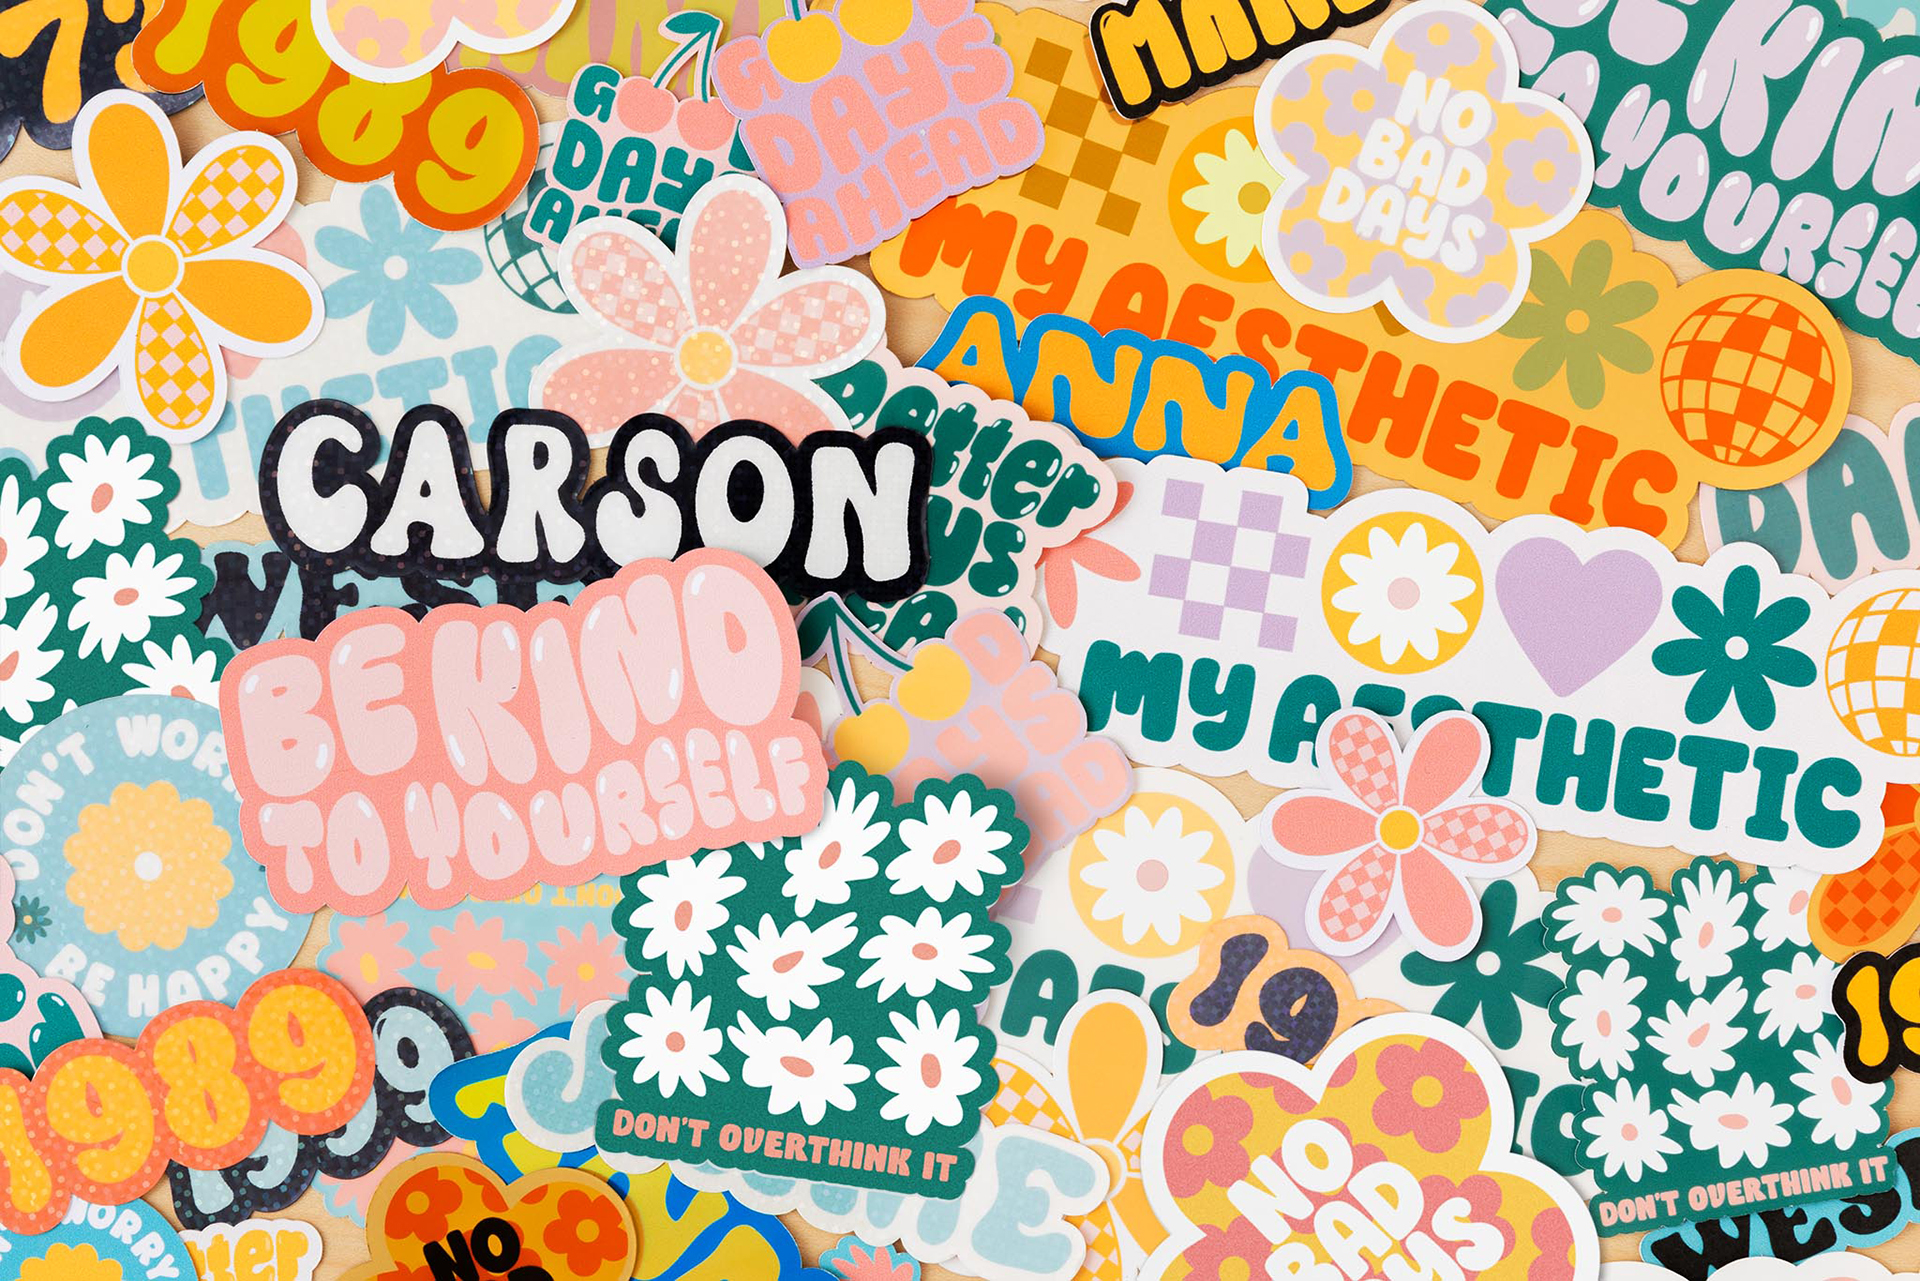
Starting a sticker business? You will need:
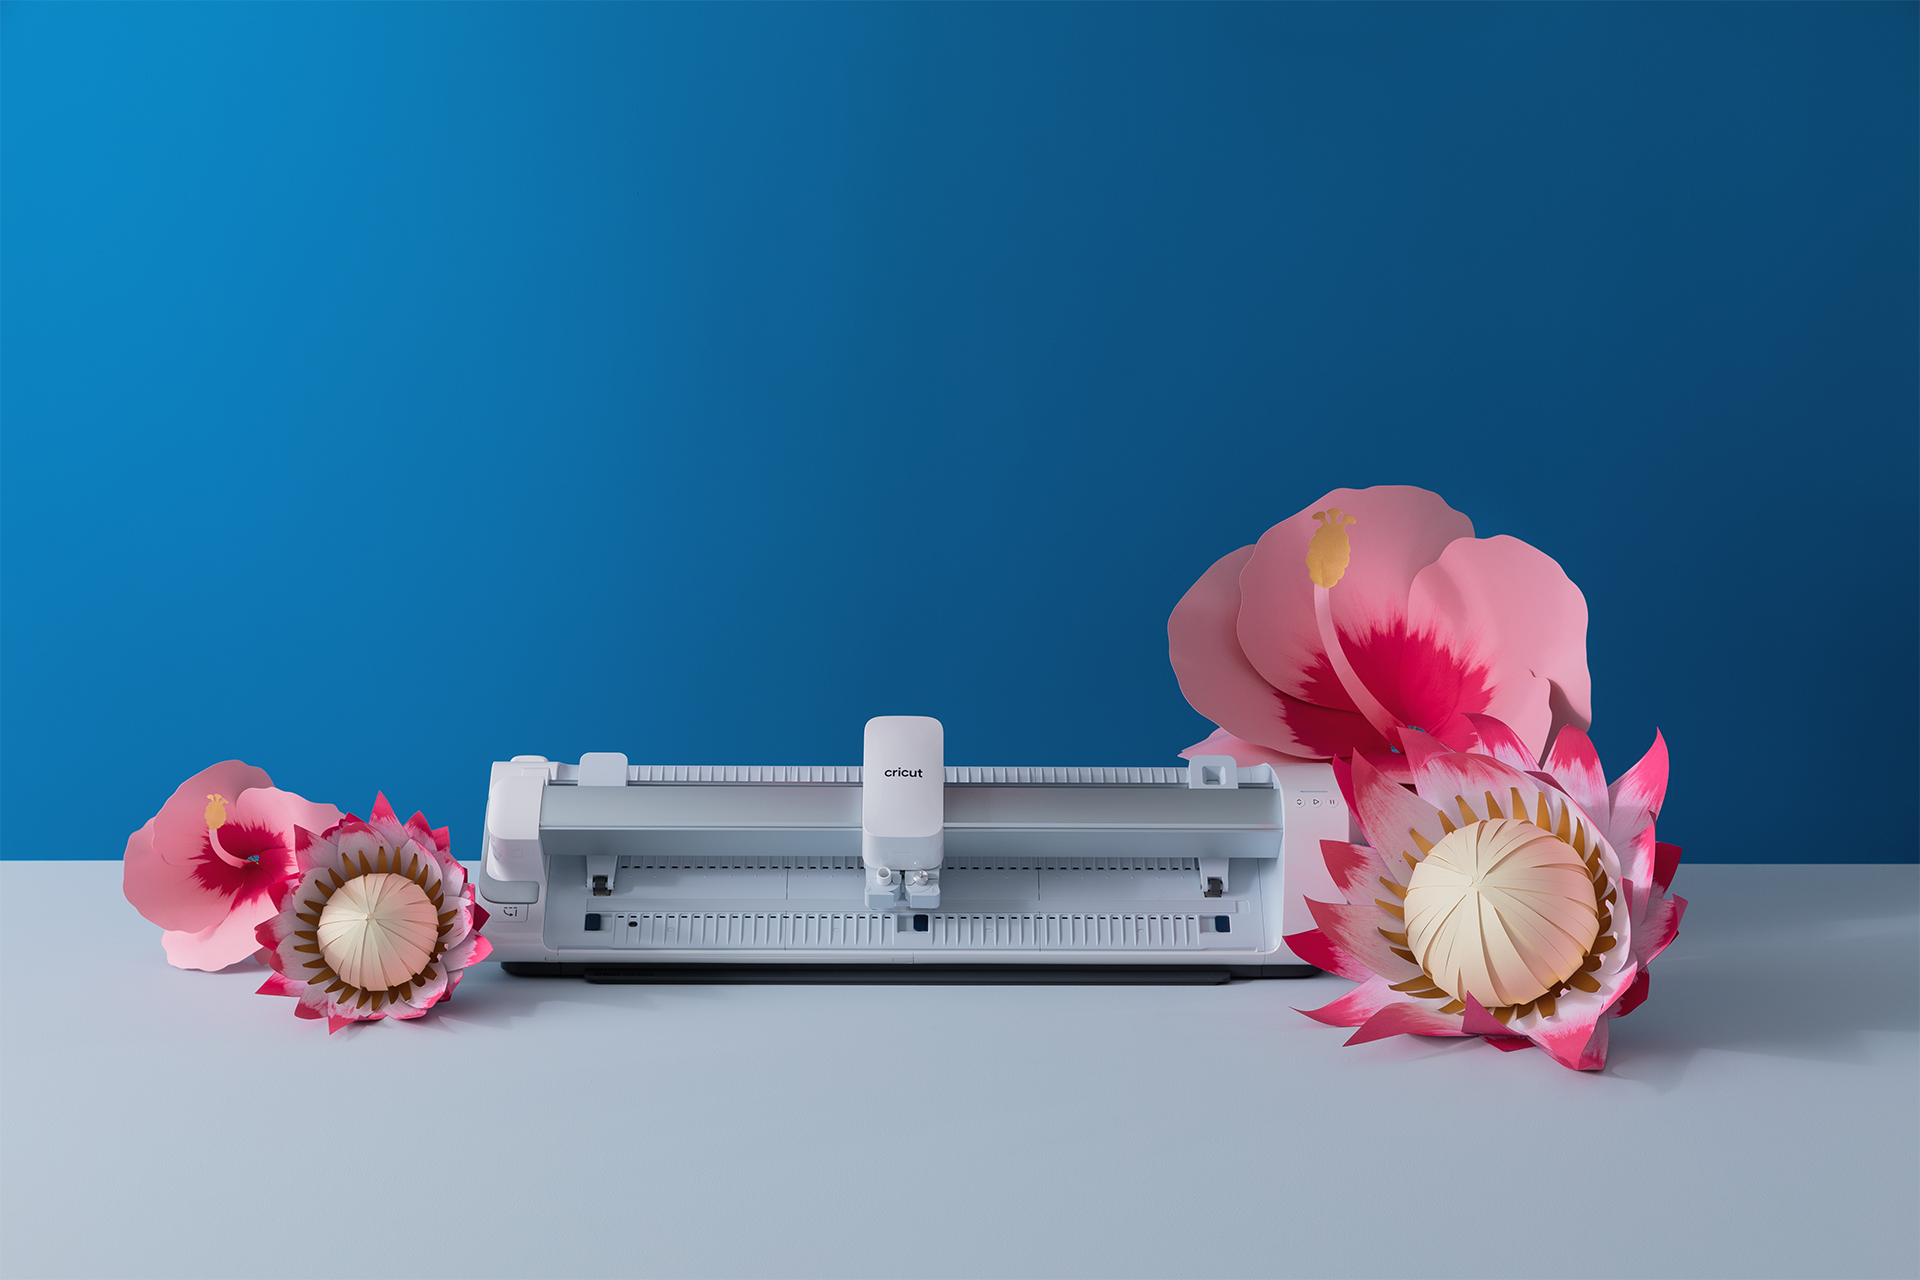
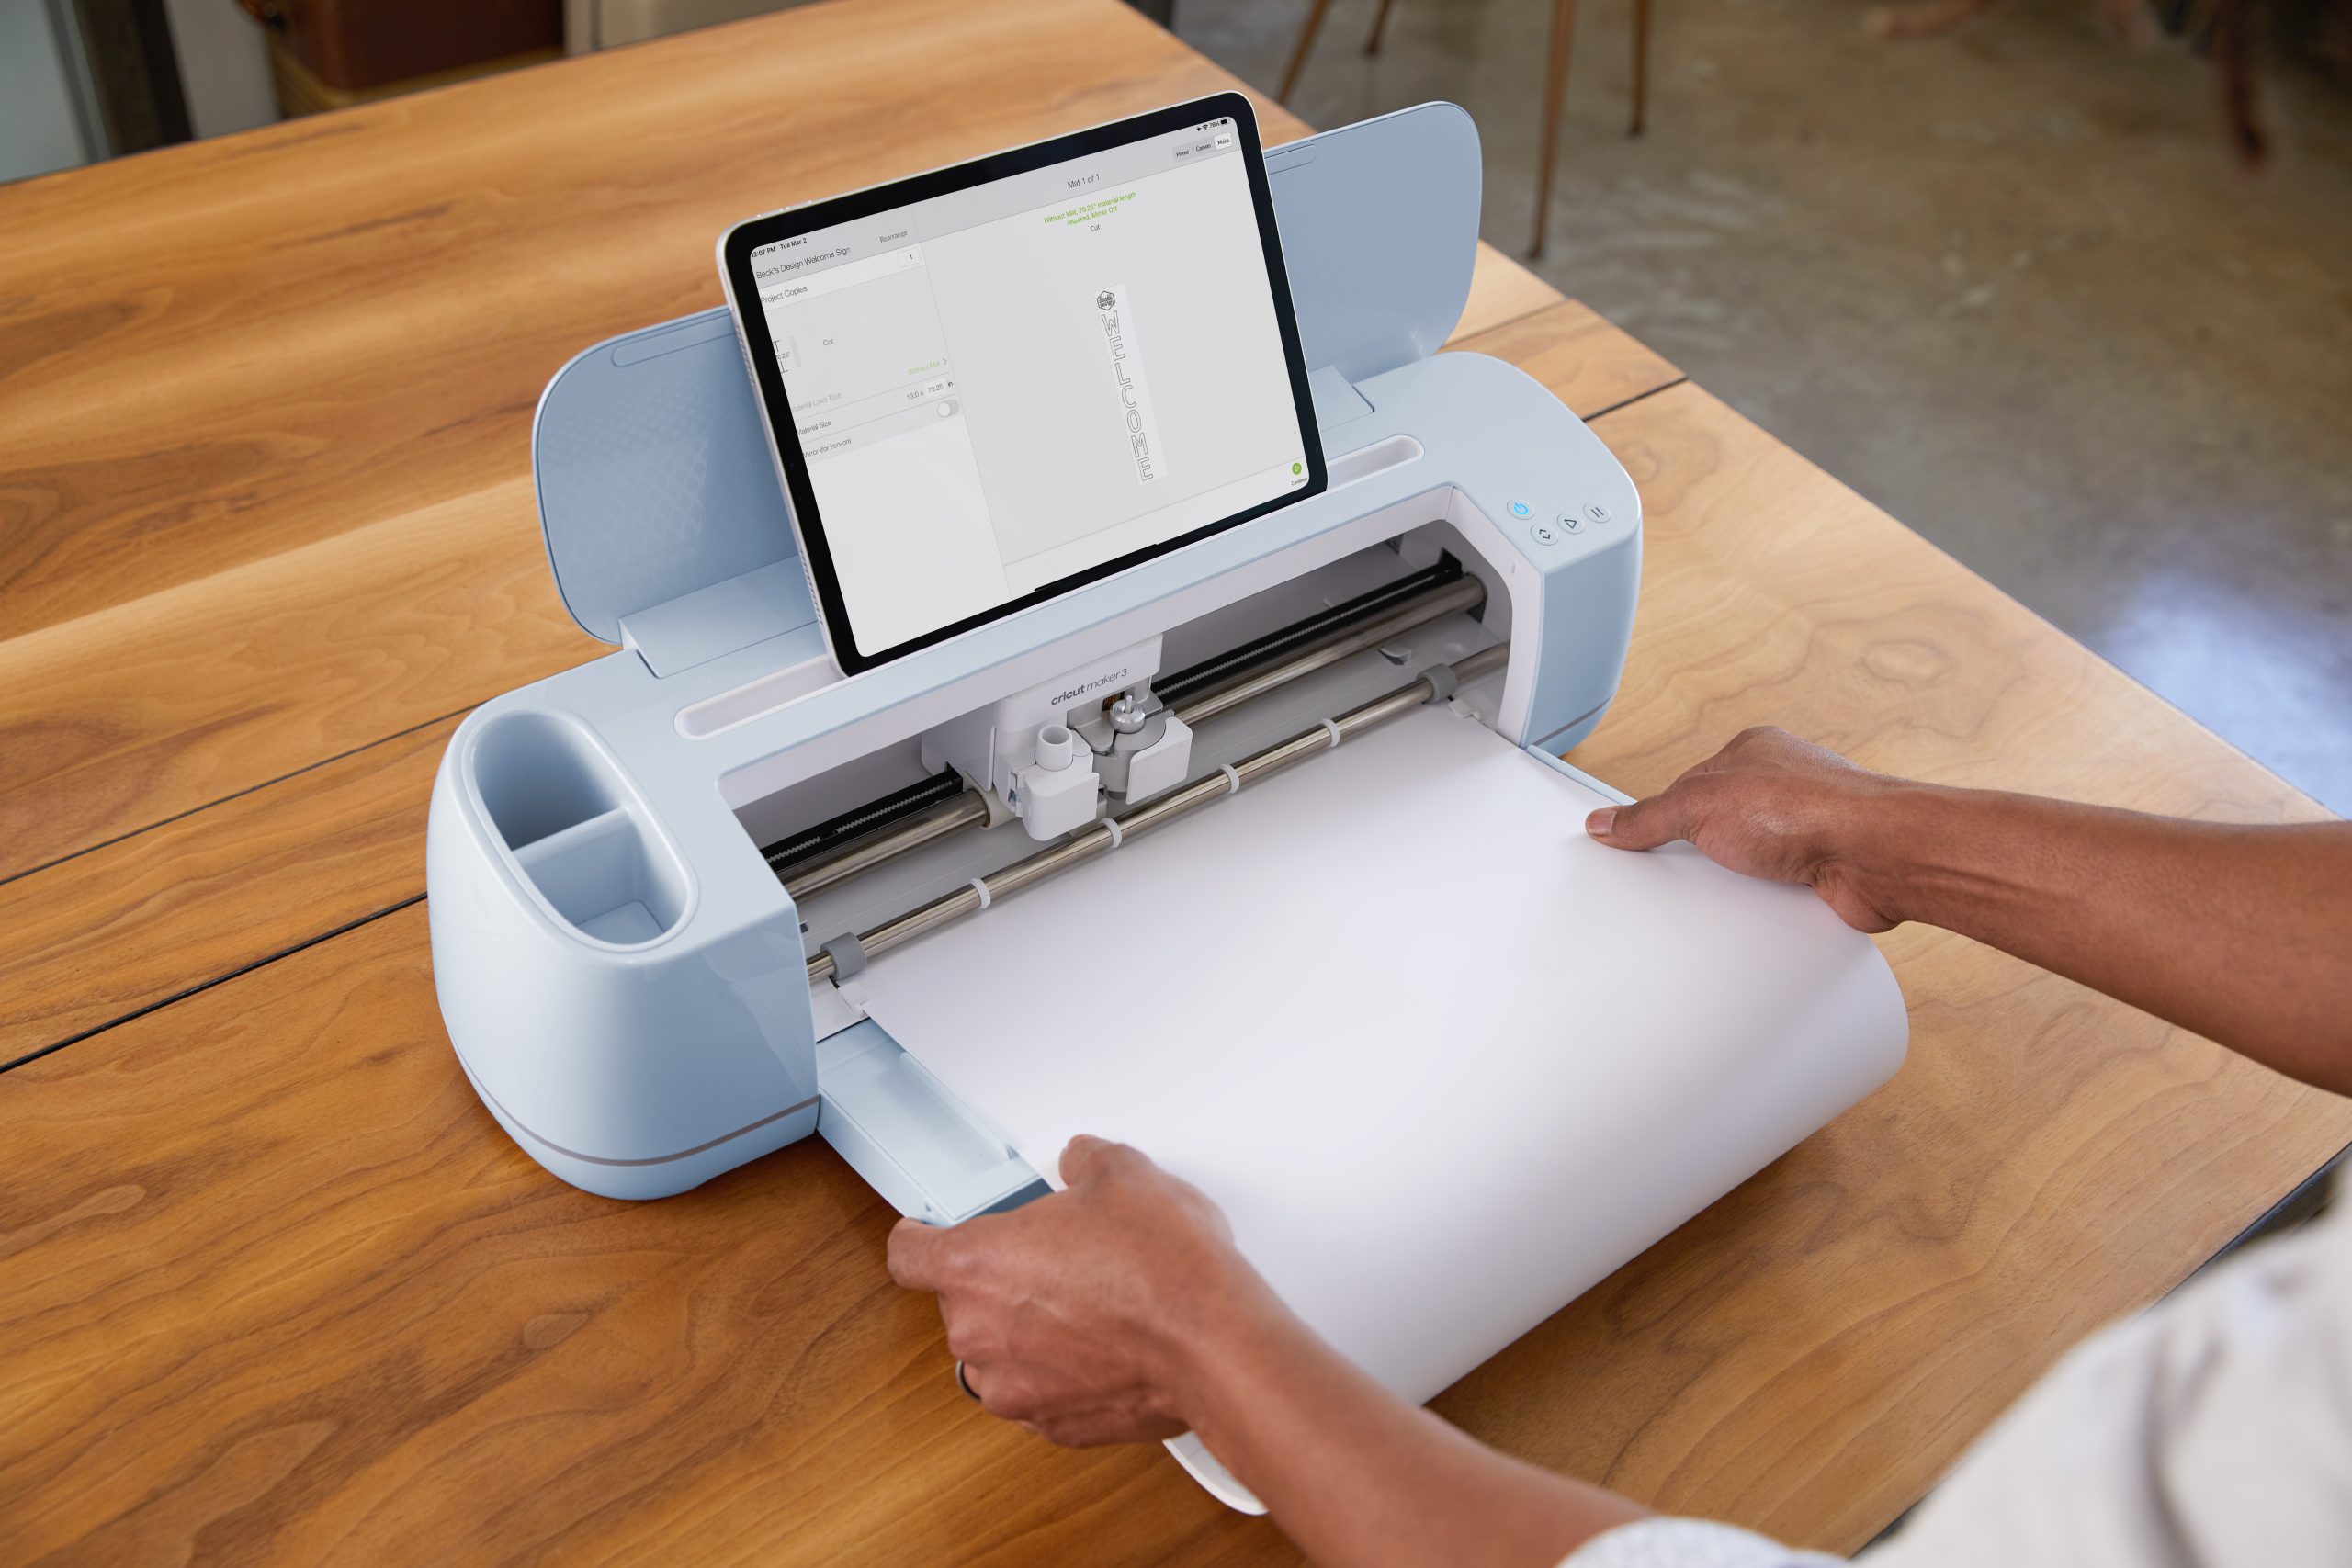
Cricut Explore Air 2 or Cricut Maker. To create stickers, you’ll need to use the print and cut feature, and this is available on the Explore machines and the Maker. This feature isn’t available on Cricut Joy (but you can make labels using the pen and writable paper or vinyl).
Print and cut enables you to print out your designs using any standard printer and then use the Cricut machine to cut around them.
It’s worth noting that the Maker can use this feature on any colour of sticker paper and will handle glossy finishes, unlike the Explore machines that can only use white sticker paper.
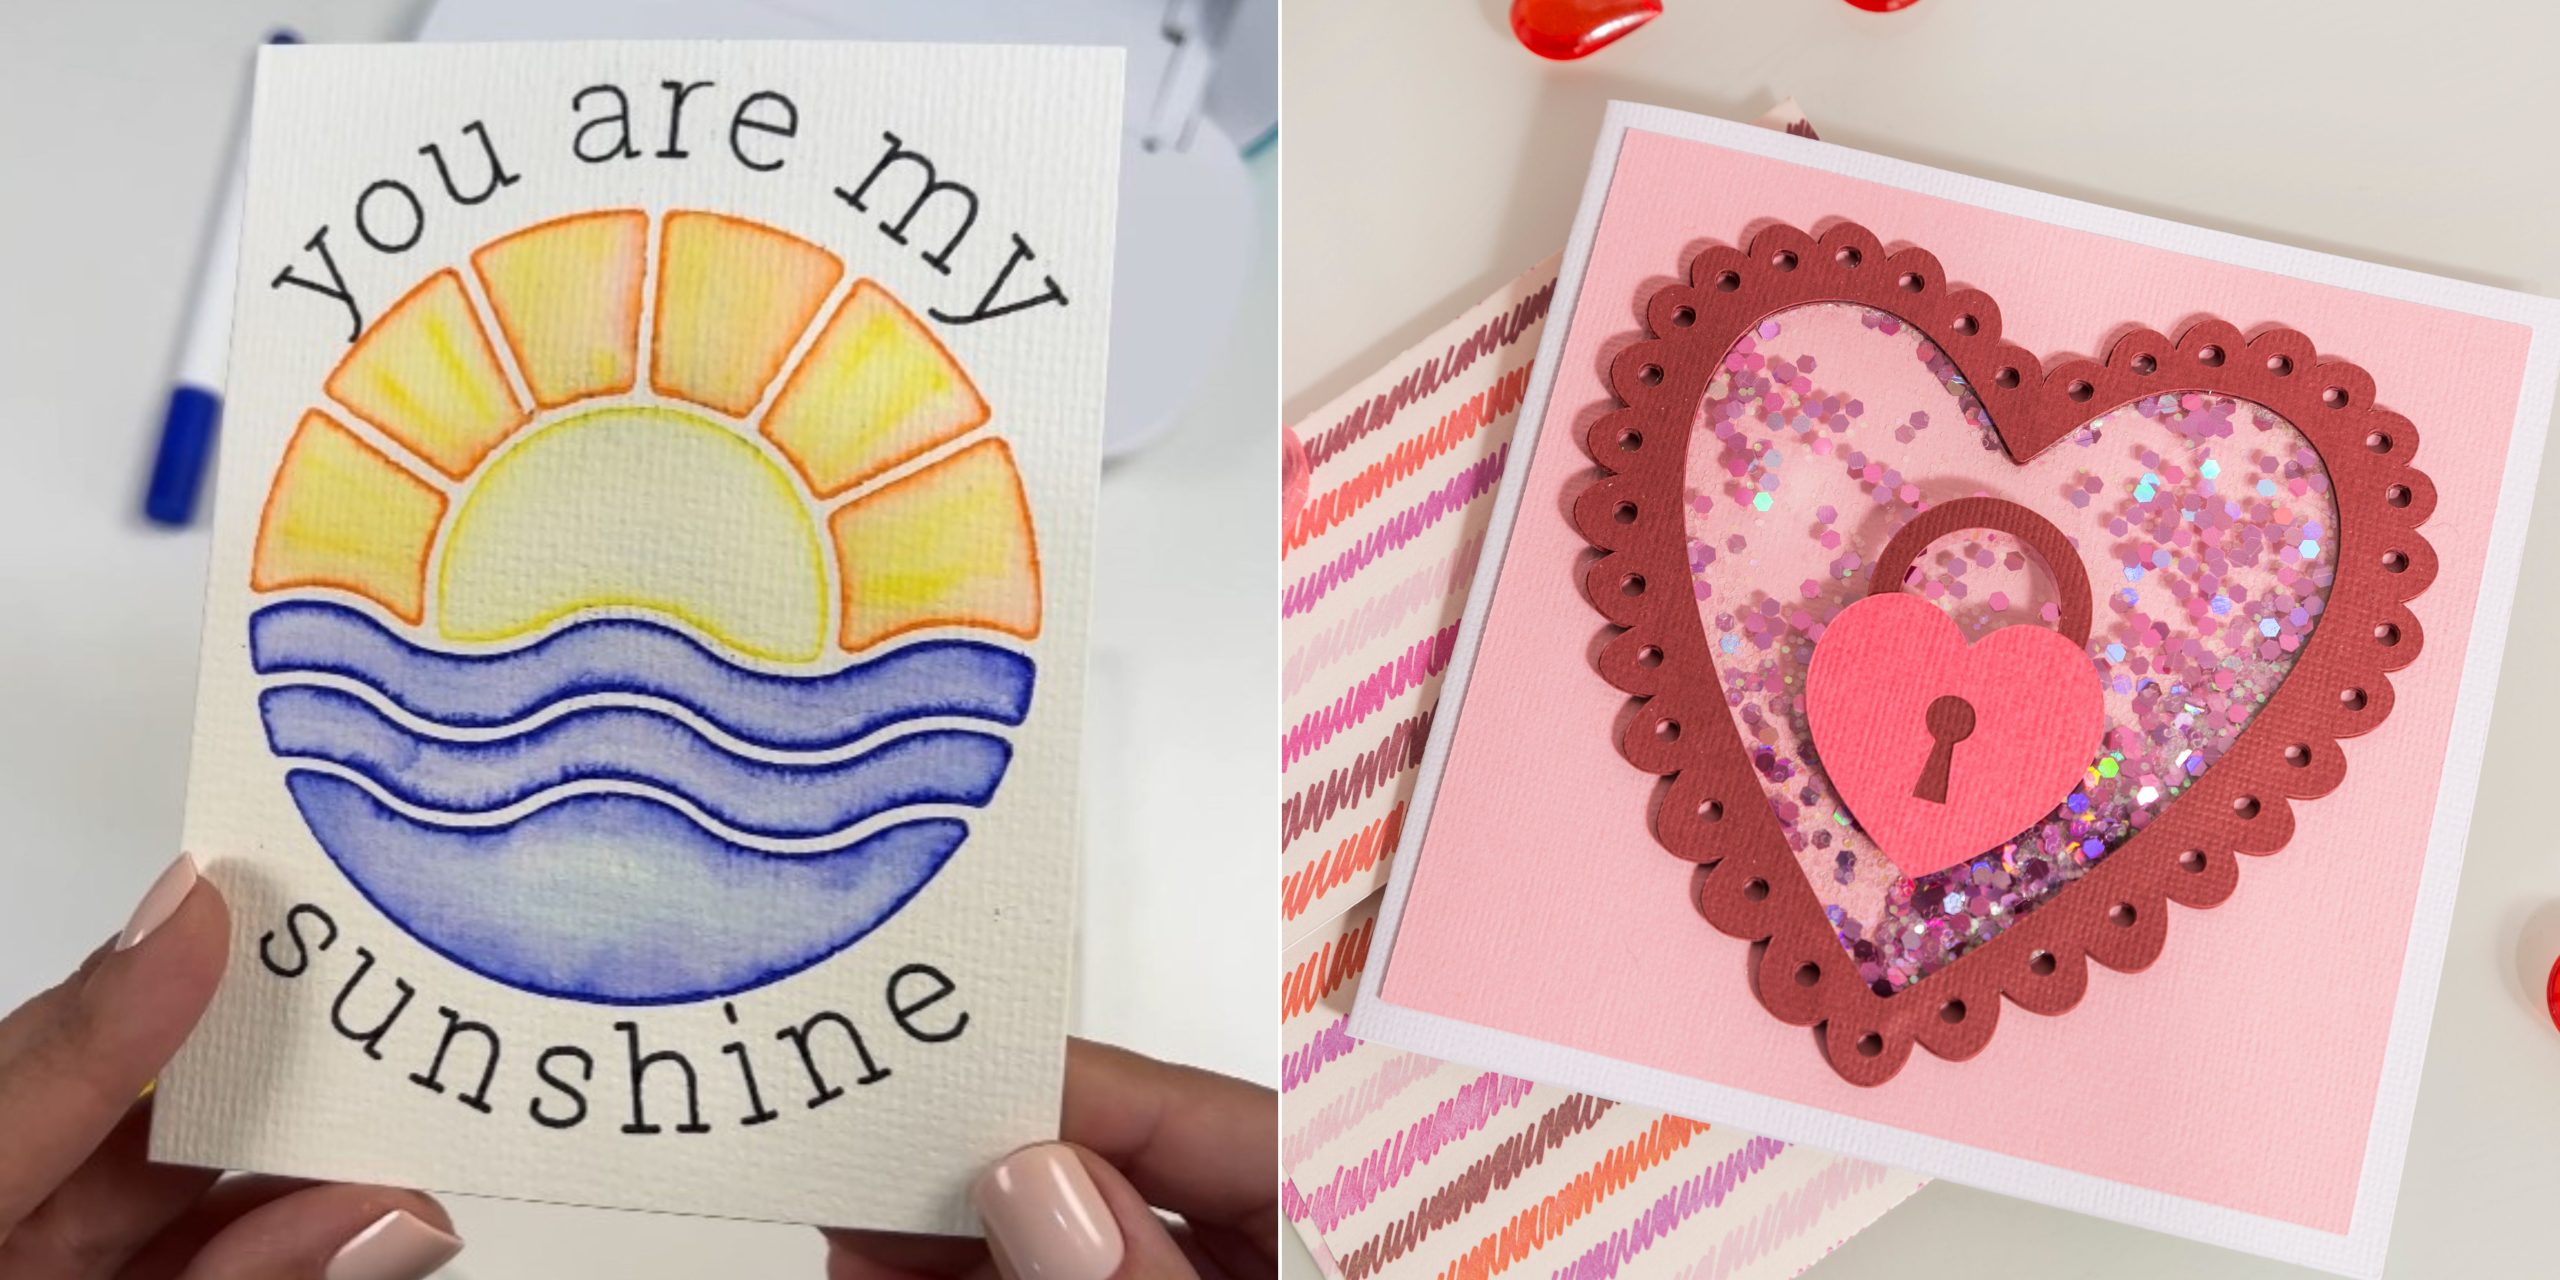
- Printable Sticker Paper
You’ll need printable sticker paper that will run through your printer to print your stickers onto. There are lots of finishes available so find one that works best with your style!
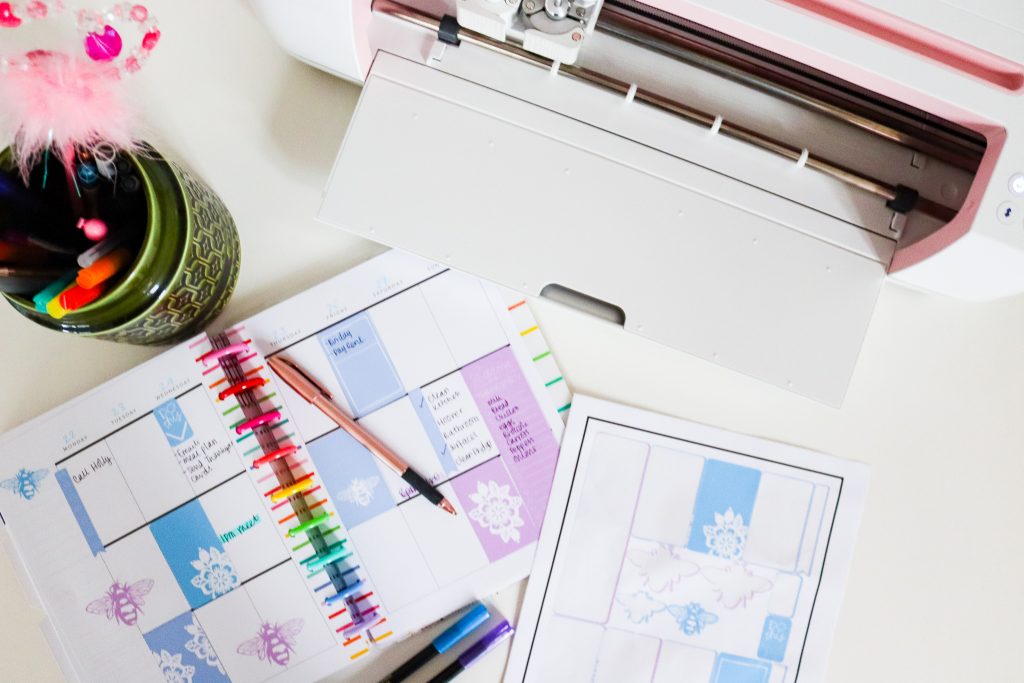
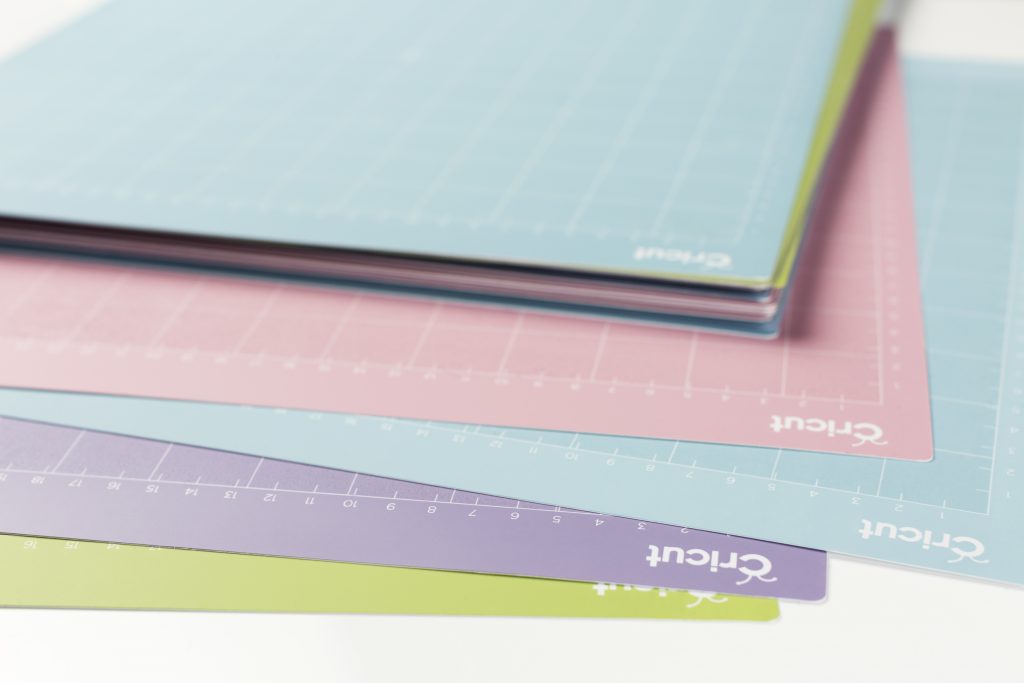
- Light Grip Blue Mats
One light grip mat comes in the box with your machine, but we recommend having a couple of mats to hand as this will mean you can be preparing your next sheet while one cuts. These mats have a sticky layer that holds your sticker paper in place whilst it runs through the machine.
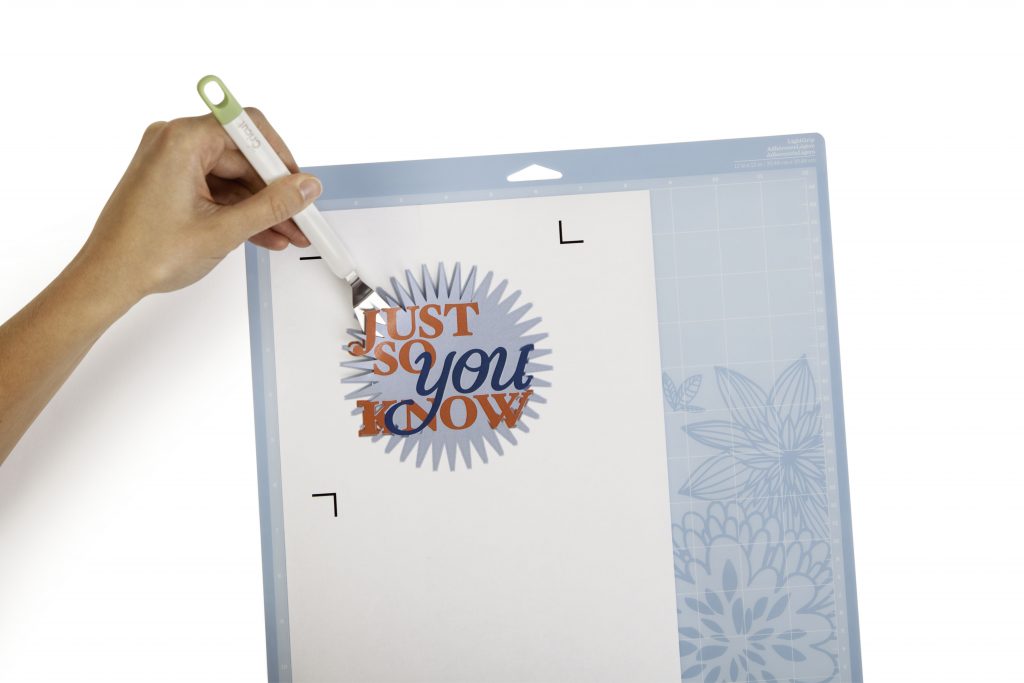
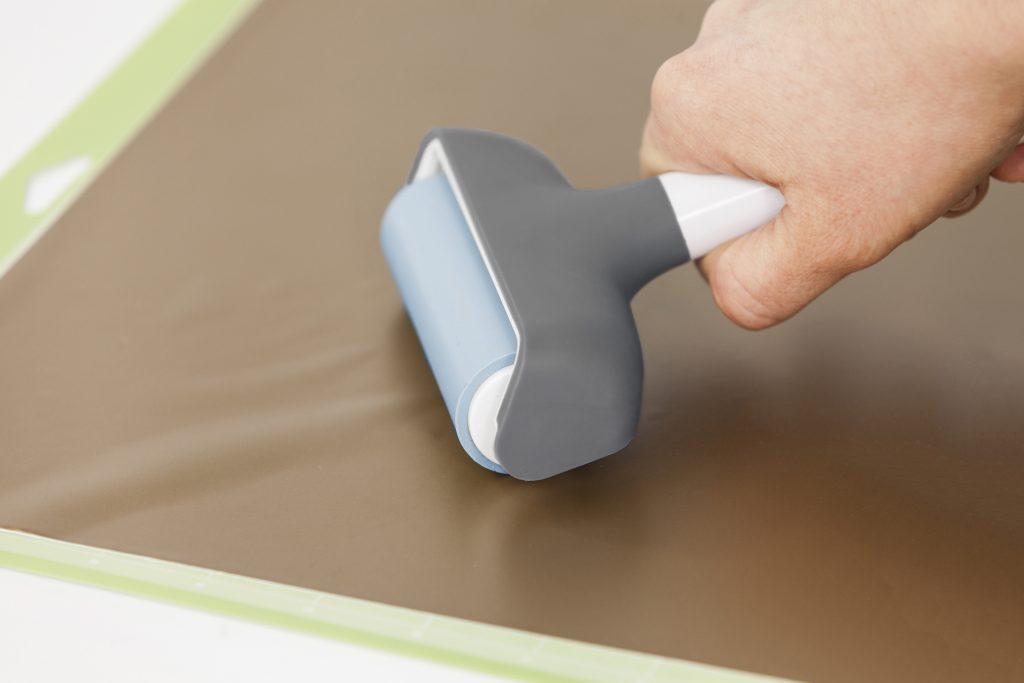
- Brayer tool
The brayer tool is used to make sure the material is well stuck down onto your mat. You simply roll it over the material on the mat to stick it down and it can really help you get the best results with your cuts.
Starting a T-shirt making business? Your essentials are:
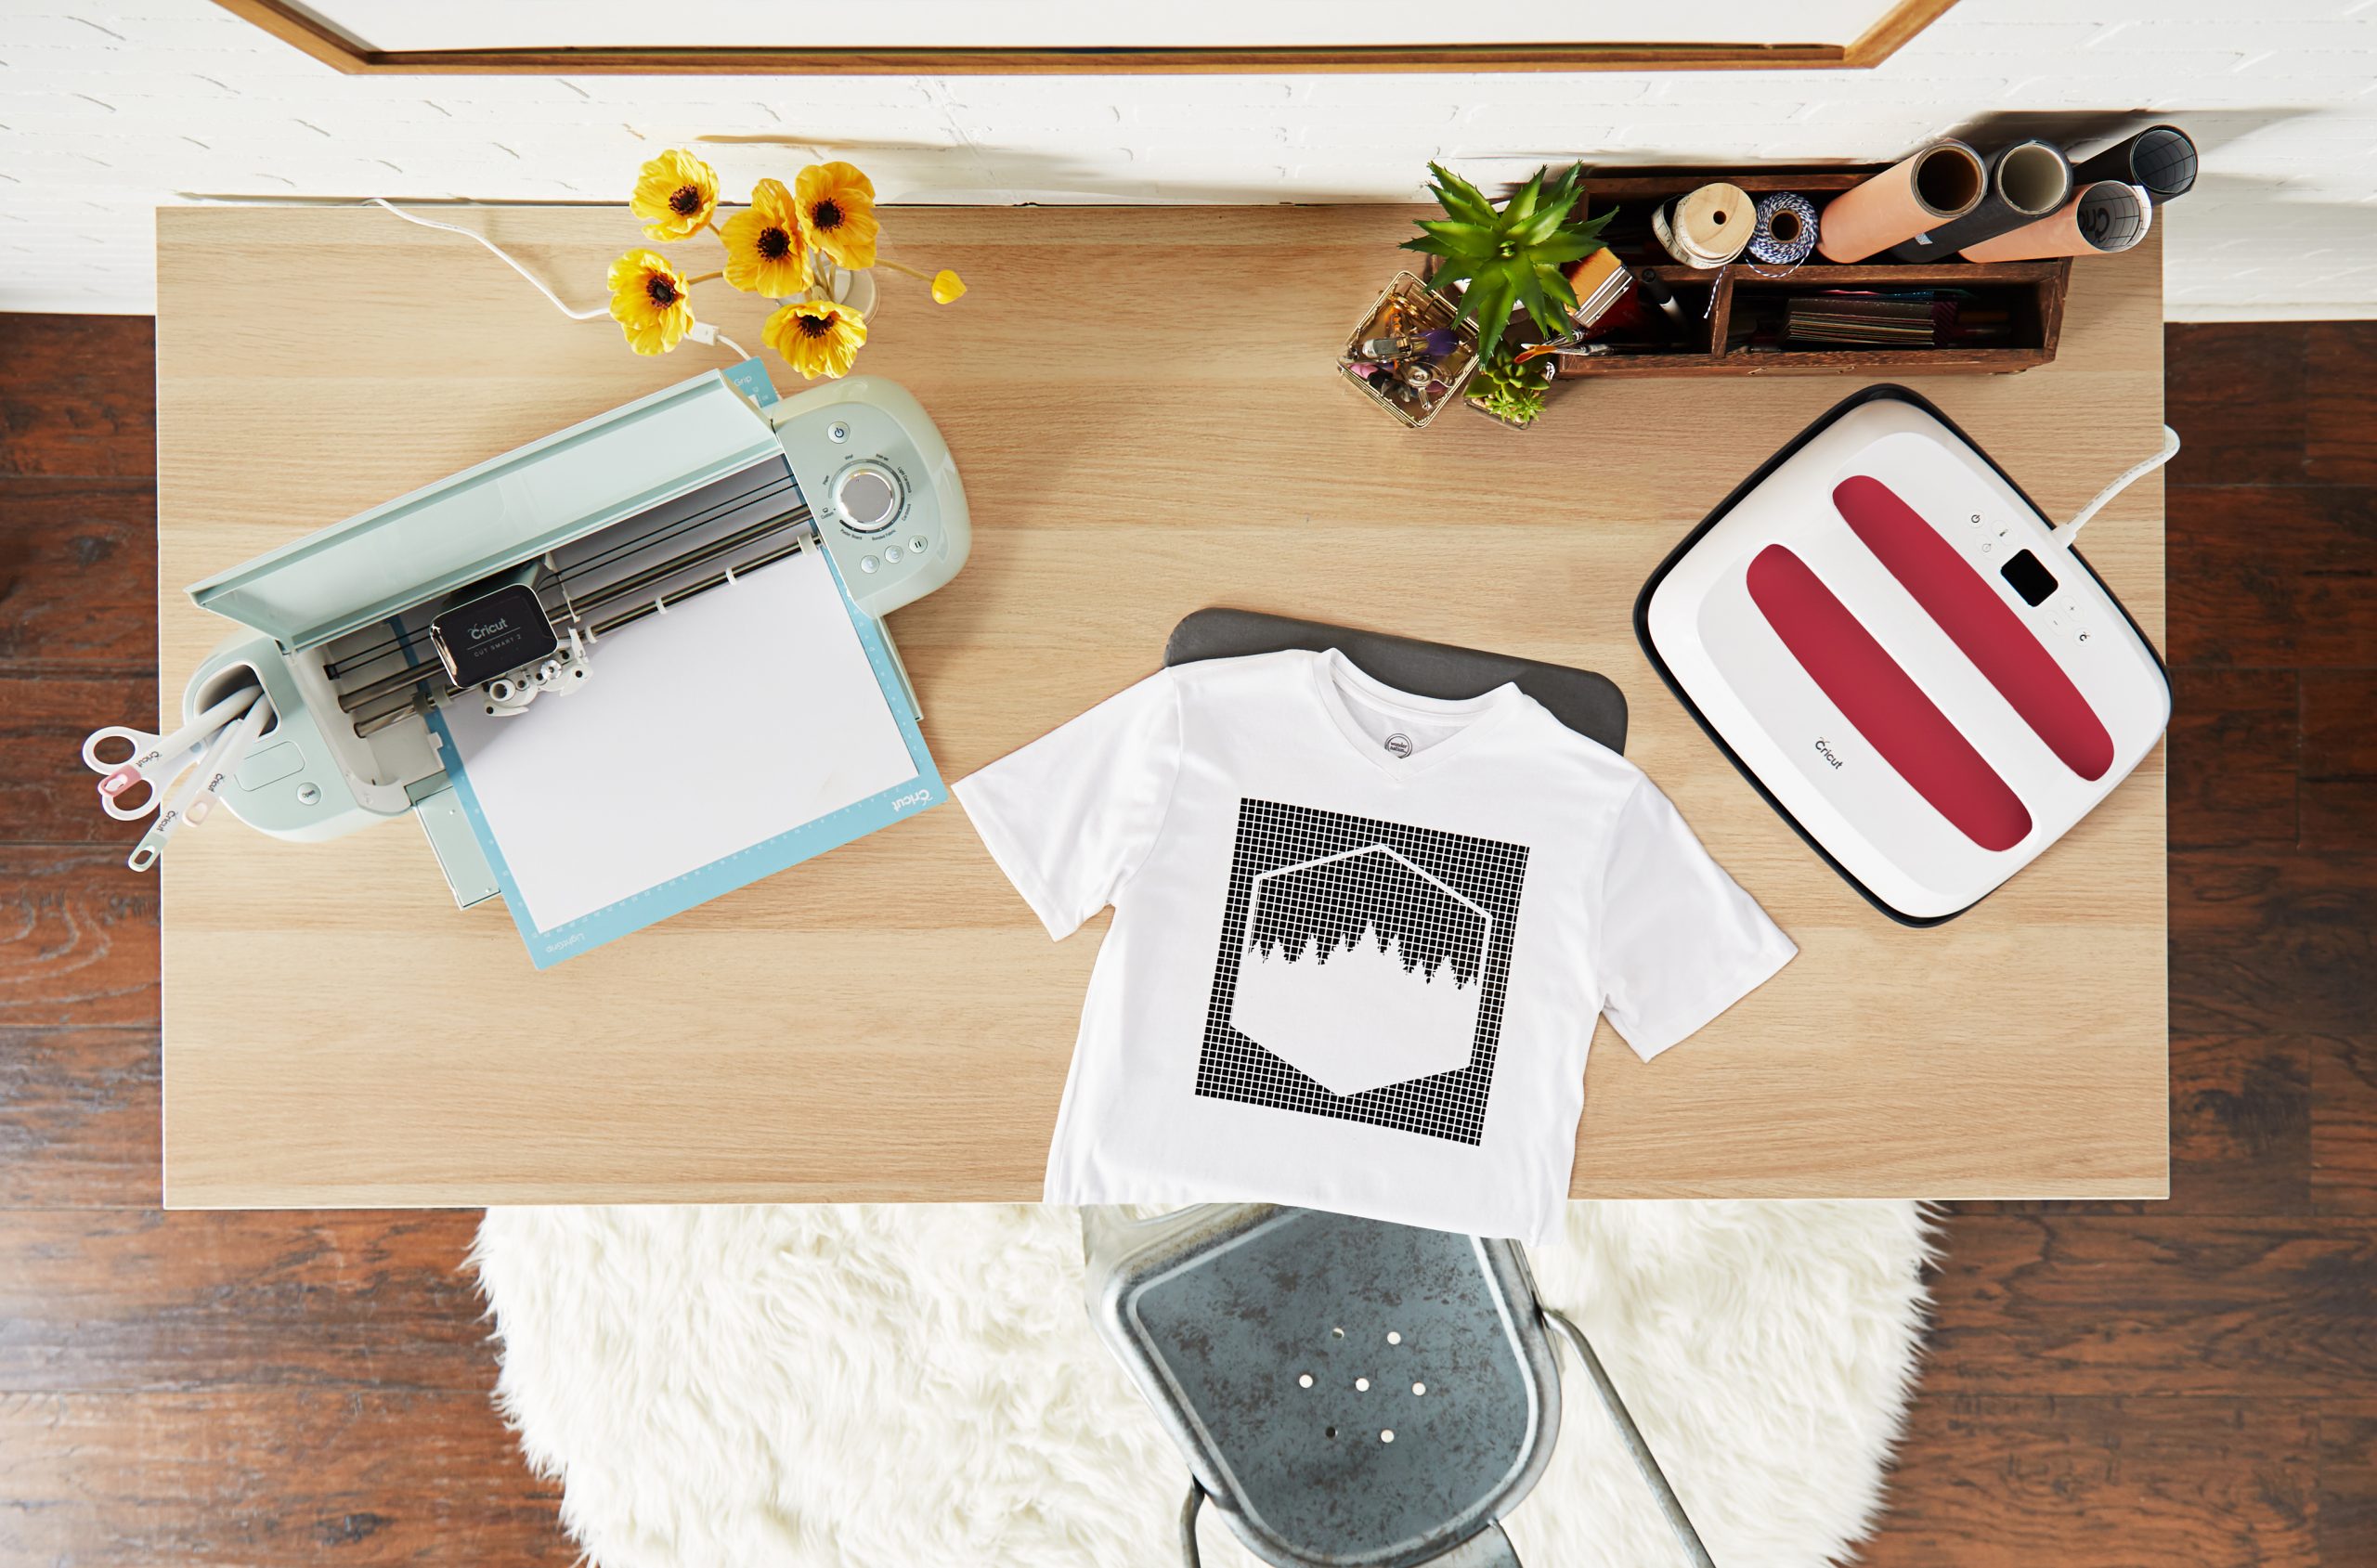
Cricut Explore Air 2, Cricut Maker or Cricut Joy. All three Cricut machines can cut iron-on materials with ease!
- EasyPress 2 – available in two sizes: 9×9 or 10×12
You’ll need an EasyPress to apply iron-on to your T-shirt blanks. We recommend the 9×9 or 10×12 sizes as these will cover your design so that you can press a T-shirt in under 40 seconds.
- EasyPress Heat Mat
To accompany your EasyPress, you will need the EasyPress Heat Mat. This mat sits on a hard surface, protecting the surface from heat and makes sure you get an even press all over your design by dispersing heat back up into the project and helping to remove any moisture which may be in the material you are pressing.
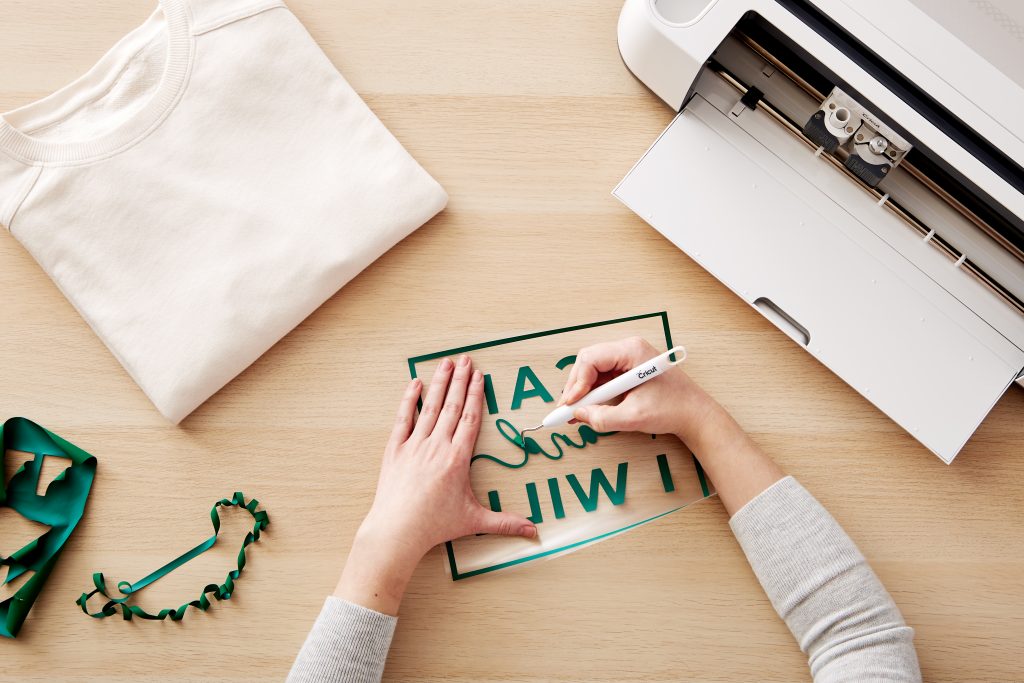
- Basic Tool Set – Weeding Tool
The basic tool set will be the implements you use over and over again, particularly the weeding tool. This piece of equipment helps you to pick away all of the little pieces of iron-on vinyl leaving your design behind.
- Mats
You’ll get mats included with your machine, but we always recommend having a few more to hand, this way you can line up iron on for your next cut!
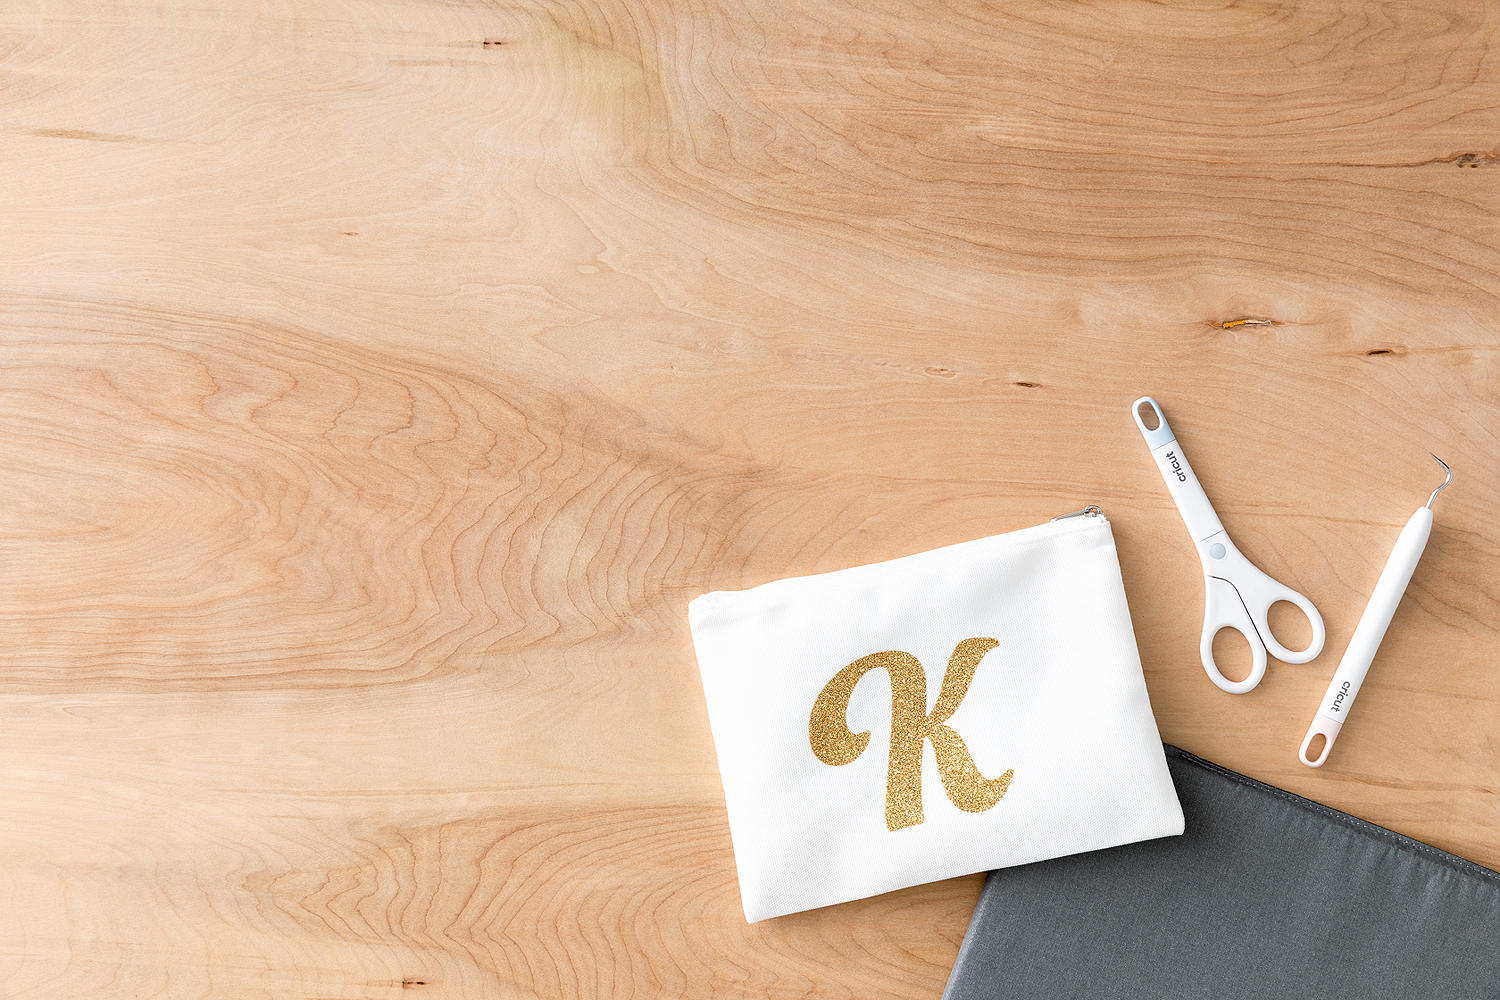
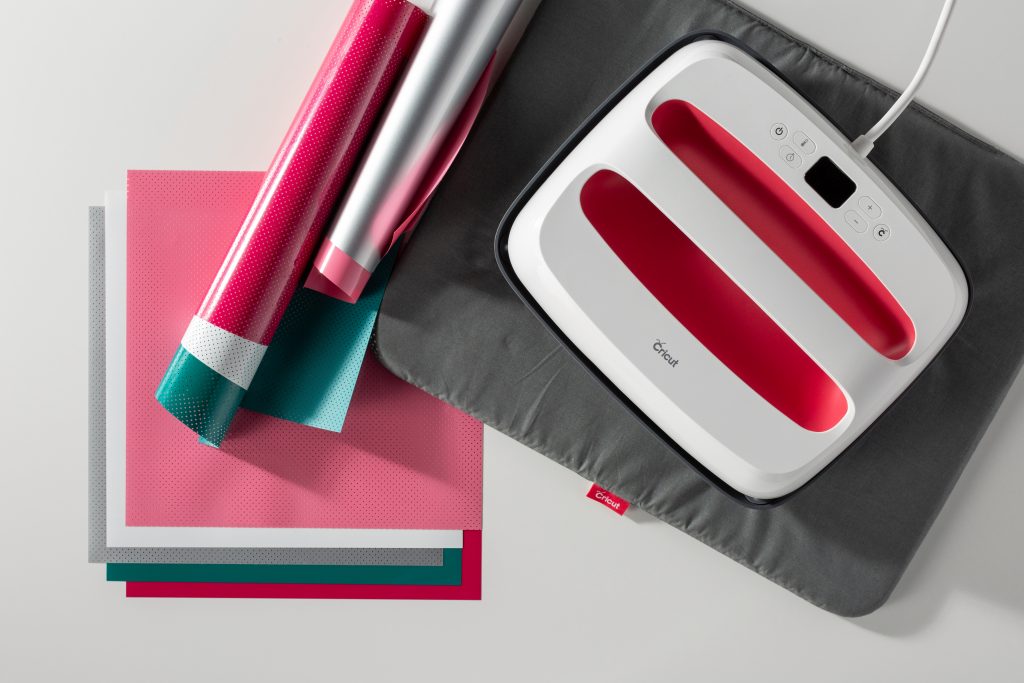
- Iron-On Vinyl
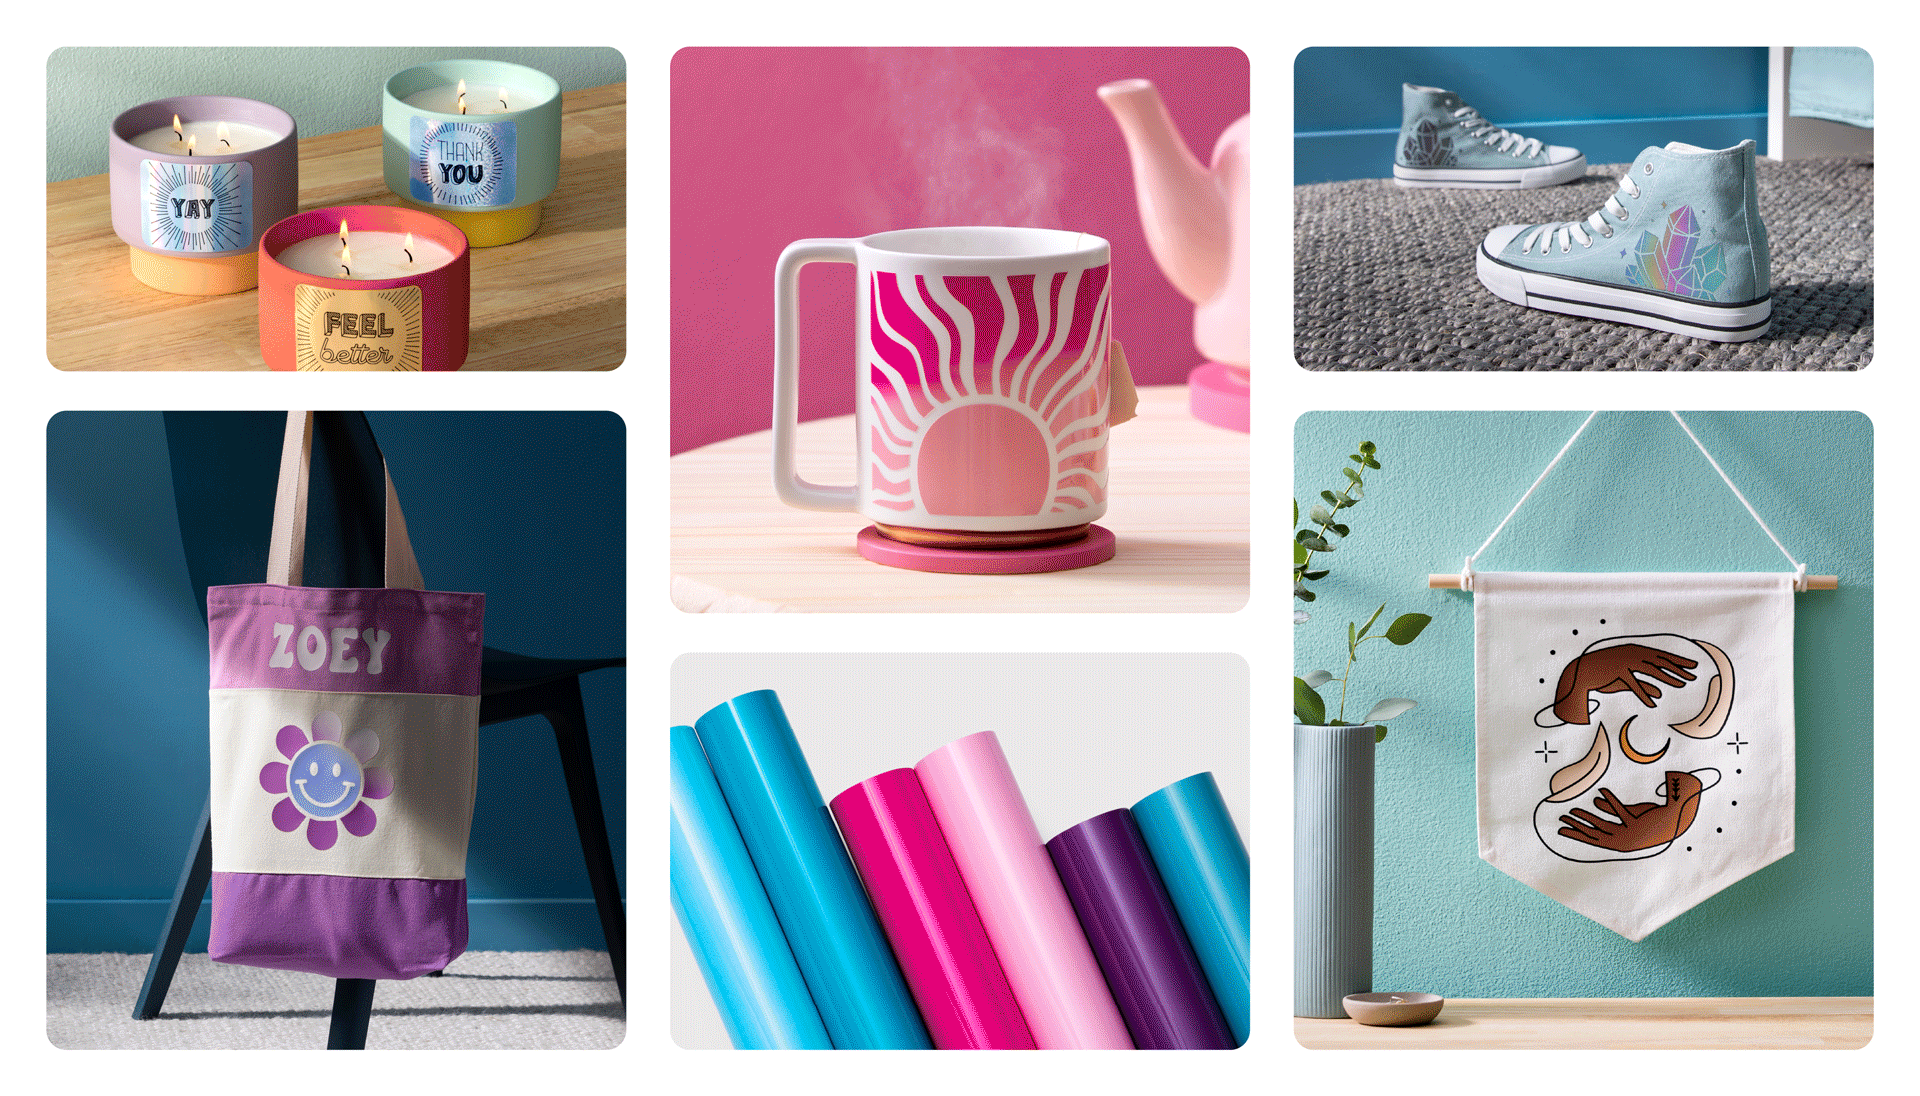
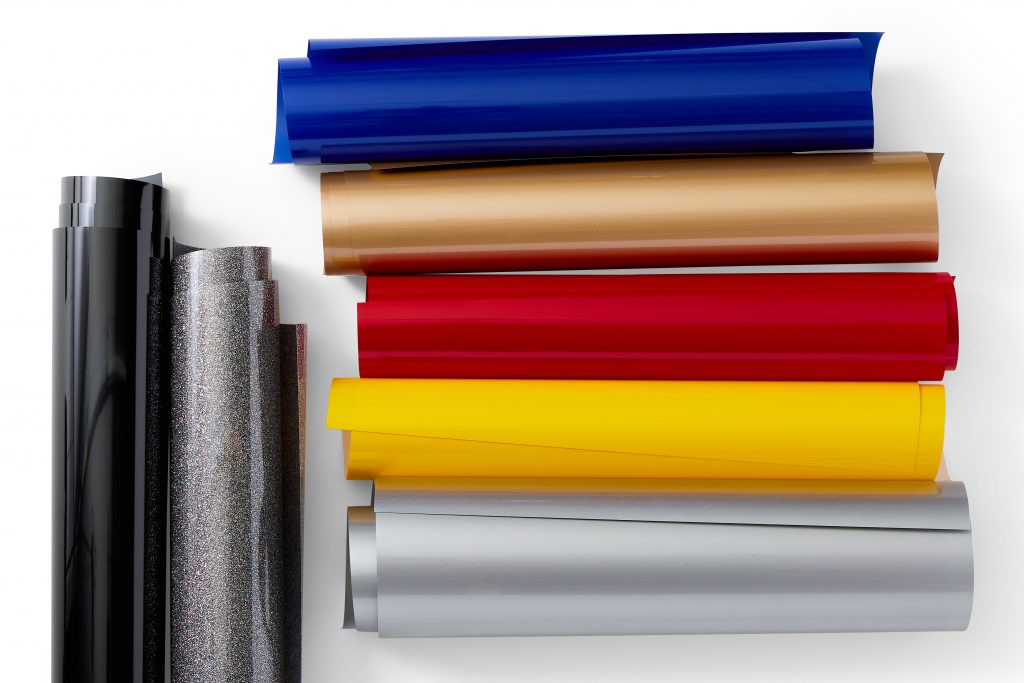
You will of course need Iron-on vinyl to complete your projects, this comes in a wide range of colours and finishes-such as glitter, holographic and foil so there’s sure to be one that’s perfect for your product.
Selling vinyl decals, or adding them onto products? You’ll need:
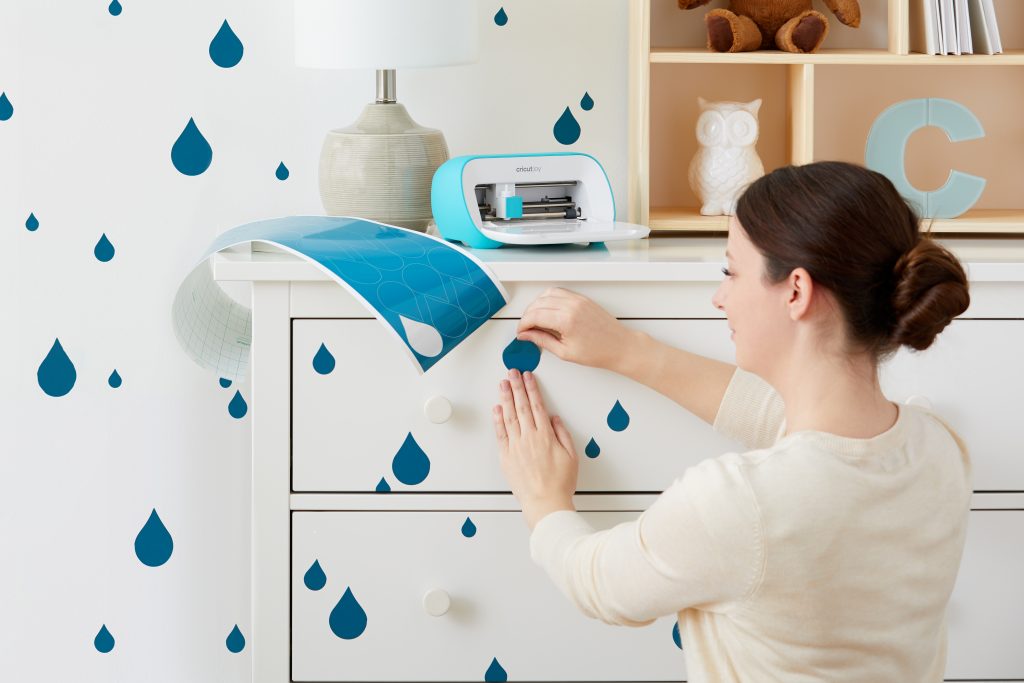
Cricut Explore Air 2, Cricut Maker or Cricut Joy. All three Cricut machines can cut vinyl. So you might want to consider the size of your vinyl decals or how many you would like to be able to cut at once. Cricut Joy, although the smallest machine, can cut Smart Vinyl up to 20ft in length – but is limited to a width of 4.5 inches. Whereas the Maker and Explore Air 2 have a cutting area of up to 12×24 inches.
- Transfer Tape
This really isn’t an option. Transfer Tape is a must when working with vinyl! We’ve all tried to go without and line up our individual letters or pieces of our design by eye, but it’s never a perfect application. Transfer Tape allows you to take your cut design directly from the backing sheet and onto your product keeping all of the pieces in the exact same position.
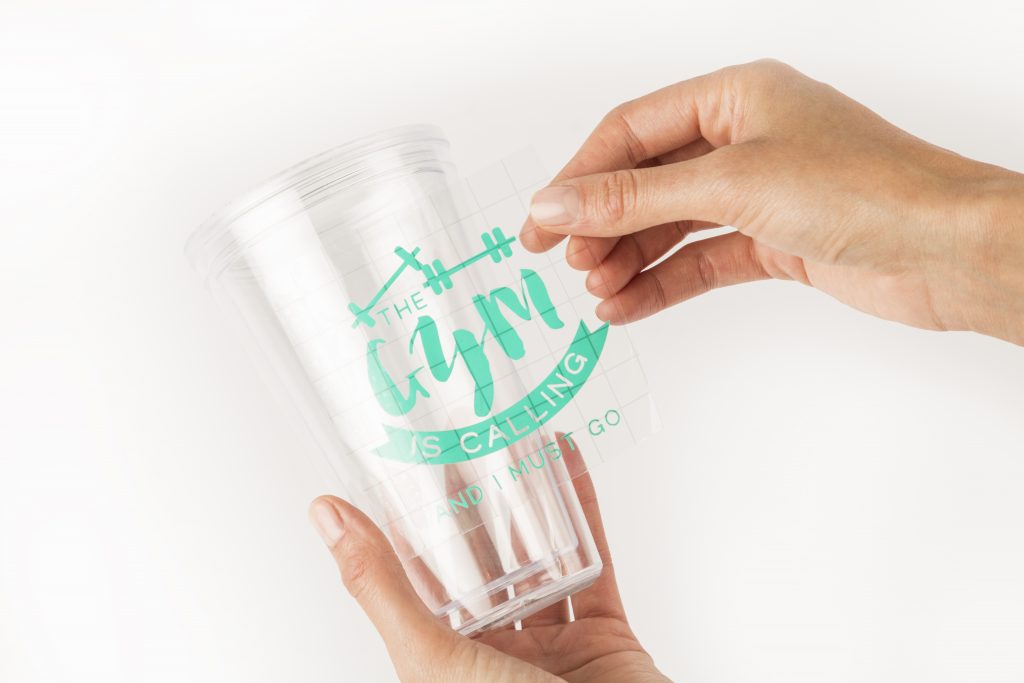
There are two types of transfer tape: Standard Grip which is what you’ll use for most vinyl, and Strong Grip which is what needs to be used for textured vinyl, such as glitters and shimmer.
Transfer Tape is also reusable, so you’ll get lots of uses from a piece before it loses its stick. Simple replace it on its backing and keep it sage for next time you do a vinyl project.
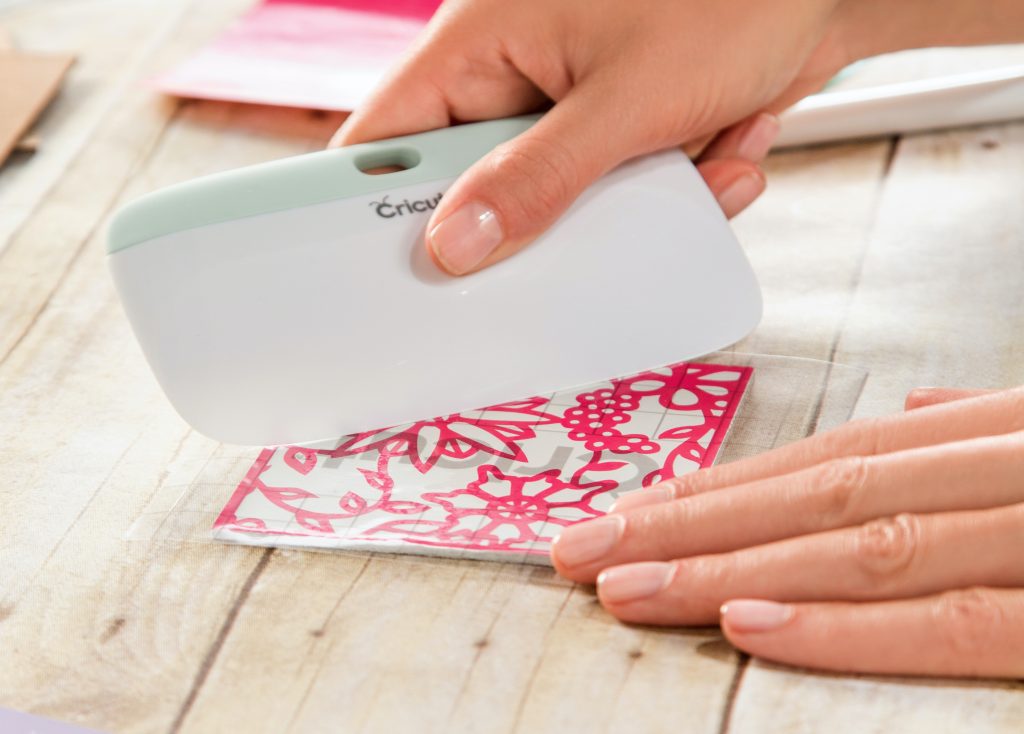
- Basic Tool Set – Weeding Tool and Scraper Tool
The basic tool set will be at your beck and call, particularly the weeding tool, This tool helps you to pick away all of the little pieces of vinyl leaving your design behind. The scraper tool will help you apply vinyl and Transfer Tape smoothing out any air bubbles in the vinyl. A larger scraper tool is also available for bigger designs.
- Brayer Tool
The brayer tool is used to make sure the material is well stuck down onto your mat, you simply roll it over the material on the mat to stick it down. It will also help remove any air bubbles from your vinyl and helps ensure a perfect cut every time.
- Vinyl
There is a wide range of vinyl to choose from, in many different colours and styles. You’ll also need to choose between permanent and removable. Permanent vinyl is best for products that will be washed, used outside, or need to be hard-wearing as it is long-lasting.
Removable vinyl is great for all other projects, or where it needs to be removed later on, from a wall for example!
We hope that helps you consider some of the things you can make with your machine. You may also find this post helpful, which features a number of small businesses using Cricut machines, tools and accessories.
You Might Enjoy…