It’s officially pumpkin season and decorating your pumpkins is a trend here to stay.
Whether your pumpkins are for around the home, for your front doorstep, or your window, decorating your pumpkins is fun, easy, and looks amazing!
There are loads of ways Cricut can help you get in the Hallowe’en spirit for pumpkin season. We have created an easy four-step vinyl pumpkin decoration tutorial to help get you started and avoid the mess of carving and hollowing! Head to the tutorial here. Vinyl decorated pumpkins also last longer than carved ones so you can get started straight away and it’ll still be looking scarily good come October 31st.
Using vinyl to decorate your pumpkins is simple. It easily creates the wow factor your pumpkins deserve.Alternatively, you could create a stencil to help carve your pumpkins if you want to go down the traditional route.
We have rounded up some eye-catching pumpkin inspiration to help with your pumpkin decorating:
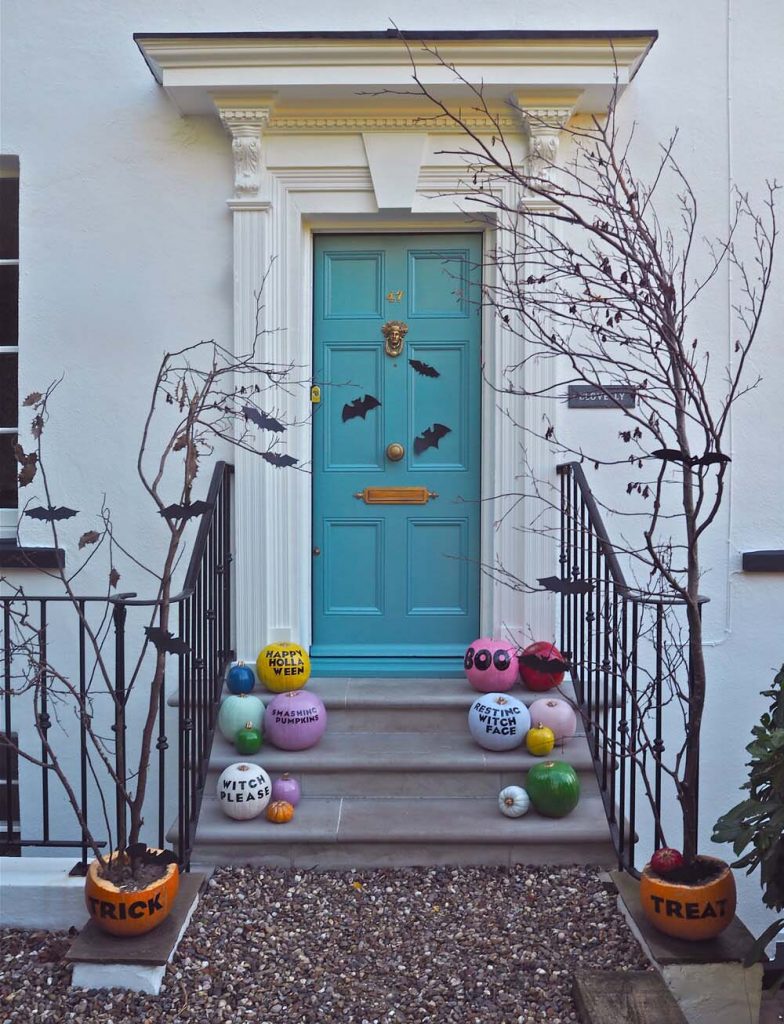
A Show-Stopping Entrance
Melanie from MelanieLissackInteriors on Instagram created beautiful vinyl decorated pumpkins for her front doorstep in a range of colours! Check out her blog on how she did this here.
Skull and Phrases Pumpkin Vinyl Stickers
Jenny from JensHomeJournal on Instagram shows how to paint and use vinyl stickers for a frightfully good pumpkin transformation.
Hocus Pocus Vibes
Inside_the_grey_house on Instagram created a spell-bounding pumpkin with a vinyl sticker! Such a simple yet effective idea!

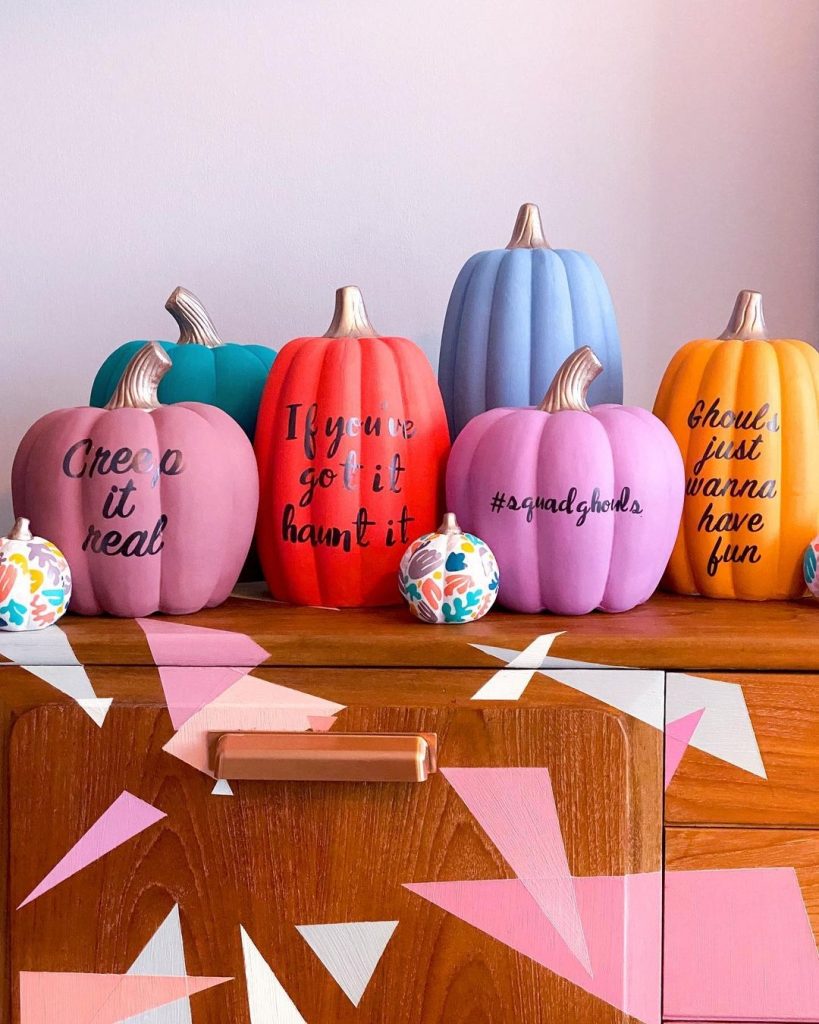
Bright and Bold Pumkin Decor
NerrissaPratt who you will find on Instagram created stunning pumpkins for the Hobbycraft Ideas page. You can see the tutorial on how to make them here.
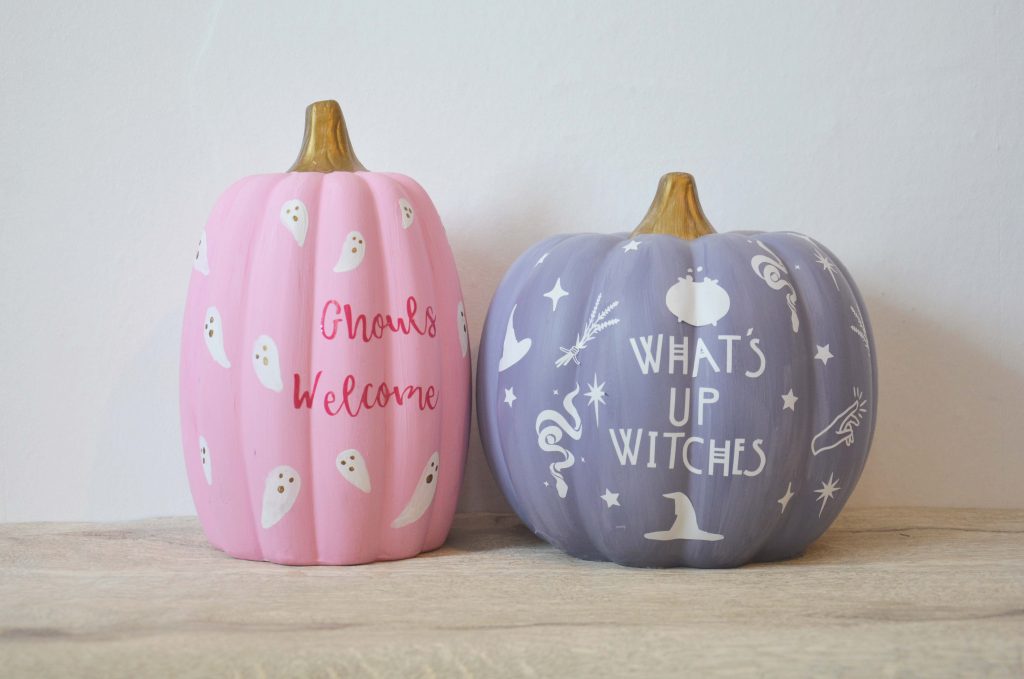
For The Witches and Ghouls
Looking for some pastel Halloween styles for the home? Rebecca from RebeccaMarieCreative on Instagram has some spook-tacular ideas!
For The Witches and Ghouls
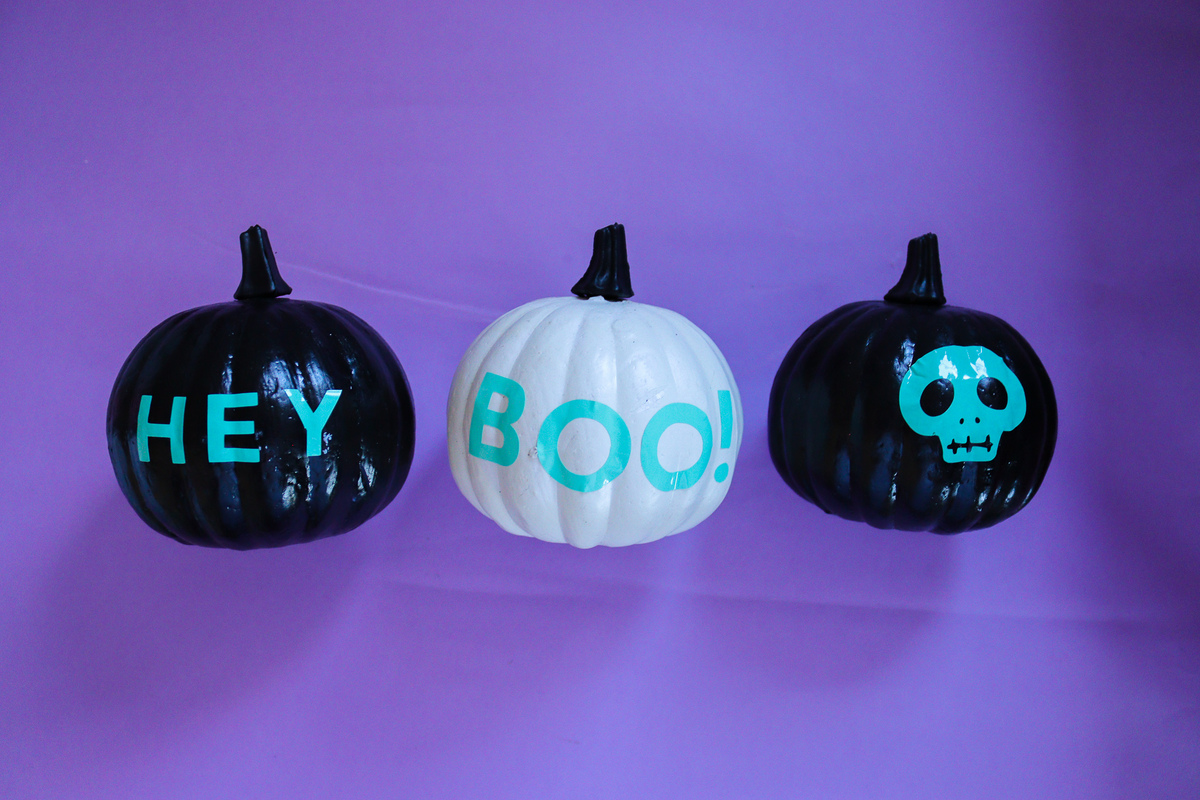
If spooky and ghostly isn’t your, thing, check out Cricut UK and Ireland Marketing Manager, Kathy’s design that can last all season.
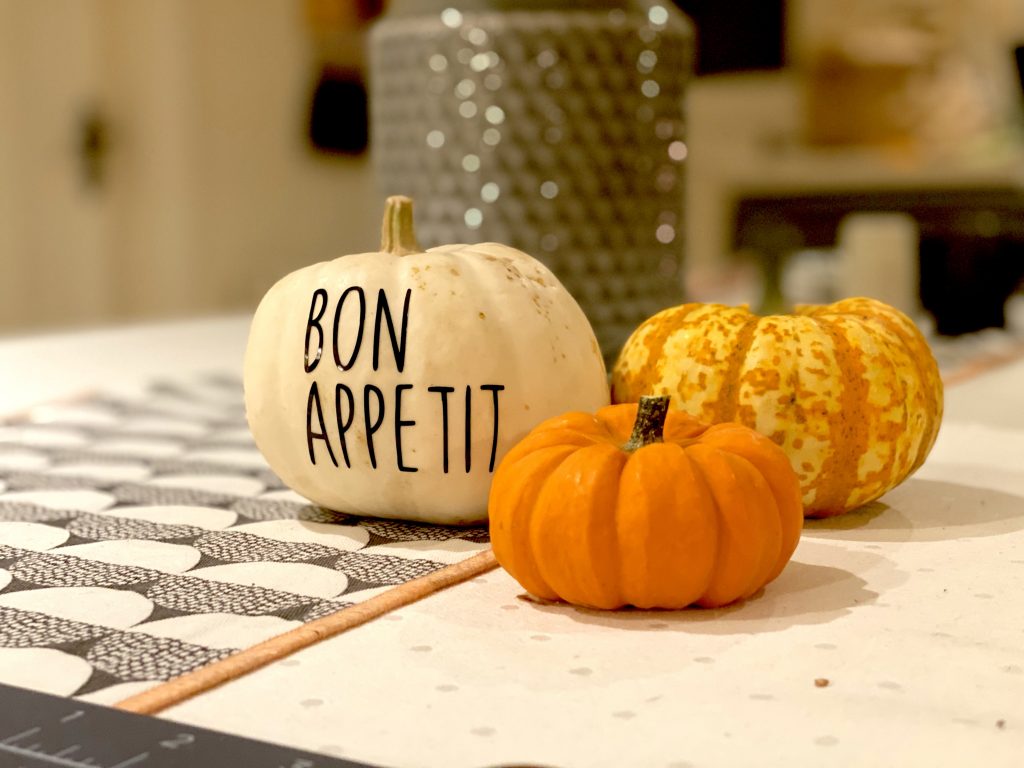
Vinyl Pumpkin Tutorial
Adding a little spice to your Halloween decorations couldn’t be easier when you have a Cricut machine to hand. This simple DIY pumpkin project takes minutes to make and is great for beginners.
All you need is a piece of vinyl and a plain pumpkin!
You will need:
-Scissors
Step One:
Type a simple Halloween saying into a new Cricut Design Space project and choose a simple font.
We chose ‘Hey Boo!’ So that we can pop our pumpkins by our front door to greet trick or treaters!
Resize your text to fit onto your pumpkin. You can add a simple image too. We chose a cute skull design from the Cricut Design Space Image library.
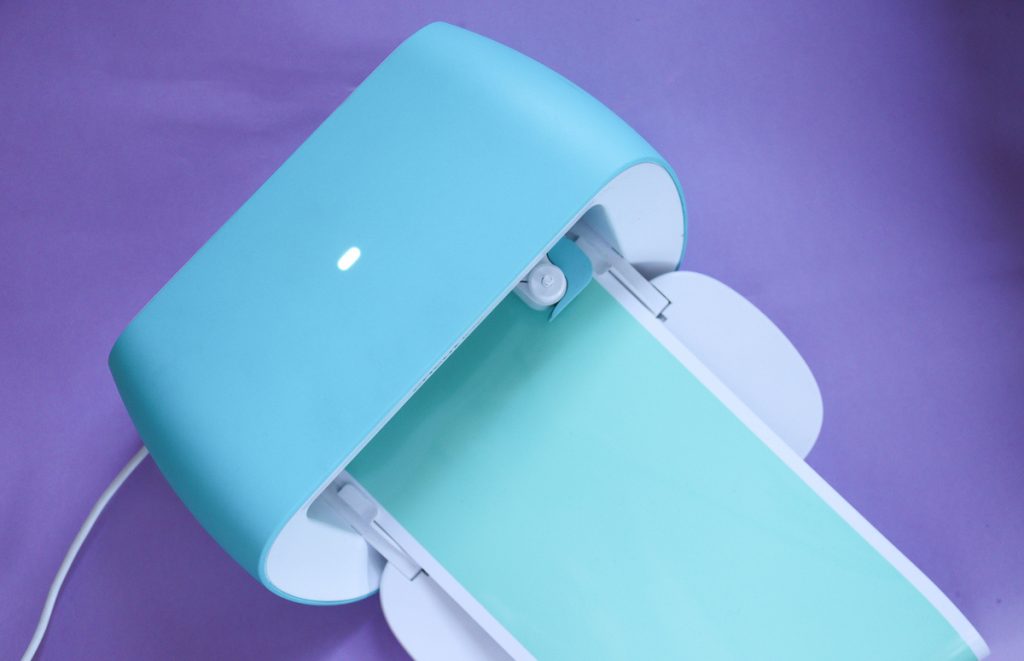
Step Two:
Cut your design on your machine, If you are using Smart Vinyl, simply load it face up into the machine and choose the Smart Vinyl setting.
If you are using a Maker or Explore machine, stick your vinyl face-up onto the mat, then load the mat into the machine. Choose the vinyl setting for the vinyl you are using then start cutting.
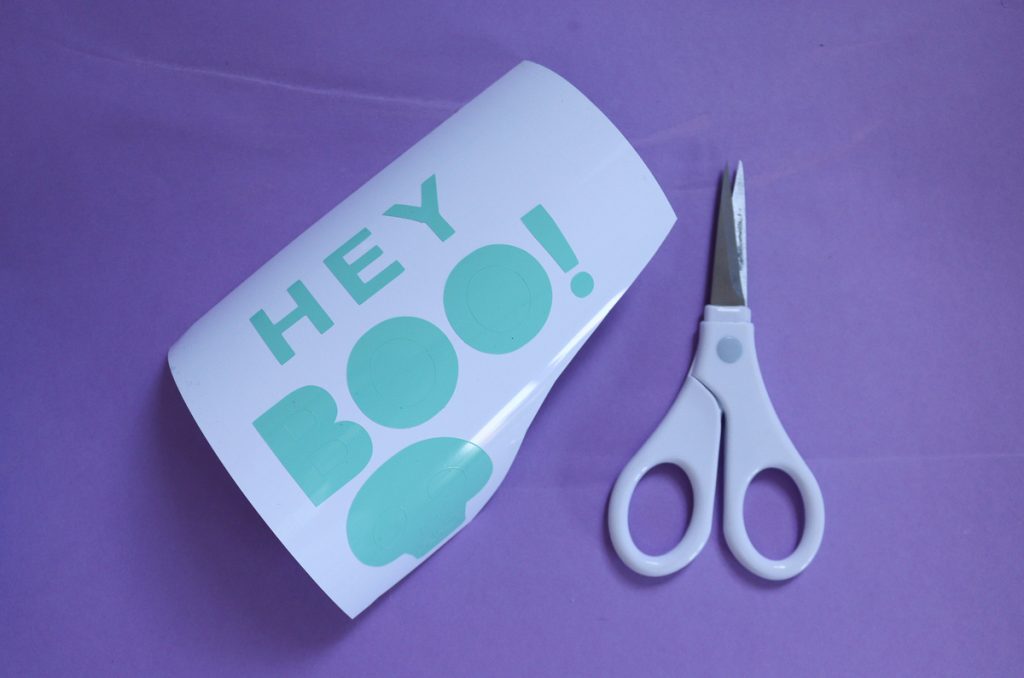
Step three:
Once the vinyl is cut, carefully cut around the design so that you can use the excess vinyl another time.
Then peel away the vinyl leaving your design behind on the backing sheet.
Step Four:
Grab your pumpkins then peel off each letter at a time and stick it into place.

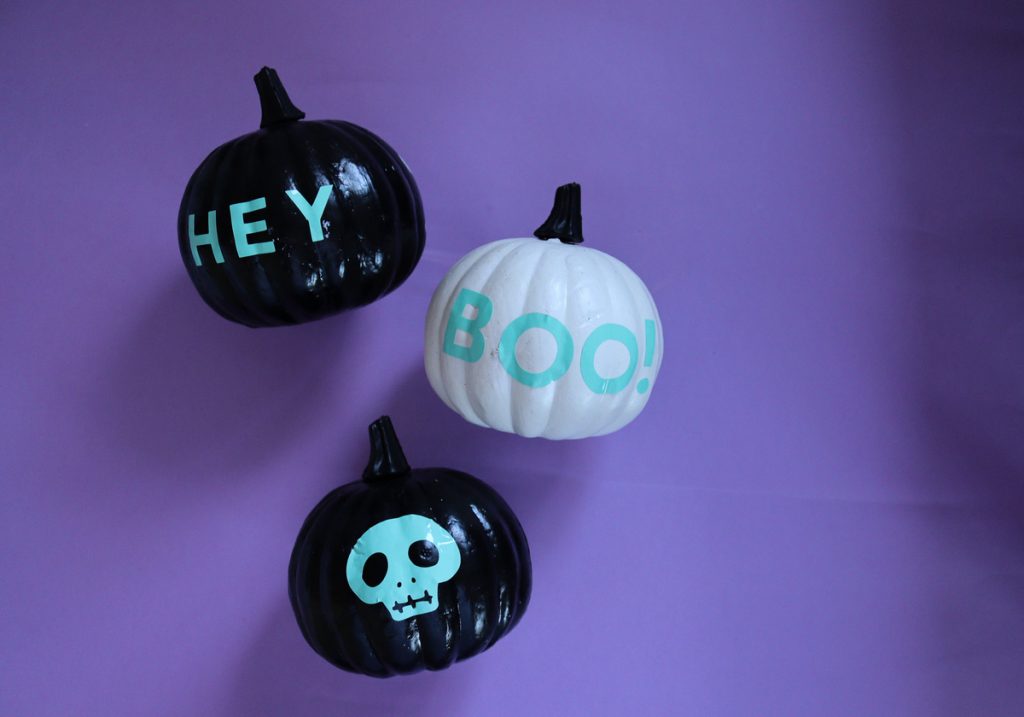
Now you have your own pumpkins with vinyl sticker phrases and images! Pumpkin decorating doesn’t have to be complicated, and with vinyl, you can create beautiful pumpkins in minutes.
Make sure to tag us into your projects on social media by tagging Cricut_UK. You could be featured on our feeds or on the blog!
Happy pumpkin-making!