Pumpkin Spiced Latte Mug
Pumpkin spiced season is here and so is the Cricut Mug Press!
Whether it’s pumpkin spiced lattes that bring you joy on your morning commute or snuggling up in a blanket whilst warming your face by a pumpkin spiced candle, it’s time to celebrate your love of all things pumpkin spiced.
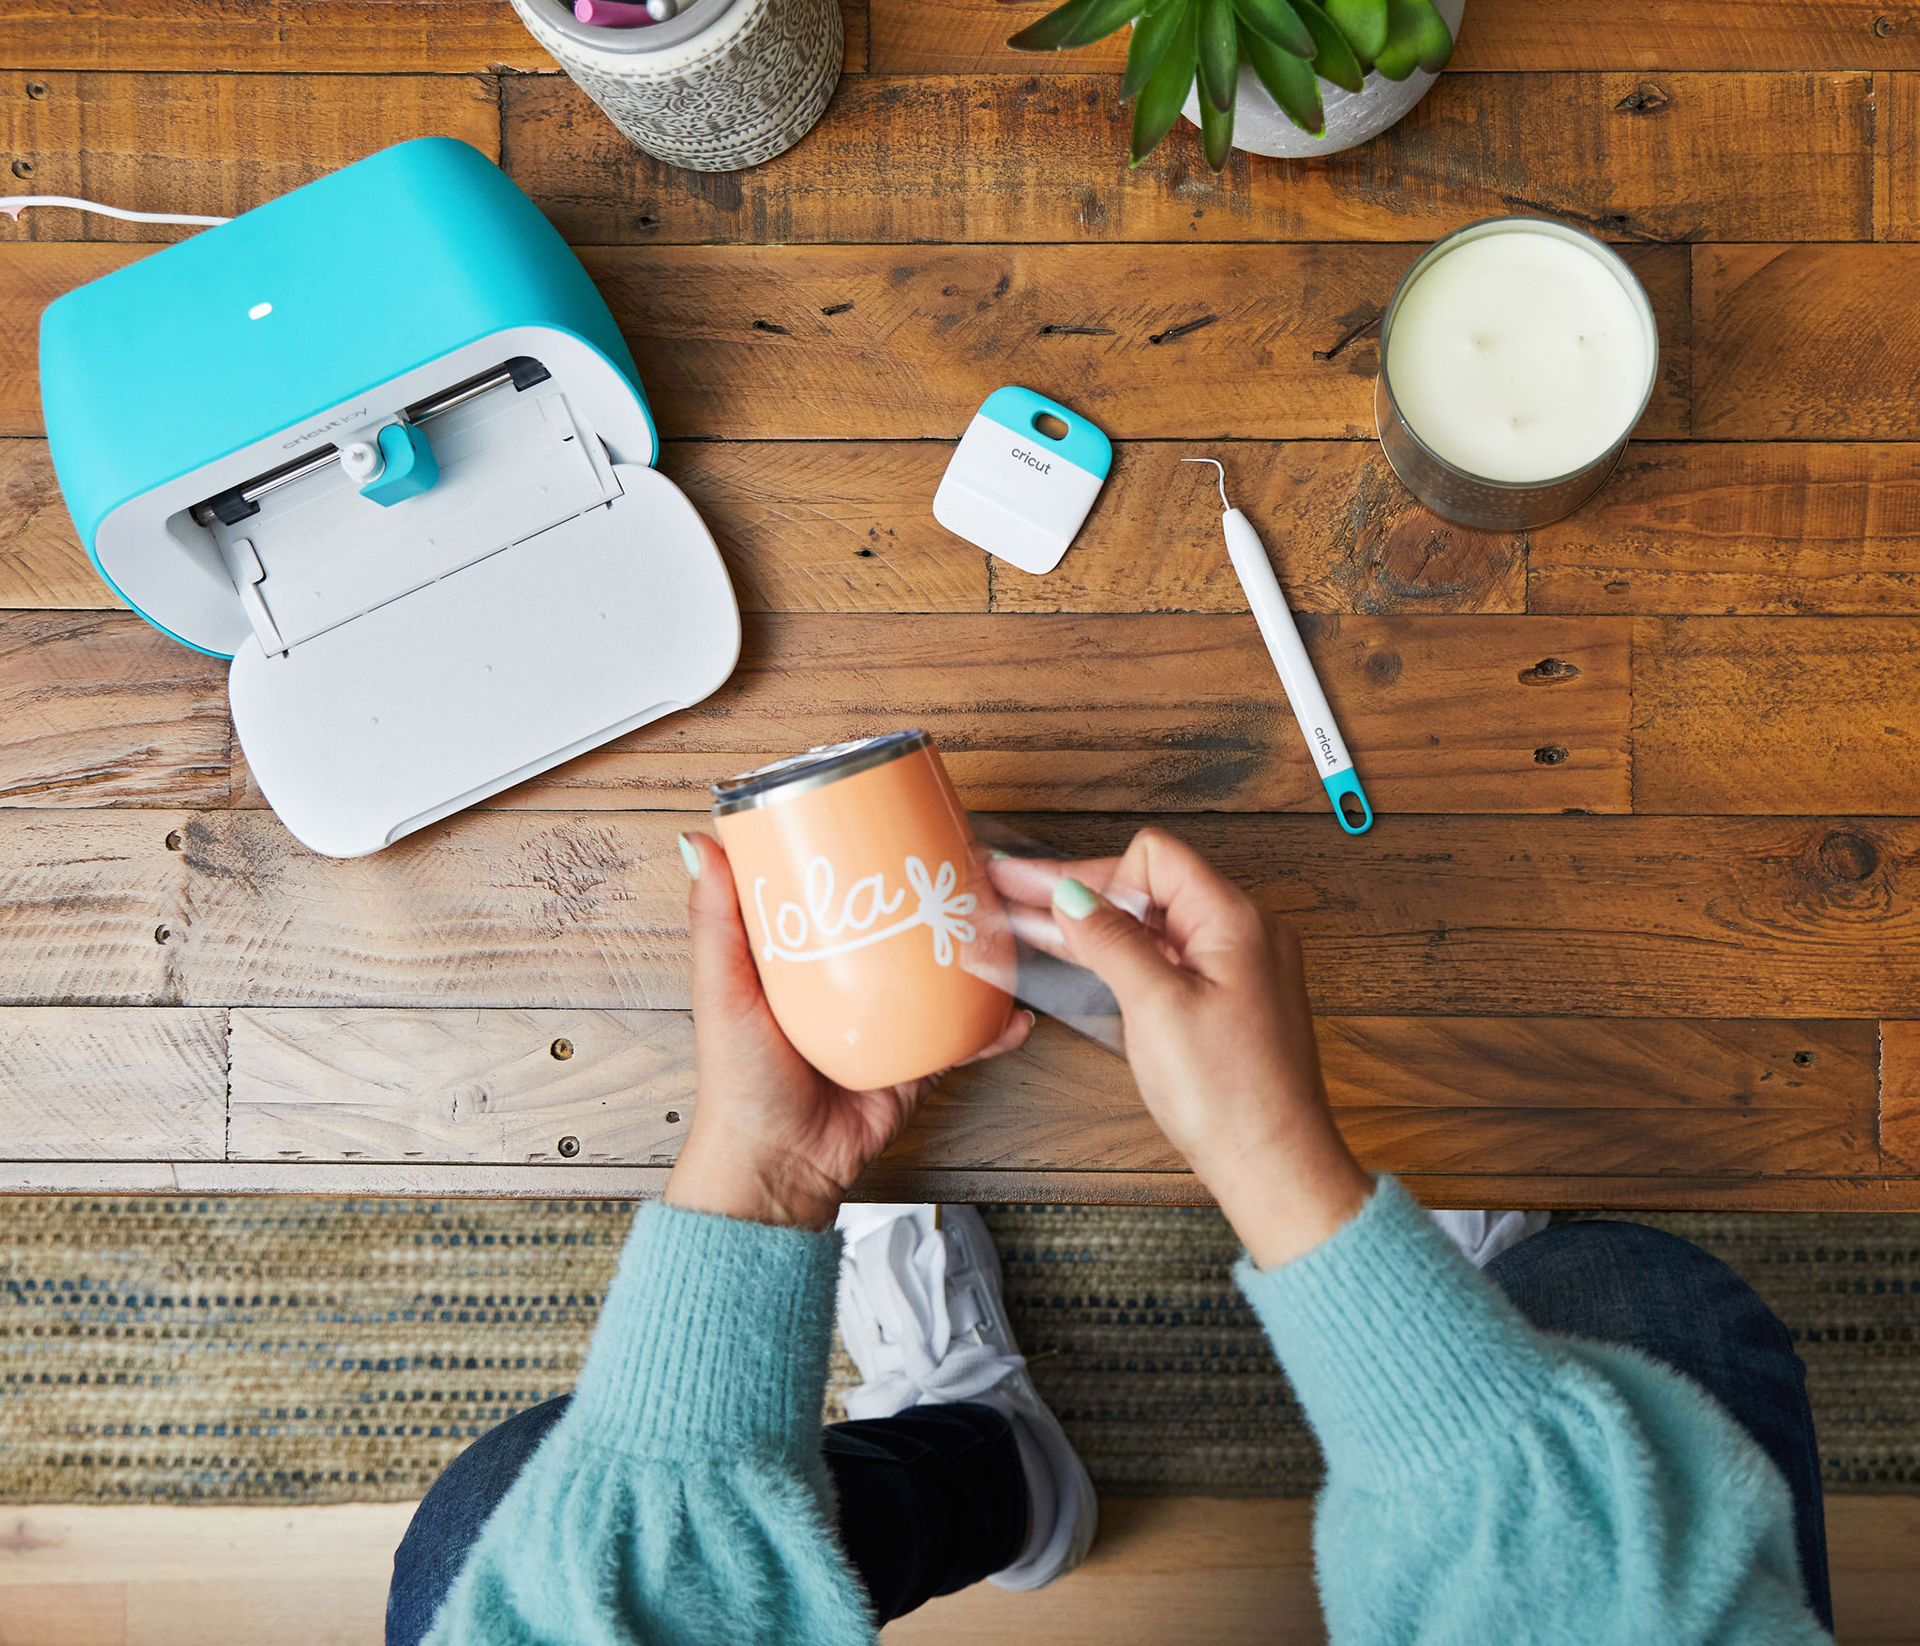
Make your own pumpkin spiced everything mug (the perfect accessory to drink your next PSL from!) using the Cricut Mug Press™, Cricut Infusible Ink™ Transfer Sheets and this simple tutorial from Emma Jewell (follow her on Instagram here).
You will need:
- Cricut Machine (all machines can cut Infusible Ink Transfer Sheets)
- Cricut Mug Press
- Cricut Mug
- Infusible Ink Transfer Sheet (we used a sheet from the Animal box)
- StandardGrip Cutting Mat
- Heat resistant tape
How to make:
Step One:
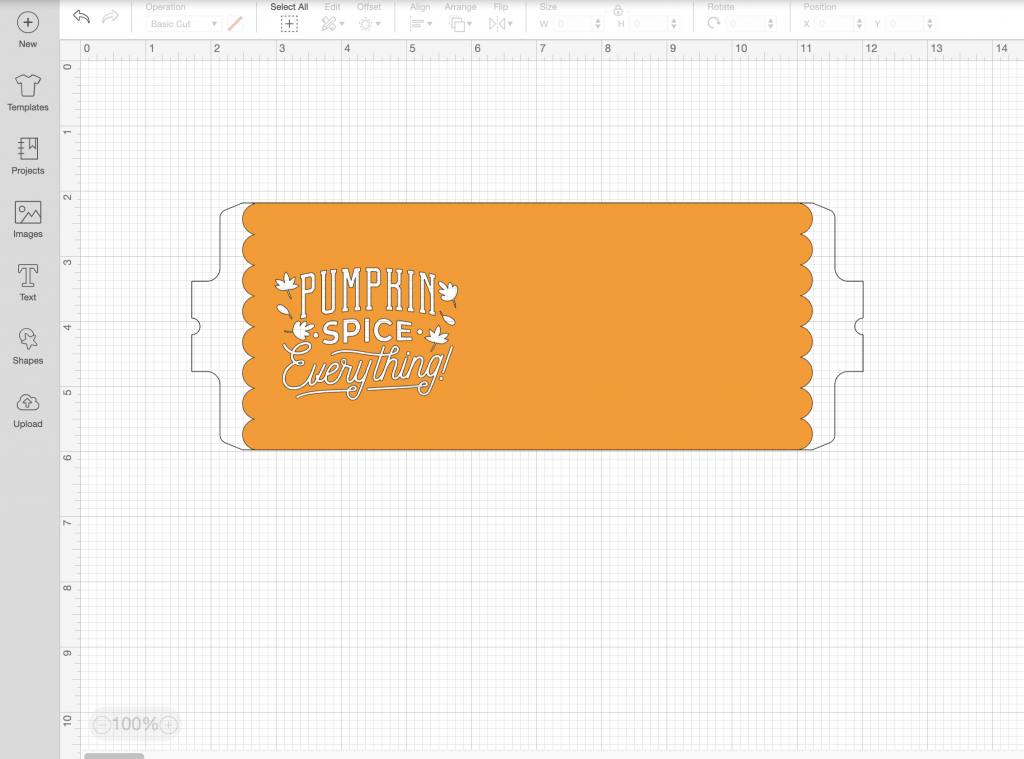
Start this project in the projects section of Cricut Design Space and select the Mug Set Up project. Choose the size of your mug and an edge design then click ‘customise’.
Next, add the pumpkin spice design to the canvas from the image library (Pumpkin Spice Everything #MF72F3DA).
Place this on the mug template, select the mug template and the image, and select the ‘slice’ tool, then remove the excess sliced parts.
Step two:
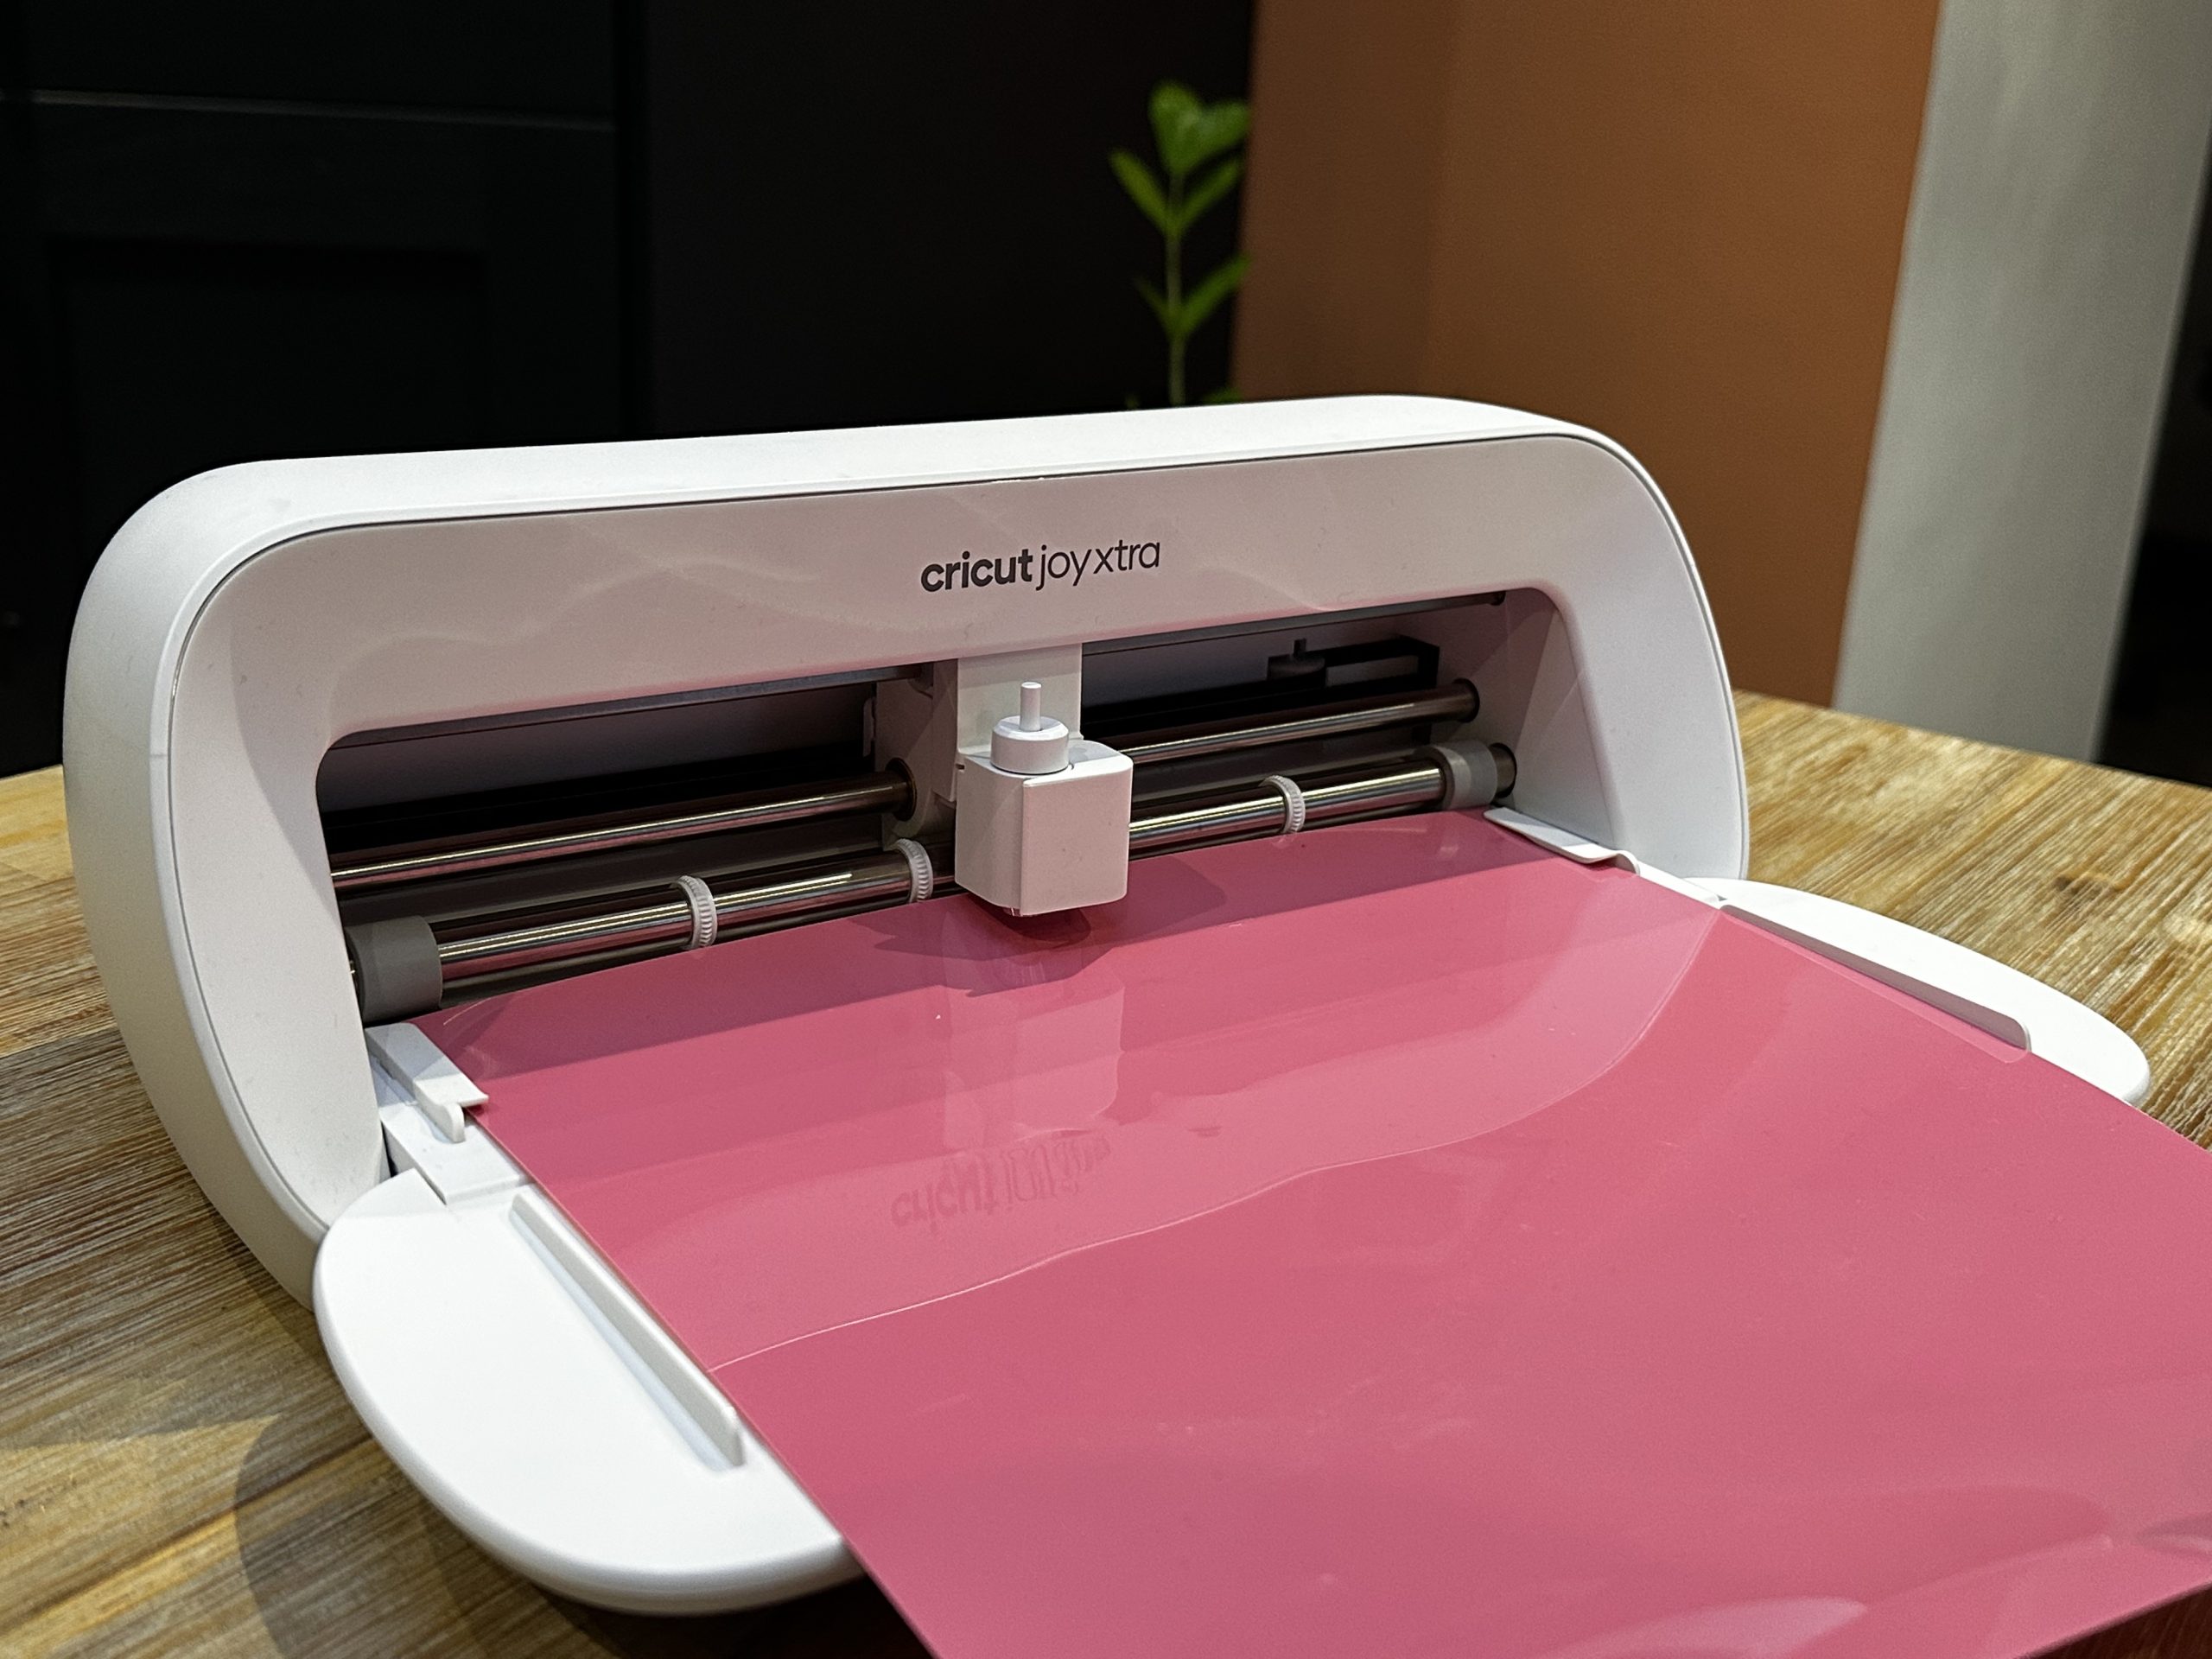
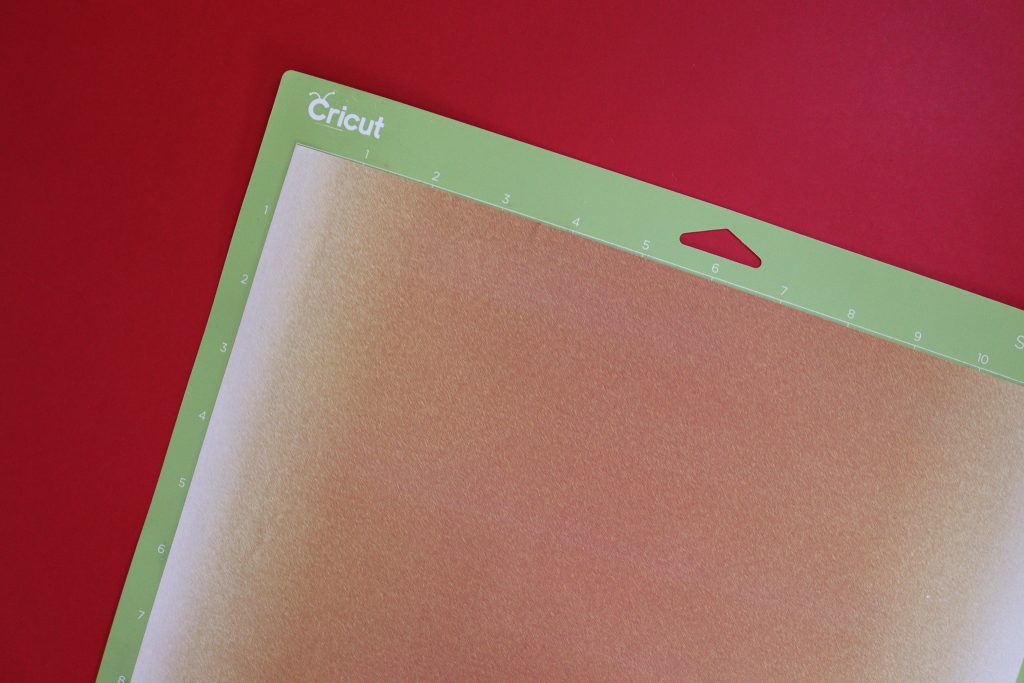
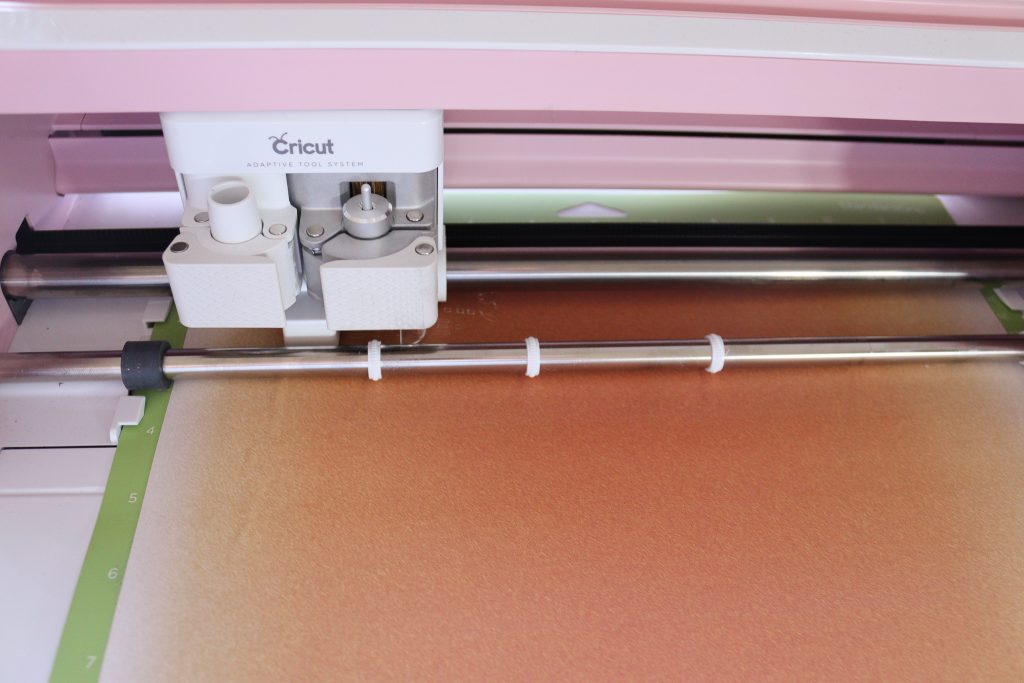
Start by laying a sheet of Infusible Ink face up on the mat and loading it into the machine.
Make sure to mirror your design then select Infusible Ink Sheet as your material setting. Now, it’s time to start cutting!
Step three:
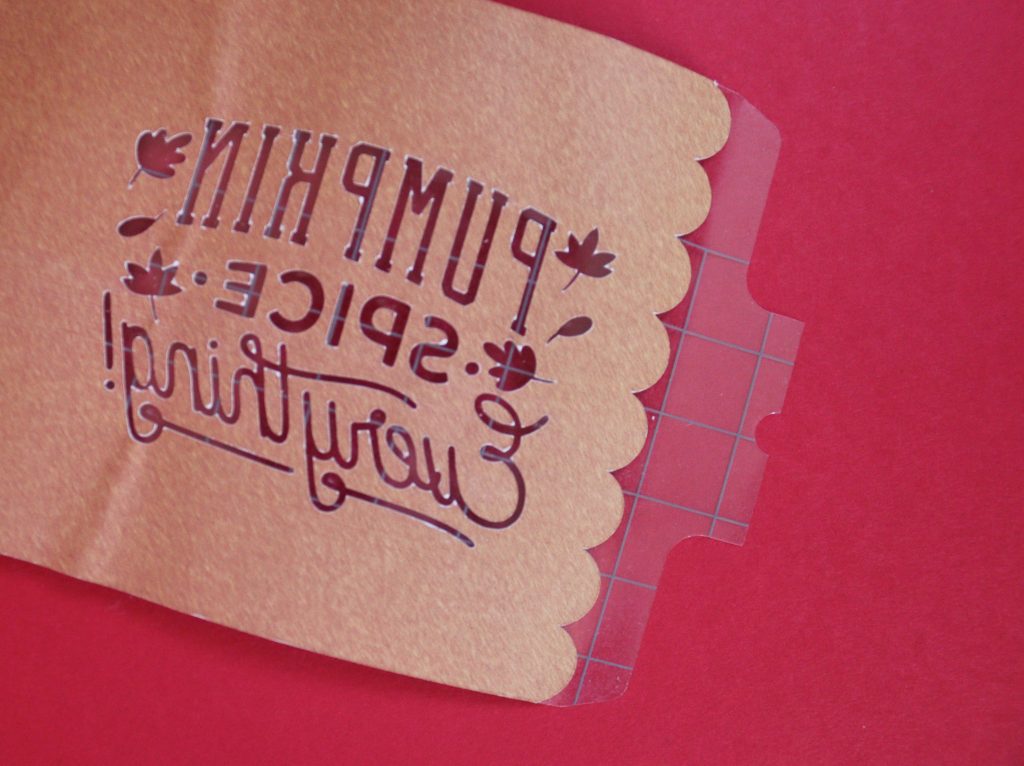
Once cut, take the sheet off the mat and weed away the image and the edges of the mug template (the parts we don’t want to transfer onto the mug).
Step four:
Next heat up your Cricut Mug Press.
Clean your mug with a lint roller. Wrap your mug design around the mug, ink side facing inwards, making sure it is well stuck down without any creases or air bubbles. You can use heat-resistant tape to help stick down the sheet if you want to. This video may help when you’re getting started with Cricut Mug Press.
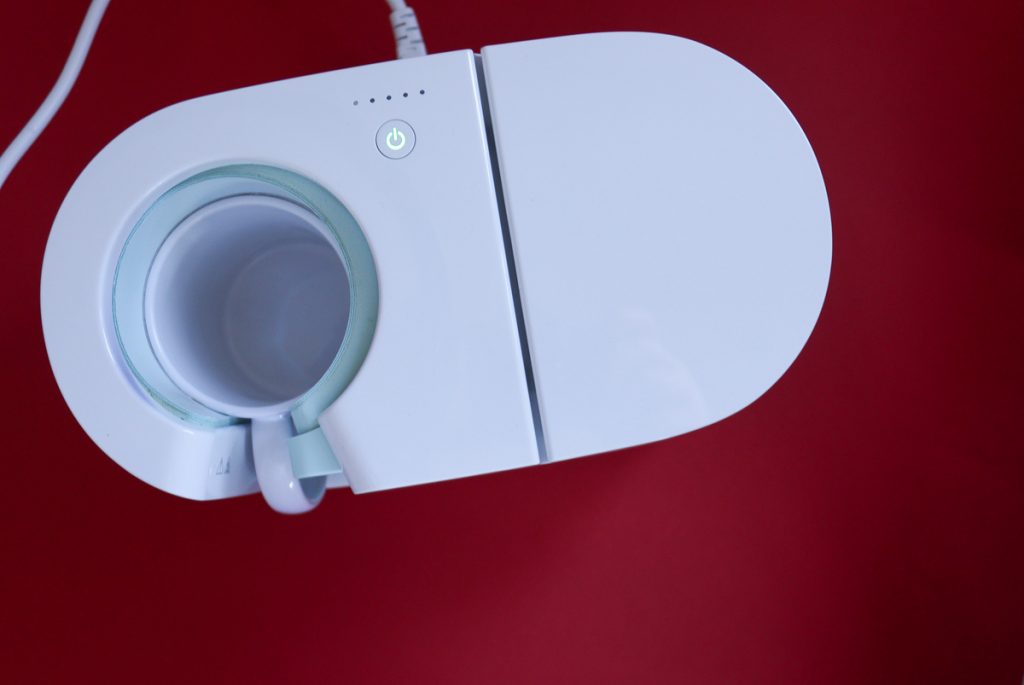
Put the mug into the Cricut Mug Press and close the lever. Now sit back and wait until the five lights are white and you hear a beep from your machine.
Step Five:
Once pressed, remove the mug from the Cricut Mug Press and allow it to cool (20 minutes or more) before removing the sheet to reveal your finished mug.


Once cool, your mug is ready to use and is dishwasher and microwave safe!
The Cricut Mug Press is great to use for all occasions, whether it’s to embrace the autumn days, as a gift for a celebration or personalised just for you.
There are lots of mug designs available in Design Space to get you started or you can create your own like the one we have created in this tutorial by using the Mug Set Up project.
If you want to find out more about the Cricut Mug Press check out our FAQ page here.


