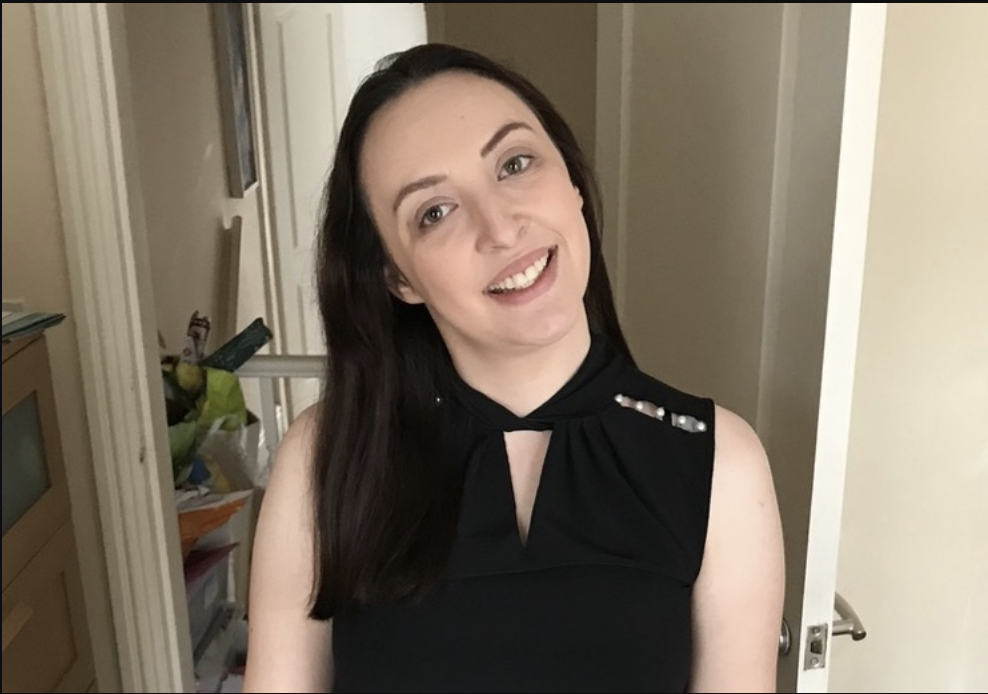
Discover how Clare Elman is adding a personal touch to her wedding using Cricut machines in the second in her series of ‘DIY Wedding Ideas’.
In this article, Clare shows us tips and techniques for making wedding favours that double up as place settings. She goes on to explain the versatility and cost-effectiveness of Cricut for any bride on a budget. Dive into her detailed guide and get inspired to create your own personalised DIY wedding ideas that truly reflect your unique love story.
Over to Clare:
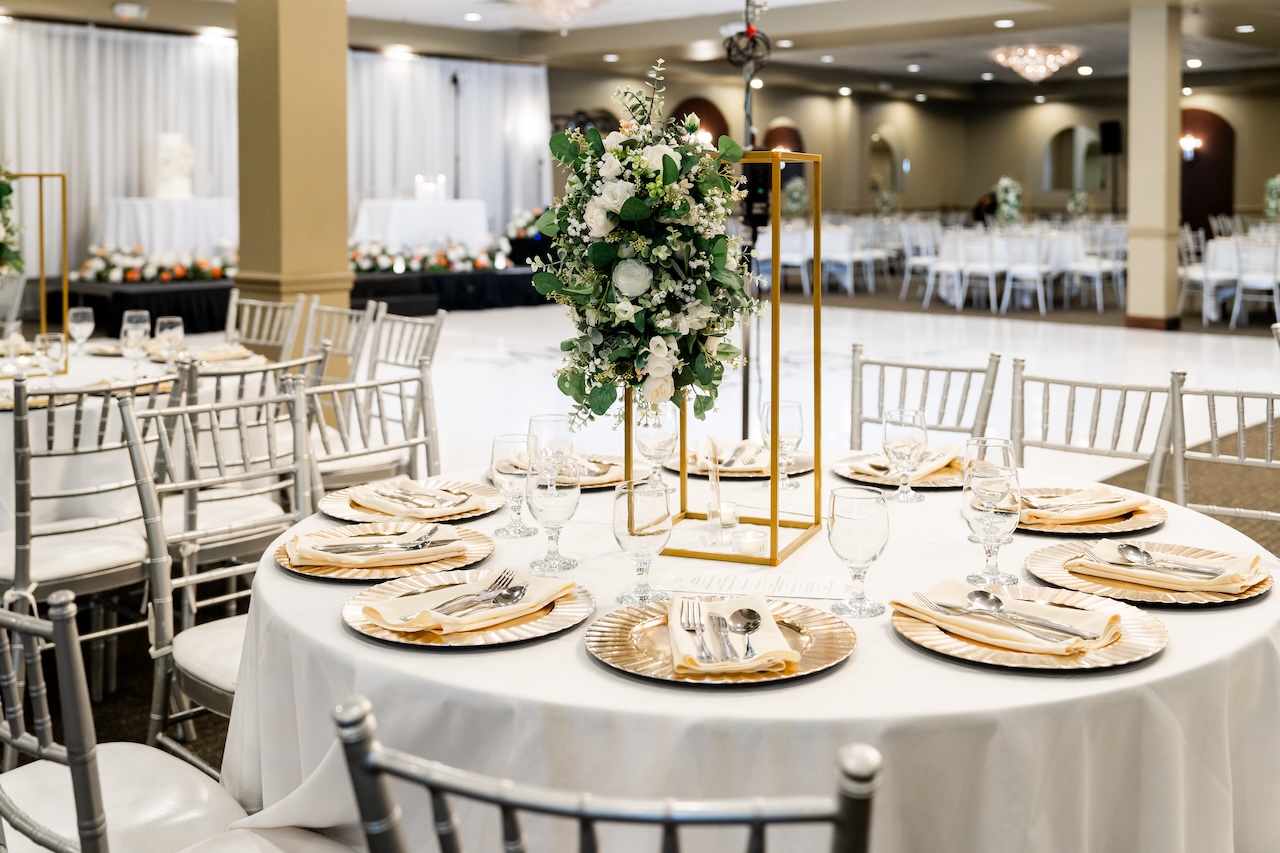
Personalised wedding place settings
One of the best things about owning a Cricut machine is being able to put personalised touches to things. When planning my wedding I knew I wanted it to reflect us as a couple as much as possible. We wanted our favours to be something that people would actually use but were special to us and reflected us as a couple.
I’m an avid reader and loved the idea of including a book theme into our wedding favours. Originally, we were going to include paper bookmarks as our favours, but once I started working with the Cricut engraving tool, I absolutely fell in love with it and knew that this was what I needed for a place setting.
I toyed with the idea of using a key ring as wedding favours, adding guests’ initials on them. I thought that would be something people would use and they would make great place settings around our wine glasses. However once I’d created the first one, I knew bookmarks were the only way to go.
These were honestly one of the easiest things I’ve ever made with my Cricut. Even better, they are so inexpensive for a bride on a budget – like me. So, here is how I made them and how they turned out.
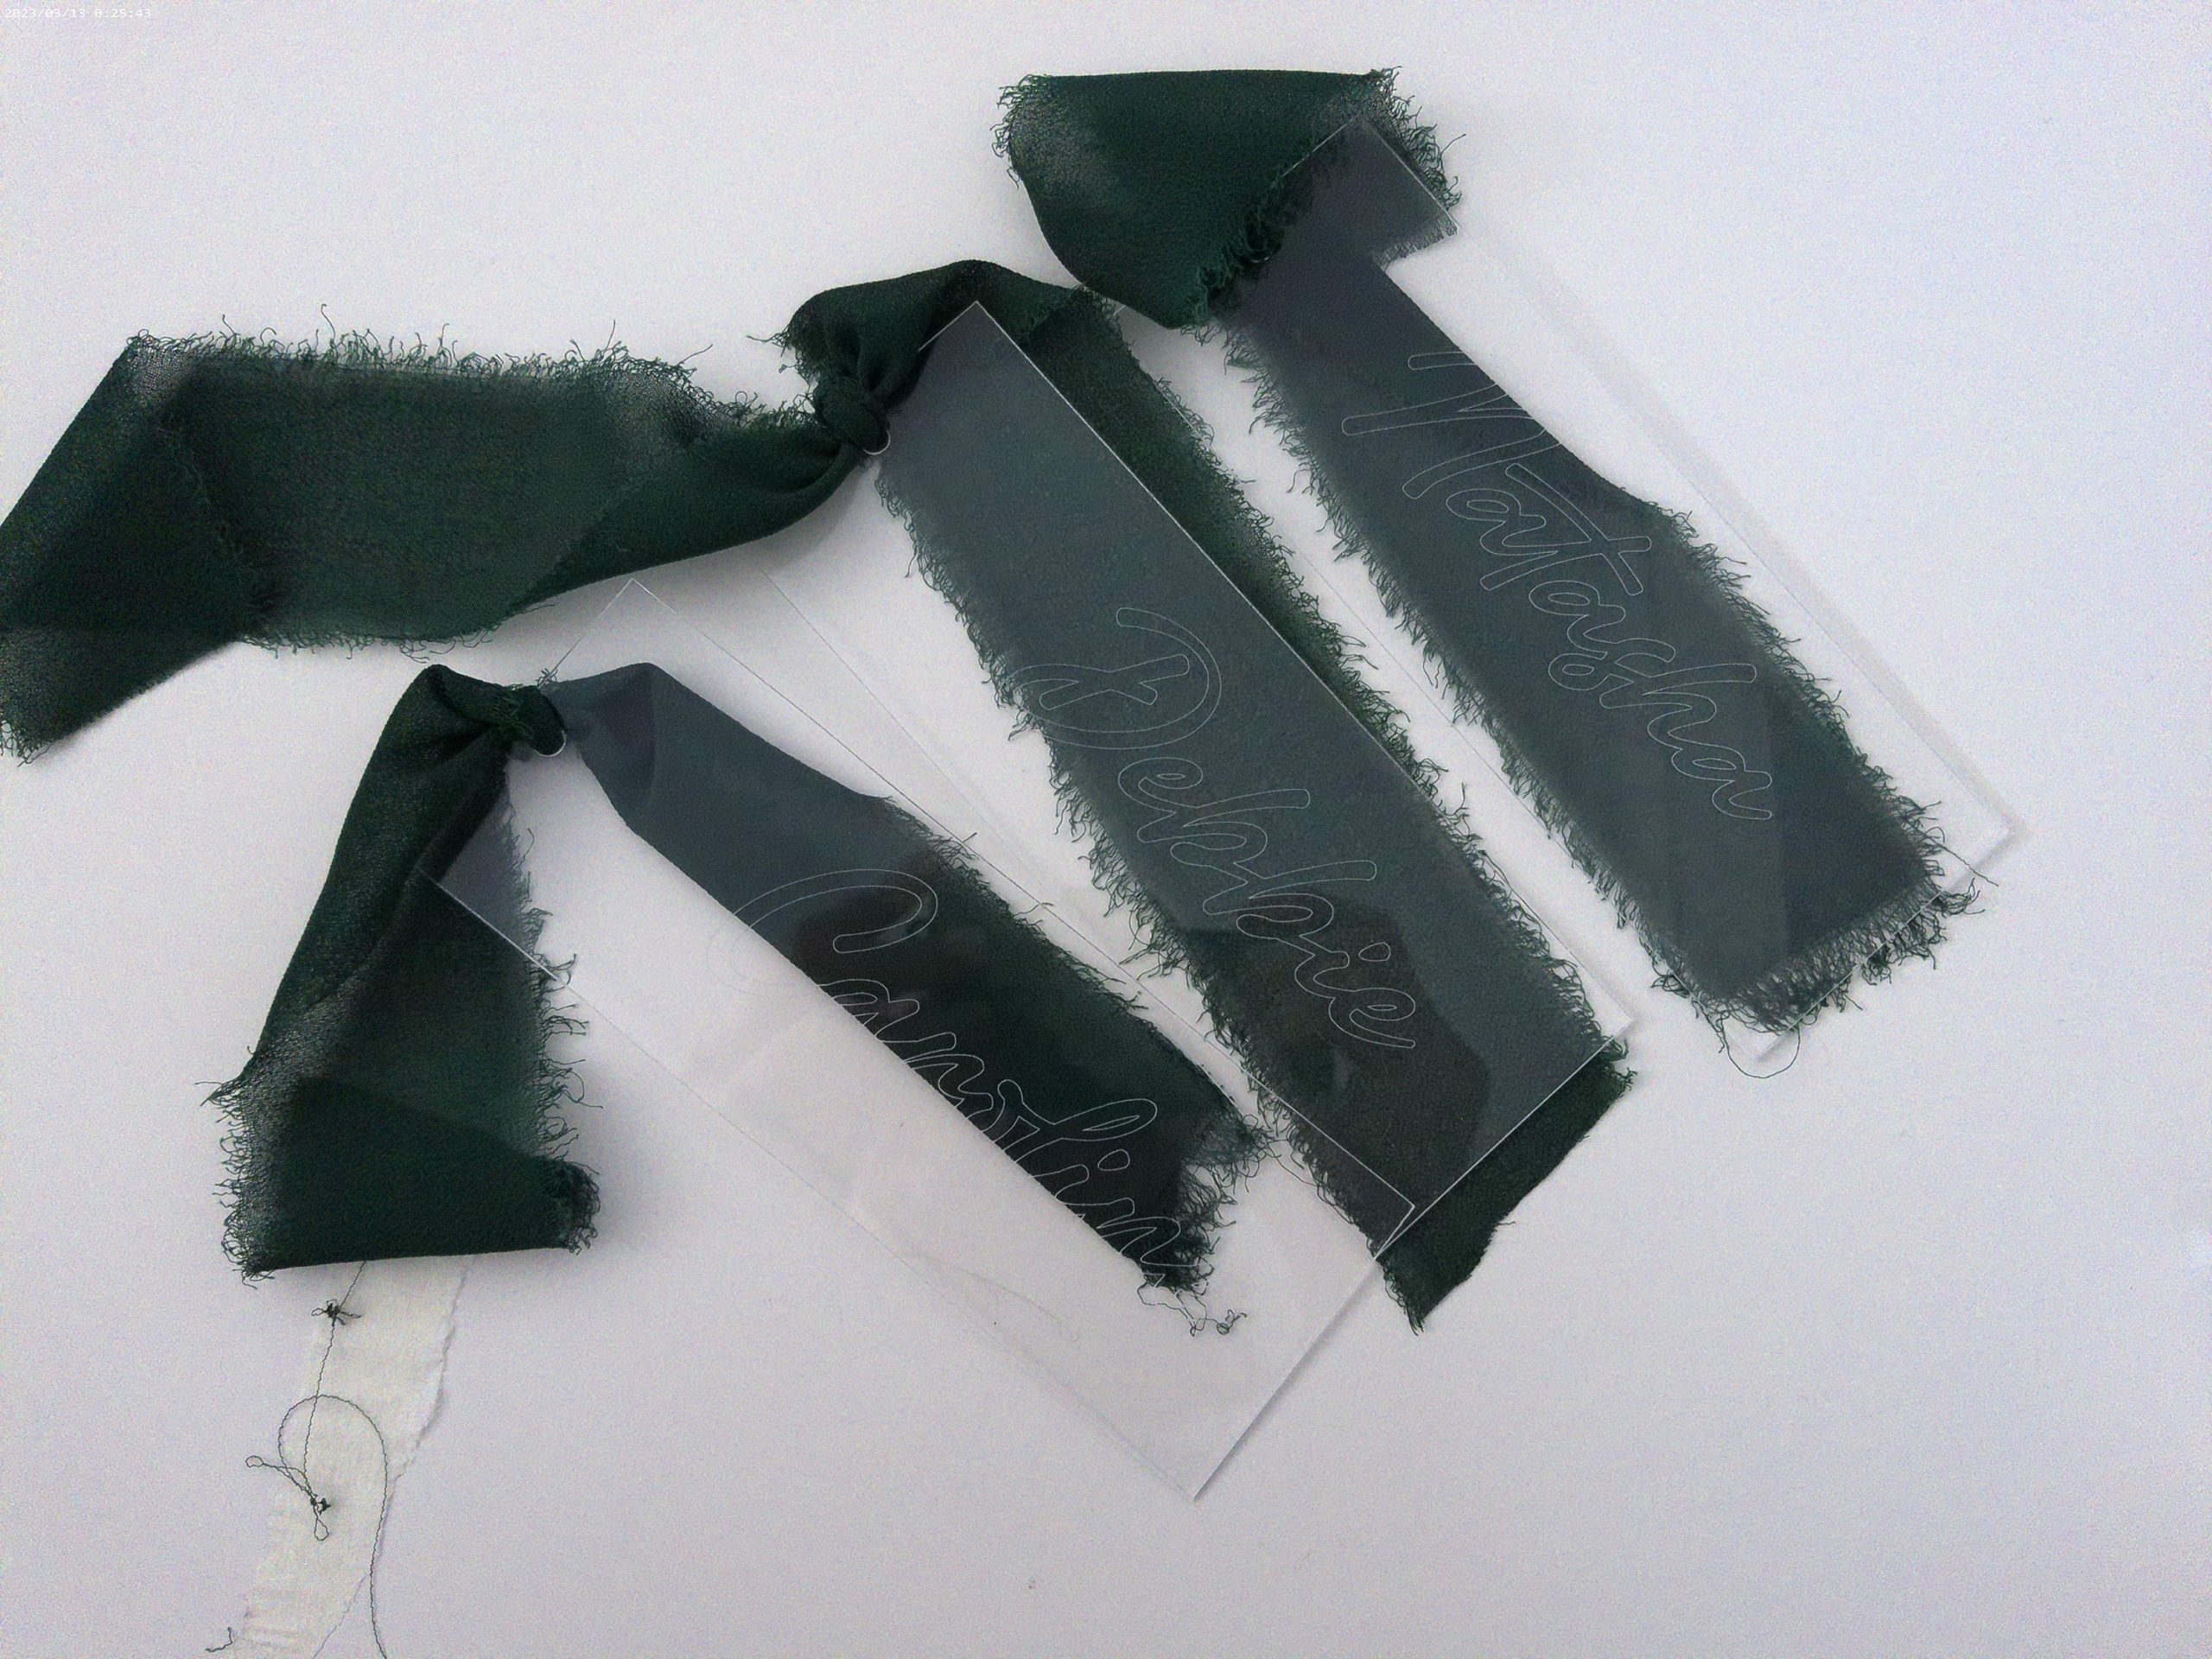
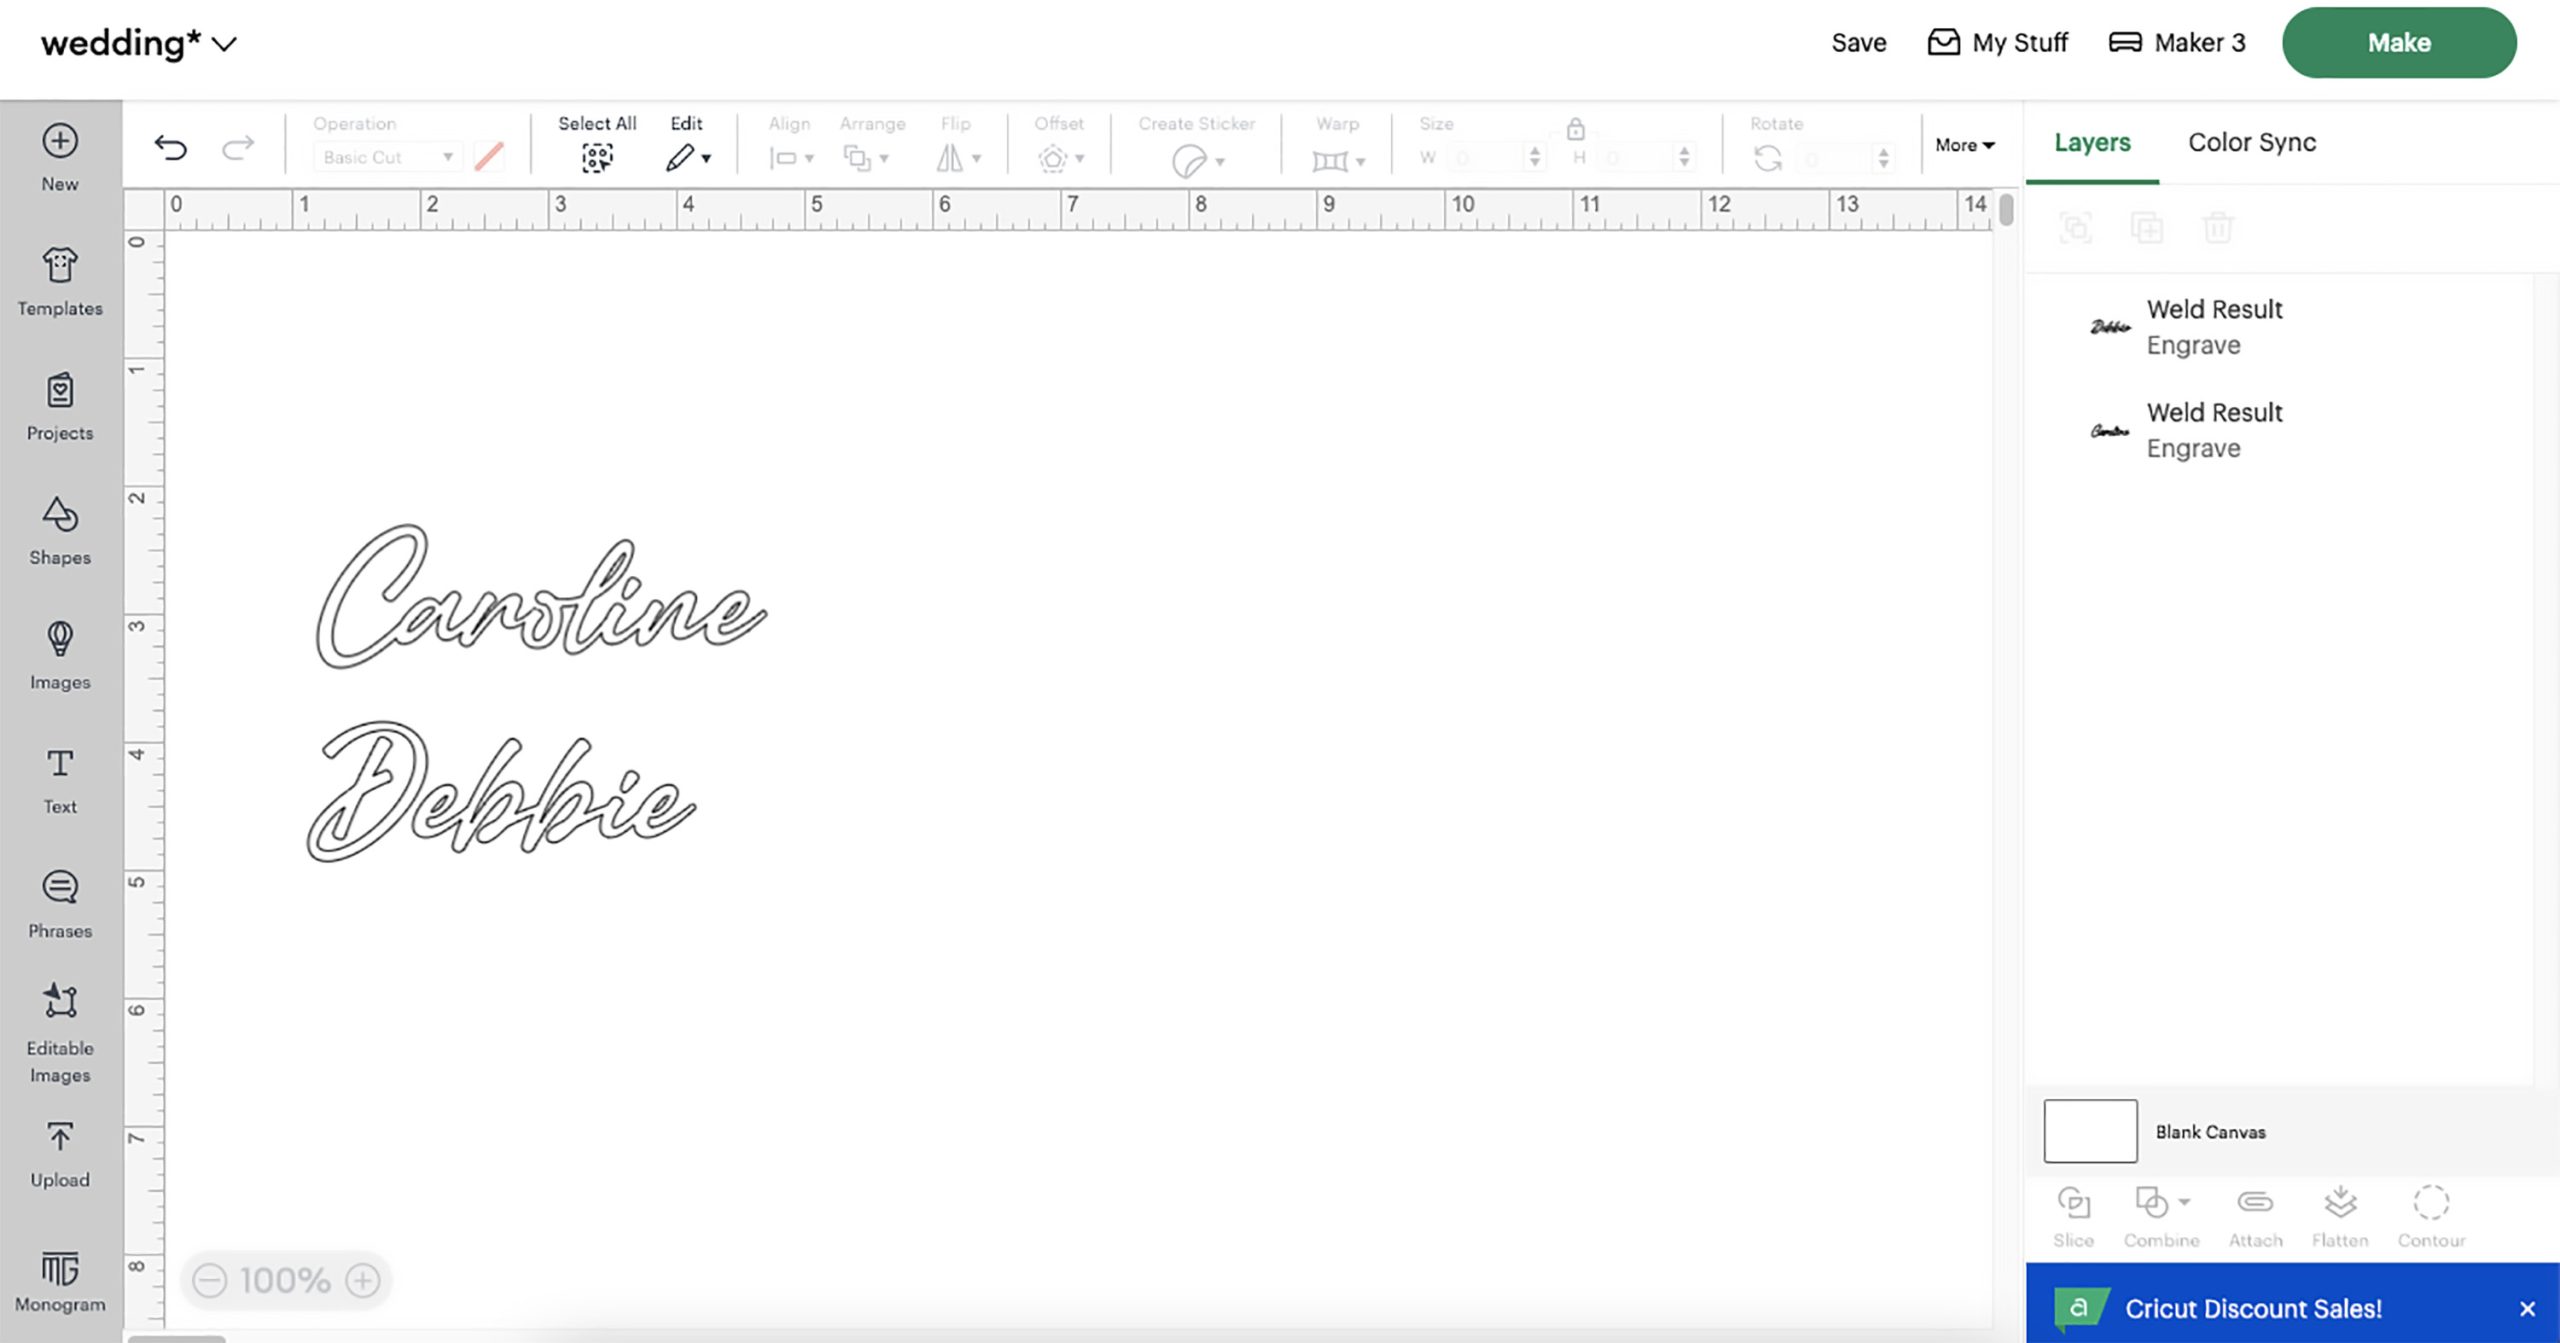
I measured the bookmarks and created my design in the Cricut Design Space app, making sure to turn the text from cut to engrave. As I have used the font Amertha throughout our wedding I picked it again. It’s a Cricut Design Space font which is great as most of the items we’re making are made using Cricut.
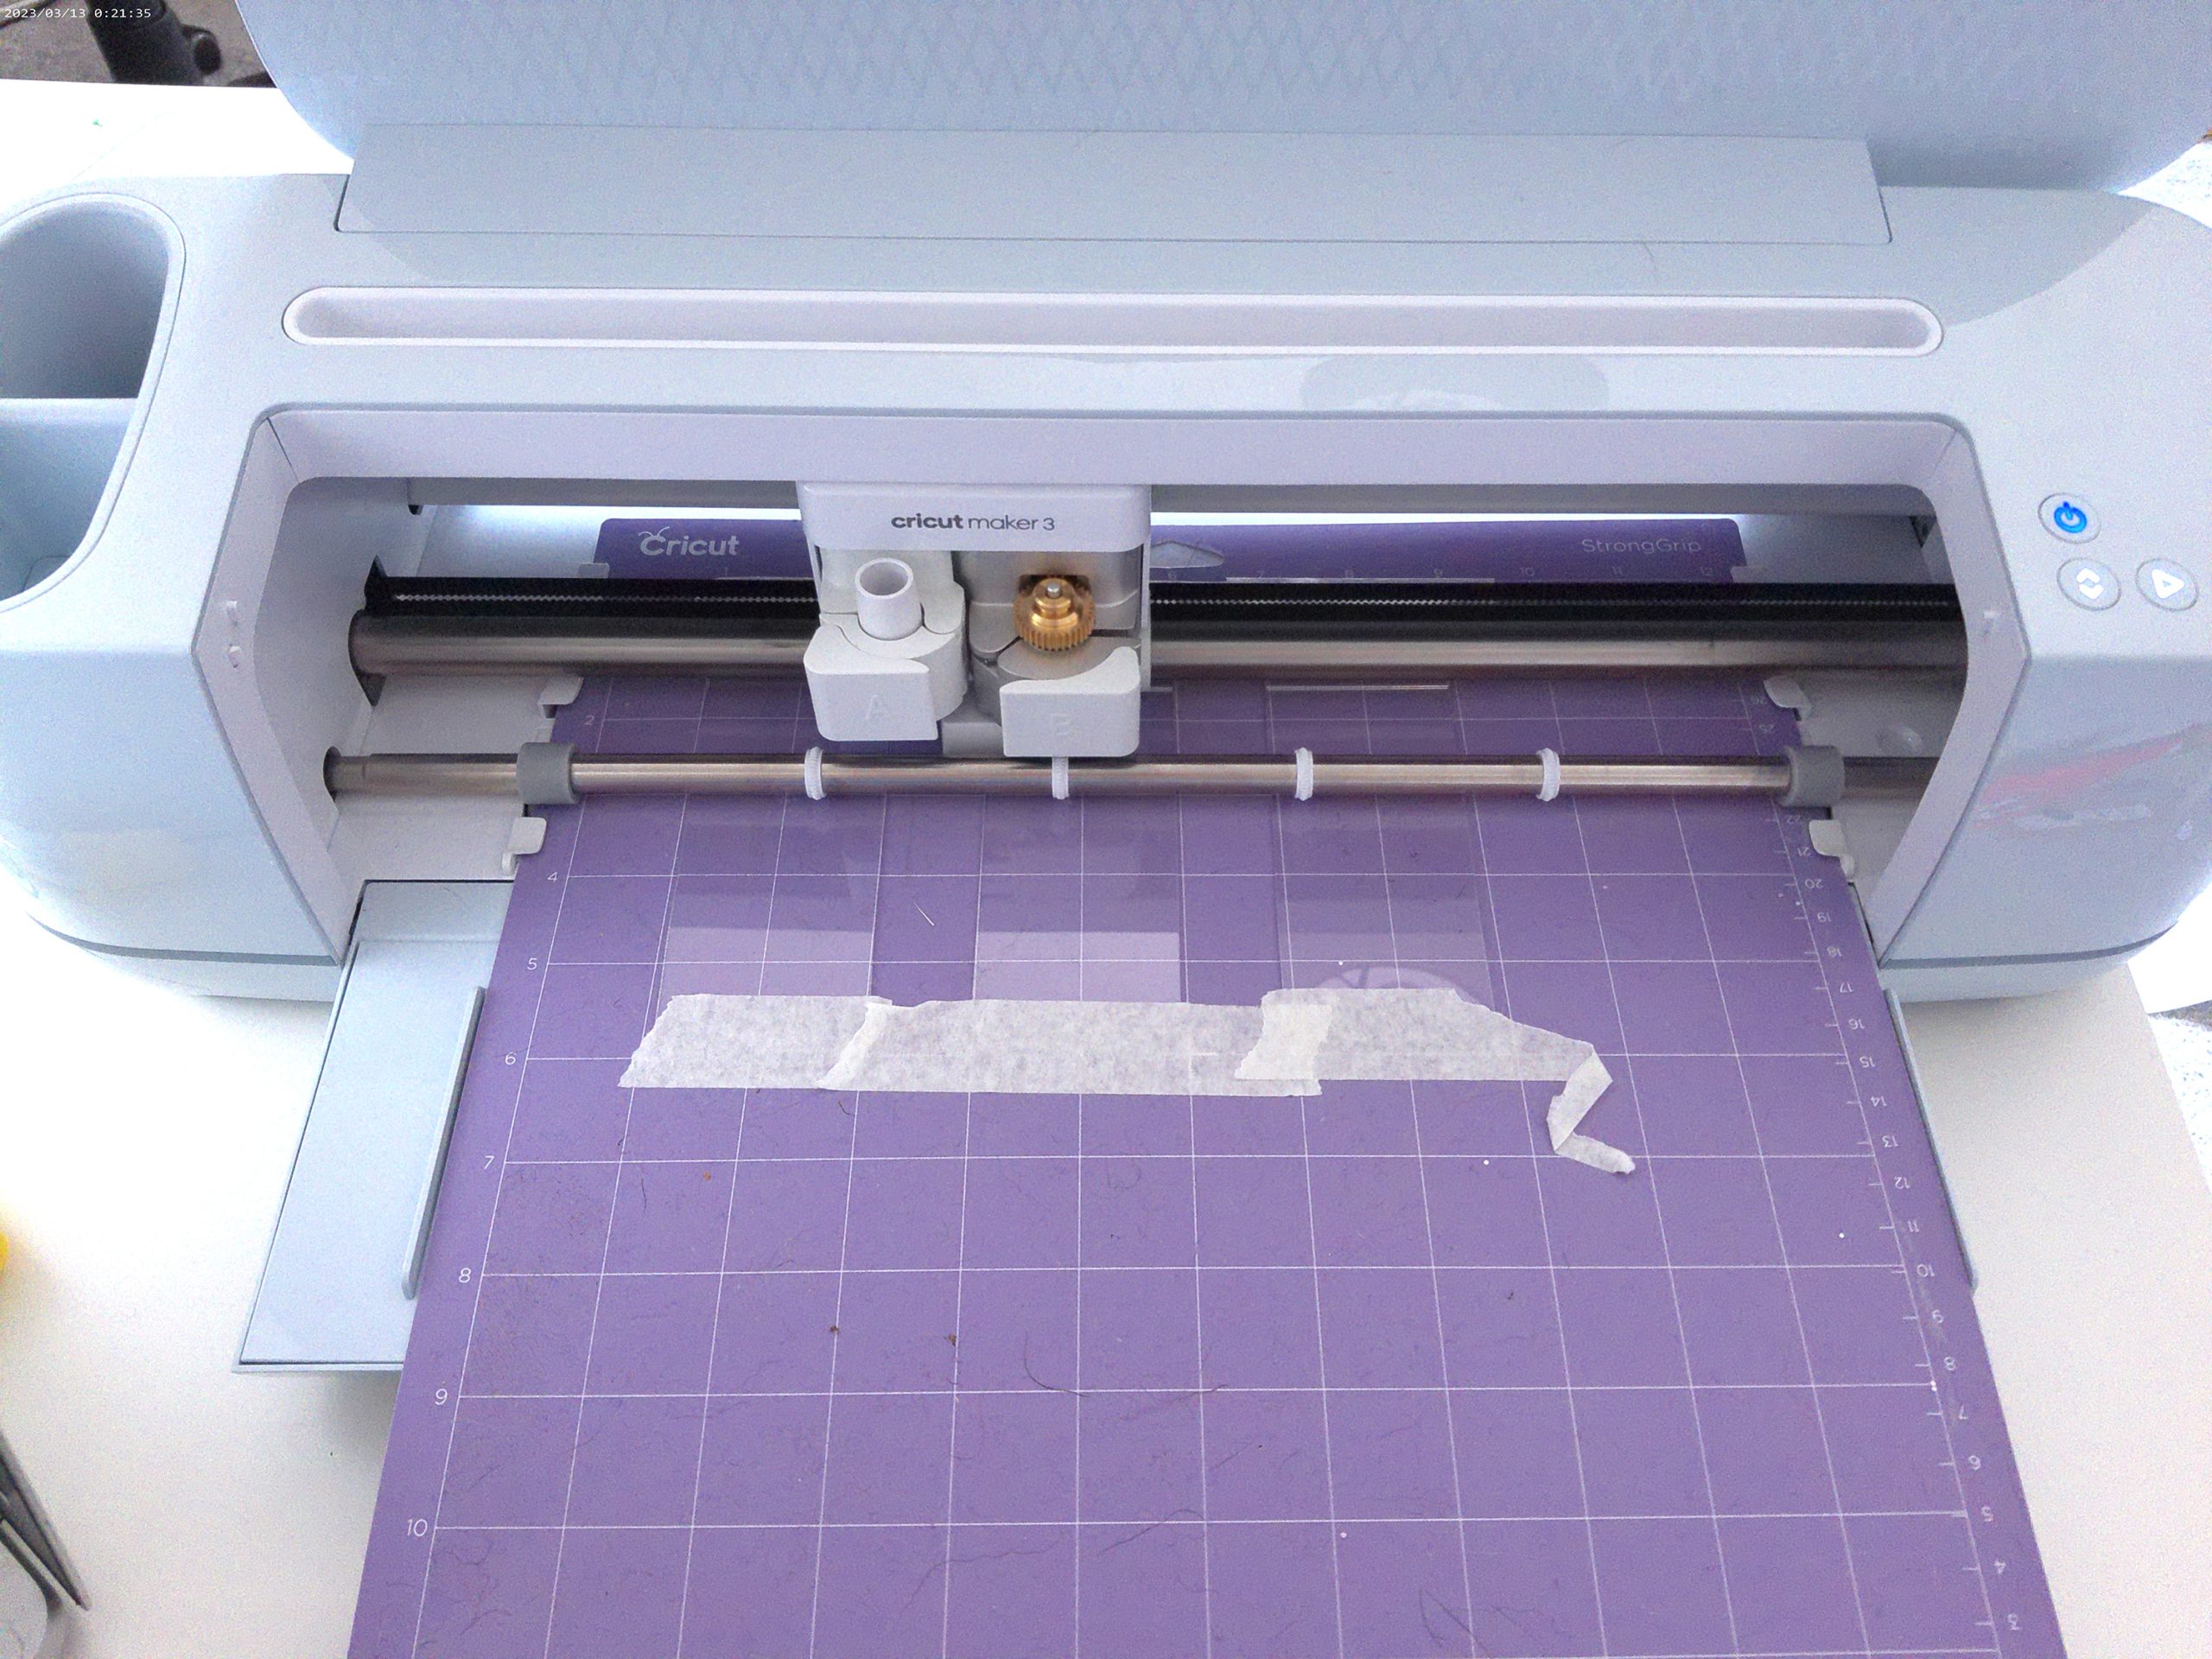
I then placed the acrylic onto purple Strong Grip Mats. Adding some additional masking tape around it make sure it stayed put during the engraving process. I then placed the Engraving Tool in the clamp, and fed my purple mat through the machine. It took about 10 seconds to engrave the acrylic and I was able to do multiple bookmarks on one mat.

Once they were done, I added some green ribbon to match our wedding colours. They cost about 40p a bookmark which included the cost of the ribbon too, so for reusable place settings for all our guests it has come to about £36 in total.
This is another example of one of Clare’s bookmark projects.
We are sure that you’ll agree that it is great to see how Clare’s wedding plans are coming along. We will have another update soon.
Now, let’s see your wedding creations too! Share them with us by tagging @cricut_uk on Instagram and TikTok. Join our community on Design Space by showcasing your projects live. Learn how to publish and share projects in Design Space by clicking here.