If you have a new Cricut Joy, you may find this article helpful to get started. Emma Jewell takes us through everything you need to know, right from taking it out of the box to making your first project.
In the box you will find your Cricut Joy machine with the blade ready loaded, a power cable, a mat and a pen. You will also find some sample materials to practice with.
To get started with Cricut Joy, you will need to download and open Design Space to register your machine. You can download the app to your desktop here, and to your phone, mobile device or tablet by visiting the app store (for iOS devices) or Google Play Store (for Android devices) where you usually find your apps.
Remember you don’t have to have a Cricut machine to download Design Space. You can create a profile, save some designs and get to know your way around the app before you open your machine if you want to.
At the setup screen select ‘Smart Cutting Machine’ and then ‘Cricut Joy’. Simply follow the prompts and then plug in the power cord to turn the machine on. You will notice that there aren’t any buttons on the machine; everything is controlled through the Design Space or Cricut Joy app.
You will also notice there are no cables between Cricut Joy and the device you’re using Design Space on, instead, the connection is via Bluetooth. Follow the prompts in the setup to connect your machine and device.
You’re now ready to make a test cut. You will see six images to choose from, simply click on your favourite to select it and click ‘next’. The next few prompts will make sure the blade is correctly installed, the material you want to cut is loaded and that you’re ready to create.
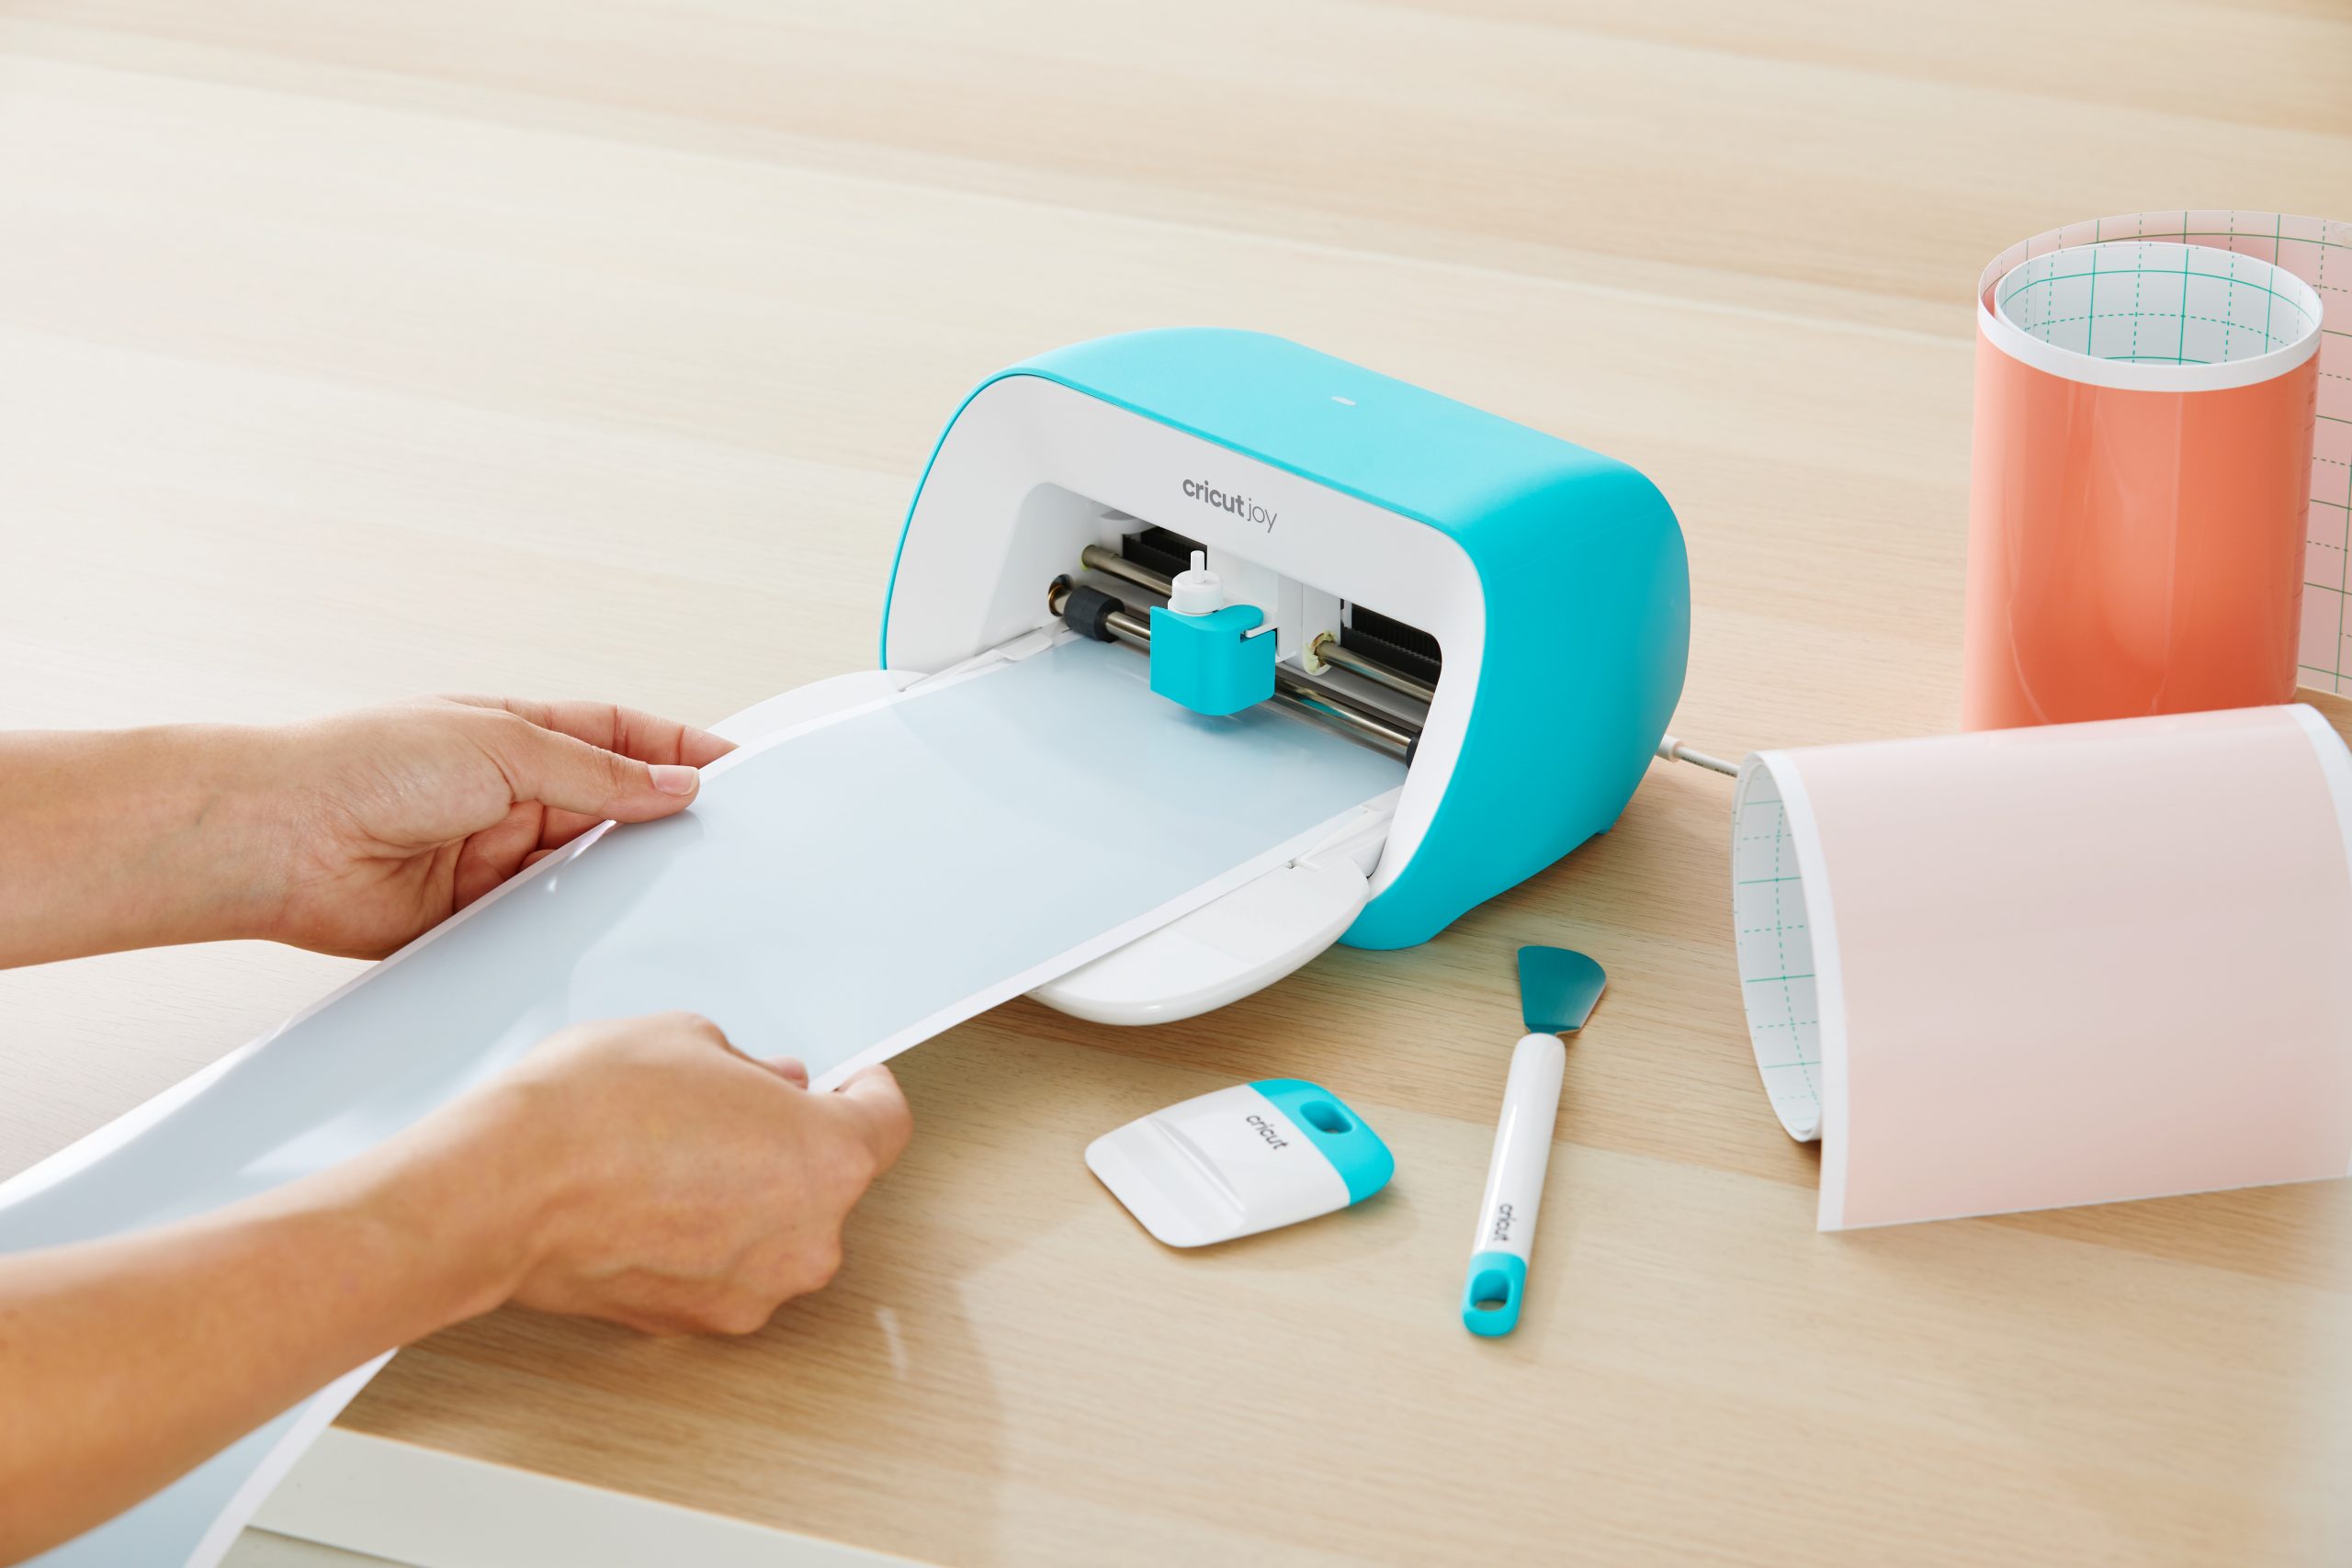
To load the material, take the piece of Smart Vinyl that came in the box and slide it under the two white guides on the machine. You’ll notice that the machine will detect the material and start to load it. It will measure the material to make sure you have enough for the cut on the project you’re going to make.
Click ‘Go’ on your screen when you’re ready to cut and sit back as the machine does all the work.
Once the Cricut Joy has completed its cut the screen will change and tell you ‘Test Cut Complete!’. Click ‘next’ and then ‘unload’ to remove the vinyl from the machine.
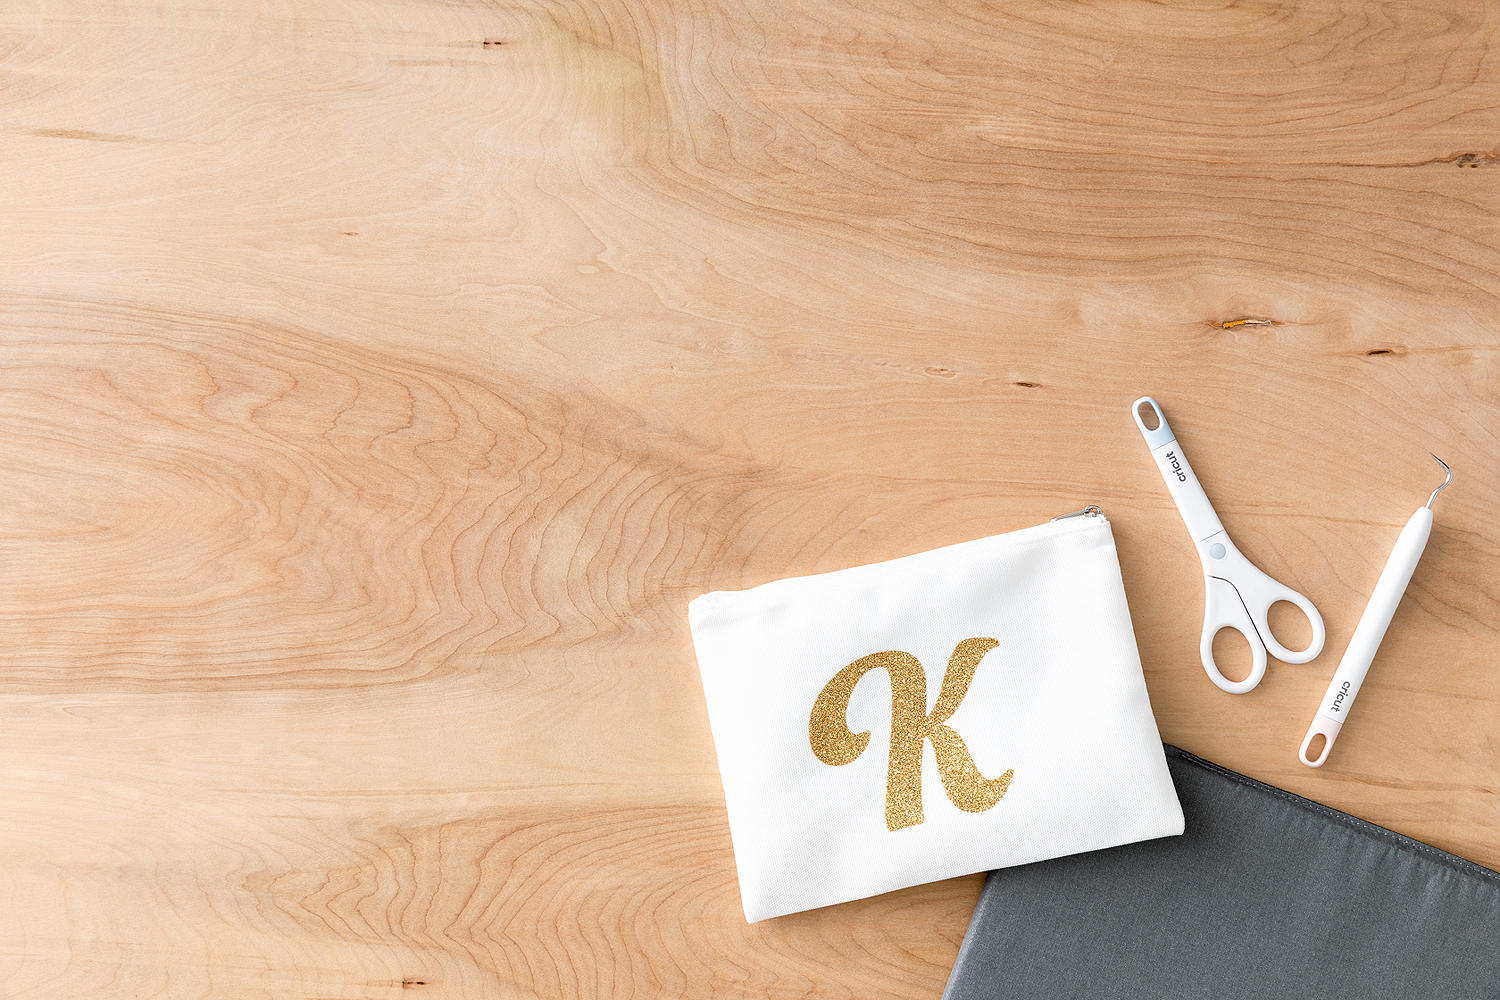
Now you need to weed away your excess vinyl…that’s the bits that you’re not going to need on your design. A weeding tool can help you start to peel back the excess.
Once you have your finished cut you can place it onto your object. This can be a mug, notebook, waterbottle or any hard surface you want to place your decal.
Enjoy creating with your Cricut Joy.
Don’t forget to tag us on Instagram or Facebook and use the hashtag #CricutCreated in your post.
You may also find this post about the Cricut Joy app helpful.