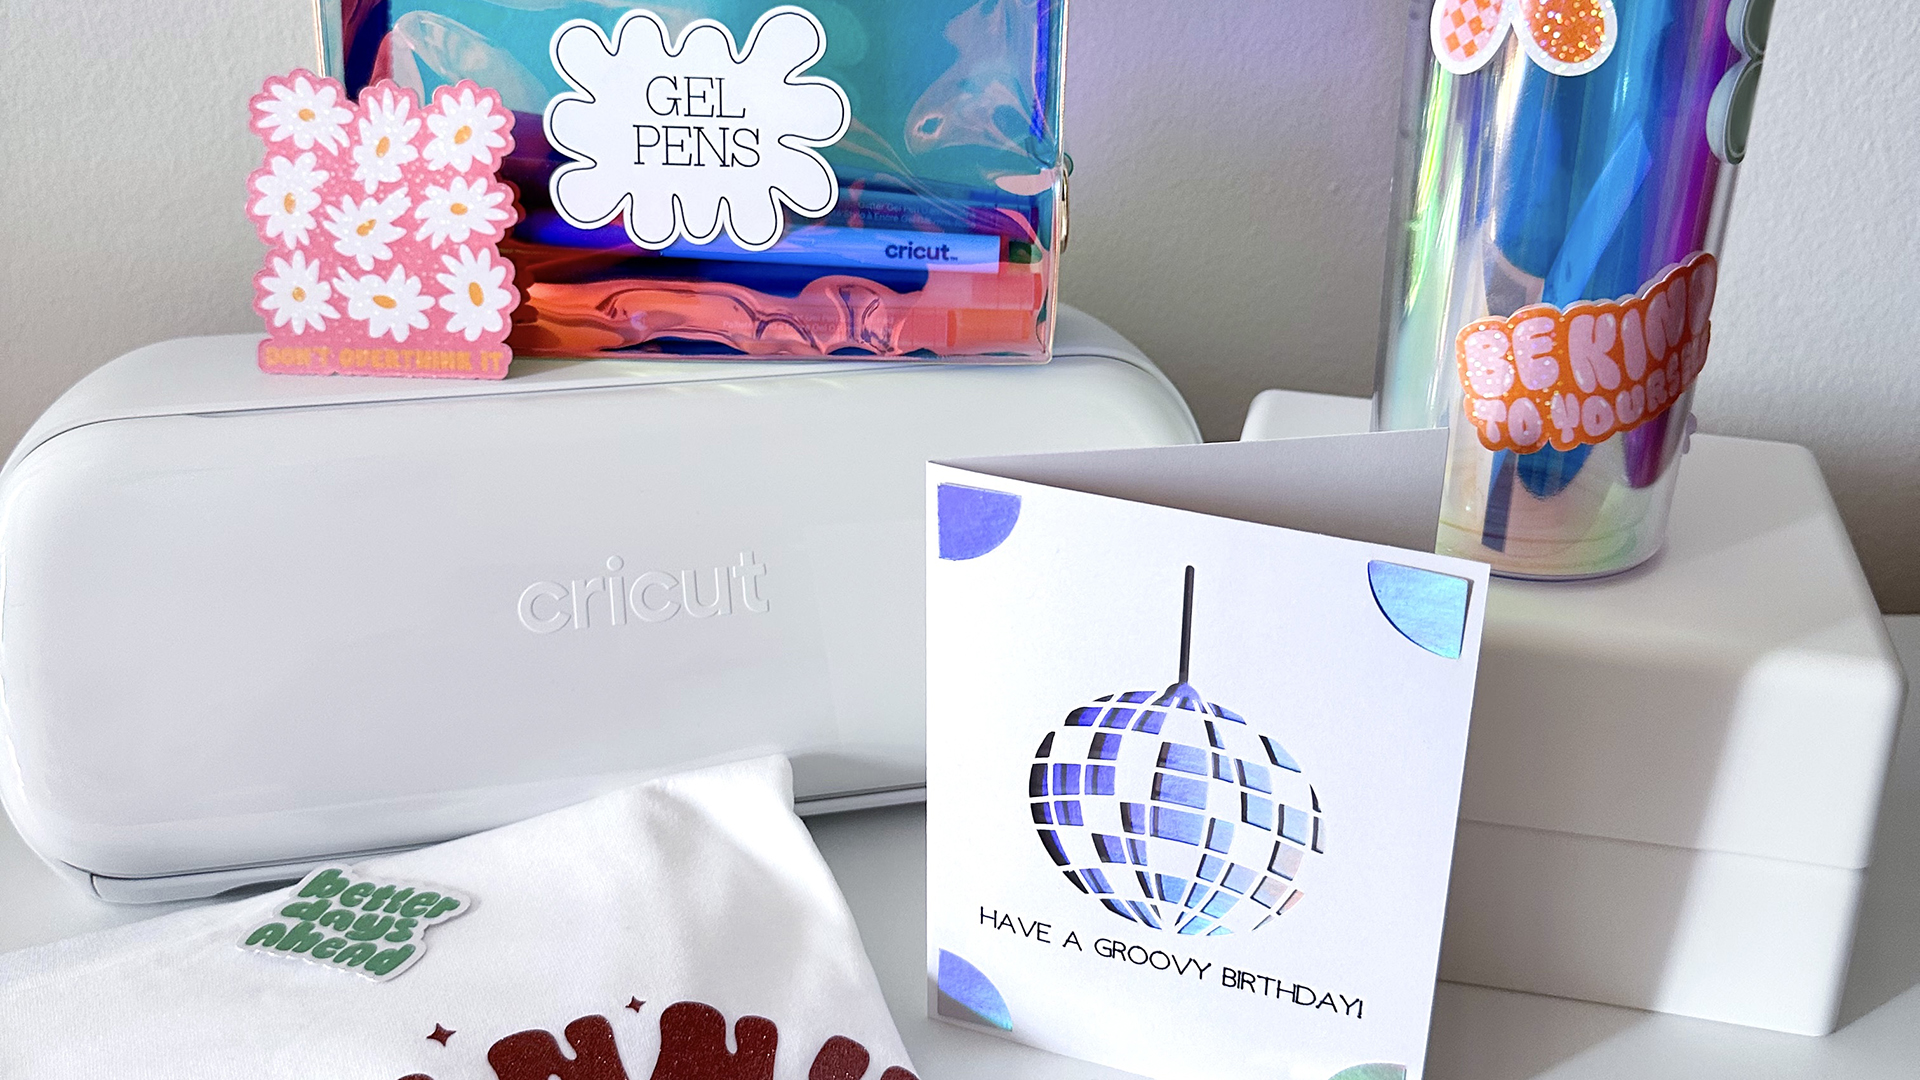
Cricut thrilled to be showcasing new mum’s Creative Journey
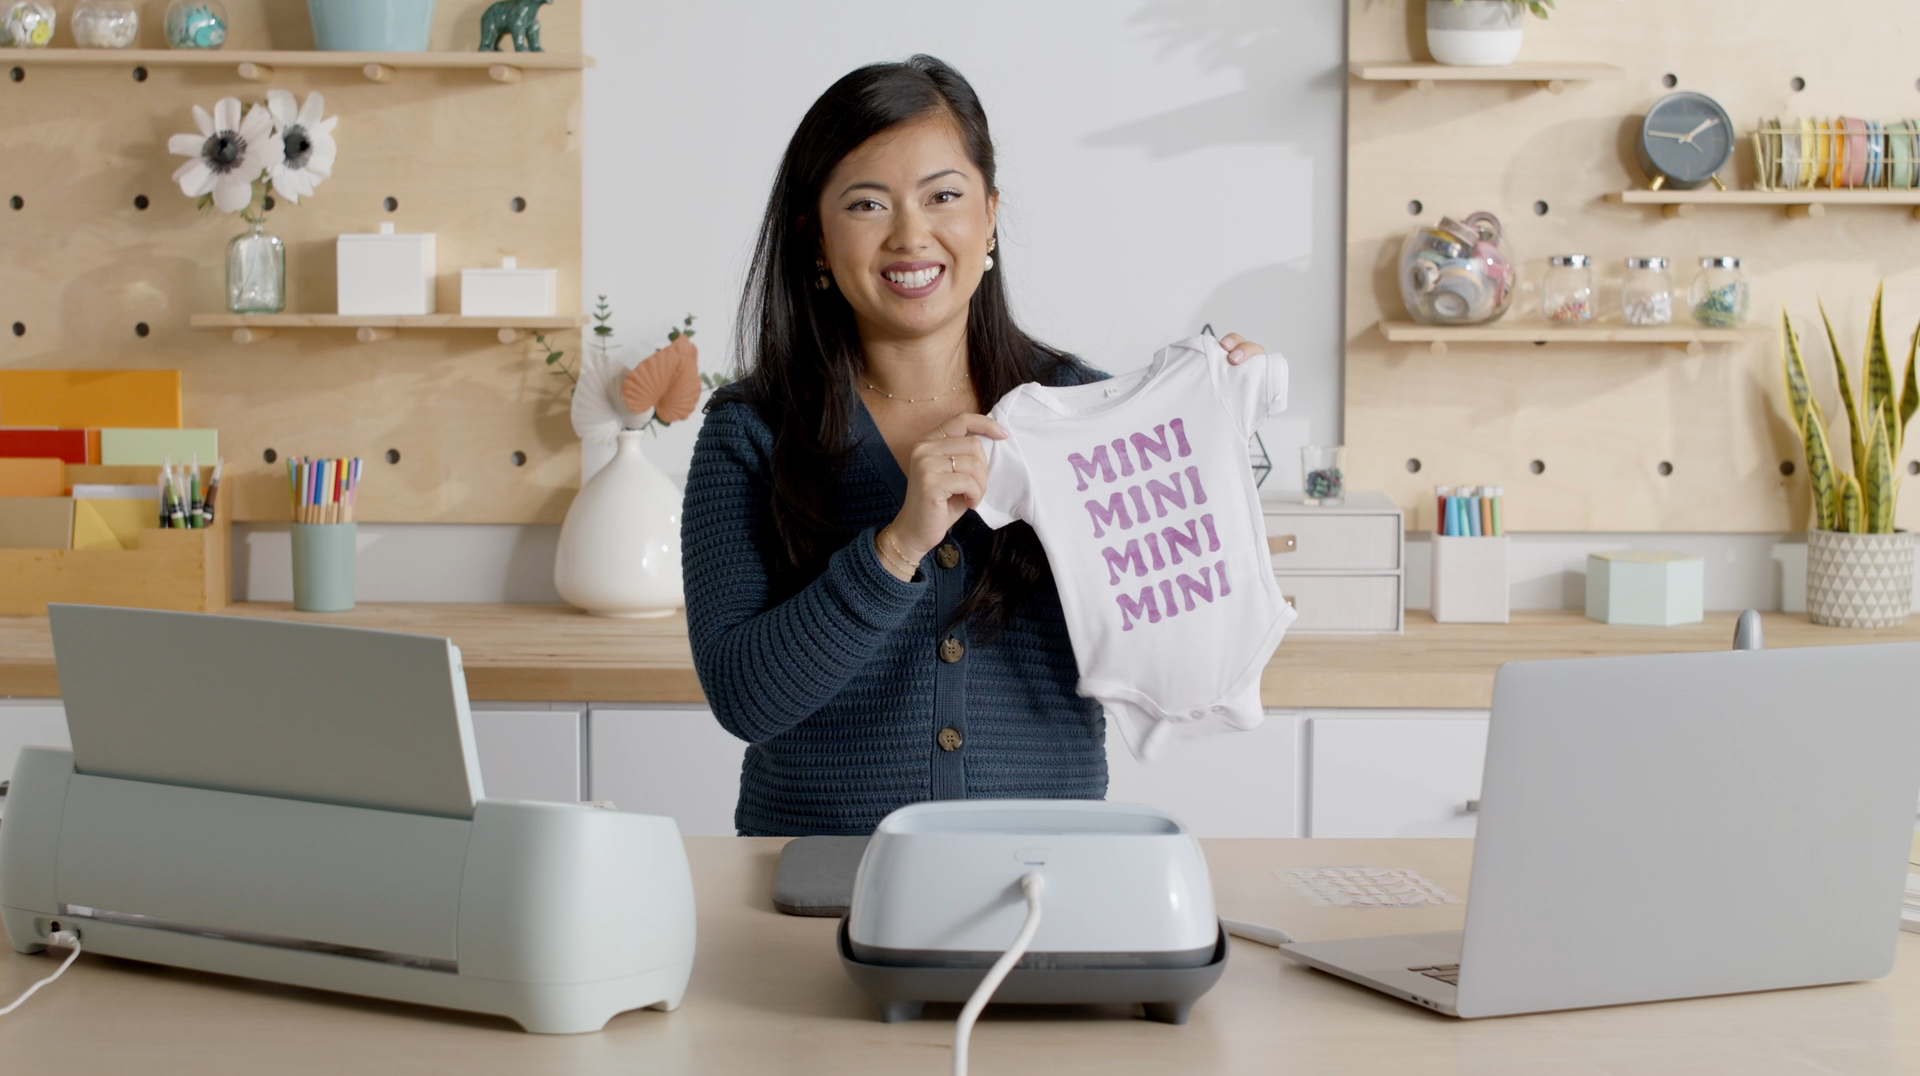
Cricut is delighted to be sharing the creative journey of new mum and Cricut Creative Influencer, Jess Jackson. With her unique flair and passion for personalisation, Jess uses her Cricut machine to craft a unique world, ensuring every milestone becomes a cherished occasion.
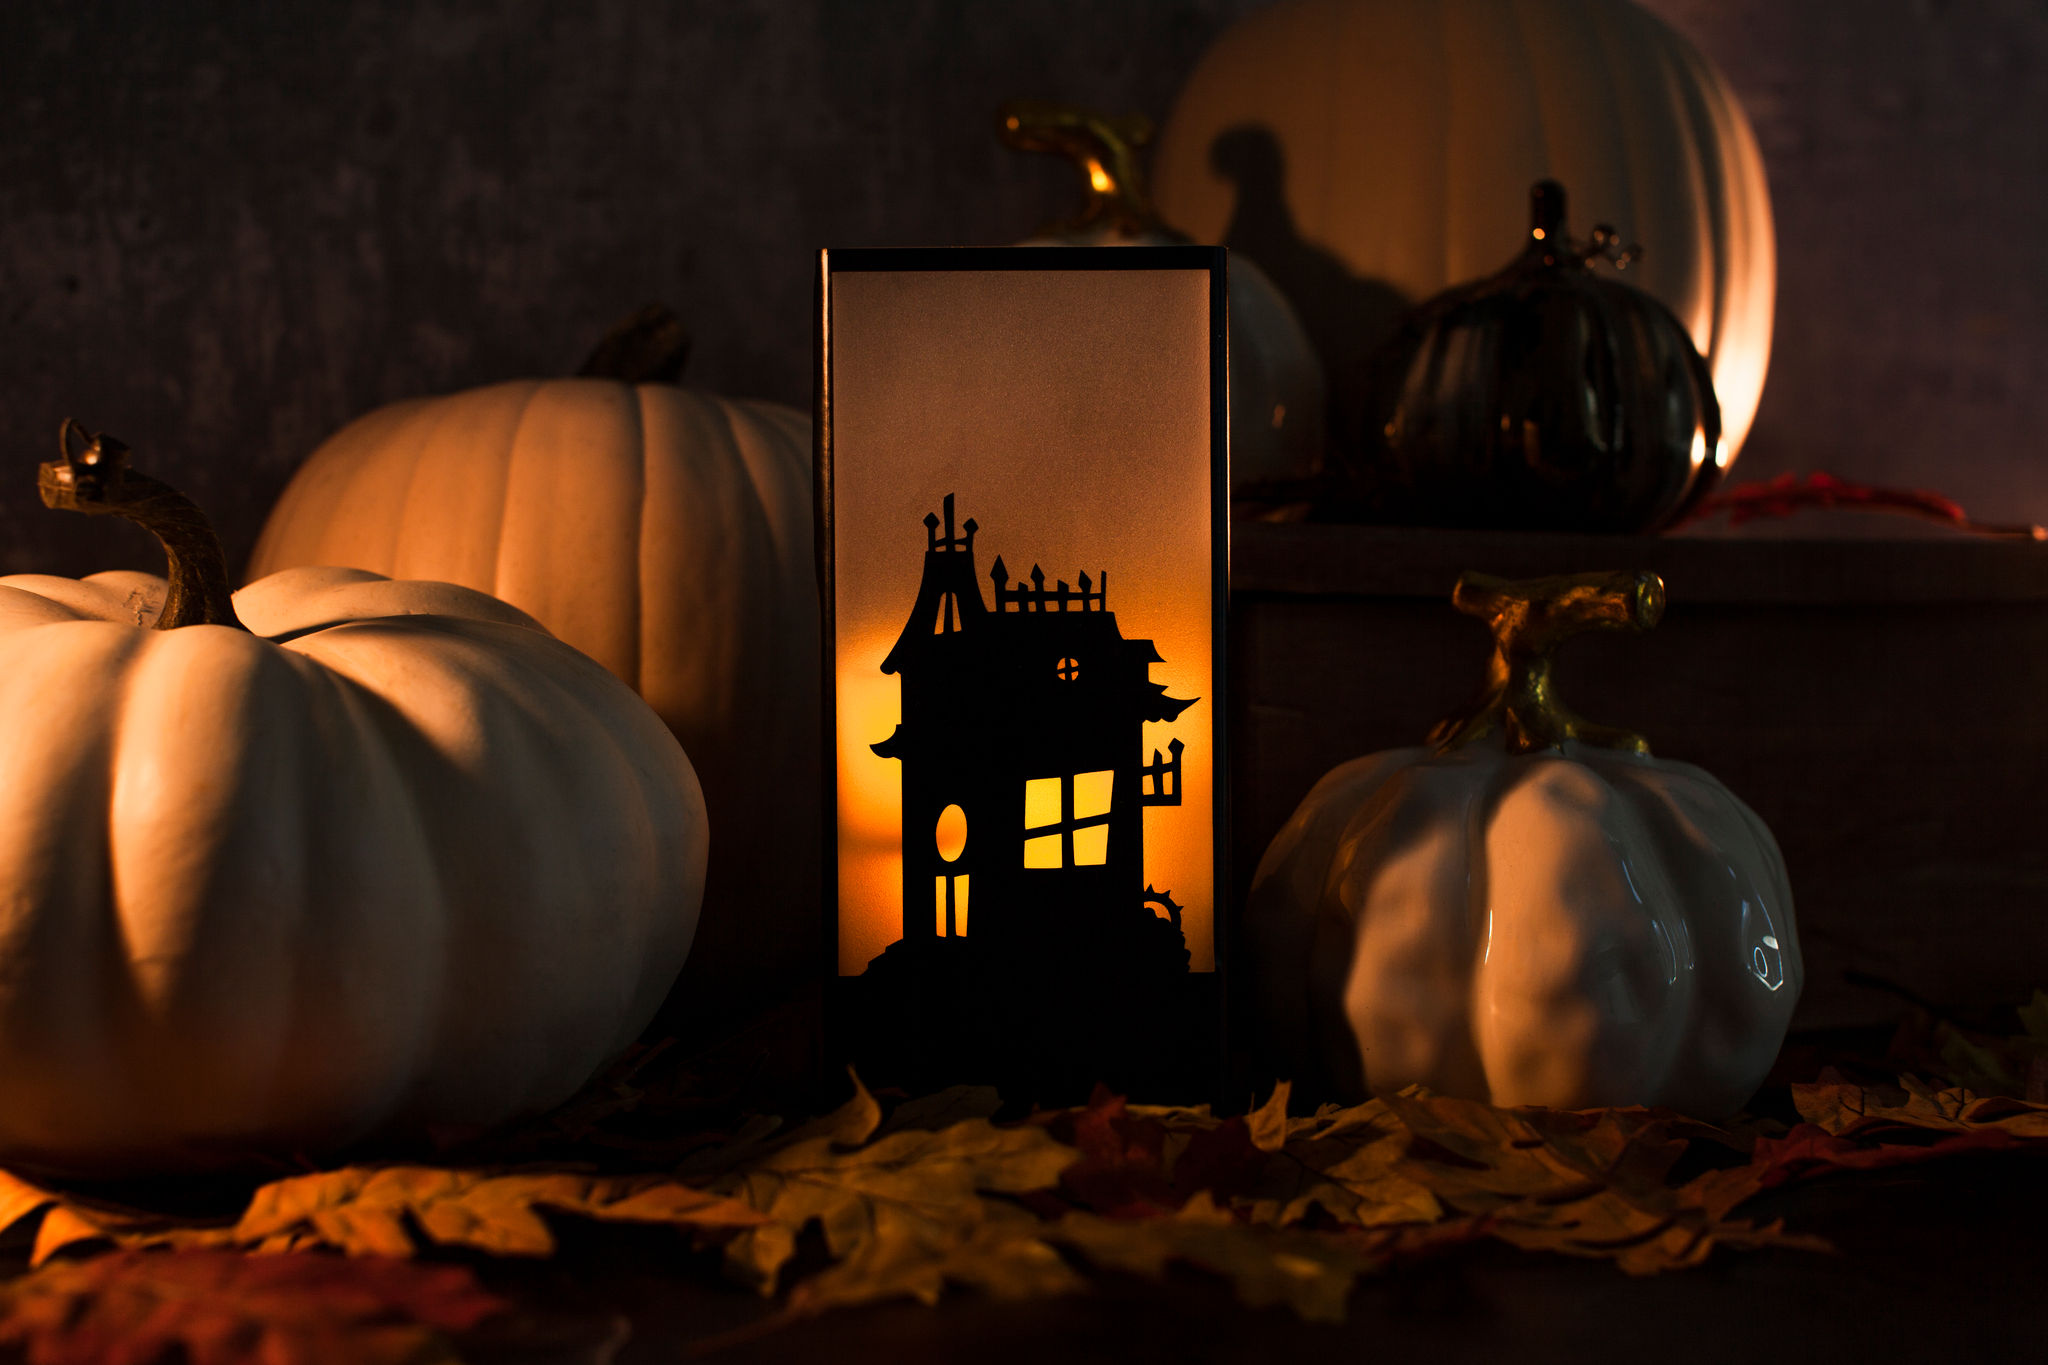
Along with her beautiful and intricately designed nursery décor, which you can also see here, Jess showcases the endless possibilities with Cricut, adding a touch of magic to life’s special moments.
You can follow Jess on social media – Craft with Jess – where she regularly shares her Cricut creations. Here she takes us through one of her recent projects in more detail.
Baby milestones cards tutorial with Cricut
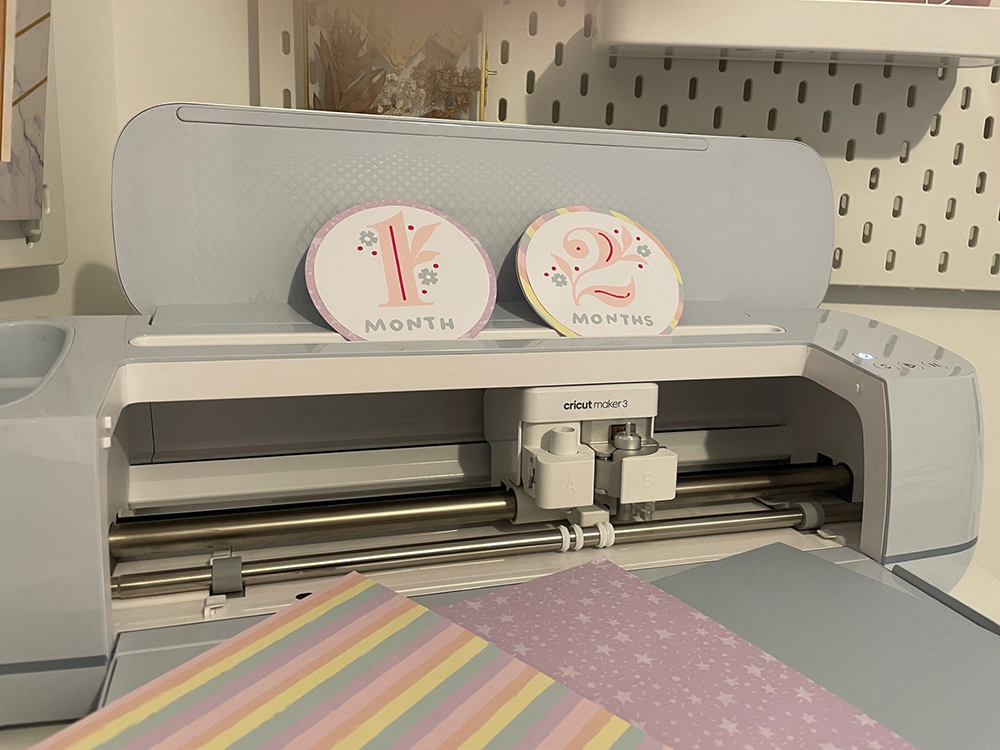
Welcoming a new baby into the world is so exciting! As a parent you don’t want to miss out on capturing all the milestone moments, especially in those early months. So using my Cricut maker 3 I made it my mission to create the most beautiful cards to celebrate our baby during her first year of life.
Working with cardstock and vinyl is one of my favourite things to do, but you can easily change the types of materials you use and make this project with any Cricut machine! I’ll take you through the step-by-step process so you can also make these cards.
Link to the project: Baby milestone cards
Materials and tools you will need
- White cardstock
- 1-2 types of coloured or patterned cardstock
- Smart paper sticker cardstock in a colour of your choice
- 2 different vinyls in colours of your choice
- Transfer tape
- Glue or double sided tape
- Blue or green cutting mat
- Brayer
- Scraper tool
- Weeding tool
- Tweezers
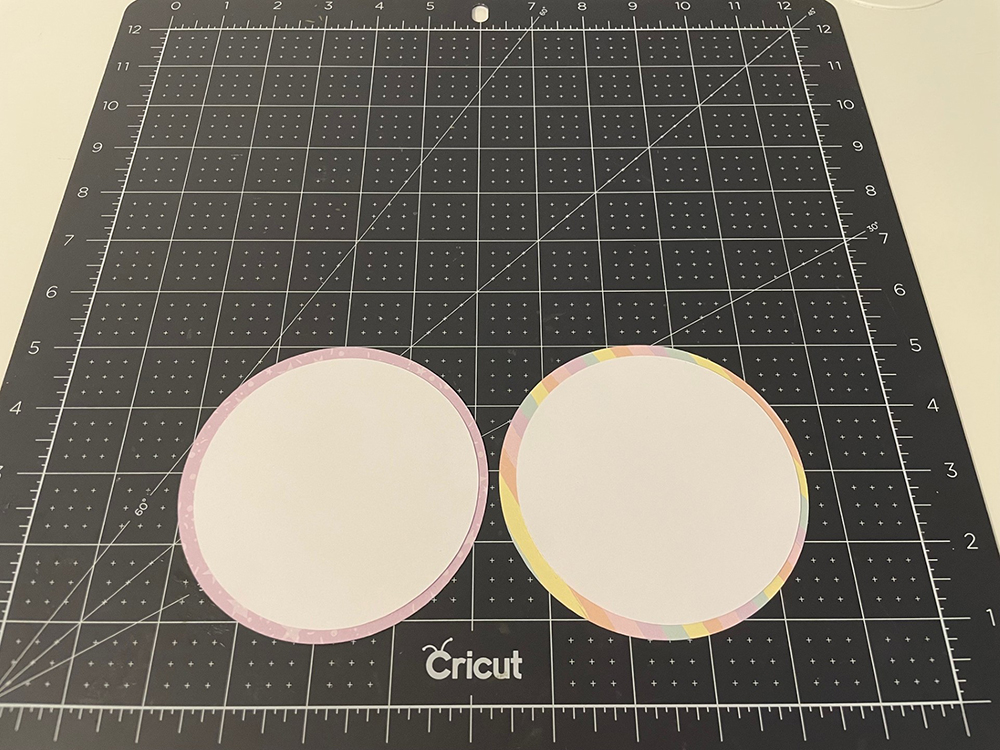
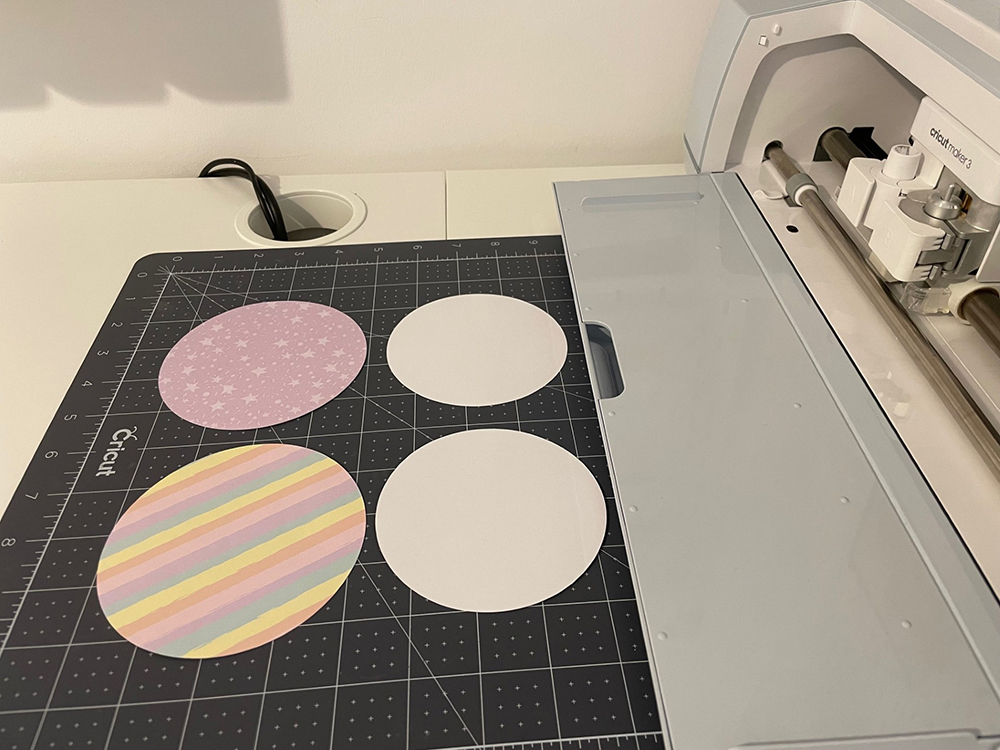
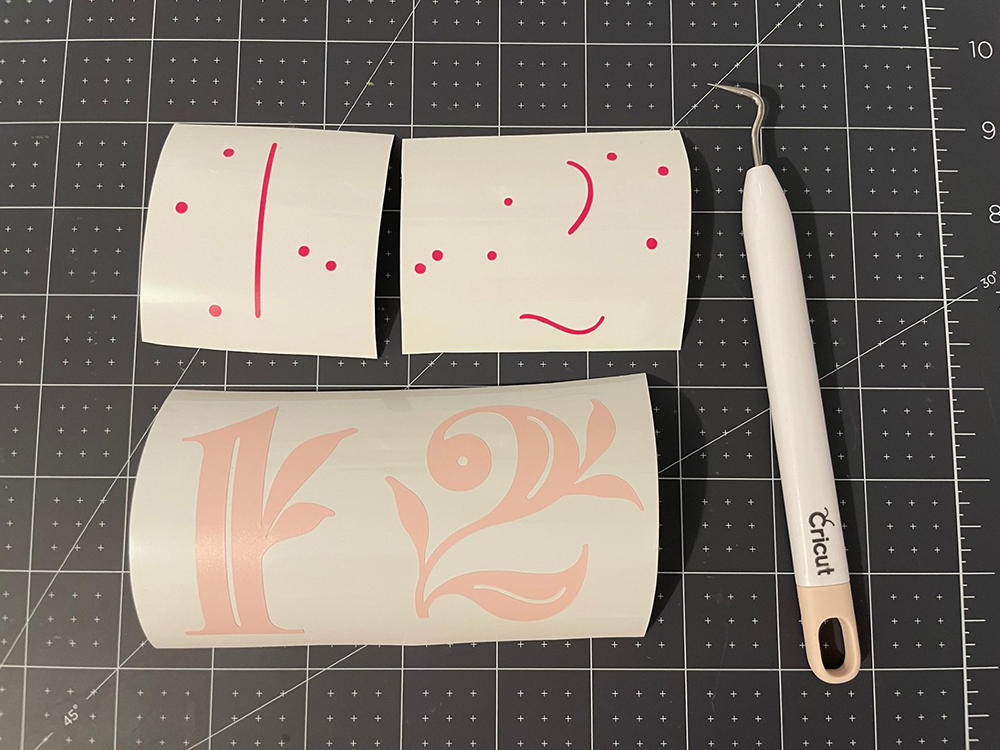
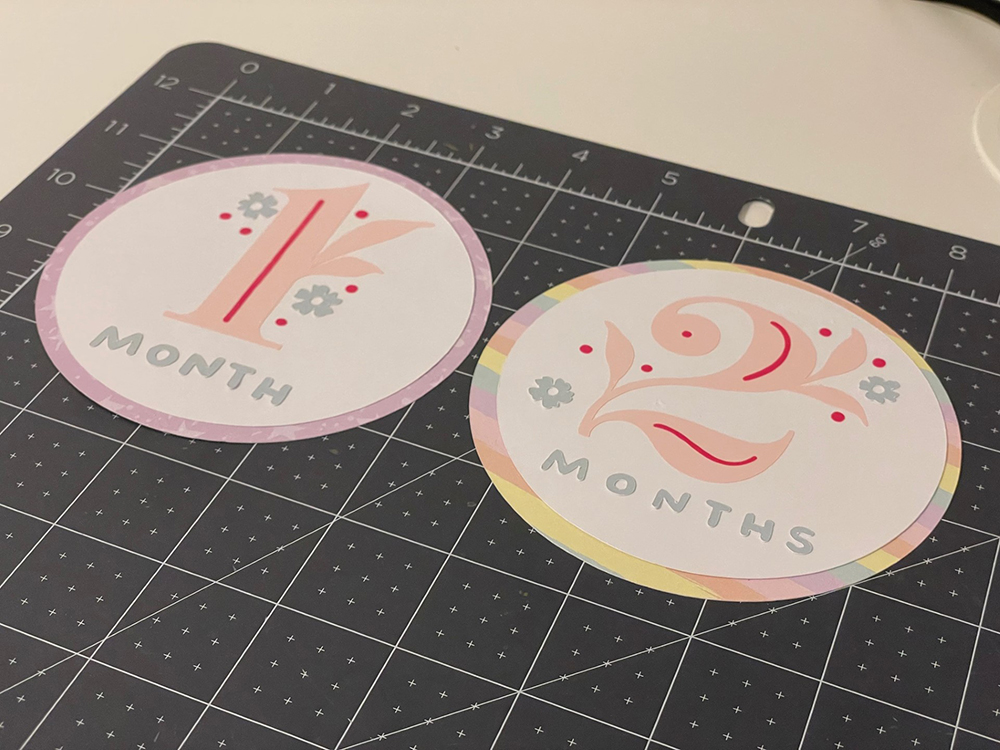
Step 1 – cutting
Using your Cricut machine, cut all the materials and layers. The smaller discs should be cut from the white cardstock and the larger discs using your patterned or coloured cardstock. The layered numbers are cut from the 2 types of vinyl, and the flowers and text are cut from smart paper sticker cardstock.
I used a mixture of regular and smart materials, so I swapped between using cutting mats and feeding smart materials directly into the machine. I love using the brayer to adhere materials to the cutting mats – it really helps with ensuring you get a great cut.
Step 2 – sticking the discs together
Stick the smaller white cardstock discs to the larger patterned or coloured discs. I decided to use two different types of patterned cardstock and alternated these as the backers – I’m also a sucker for anything pastel! You can use glue or double sided tape to apply everything together – whichever you prefer.
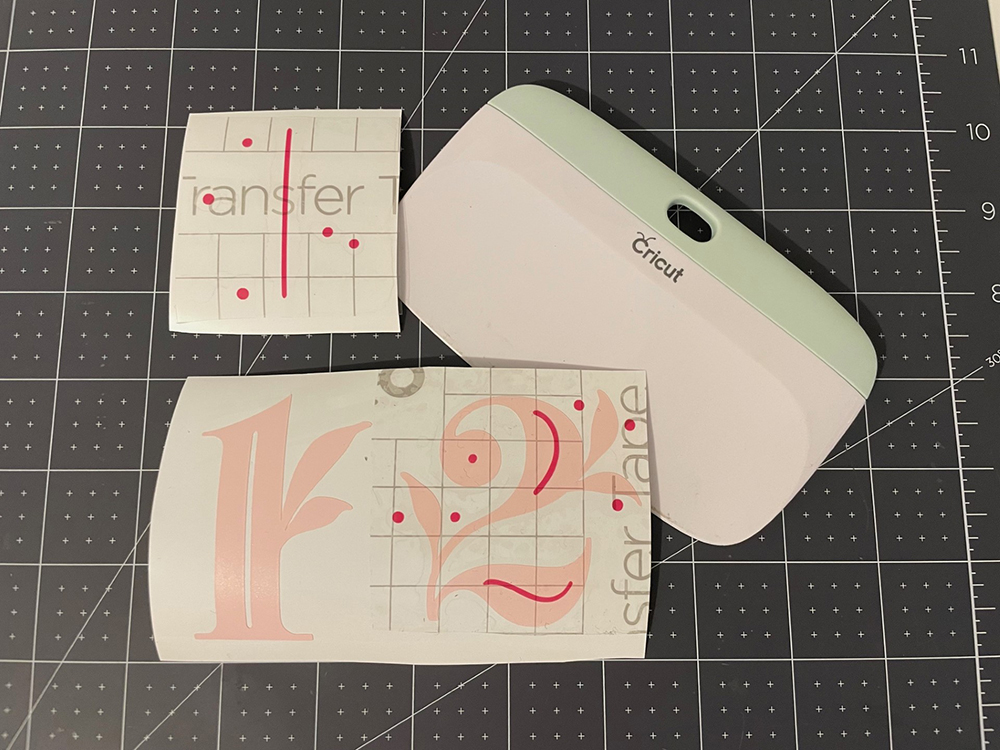
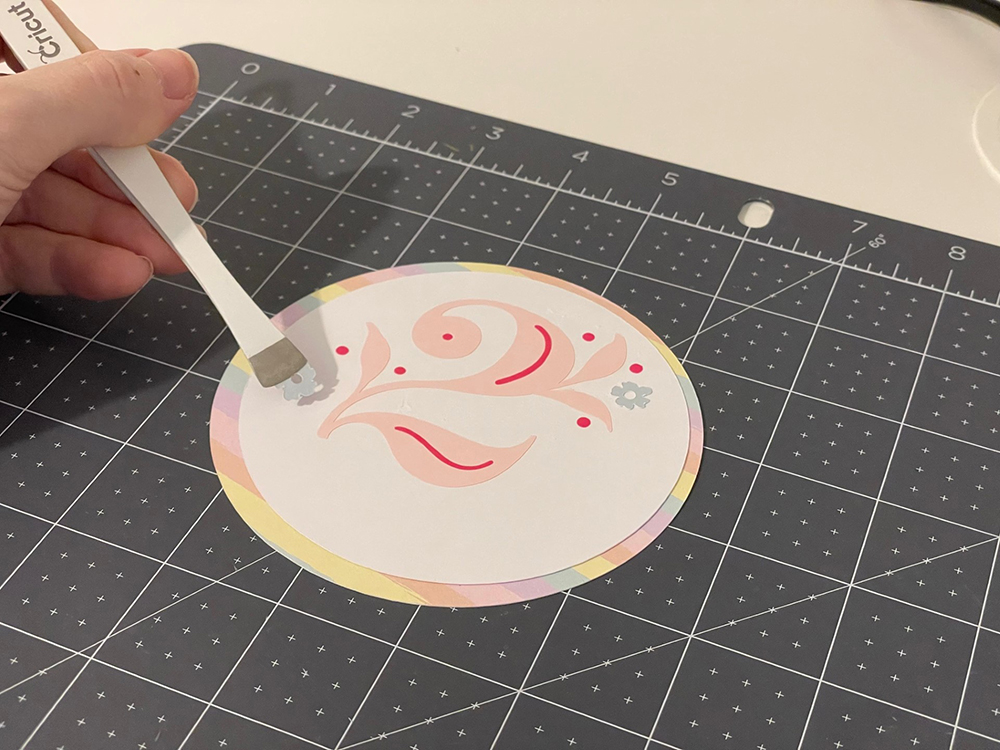
Step 3 – weeding and layering the vinyl
Using your weeding tool, remove the excess vinyl around the 2 types of vinyl. I chose to put a darker pink vinyl on top of a light pink vinyl, and applied them together using transfer tape and a scraper tool. With this project you can easily apply the lines and dots on top of the numbers by eye, and it’s best to do this on the vinyl backing paper before applying to your discs.
Top tip: when making a project which involves applying vinyl to cardstock, use scraps of transfer tape from other projects – I recommend this because the tape is less sticky and won’t damage your cardstock. Alternatively, if you only have ‘new’ or ‘fresh’ transfer tape to hand, you can de-stick it by rubbing on your jeans or similar, which will make sure you don’t rip your card.
The end result will be the two layers of vinyl together, with your transfer tape on top ready to adhere to your cardstock discs.
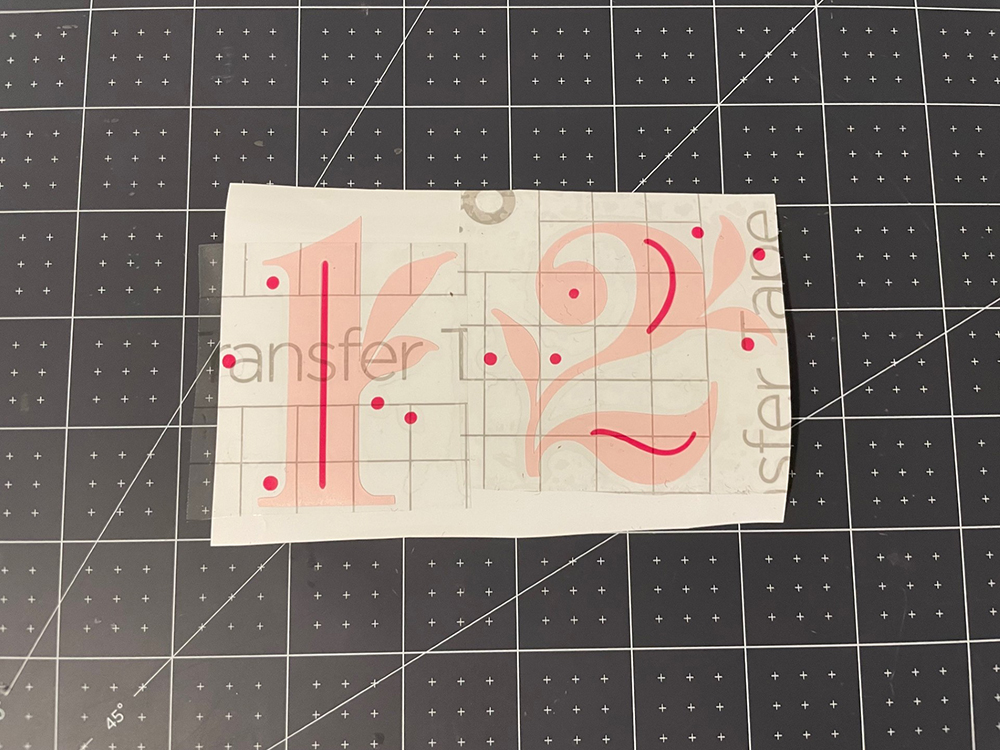
Step 4 – apply the vinyl numbers to the cardstock discs
Again with your scraper tool, make sure both layers of vinyl stick to the transfer tape then peel from the backing paper and stick the numbers to your cardstock discs. I like working with my tabletop Cricut cutting mat because it also doubles up as a ruler to help with applying materials as central as possible (but it doesn’t need to be perfect)!
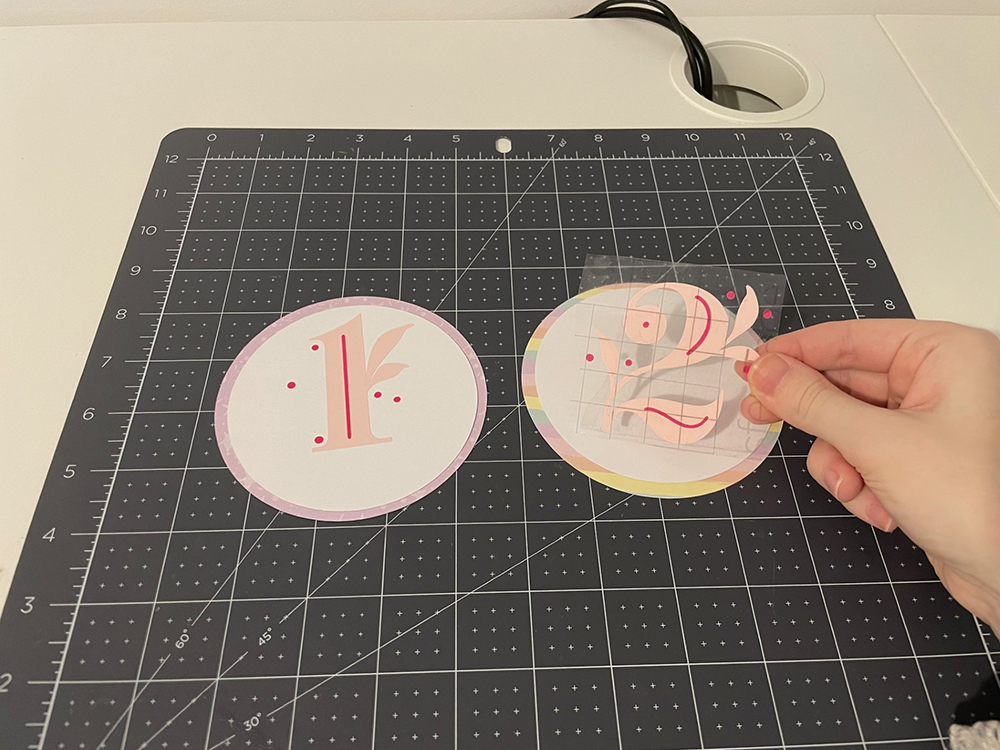
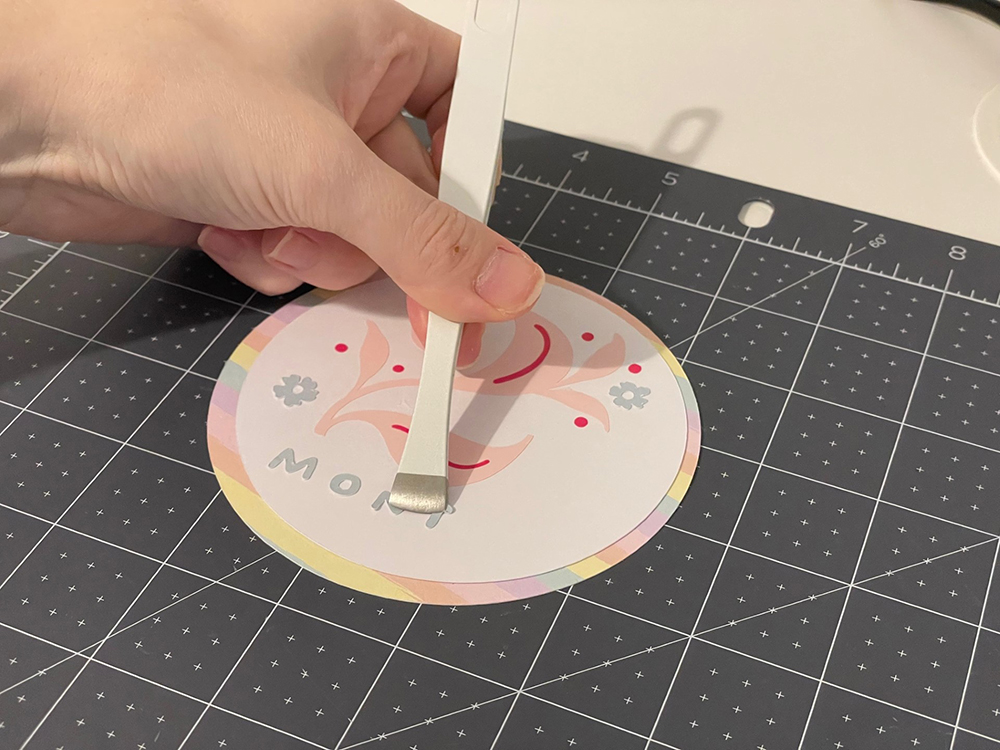
Step 5 – add the smart paper sticker cardstock
With your tweezers (or just using your fingers) you can easily peel the flowers and text off the sticker cardstock backer, and apply directly onto the cardstock discs!
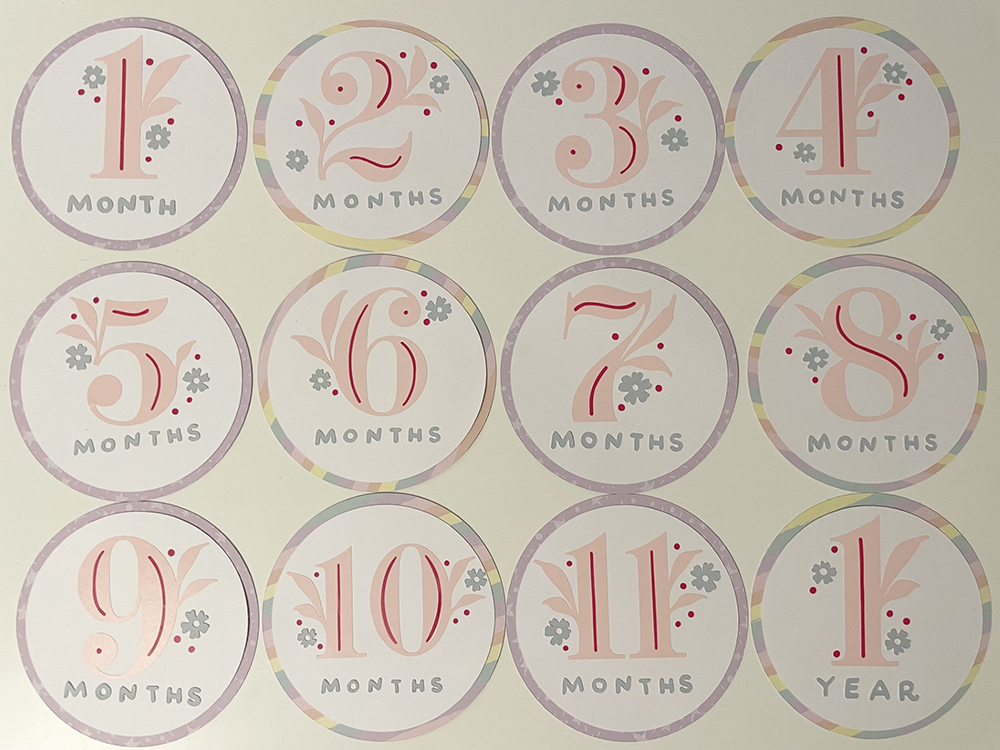
You now have a full set of baby milestone cards! I am so excited to take photographs of our baby girl alongside these every month. It will be lovely to capture her growth throughout this time, although I’m very much expecting it to be an extremely emotional journey!
For more baby inspiration projects, you can find me on Instagram and TikTok @craftwithjess and follow my design space profile.
More of Jess’s projects
Here’s one more newborn project she shared that we’re sure will be a hit with mums-to-be:
Thanks to Jess for sharing, now it is your turn
We’re thrilled to see your projects too. Remember to share your creations on social media by tagging @cricut_uk on Instagram and TikTok – we can’t wait to see them!
Also, don’t forget to share your projects with our vibrant community on Design Space by publishing it live. Need guidance on how to publish and share projects? Find all the details right here.
At Cricut, we’re constantly inspired by innovative ideas like Jess’s projects, and we’re eager to see your imaginative ideas too!