Cricut Joy Tutorial: Halloween Trick or Treat Bags using Smart Materials
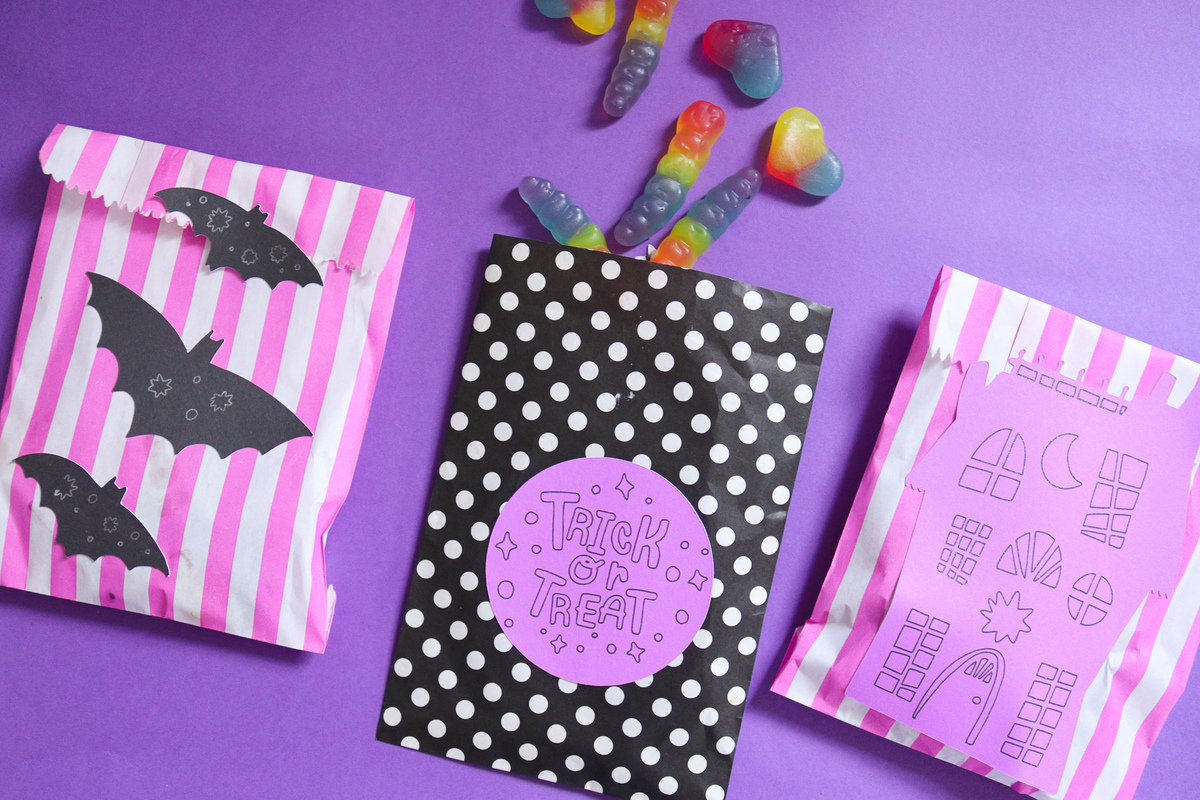
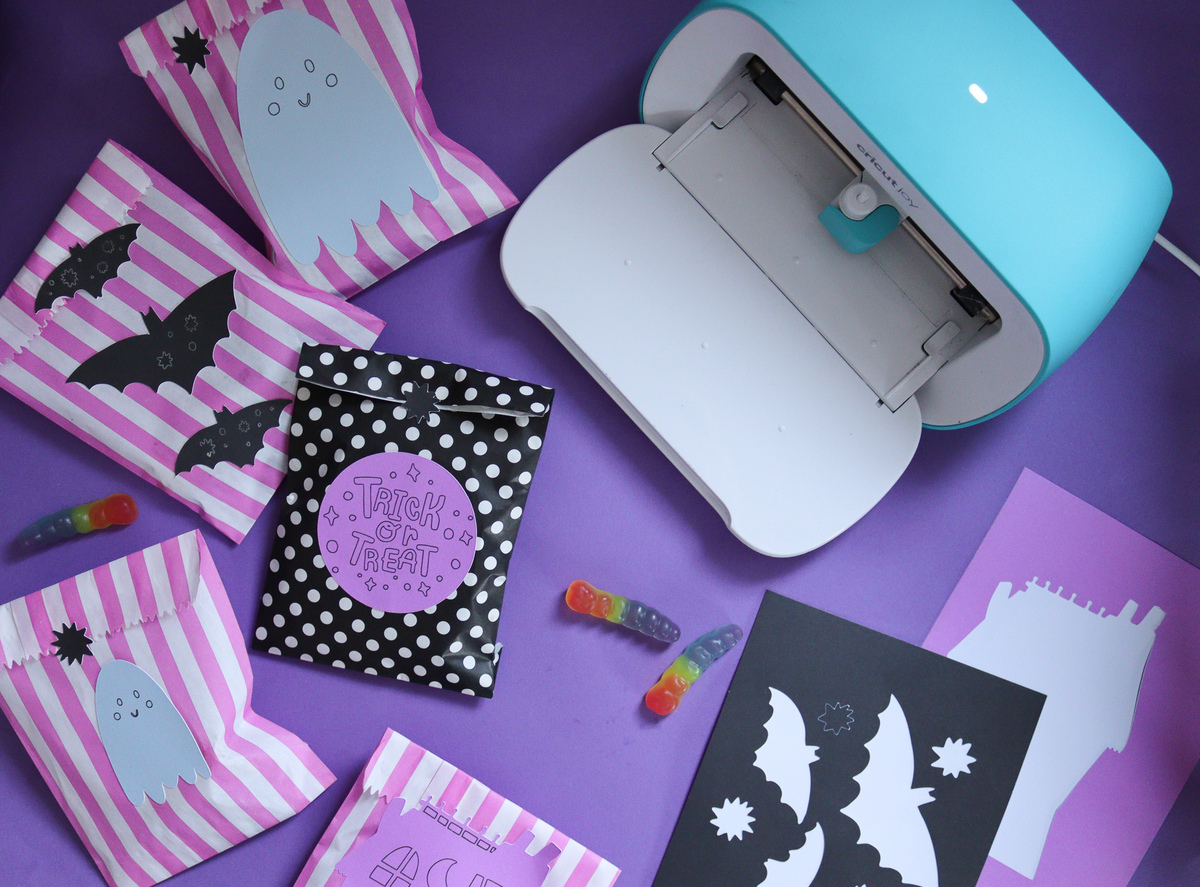
Create the cutest trick-or-treat party bags with this super simple DIY! Cricut Joy™ Smart paper Sticker Cardstock is great for making adorable stickers for quick projects like this one. Simply create a design, then let the machine draw and cut a sticker for you which you can use to embellish treats for any ghoulish guests that drop in this Halloween.
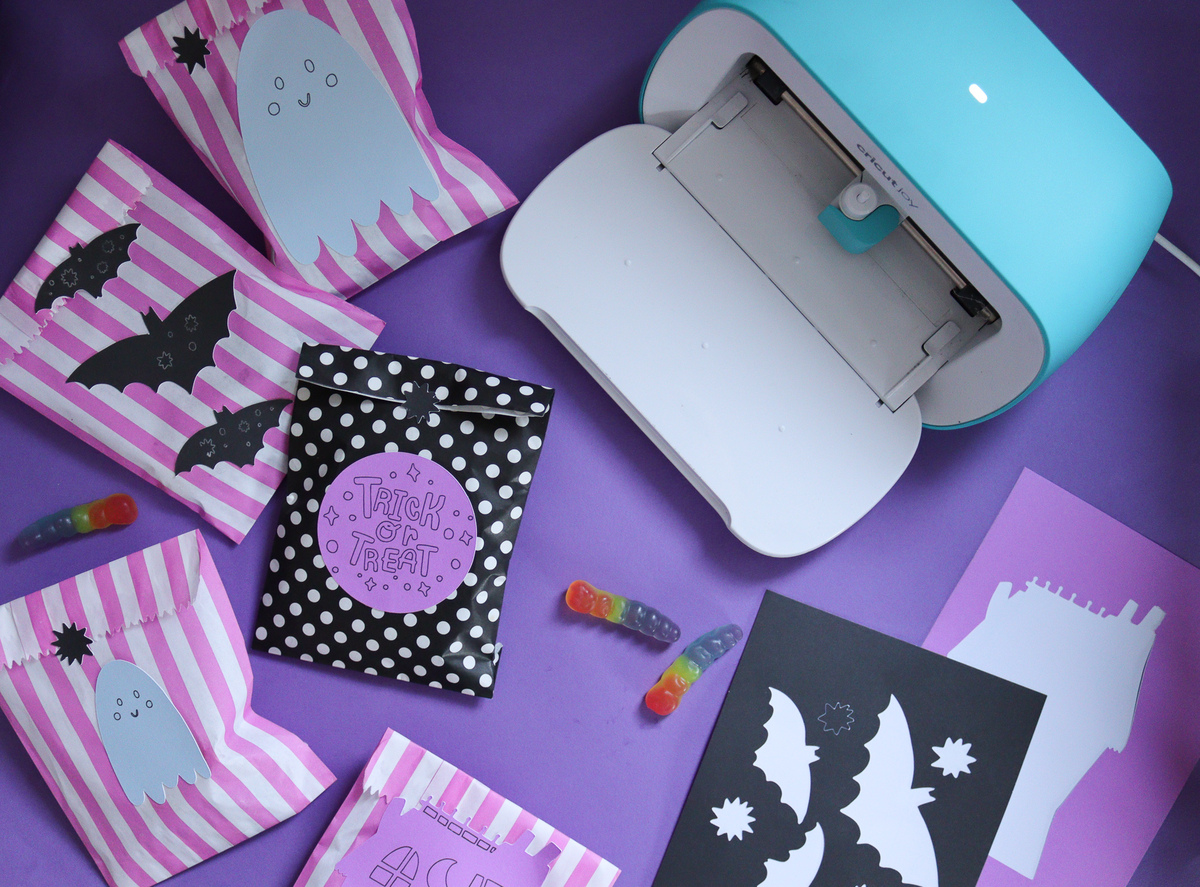
You will need:
· Cricut Joy™ Smart paper Sticker Cardstock Pastels
· Cricut Joy™ Smart Paper Sticker Cardstock Black
· Cricut Joy™ Glitter Gel Pens Black and Silver
· Paper Bags
· Sweets and Treats
How to make:
Design
To start, open up a new project in Cricut Design Space and add a selection of Halloween images to the canvas.
Add some shapes such as circles to the canvas to make the sticker shape or use the offset tool on each image to make your sticker later. Then change the Halloween design to draw and attach it to the shape.
You can also duplicate the Halloween images, then change one to draw, before attaching it on top of the cut image. Use the contour tool to remove the outline on the drawn shape and the detail from the cut shape, this will create a sticker cut in the shape of the image with the detail drawn on top.
Once the design is complete head to make it, select Smart Paper Sticker Cardstock as your material.
Make It
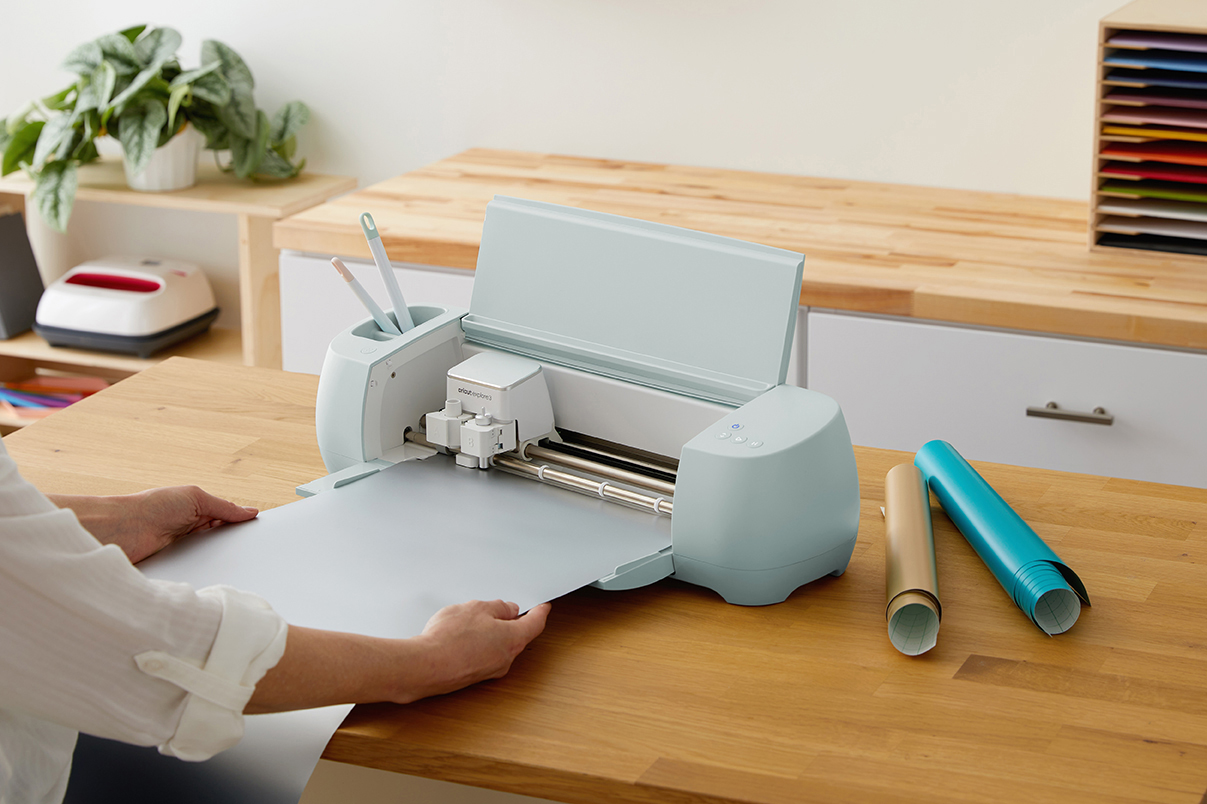
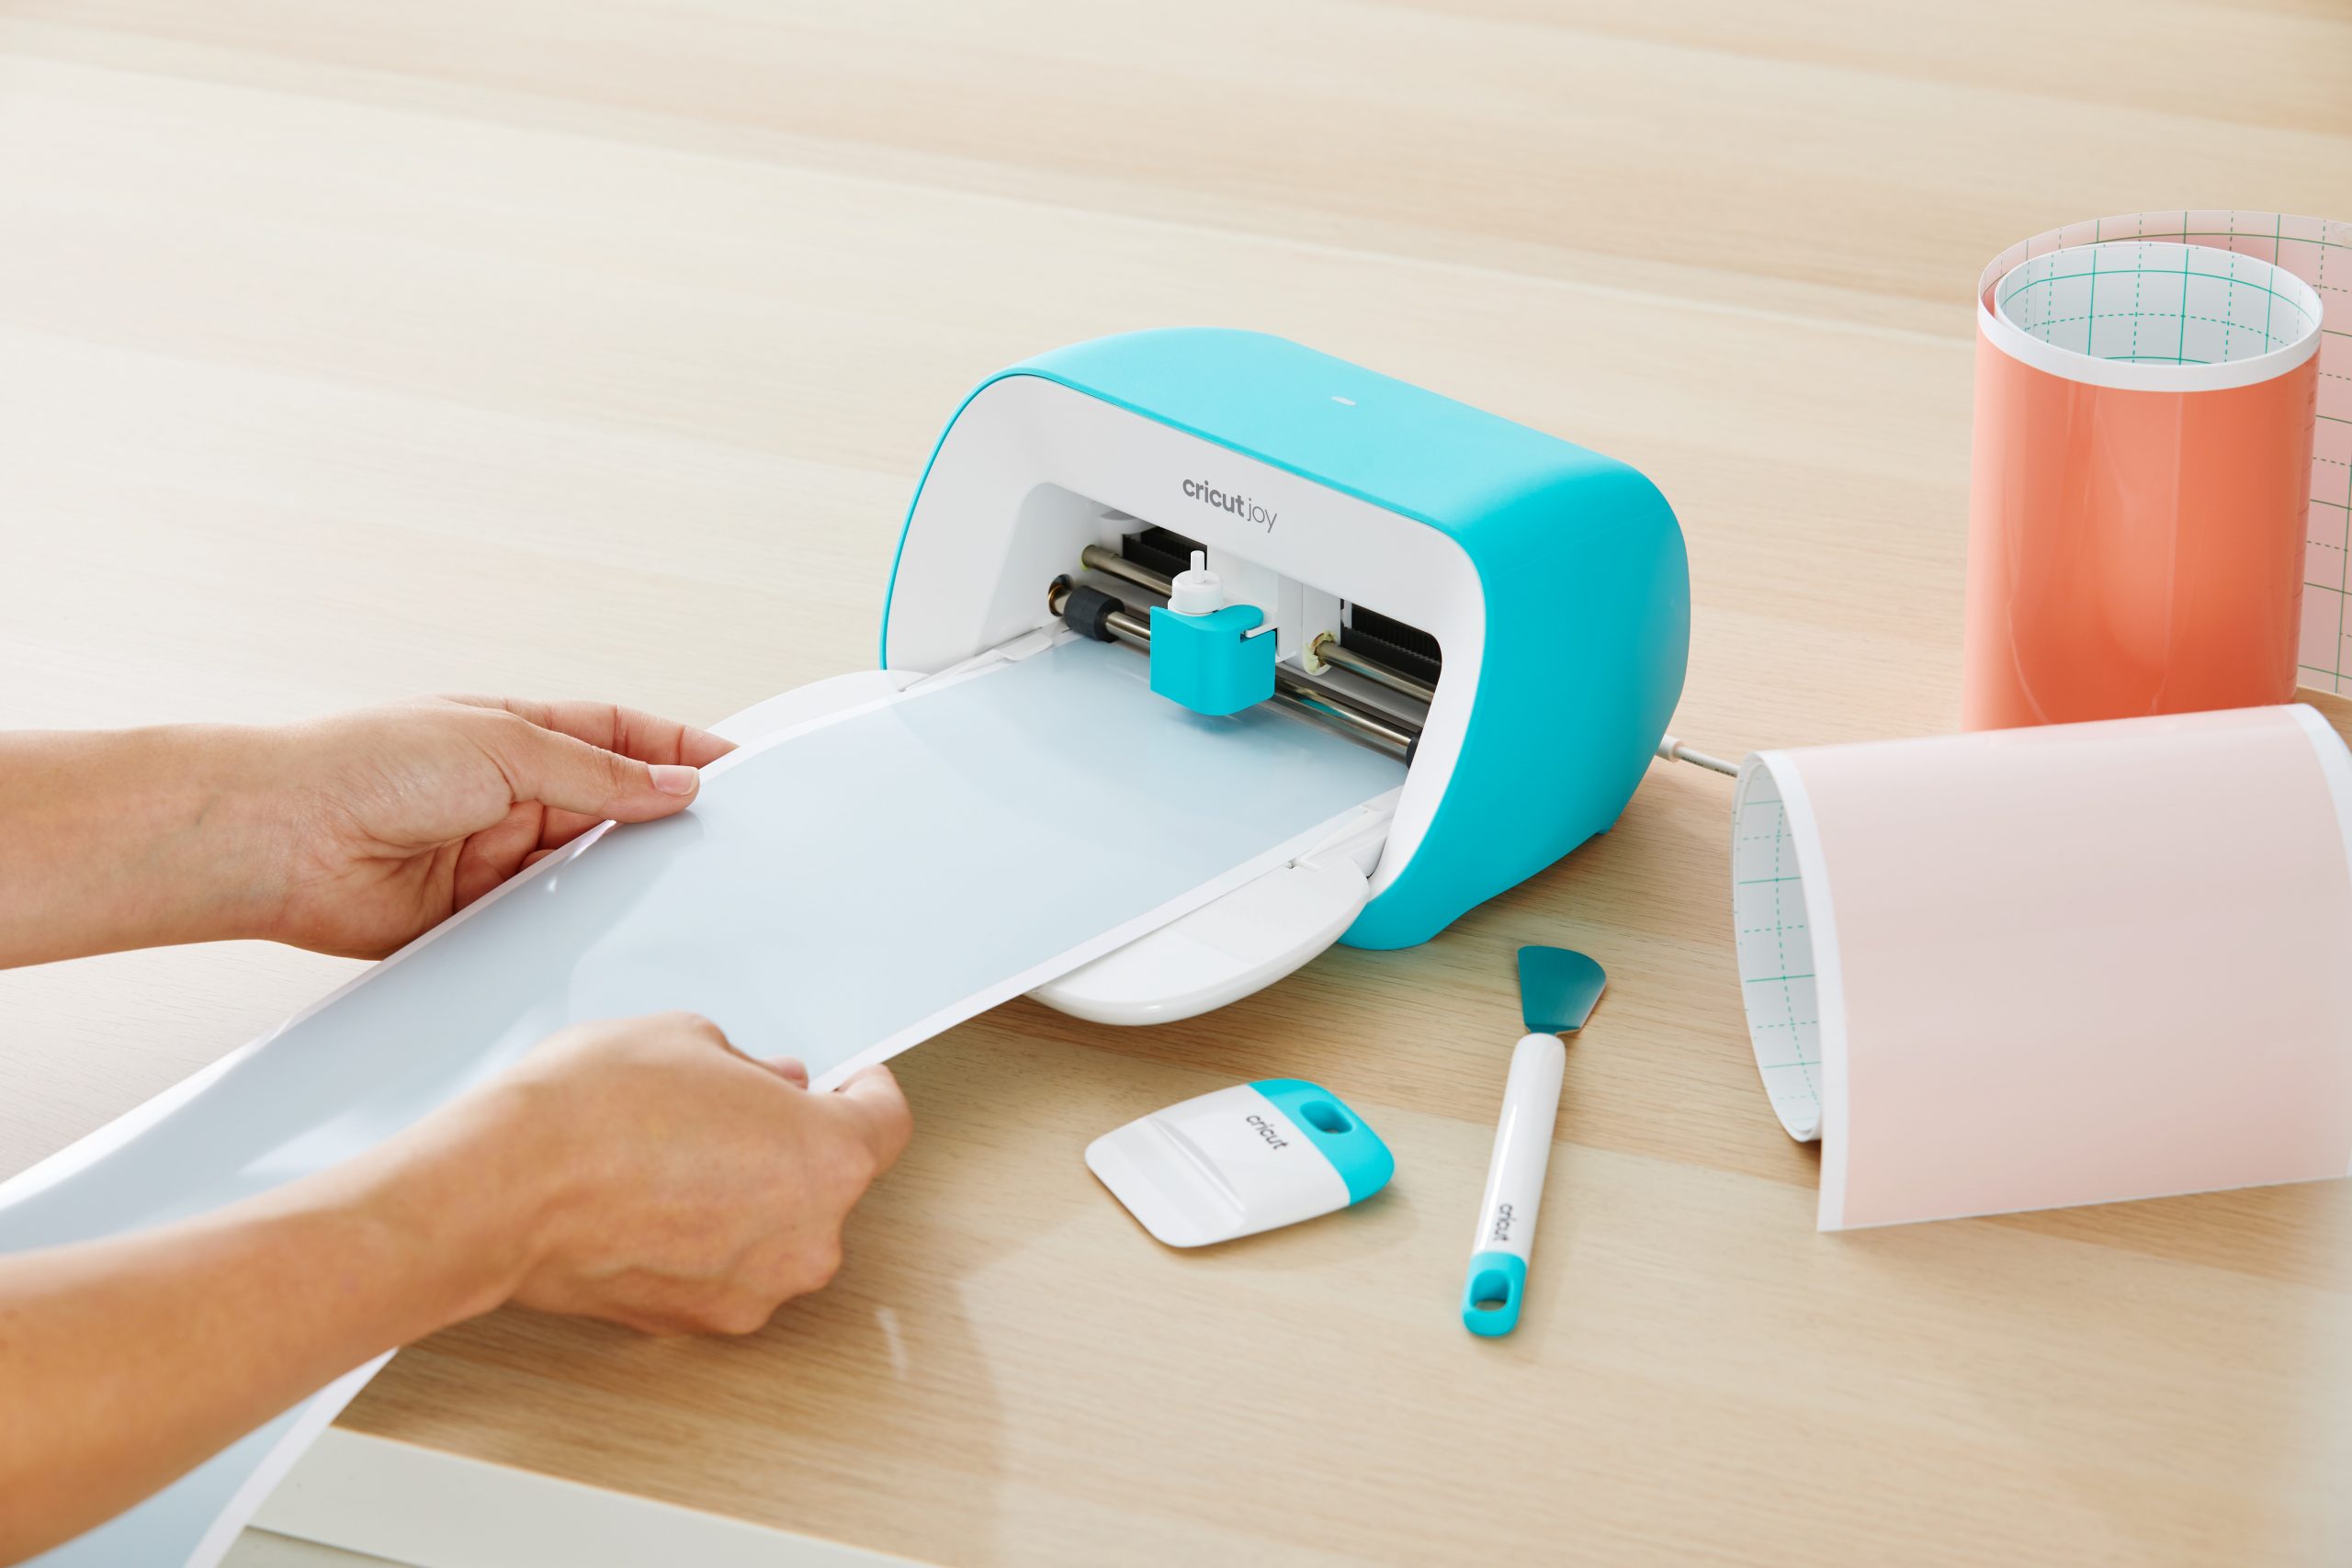
Next load a sheet of smart paper sticker cardstock face up into the machine. Then insert your pen into the clamp and start drawing.
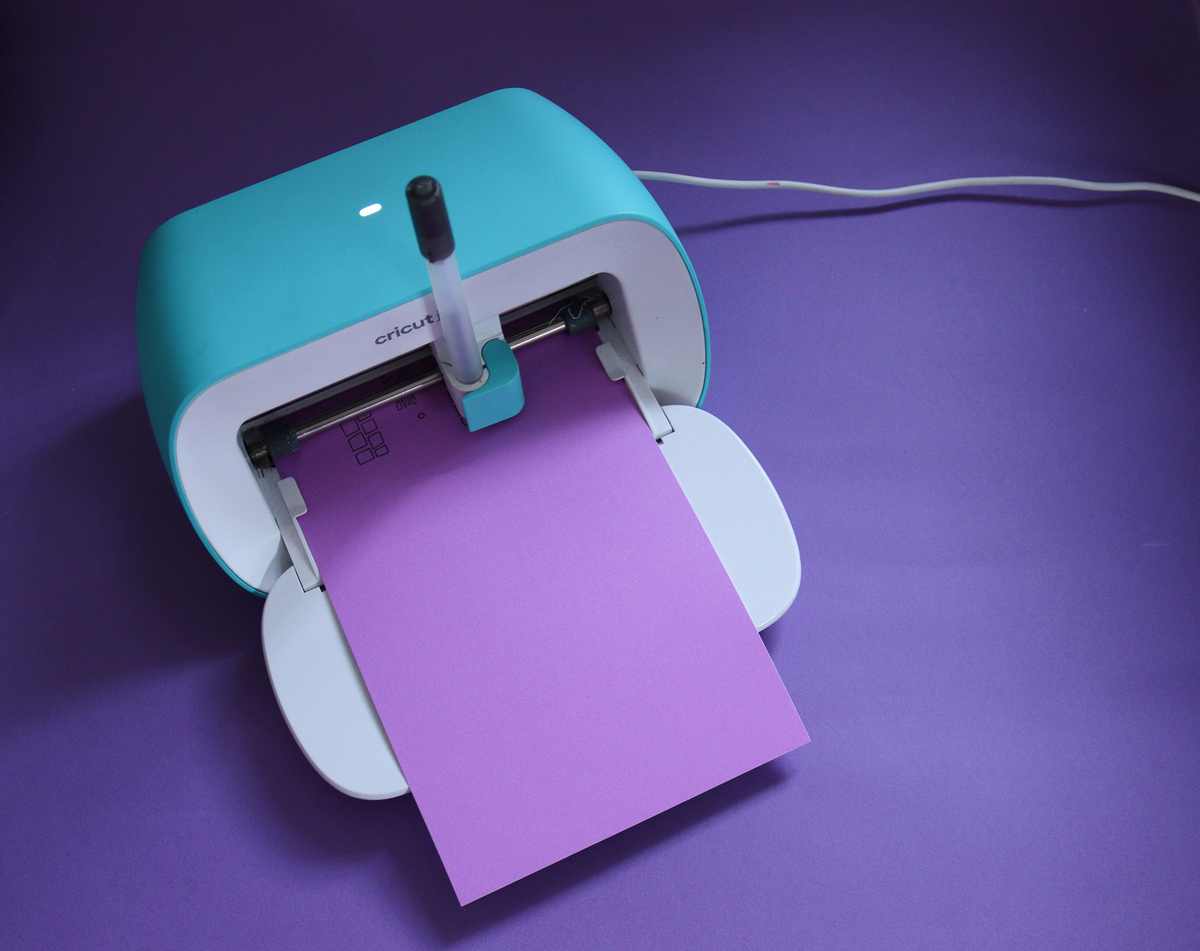
Once the machine has finished drawing, follow the prompt on the screen to change the pen for the blade and start cutting.
Time to assemble
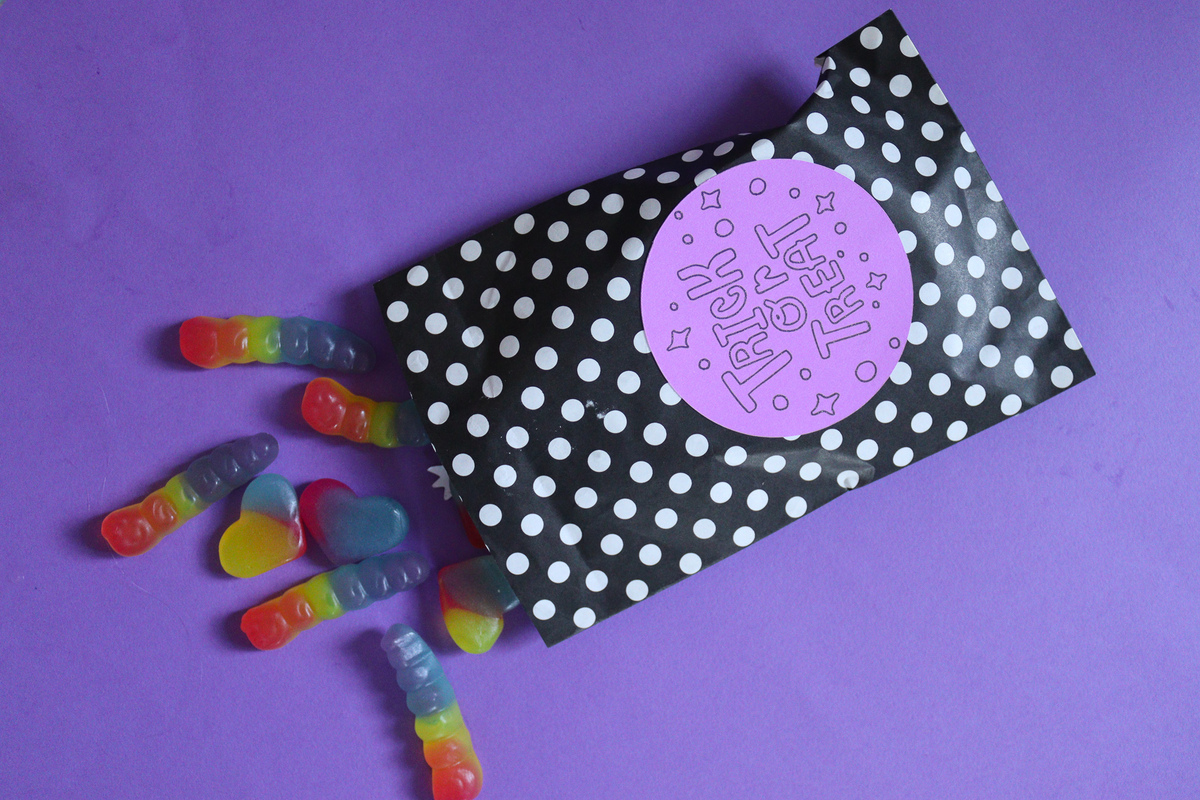
Once all of your stickers are complete, peel the stickers from the sheet and stick onto paper treat bags.
Fill the bags with sweets and seel with another sticker! These are now ready to hand out to Trick or Treaters!
Find more spooky inspiration on the blog and on our TikTok and Instagram channels.
Sharing a project? Make sure to tag @cricut_uk.


