DIY giant paper daisies
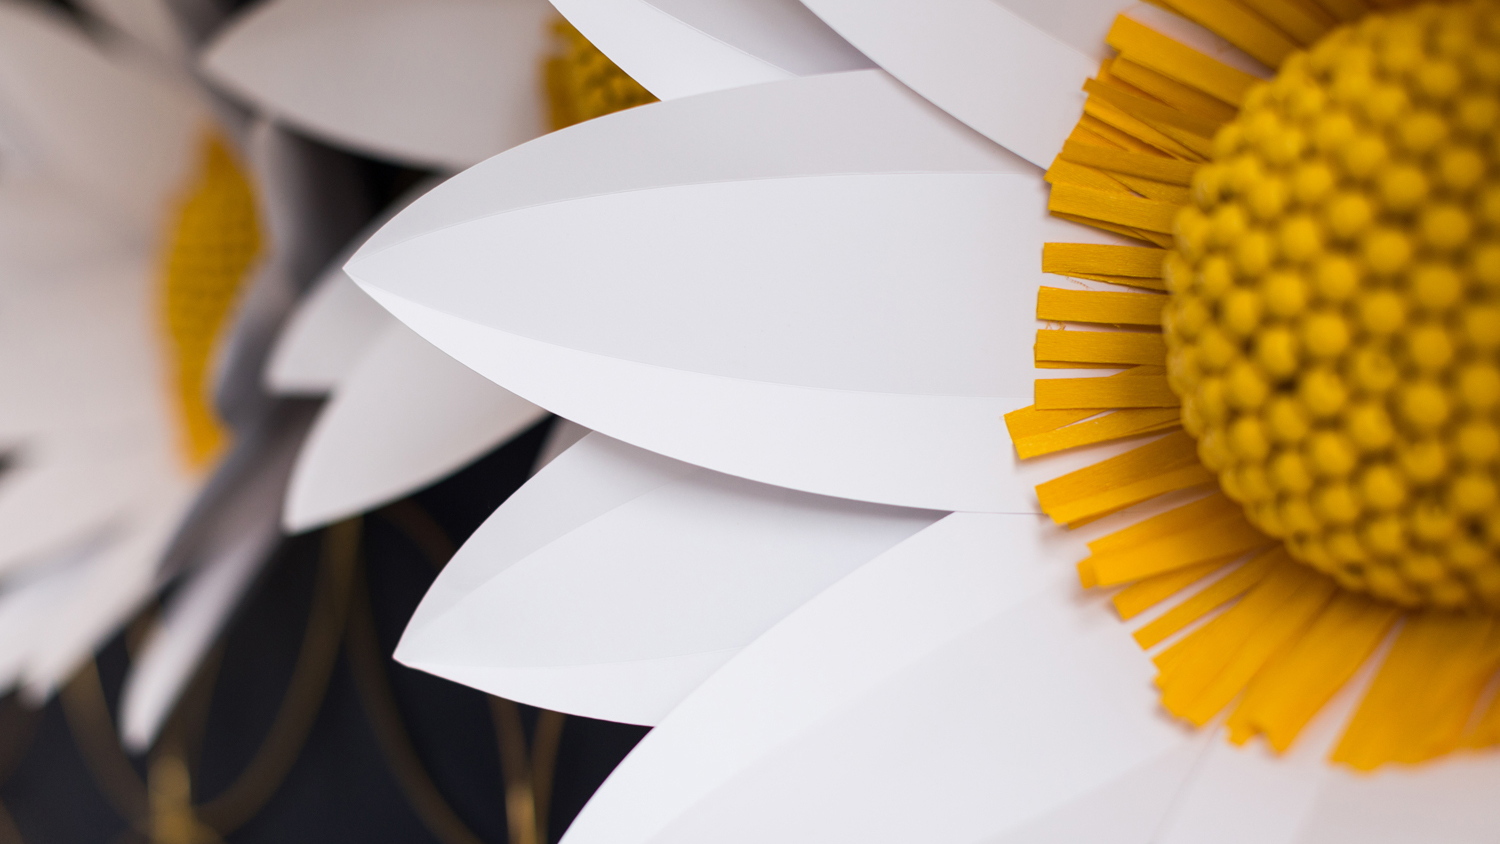
Spring has always been my favorite season. It’s a time that everything wakes up from the long winter’s nap. Flowers just seem to be the most colorful and abundant in the spring. But this year, nature has turned its back on me. It’s cloudy most days and I have yet to see more than a daffodil or two. Because I’m not a patient person, I take matters into my own hands and bring spring to life with these giant paper daisies.
The more you pay attention to the details of a flower, the more real you can make it seem. We decided to use wooden beads on a half foam dome surrounded by crepe paper fringe to create more texture and depth to each of our daisies. I’ll let you be the judge, but as for me-I think these daisies are easy to make and incredibly eye-catching.
So, let’s get making!
DESIGN SPACE LINK: Giant Daisies
So, let’s get making!
DESIGN SPACE LINK: Giant Daisies
- Cricut® Maker
- Scoring Wheel
- Cardstock, White
- Crepe Paper
- Foam Form
- Wood Beads
- Hot Glue
- Spray Paint, Yellow
With the second pile, use a small dot of hot glue again, but this time only bring the corner of the slit to about midway to the opposite score line. Gluing the slits at different intervals will allow the petals to lay more naturally as you form the flower later on. Trust me- You’ll thank me for it!
Now it’s time for the center of your daisy! Hot glue each bead to the foam form. I found it easiest and most efficient (which comes in handy when you make a million in a row or 25 as we did) to place a generous amount of hot glue in a straight line starting at the center and working your way out and down, row by row.
How hot your glue gun is will determine how much you can do at once. It’s so frustrating when you’re crafting, and your hot glue cools off and hardens before you get the chance to place your beads. So just go at the pace that suits your glue gun!
It’s ok if your crepe paper is not all the same color because you will be spray painting it later. No one will be the wiser!
Once all 8 petals are glued move on to the 8 petals that were glued midway to the score line. Continue gluing the petals in a circular direction and using a generous amount of hot glue to adhere each petal to the flower.
Happy Making!
Meagan
About Cricut Inspiration
Search How-To
I want to make...
Related Making

5th grade teacher, Nancy Chung reflects on 27 years of teaching
Read More
March Making Challenge: Week 4 Free Designs!
Read More
March Making Challenge: Week 3 Free Designs!
Read More
March Making Challenge: Week 2 Free Designs!
Read More
Make vs. Buy with Cricut
Read More
Celebrate National Craft Month with Cricut’s March Making Challenge!
Read More
Newly engaged this Valentine’s Day? Make your wedding stand out with these custom project ideas
Read More
Be the MVP of your big game party
Read More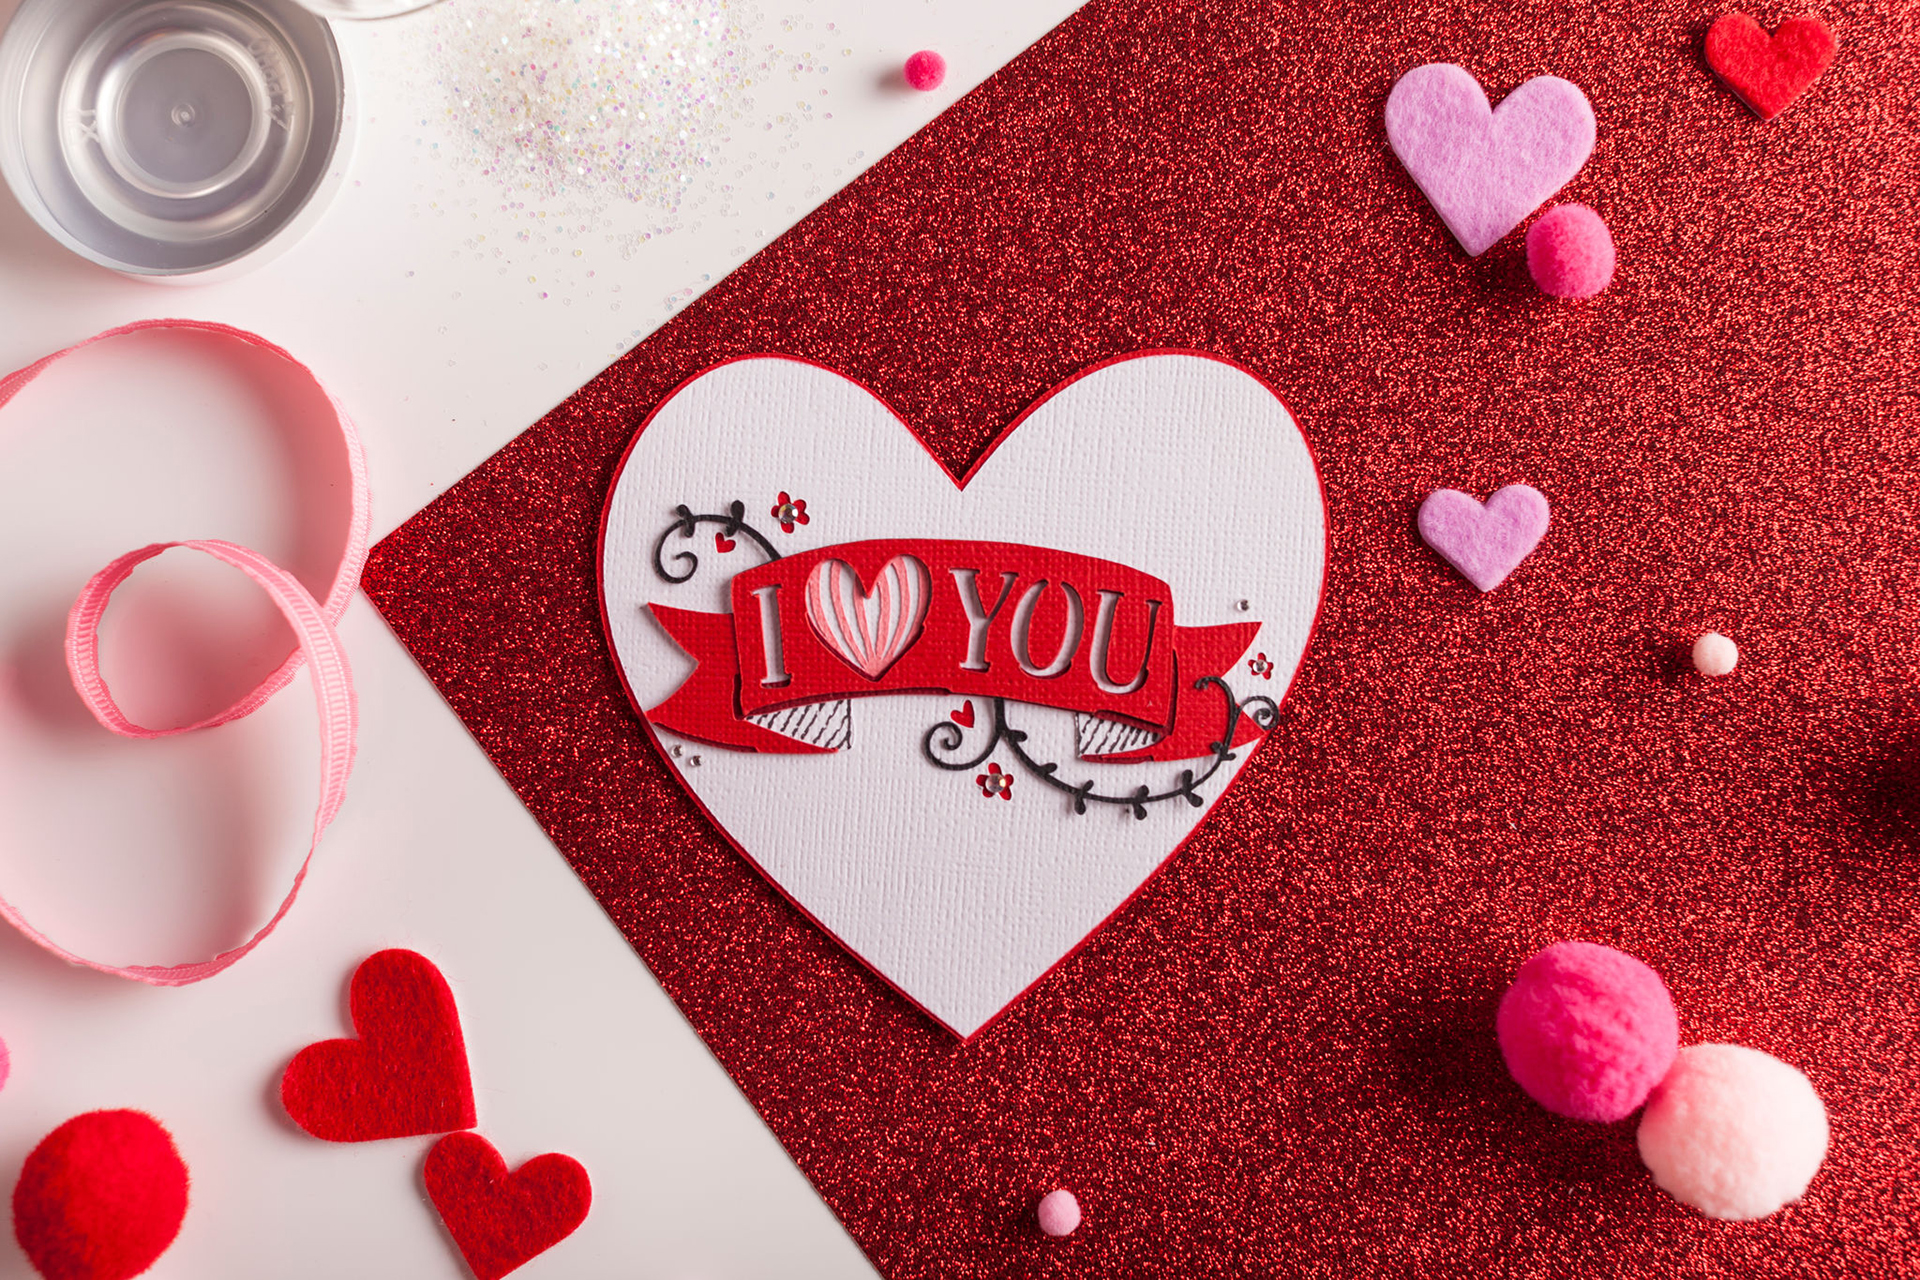
5 paper gifts to make for Valentine’s Day
Read More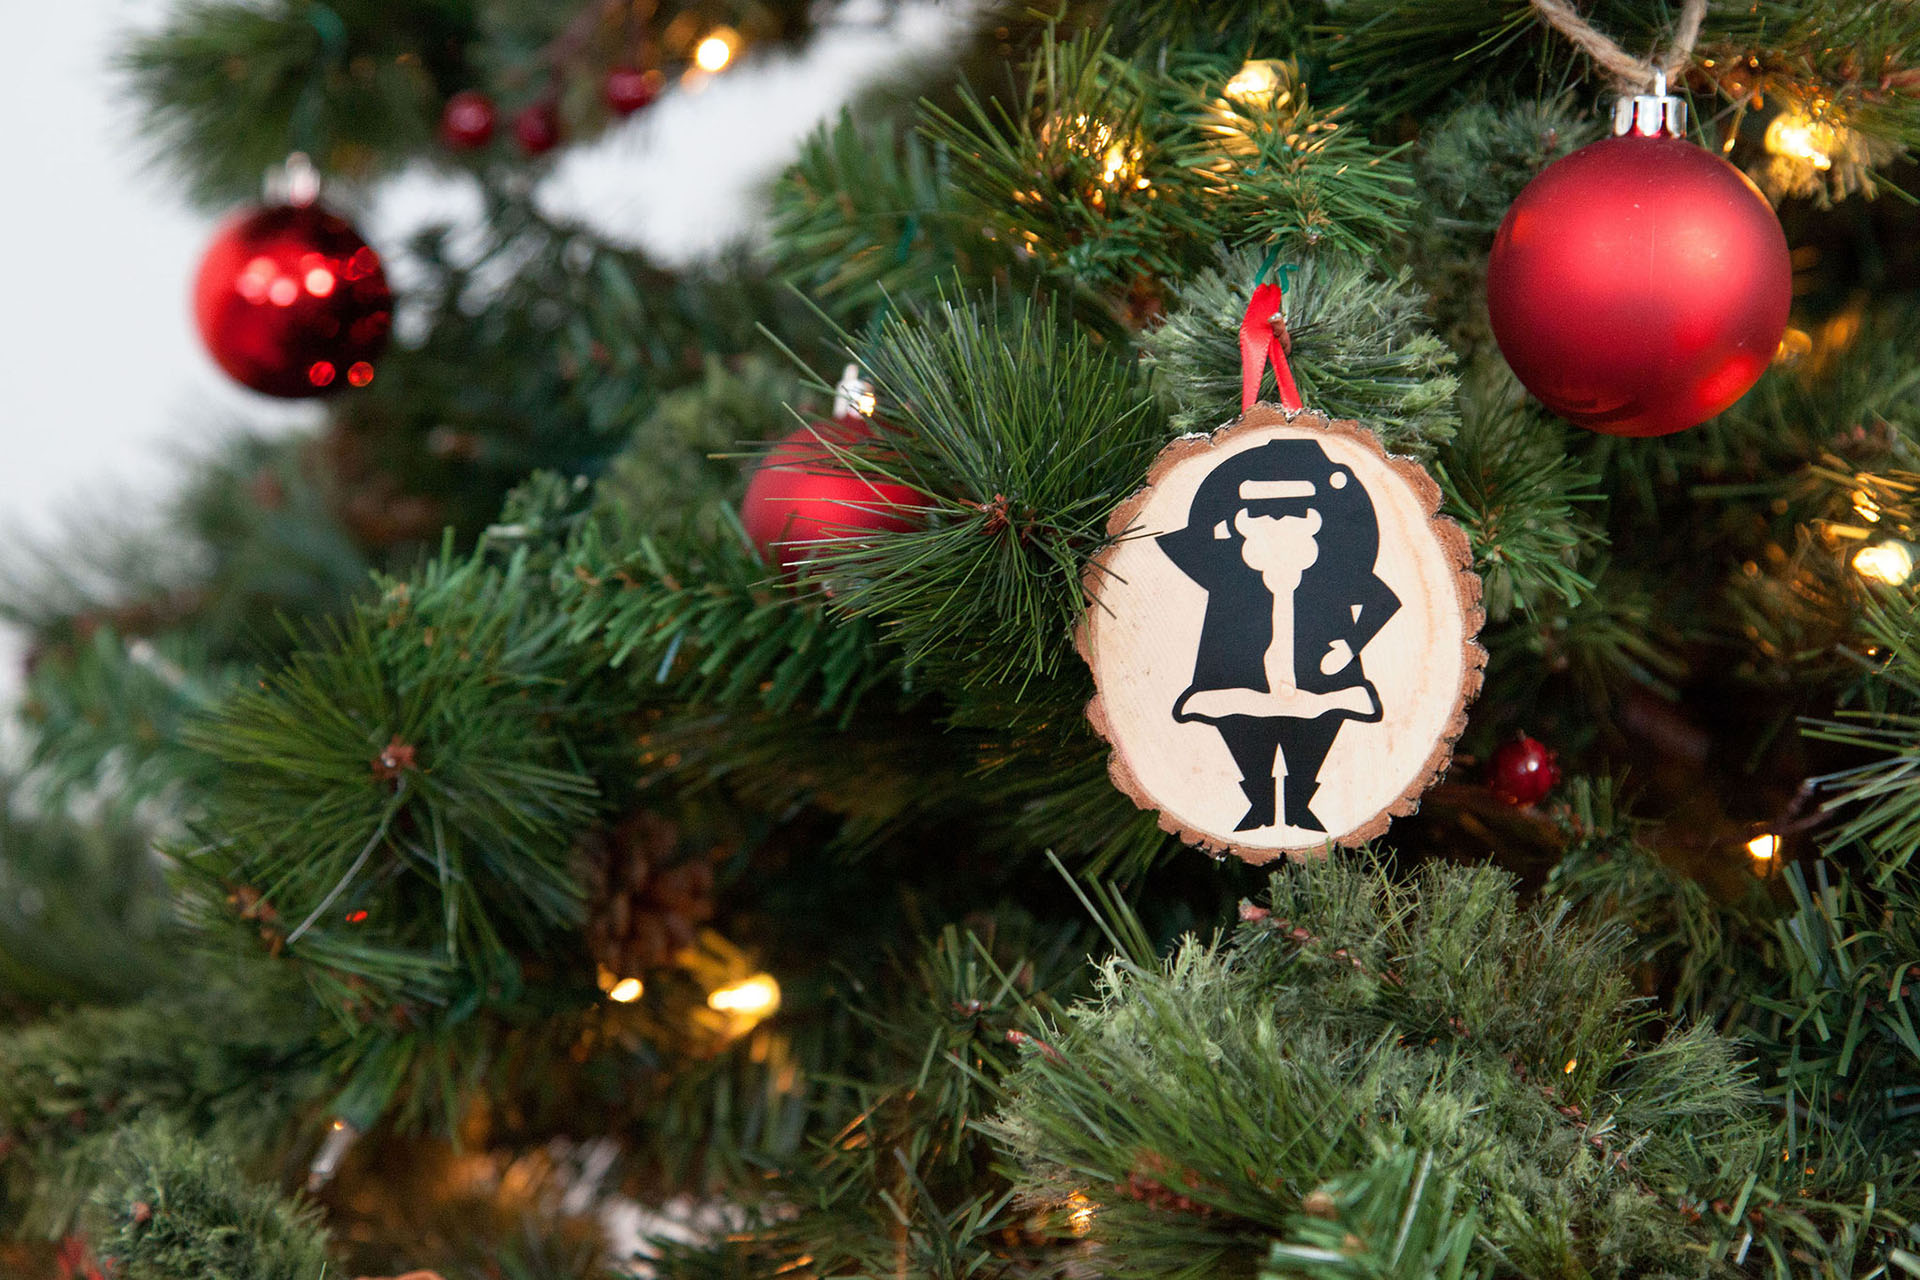
Creative Christmas tree decorating with Cricut
Read More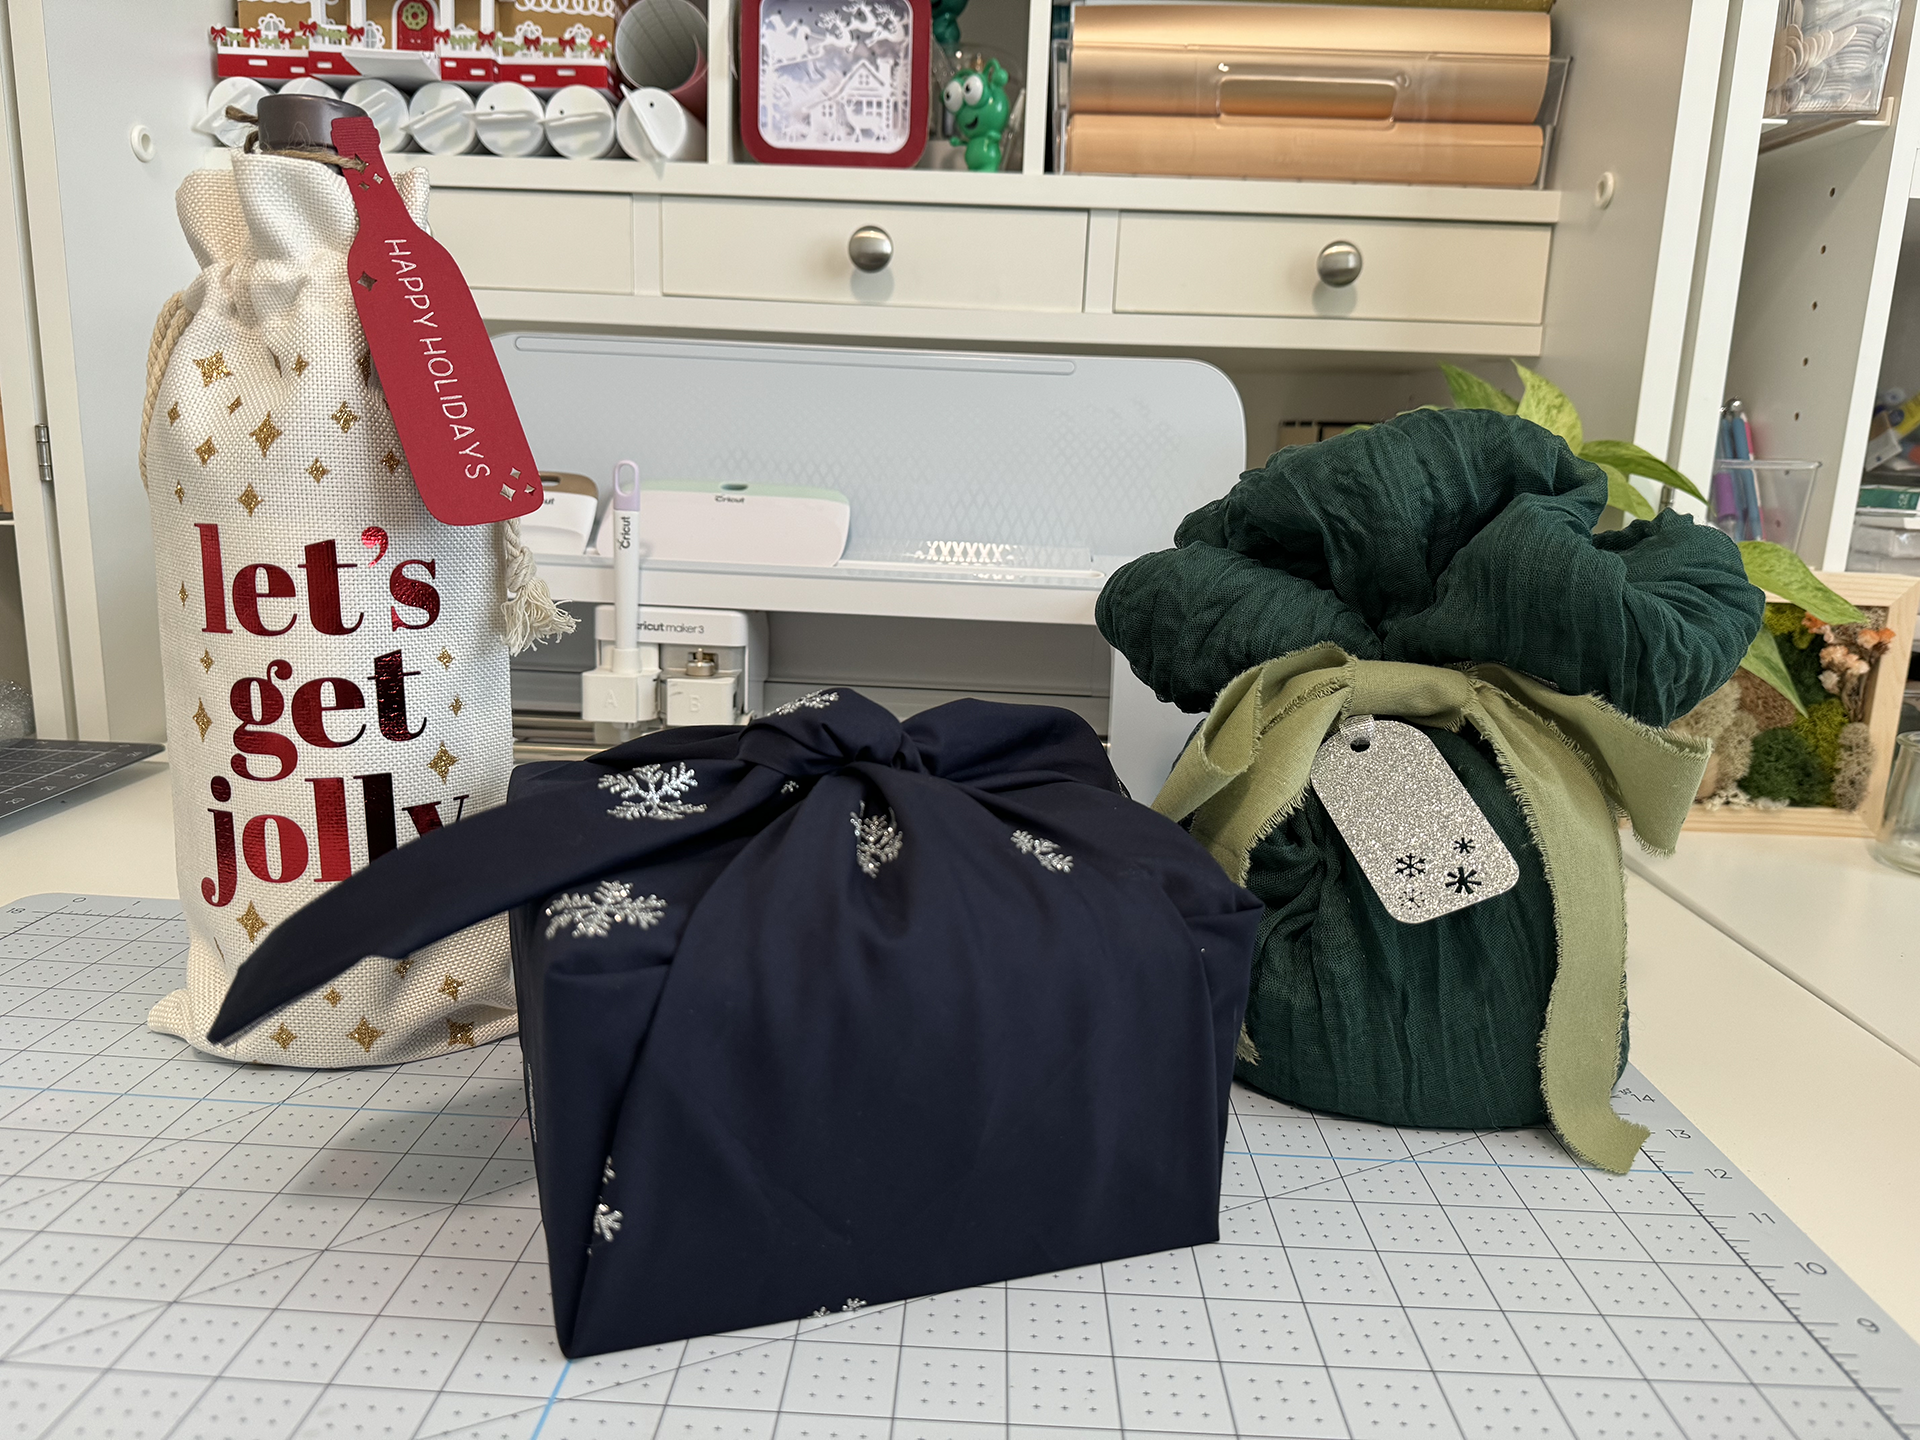
3 unique ways to wrap holiday gifts (that aren’t wrapping paper)
Read More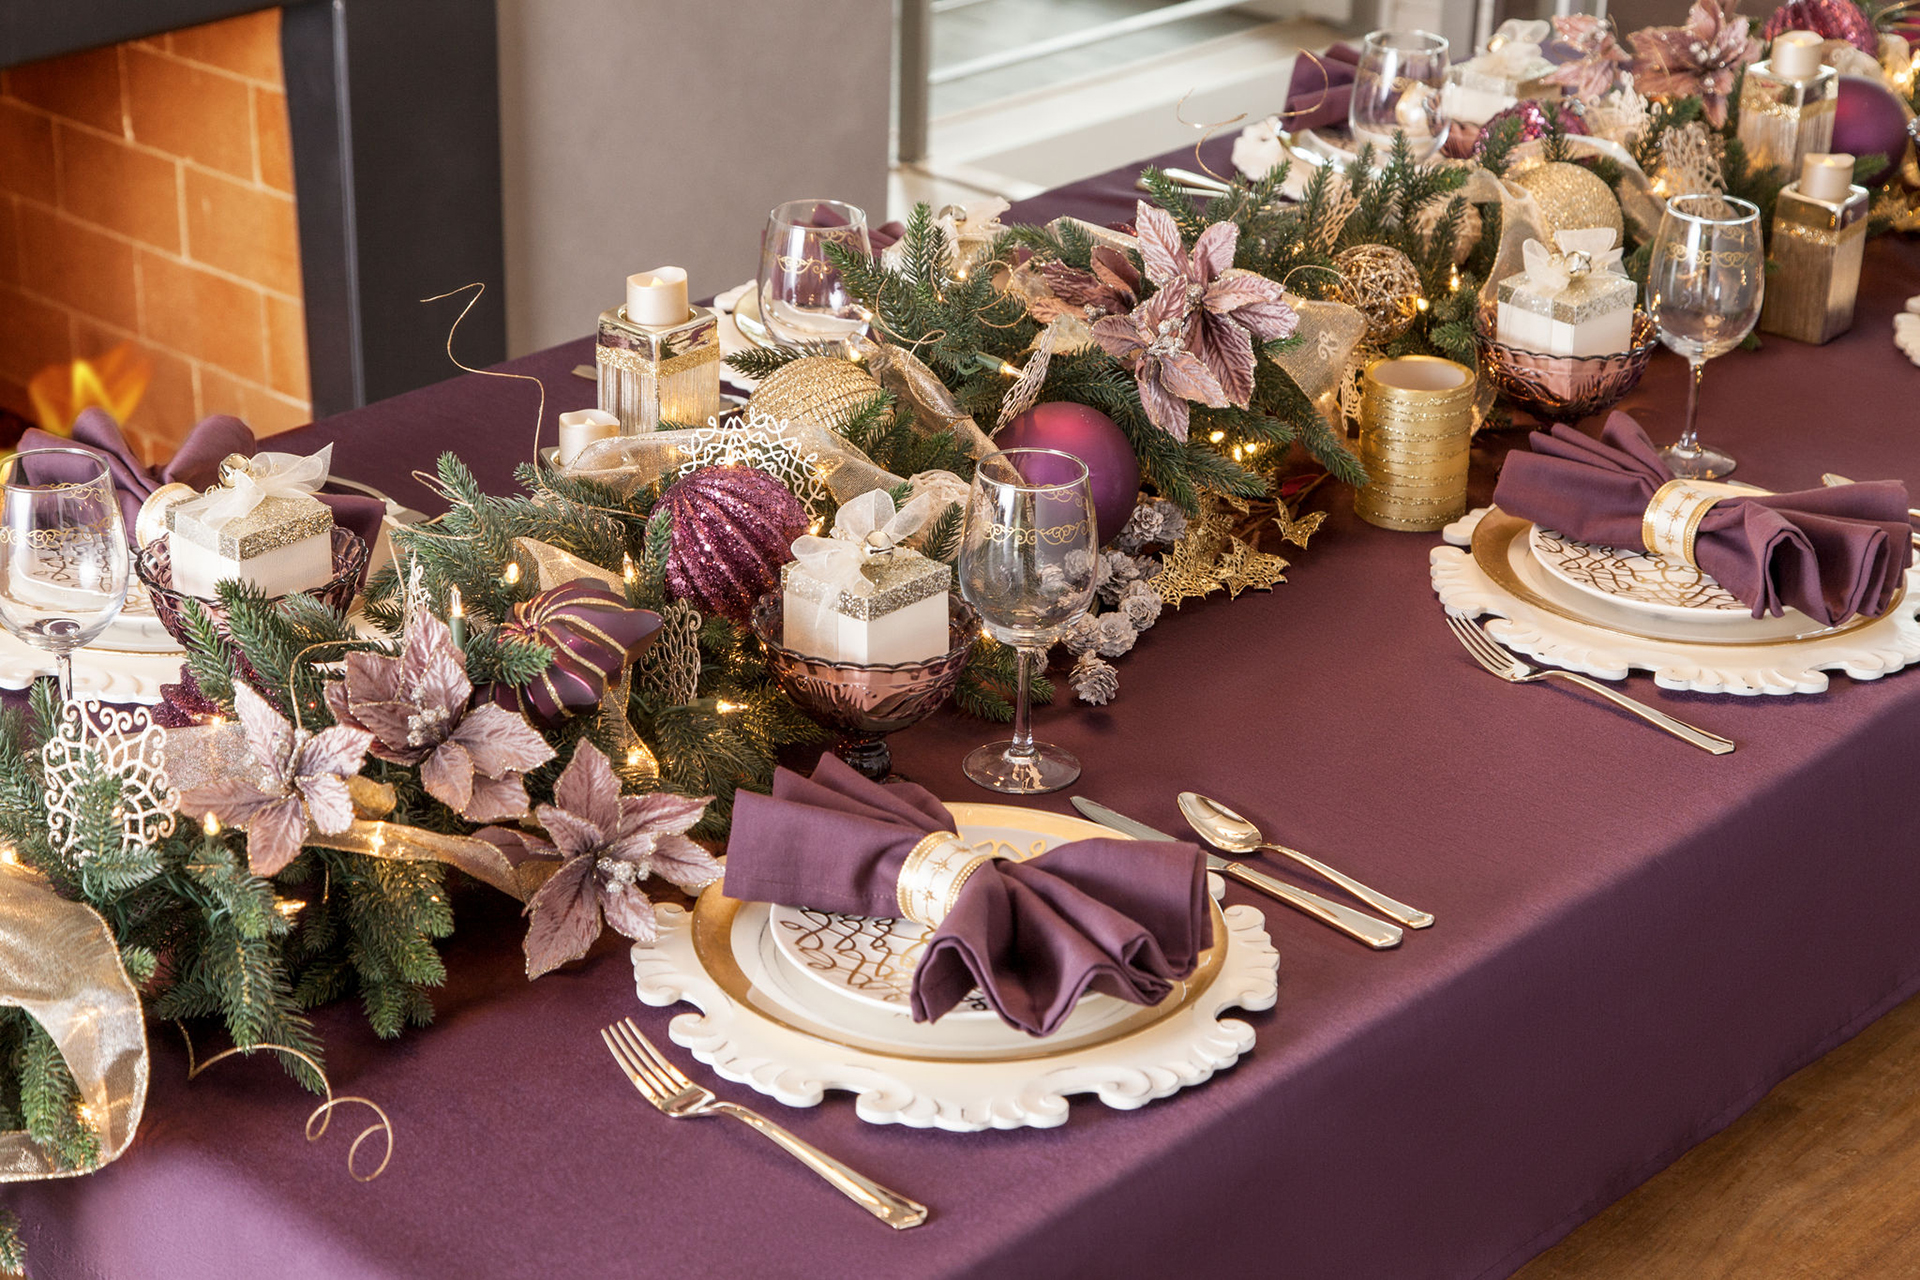
5 ways to elevate your holiday table decor
Read More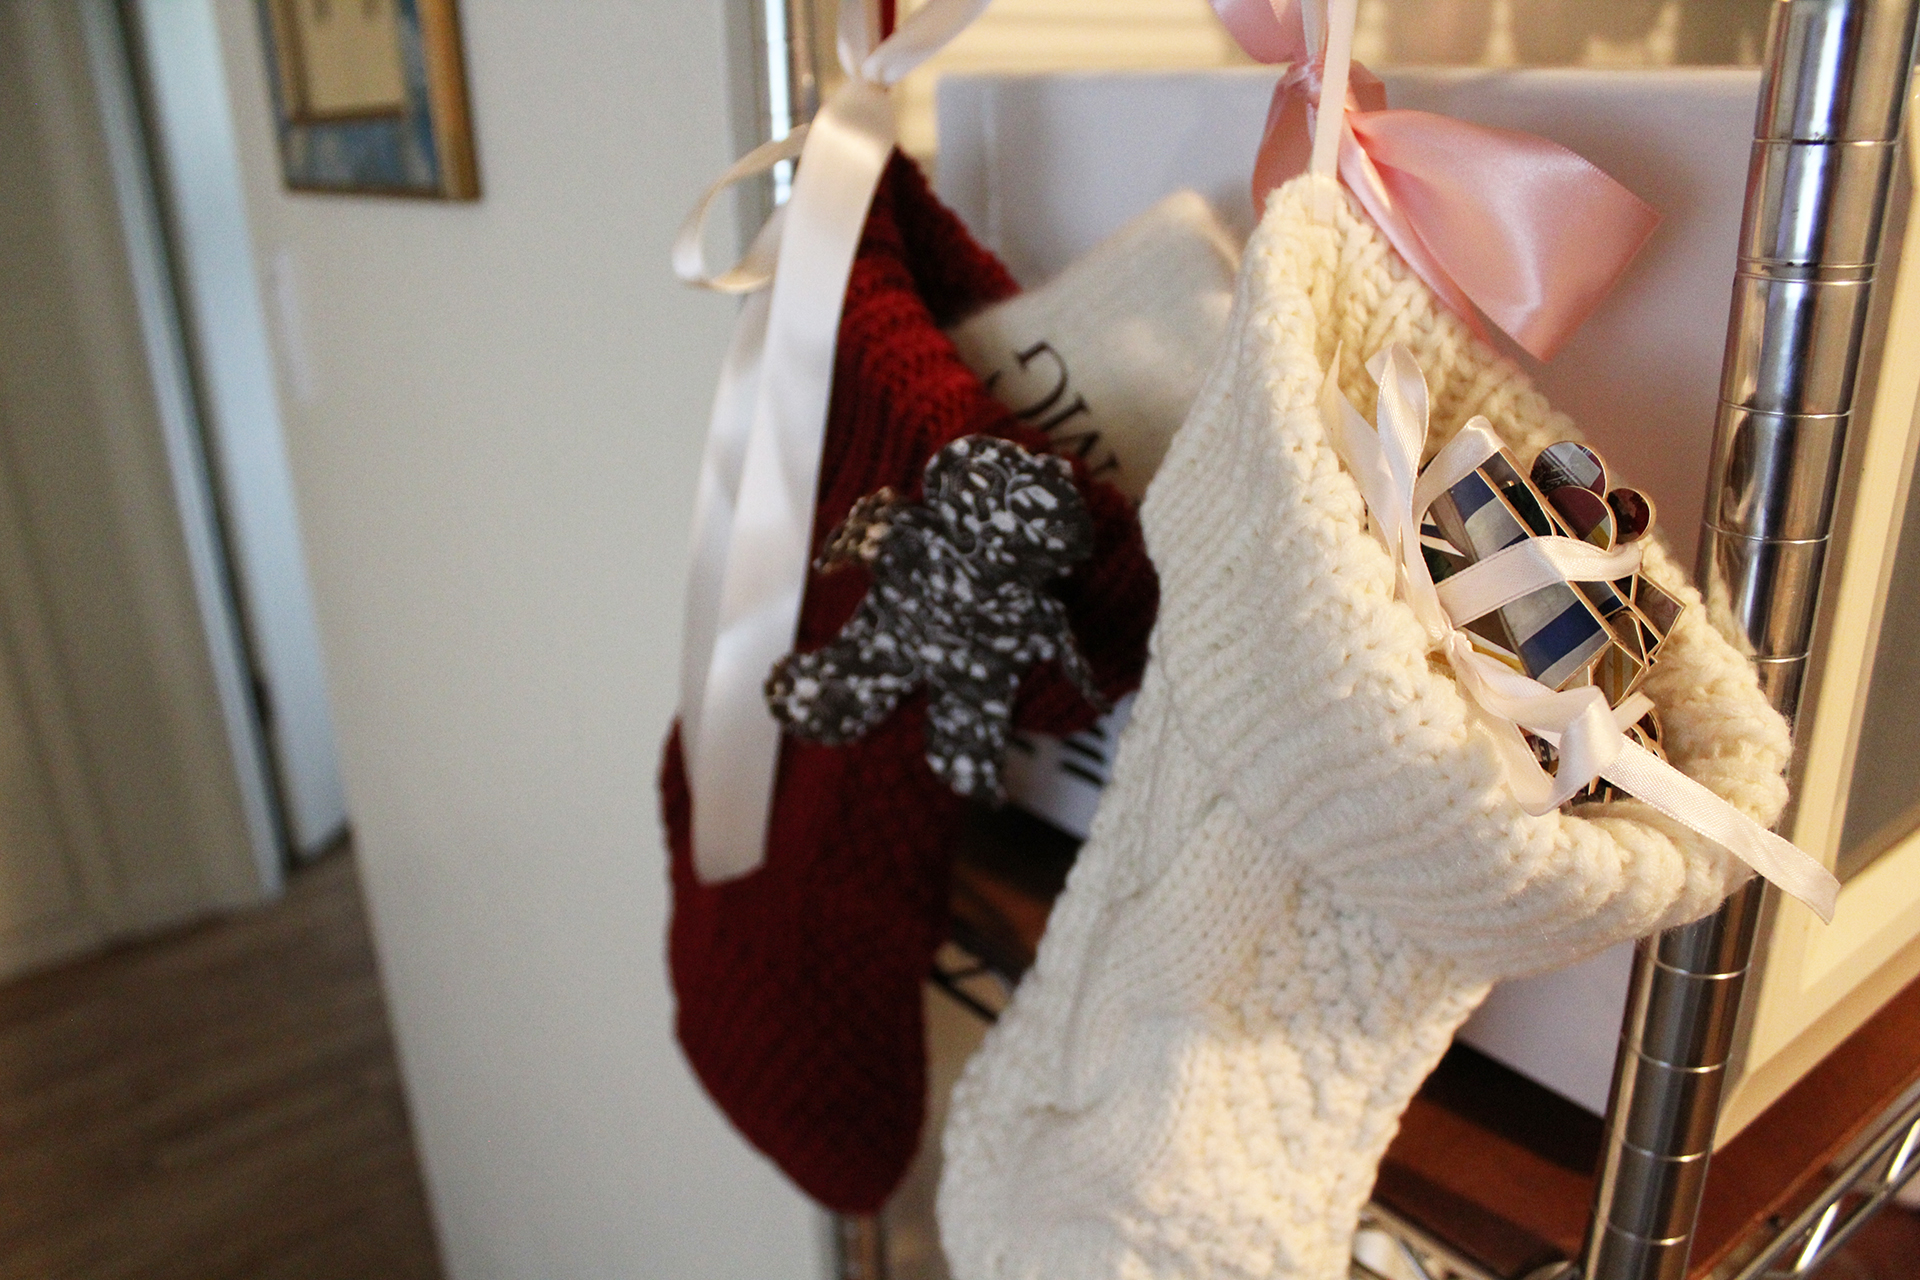
5 DIY stocking stuffers with Cricut
Read More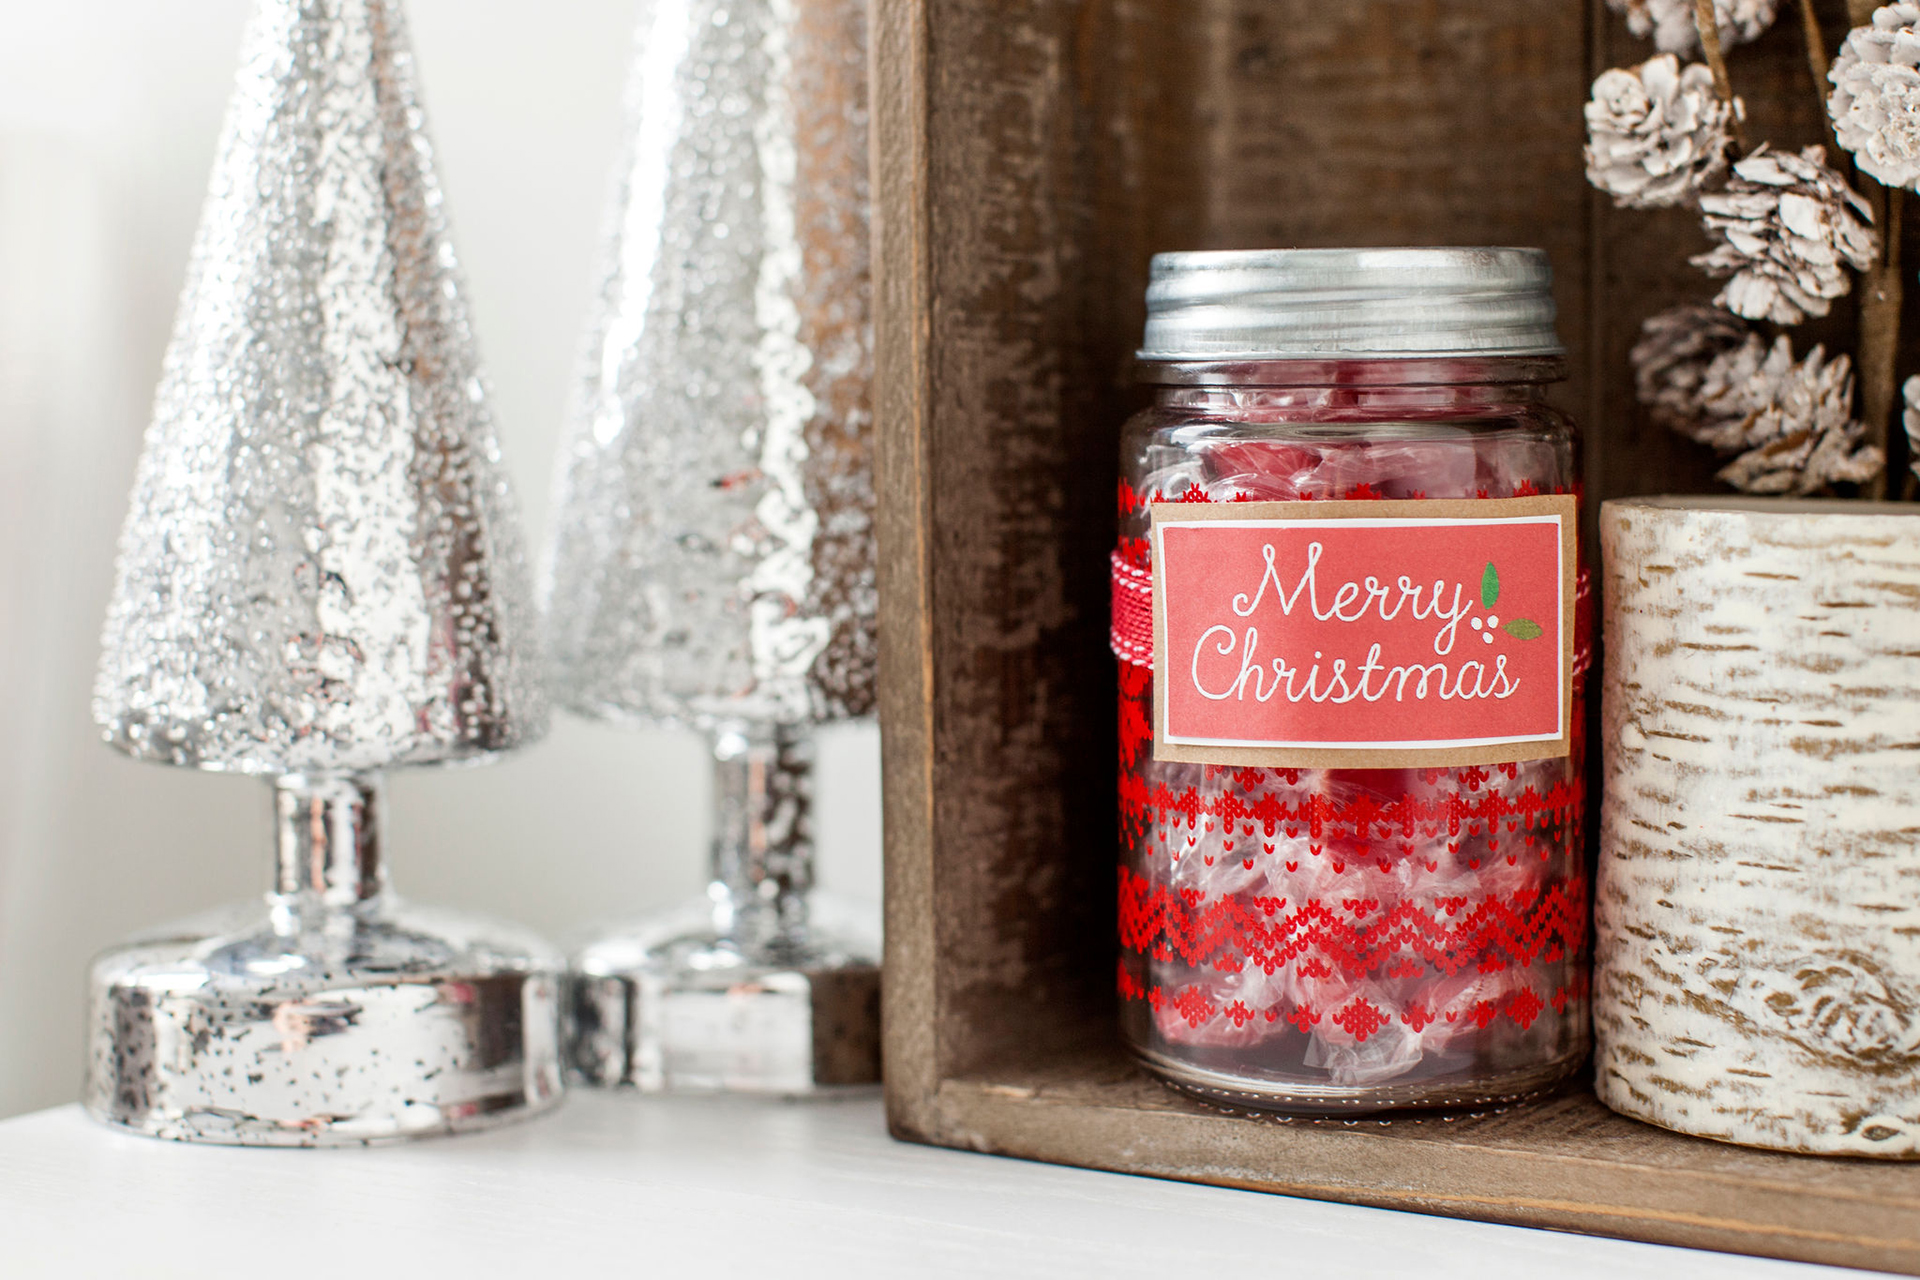
Crafting cheer: 4 festive Christmas projects
Read More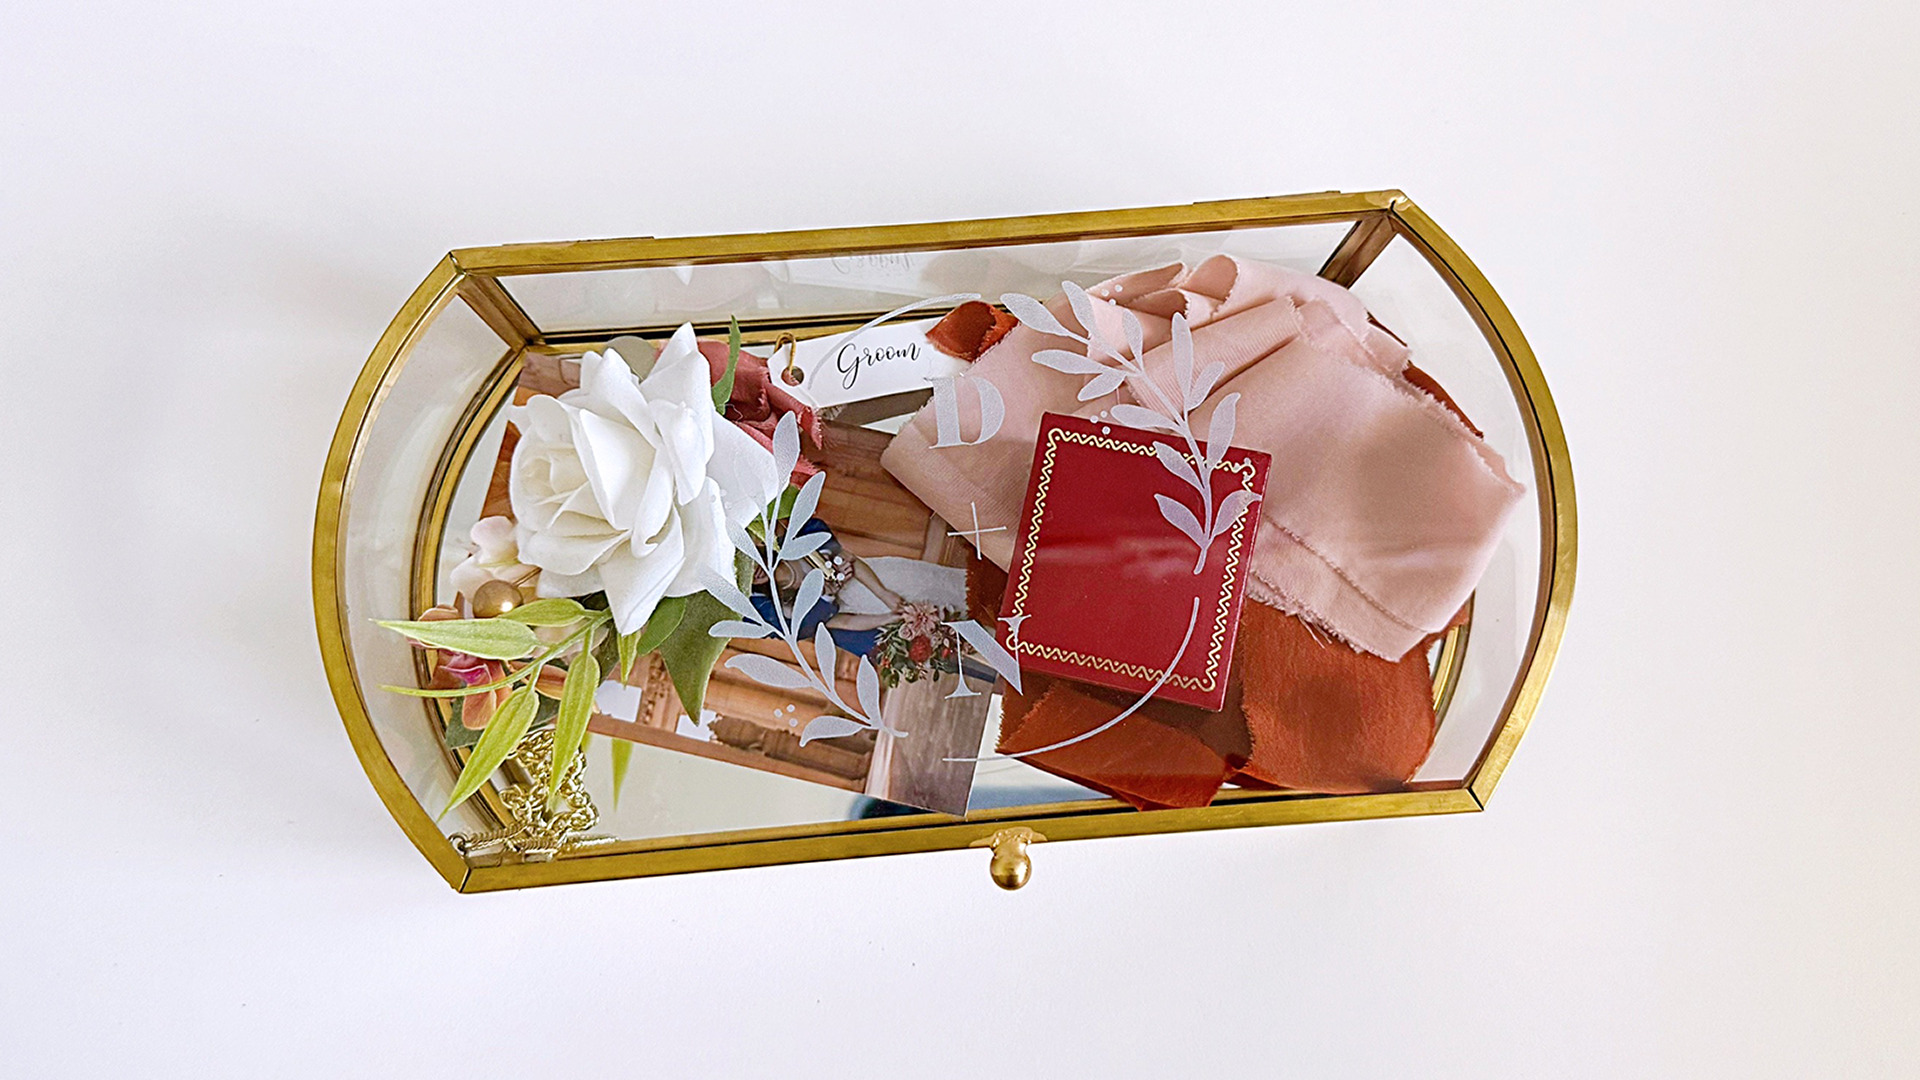
How to achieve an etched glass look using frosted vinyl
Read More