6 kid costumes to craft this Halloween
It seemed like only yesterday we were prepping for pool parties– now we’re sipping on pumpkin spice lattes. Spooky season is nearly upon us!
Searching for the perfect kid costumes for Halloween can be a time-consuming task. While store-bought options do the job, we’re a bigger fan of the handmade approach. Skip the lines at your local party retailer this year and opt for these unique kids costumes you can craft at home.
A standout superhero
Cricut printable vinyl is perfect for crafting a superhero logo and mask that will bring your child’s imagination to life. Simply print, then cut, your superhero logo and adhere to a child-sized cape. Feel free to also customize our project instructions with imagery or logos of your choosing. This project is also a fantastic way to spruce up an old or simple store-bought costume!

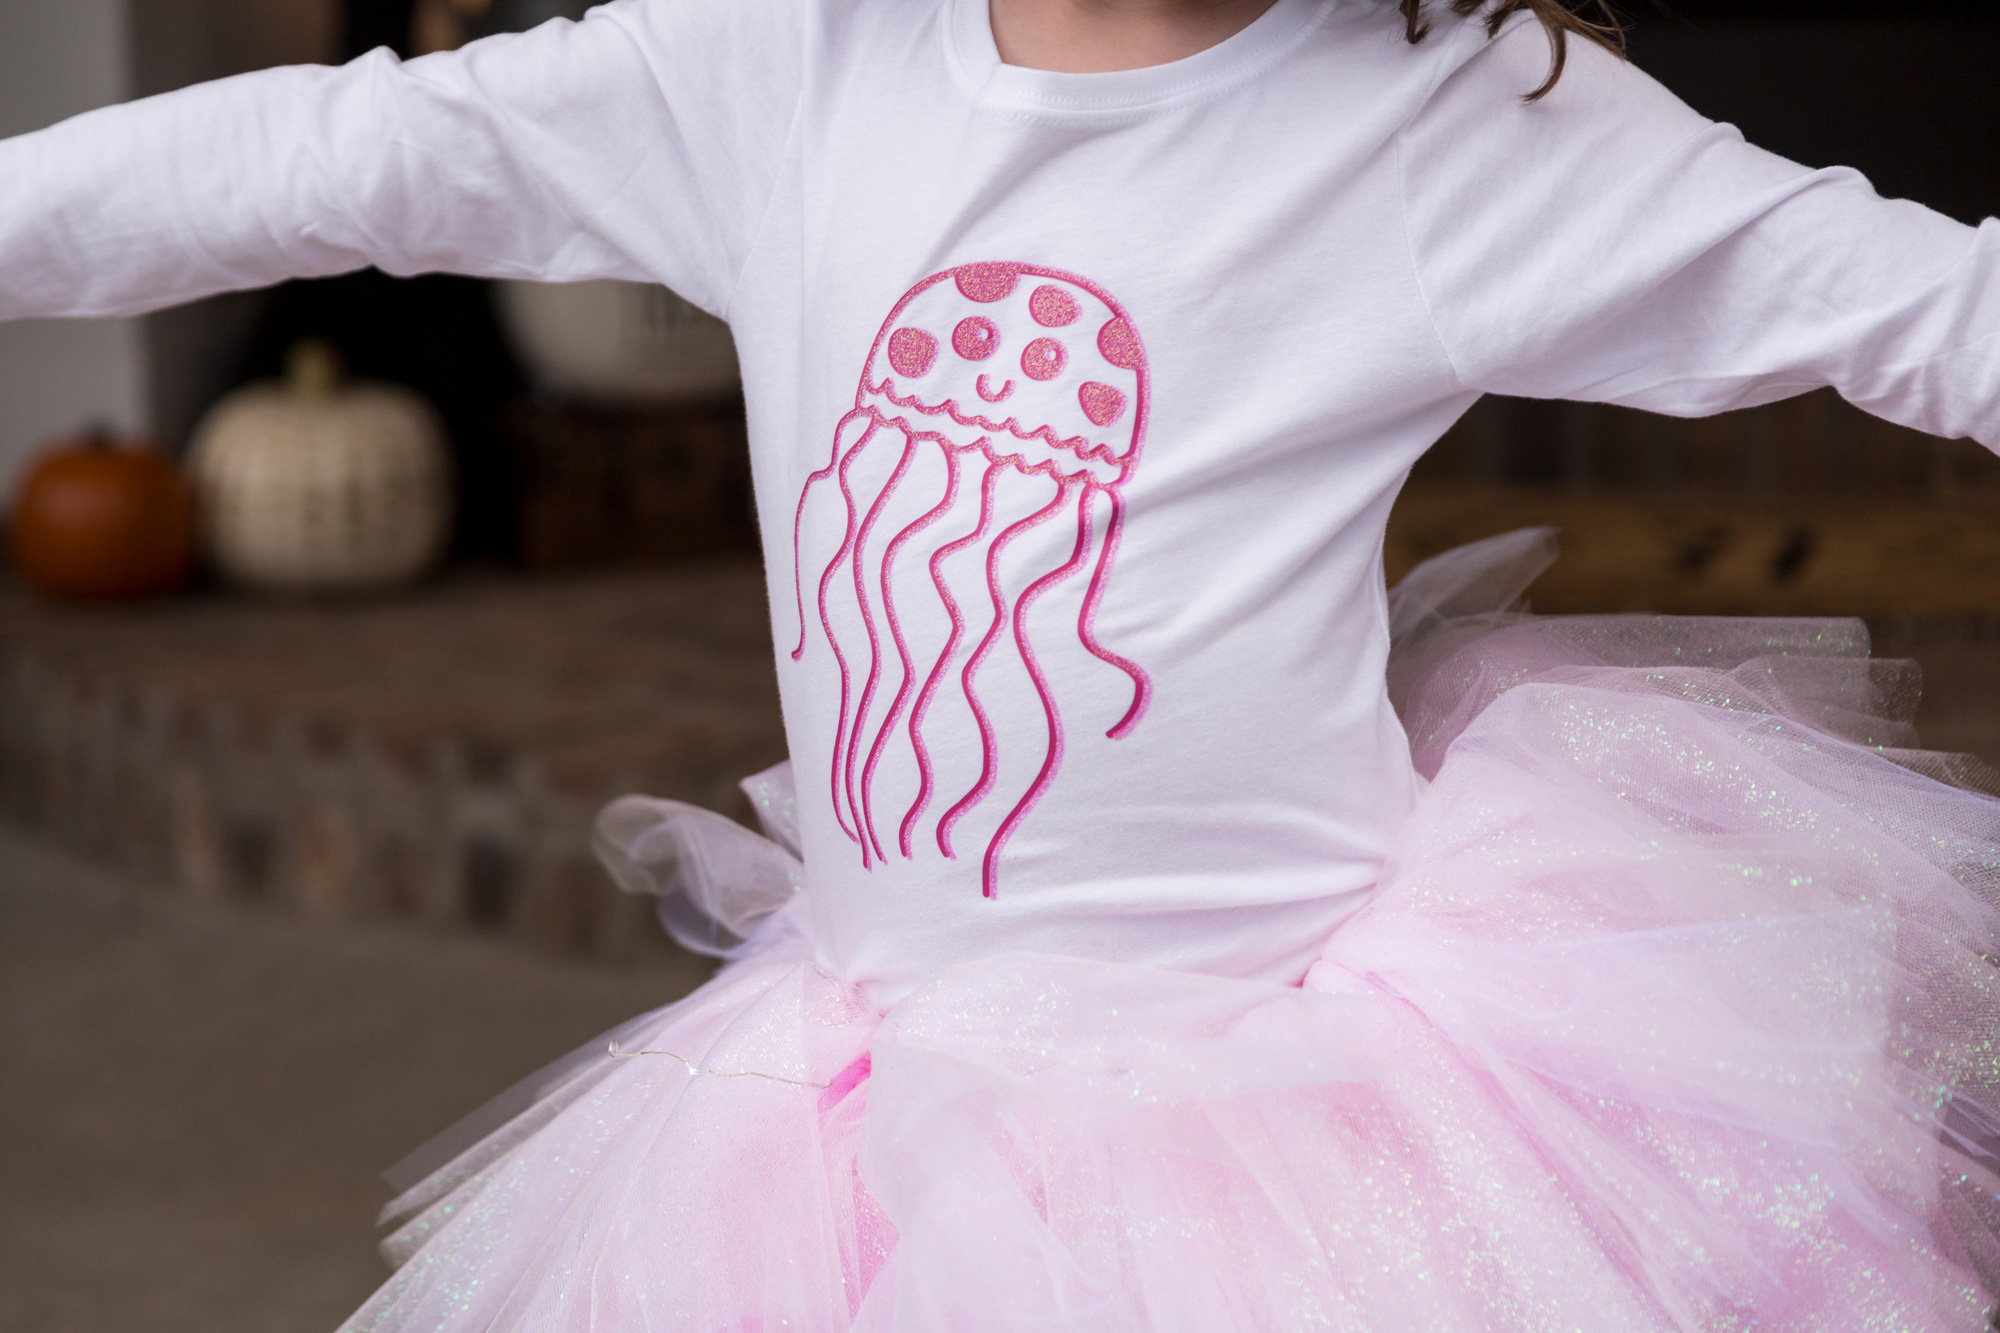
Jumping jellyfish costume
Take your tutu up a creative notch with this aquatic-inspired kid costume. Using Cricut Everyday and Glitter Iron-on materials, press colorful jellyfish designs onto a cute matching shirt and leggings. The addition of party foil tentacles offers an even more whimsical element to this crafted look.

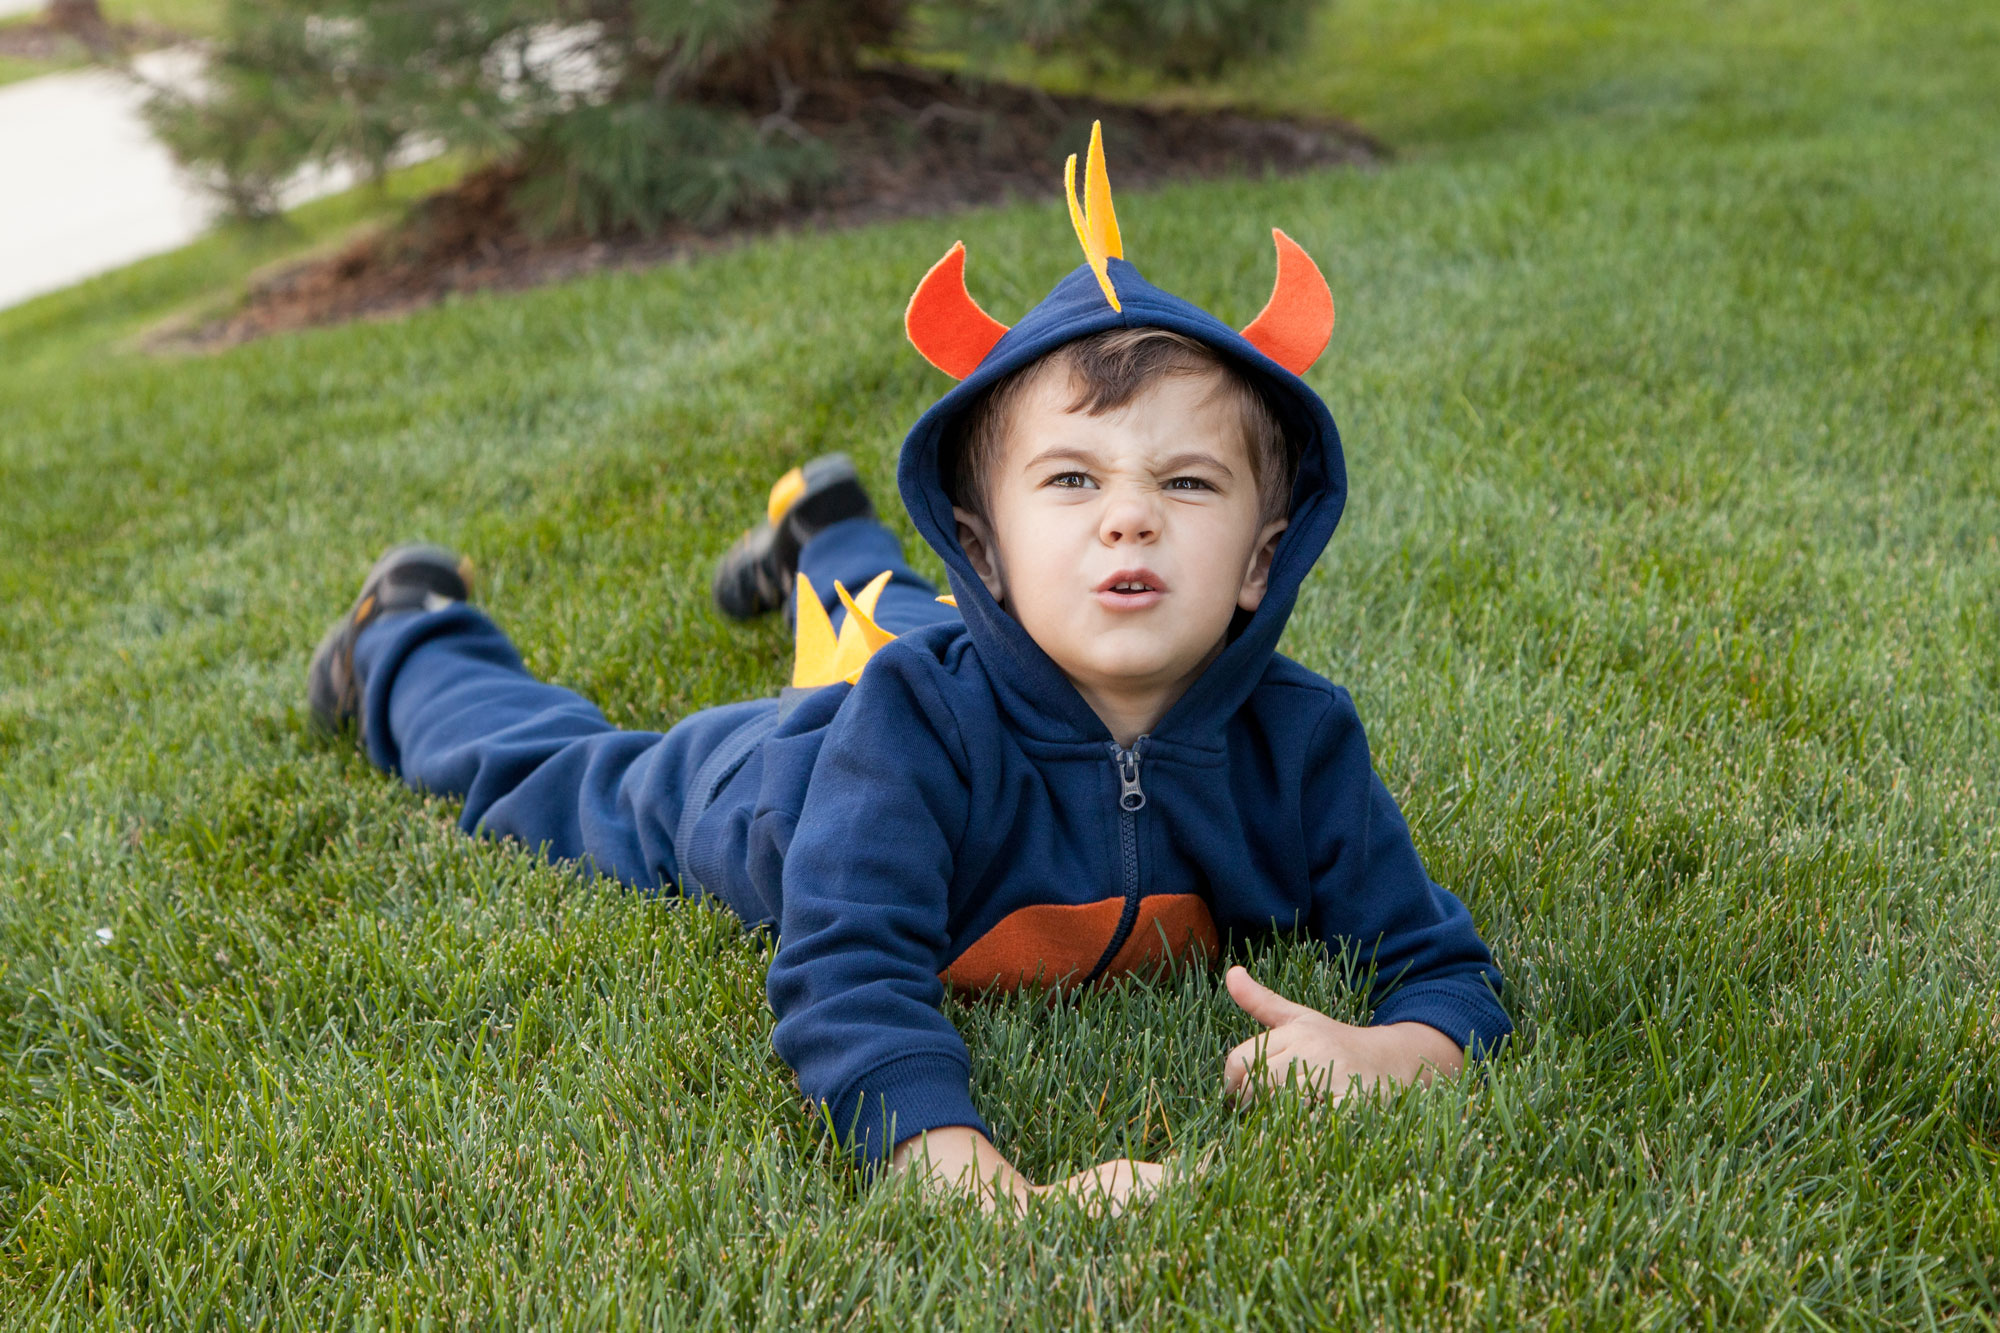
The fierce (but casual) dragon
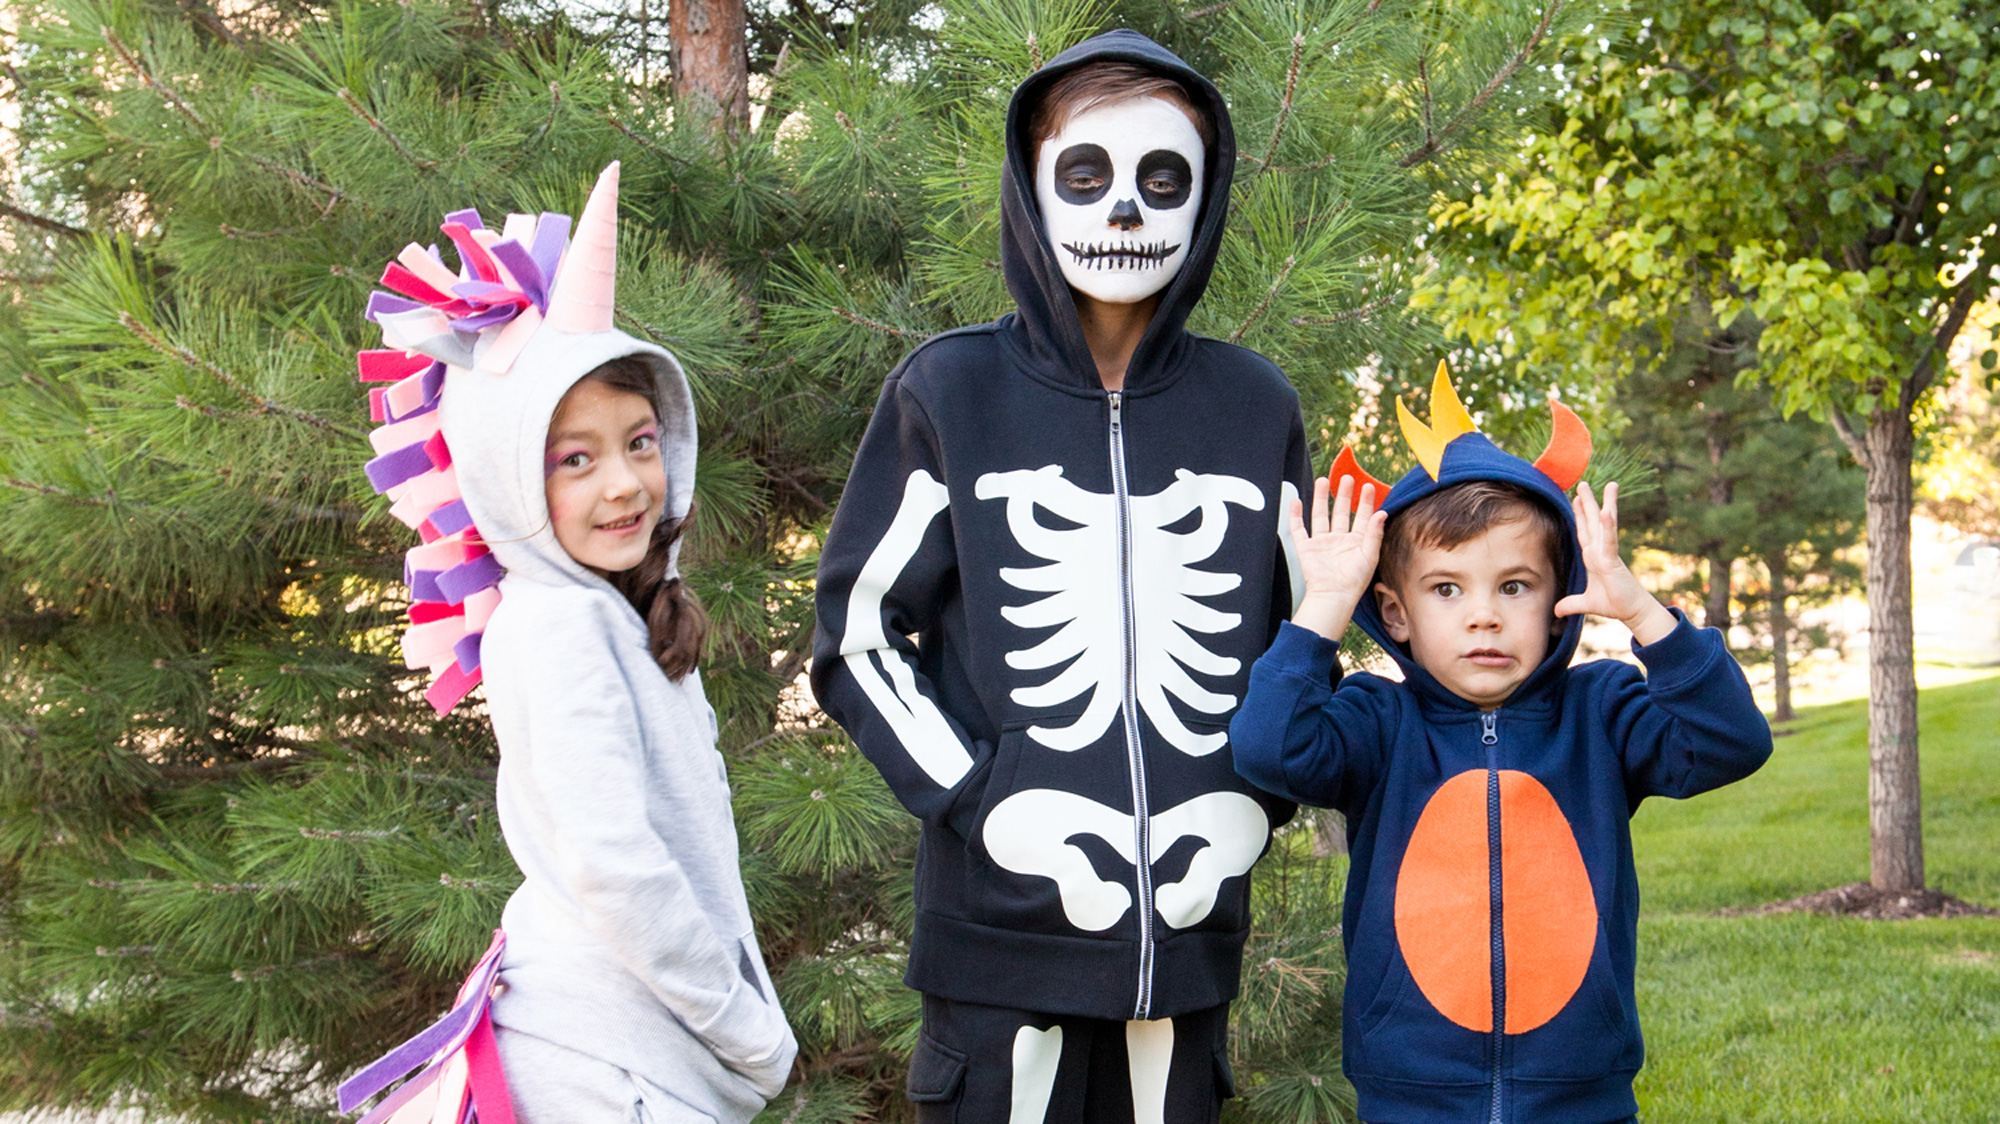
Many kid costumes can be stiff or uncomfortable. Embellishing a sweatsuit with fun elements— like our dragon sweatshirt costume — is an easy way to keep your kiddos comfy while trick-or-treating. This easy no-sew project is made from cut felt pieces to offer a plush, cozy look. Once the colors and size of the shapes are to your liking, simply cut and hot glue to your sweatshirt of choice.
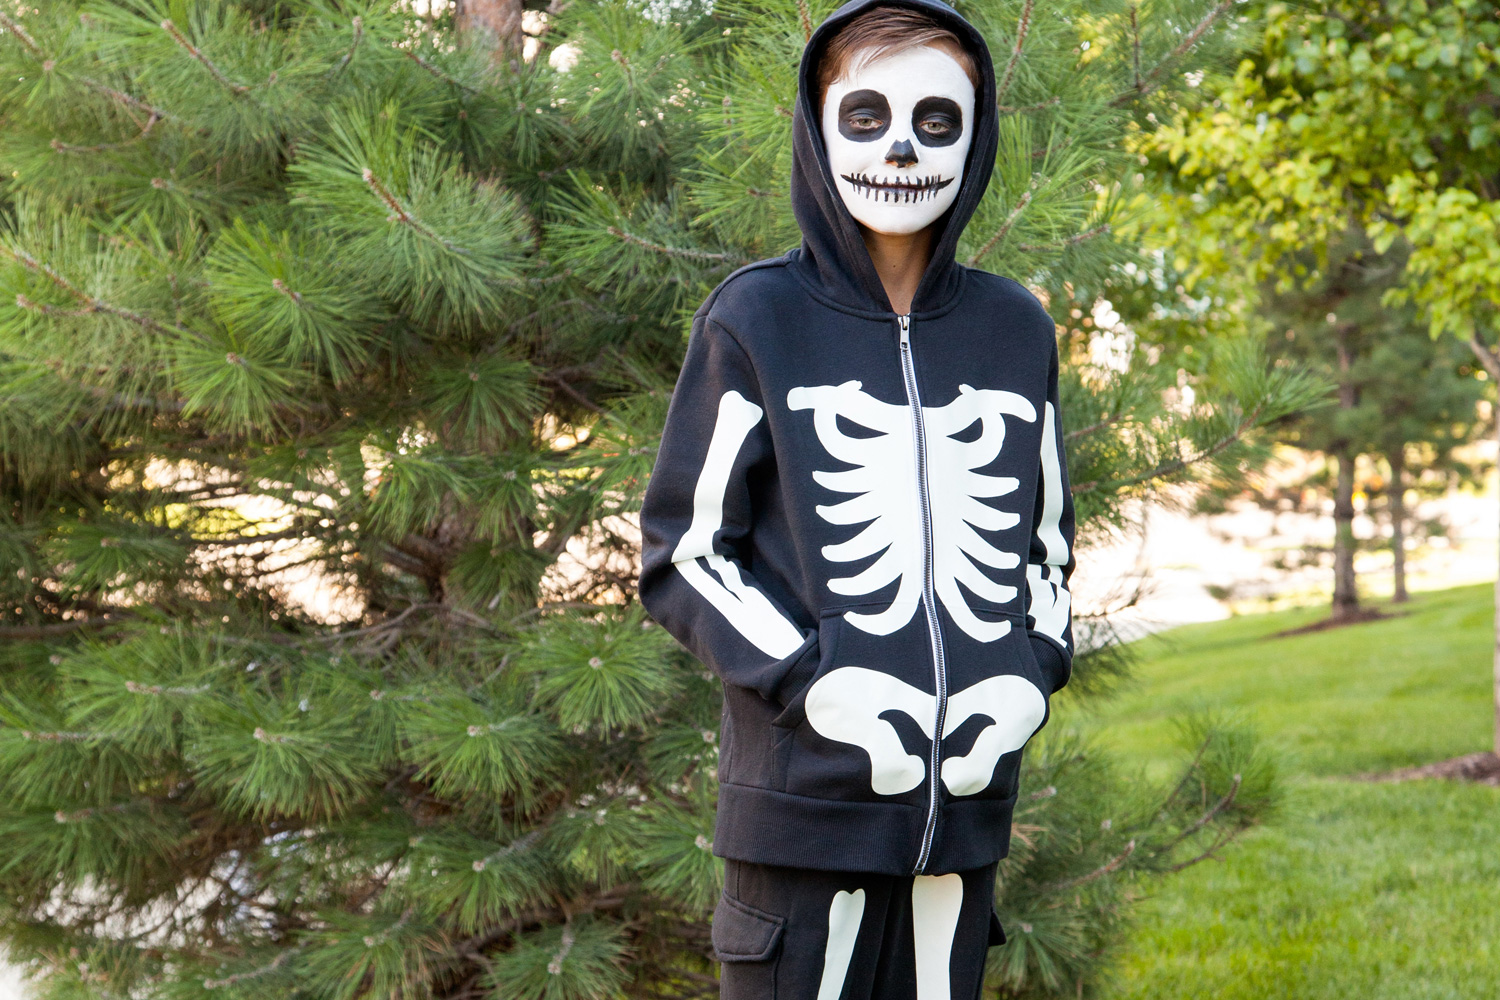
Spooky glowing skeleton
Glow-in-the-dark costumes are always a hit for post-daylight Halloween parties! Another iron-on project, this skeleton hoodie uses Cricut glow-in-the-dark HTV to create a hauntingly casual look.
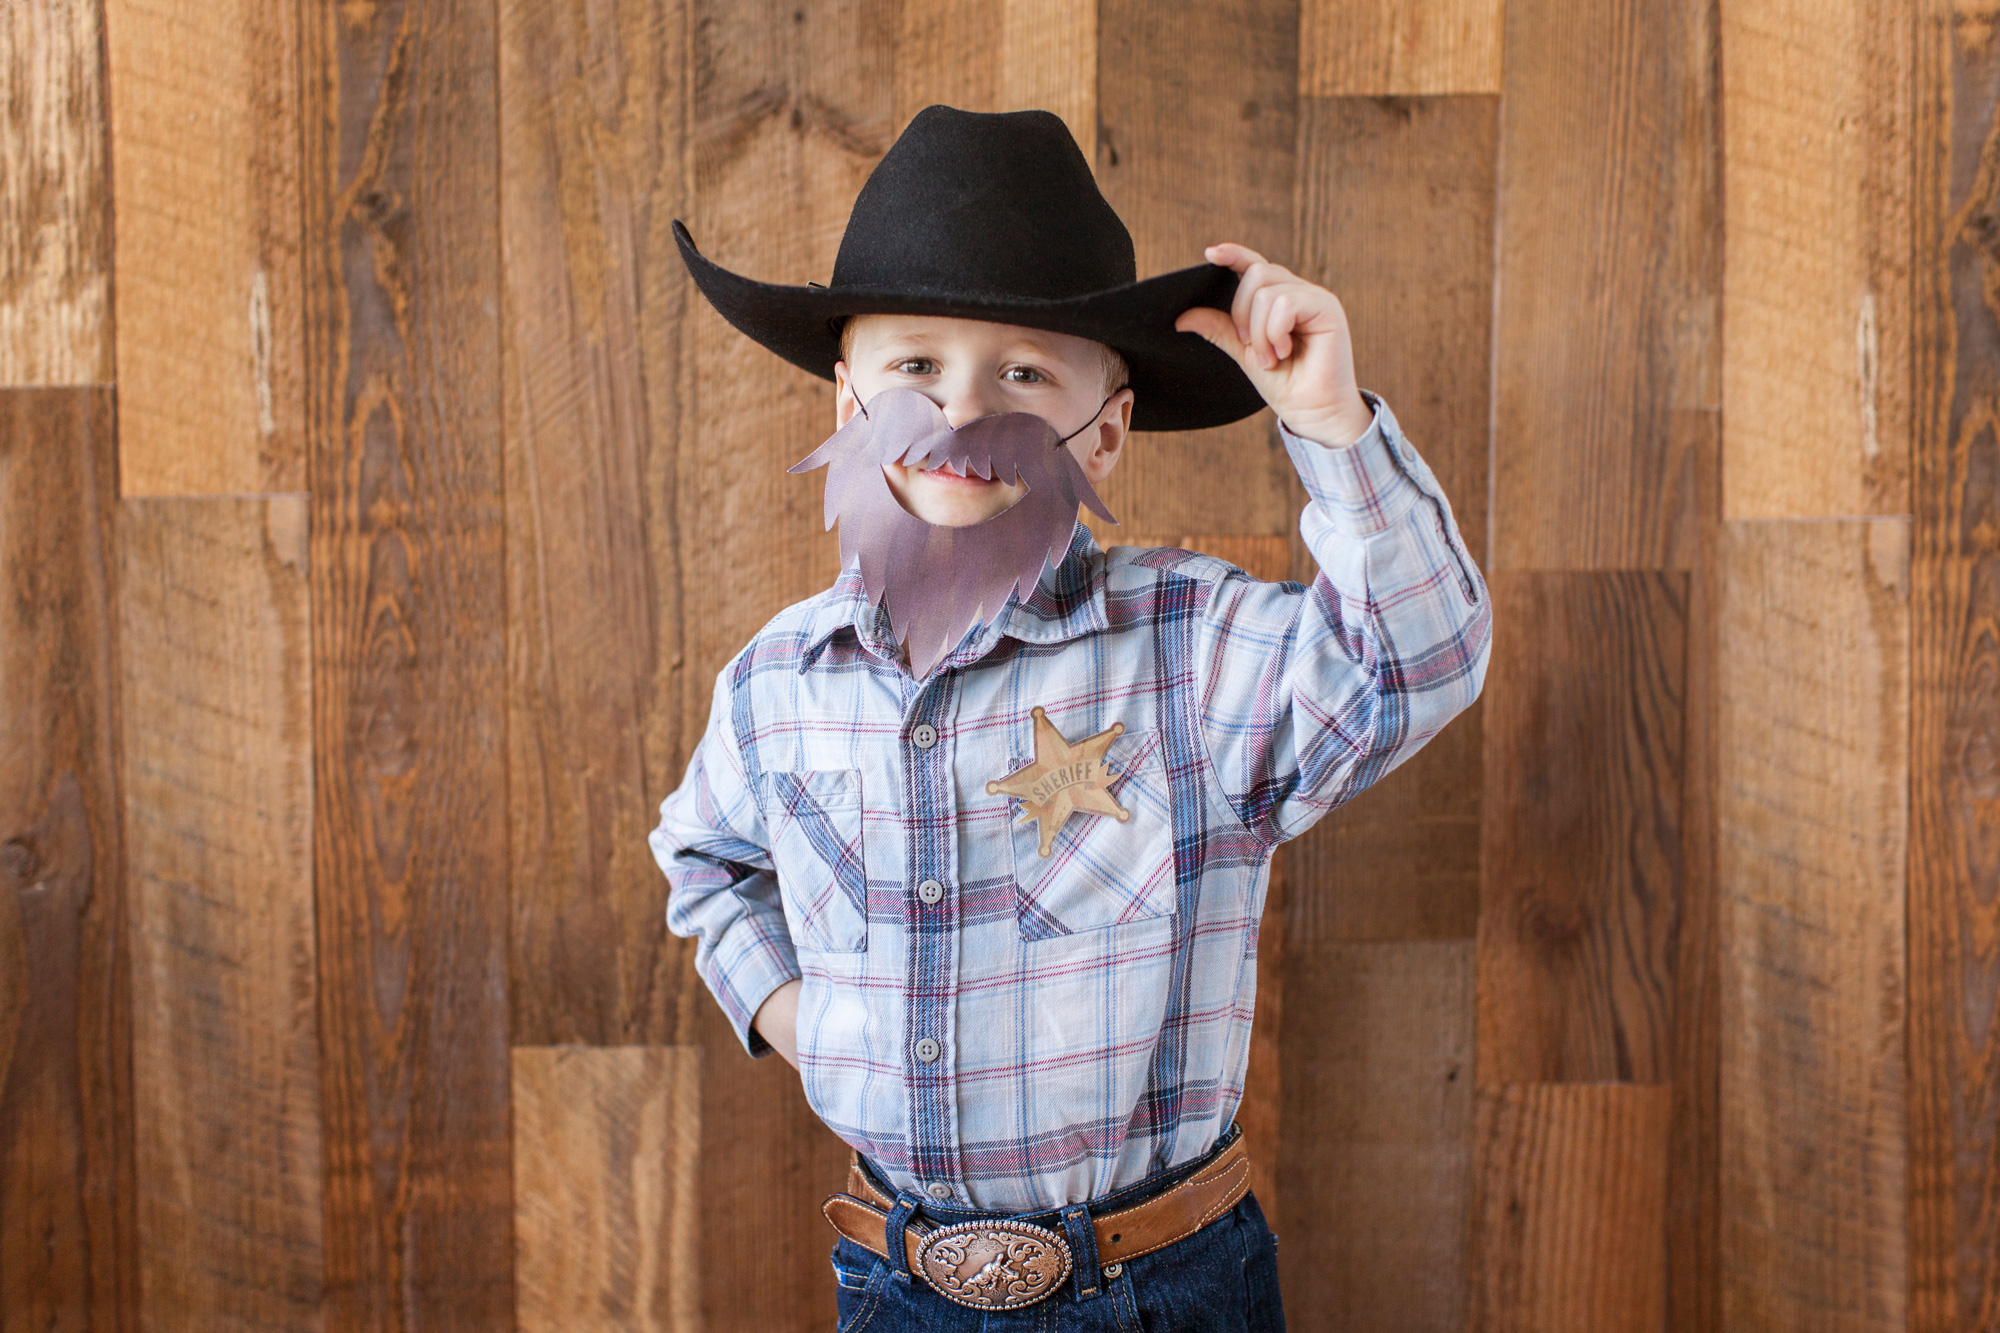
New sheriff in town
Western themed costumes are always crowd-pleasers and incredibly simple to achieve. Our sheriff costume will help your child transform any backyard or play space into the wild, wild west! Worried about an itchy, uncomfortable beard? Printable fabric will keep the faux facial hair soft so your little cowpoke can keep up the character.
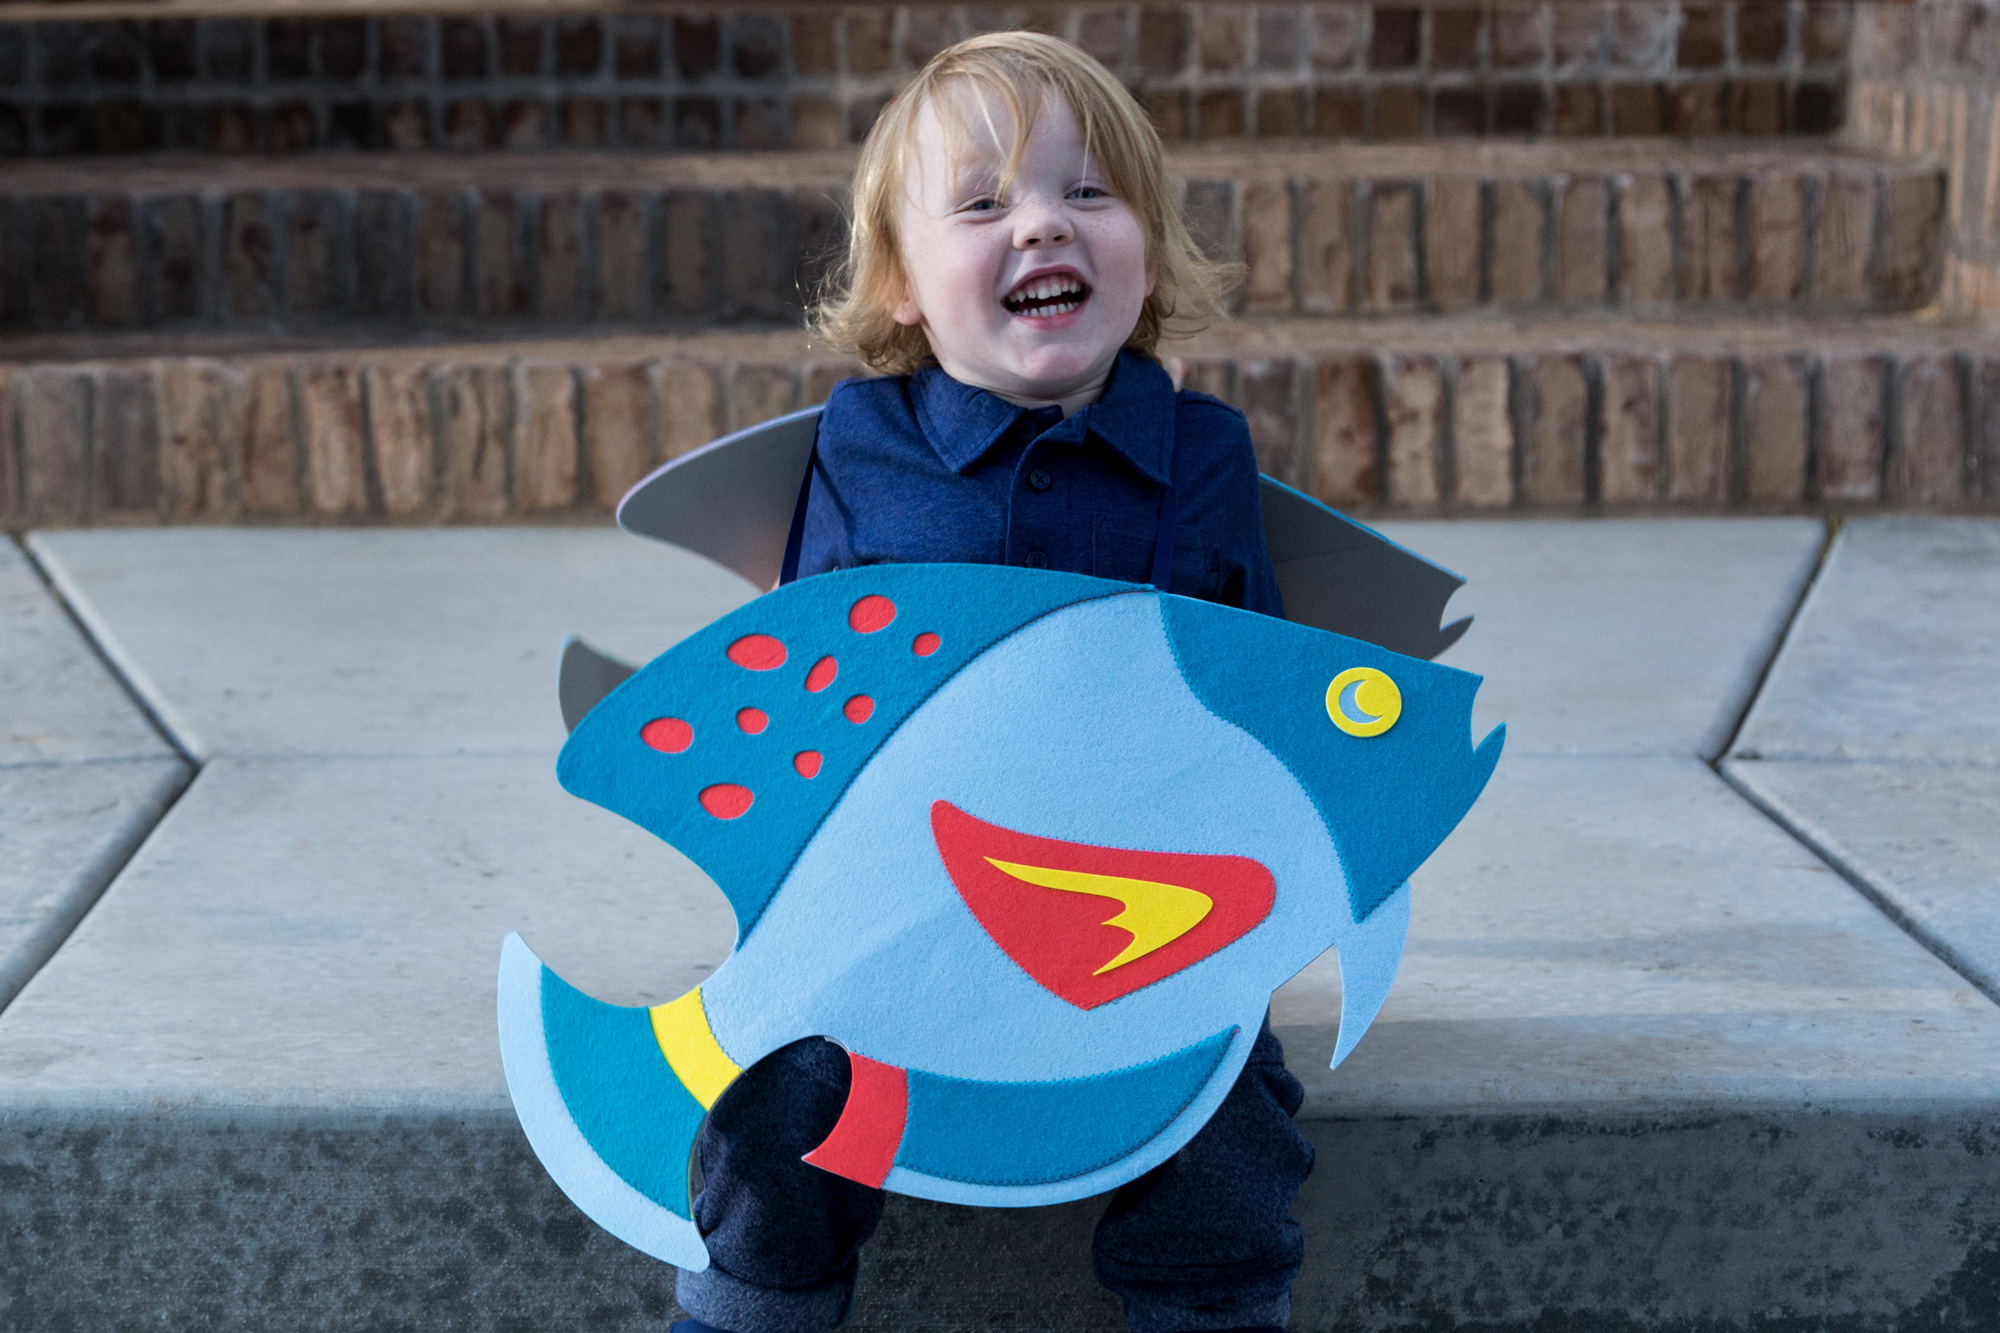
A gleeful guppy
This fishy costume is the perfect companion to any under-the-sea family theme. Customize the colors of your felt cuts to create a vibrant school of guppies to swim around the neighborhood.
Which costumes are you most excited to create? Show us your homemade Halloween looks using the #CricutMade tag on social! You may also want to check out these casual shirts for last-minute Halloween ideas.

You Might Enjoy…