How to make custom spice jars with Cricut
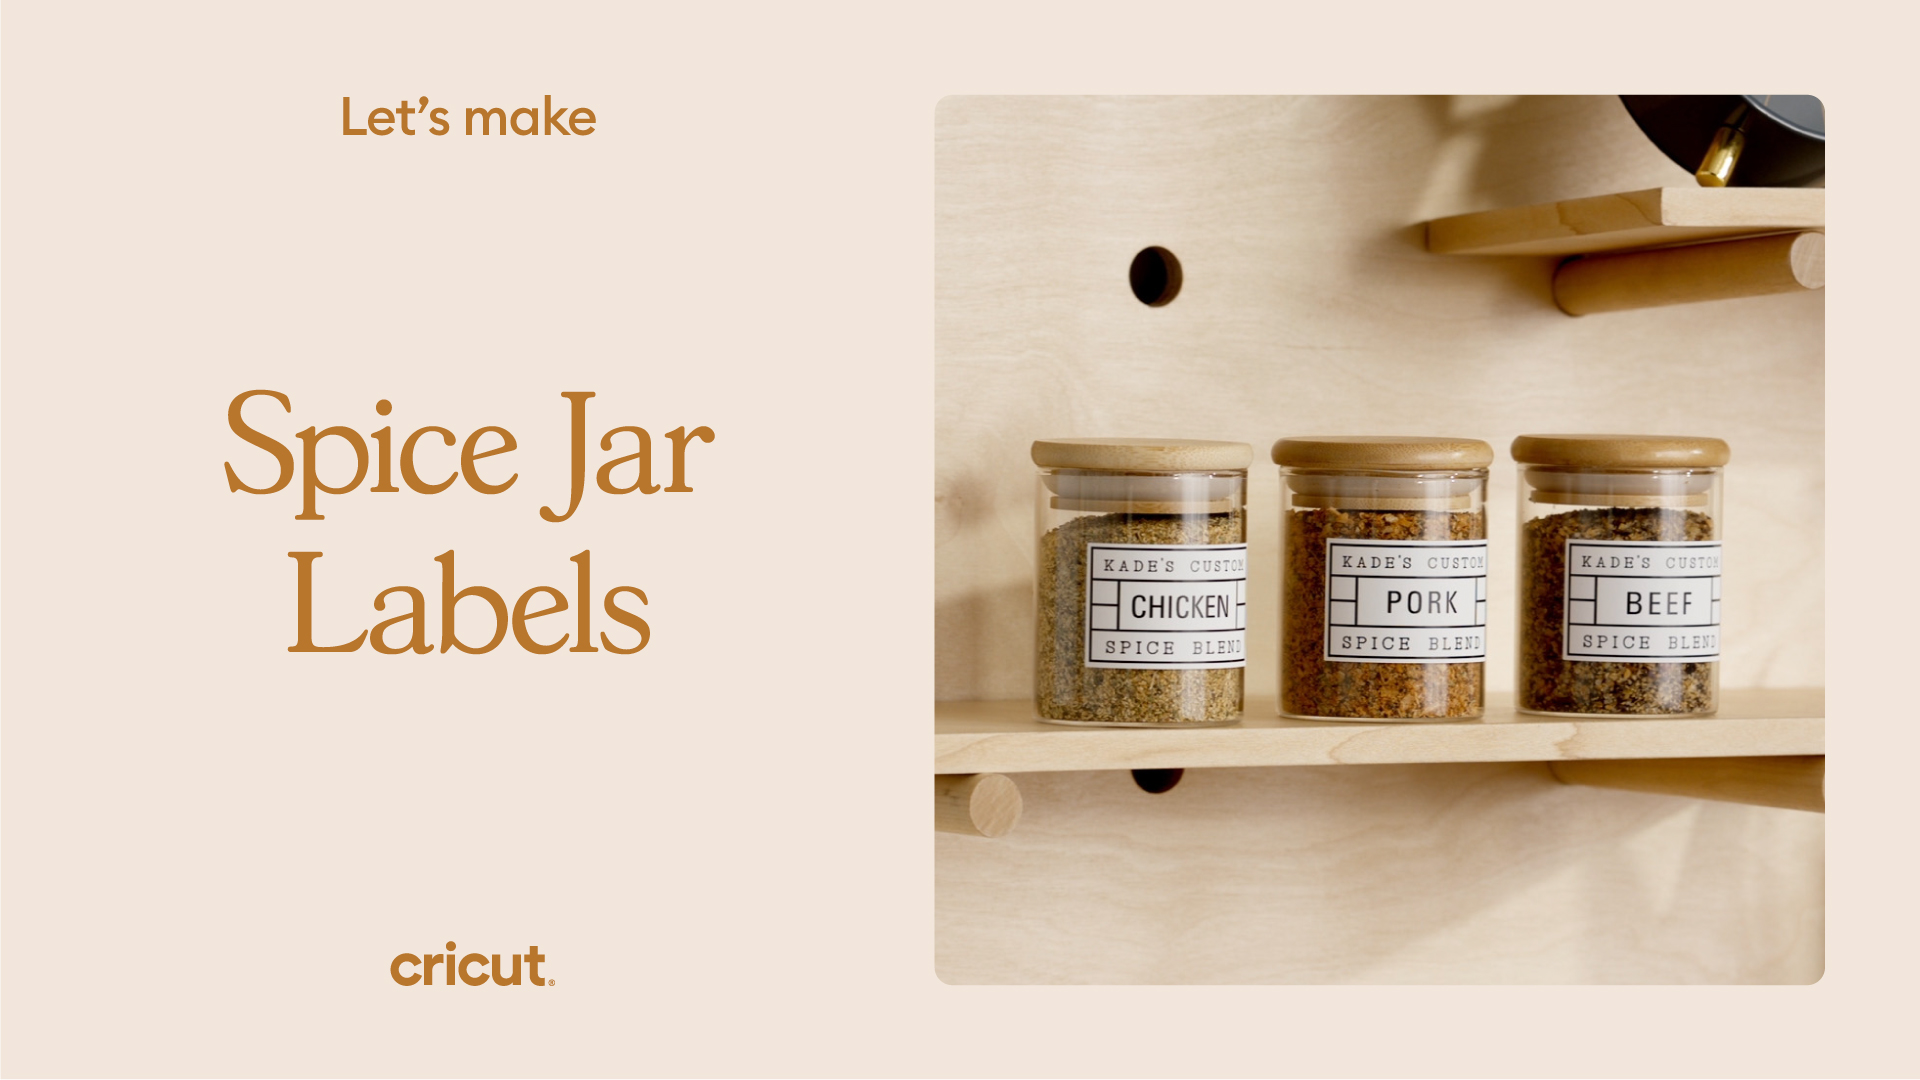
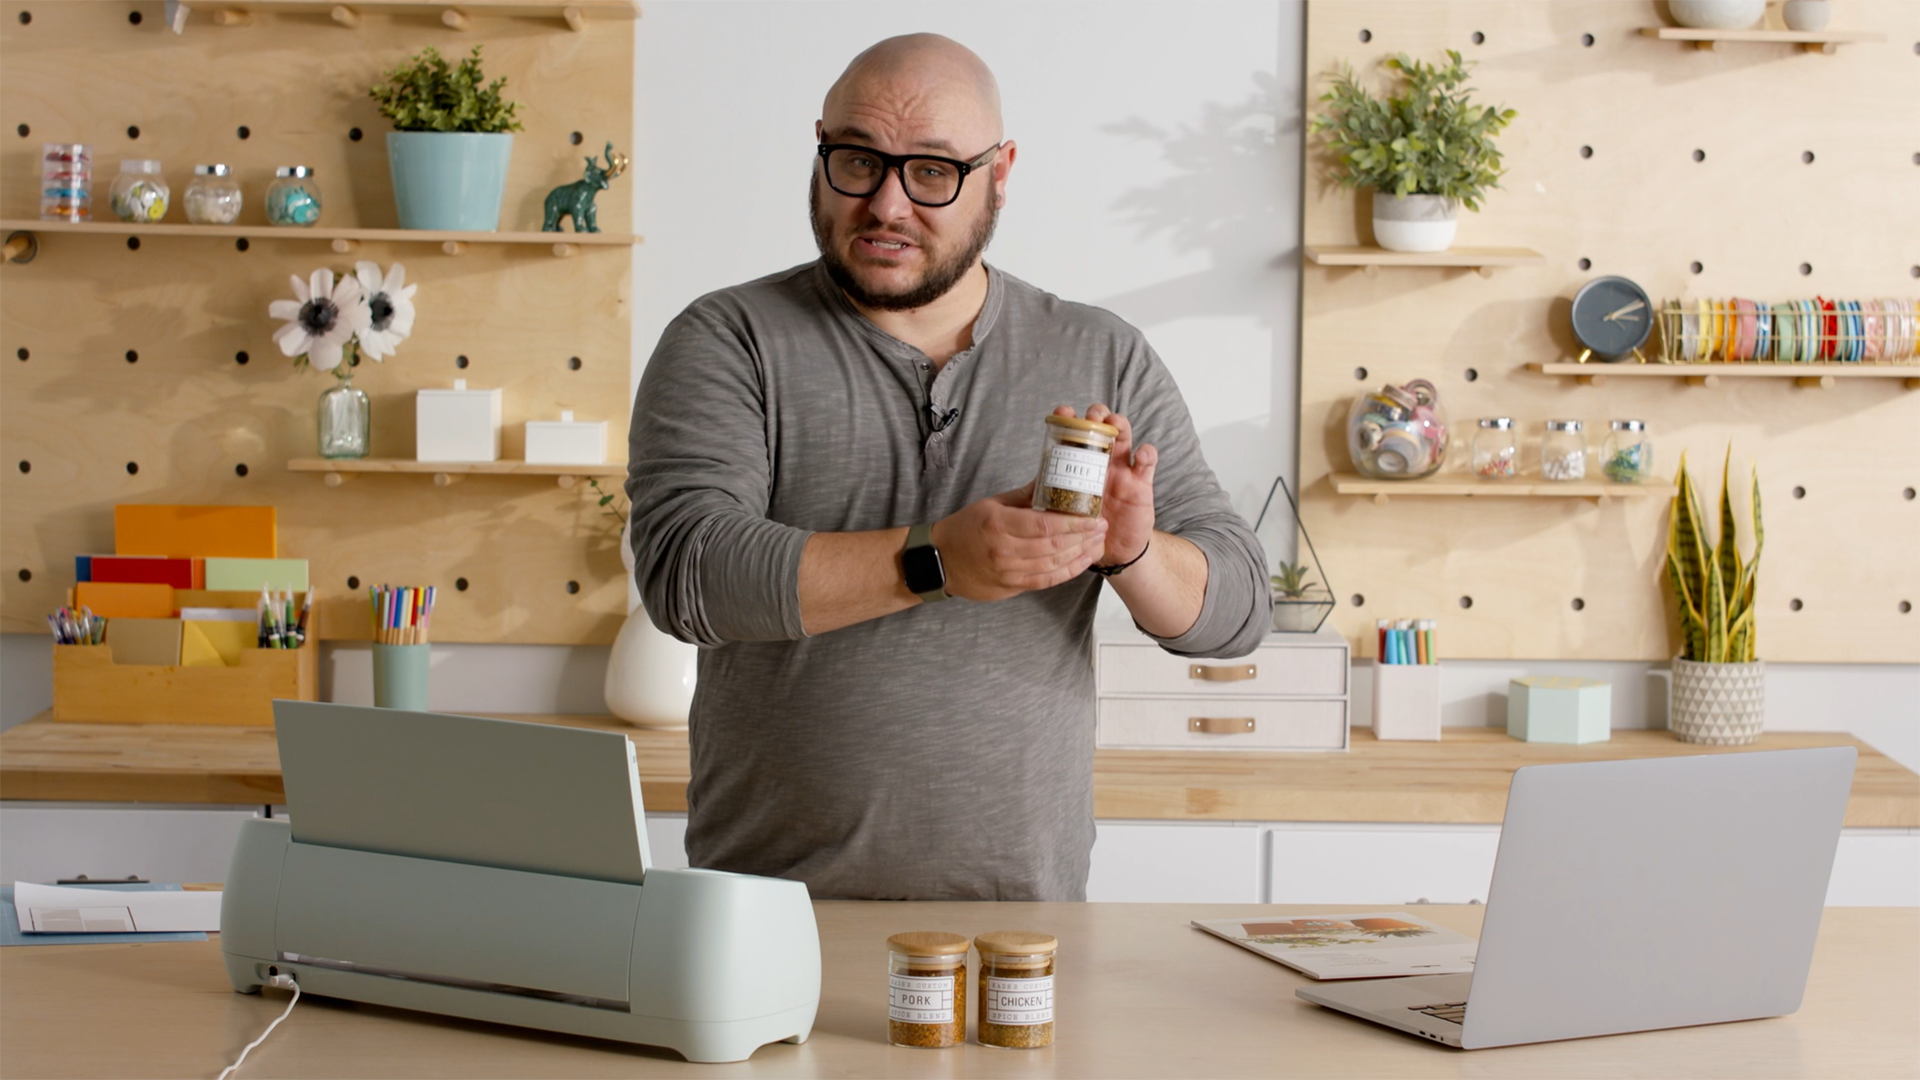
Hayden is here to show us how to make print then cut labels for some spice jars! If you want to make the same labels, you can grab it in Design Space here. And follow along to see how Hayden does it!
Supplies needed
Print this list
How to make custom spice jars
Step 1
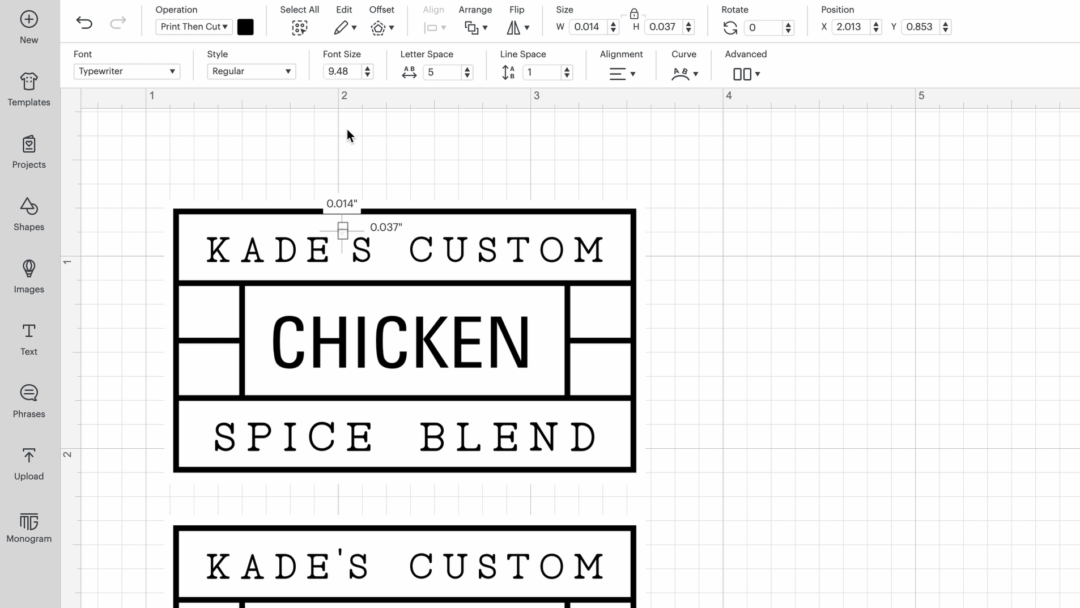
Go into Design Space and open up the project called custom grilling spice jars. Add the name you want, and then go to advance and ungroup letters. Hayden didn’t like how high the apostrophe was sitting, so he had to ungroup the letters so he could move the apostrophe down. Then select the entire chicken label area and click flatten. This combines all the layers into one so it can be printed. Then repeat for the beef and pork labels. On the left side of Design Space, you should see “print then cut” which means you flattened the labels right. Click make it, and if the layout looks good, click continue.
Step 2
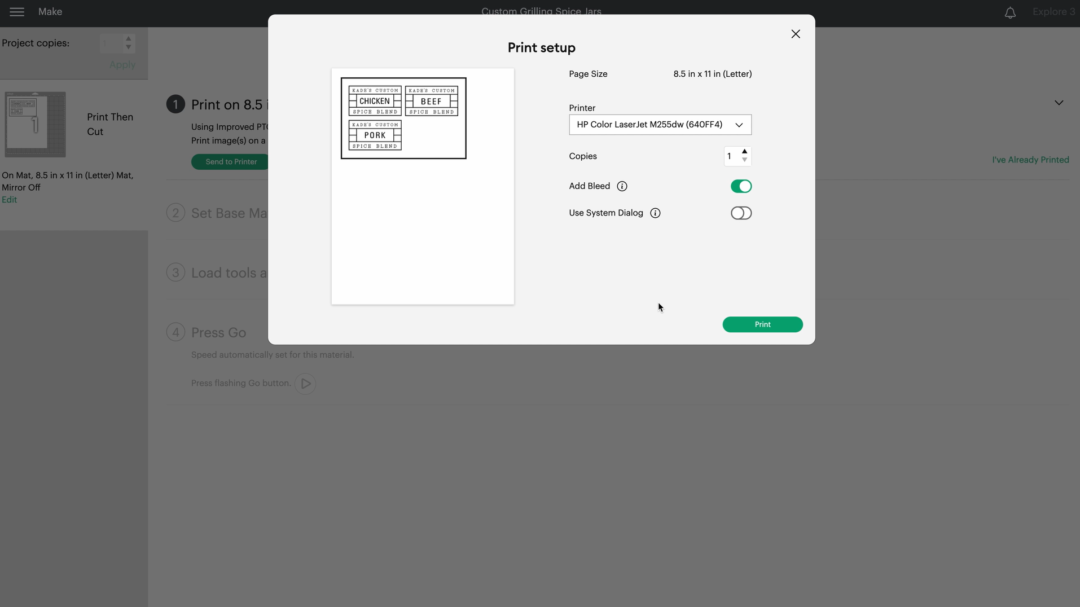
Then you will need to send the labels to the printer so that the labels can be printed. In Design Space click send to printer. Make sure that when you load your printable vinyl that you load it in a way where the ink prints on the material and not the backer. Then click print. Once your printer is done, go back to Design Space and select printable vinyl as your material.
Step 3
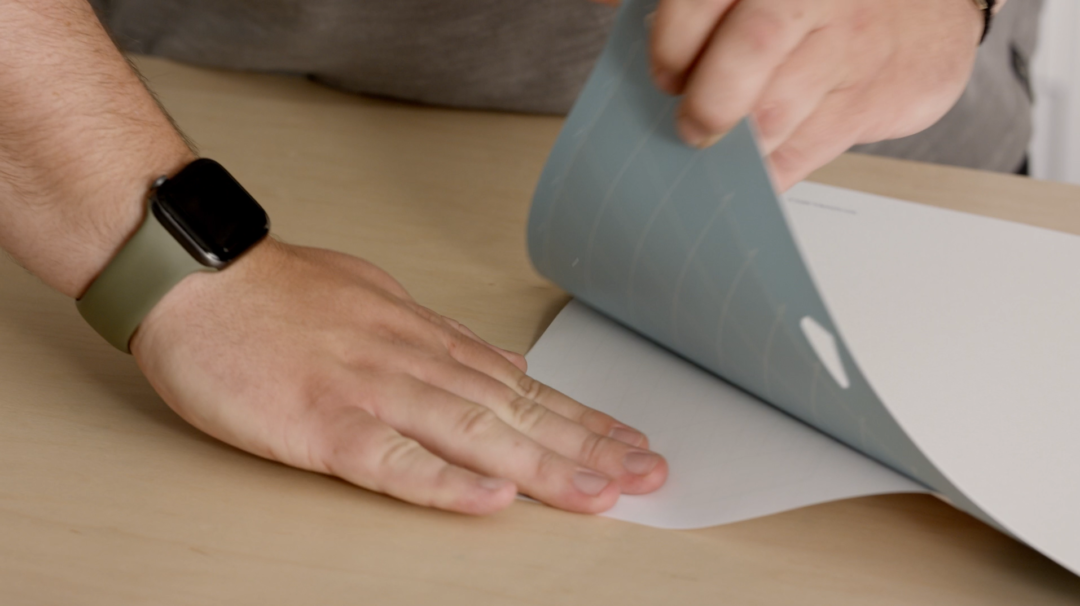
Then position the printable vinyl on a light grip mat and load it into the machine for cutting. Once the go button is blinking, press the go button and your machine will start cutting. Then unload the material once it’s done cutting and peel the material from the mat.
Step 4
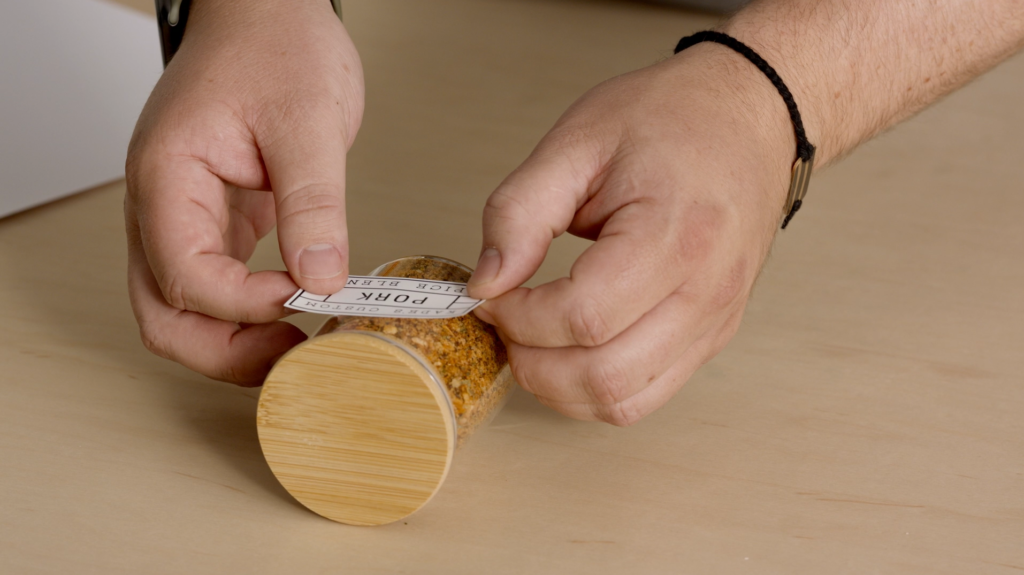
Then peel off the first label and place it on the corresponding spice jar. Make sure to smooth down the vinyl as you put it on the jar to avoid any air bubbles.
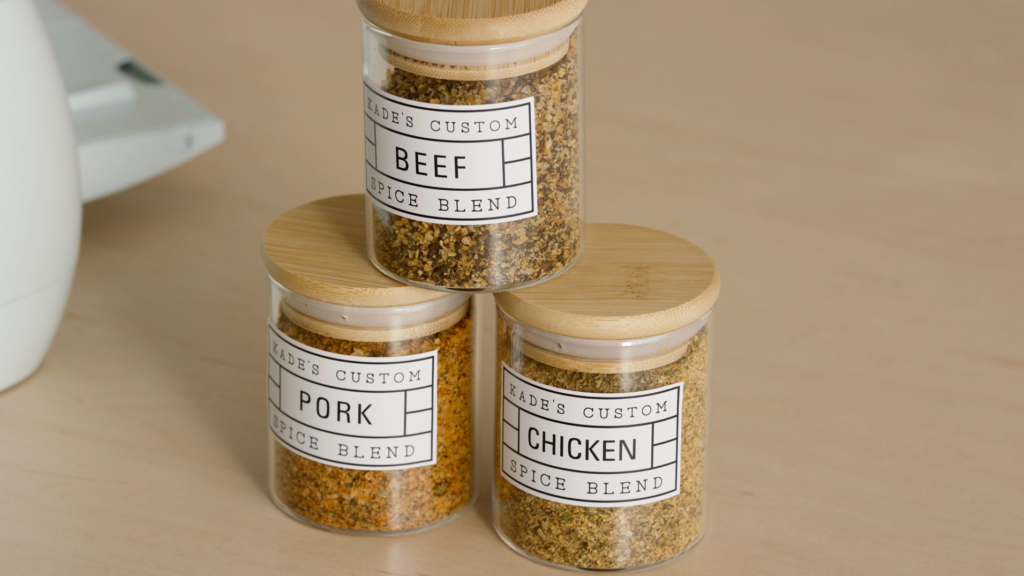
Now step back and admire your custom spice jars!
Whether you’re making these spice jars for yourself, your family, or your friends, everyone will be sure to love them! Make sure you share your creations with us on social media by using #cricut!
