How to make a custom bucket hat with Cricut
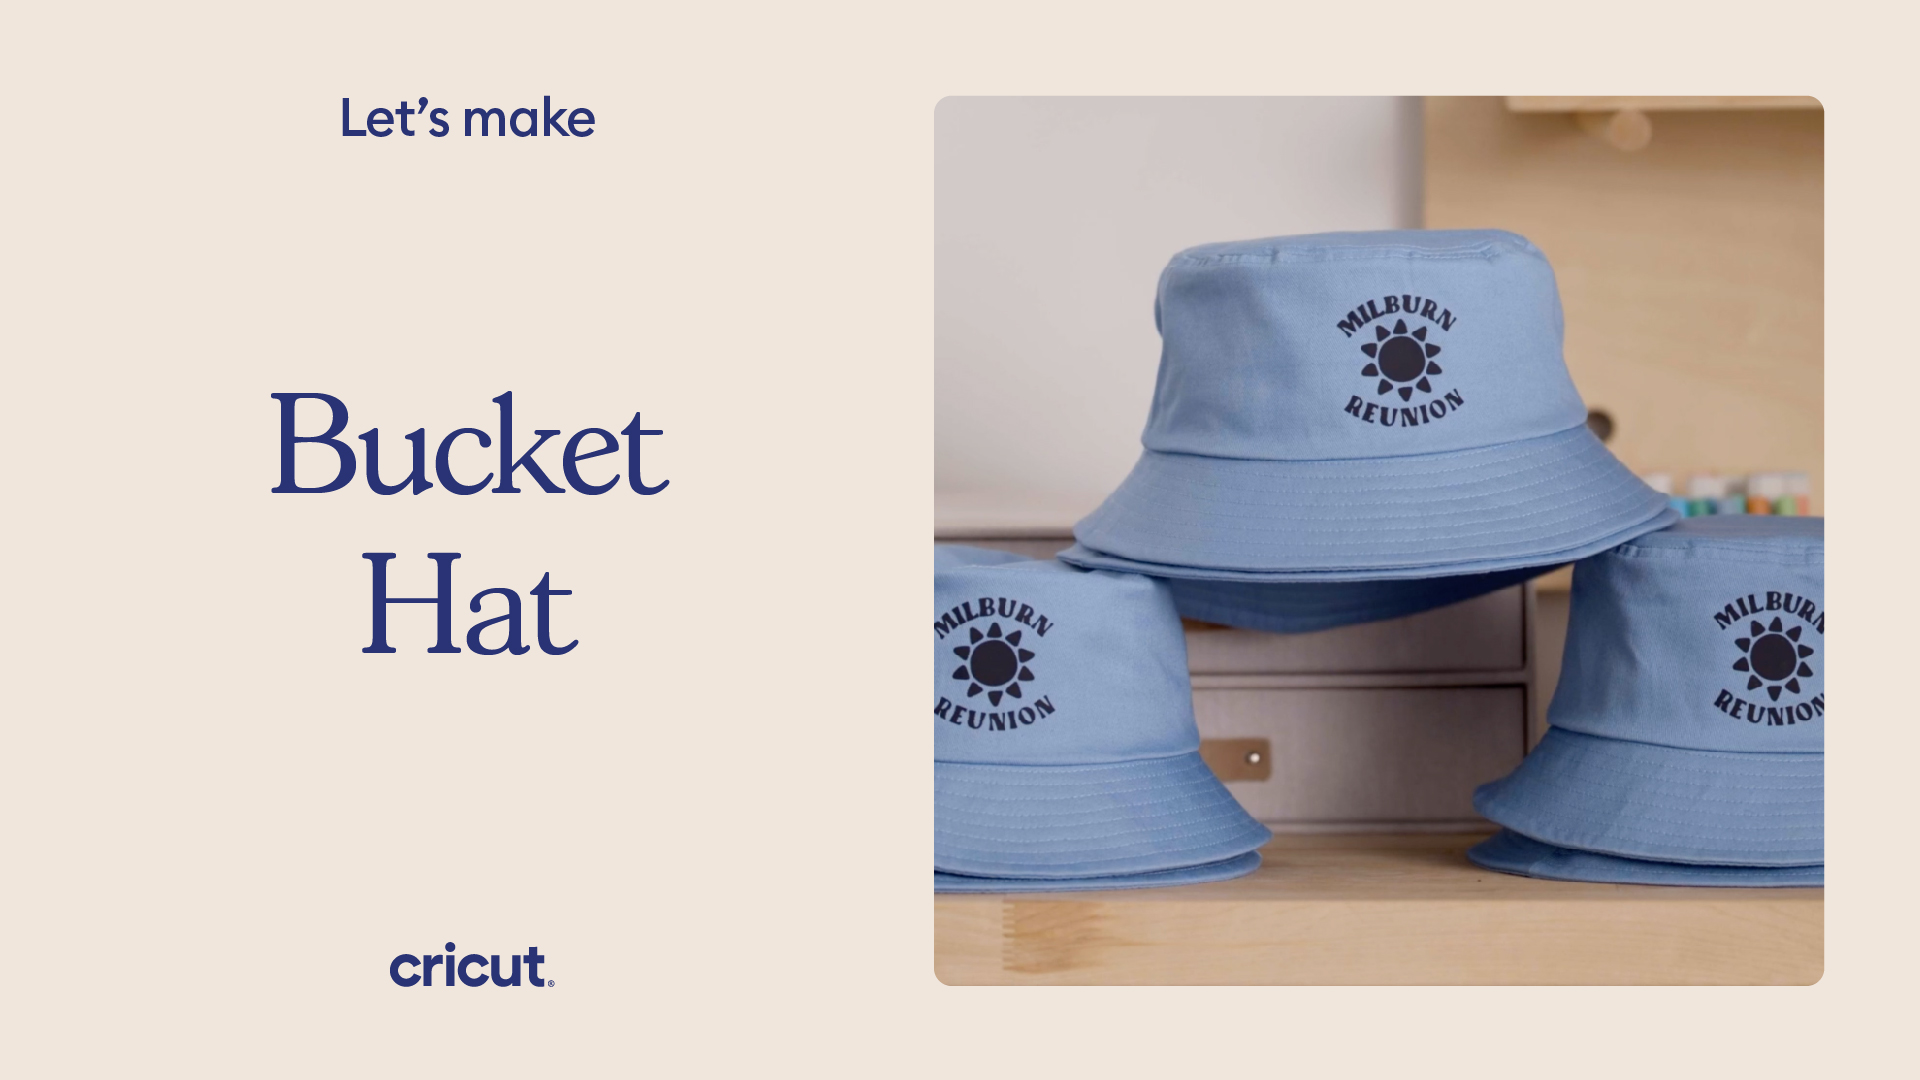
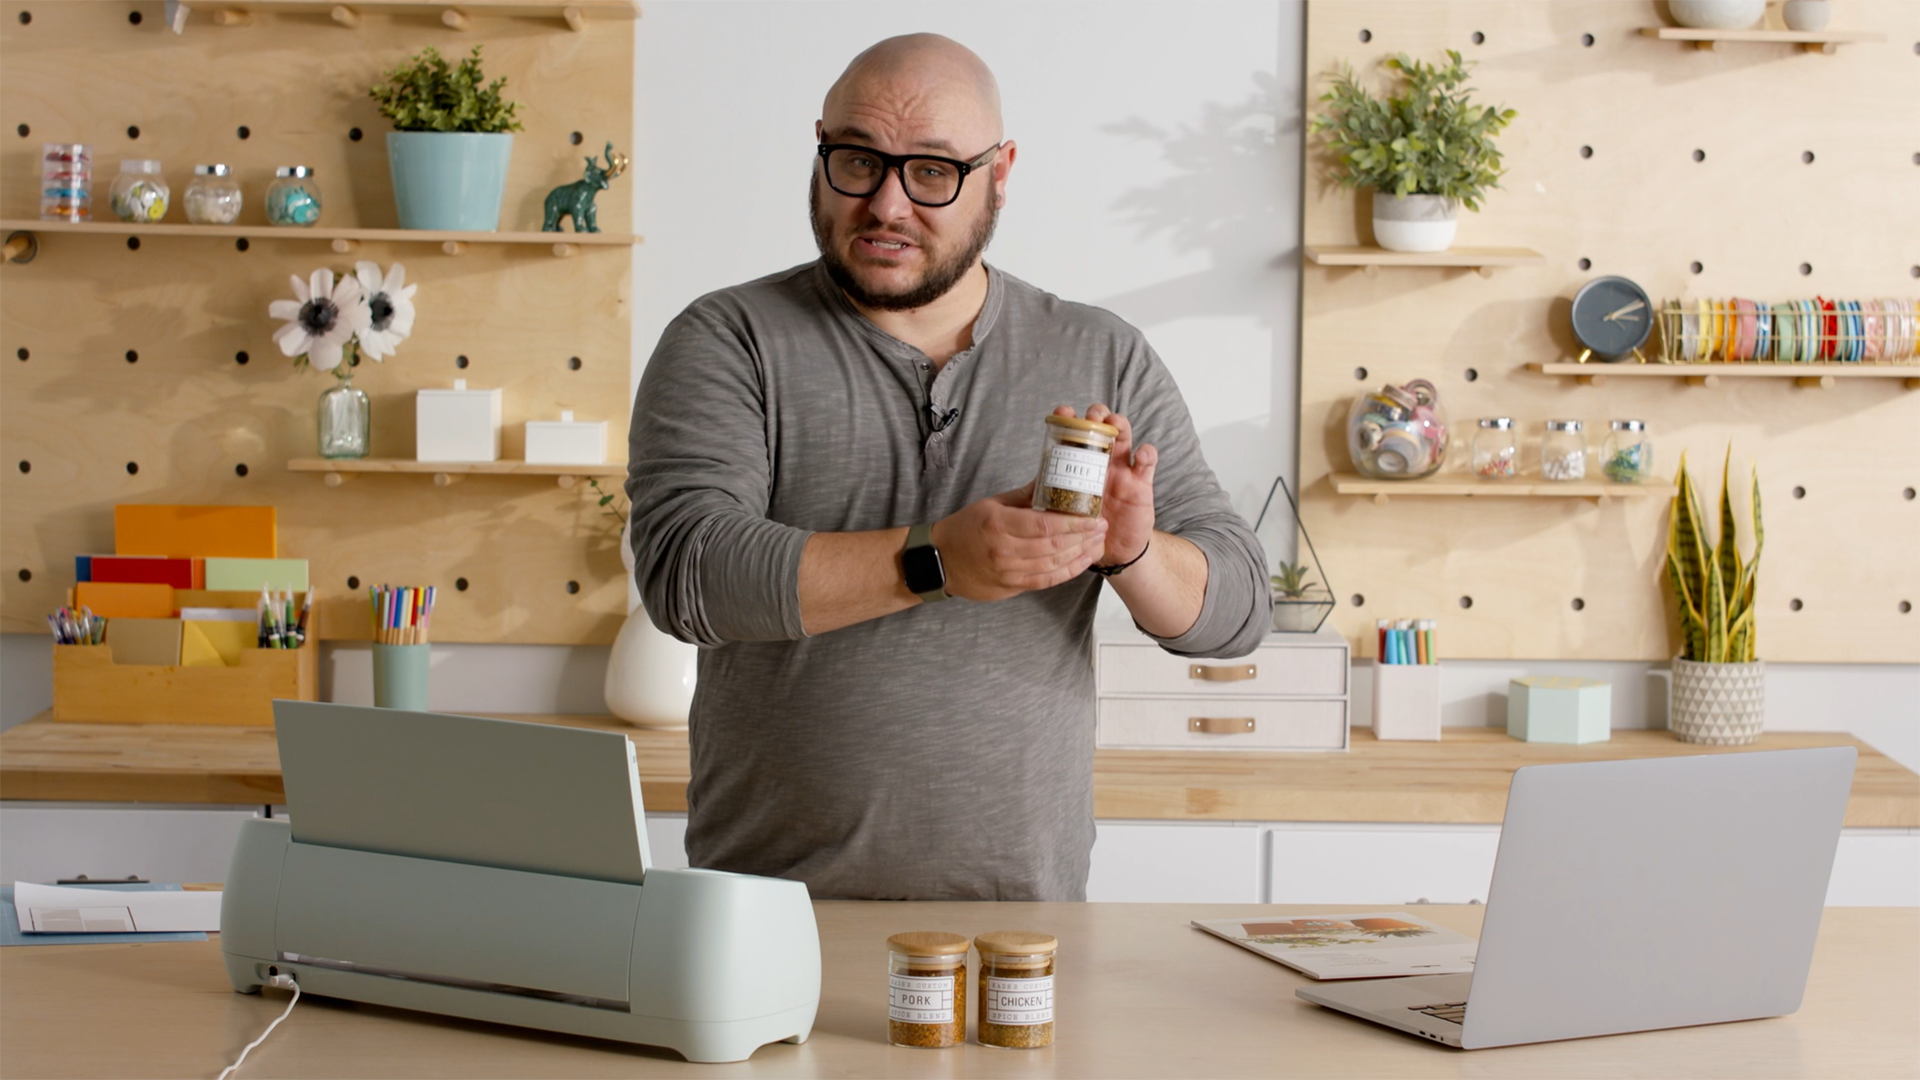
Tavia has a family reunion coming up and she is in charge of making all of the hats for it, which means she has to make a lot! So follow along to see how she makes them! If you want to create this same project, you can find it here.
Supplies needed
Print this list
Make a custom bucket hat
Step 1
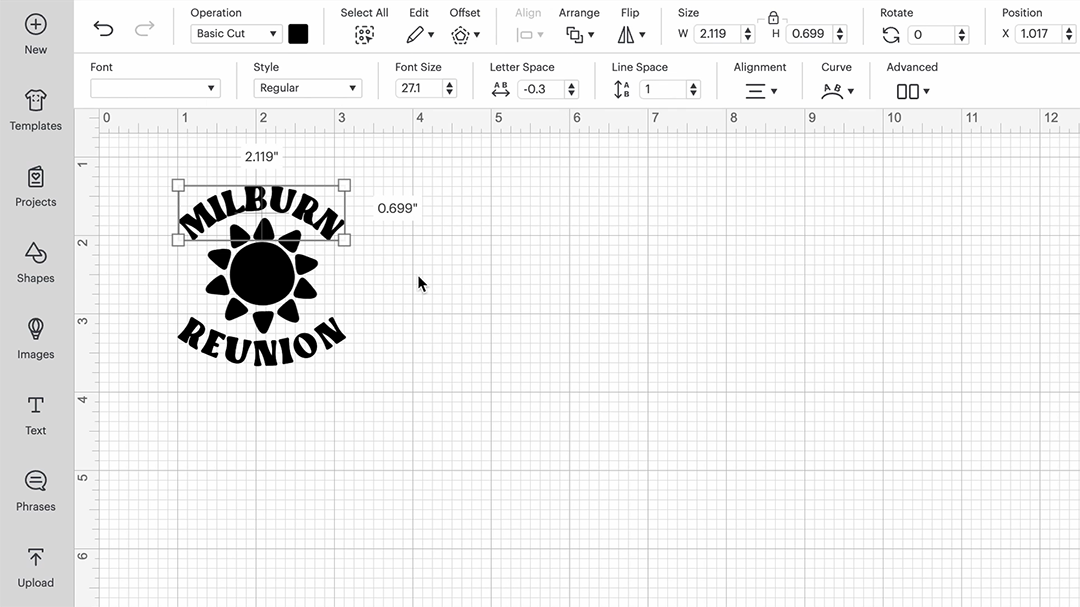
Head into Design Space and open up this project. Edit the text to have the last name you want it to have. Then go up to the top and change the width and height to the size you want to make it. Once you’re happy with that, select the whole design and click attach. This will make sure that all of the components stay in place.
Step 2
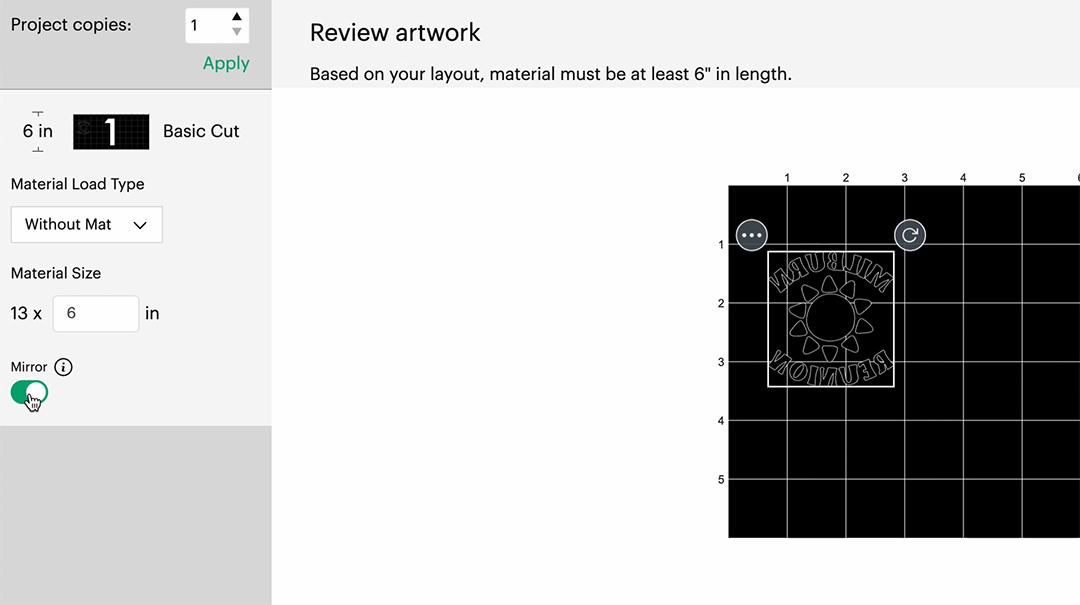
Next click make it. If you’re using smart material like Tavia is, make sure to choose without a mat. And since Tavia is using iron-on, she is going to toggle the mirror button so the design looks backwards. This makes sure that it reads the right way once it’s pressed on the hat.
Step 3
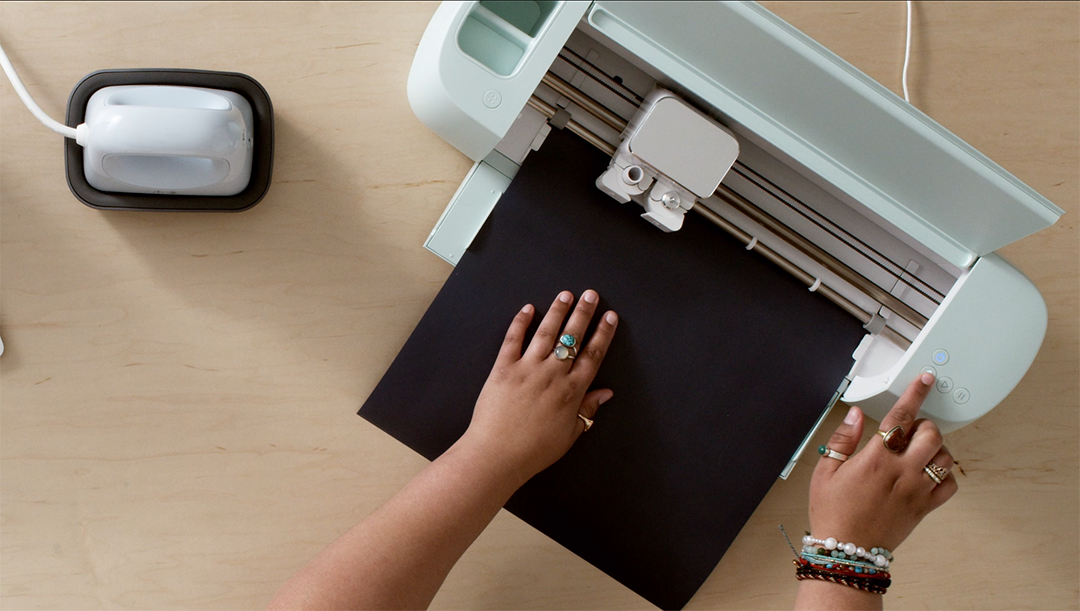
Next, select the material you are using, and load it into the machine. If you are using iron-on like Tavia is, make sure you put the shiny side down. Once the material is loaded and your machine has made sure you have enough material, click the go button. While the machine is cutting, you can turn on the hat press to get it warmed up. You can us Cricut’s heat guide to determine what temperature to use for your particular project. In this case, Tavia turned her hat press to the second setting.
Step 4
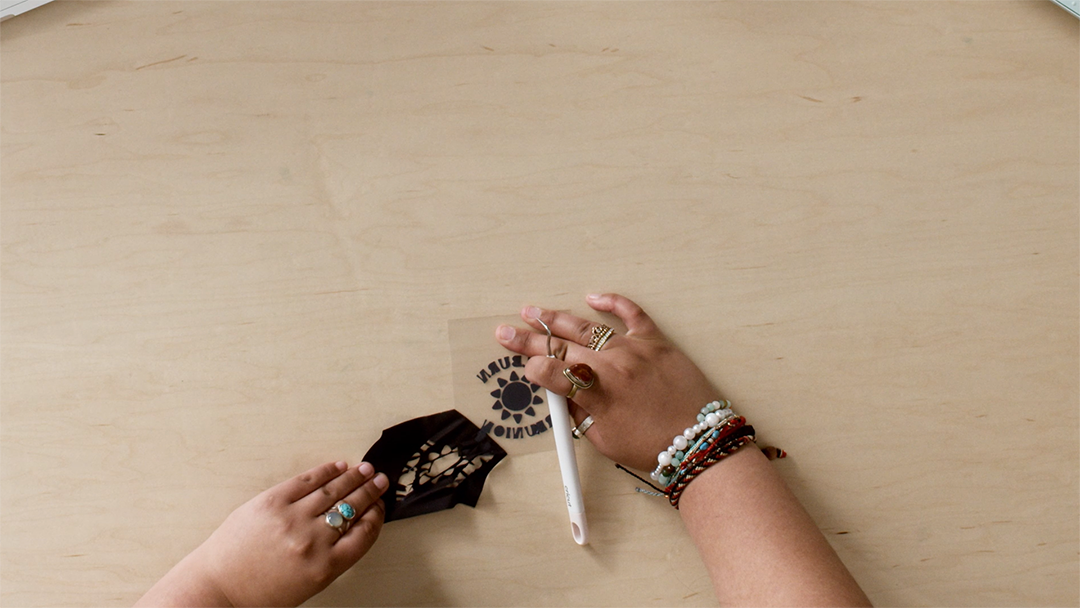
Unload your material from the machine and trim it down, that way you can save the extra material for future projects. Then take your weeder tool and remove any excess material that you don’t want in your design.
Step 5
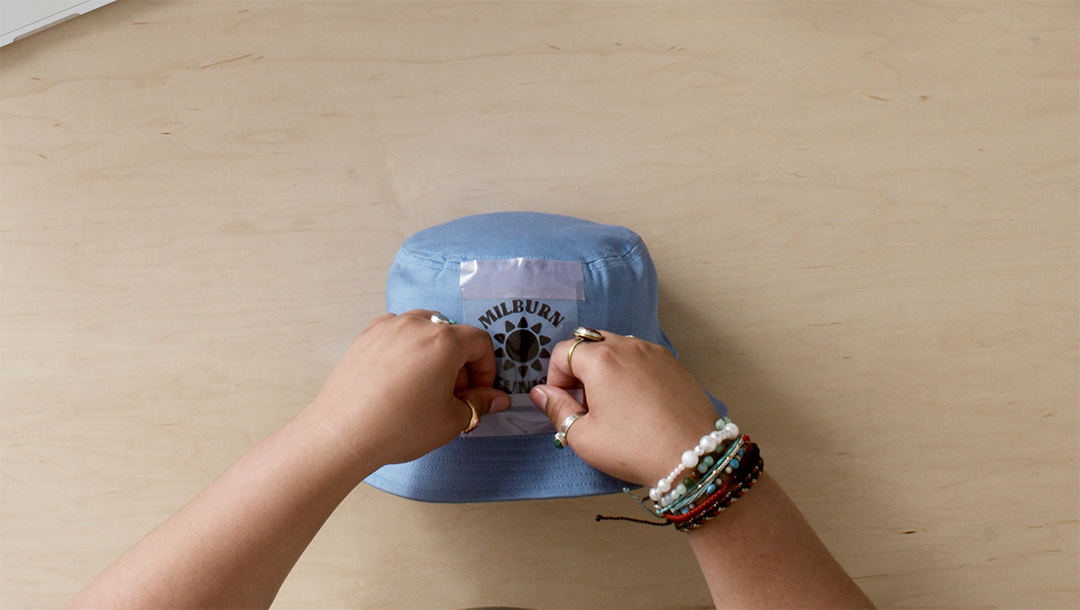
Once you’re done weeding, it is time to prepare the hat. Place your hat on the hat form and if you are using a bucket hat, make sure to pull out the lip of the hat so the hat lays flat on the form. Preheat the hat for 5 to 10 seconds to remove any moisture or wrinkles. Then take your design and place it on the hat where you want it. Cut a few pieces of strong heat resistant tape and tape the design down on all sides. This will keep your design from moving around while you press.
Step 6
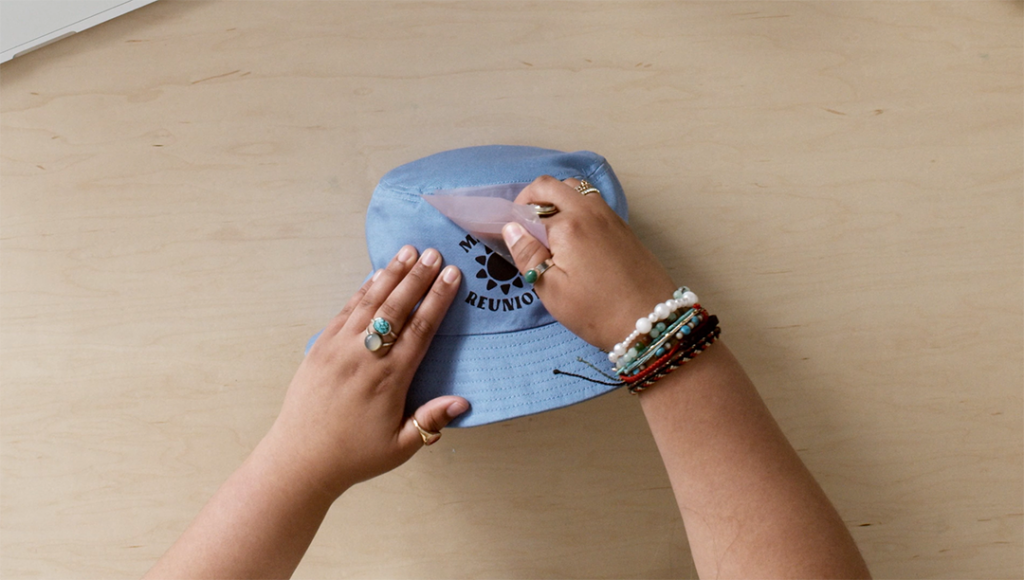
Once everything is placed and secure, take the hat press, place it on the design, and press go. The iron-on Tavia is using is a cold peel, so once the design is cooled down, she can start peeling the tape and backing. When you peel away the backing, you can also press the iron-on into the fabric to help it adhere to the hat.
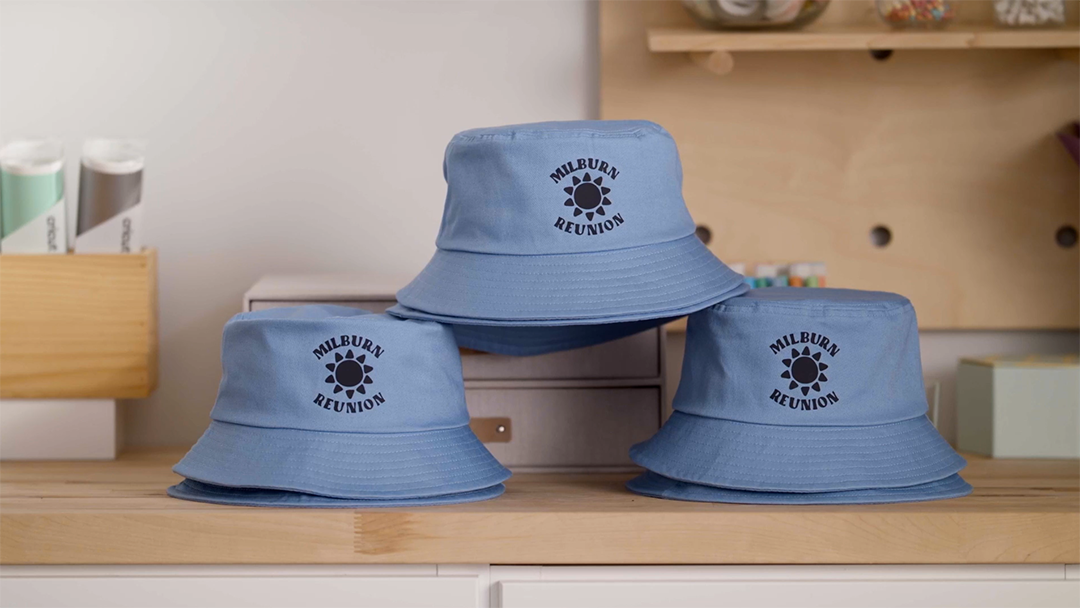
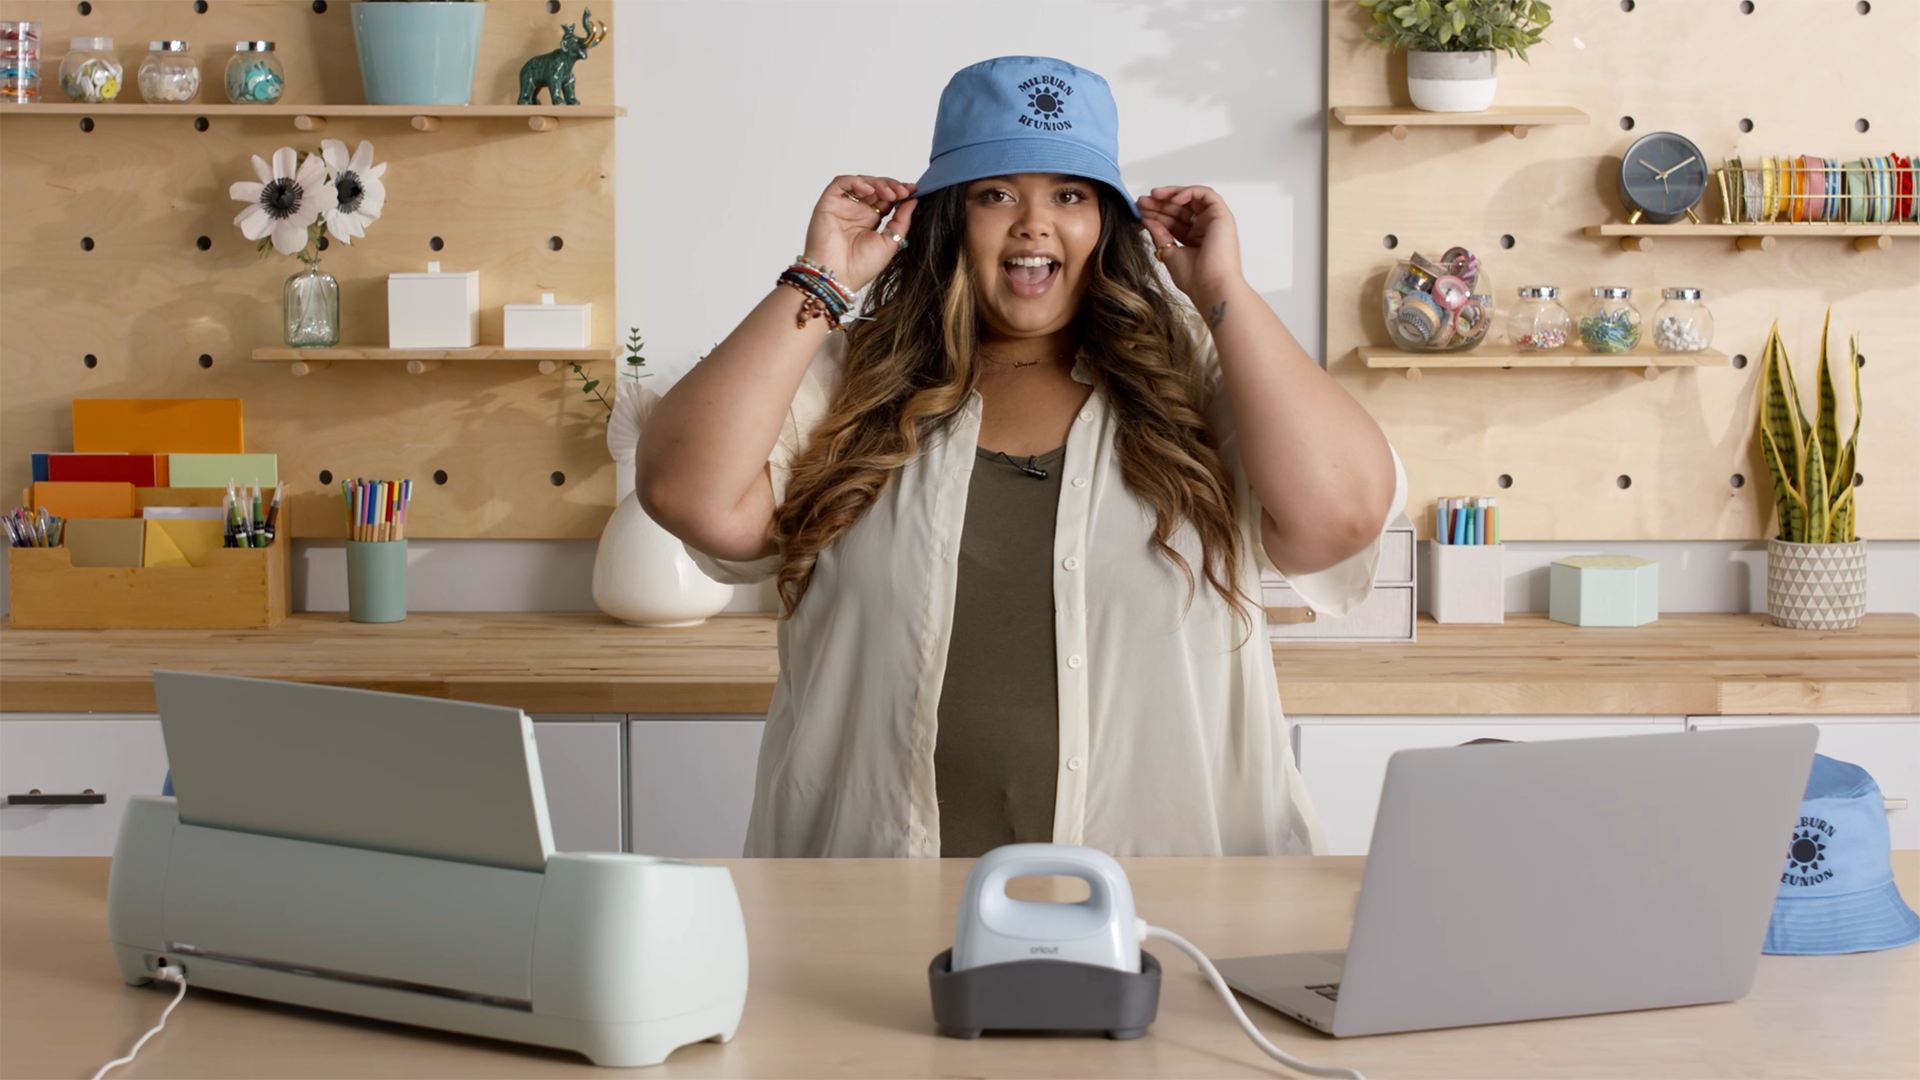
Now wear your bucket hat with pride!
Whether you’re making hats for a family reunion, vacation, or just for yourself, your Cricut can help you make it be the best it can be. And make sure you share your creations with us on social media by using #cricut!
