How to make 3D flowers
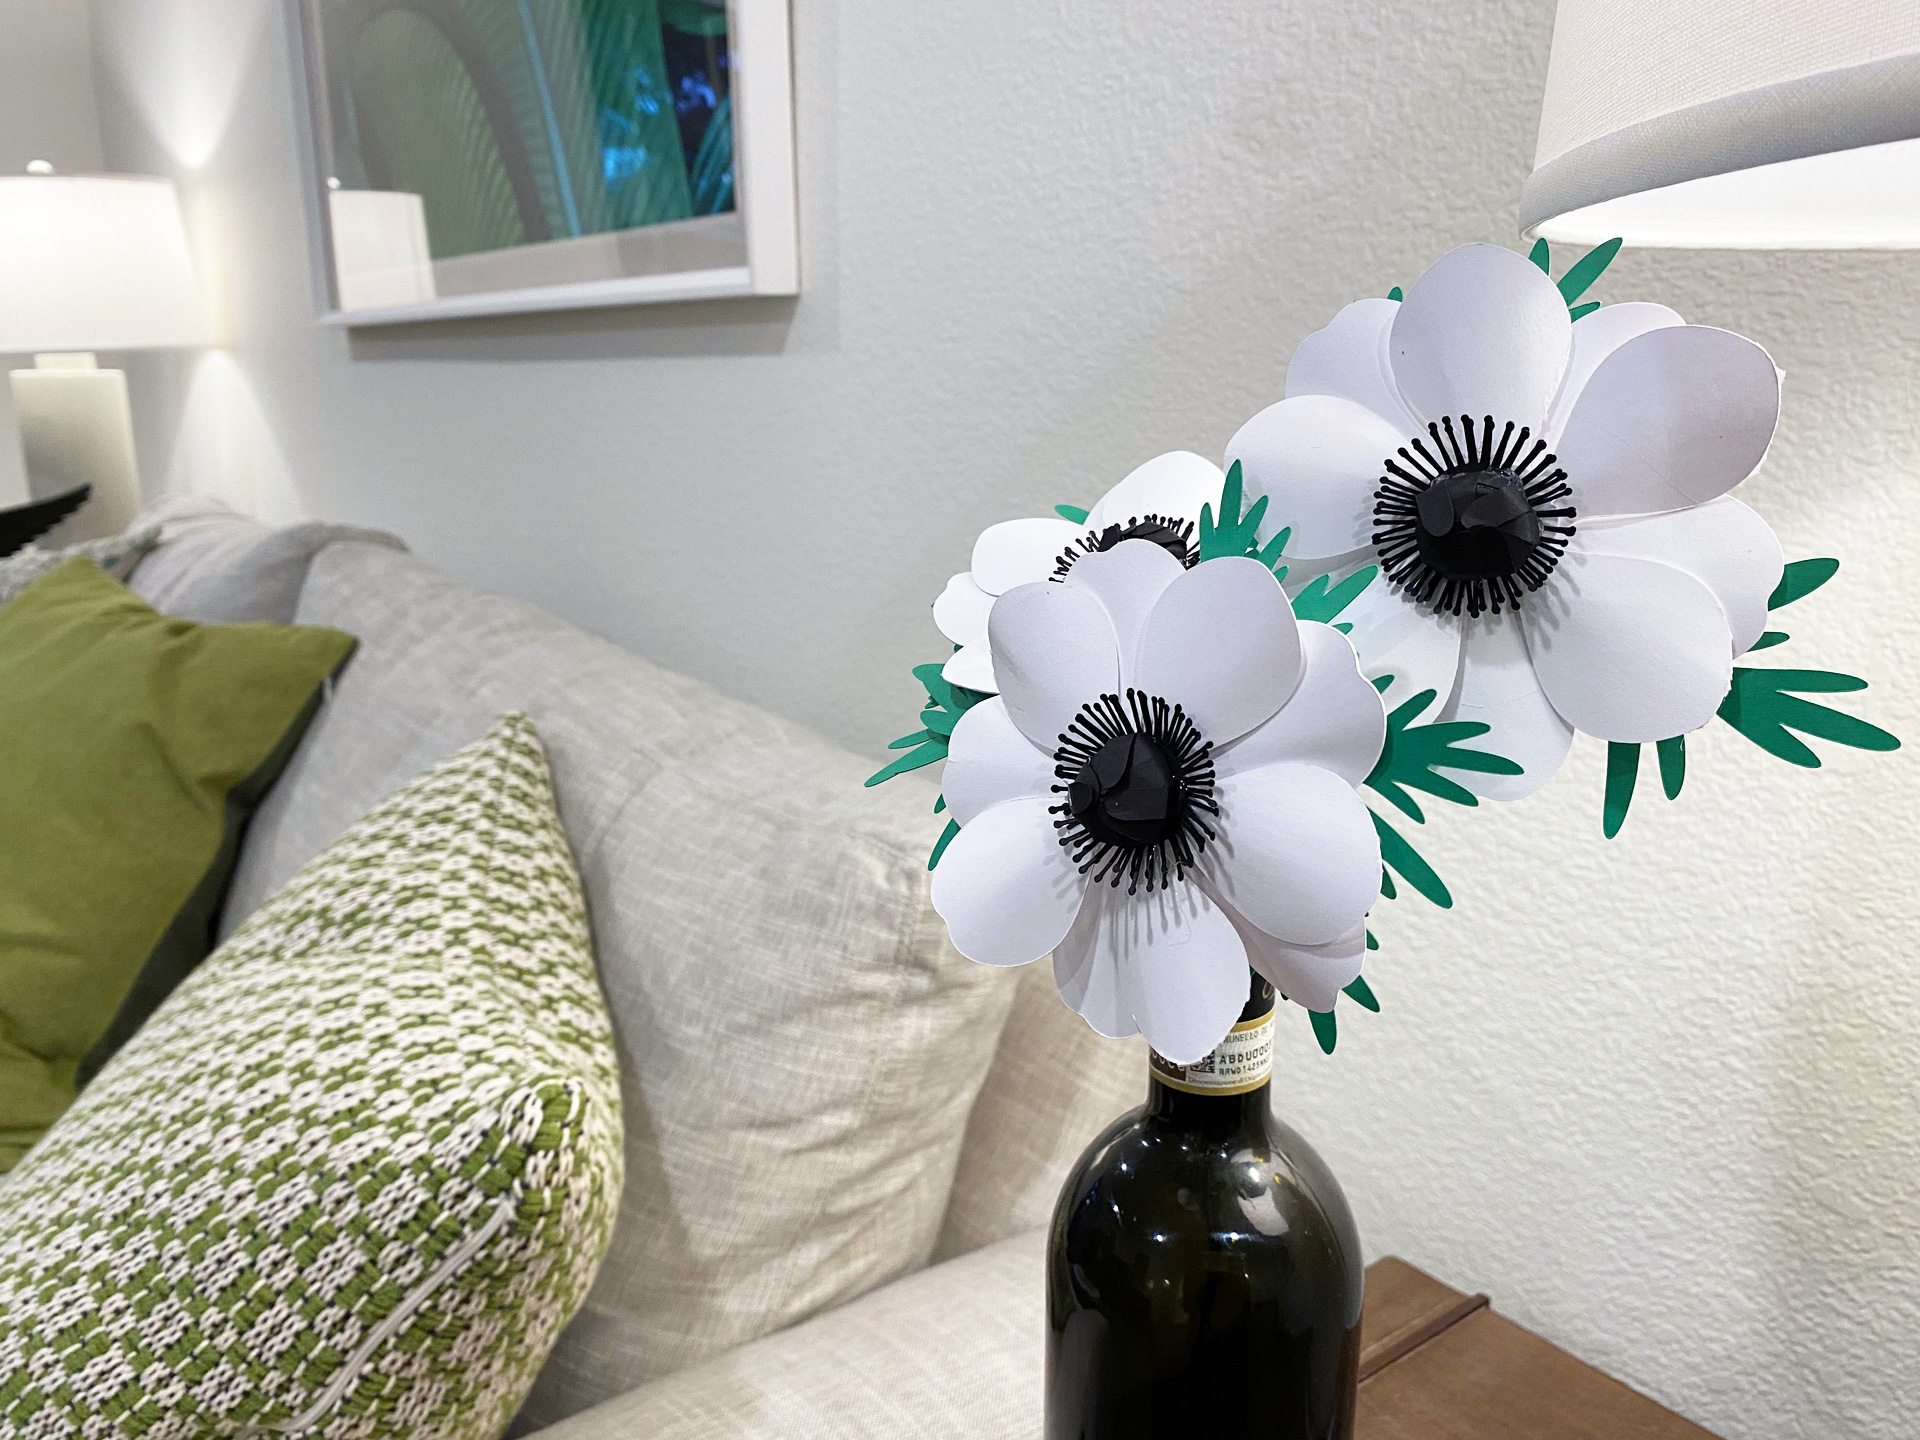
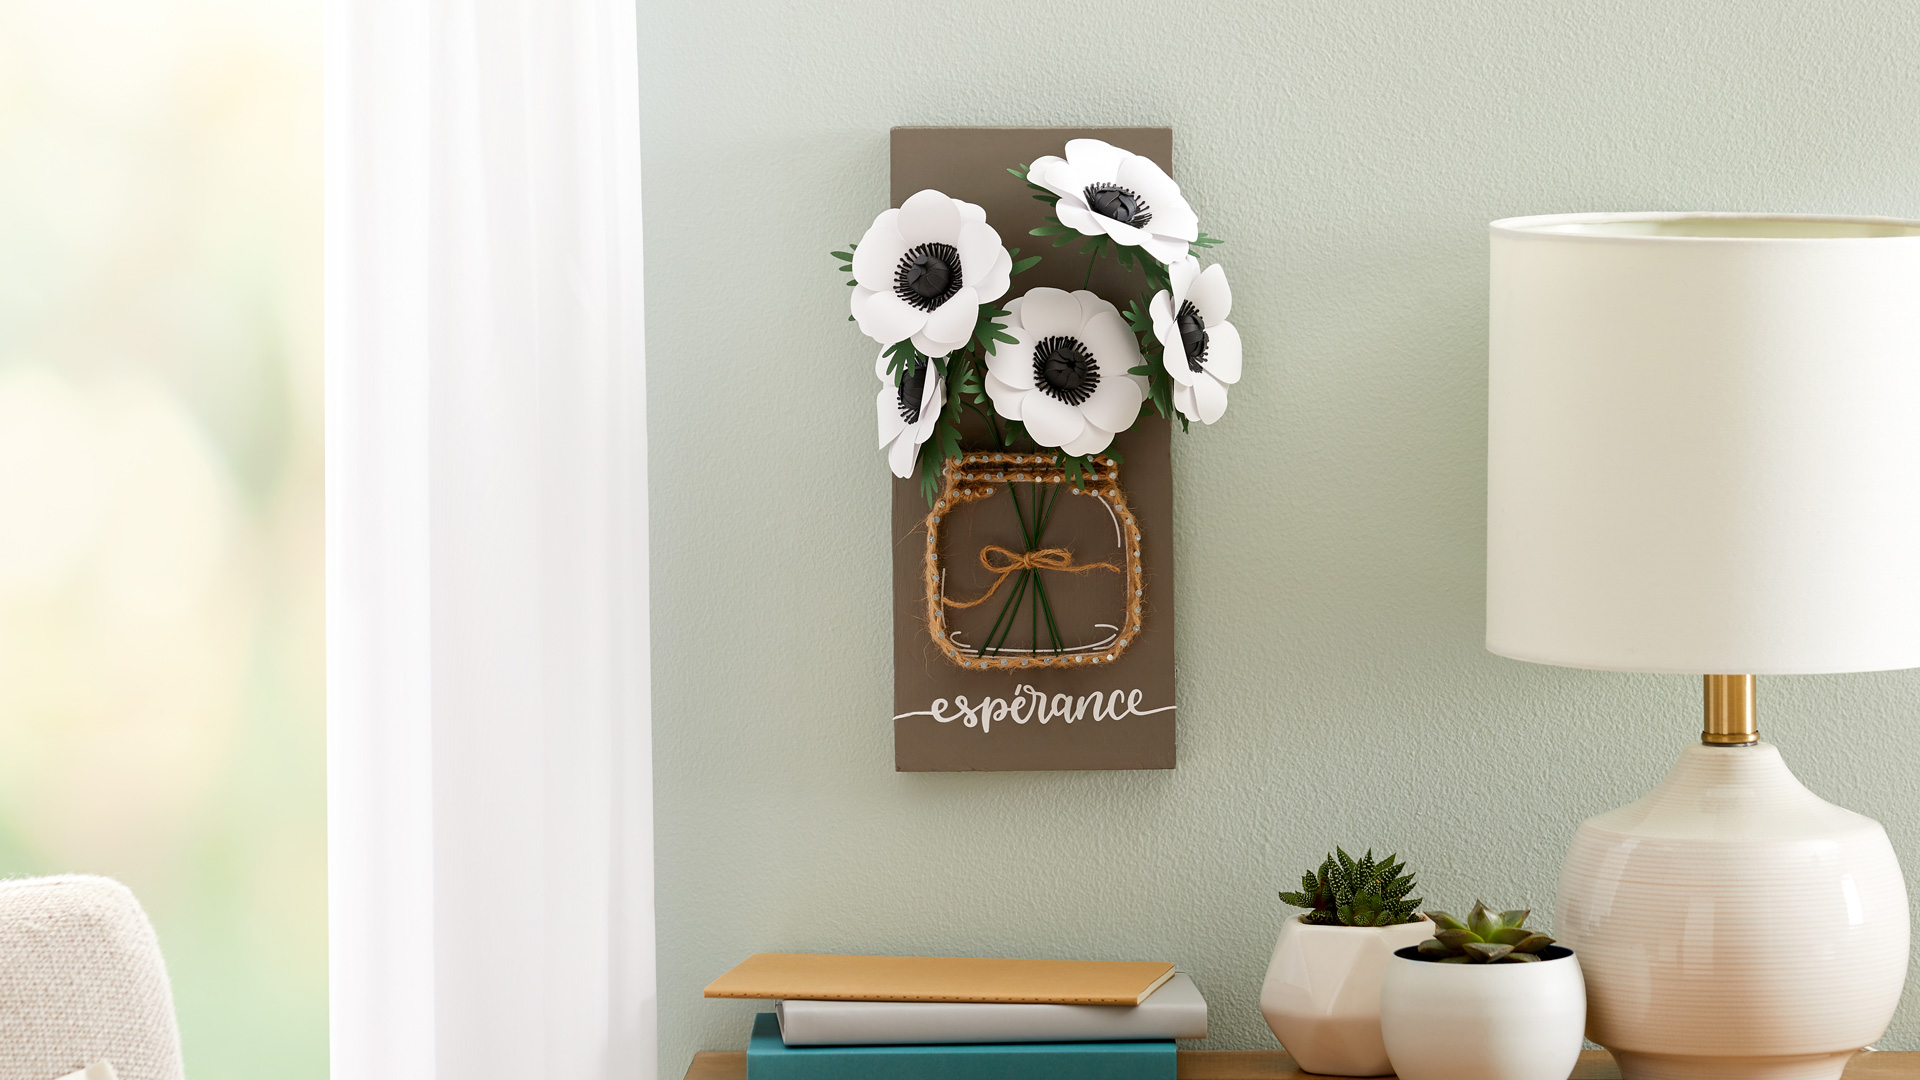
One of my favorite 3d flower projects in Design Space is the Hope Anemone Flower Wall Art. I don’t love hanging things on my walls, since I live in an apartment, but I wanted to use these flowers for decor anyway. Using this project as my inspiration, I created a cute flower arrangement that I’ll never have to water and can change out or redesign any time I want.
These 3d flowers were relatively easy to make, with the only complication being deciding which type of glue I wanted to use. Making these, I used two kinds, but if I could start over, I would have used a hot glue gun from the start.
Here’s how I made 3d paper flowers.
Supplies needed
Print this list
3d paper flower decor
Step
First, find the 3d flower project of your choice in Cricut Design Space. I used the Hope Anemone Flower Wall Art project for this how-to.
Step
Cut your materials on a Cricut machine. If you’re using cardstock, make sure to use the blue “lightgrip” mat when you cut. This helps make it easier to remove cardstock or construction paper when you’re done cutting.
Step
This project needs the “single score tool” to make creases in the center fringe of the flower. Have that on hand so that you can swap the blade and scoring tool easily.
Step
When you’re removing the cardstock from mat, first remove the excess paper. Then, turn the mat upside down, with the paper facing down. Peel the mat backwards, and the paper will come off the mat more flat rather than curved — so that you can curl it how you want it later.
Step
Speaking of curling, the next step: curl your petals. I used a quilling tool to do this, but you can use virtually any straight edge. I’ve curled paper with the flat edge of a pair of scissors before, a ruler, and even a credit card.For this part, I held the tip of the tool with my left thumb at the bottom slit on the petal, and then moved the rod like a windshield wiper or clock hand along the edges. I used my index finger on my right hand to help push the paper in the right direction.Tip: Before curving, take the two notches that are slit in half at the bottom of the petal, and overlap one over the other. This helps you see what a natural curve looks like, and can help when you’re using the quilling tool.
Step
Next, attach 5 petals to each circular cut out. One set of 5 should be slightly pointed out at the top, and the other set of 5 should have a little notch at the top. The first set makes up your top petals, and the second is your bottom. The circular paper has tiny indents to show you where the slits on the petals should go. You can use glue here to keep those petals in place.
Step
Next, take the pieces that look a bit like a fence, then glue the tab sticking out to the opposite side of the paper. This should make it look like it’s rolled up (as shown in the picture). For this, I originally used a glue pen, but found hot glue to keep it in place easier.
Step
Now, start gluing things together! Place the pointed set of petals on top of the notched set, and then the fringed black pieces on top of both. There are enough fringe pieces in this project to place two on each flower, giving it a much fuller appearance.You can curve the fringed pieces with a tool, but I found it easiest to simply use my thumb. I liked that my quilling tool let me move each fringe individually into a different place, giving it a natural and slightly haphazard look. However, after I was done, I did think the pieces I curved with my thumb looked best.
Step
Next, turn the flowers over, and attach floral wire to the back side with glue. You can cover the places you attached the wire with the green leaves.Ideally, your floral wire would be green, but really anything works. I had this copper wire handy, and it proved to firmly hold the flowers in place in its final design.
That’s it! In all, this project took me about 30 minutes to make. The next time I make them, I’d likely choose darker greens for the leaves, or take a little more time to curve the petals in a prettier fashion. But that’s the great thing about these 3d flower projects — I can make them exactly how I want them, whenever I want.
Looking for more 3d flower inspiration?
We love Cricut member Anastasia Jackson’s story on turning a paper flower hobby into a business. Check out the blog for other ideas too, like DIY giant paper daisies or the ones Cricut team member Alexandra made to create easy paper flowers to show thanks.
Did you make flowers? Show off what you made! Just remember to tag @cricut and hashtag it with #cricutmade.


