New in Design Space: Convert to Layers
With Convert to Layers, instantly convert an uploaded multicolored image into separate layers
Today, we’re announcing the release of Convert to Layers — a new Design Space feature available to Cricut Access subscribers — to easily convert images being uploaded into separate, multi-coloured layers.
How Convert to Layers works
Ever snapped a photo and immediately envisioned it as a stunning t-shirt or decal? With Convert to Layers, your creative dreams are just a few clicks away from becoming reality. Upload your image, and watch as it seamlessly transitions into separate, multi-coloured layers ready to be crafted into unique designs.
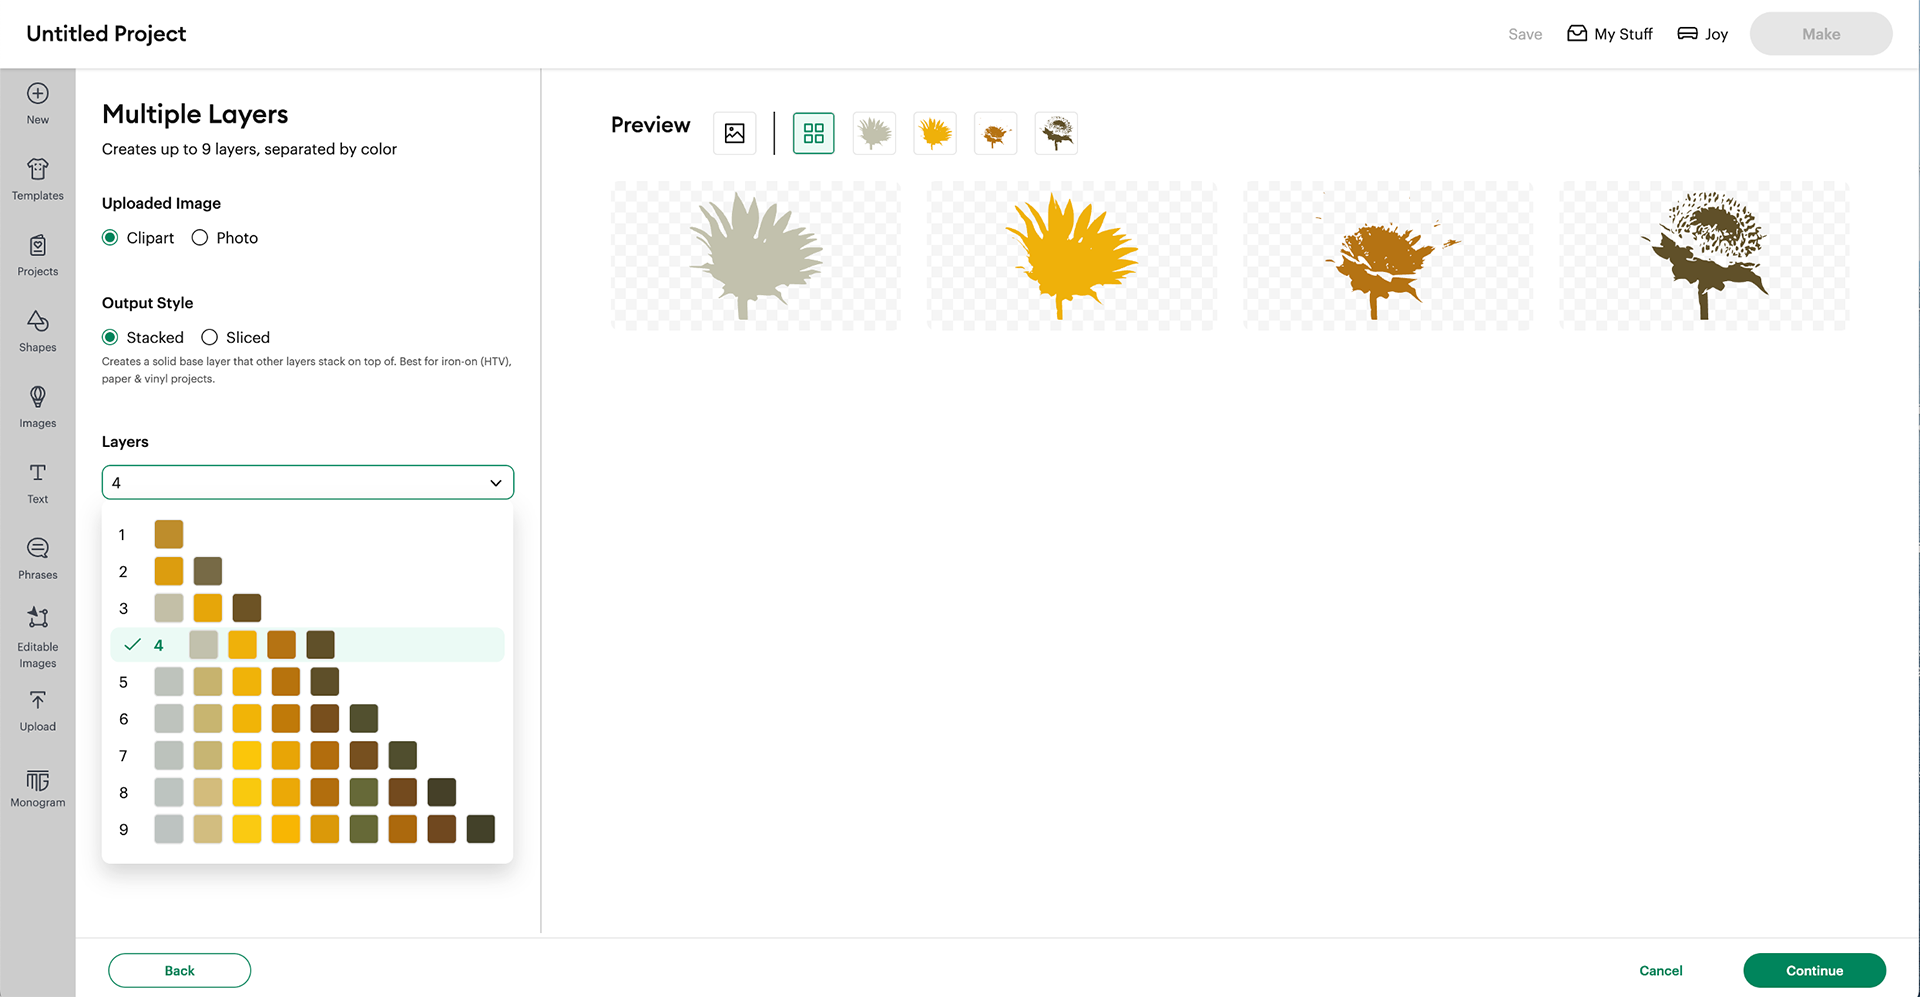
Begin by refining your image using the Automatic Background Remover and manual editing tools to ensure precision and clarity. Next, select your desired output style—whether stacked or sliced—depending on the material you intend to use. Choose the number of layers, up to nine, and let the colours automatically align with your image’s hues. Finally, watch as your image is effortlessly inserted onto the canvas, each layer distinct and ready for your creative touch.
Please note, while Convert to Layers accommodates various image types, it works best with simple, clip art-style images. For optimal results, we recommend using high-definition, high-resolution images.
Materials compatible with Convert to Layers
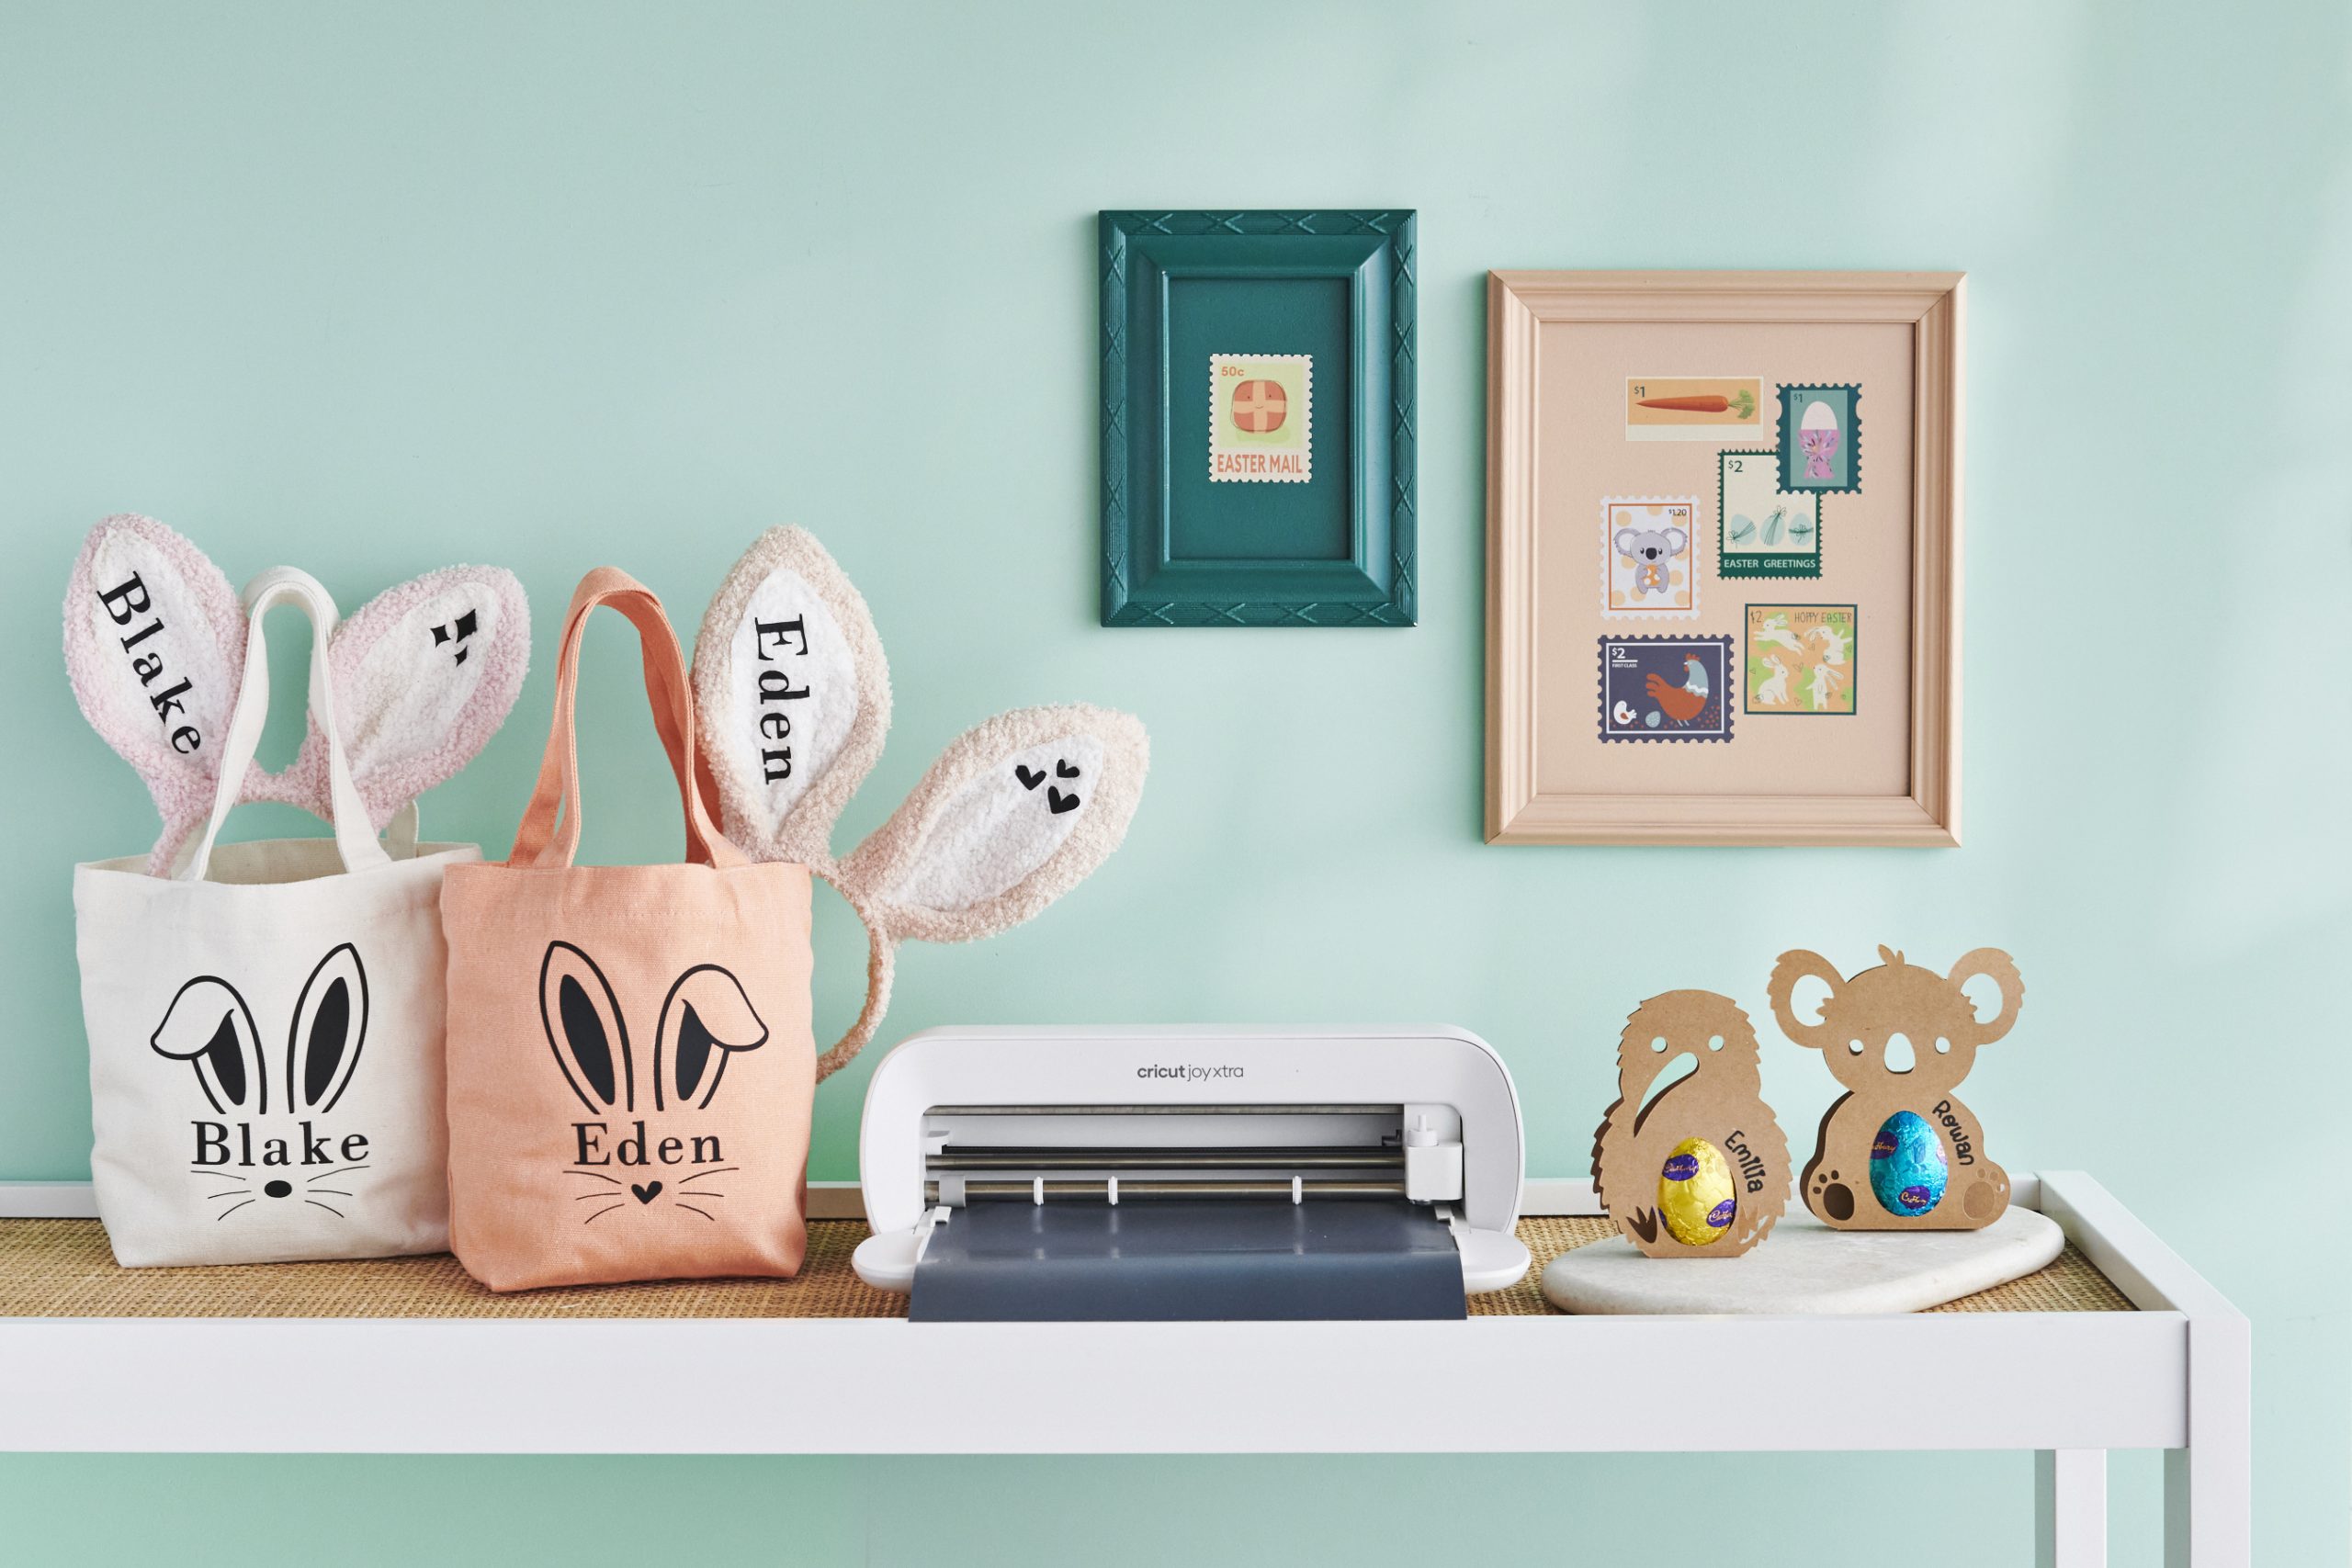
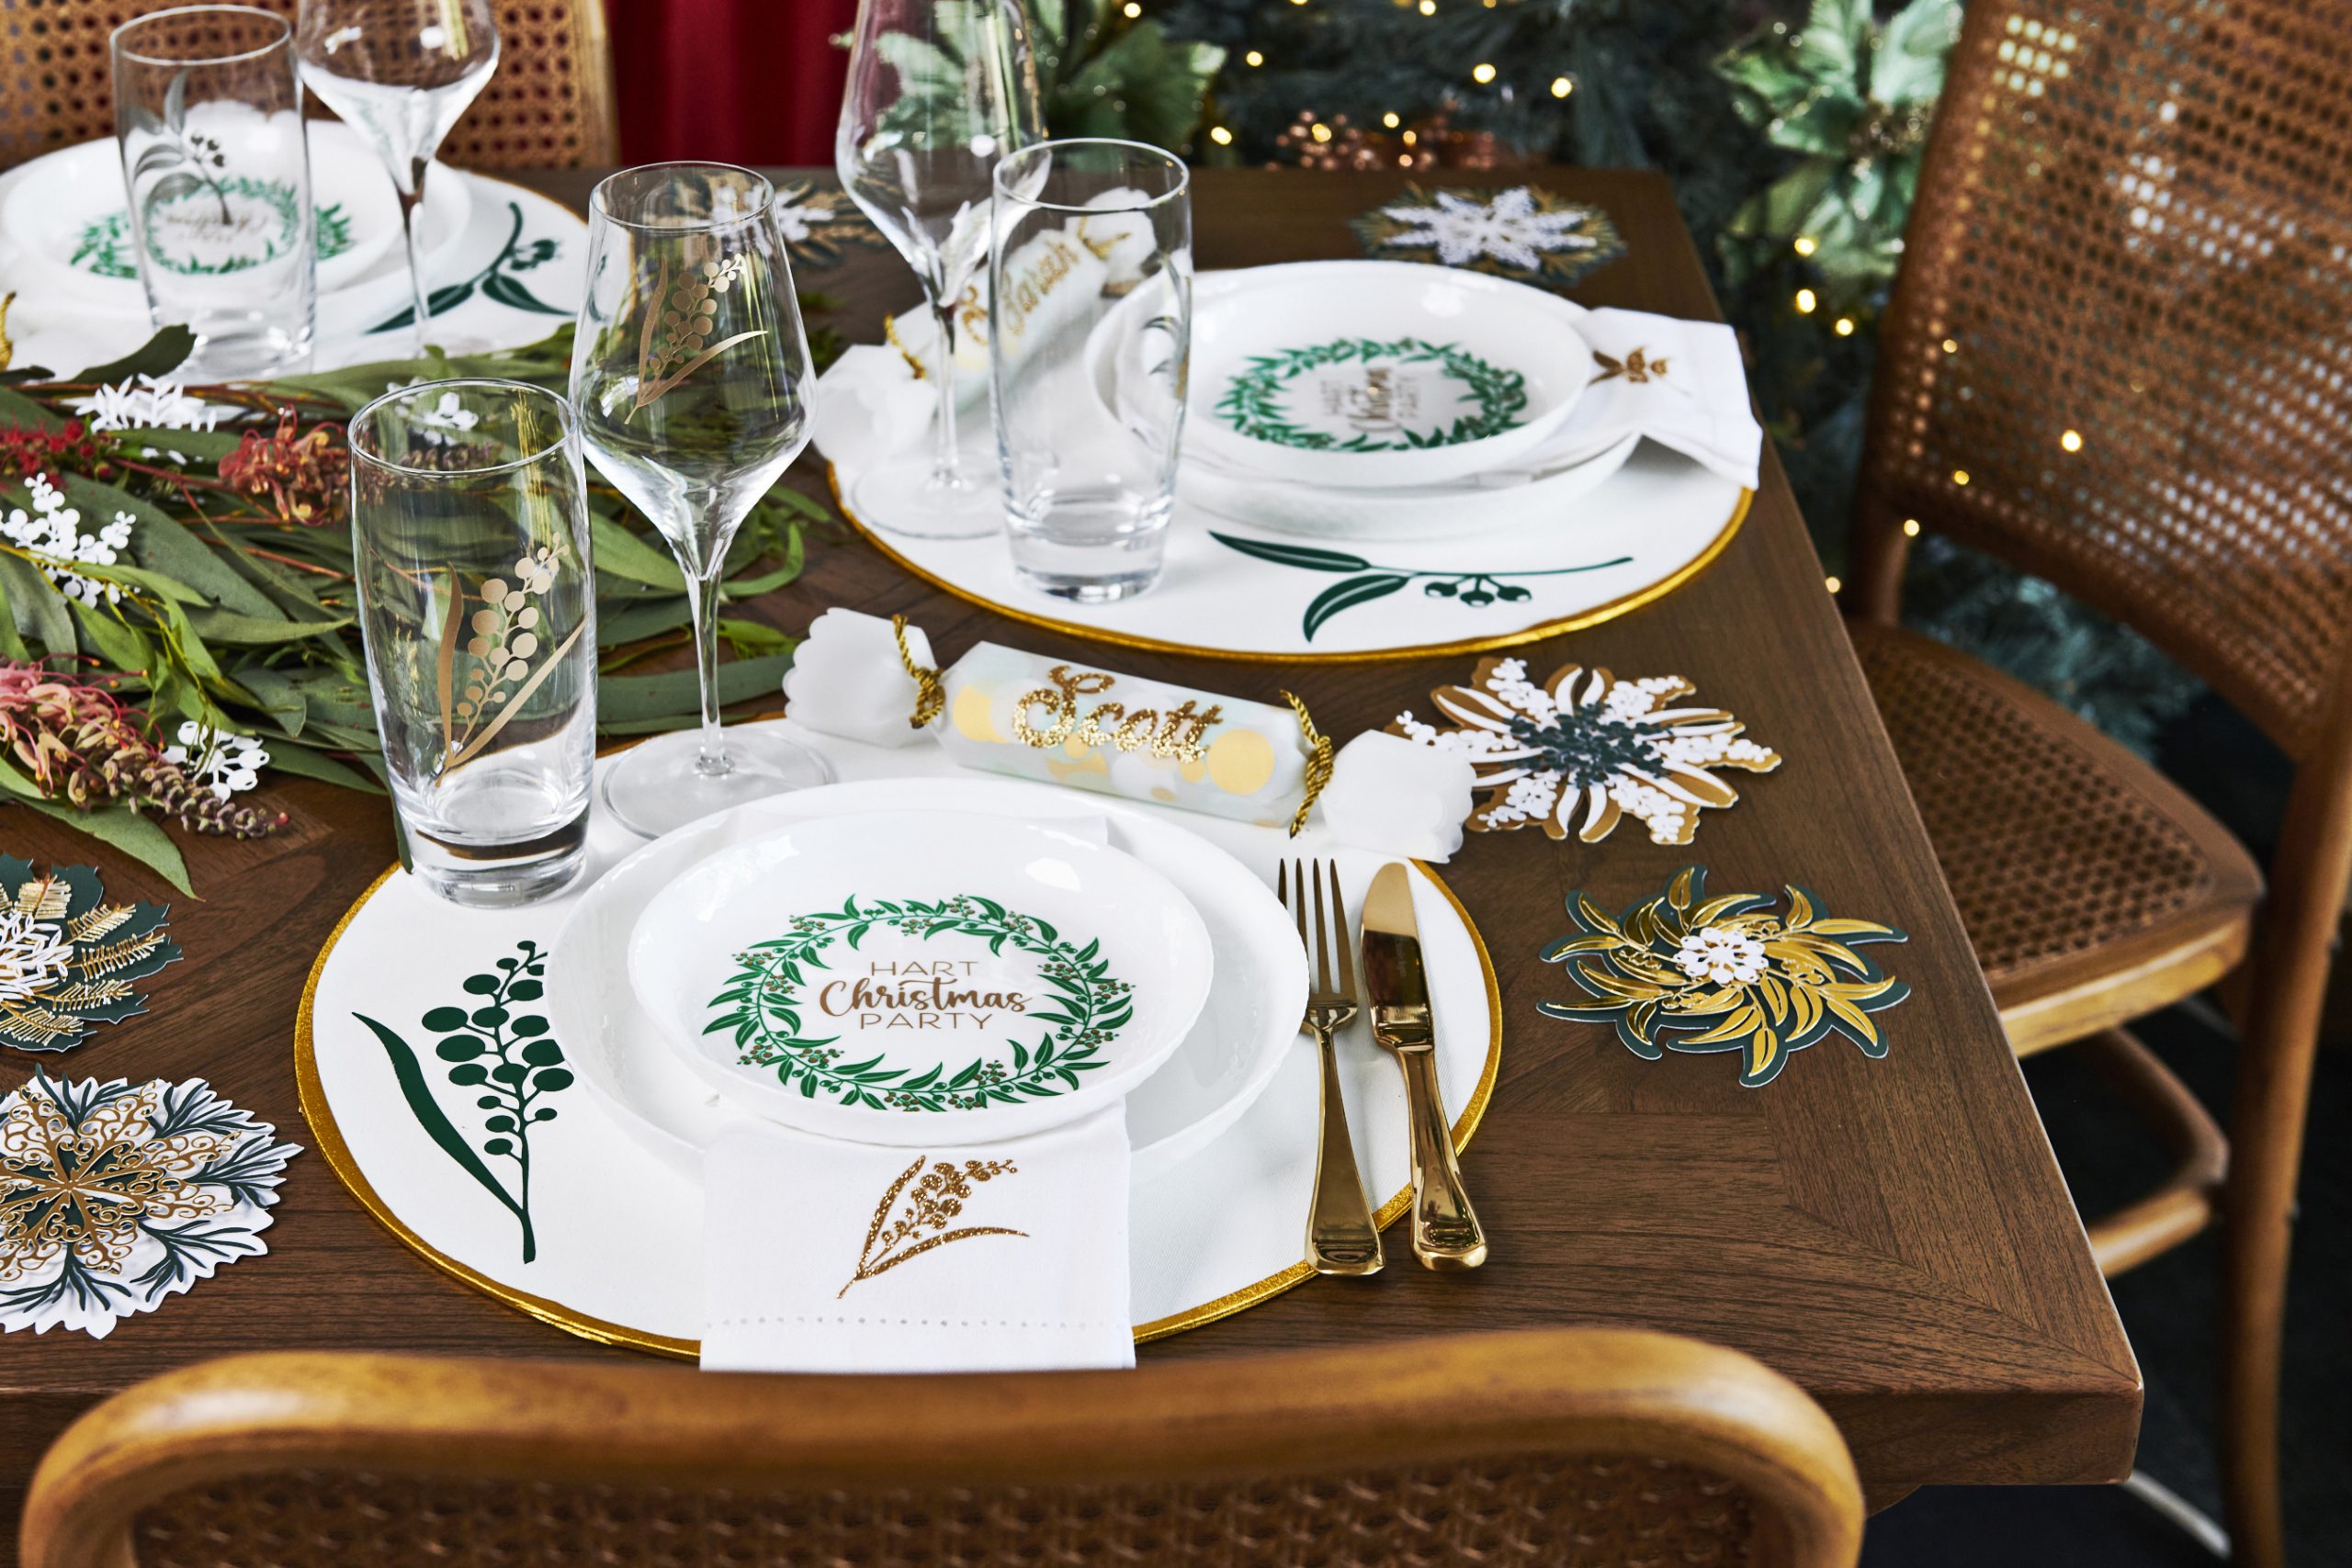
Your crafting projects are as unique as you are and Convert to Layers ensures that your options are limitless. All Cricut materials (including Smart materials) are at your disposal for whatever it is you want to make, from vinyl, paper, infusible ink and iron-on.
Using Convert to Layers in Design Space
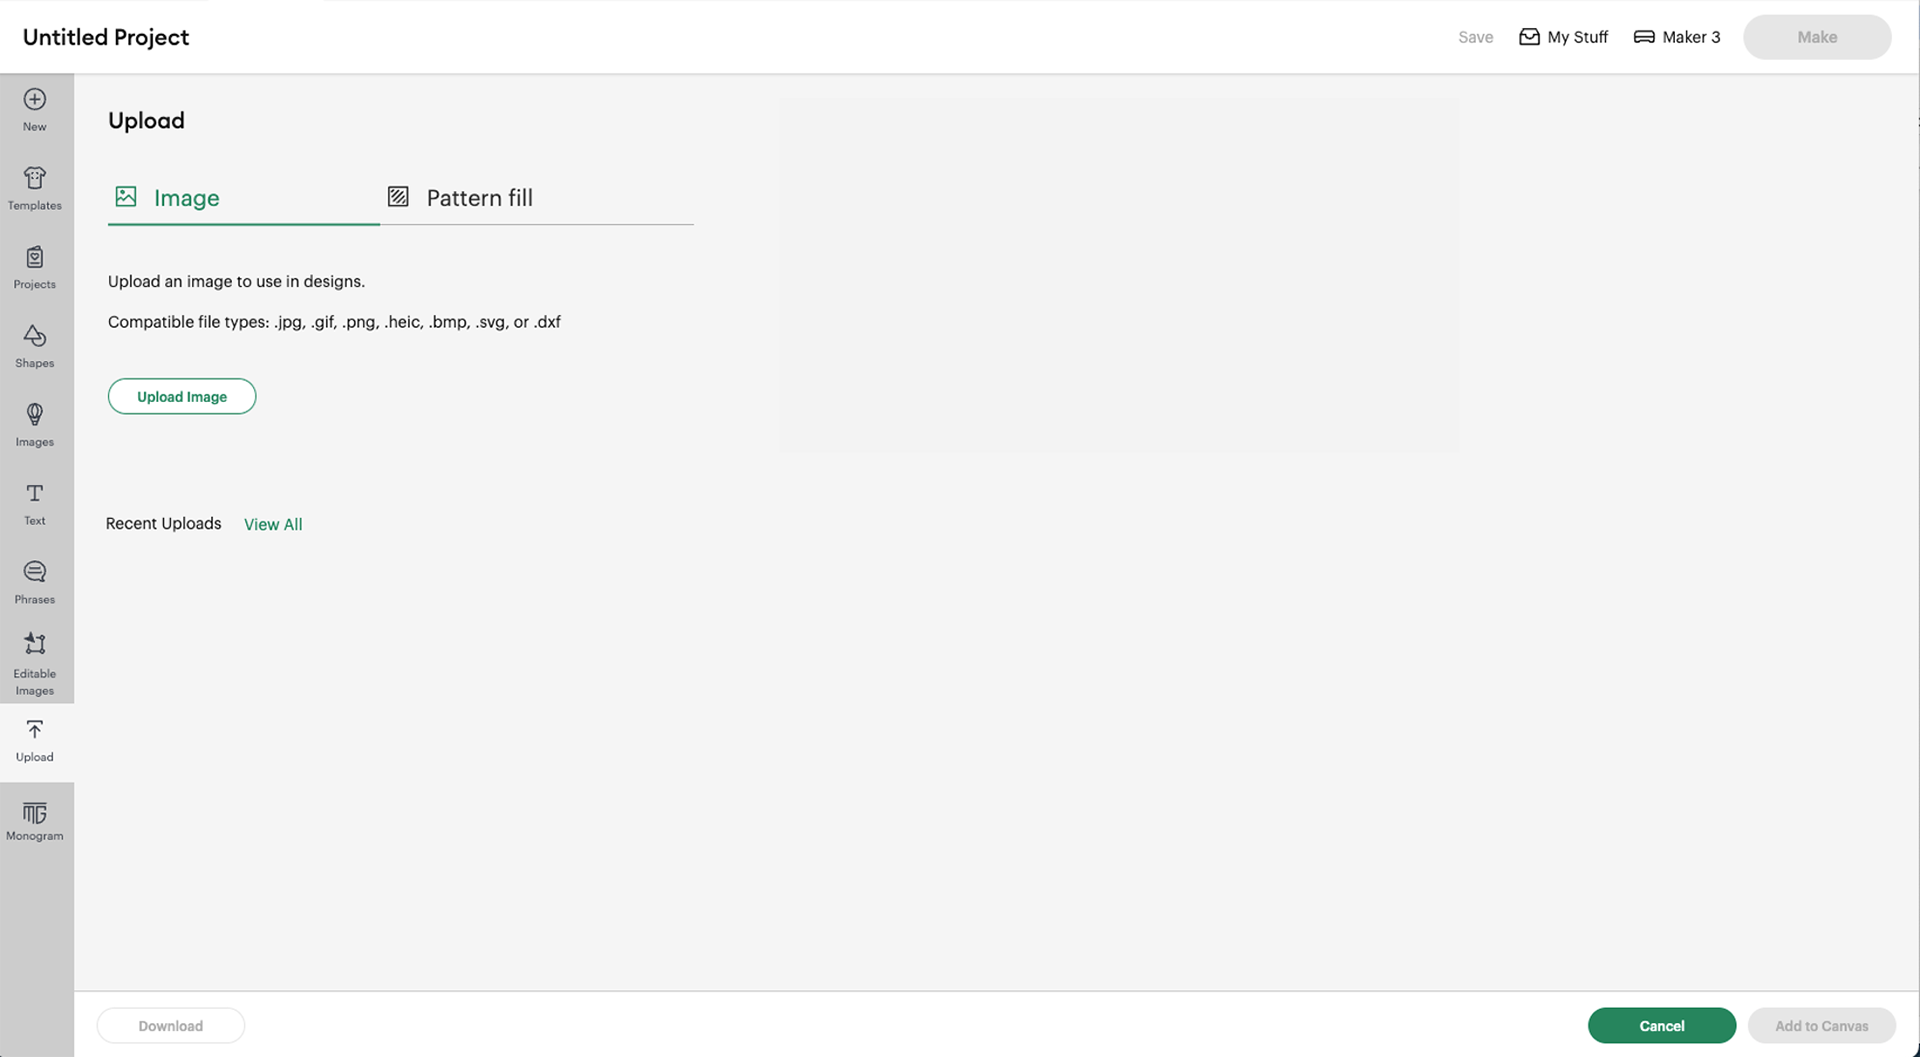
Step 1
Upload the image you want to convert into layers by going to Canvas and selecting Upload from the left-hand menu. Drag and drop or browse your image and click Continue. Compatible file types: JPG, PNG, GIF, SVG, DXF, HEIC, and BMP.
Step 2
Remove any unwanted areas of the image by using Automatic Background Remover and/or the Manual editing tools, click Apply & Continue, then you’ll select Multiple Layers.
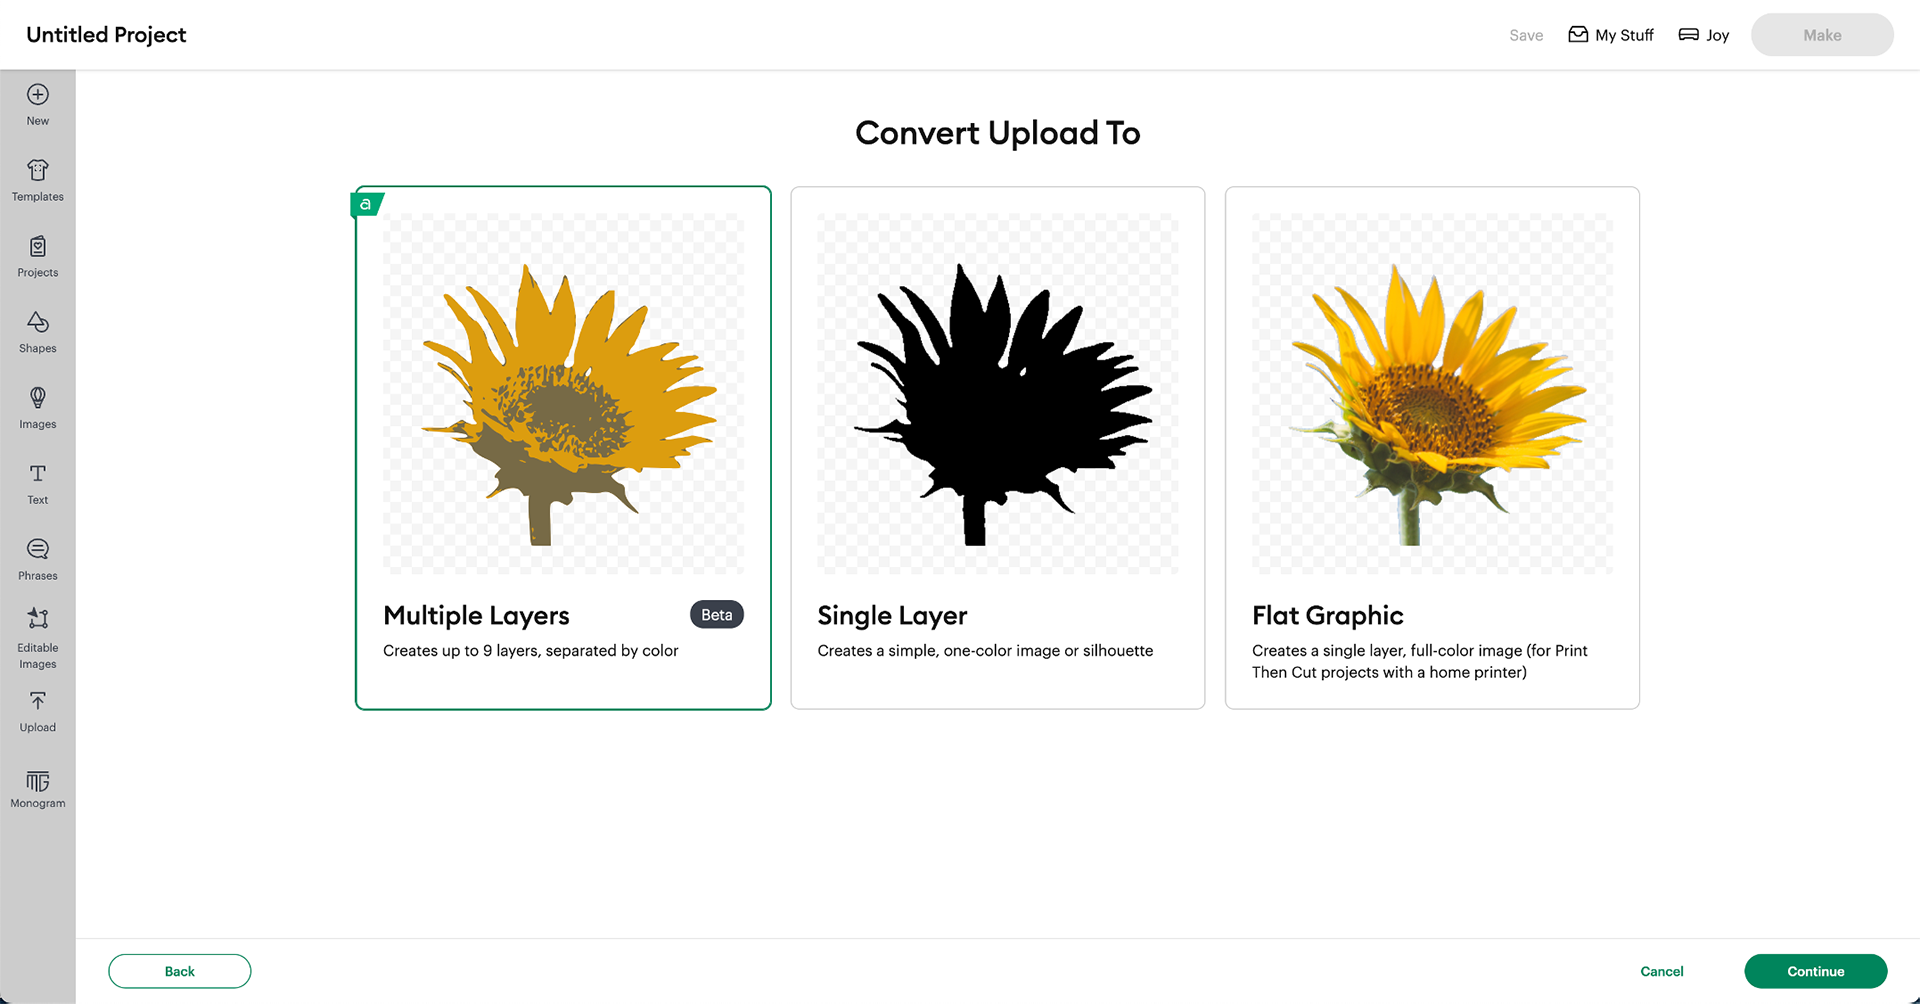
Step 3
Here’s where the magic happens. You can preview and experiment with the number of layers (up to 9) and the output style, whether stacked or sliced, based on the material you plan to use.
Step 4
Once you’ve decided on the layer amount and output style, click Continue. Next, you can name your image, add tags, and add it to one of your Collections and Click Upload.
Your image is now on the canvas, ready for you to fashion into a one-of-a-kind creation, with each layer a distinct colour.

For more helpful tips and detailed instruction, or if you have questions, visit our official FAQs page.
FAQs
Exclusively for Cricut Access
Convert to Layers is an exclusive feature for Cricut Access subscribers. Anyone can try and preview the tool — only clicking “Continue” on your project, before uploading to the Canvas, requires a subscription. So, feel free to try-before-you-buy and see for yourself how much time you can save converting an image into layers.
Want to learn more about the benefits of a Cricut Access subscription? Some of the main benefits are an unlimited use of our ever-growing Cricut library of fonts, Cricut images, and images designed by our Contributing Artist Program. And you will get access to our expanding suite of tools to streamline and simplify your making process, like Automatic Background Remover, Monogram Maker, Warp, Create Sticker, and of course, Convert to Layers!
In case you missed it
Investing in Design Space continues to be a major focus for our team so we can deliver exciting new ways for you to make any project you can imagine. While we continue to improve functionality, design, and content offerings across our apps, we are also looking for more ways to simplify the making experience.
Make sure to read the “What’s New” pop-up in your version of Design Space or in the App Store, and check out our website to see everything in this release.
You Might Enjoy…