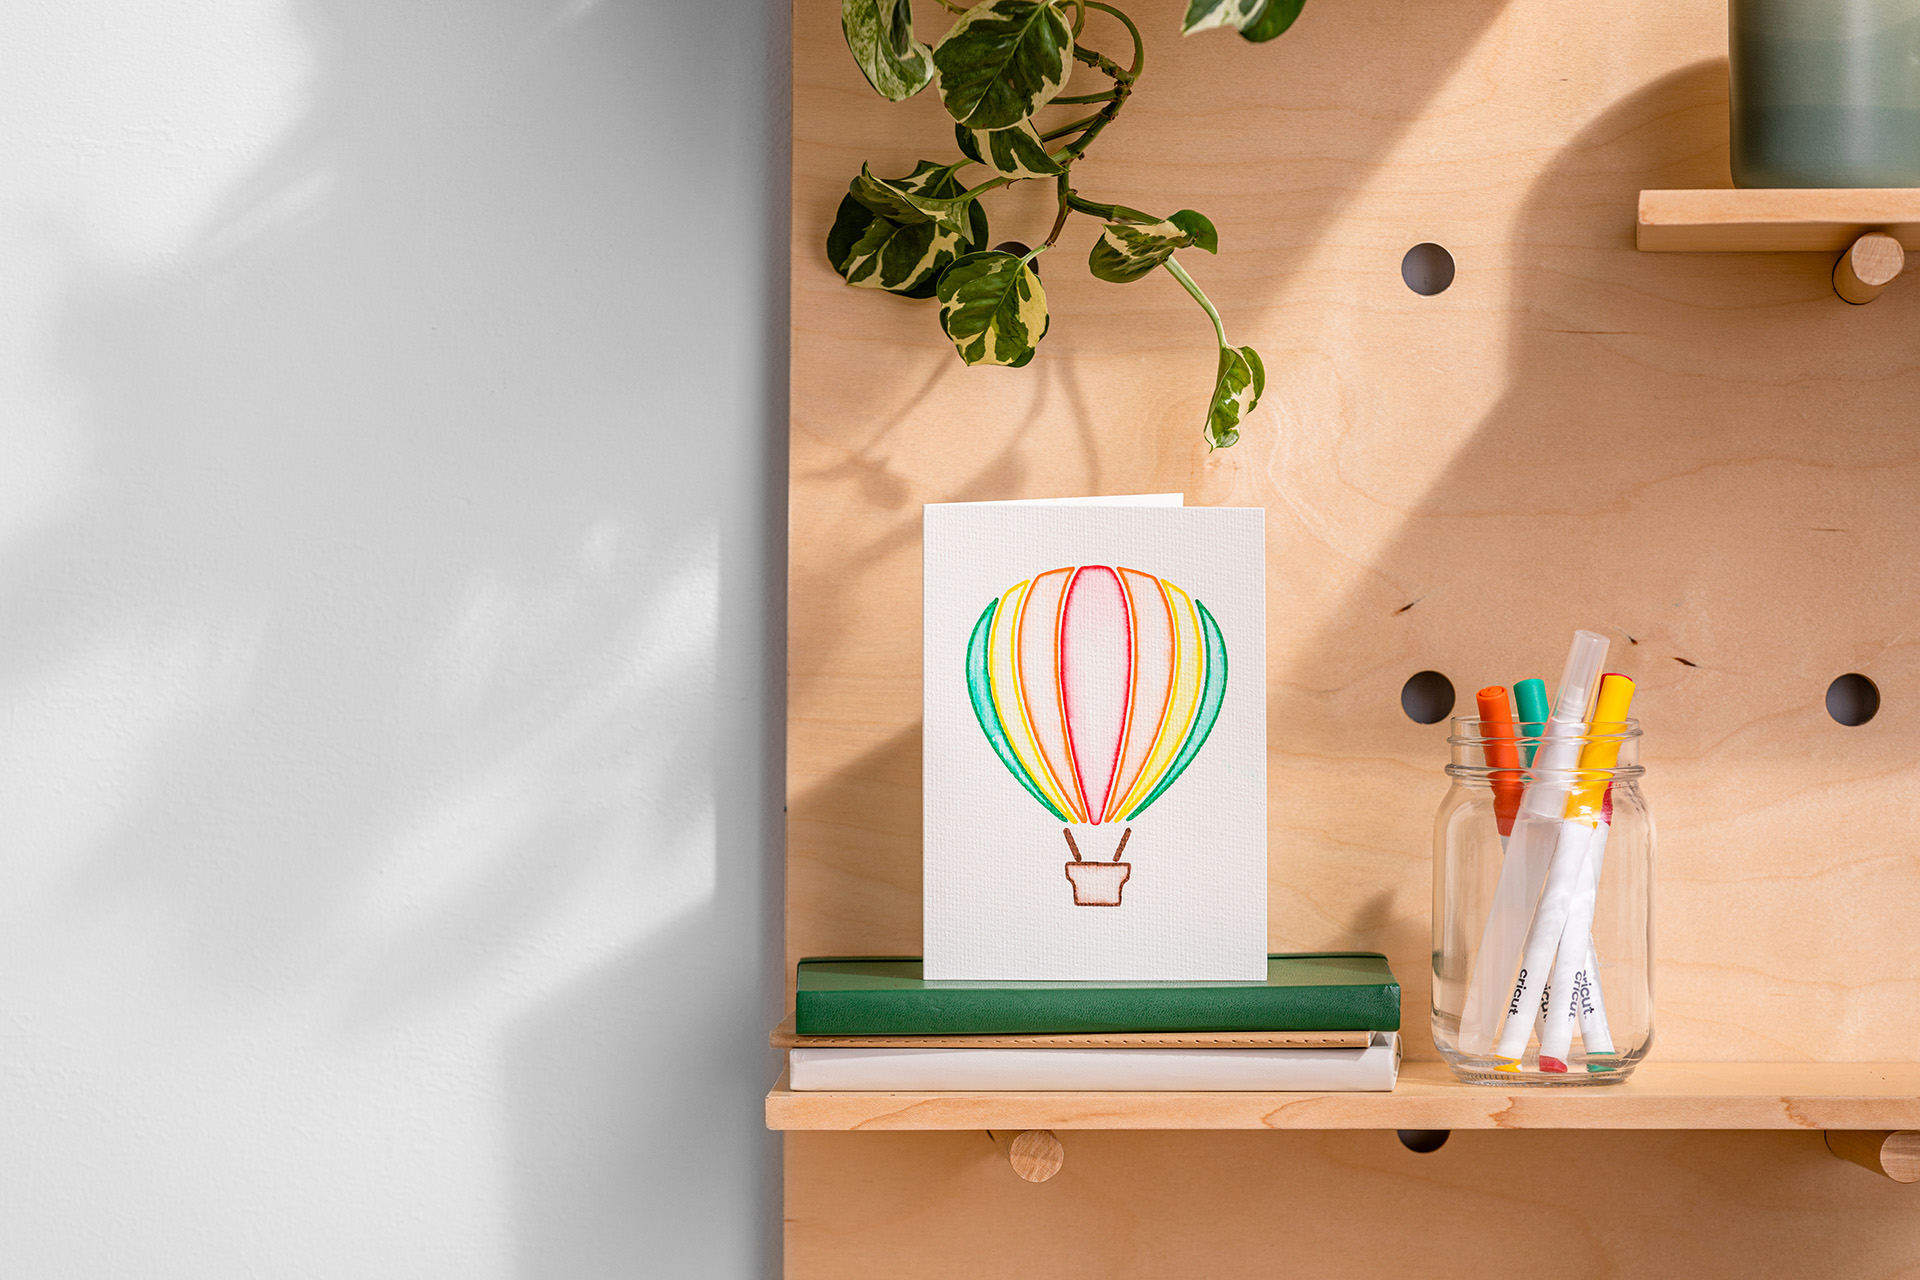
What you’ll be able to do:
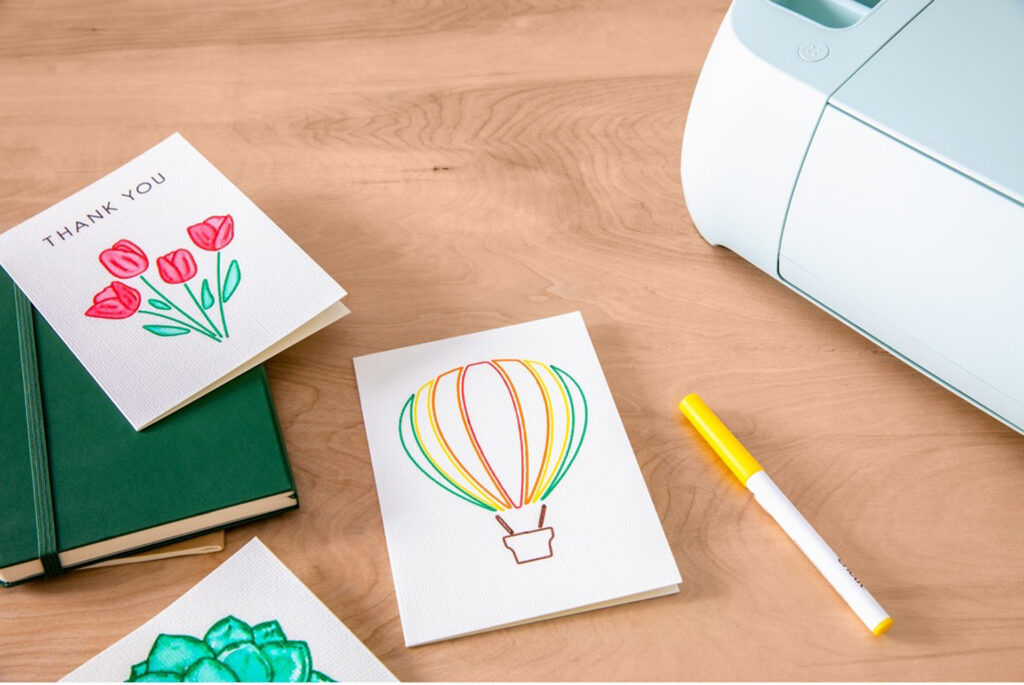
In this blog tutorial, we’ll take you step-by-step through creating your own Watercolour Card using Cricut. No watercolour experience needed!
What you’ll need:
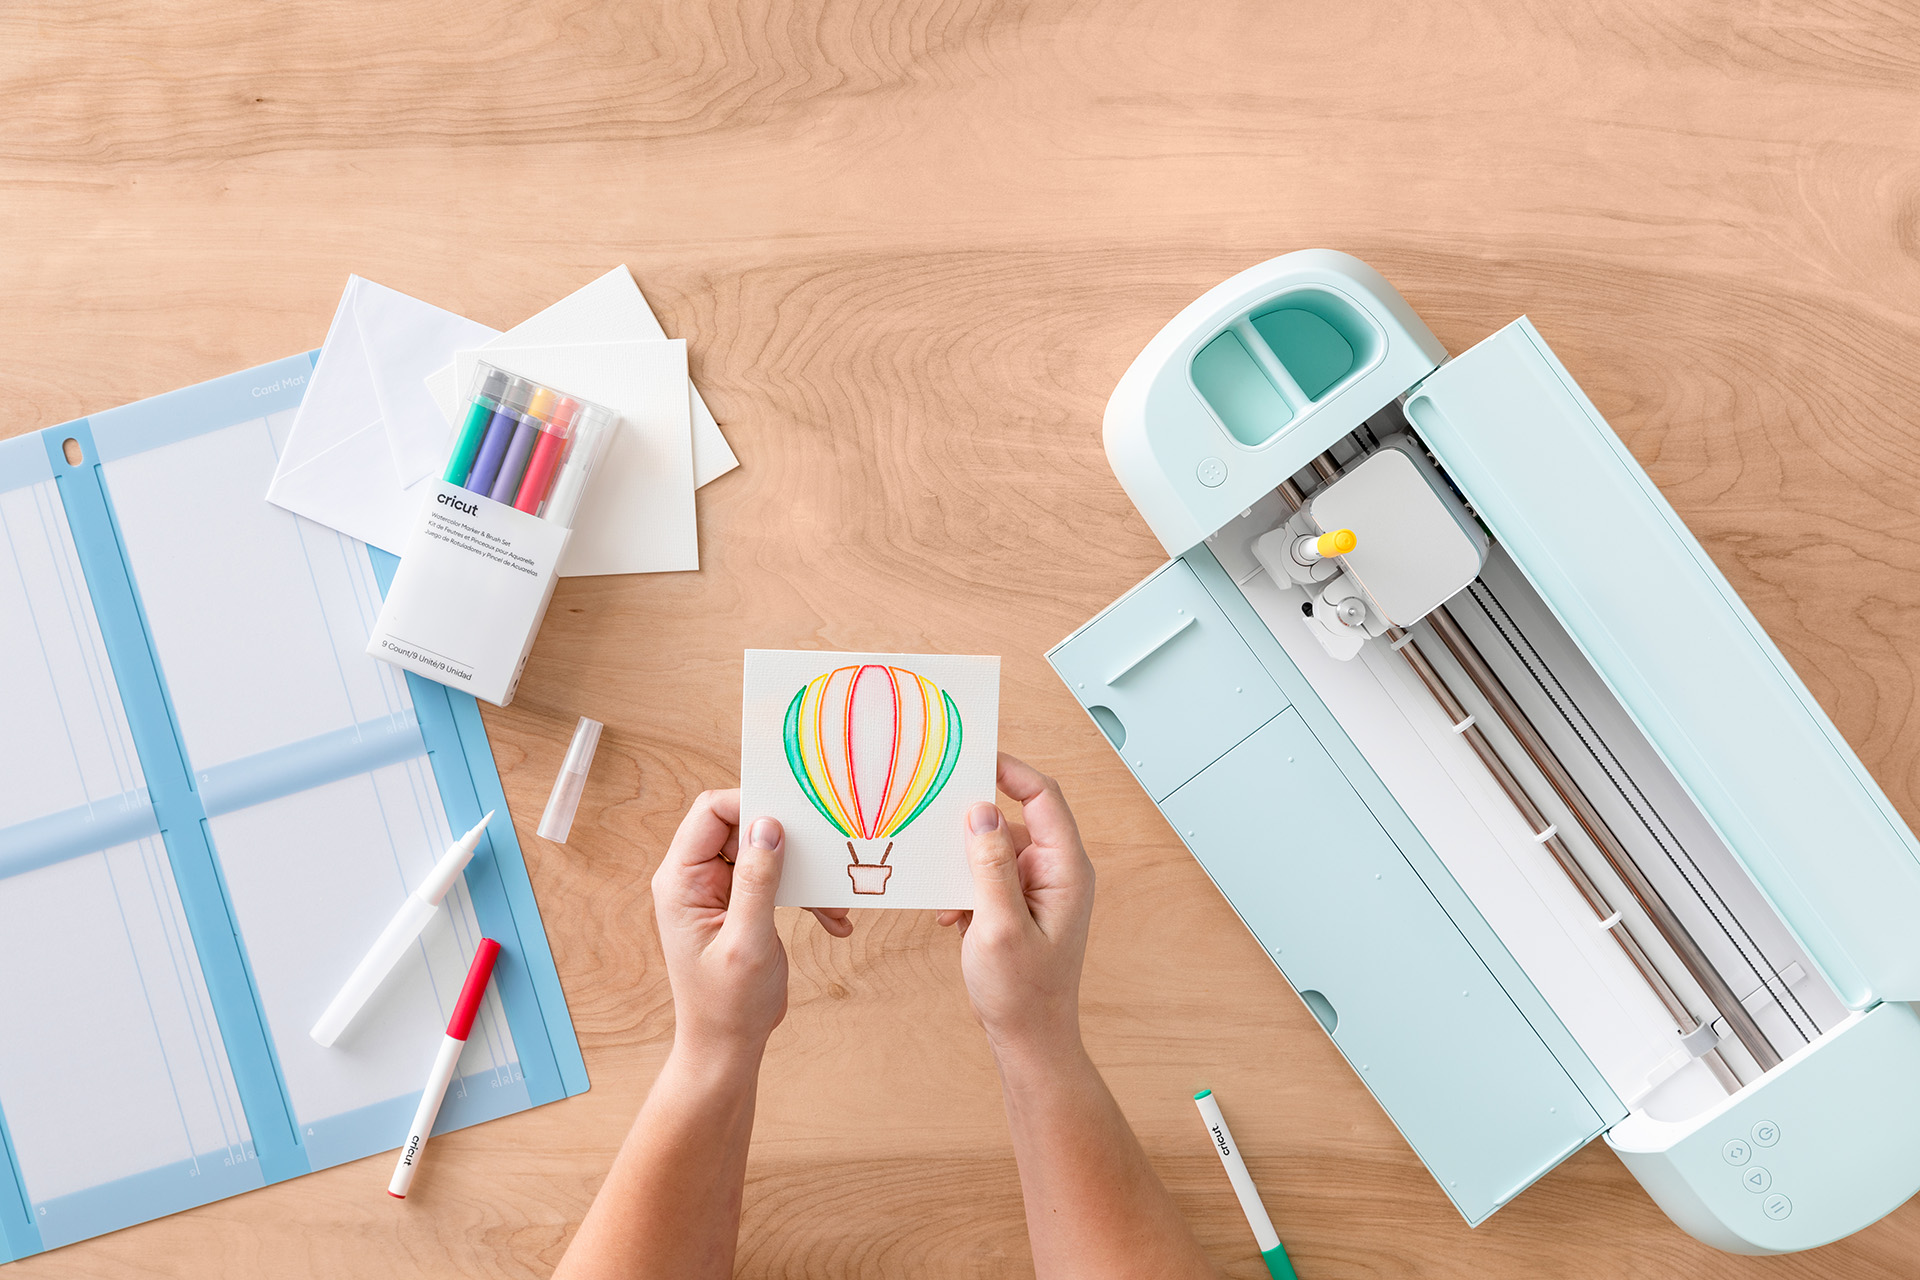
- Cricut Watercolour Cards
- R20 specifically for Cricut Joy™
- R40 or S40 for Cricut Explore® and Cricut Maker® machines
- Cricut Watercolour Marker and Brush Set (specific to your machine)
- Cricut Card Mat 2×2 (Explore and Maker machines) or Cricut Joy Card Mat
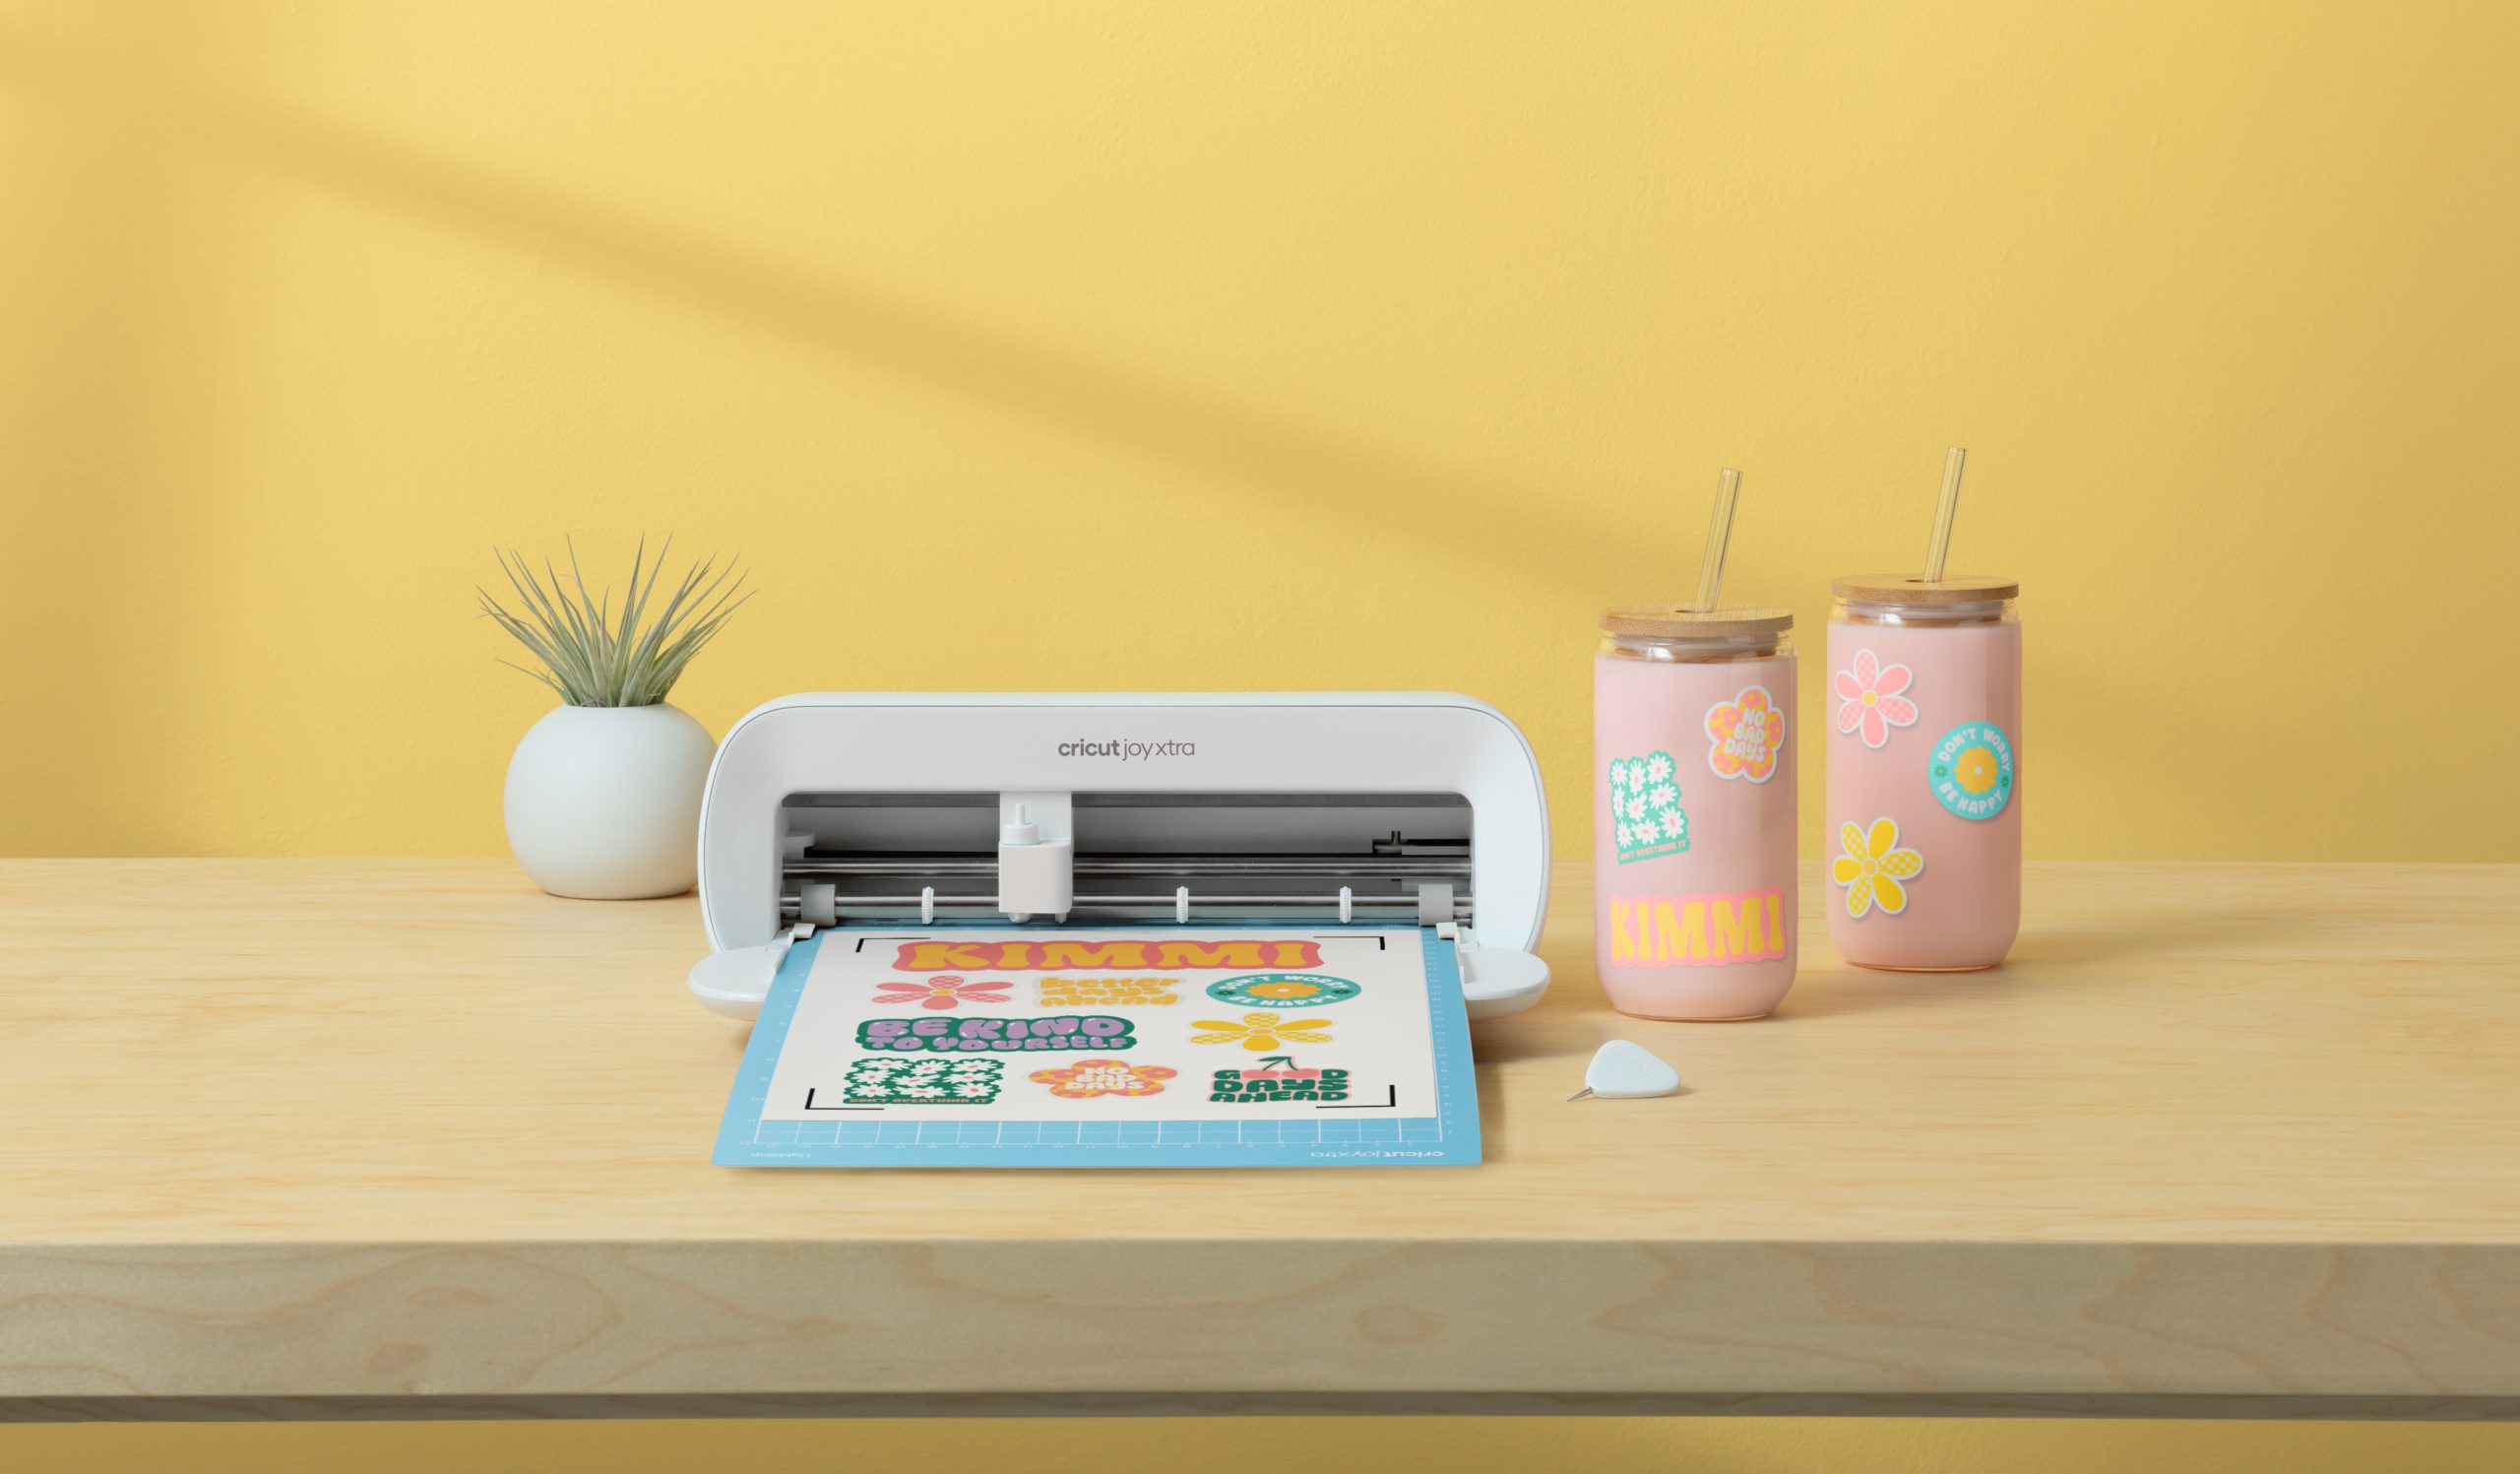
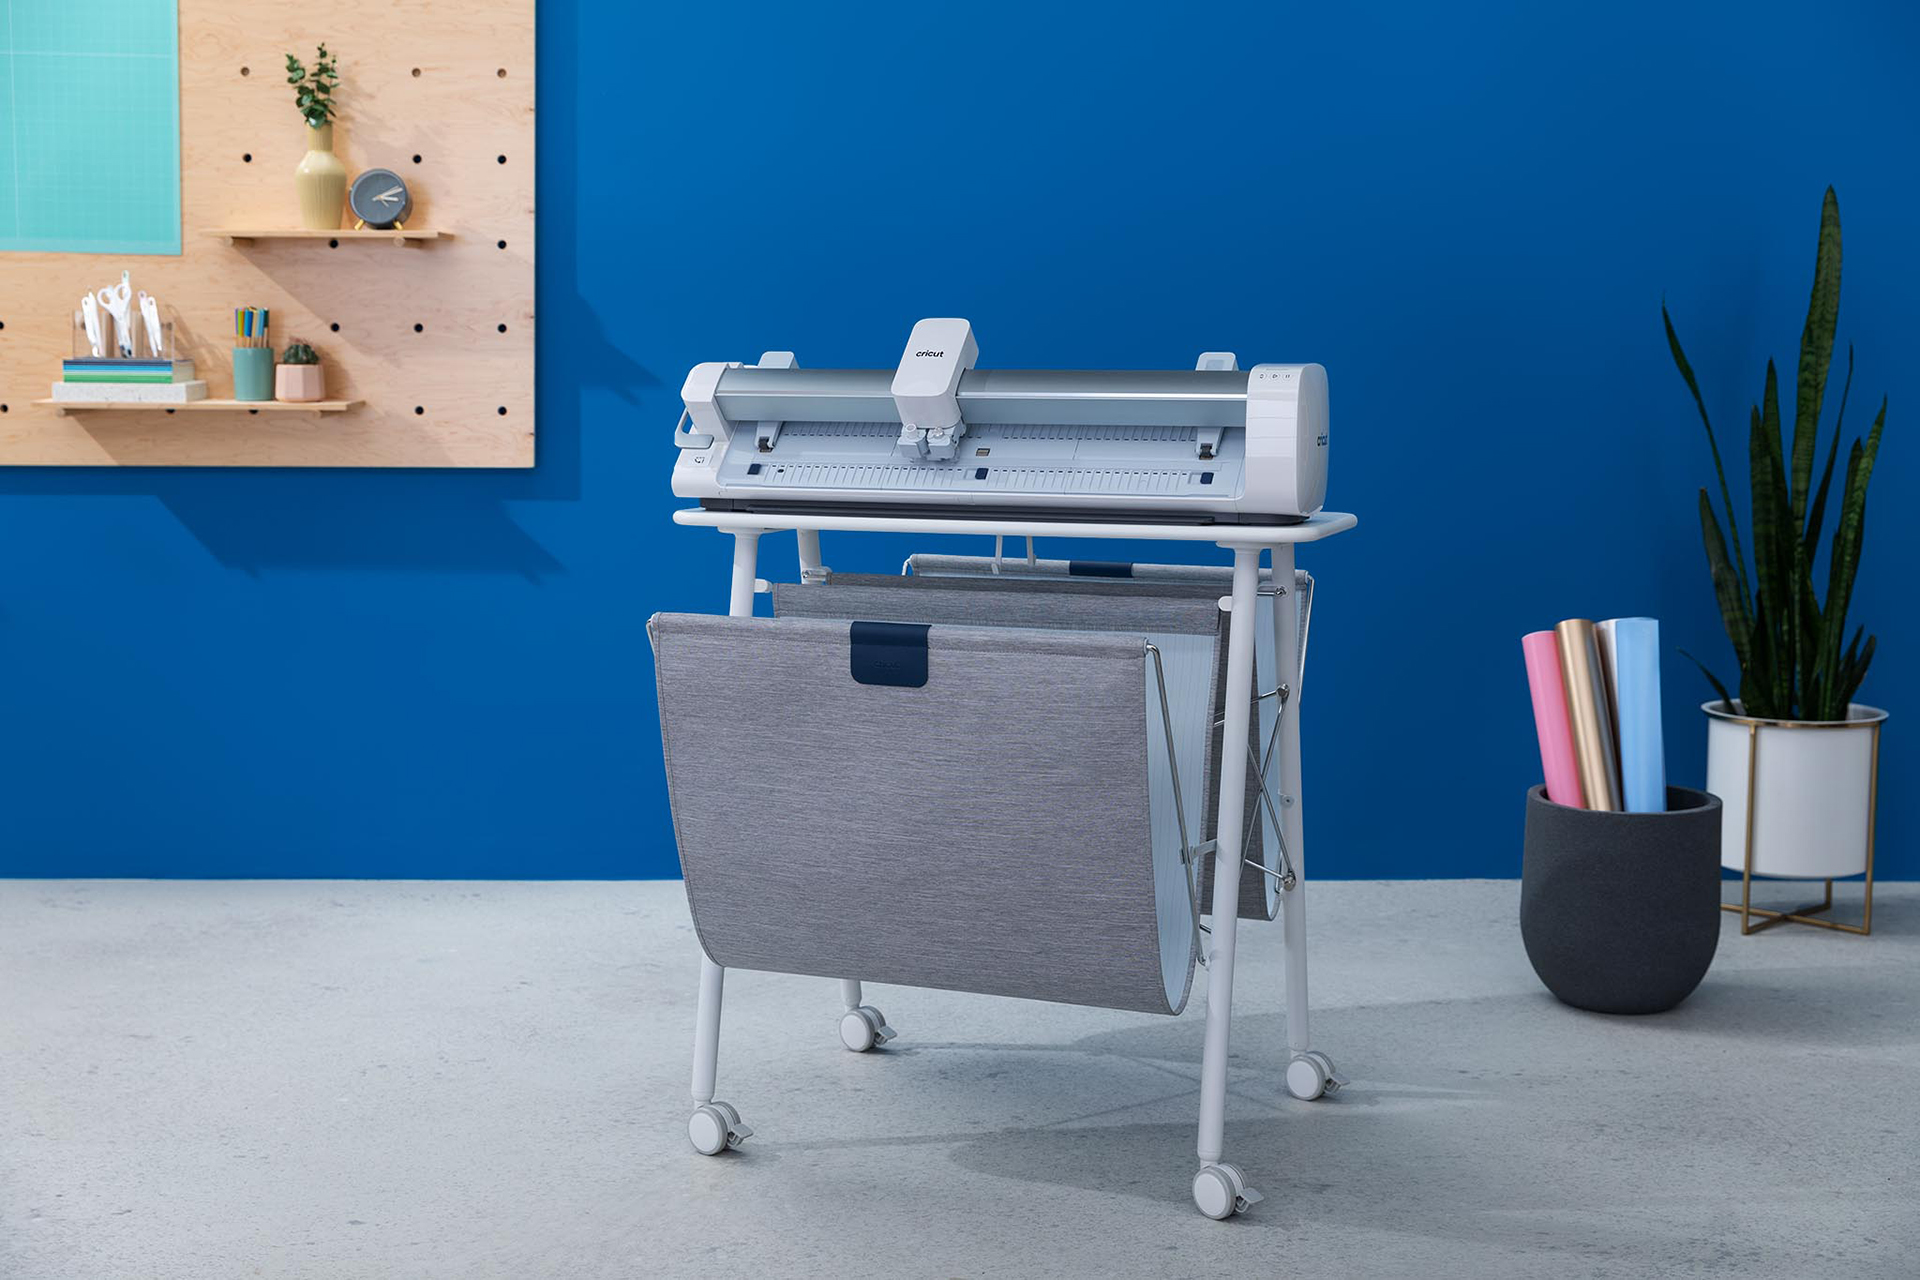
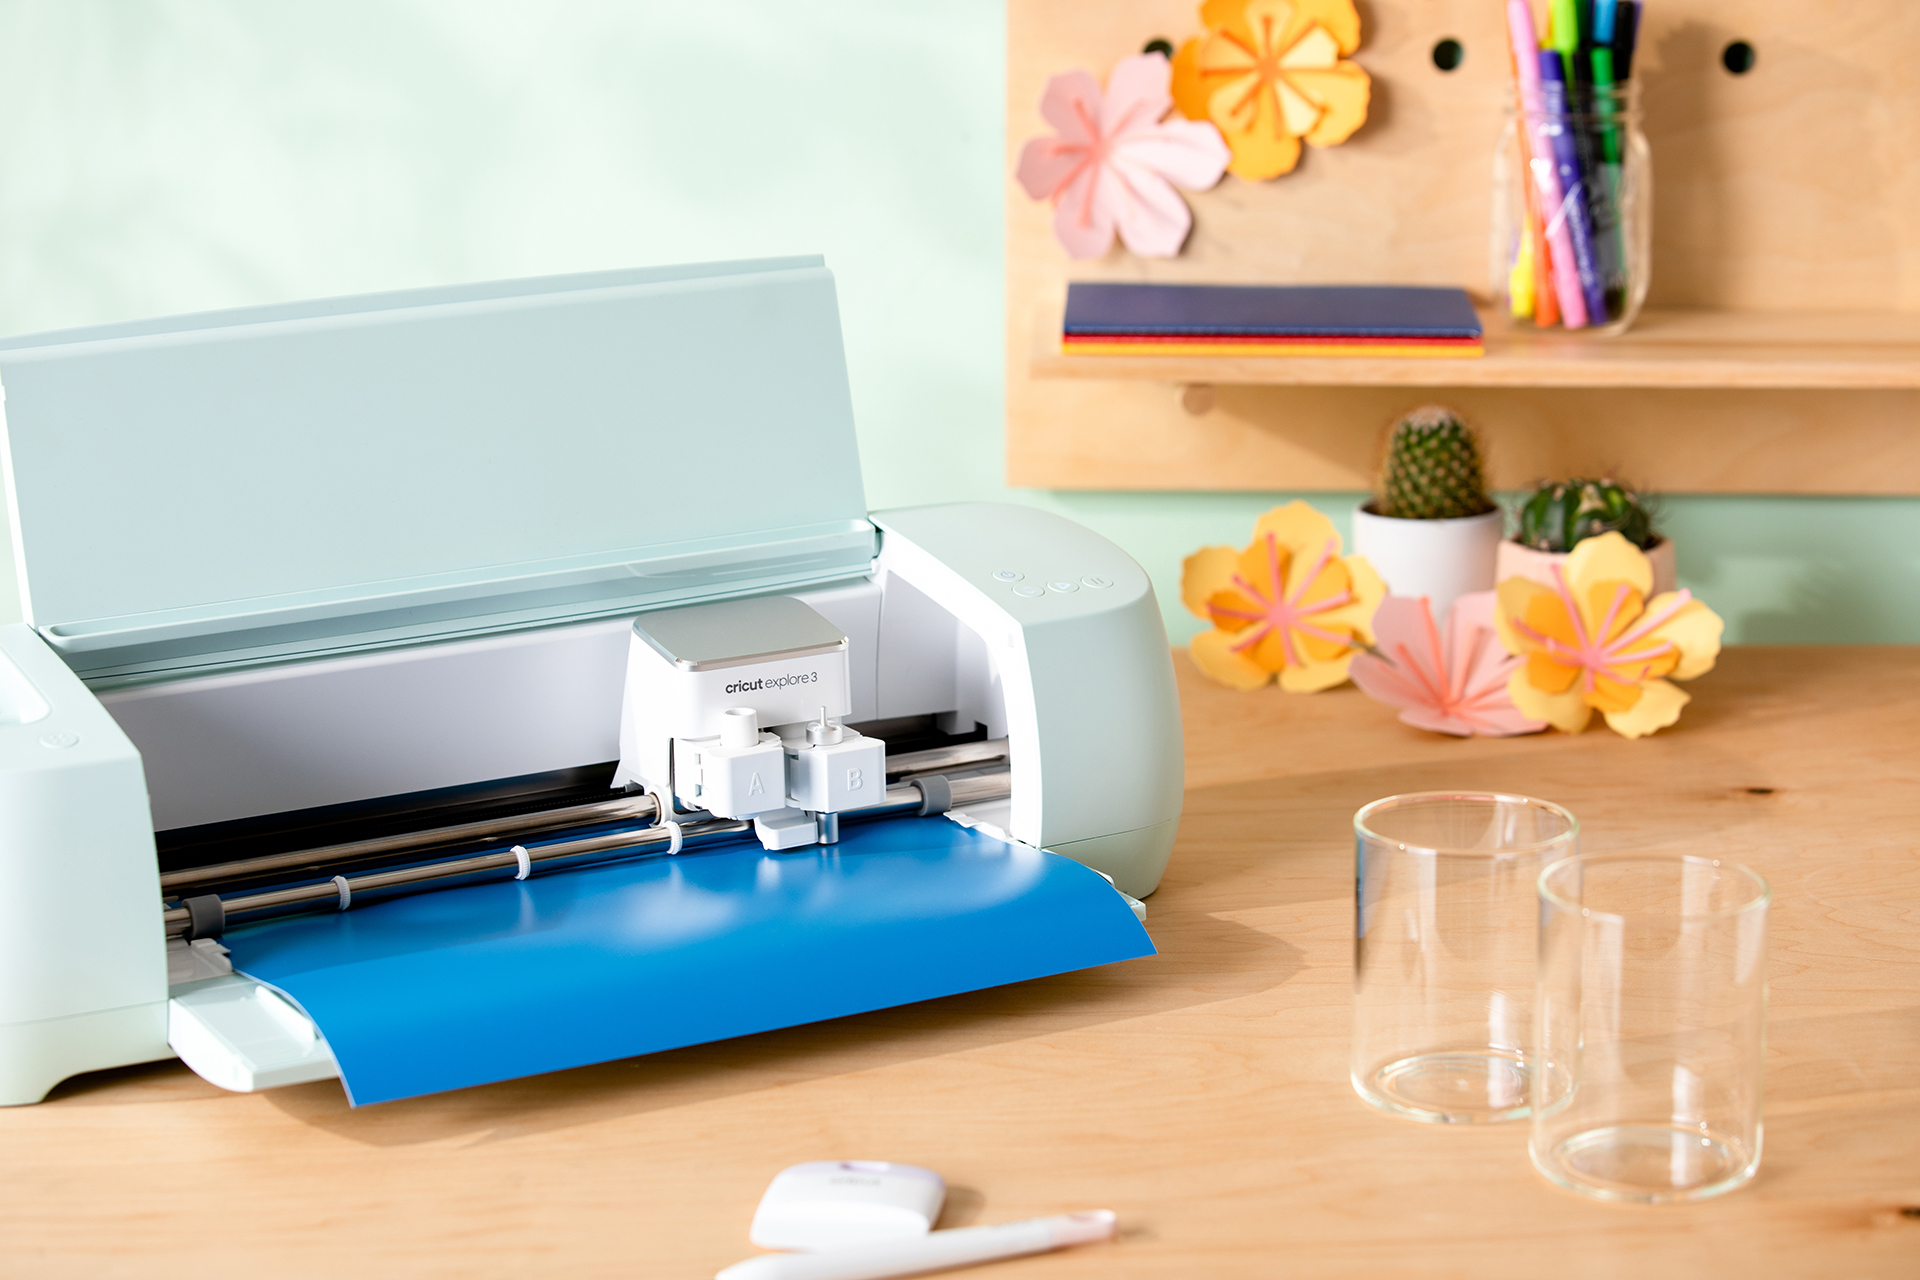
- Cricut cutting machine
Note: Although you may use any of the three noted card sizes above with the Cricut Card Mat 2×2 (for Explore and Maker machines), only the R20 cards are sized for the Cricut Joy Card Mat.
For more information and additional FAQs, please see the Watercolour Cards & Markers FAQ Help Article.
Design a Watercolour Card in Design Space
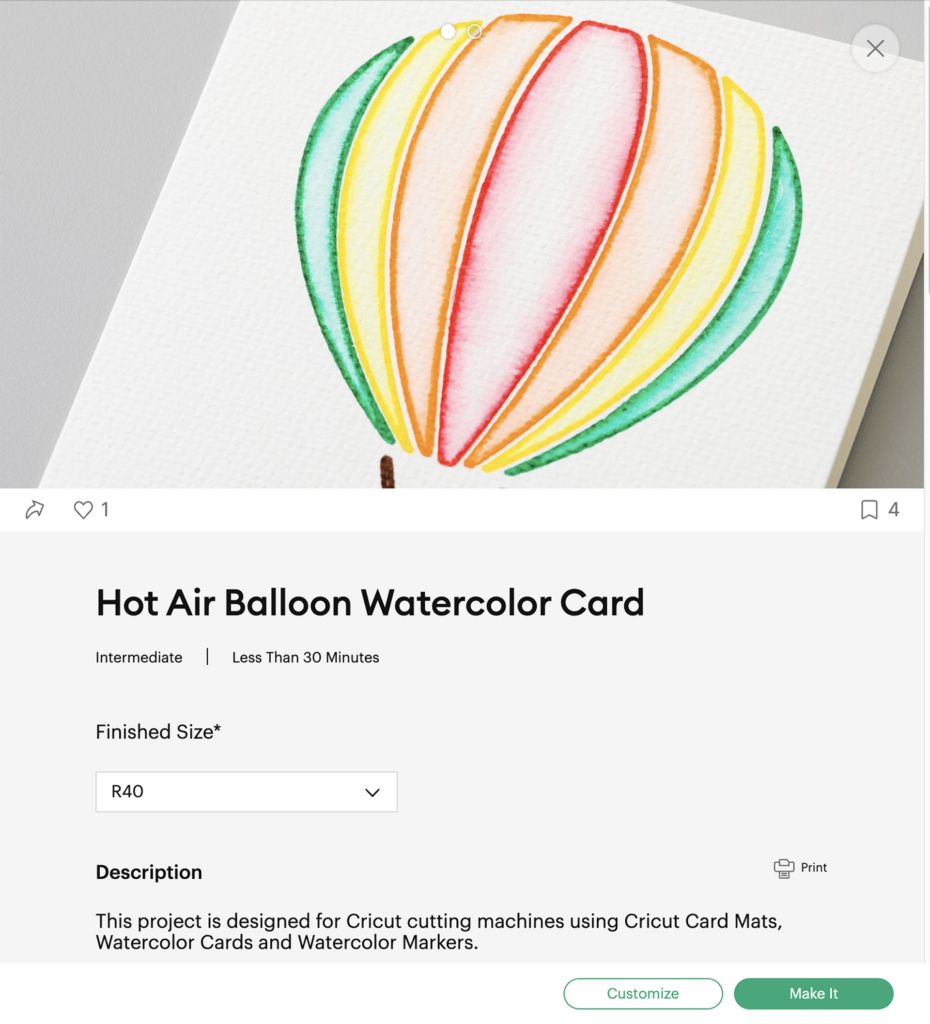
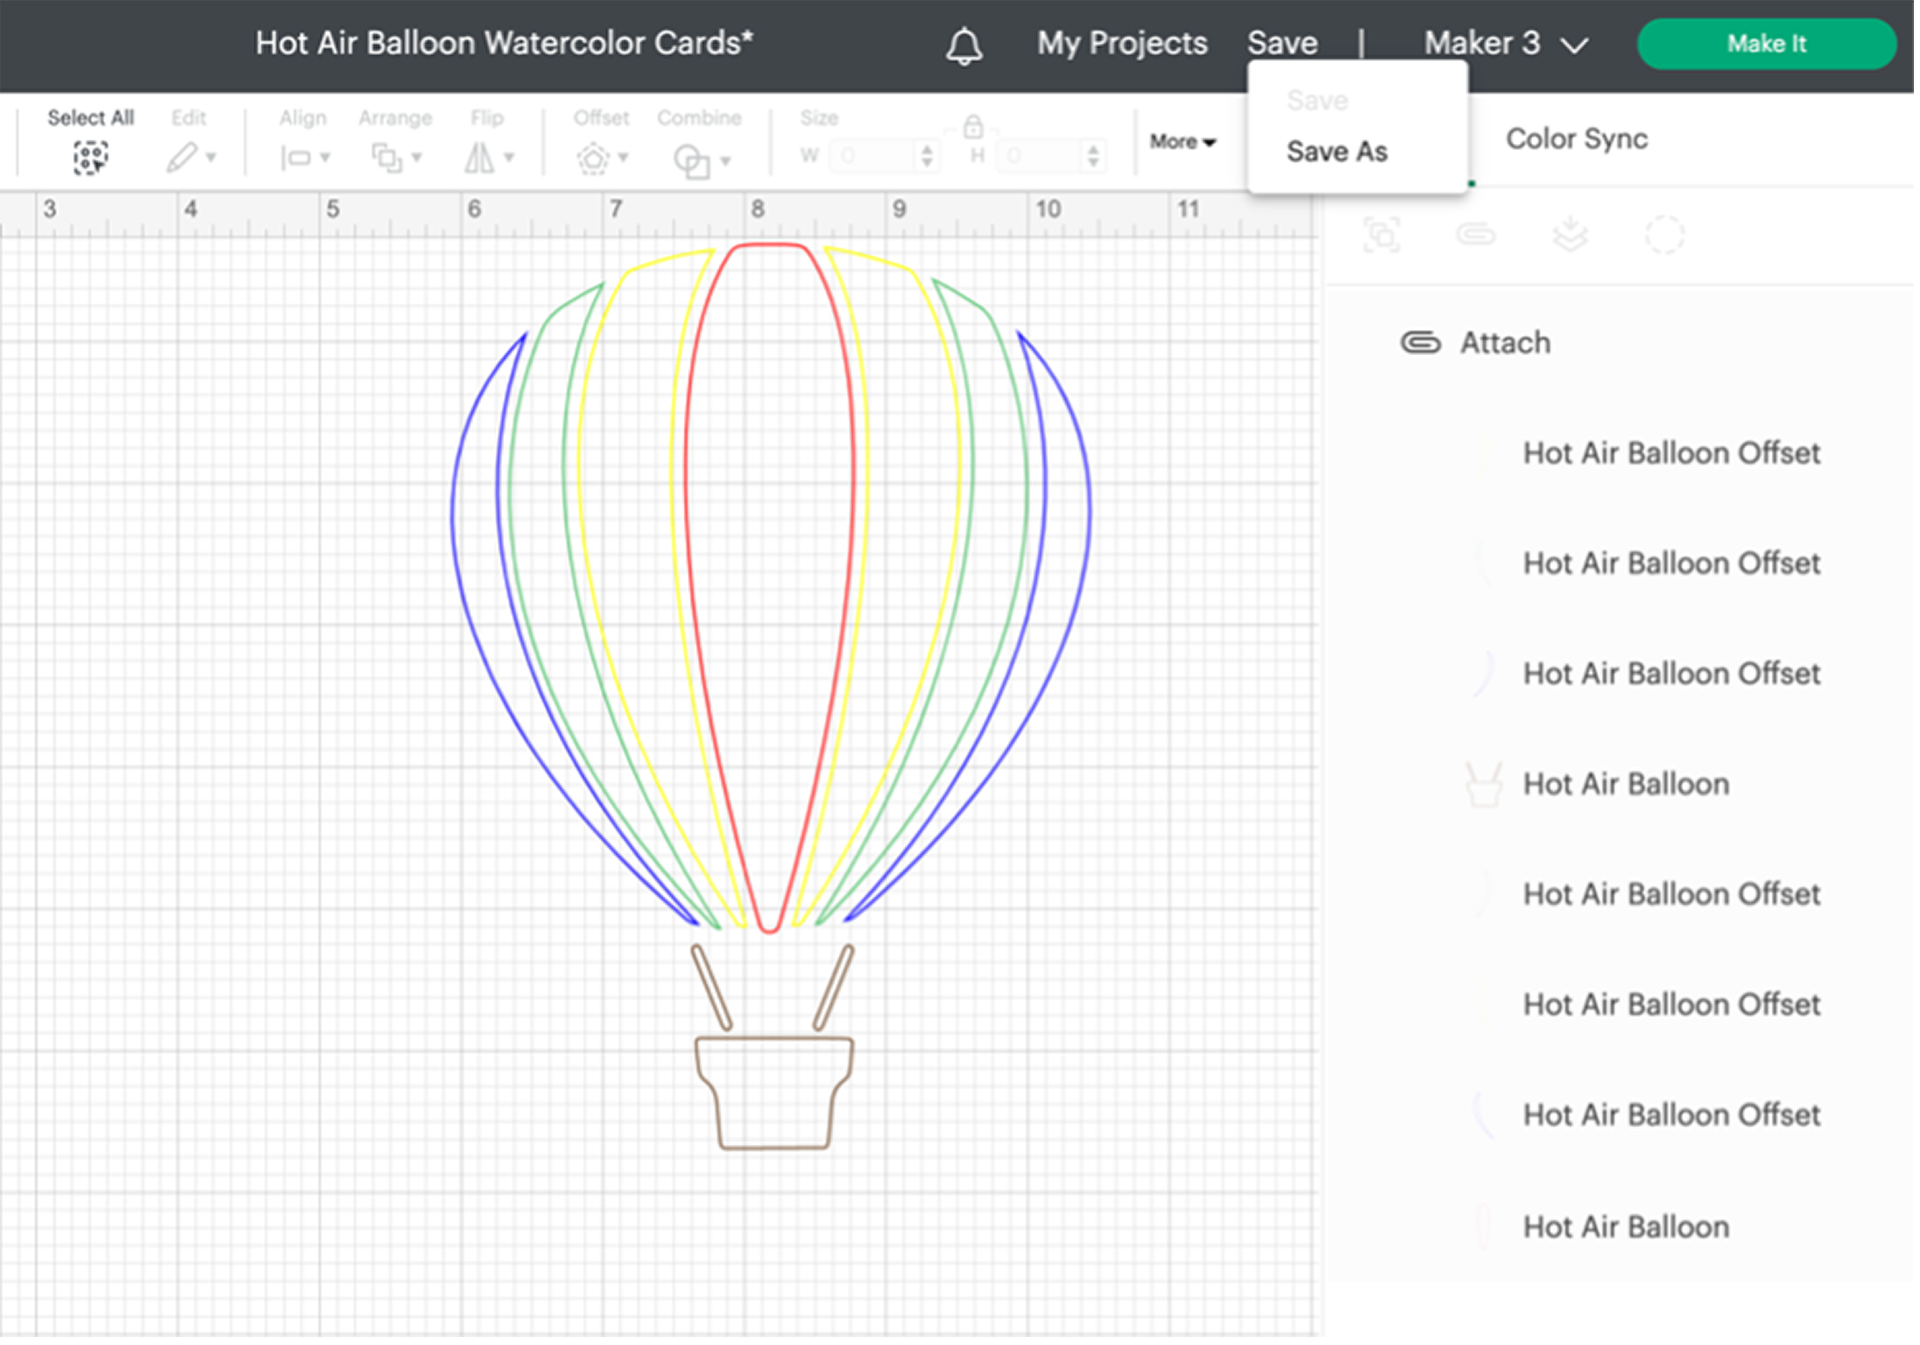
Open one of the ready-to-make projects. You may use the free Hot Air Balloon Watercolour Card project or look for Watercolour Marker in the Search Images, Projects, and Profiles box in Design Space®. If you are on the canvas, you may also search Watercolour Marker in the Projects or Images tab. Additionally, there is a filter for Watercolour Markers.
Get right to crafting by selecting the relevant size for your card and following the onscreen prompts noting the included instructions and marker colours. Then, click Make It.
Pro-tip: You can also click customise to adjust the colours, size, and text. You may even add more images for your own spin on the project. Don’t forget to save!
Create your watercolour card
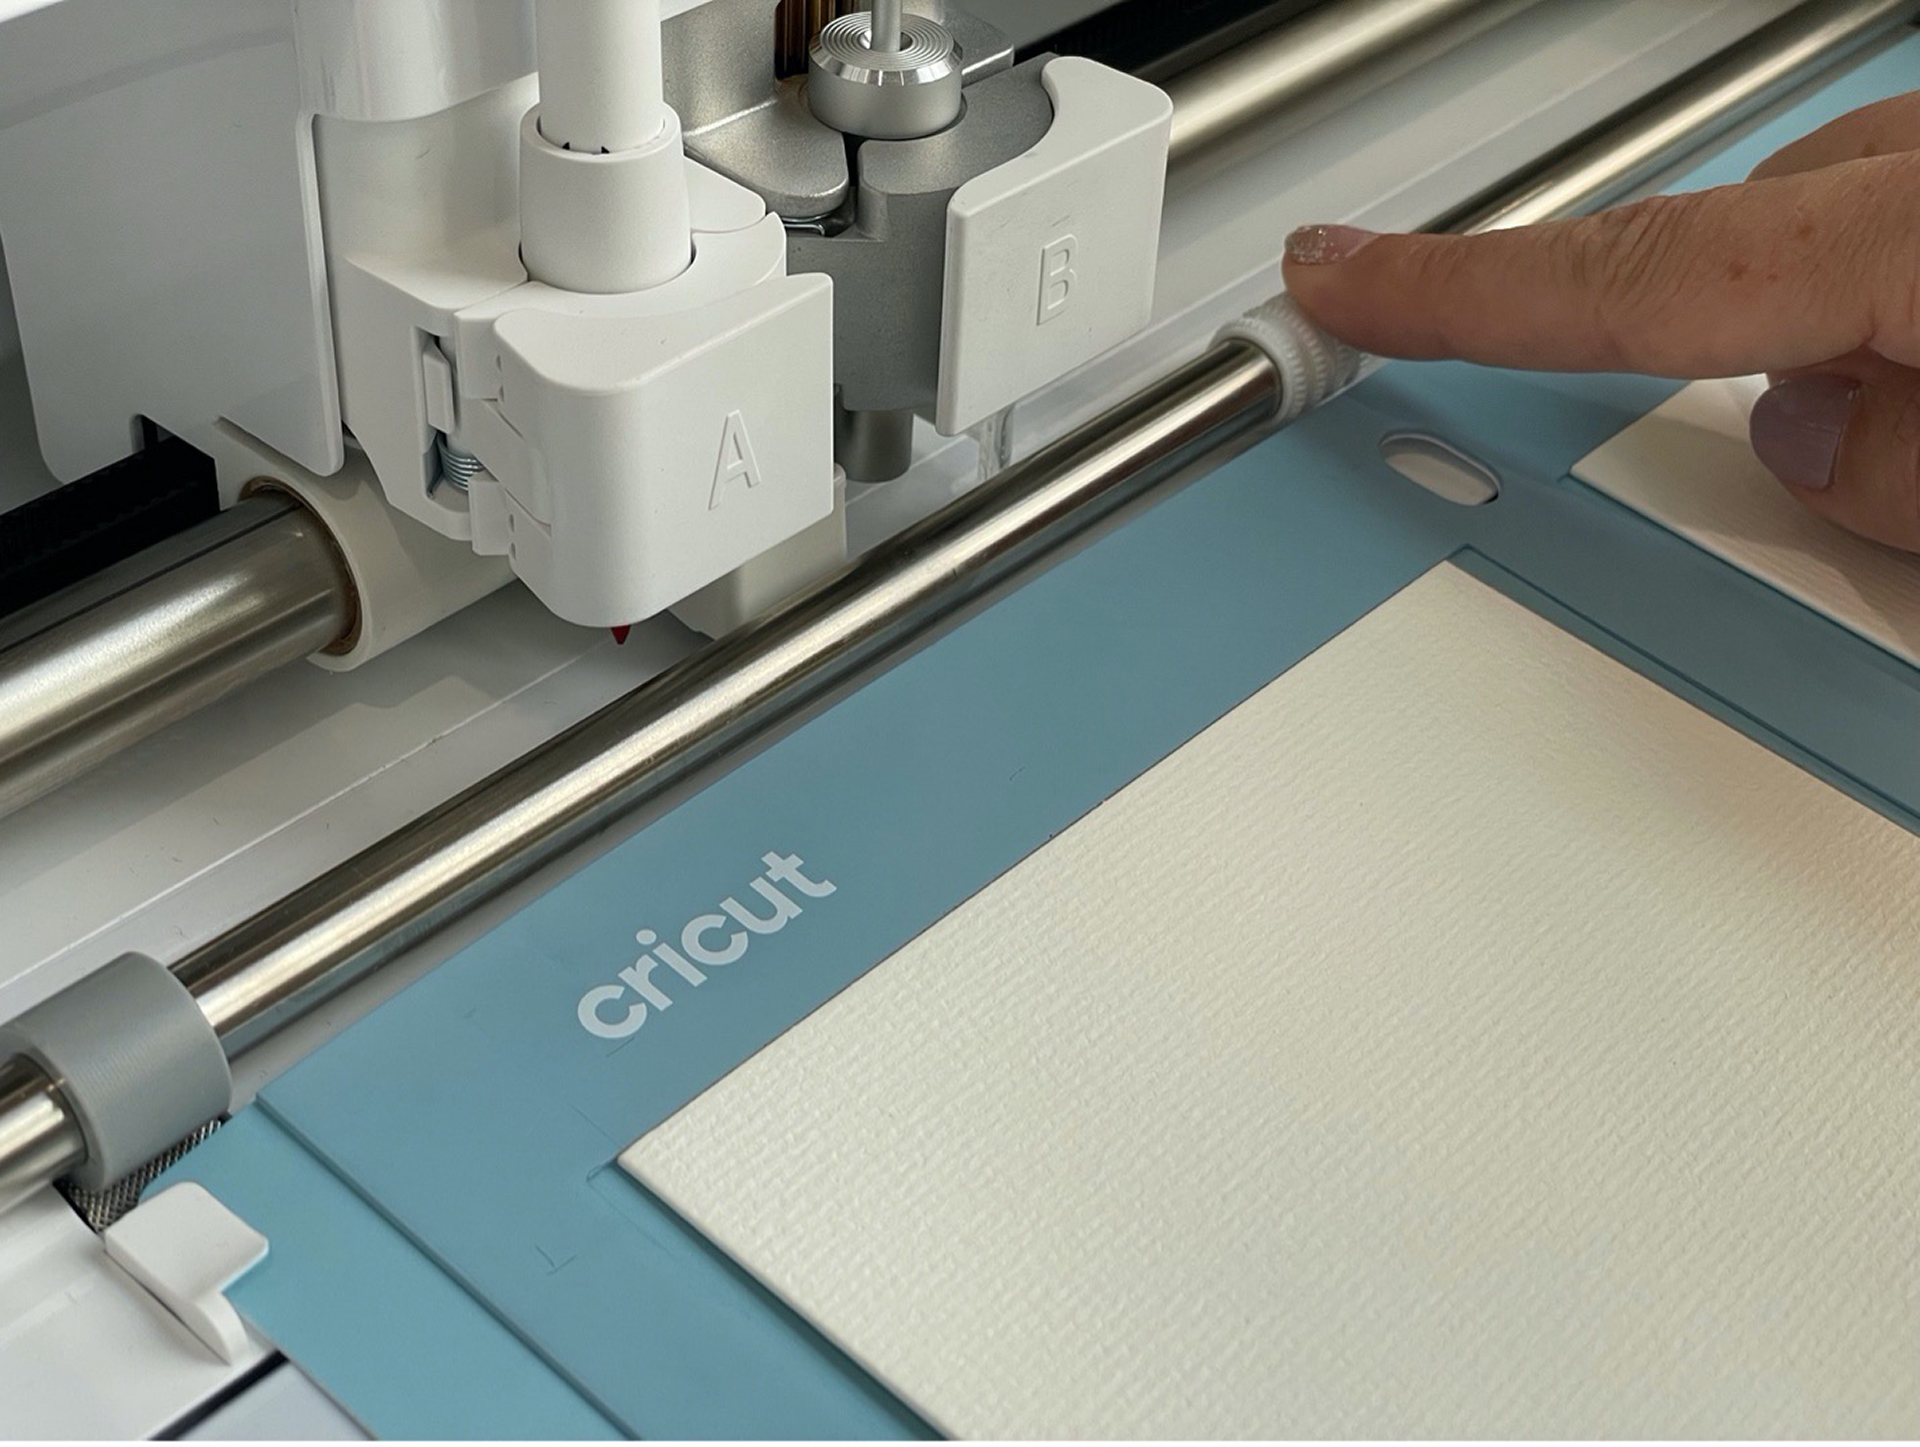
Before you insert your card mat into the machine, make sure to move your star wheels to the center of the bar. This will prevent any unwanted track marks on your cards.
Note: this step only applies to those using the Cricut Card Mat 2×2. Cricut Joy does not have star wheels.
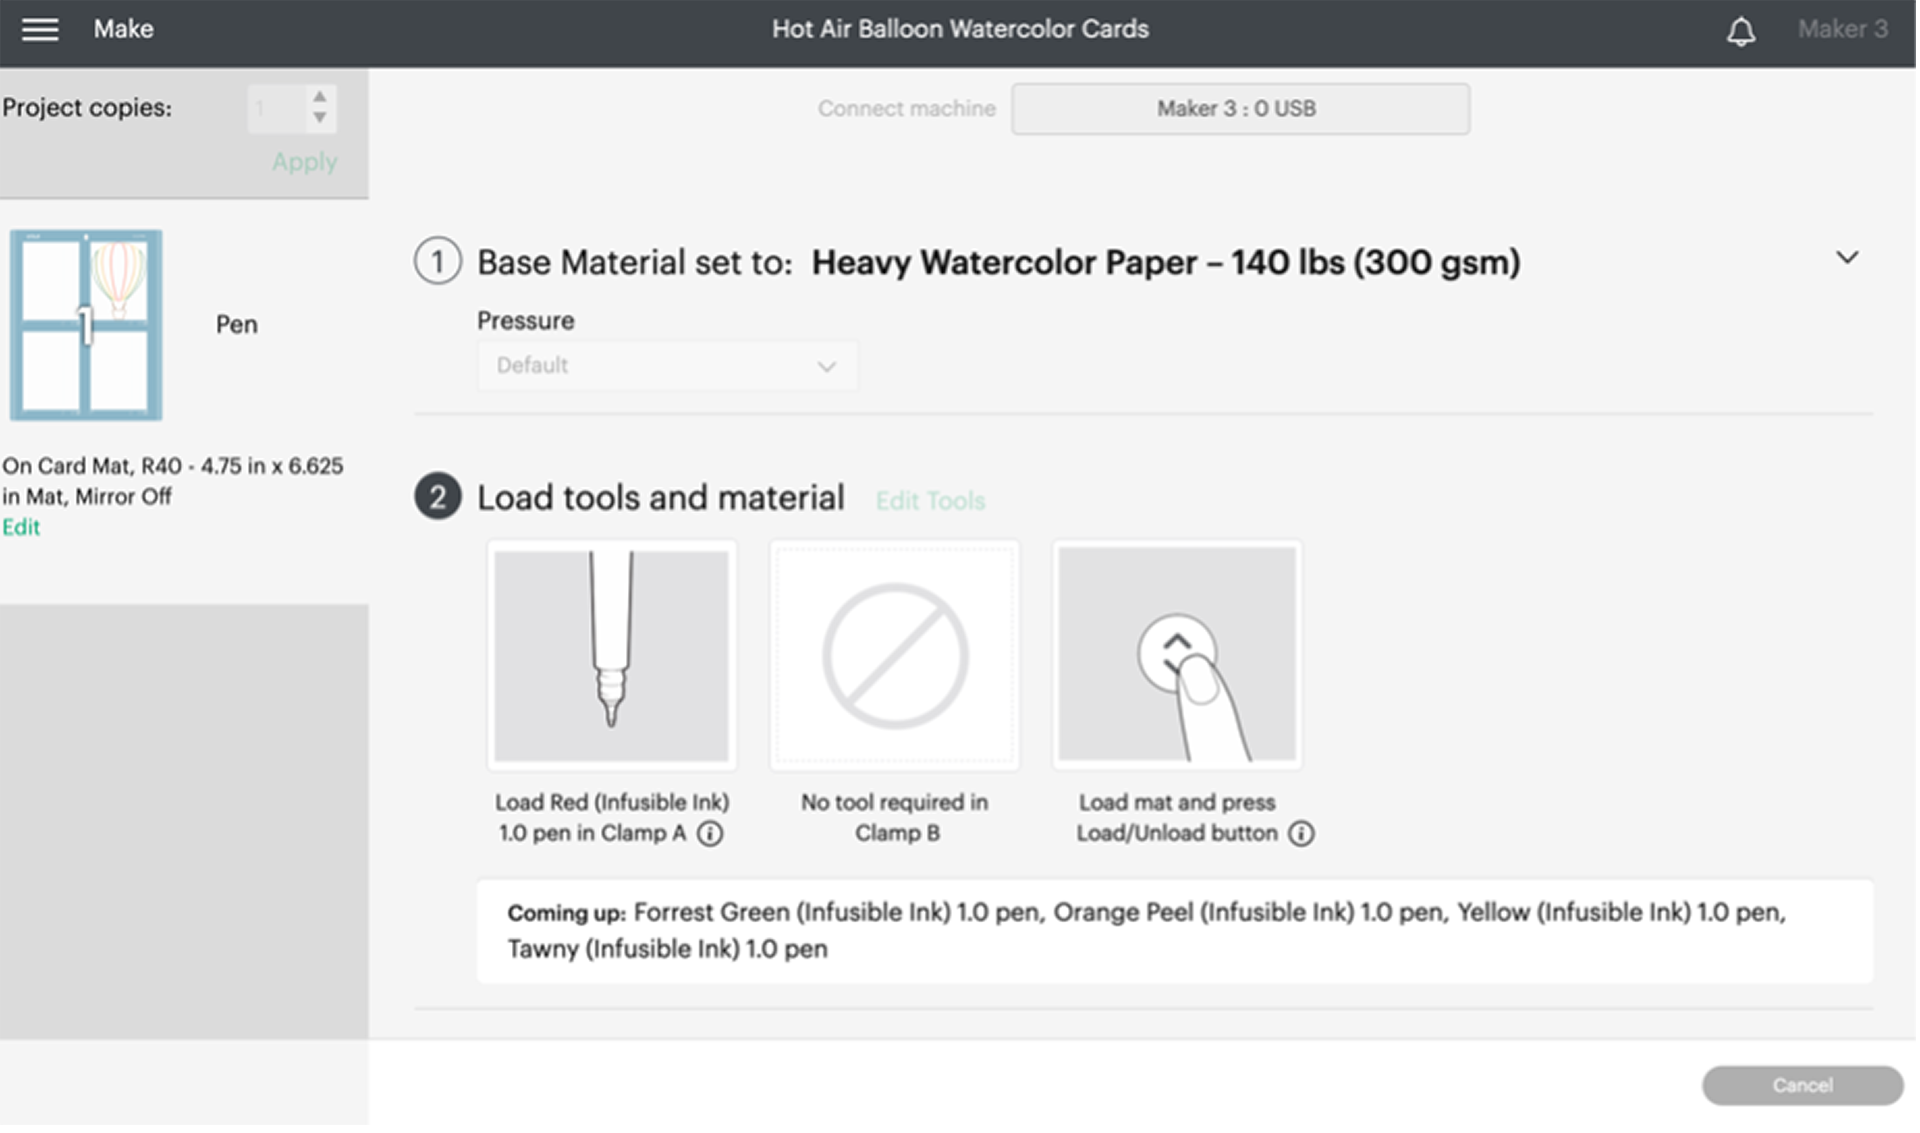
With your Cricut Watercolour Markers on hand, follow the onscreen prompts for drawing your card. If you have a multi-coloured design, Design Space will prompt you to insert each individual watercolour marker colour as designed on your canvas.
Once your card is done drawing, unload the mat as prompted. Then, remove the card from the mat.
Adding freehand watercolour effects with the Water Brush
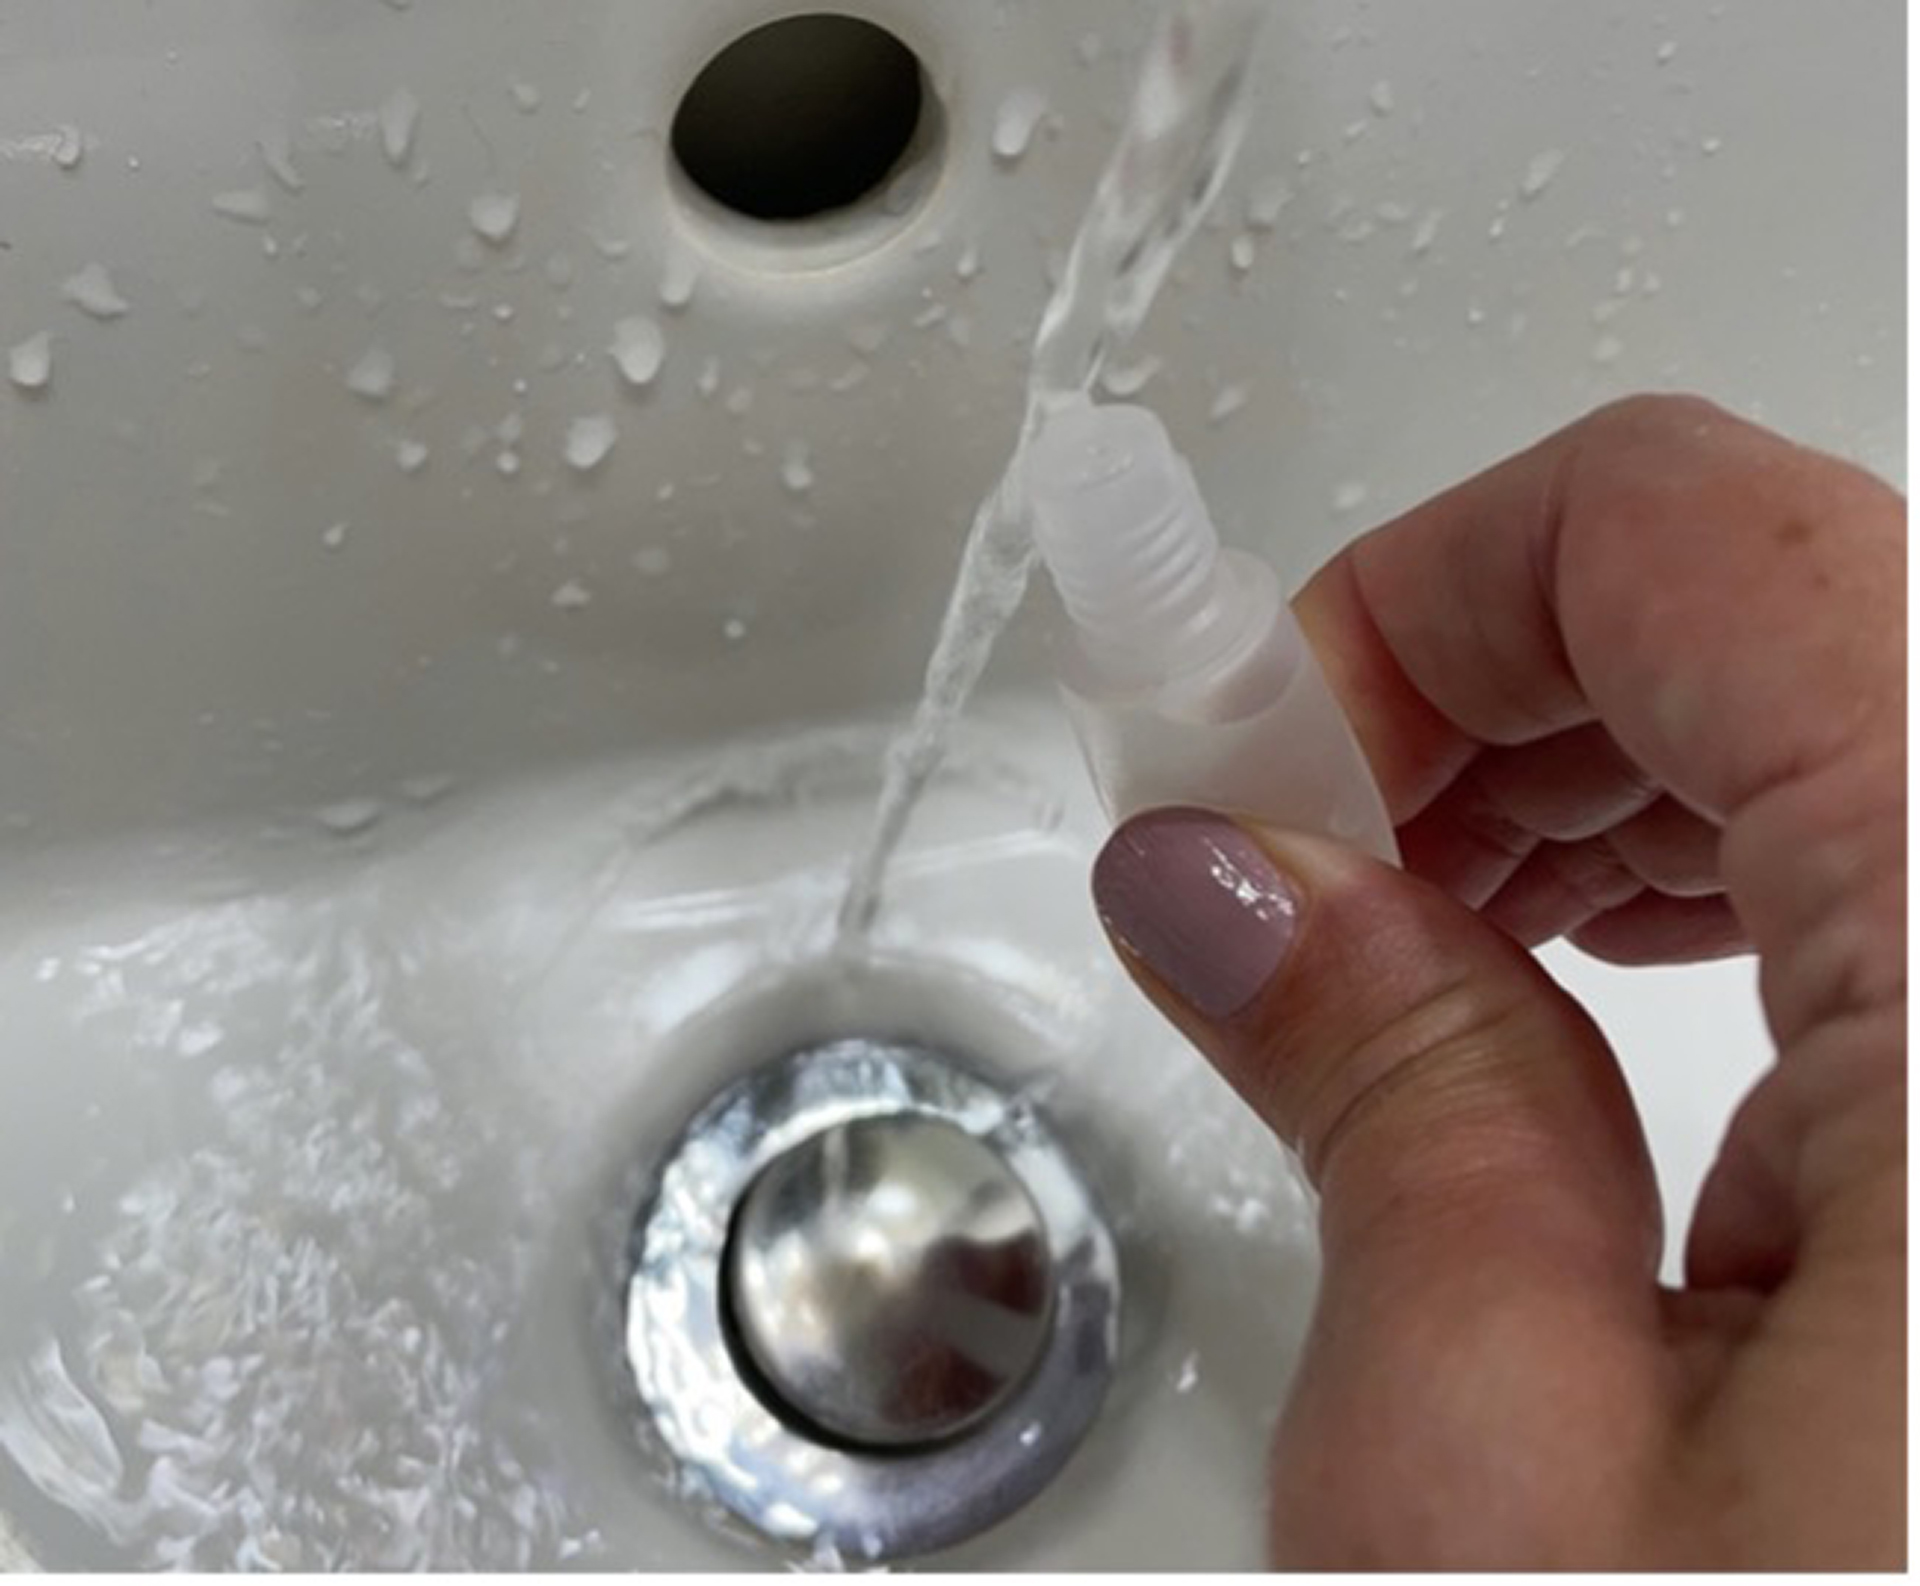
To fill your water brush, unscrew the brush at the break of the white section. You may gently squeeze the water reservoir and then slowly let go under a stream of water to help fill the brush. After it is filled, secure the white brush section back onto the water reservoir.
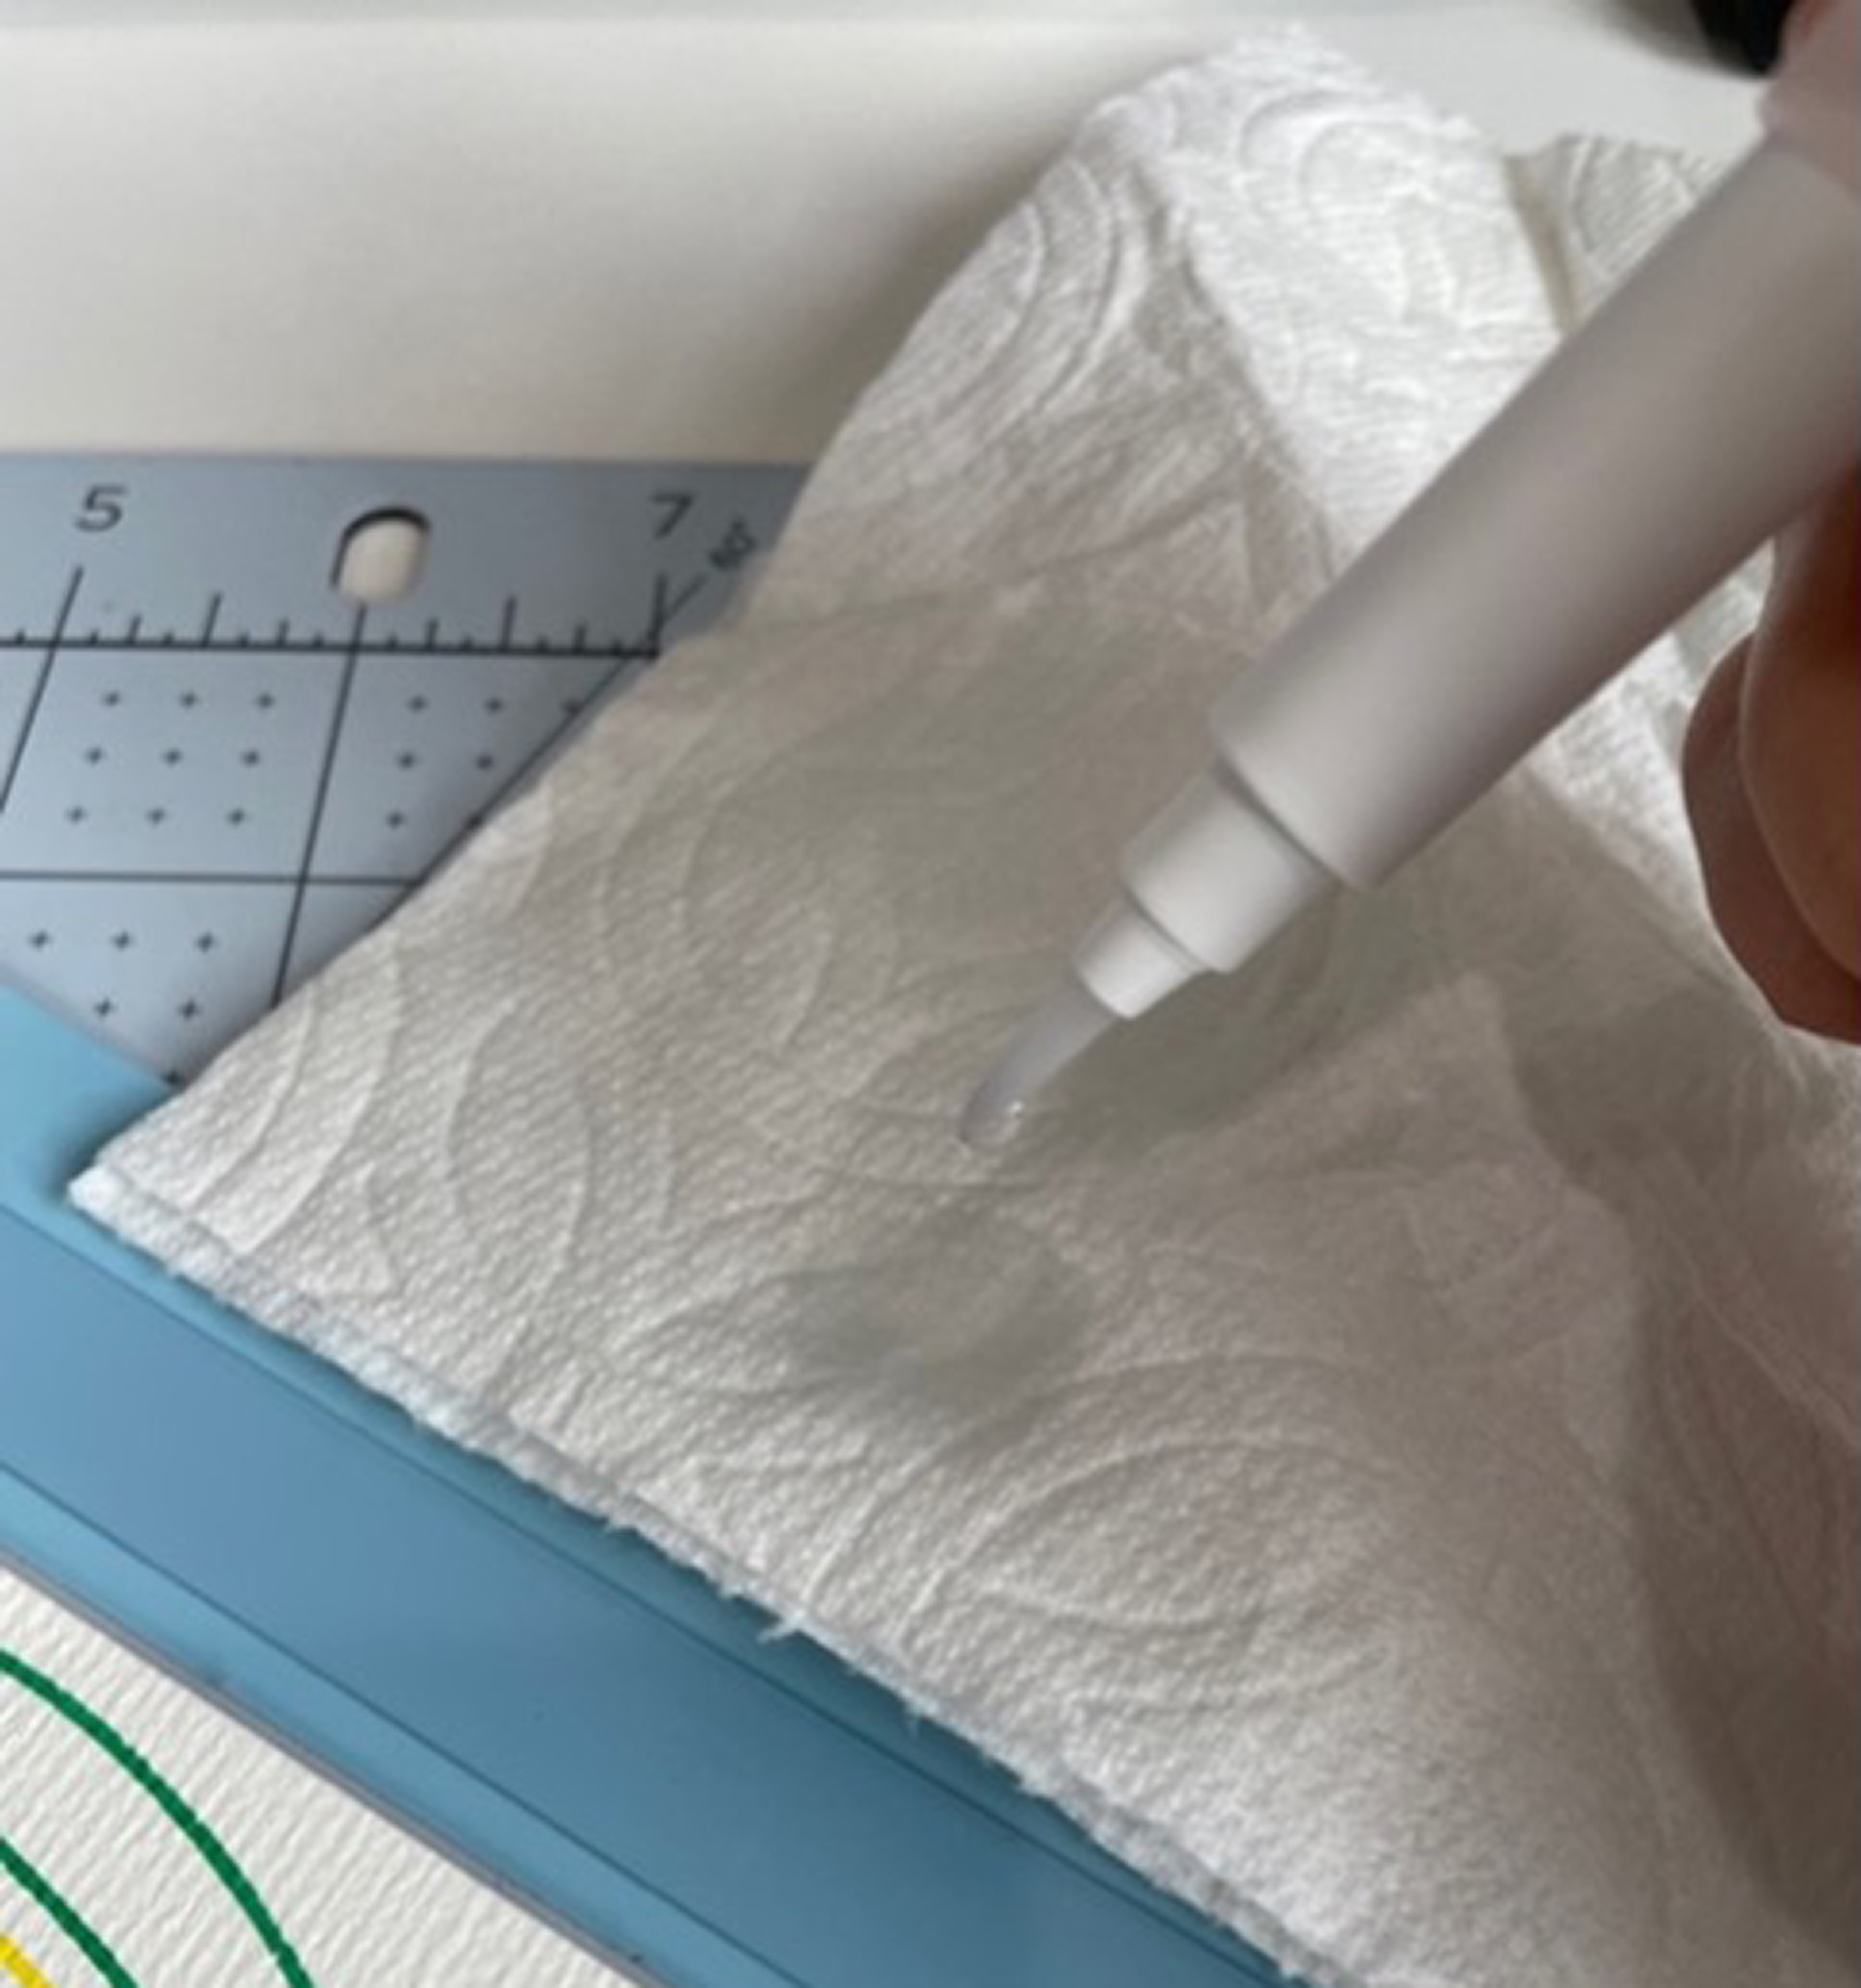
Start the flow of water by gently squeezing the water tube onto a dry, clean paper towel with the paint bristles down. Dab any excess water onto the paper towel until the bristles are wet but not dripping water.
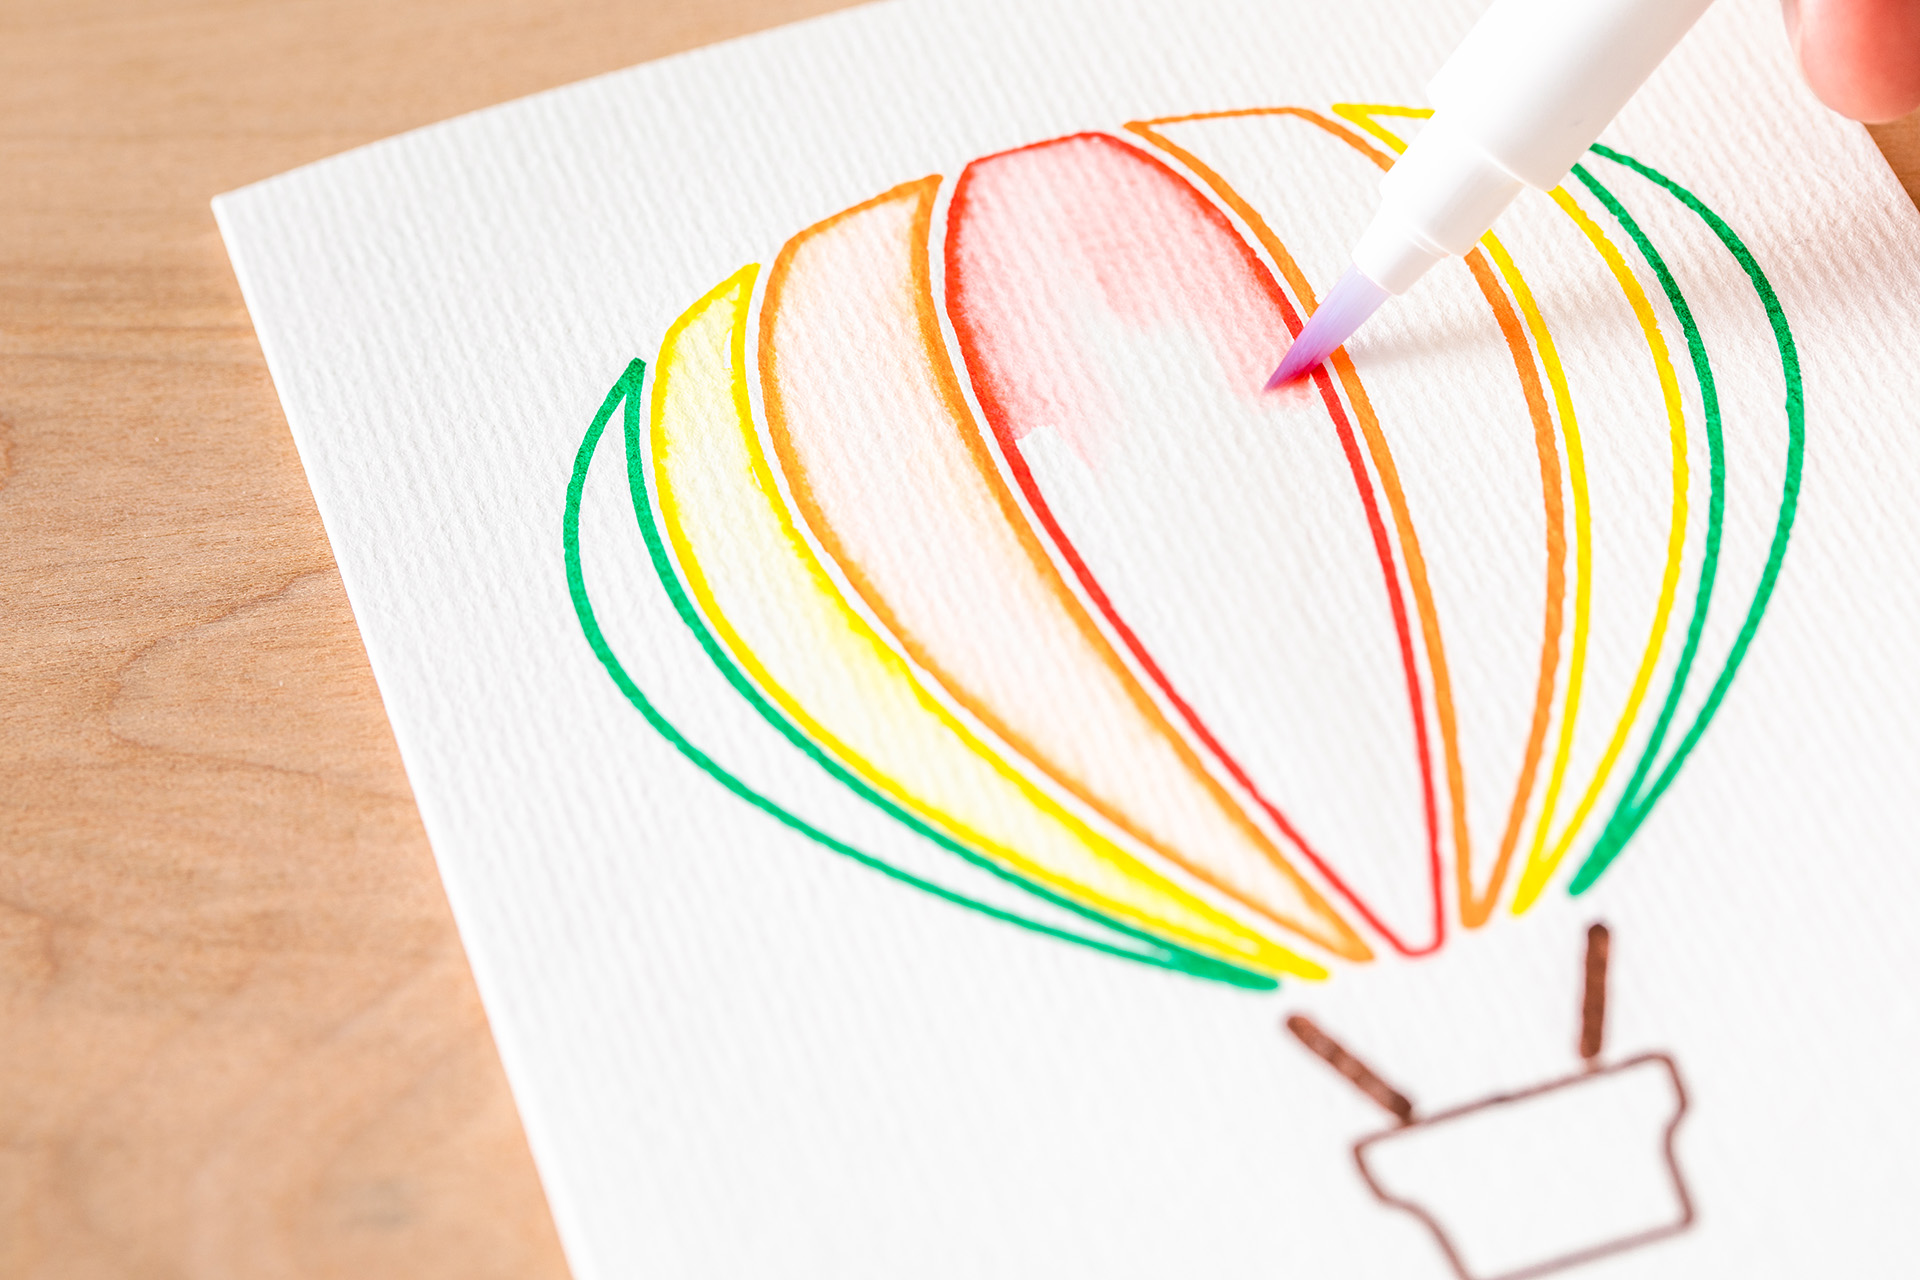
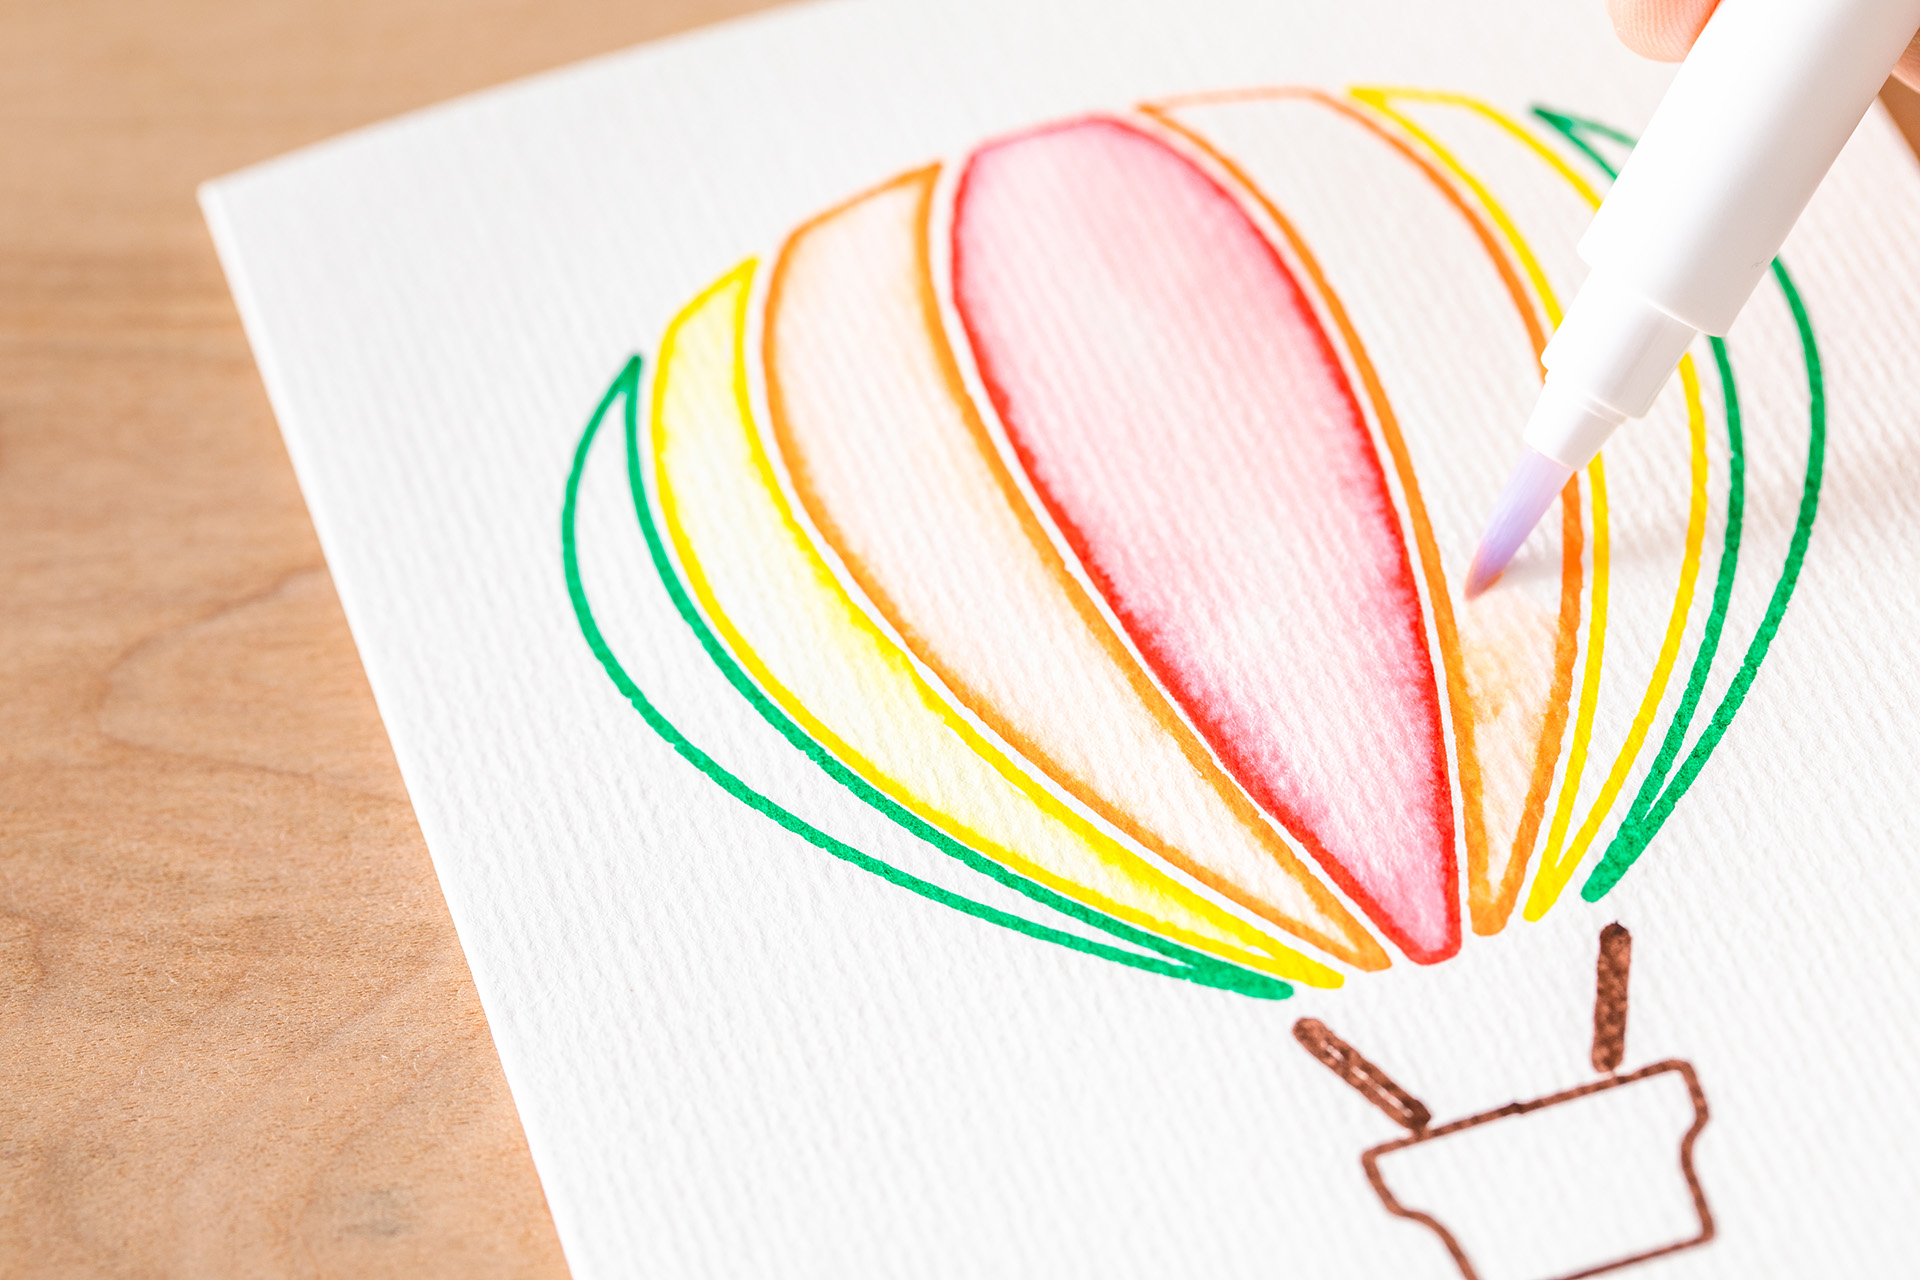
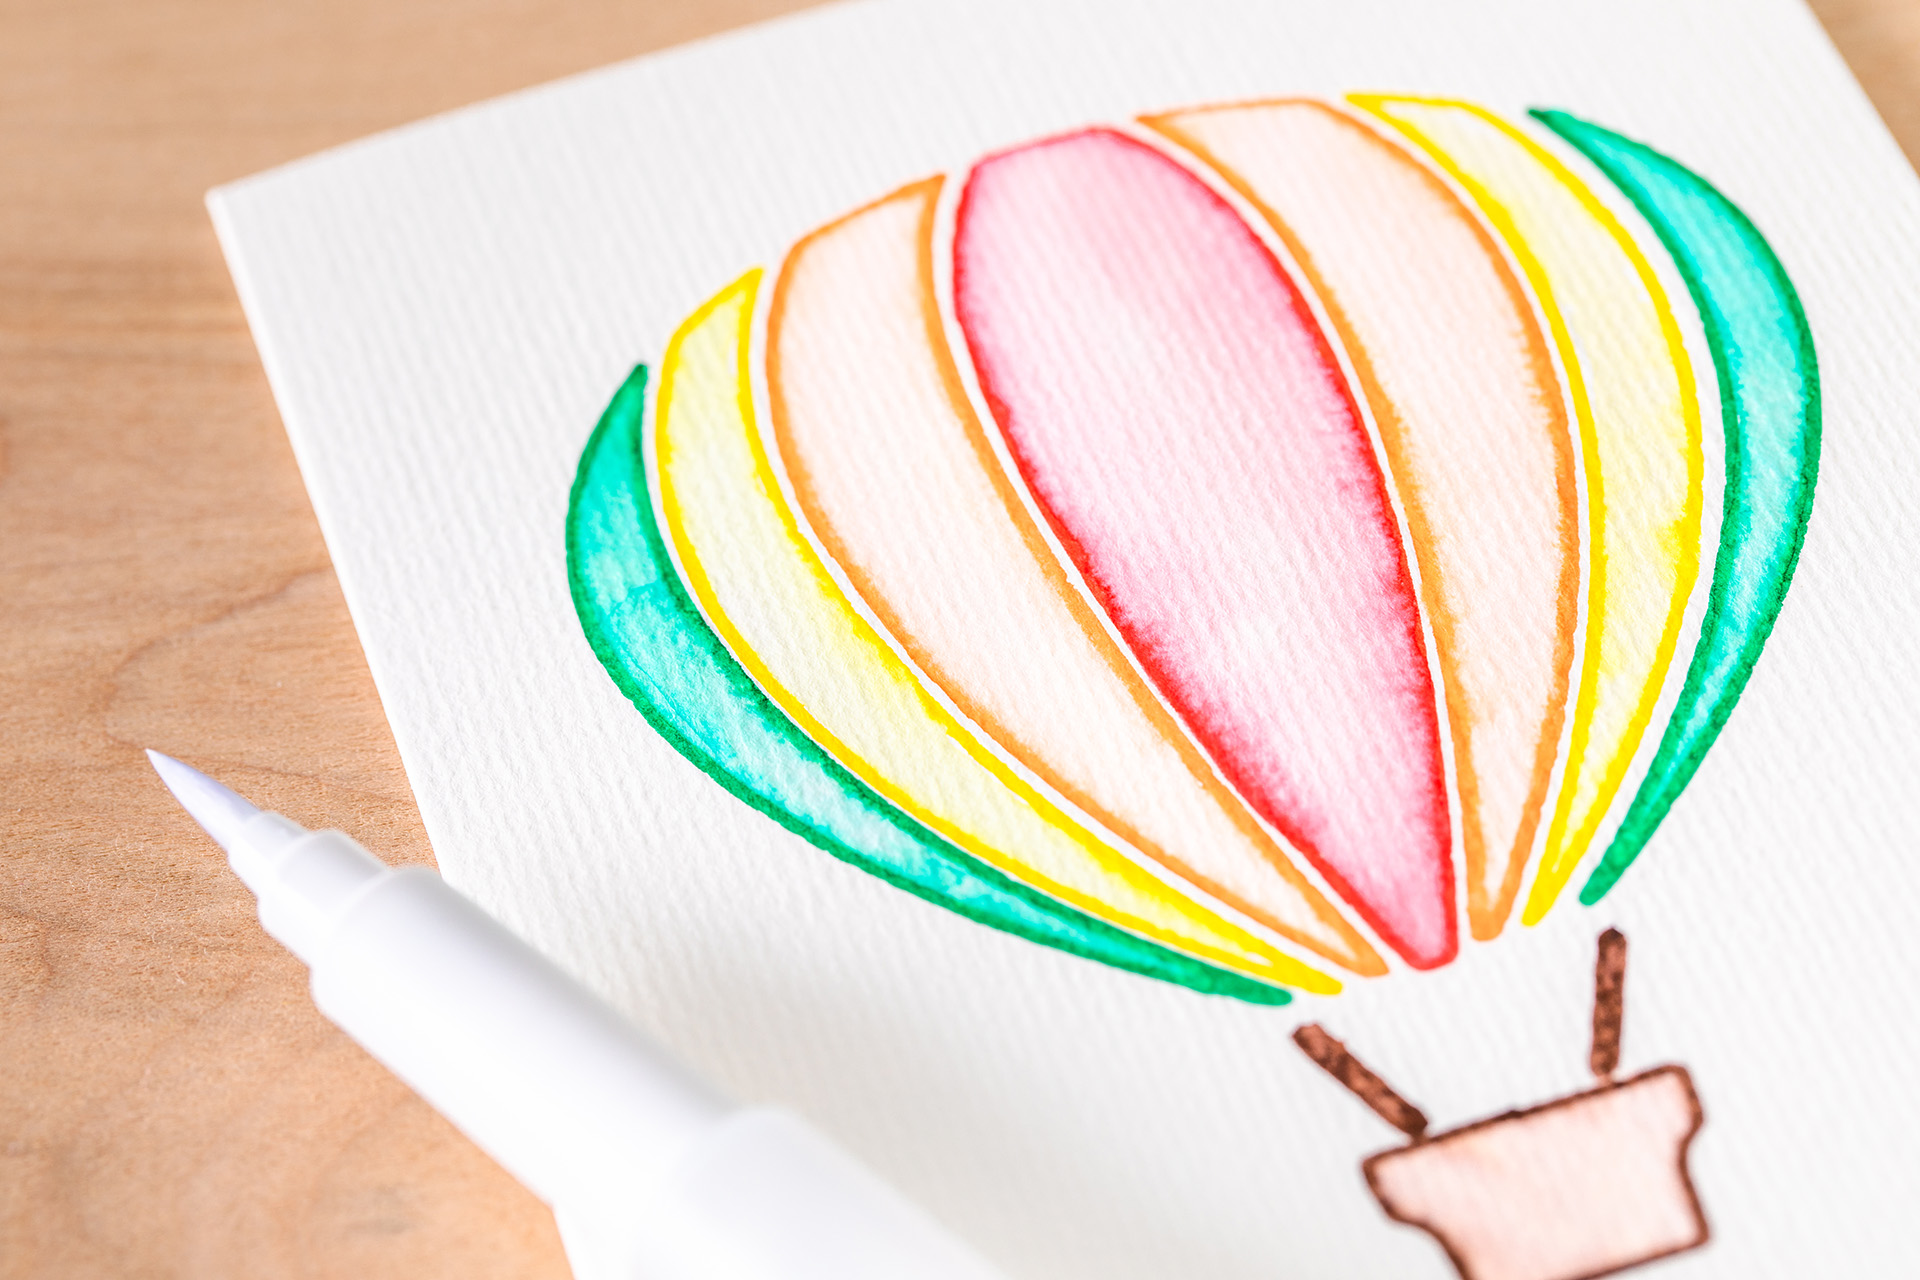
You are ready to paint! To add freehand watercolour effects to your drawn card, trace along the inside edge of drawn marker lines. Pull colour from the marker lines by dampening the card with the water brush.
Use short strokes to pull the colour down into larger areas. The water will wick down the bristles without needing to squeeze the brush, but you can always give a gentle squeeze if you want more water. Squeeze the brush harder or softer to add more or less water, respectively, to adjust the amount of blending between the water flow and marker lines.
If you make a mistake or have a little bit too much water, it is possible to use a clean piece of paper towel to dab it away. Wait for the area to dry before going back over it.
Once you have finished one area, try working on a different section where you will not overlap to prevent any bleeding between colours. To change colours, squeeze the brush into a paper towel or cloth and gently wipe until bristles are clean.
It may help to turn and adjust the card to avoid the wet areas as you add freehand watercolour effects to the different sections.
Allow the card to dry fully.
If you find there is slight curling, you may press the finished card under something heavy after it has fully dried.
Sign, seal, deliver!
Once the card is dry, feel free to place it in the provided envelope. Add and stamp and share your masterpiece with a friend, family member, or loved one.


