The making of a perfect DIY bar cart
Transform a craft cart into a bar cart with these tips.
Living in an apartment means making the most with what I have. When it comes to space, I don’t have much of it so if I want to change things up for a special occasion, I have to look at what I can update rather than add.
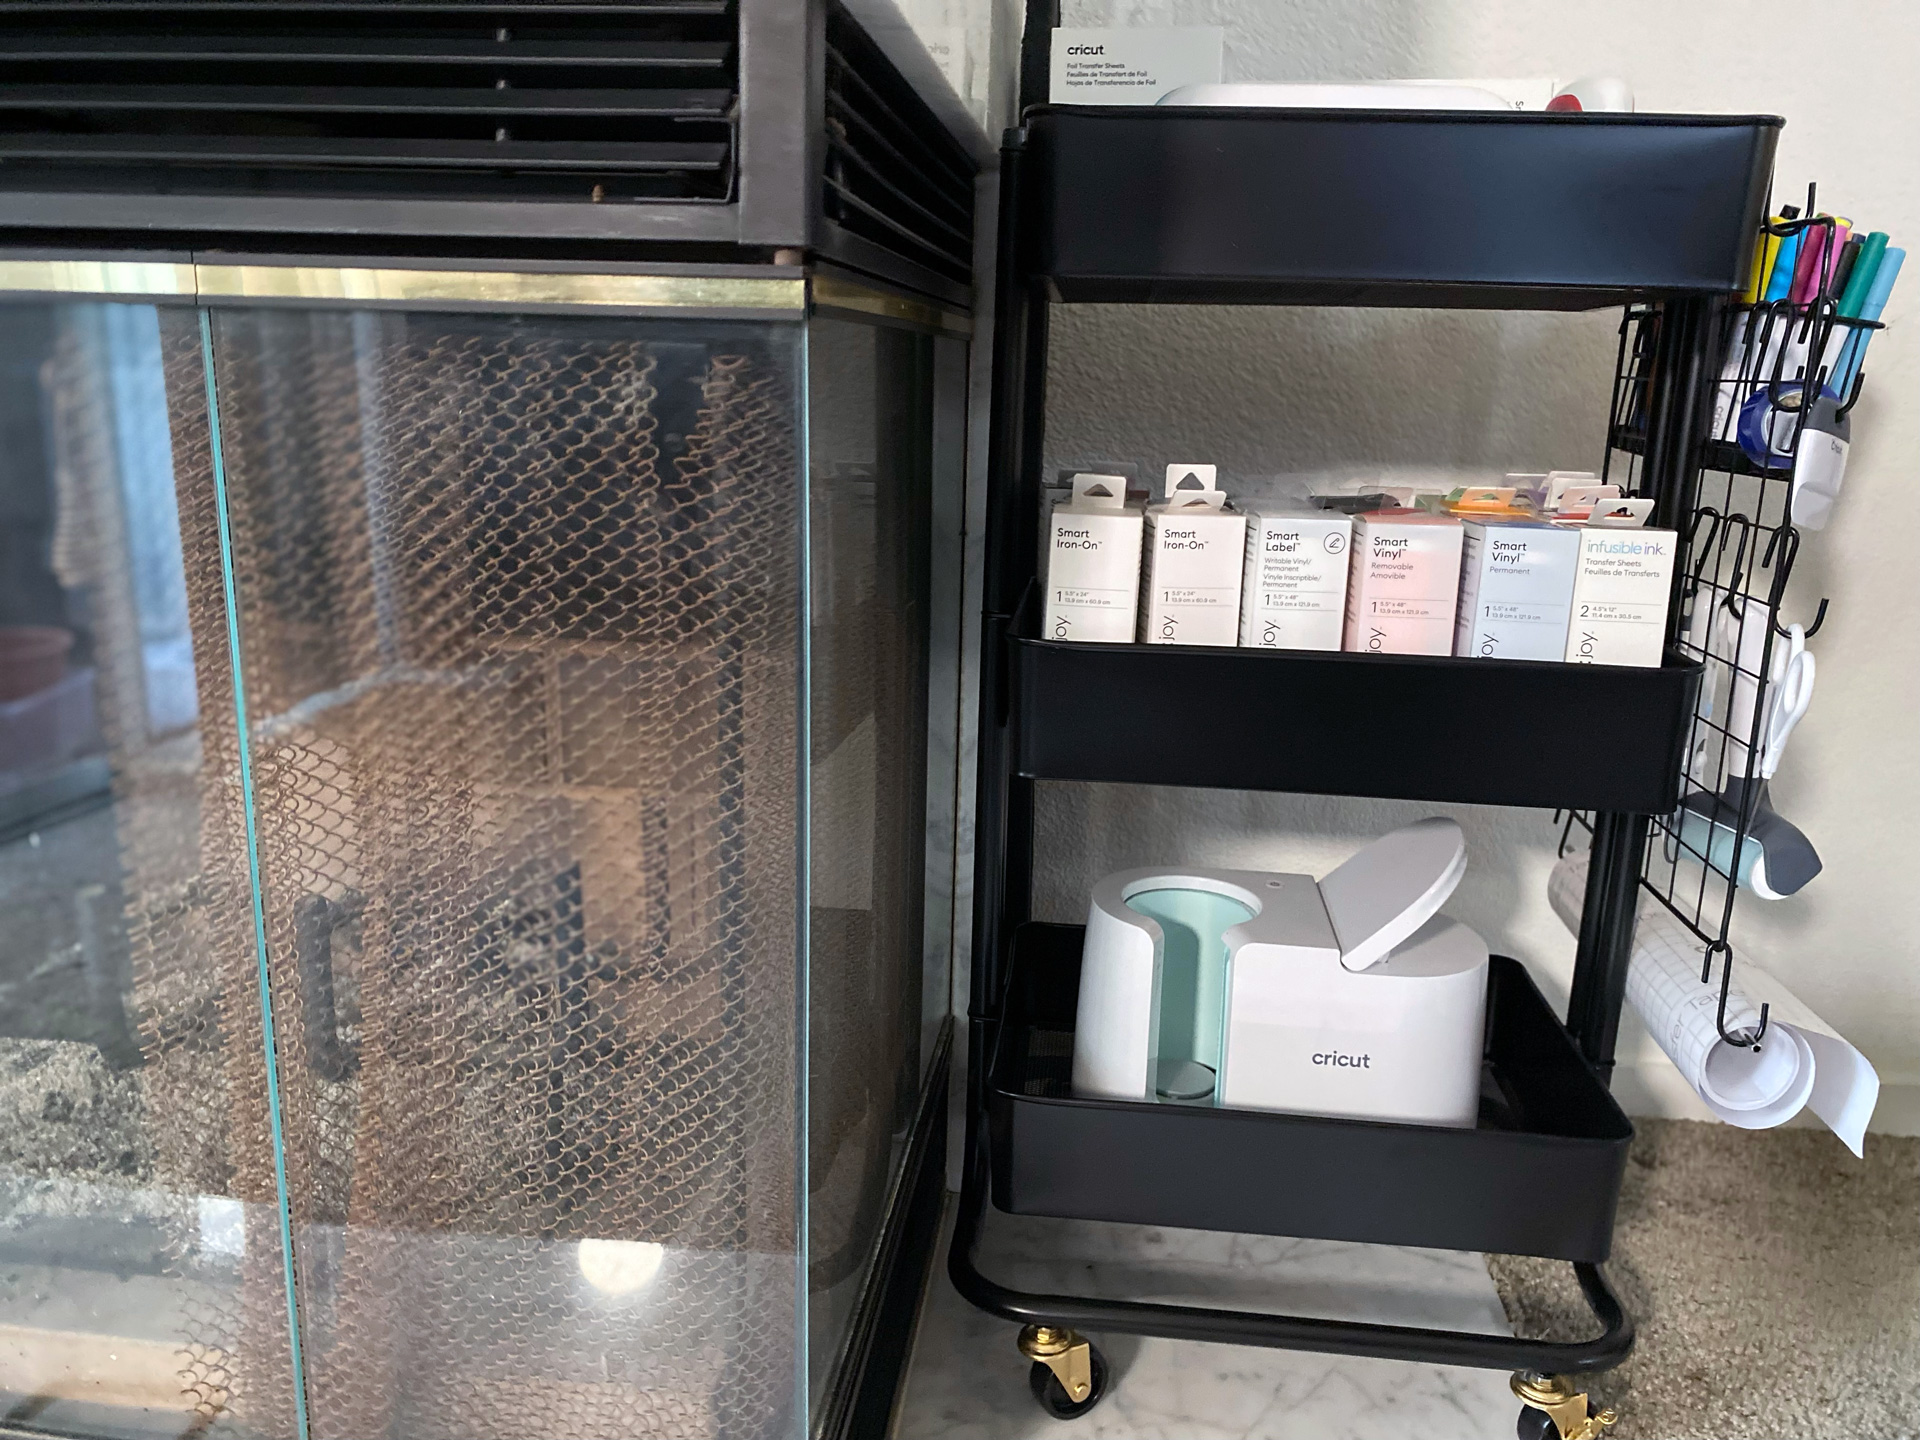
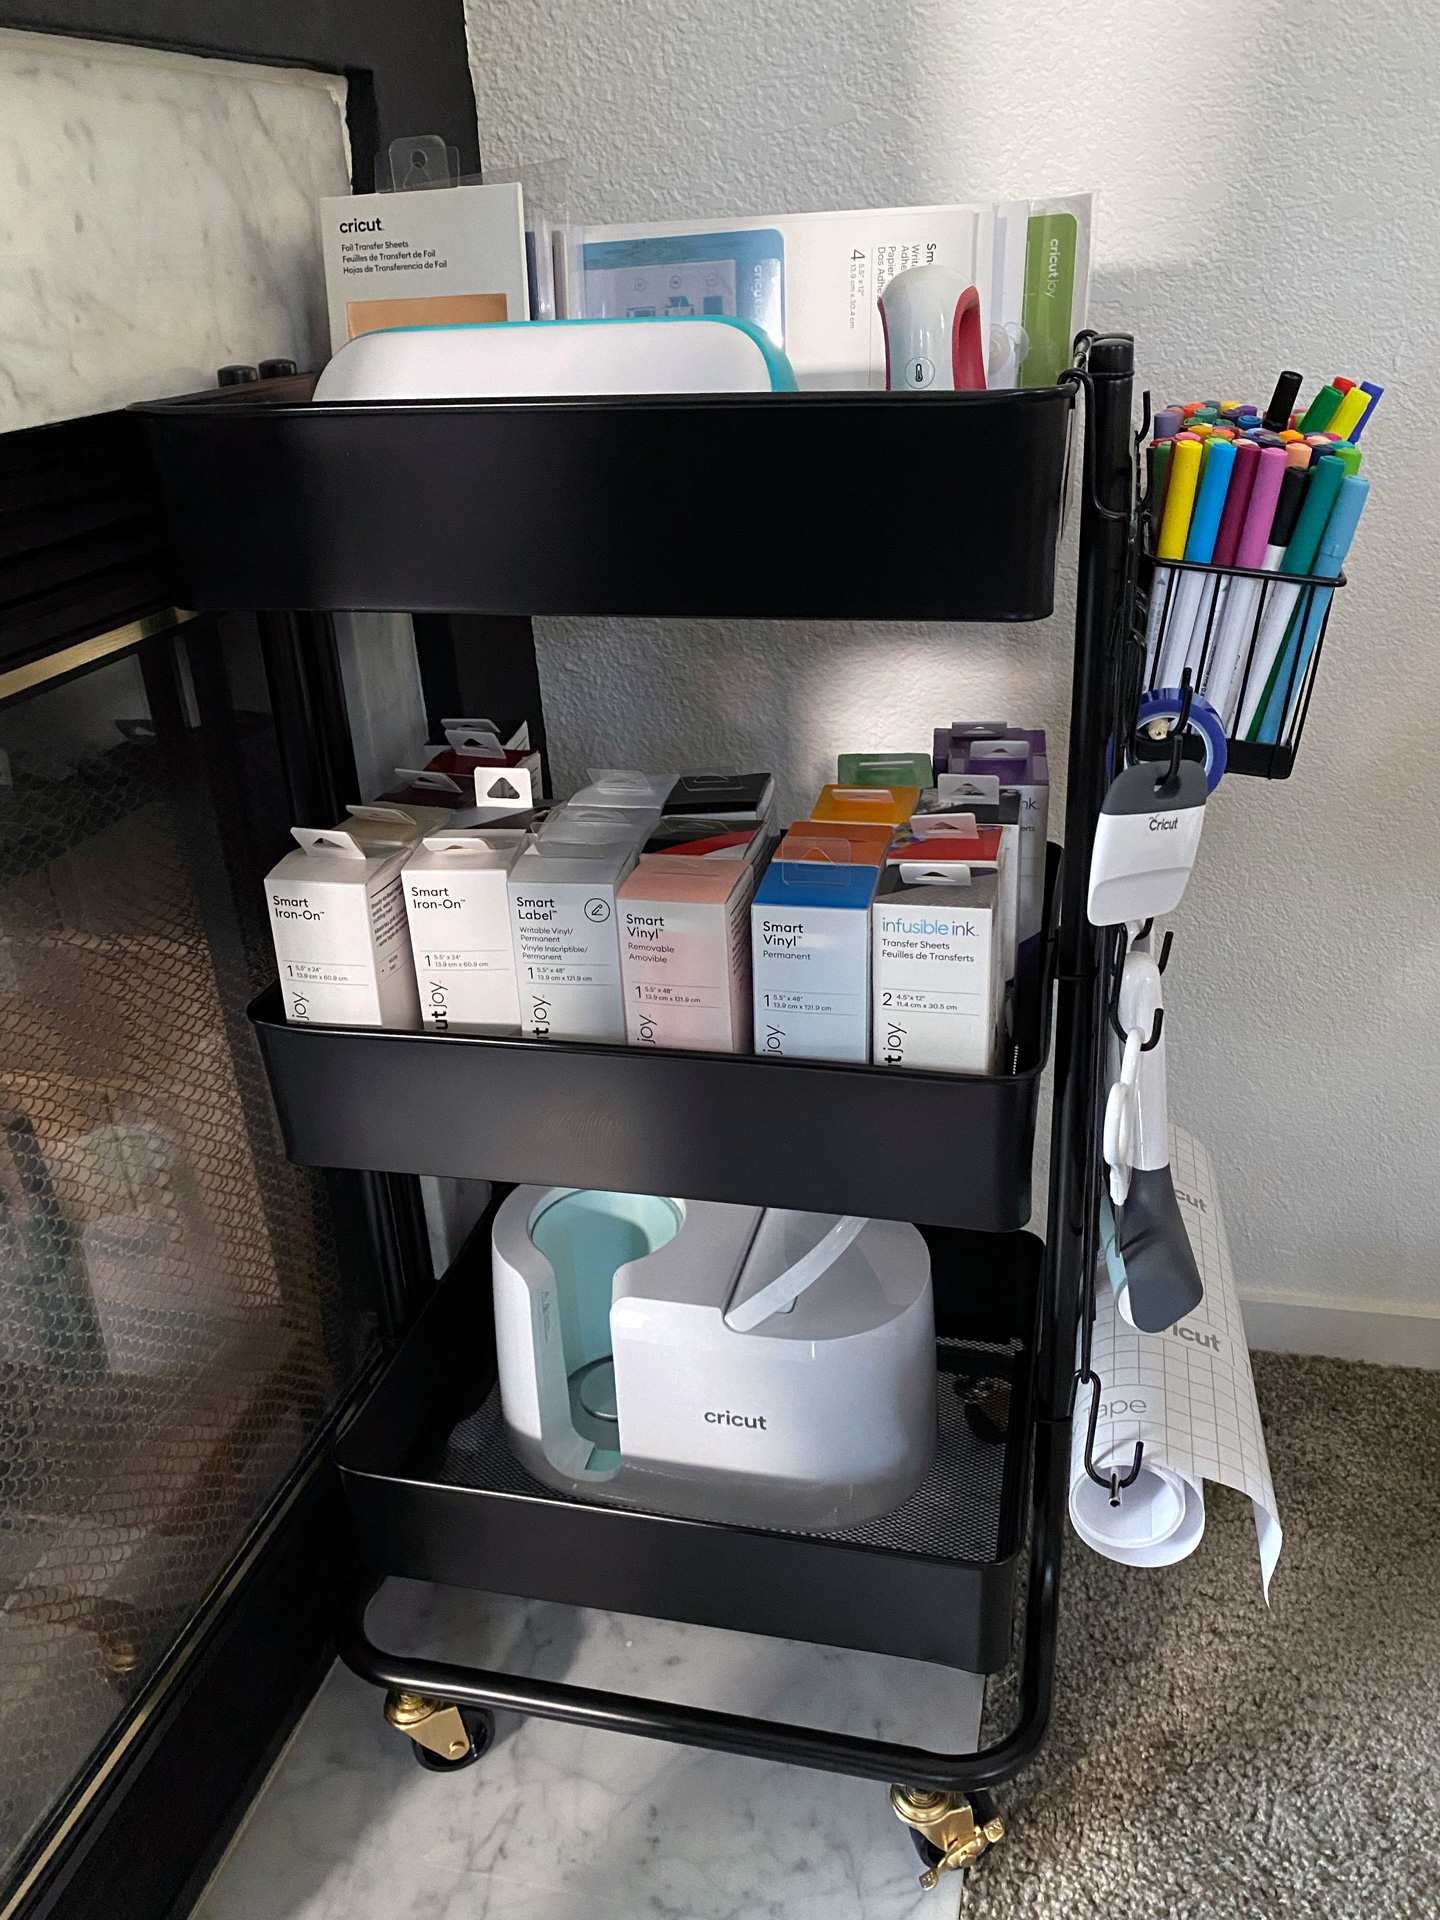
For years, I’ve been eyeing the addition of a bar cart to our apartment but I couldn’t justify it. After all, I already had to move things around to make a place to work from home, plus there’s all my crafting supplies to consider. And thinking about my supplies is when I came to the realization that I already had the perfect bar cart — I was just using it as my craft cart instead.
If you’re looking to make a DIY bar cart for your small space, here are some tips to think about.
Add touches that match the rest of your decor
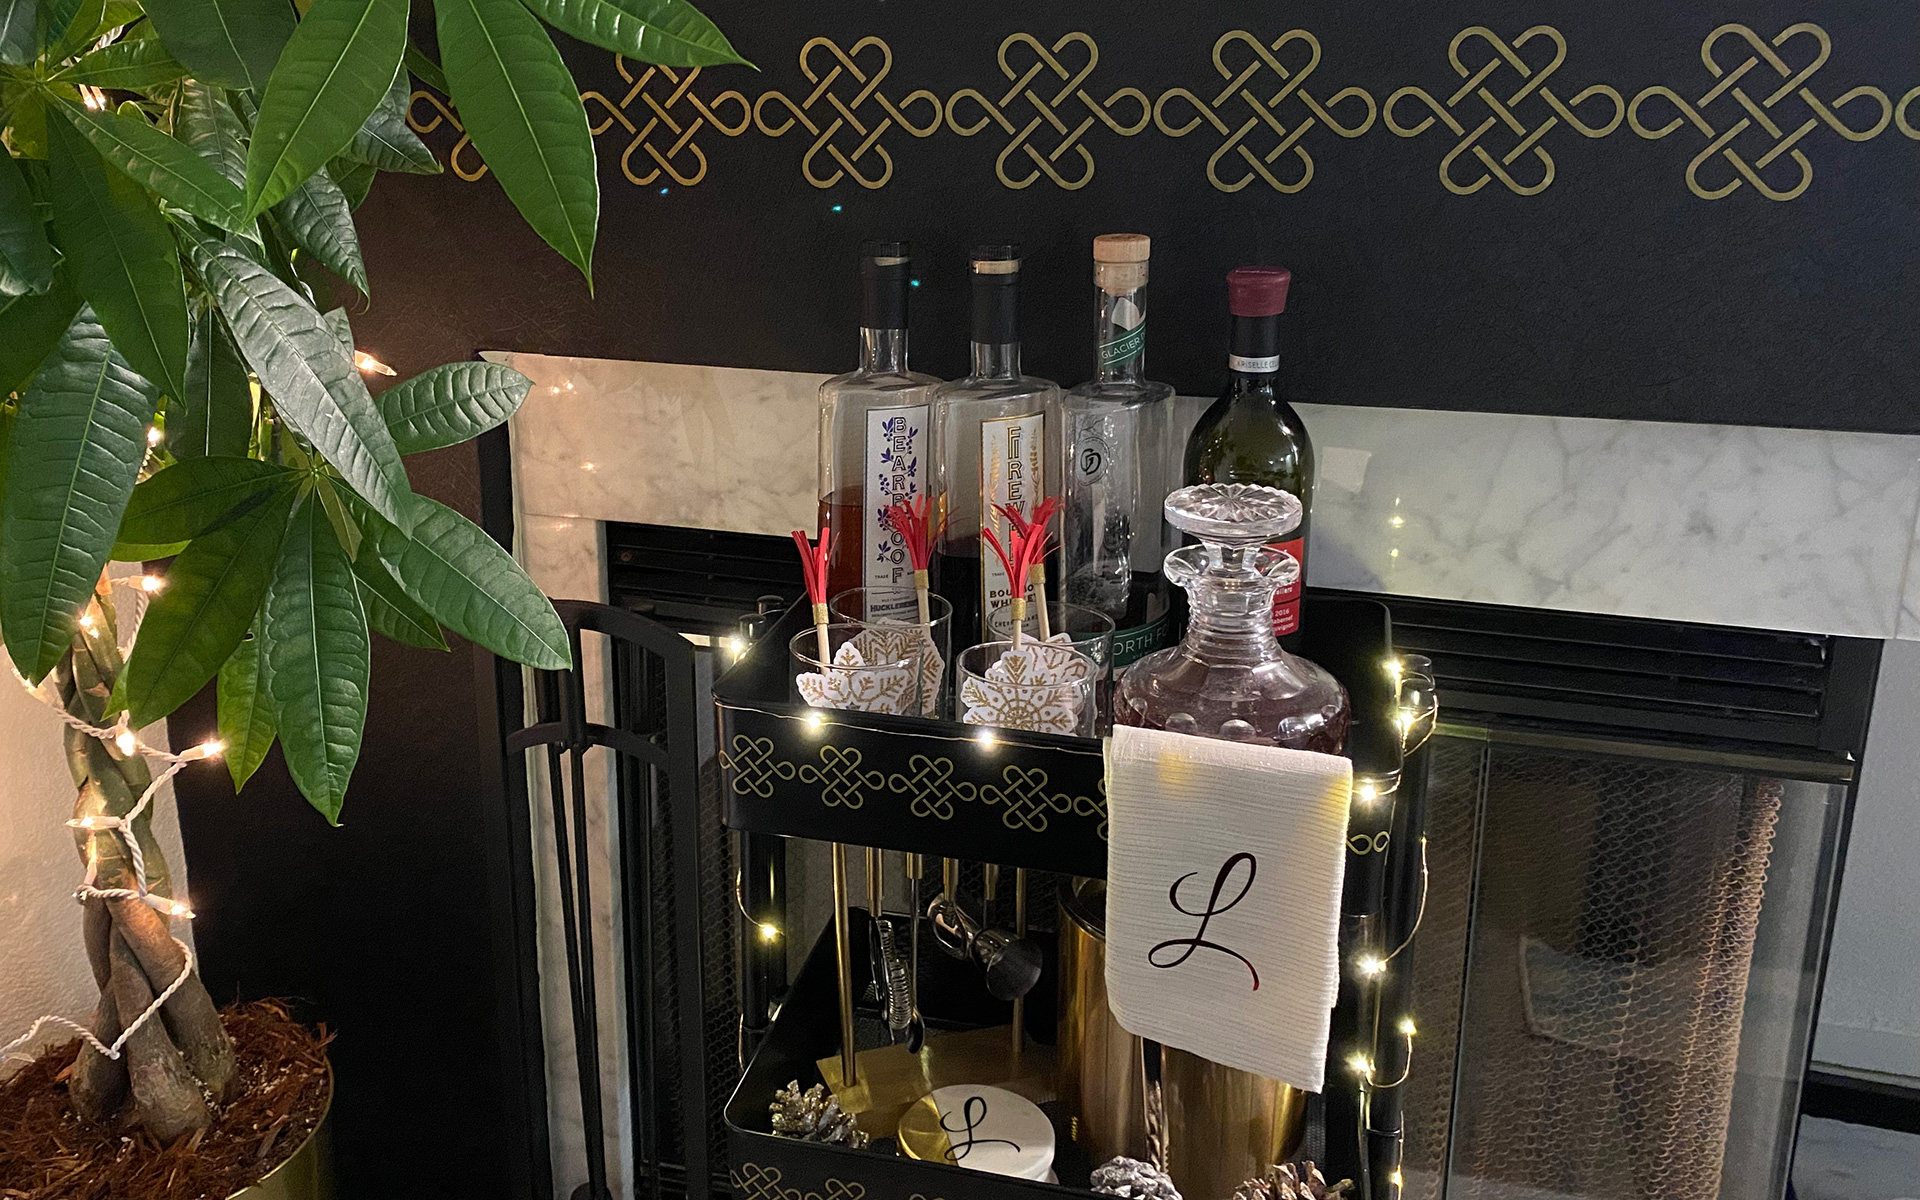
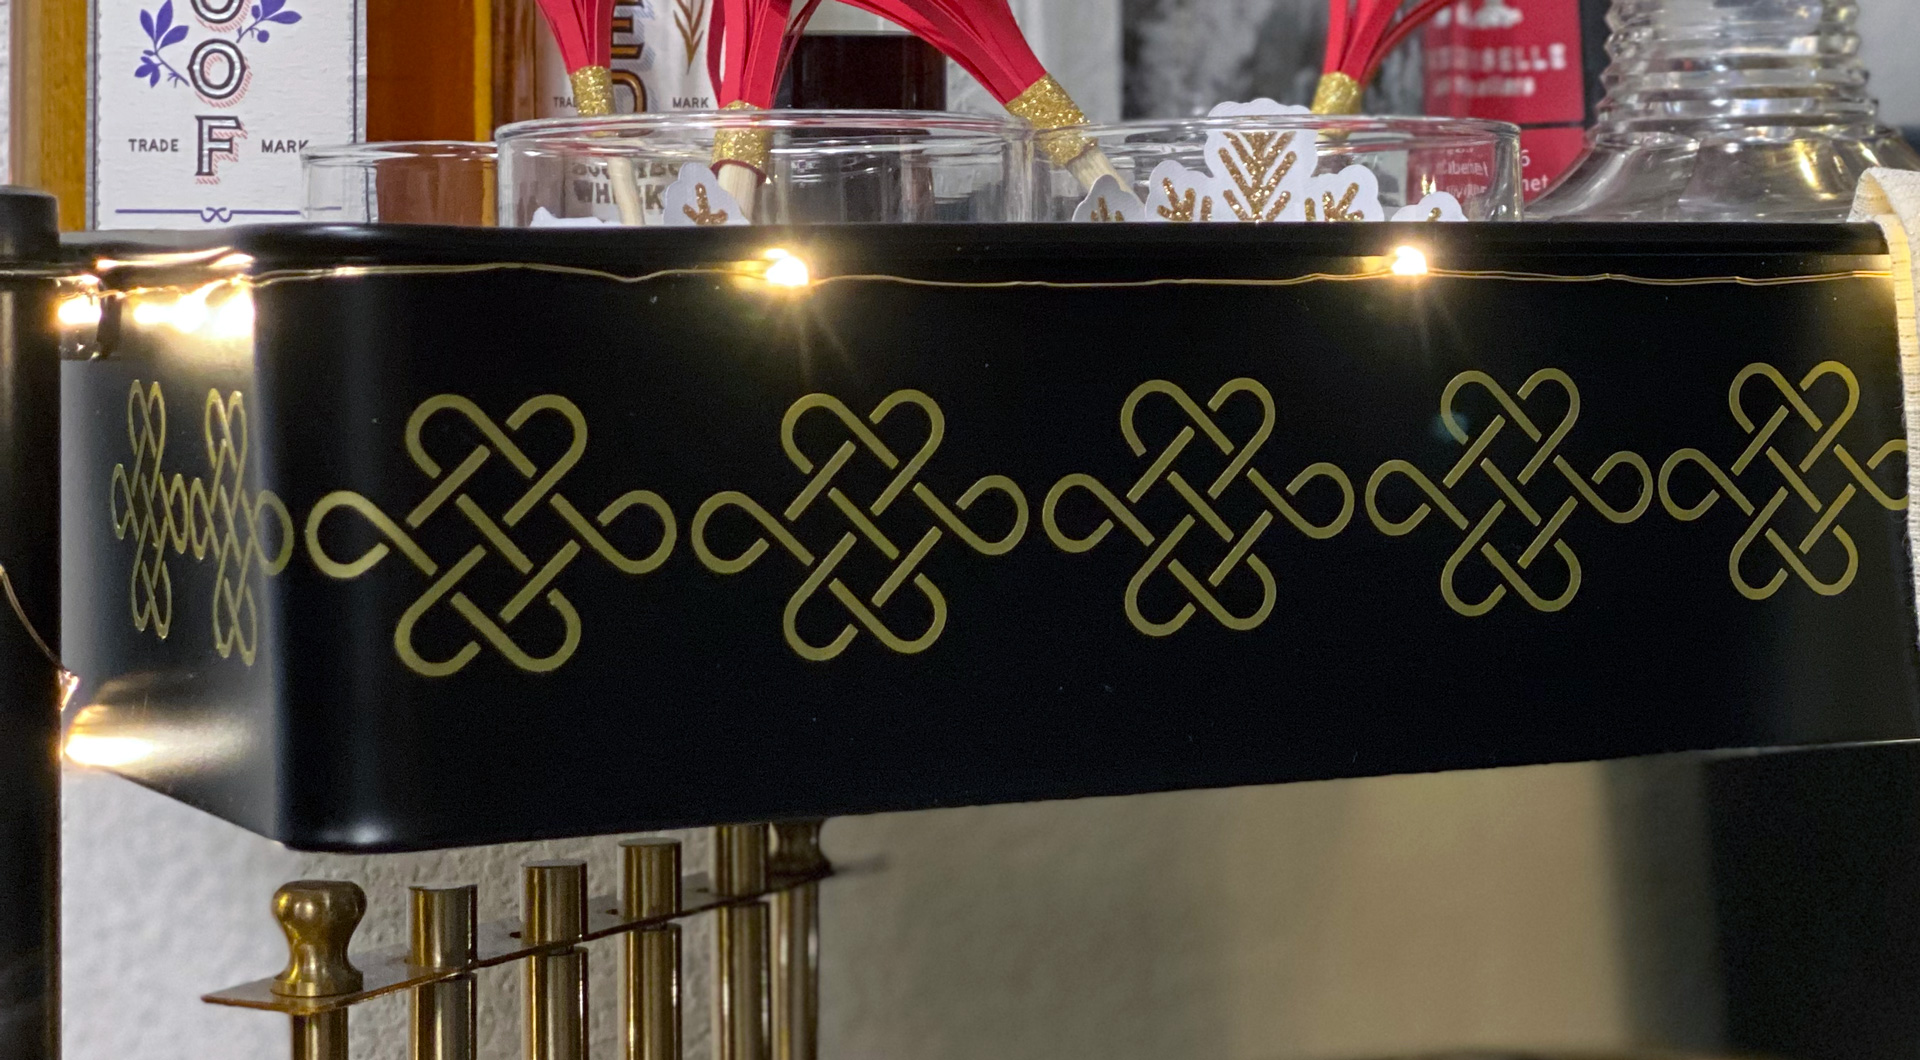
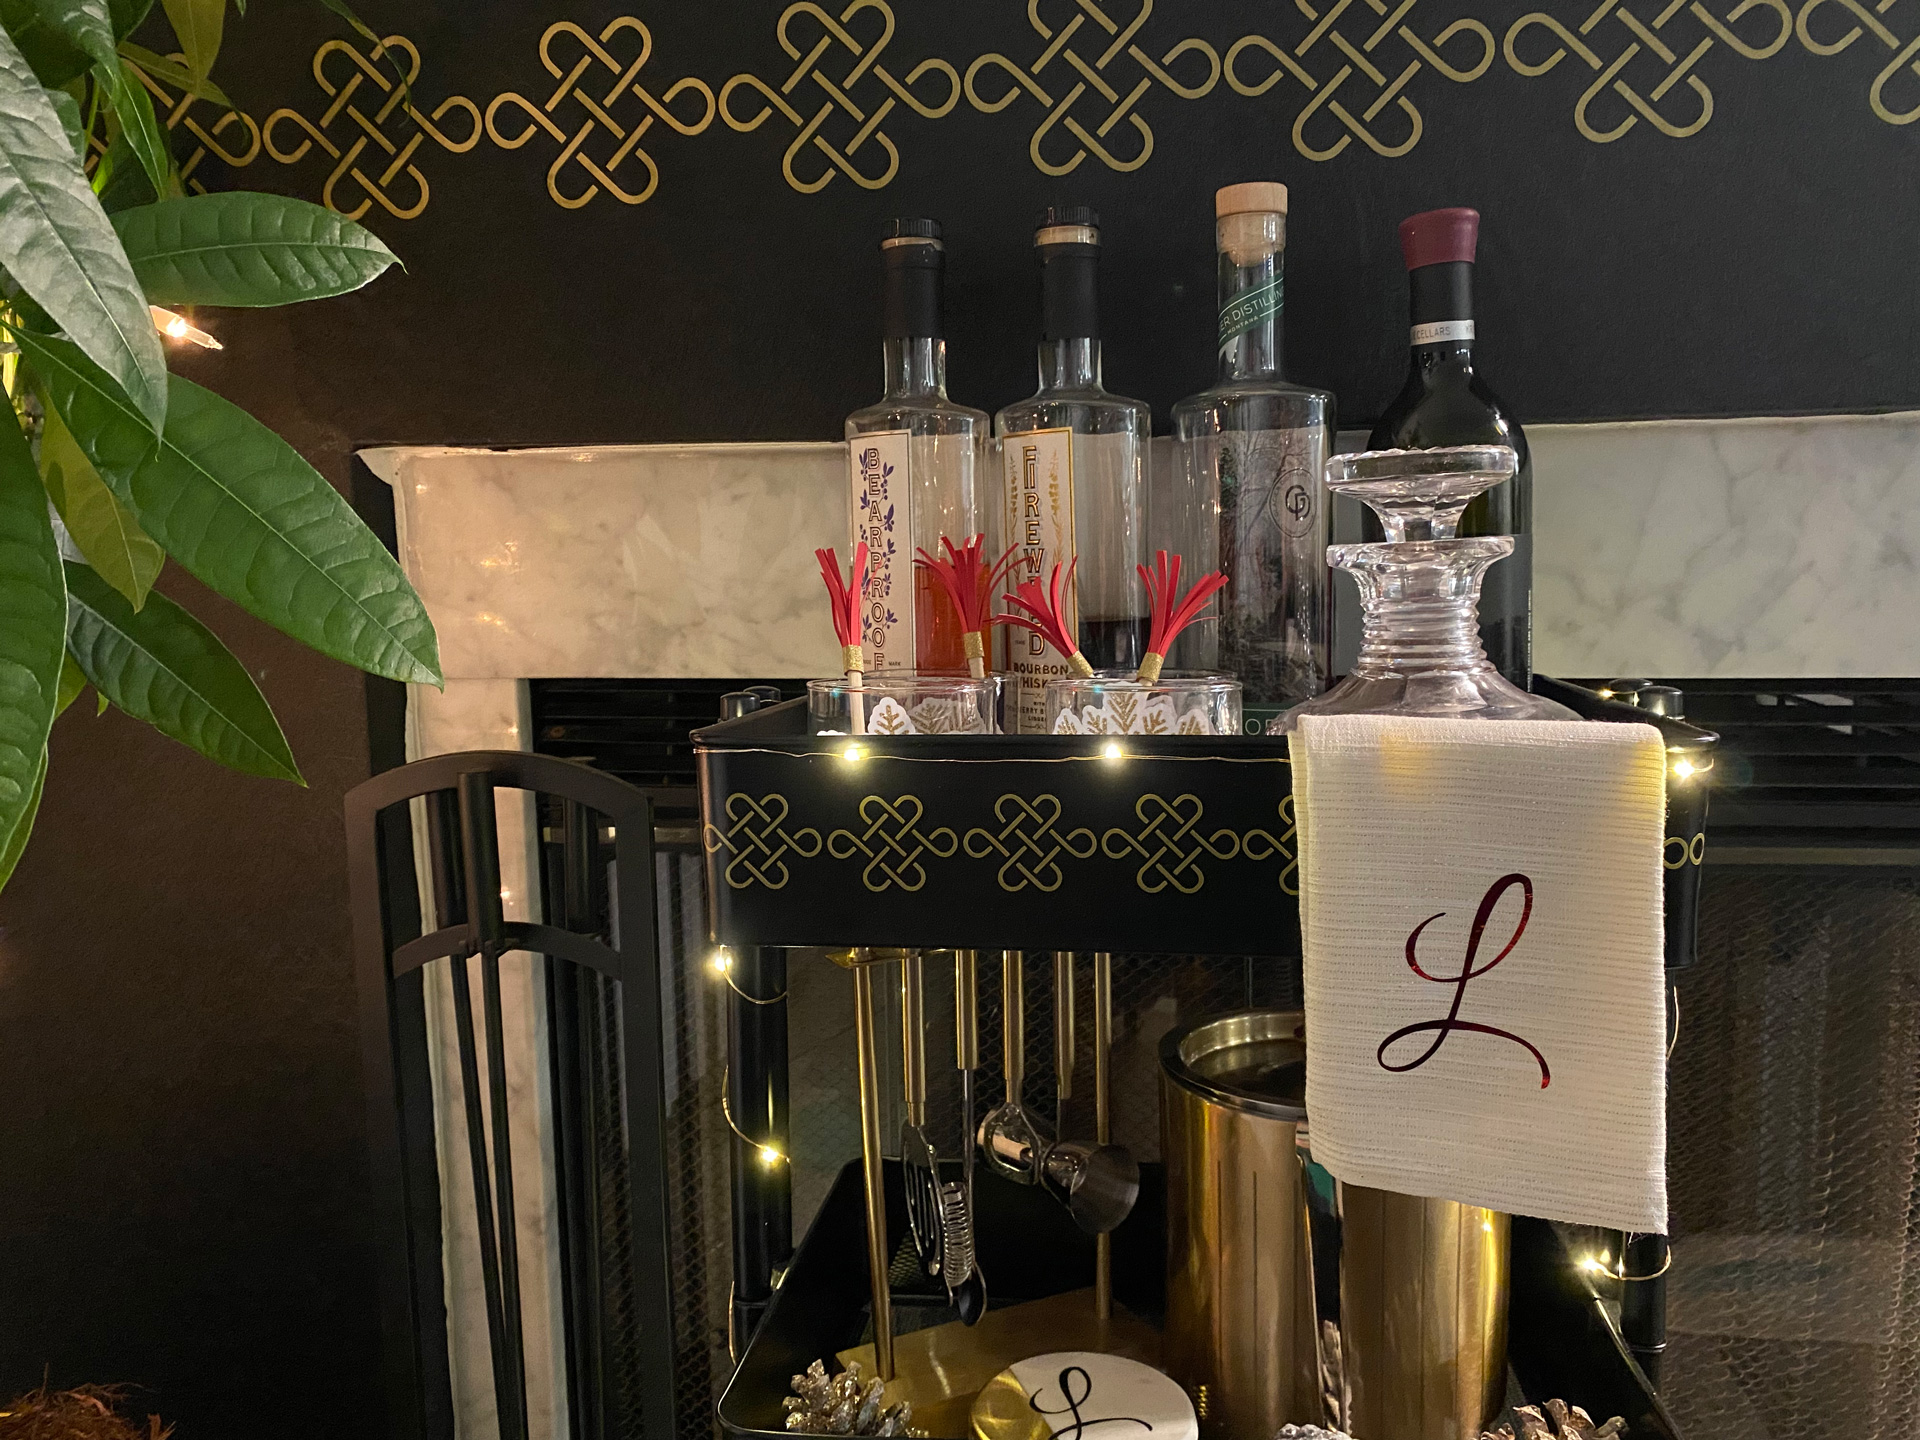
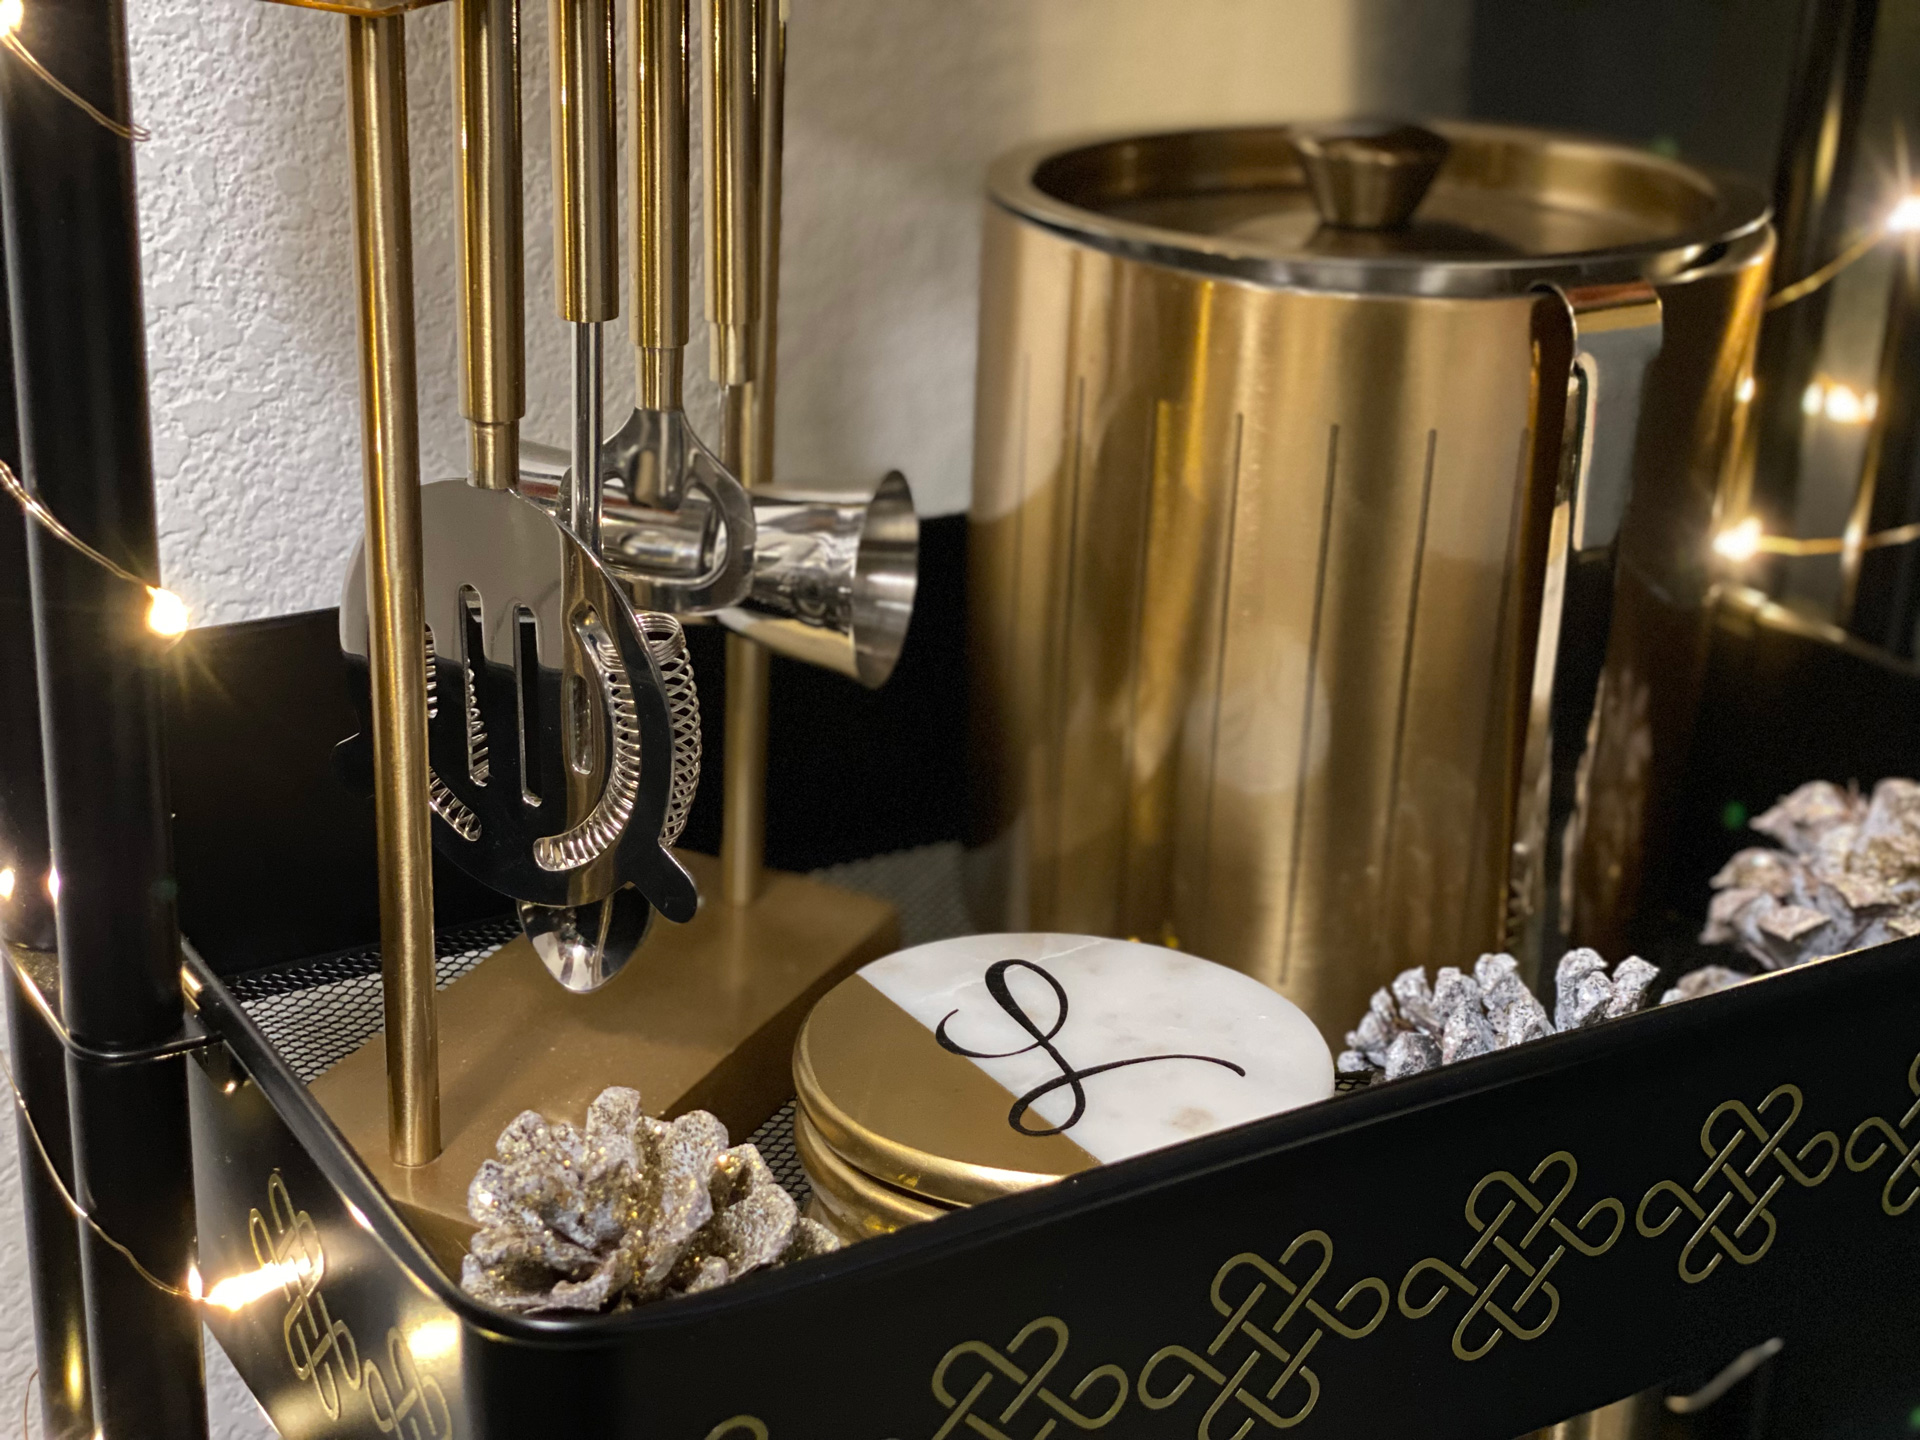
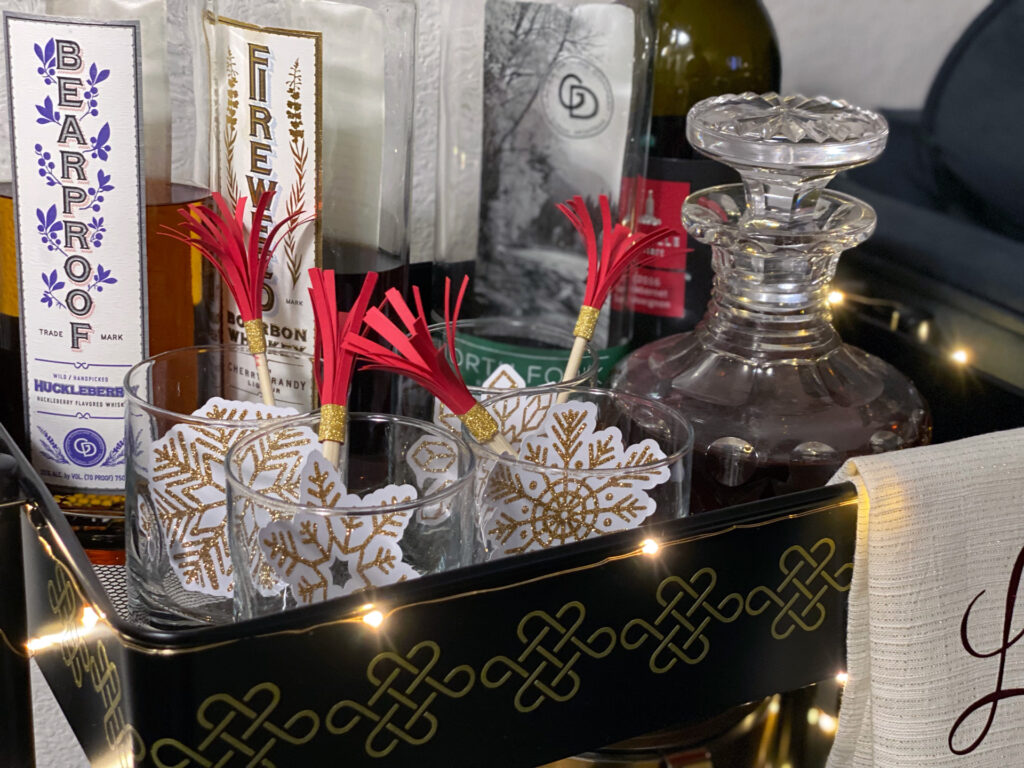
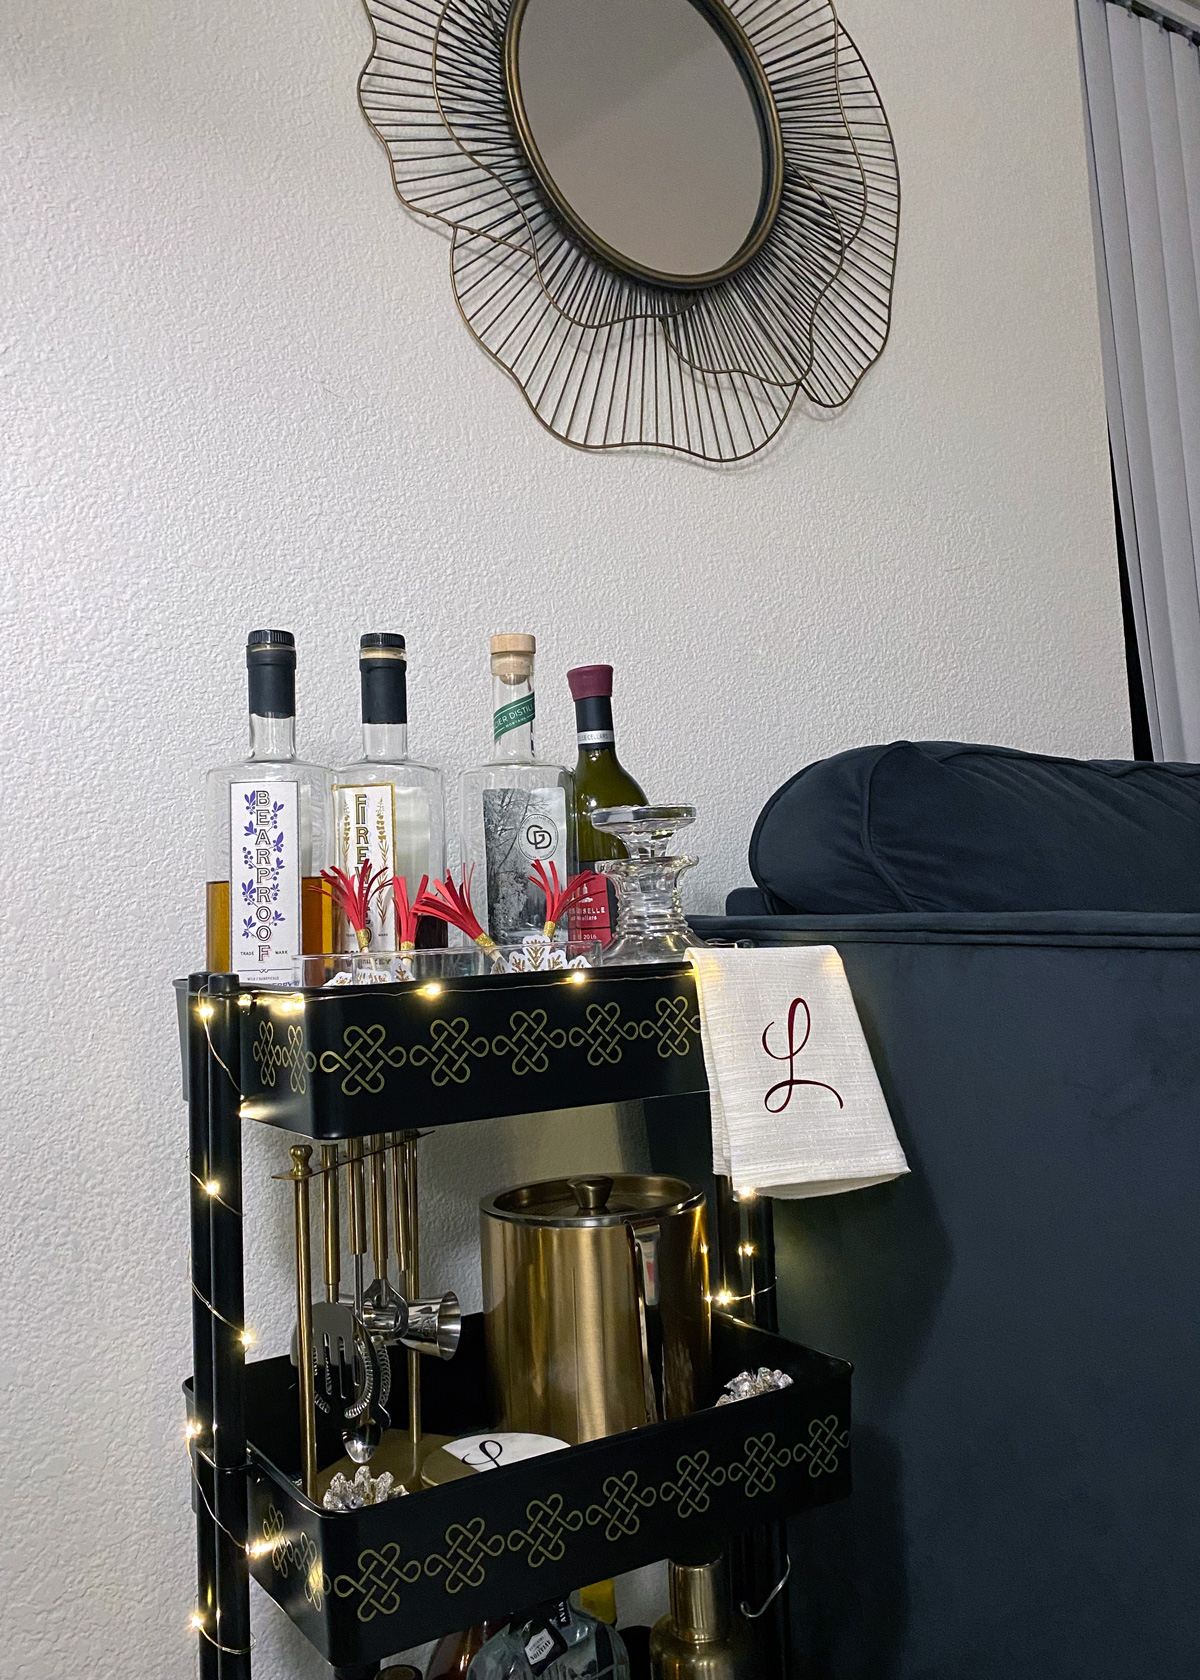
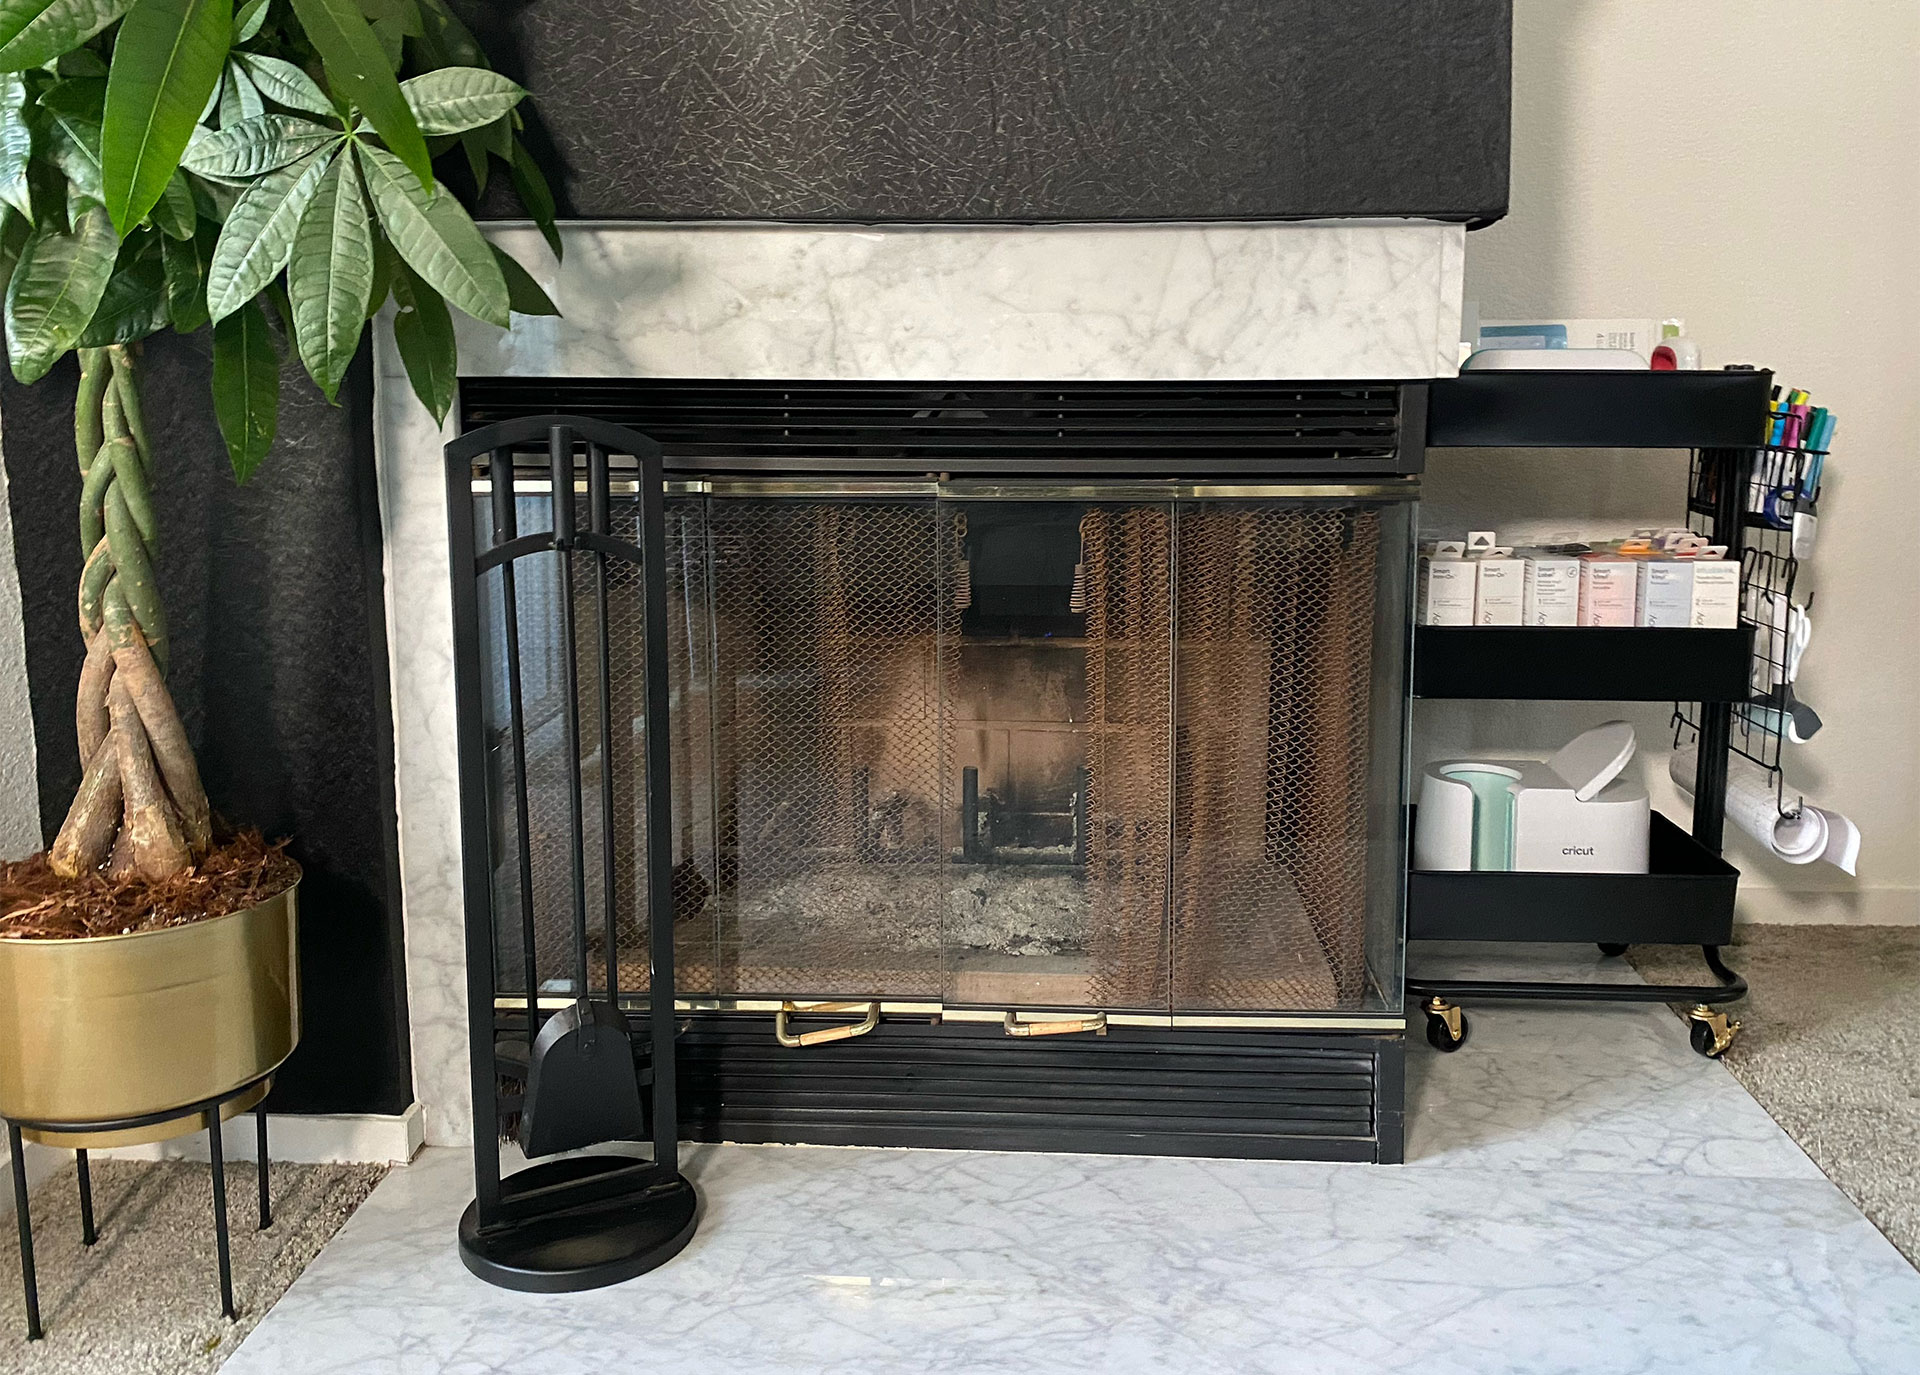
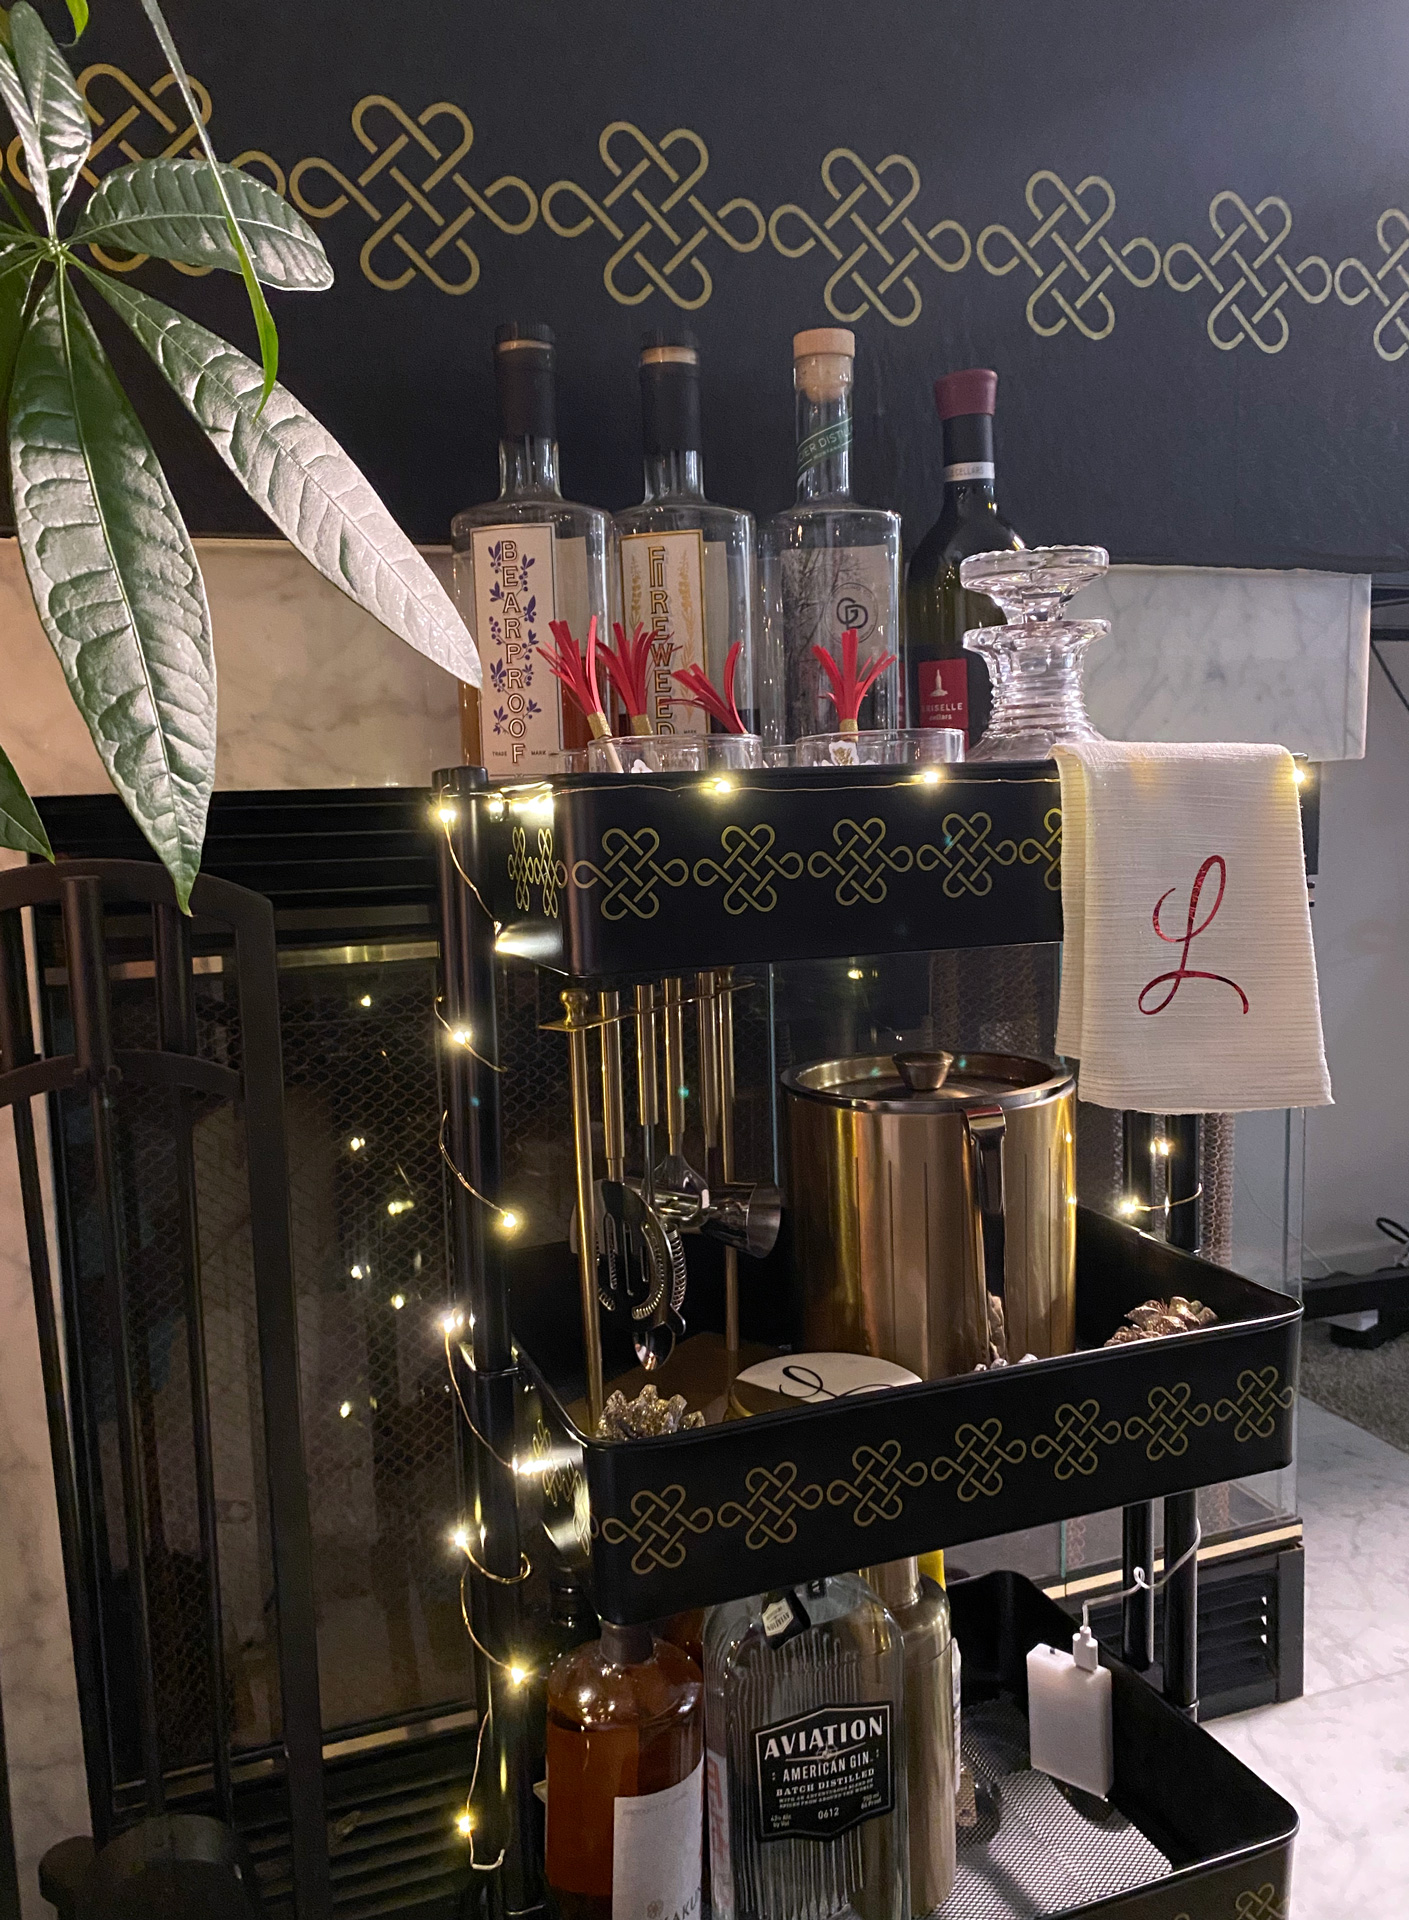
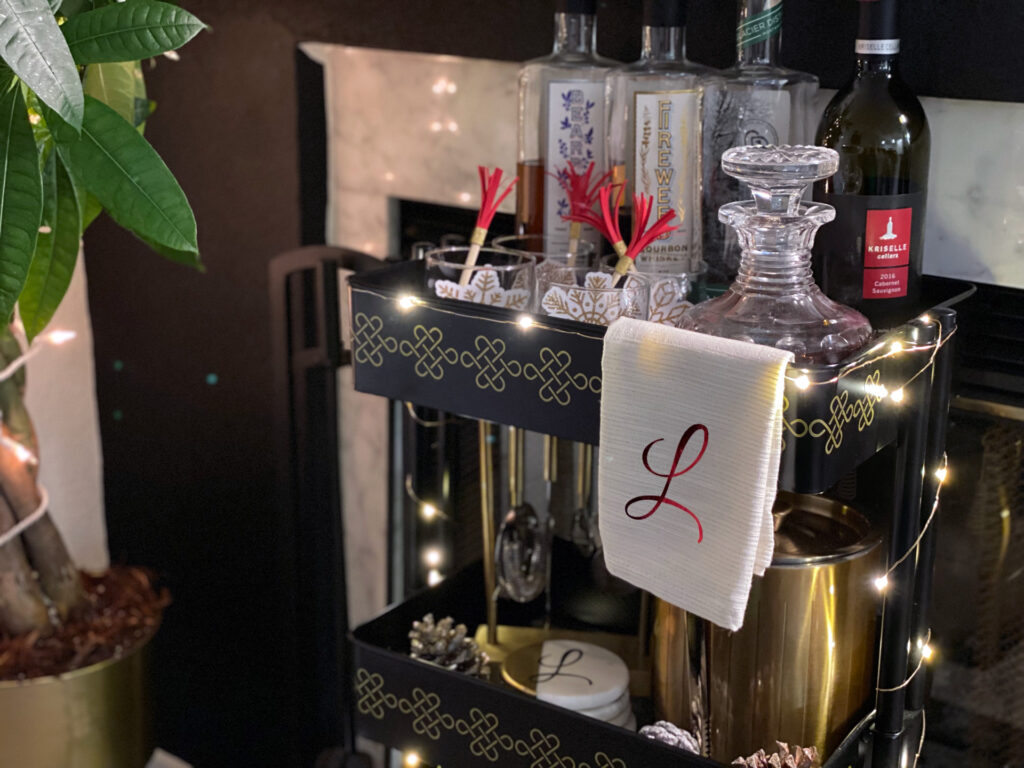
We have a small fireplace in the corner that never gets used, so I took it as an opportunity to add some color and life to the area. Using some textured black removable vinyl, I completely covered the white walls under the mantel, and then cut a pattern with my Cricut machine to decorate it. I chose an eternal knot image that I duplicated into a long, repeatable pattern for the wall, and then I scaled it to fit on the cart. I only placed the pattern on one side of the cart, though, so that I could adjust the mood or theme of the area whenever it was appropriate. Cutting this design in gold removable vinyl also makes it easy to completely change it up with little effort.
Personalize with monograms
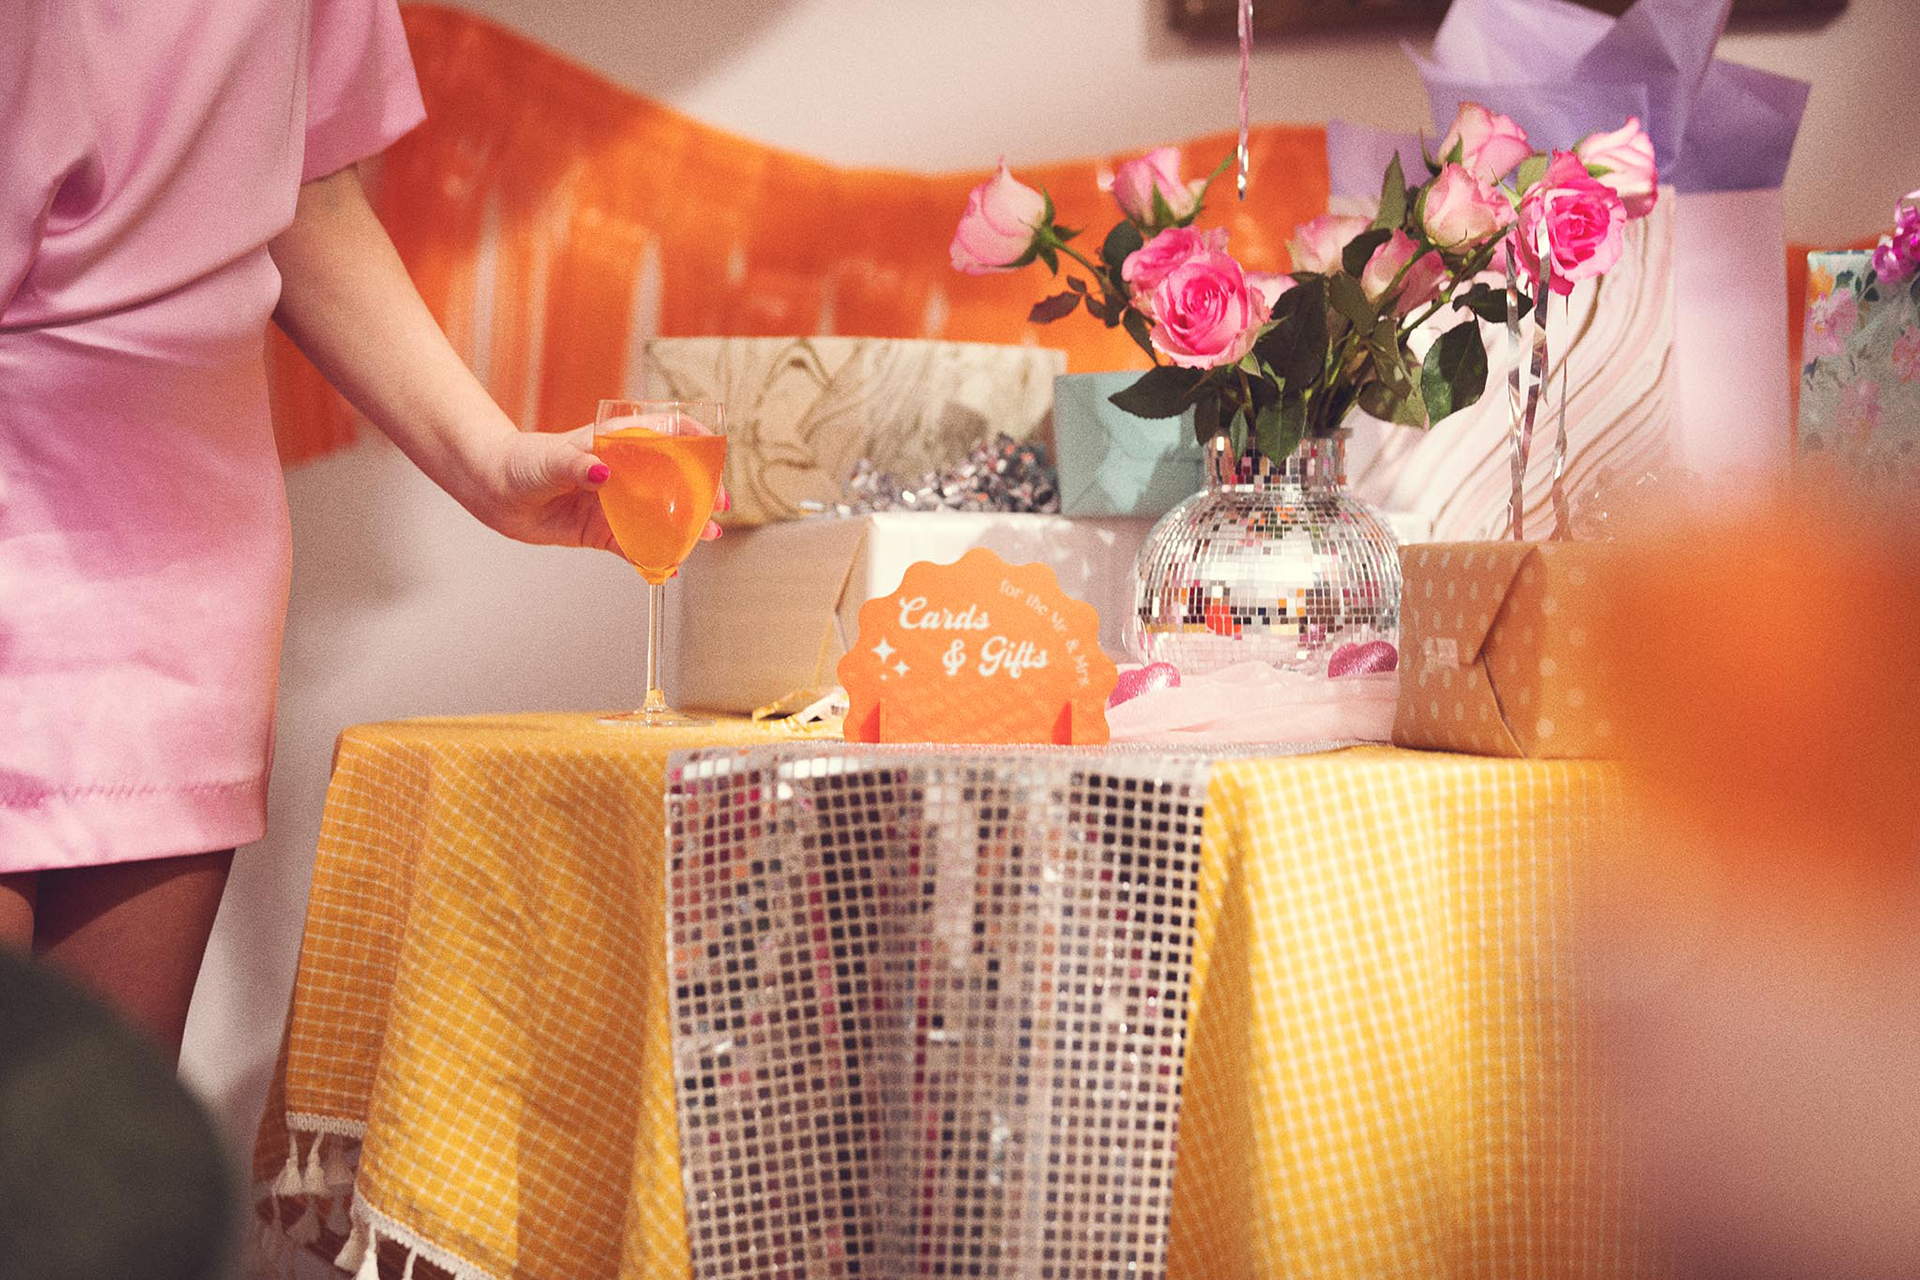
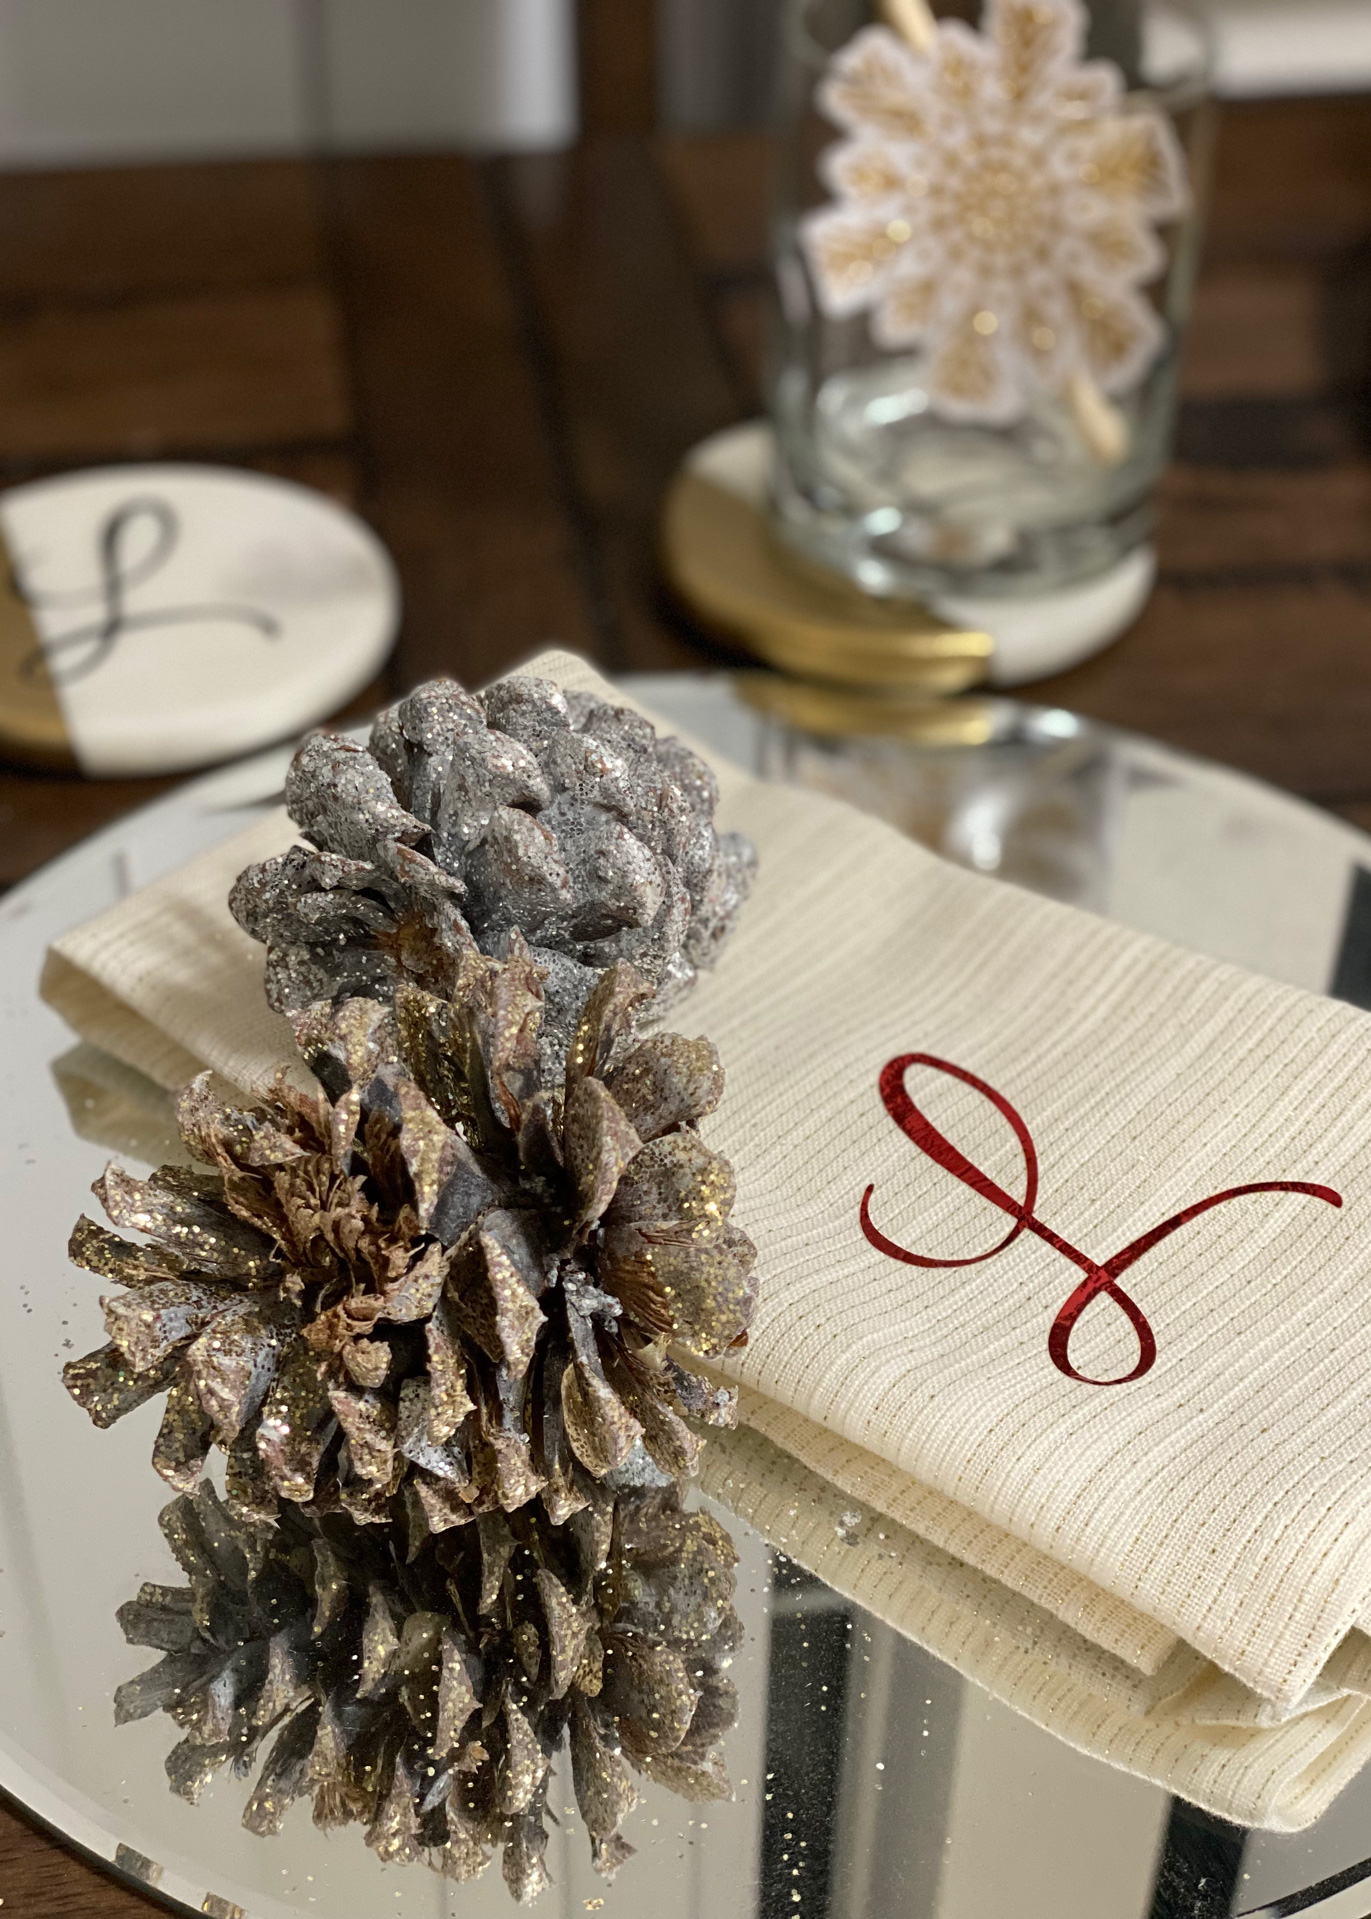
Using foil iron-on for napkins and removable vinyl for the coasters added a more personalized flair to my cart. I probably will never use these napkins outside of special occasions, so using the foil iron-on was perfect for a little something extra. For my coasters, I picked removable vinyl so that I can easily change my mind. As you can probably tell, the ability to change things whenever I want is important to me — especially since I don’t have as much to work with.
Tip: I couldn’t find coasters that I loved, but I found something close. These coasters originally were just marbleized stone, but I took some quick drying primer and metallic spray paints and a bit of painter’s tape to add this strip of gold on the side. It was exactly what I was looking for, but couldn’t find for a price I was willing to pay.
Create a festive feeling with finishing touches
One thing I plan to do if/when people come over, is use removable vinyl or stickers to label the glasses. With everyone’s name on the glasses, it will make much easier work of keeping track of each other’s drinks. However, in lieu of an actual occasion, these decorated swizzle sticks added a nice pop of color against the neutrals. This was probably the easiest thing to cut, with just a bit of cardstock and glitter vinyl. If you don’t have real swizzle sticks to decorate, you can do what I did — break a pair of chopsticks in half and cover the rough end with the paper. Easy, inexpensive, and pretty!
Don’t feel tied down to one spot
One of the best things about a bar cart is that it doesn’t have to stay in one place. If your cart has wheels, move it around to the place that suits your use most. For me, even though I clearly designed it to match my fireplace, I could easily move it to the other side of our sofa or closer to the dining area.
From craft cart to bar cart
Now, I have a super versatile piece for my home that goes from craft cart to bar cart with relative ease. When I’m using it for entertaining, I temporarily hide my crafting supplies in my room or in the closet. When I’m not, the bart cart supplies go in the kitchen cabinets accordingly. Everything has a place, but I get to use the most of my space when I need it. But the best part is that I didn’t need to get many new things to make it happen. Except for the spray paint and new coasters, everything else was already in my home, just waiting to be used.
Have you tried to make a bar cart? Show us how you did it using #cricutmade!

You Might Enjoy…