Jill ismaking a personalized gift tag for her coworker’s daughter Lola! If you want to make the same gift tag, click on this link to get the project in Design Space.
Supplies needed
Print this list
Make a custom gift tag with Cricut
Step 1
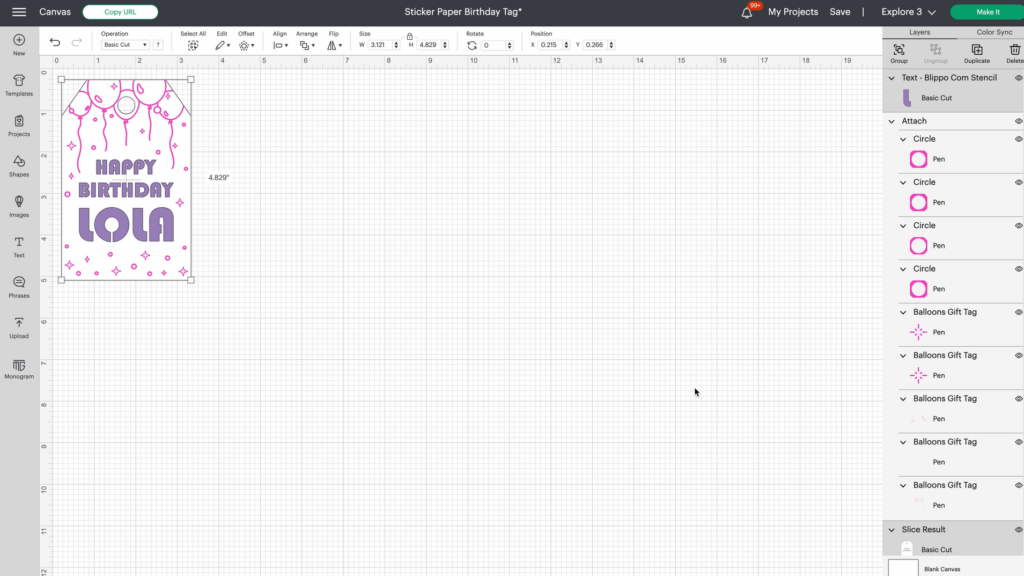
Open up Design Space and find the gift tag project (here). Customize the design with the name you want, Jill chose Lola, and center the design. Then you’ll want to slice the design. You will select the text and the tag and click slice on the bottom right corner. This subtracts the negative space so that you don’t have to do as much work.
Step 2
Once you’ve sliced your design, it will create extra text, so make sure to delete it! Then pull the forward the pen so it sits on top of the white. Then combine all of your elements by selecting them and clicking attach in the bottom right corner (see below). Attaching makes sure the the machine cuts the design exactly how you see it, instead of cutting everything separately. Once you are ready, click the make it button.

Step 3
Design Space will prompt you to load your materials in a certain order. In this case, Jill is loading white smart paper sticker cardstock into the machine first. In clamp A, load the gel pen you want to use. Select what material you are using, press the load button, and press the go button once it flashes.
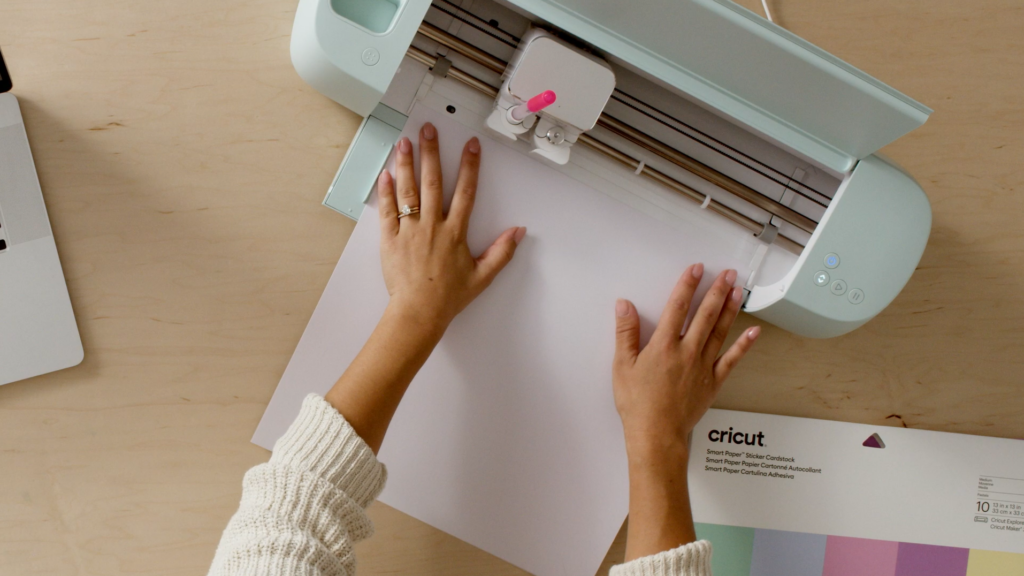
Step 4
Once the machine is done cutting, press the unload button. Then load the next material. Jill is using purple smart paper sticker cardstock, so that is what she loads next. Select the material you are using, load your material, press the unload button, and then press go.

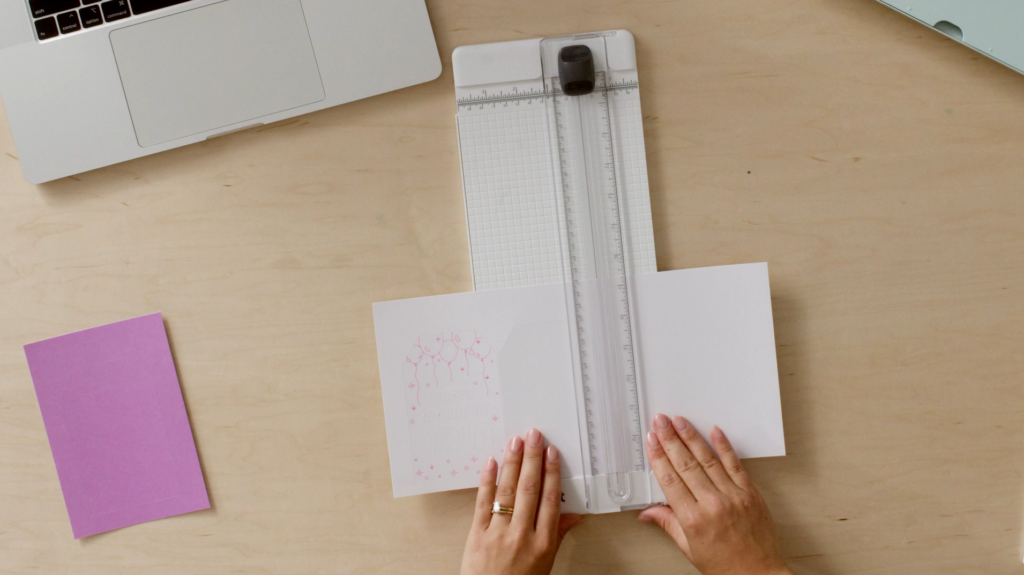
Step 5
Next, trim down your material to make it easier to work with, and save the excess material for a later project! *Then you will remove the backing away from the cardstock, by peeling the cardstock away from the liner.
*Pro tip: flip the cardstock face down so the liner faces up. Then peel the liner away from the cardstock. This helps prevent the cardstock from curling!
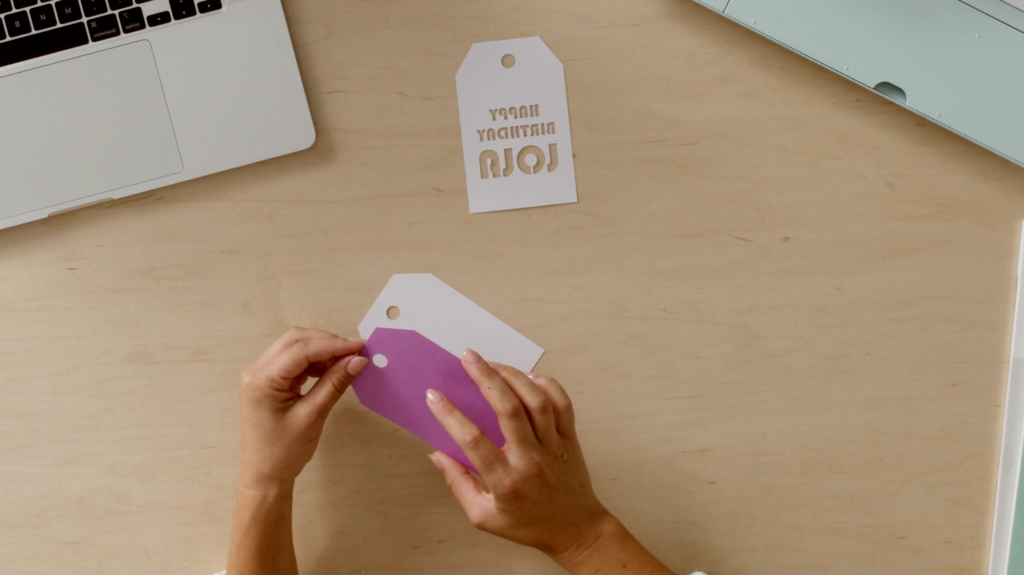
Step 6
Next is assembling the tag. You are going to want to make a sandwich by sticking the purple cardstock to the sticky side of the white tag. Once the white and purple are together, place the white cardstock (that has the pen drawing) on the top of the purple.
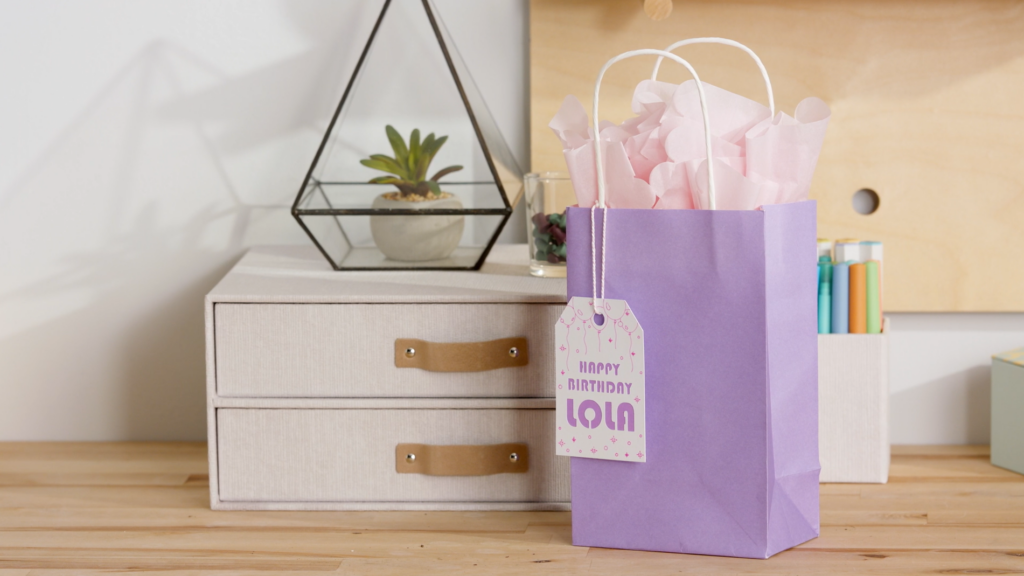
And you’re done!
Add those last finishing touches, like a gift bag or wrapping paper, and admire your gift tag creation! Your gift recipient will be sure to appreciate not only the gift you are giving them, but also the awesome custom gift tag. Make sure to share your creations with us on social media by using #cricut.

You might enjoy…