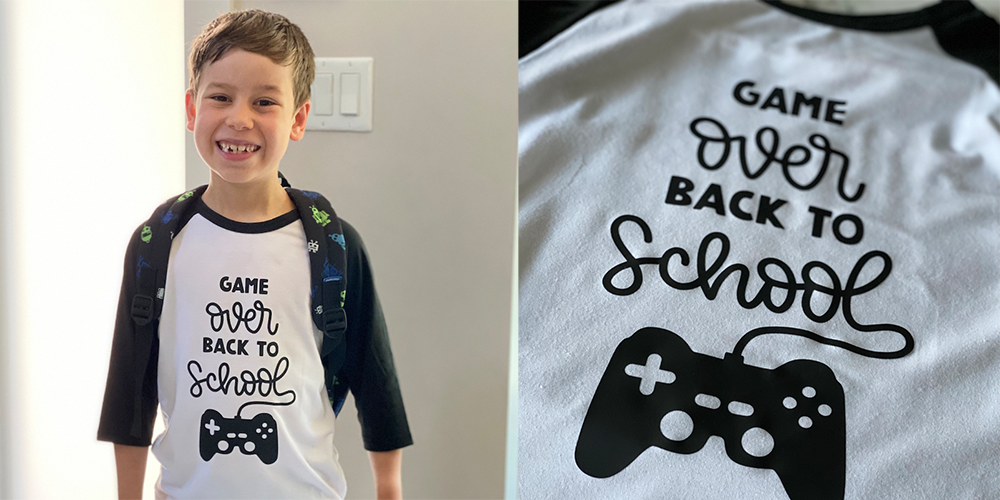
Complete your back-to-school outfit with a DIY Cricut tee
Angela van Tijn, blogger and founder of One Smiley Monkey, shows us a fun and easy project that will help your child feel their best for the upcoming school year. Learn how to complete a super cute back-to-school outfit using your Cricut machine and materials!
This upcoming school season is an especially exciting one for us. Finally, after a year of remote learning, we are all ready and very excited to start in-person learning again. The boys are looking forward to seeing their friends, though they will definitely miss their video games (kids these days, am I right).
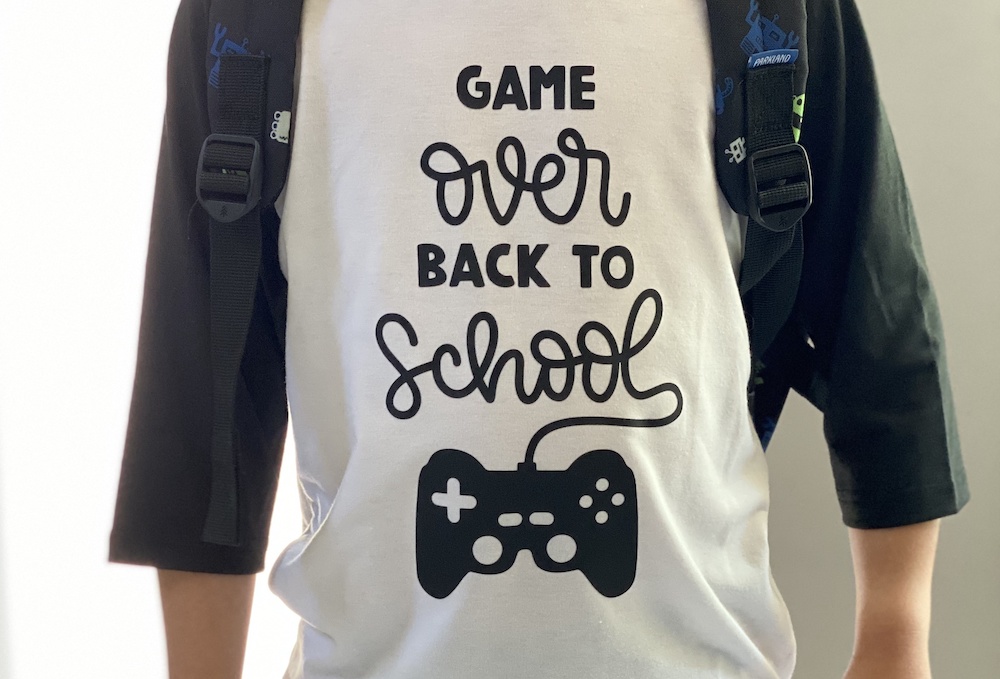
Playing on the video gamers lovers’ theme, I made a fun and cheeky back-to-school outfit, complete with a custom “Game Over, Back to School” t-shirt.
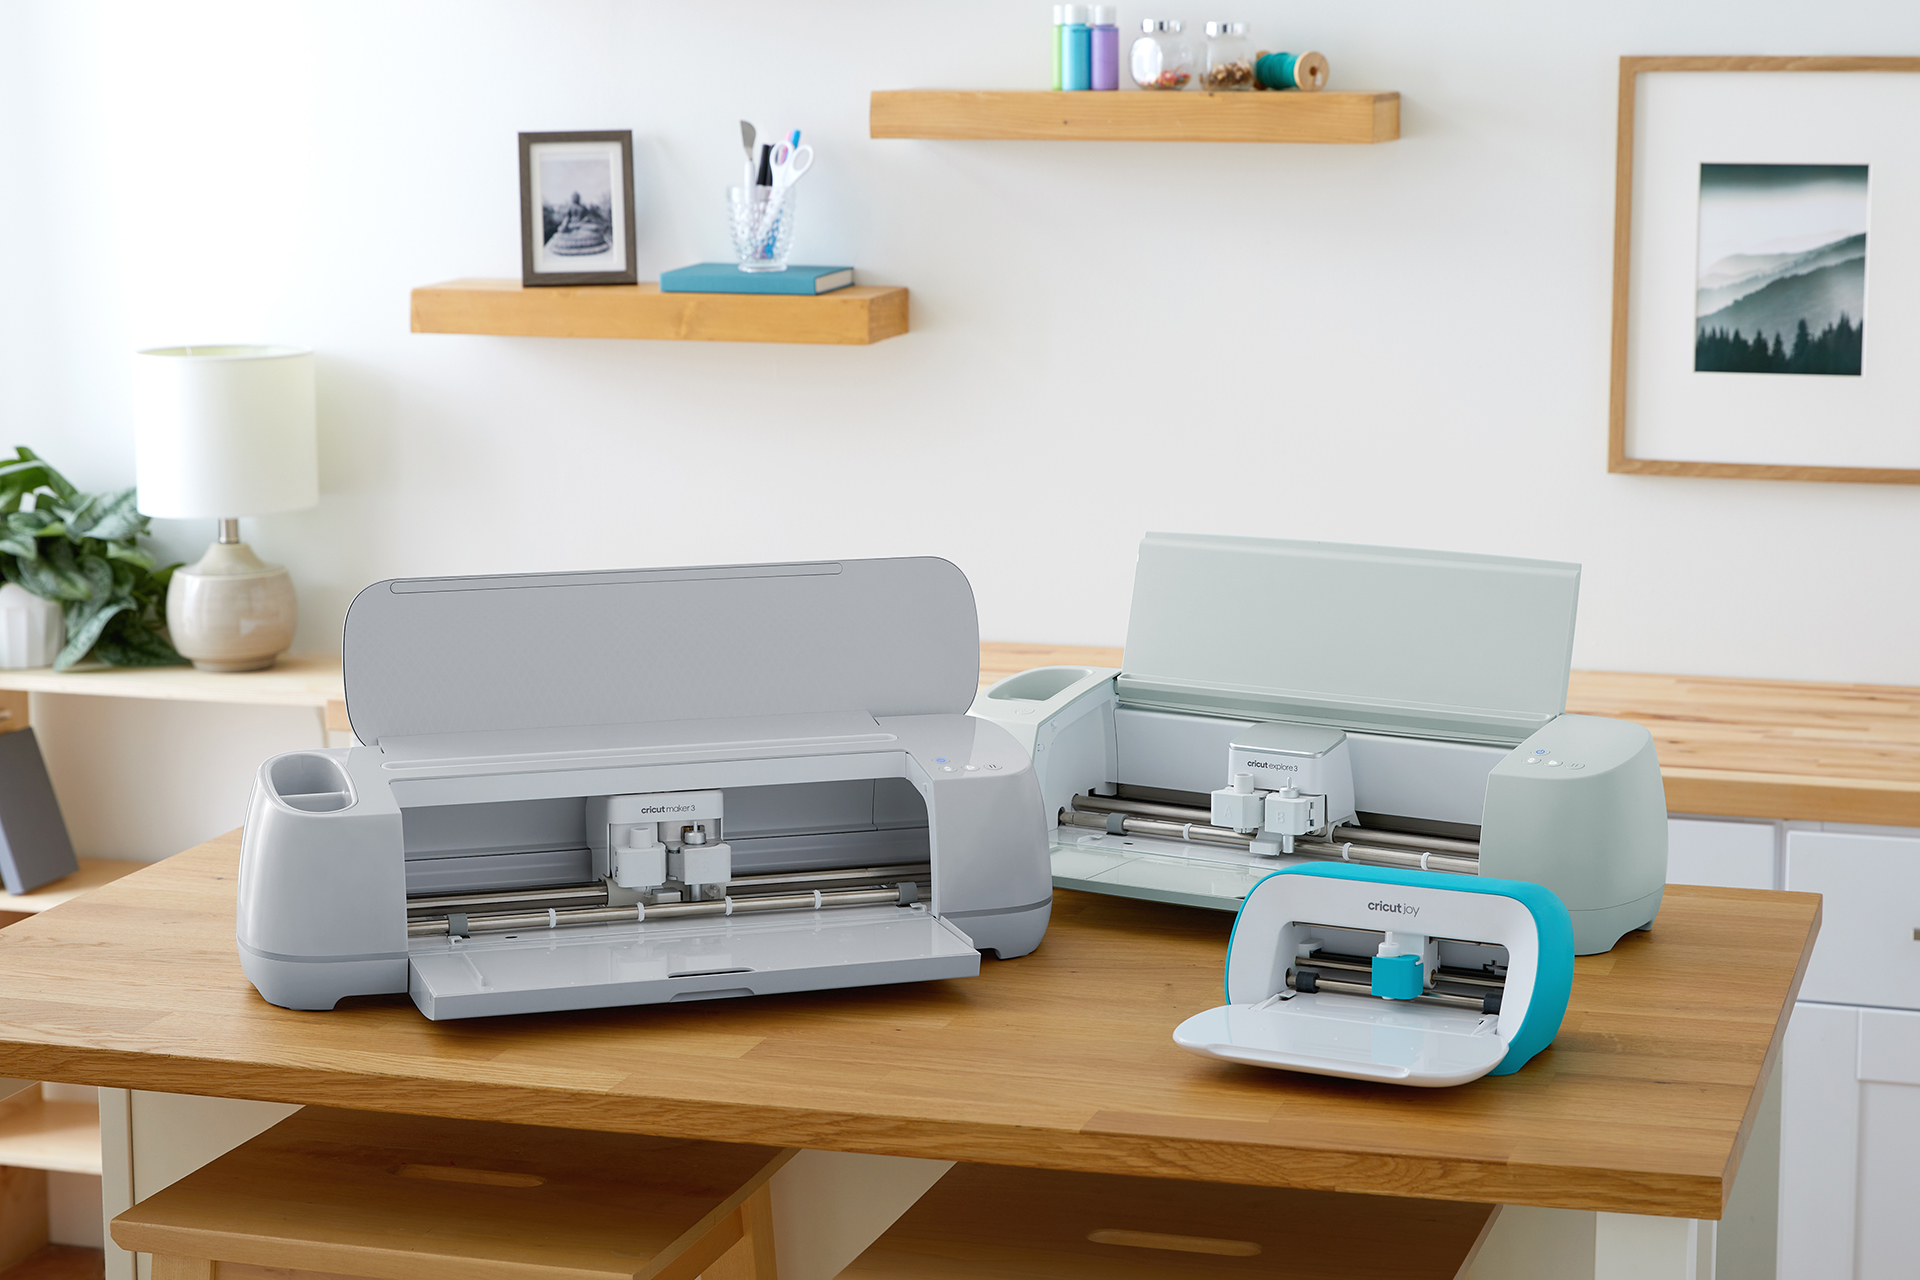
For this project, I used my new Cricut Maker 3– I am so impressed with how incredibly smooth and fast Cricut Maker 3 cuts! If you are looking upgrade, I highly recommend you take a look. Now– onto the project!
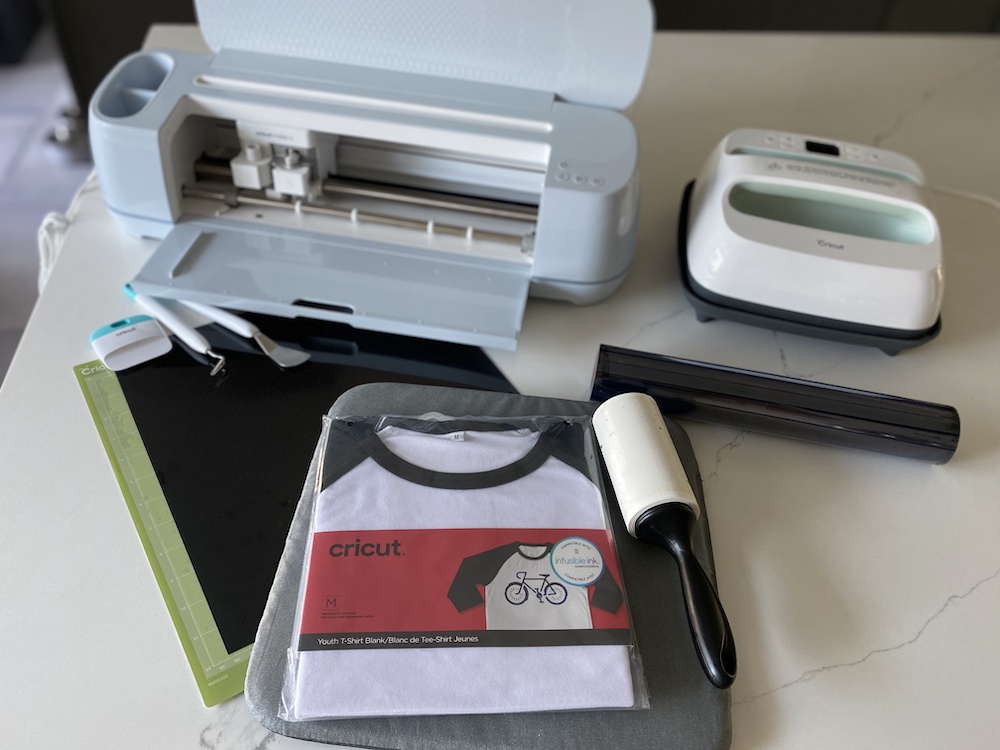
Creating a custom Cricut tee for your back-to-school outfit– let’s get started
Here is a list of all the tools and materials you will need for this project. Feel free to use my design or customize it how you like. I will explain how you can find the gamer graphics if you want to duplicate mine exactly!
Supplies needed
Back to school shirt
Step
Create a new project on Cricut Design Space and add your desired imageryFeel free to customize it to suit your unique child! The tee should be a fun expression of their personality, with graphics and colors that speak to their hobbies and interests (or can be a silly nod to the back-to-school season). If you want to find the same design I used, go to the image library type: “Back to School” and look for the “Game Over Back to School” Image.
Step
Measure the surface of the t-shirt to size the design appropriatelyIt’s important that the graphic and text are readable and clear on the front or back of the shirt. You can make the design bigger or smaller depending on the size of the t-shirt and personal preference. There’s a variety of tutorials on YouTube and Pinterest that are helpful in determining the right size for your given shirt, so be sure to do your research!When you are ready to cut, select your desired material and be sure that the “Mirror On” setting is also selectedThis is an important step for iron-on projects, as this will ensure your design is pressed on legibly rather than backward. Once you double-check these settings, follow the instructions on the screen to begin cutting.
Step
Insert the iron-on material, shiny side and clear liner downFor this project, I used Smart Iron-On, so no need for a cutting mat! I love that these new smart materials make it super easy to load and go — it definitely speeds up the process when creating larger designs or designs for multiple shirts.
Step
After the cut is done, use a weeding tool to remove all the negative pieces of the iron-onIt’s important to take your time weeding to ensure that no small, unwanted pieces are left behind in your design. Cricut weeding tool kits are extremely helpful for more detailed graphics and lettering!
Step
Once your design is weeded, preheat your Cricut EasyPressMy project required me to heat the press to 315°F based on my shirt and Iron-On materials. If ever in doubt, check the EasyPress Heat Guide for the exact temperature.
Step
Place your t-shirt on the Cricut EasyPress Mat and use the lint roller to remove any lintYou’ll want to preheat your shirt before applying your Iron-On design. Since my shirt was a polyester blend, I preheated it for 5 seconds, as instructed by the Cricut Heat Guide.
Step
Once your shirt is preheated, place material face down, liner side upYou’ll also want to place a protective sheet, like parchment or butcher paper, over your design, as applying heat directly to the design will destroy your material. You’ve come this far, so you don’t want to ruin the design on this step!
Step
Apply the EasyPress to your design with light pressure at 315°F for 30 secondsYou’ll then flip your shirt and press the back of your design for another 15 seconds. Once that’s complete, you allow the shirt to sit until it’s cool to the touch. Then, you can slowly remove your liner and ensure the design is exactly as you like.Once these steps are complete, wait 24 hours after application before washing the t-shirt. Then wash and tumble dry, inside out.
What do you think of the results? We love how it turned out, and my son can’t wait to wear it on his first day back to class! If you end up creating your own custom back-to-school outfit with Cricut, please share your final look using #cricutmade. We’d love to see your finished projects!
Happy back-to-school season!


