How to make T-shirts with Cricut
Skill level
Beginner
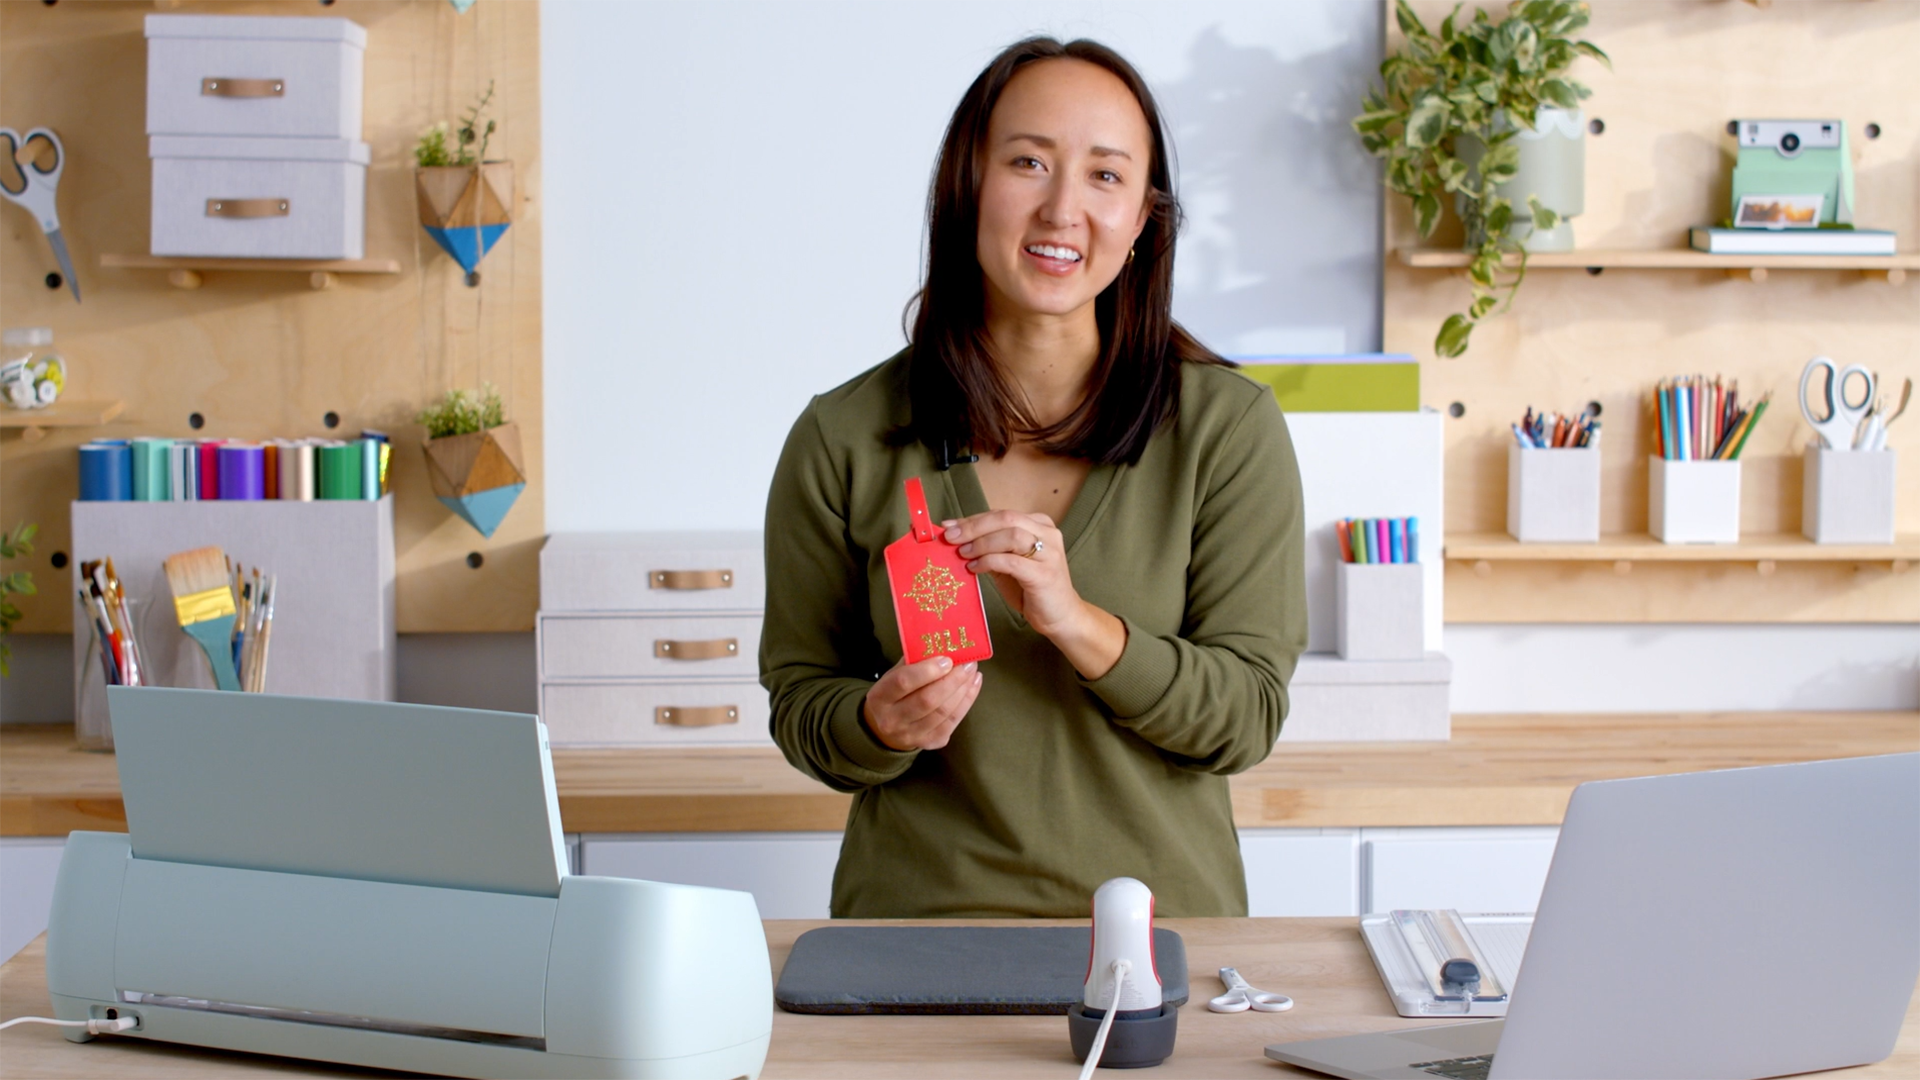
This quick how-to shows you just how easy it is to make t-shirts with Cricut.
We’ve been making custom t-shirts since we were kids, but boy have we come a long way from puffy paint and glitter pens. Now we have Cricut to help us make professional-looking t-shirts while still getting those “I Made This!” endorphins. Cricut can cut intricate designs from iron-on material that you can easily apply to blank t-shirts. Want to make a t-shirt with us?
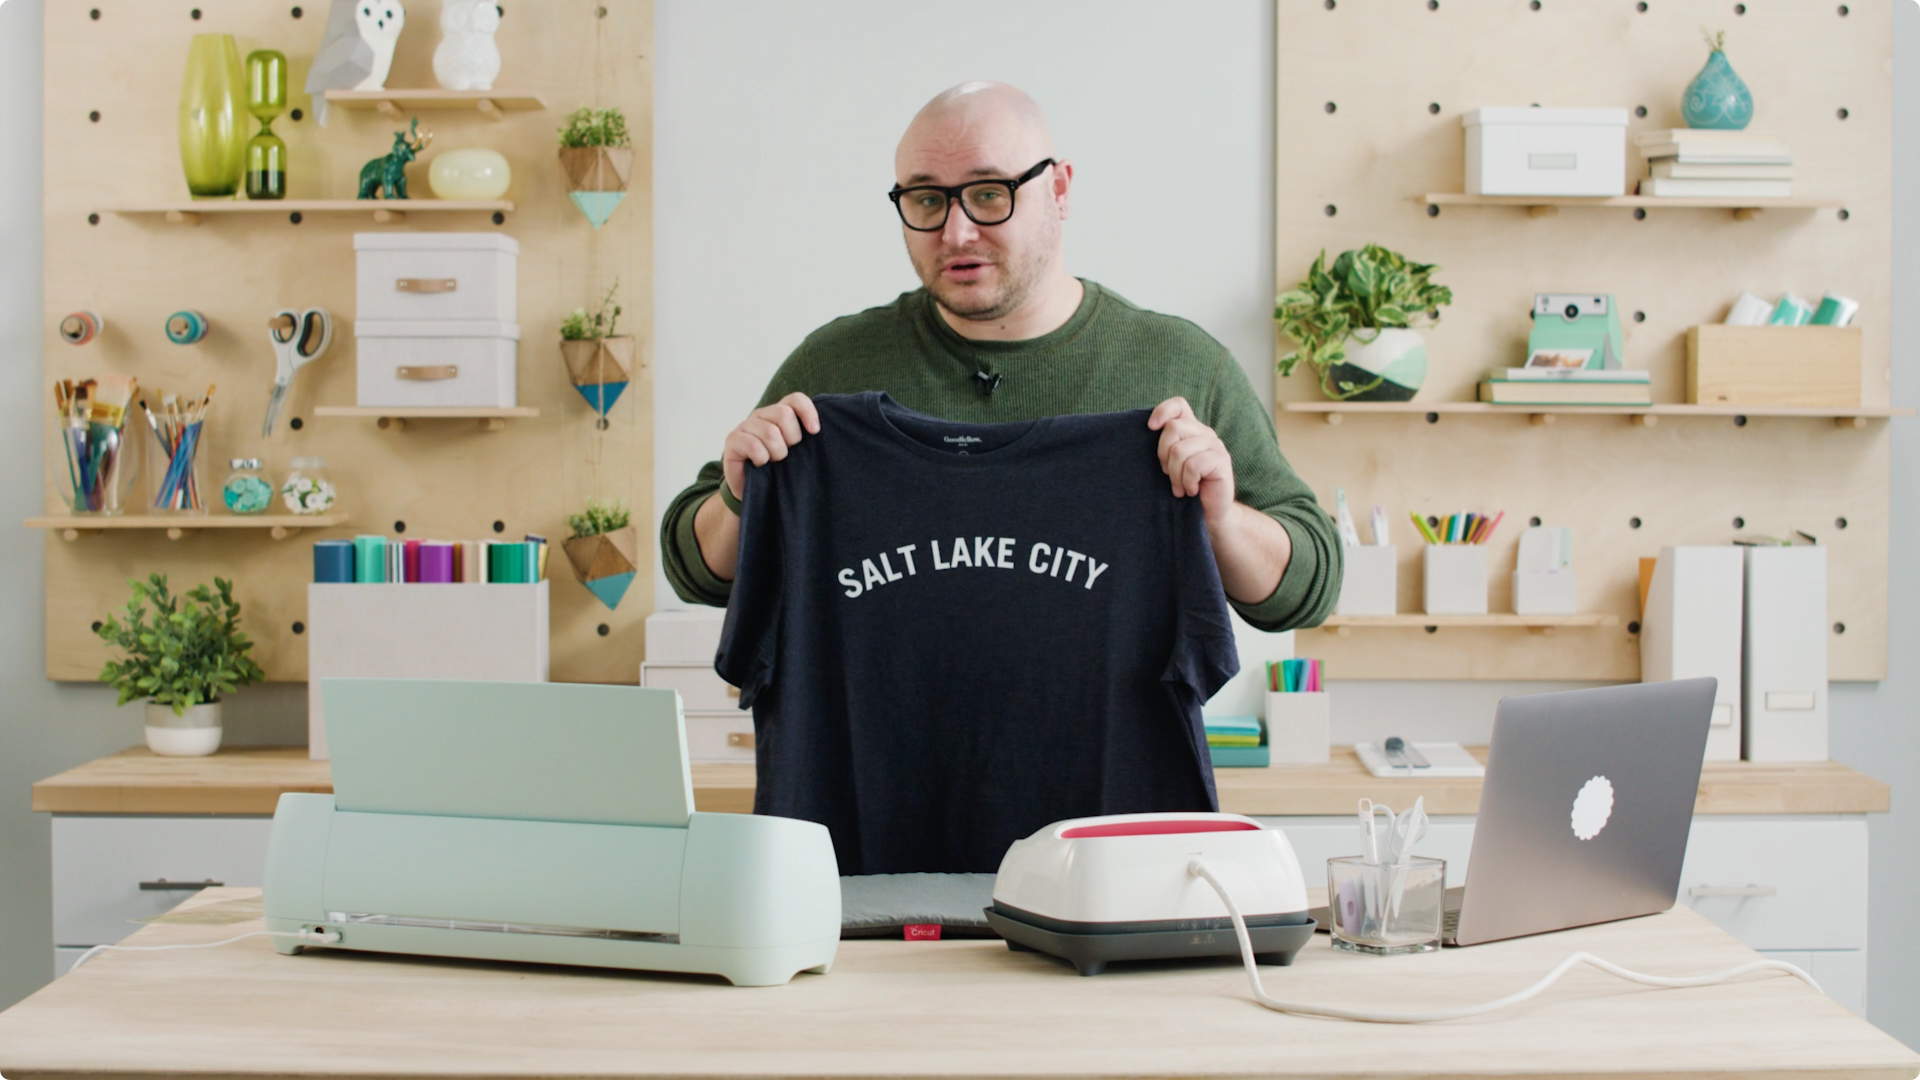
You can start with this t-shirt project in Cricut Design Space as your template. Our t-shirt has the text Salt Lake City on it, but you can customize to your favorite city. Or, if you’d like to use a different font, you can start with a blank canvas in Cricut Design Space and design from scratch.
Supplies needed
Print this list
Make t-shirts with Cricut

Step 1
To design from scratch, click “New Project” on the home page of Cricut Design Space.

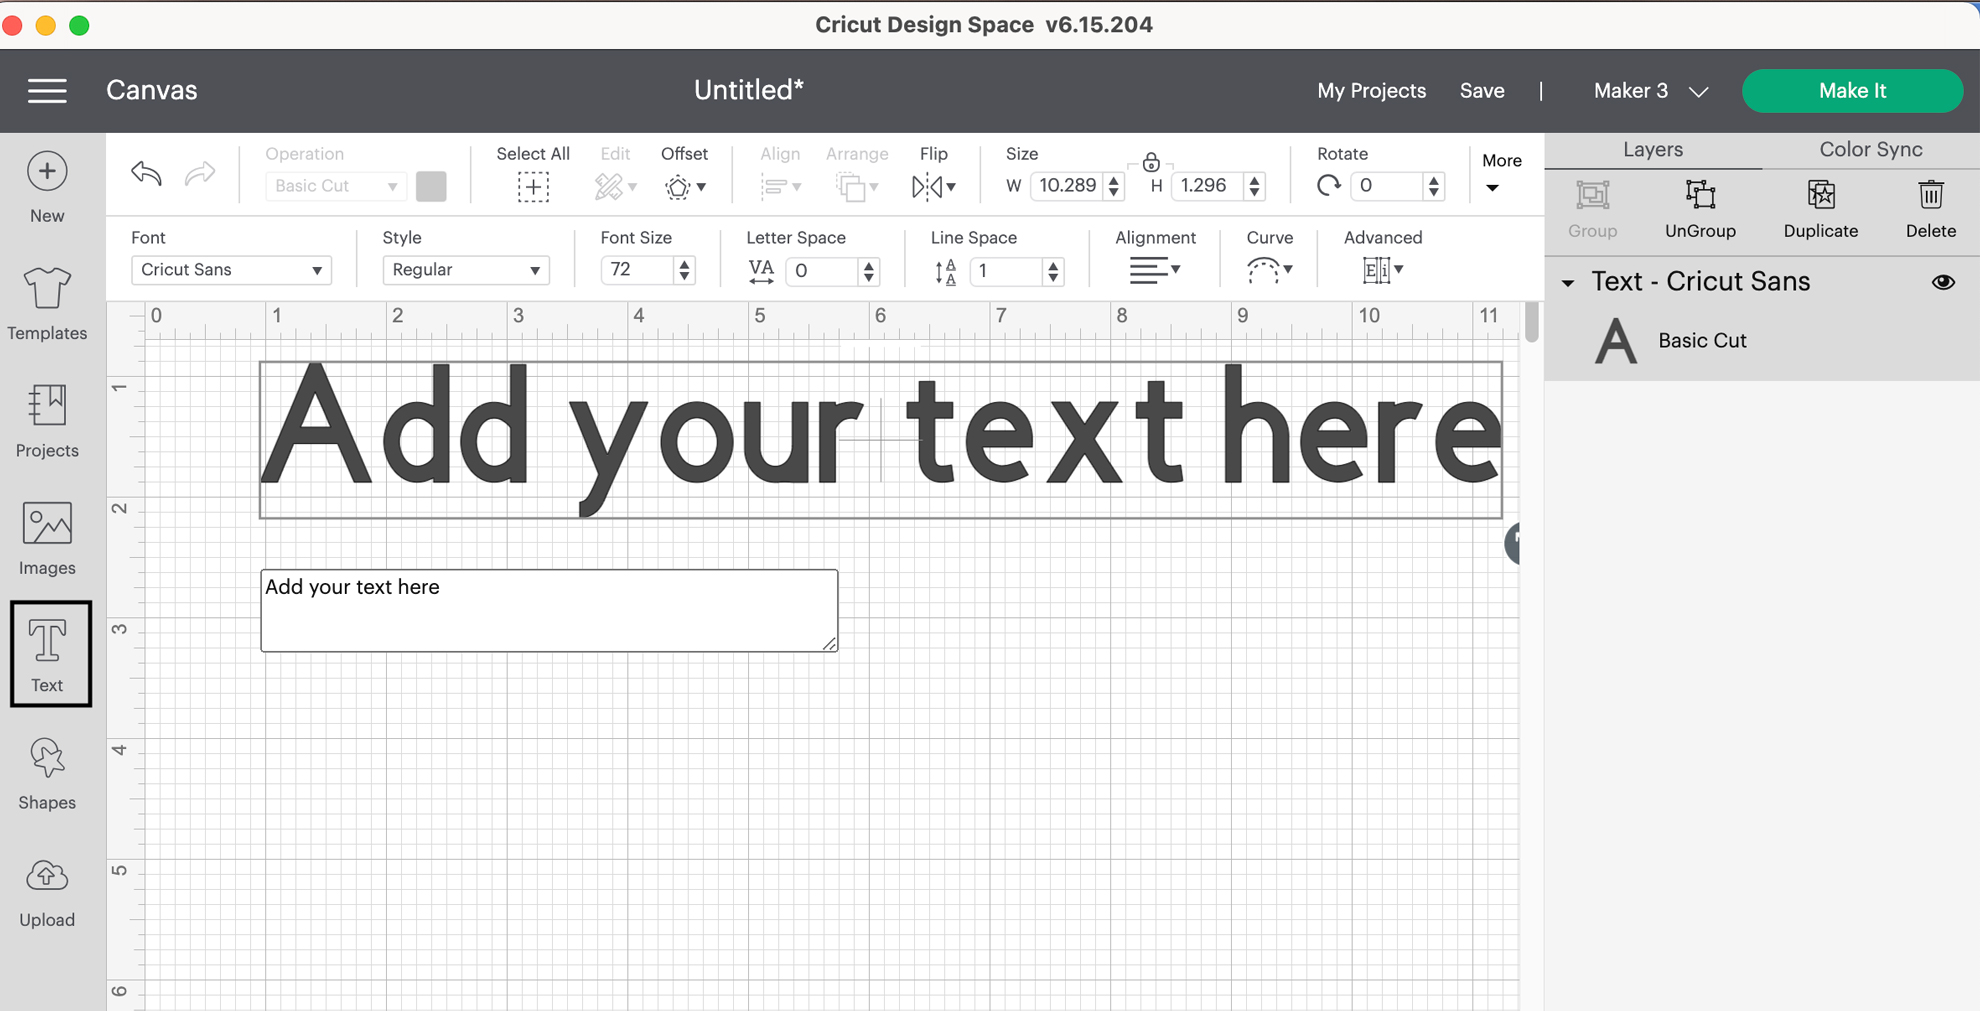
Step 2
Once on the canvas, on the left-hand navigation bar, you’ll see an option for “text.” Click that button. A text box will pop open for you to add text.
Step 3
If you’d like to change the font, click the dropdown menu at the top of the screen that says, “font.”
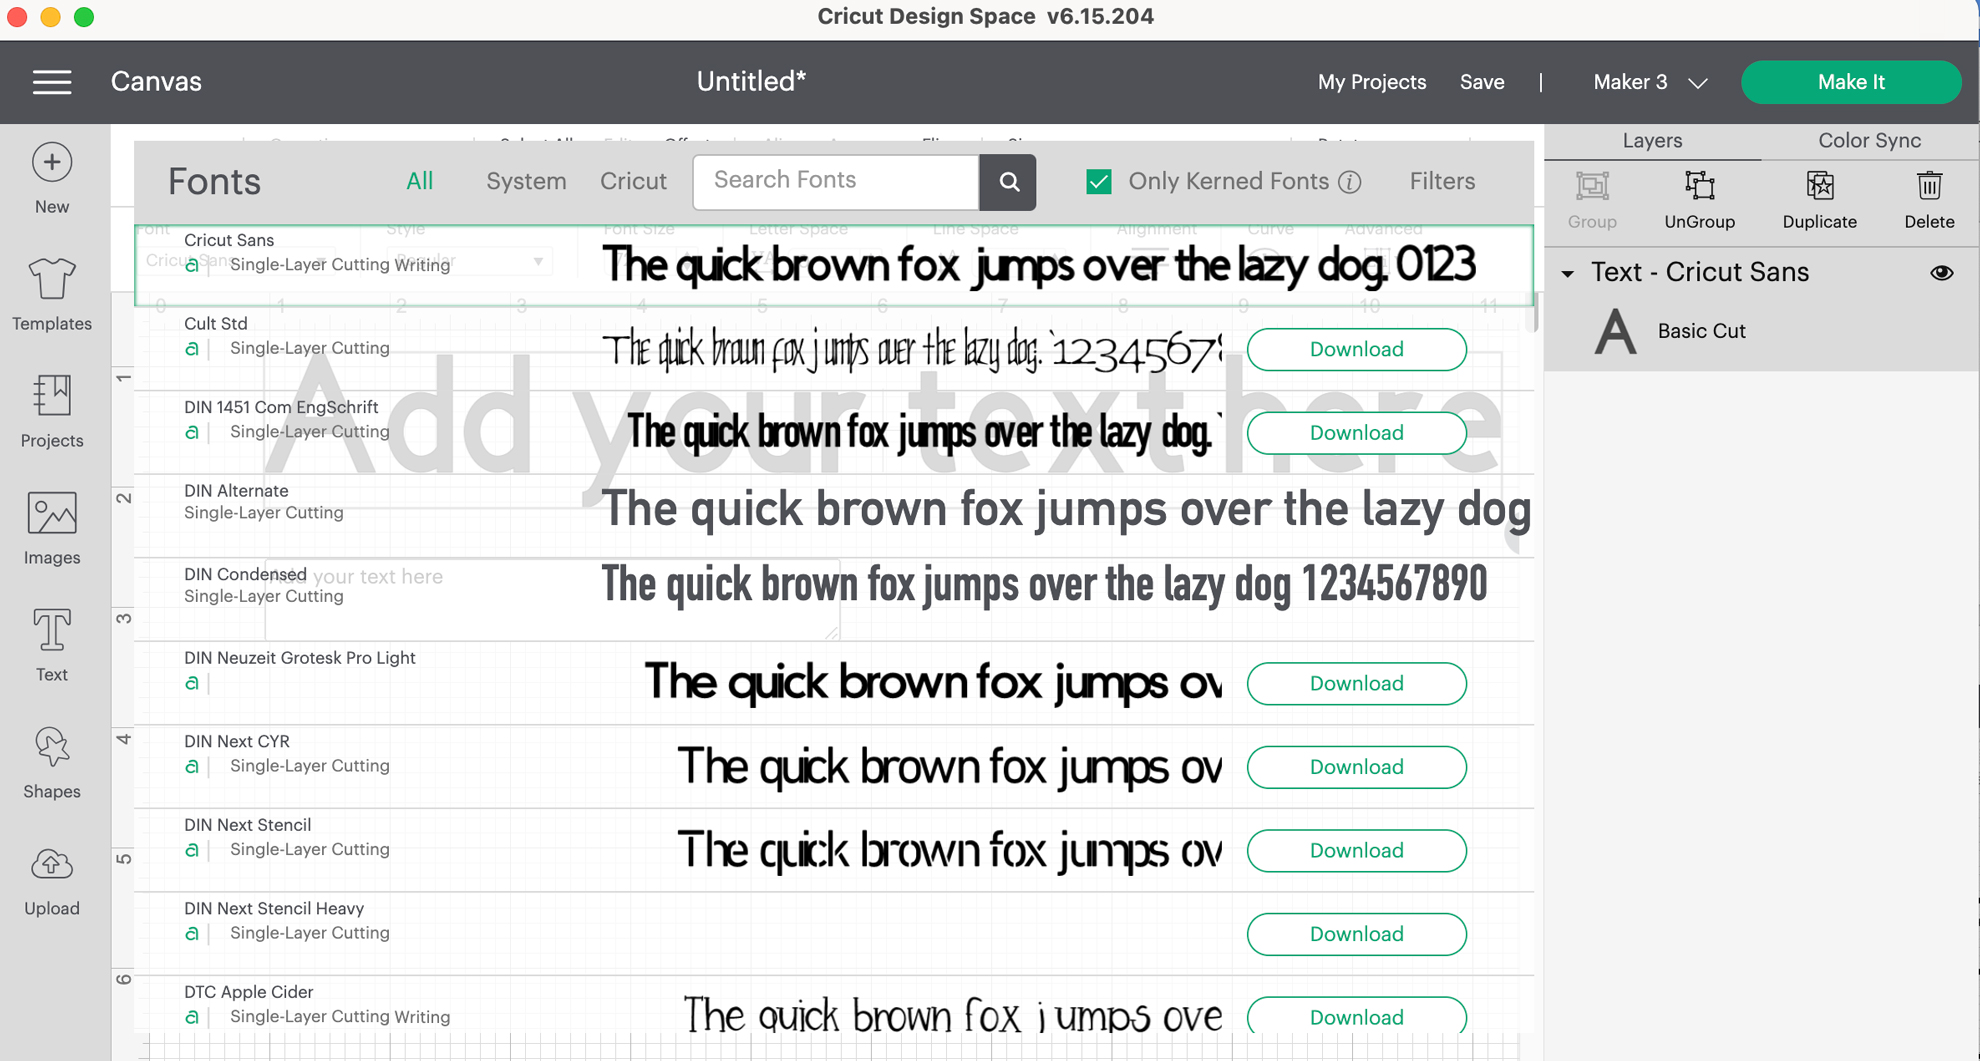
Step 4
You’ll now be able to search through the hundreds of fonts available in the Cricut library.
Choose whichever font you like the best. We chose Trade Gothic LTD Bold for our t-shirt design.
Step 5
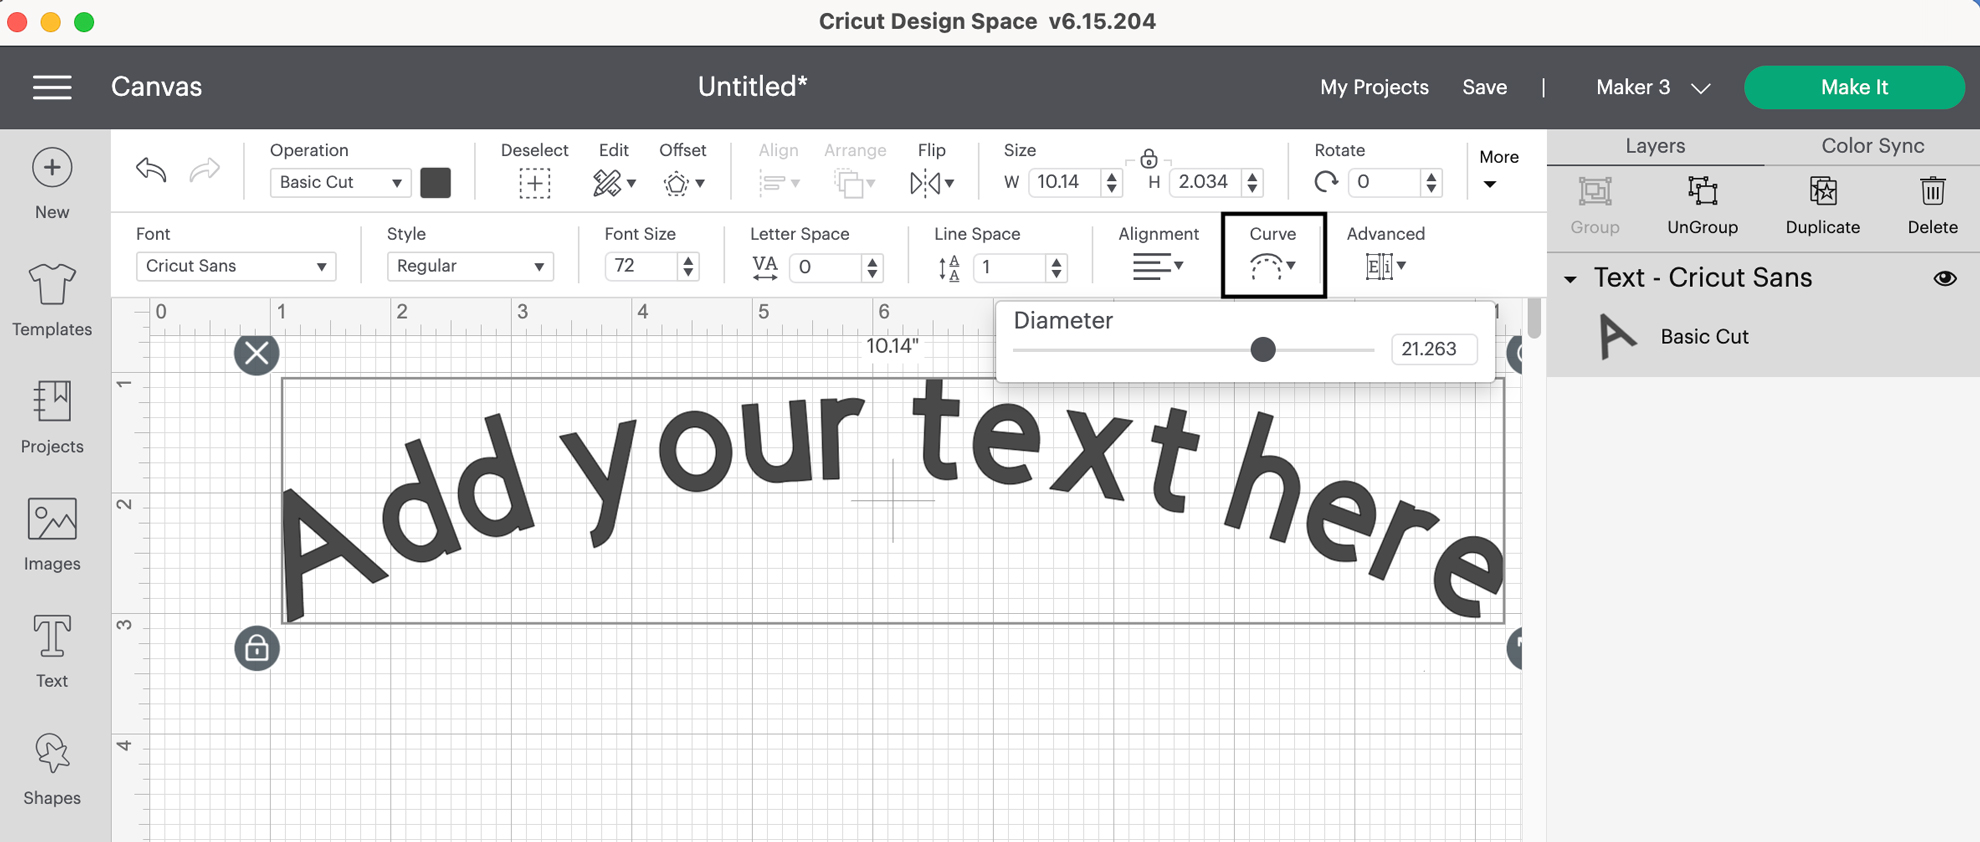
Now comes the fun part. On the Cricut Design Space Desktop App, you can curve text. Select your text and then click the “Curve” option at the top of the screen. A slider bar will appear allowing you to adjust the curve of the text.
Step 6
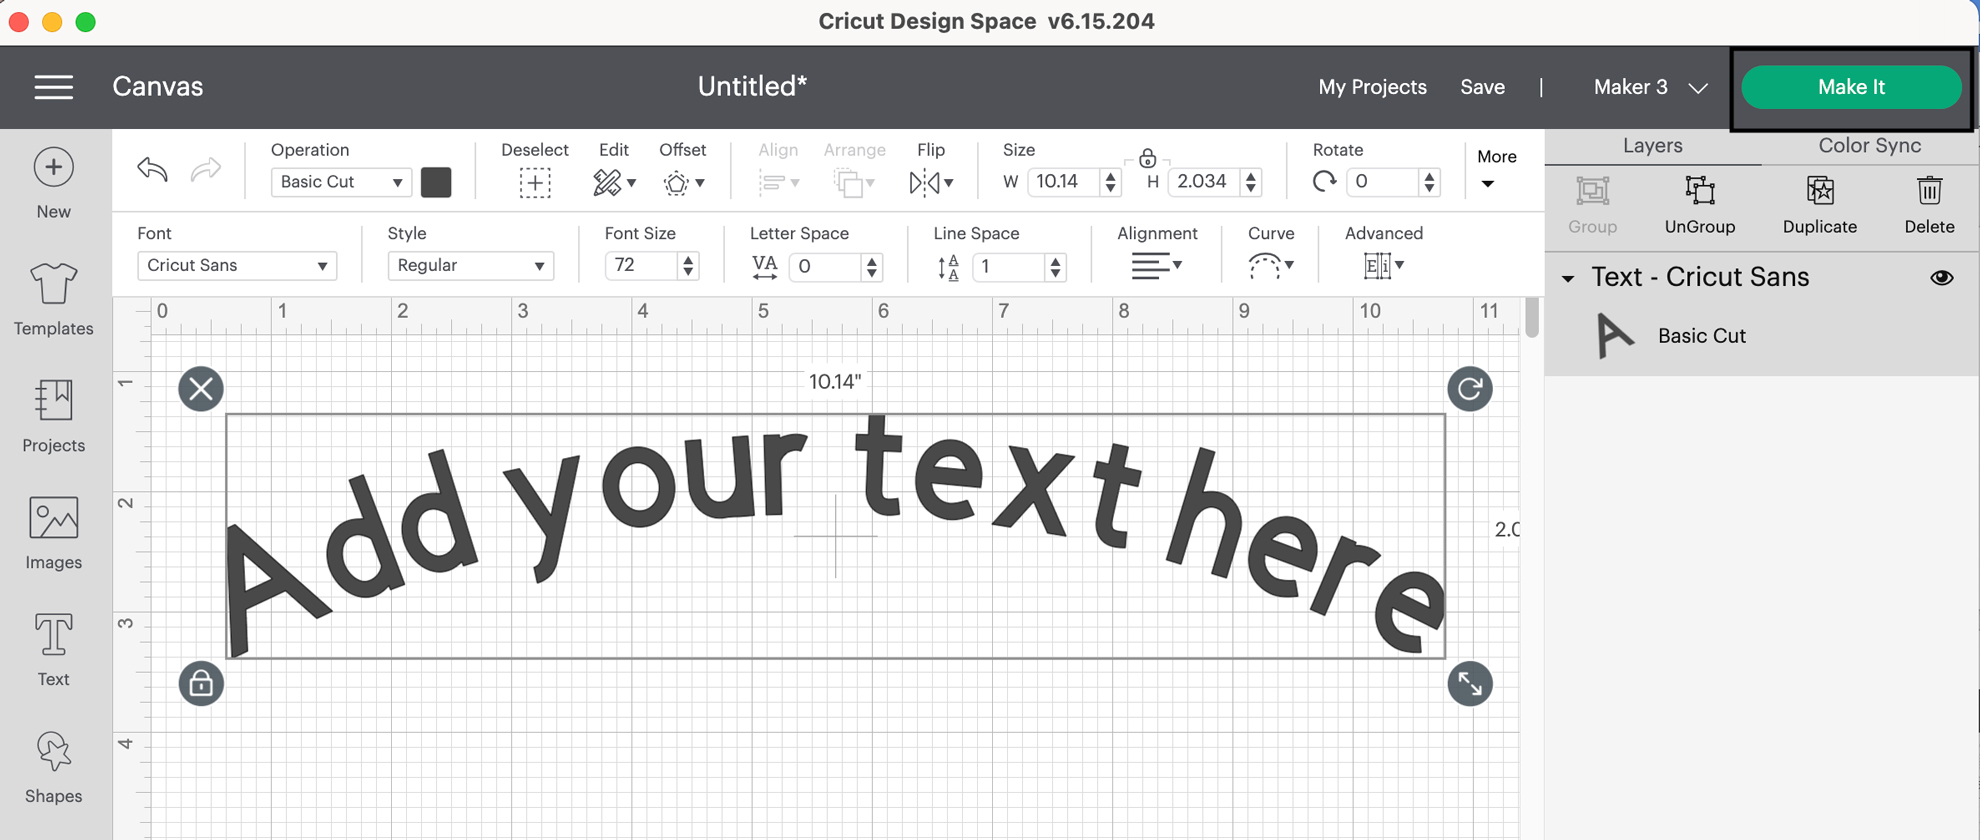
Once you’re happy with your design, click “Make It.”
The software will send the information from Design Space to your Cricut machine. Follow the prompts to continue to cut. Make sure you select “mirror” on the cut screen since you are using iron-on.
Step 7
Once cut, unload your material and remove the excess iron-on from around the letters. We call this process, “weeding.”
Step 8
Now it’s time to apply the iron-on to the t-shirt with a heat press. Follow the step-by-step instructions in the Cricut Heat Guide. The heat guide will show you the temperature the Cricut EasyPress needs to be as well as the length of time you need to press for best results.

And that’s it! Now you know how-to make shirts at home with Cricut! What will you put on your first t-shirt? Share your creations with using #cricut.

Search How-To
I want to make...