How to make custom tote bags with Cricut
Skill level
Beginner

We'll be showing you how to make personalized tote bags using Infusible Ink and a tote blank from our shop. They're perfect for carrying your summer essentials in on beach days, or as goody bags for your friends. They're also super easy to make!
Tote bags are perfect for carrying your belongings in for any occasion. We’ll show you how to customize our tote bag blanks by adding your name or a fun design using Infusible Ink! These are perfect as goody bags for a girls trip so everyone can easily tell which bag belongs to who, or even as a reusable grocery bag or book bag.
There are thousands of designs to choose from in Design Space. If you’d like to use the exact one Jill used, grab the personalized script tote bag project here!
Supplies needed
Print this list
Step 1
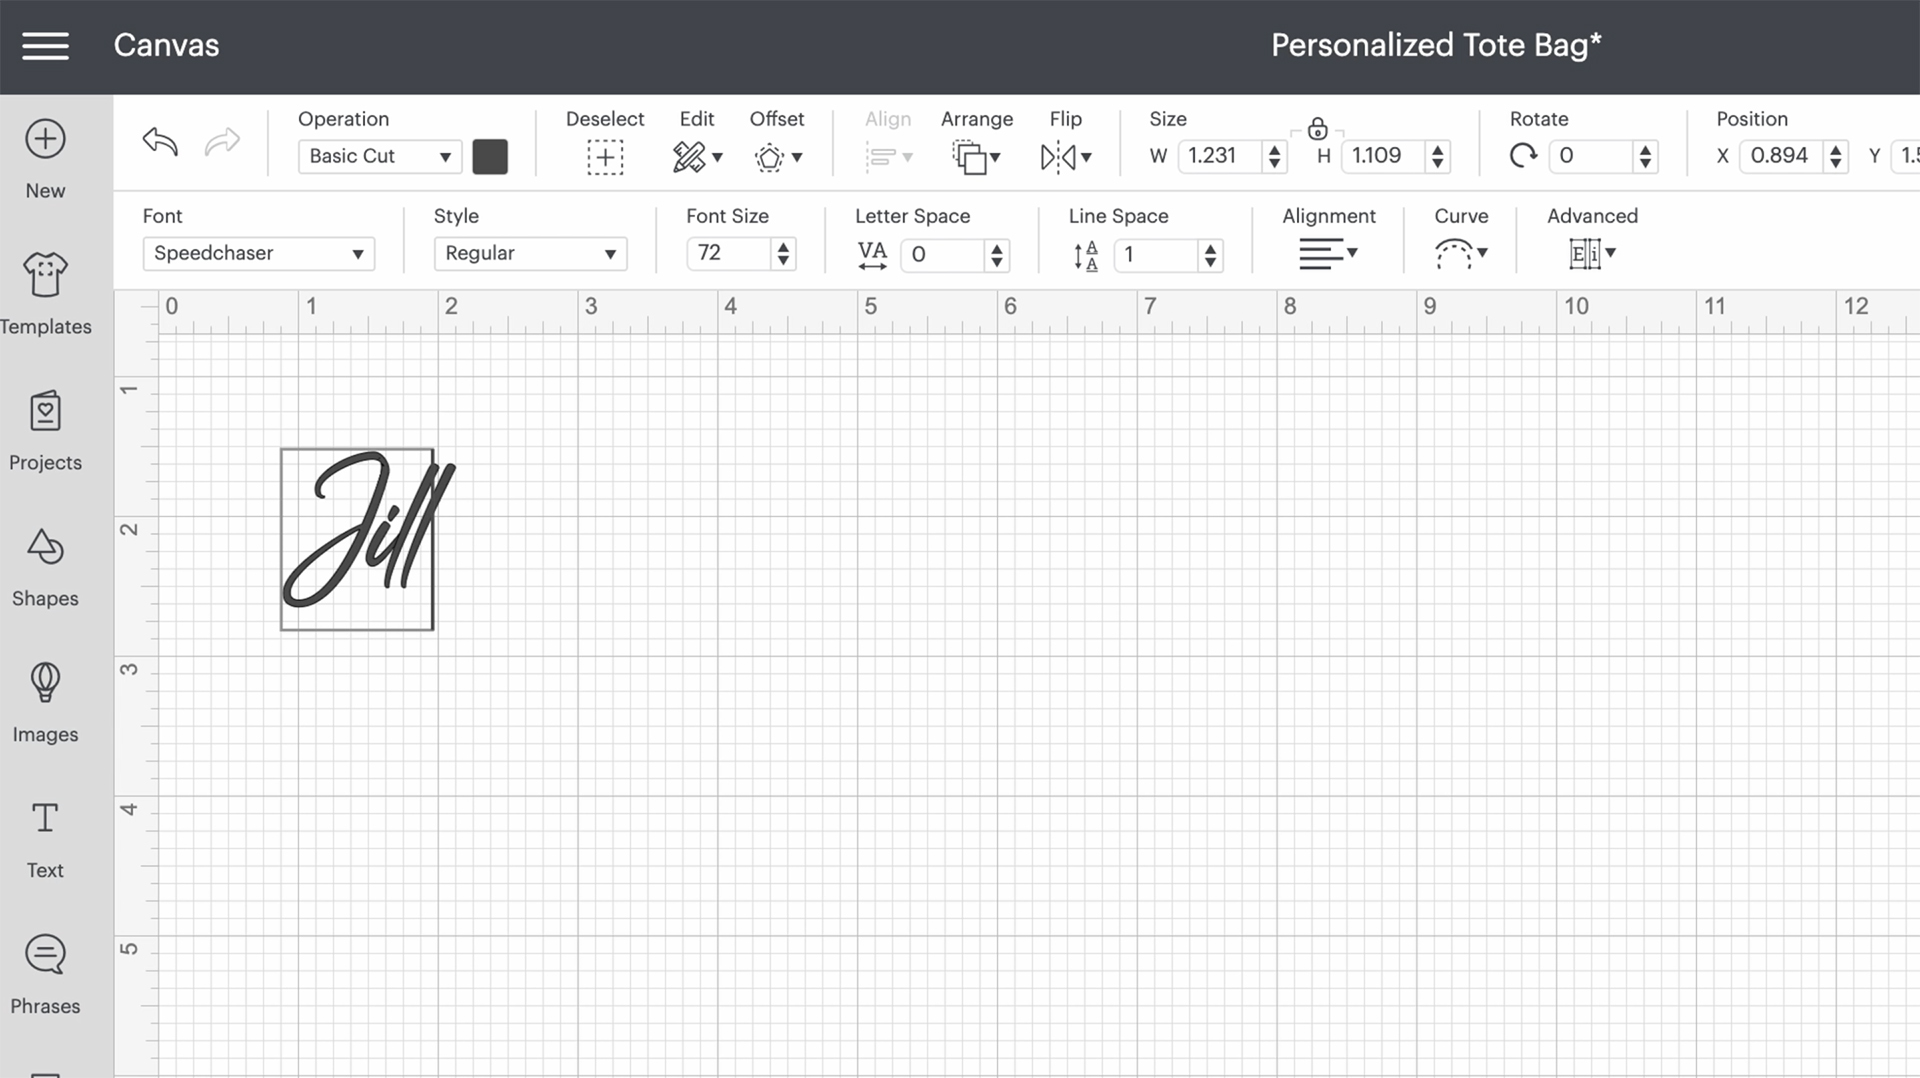
Open up the personalized tote bag project in Design Space and add text.
Since we are using a script-style font, to avoid the machine cutting through the letters “i” and “l,” use the “weld” tool to join the letters together. When you are ready to cut, click “Make it.”
Step 2
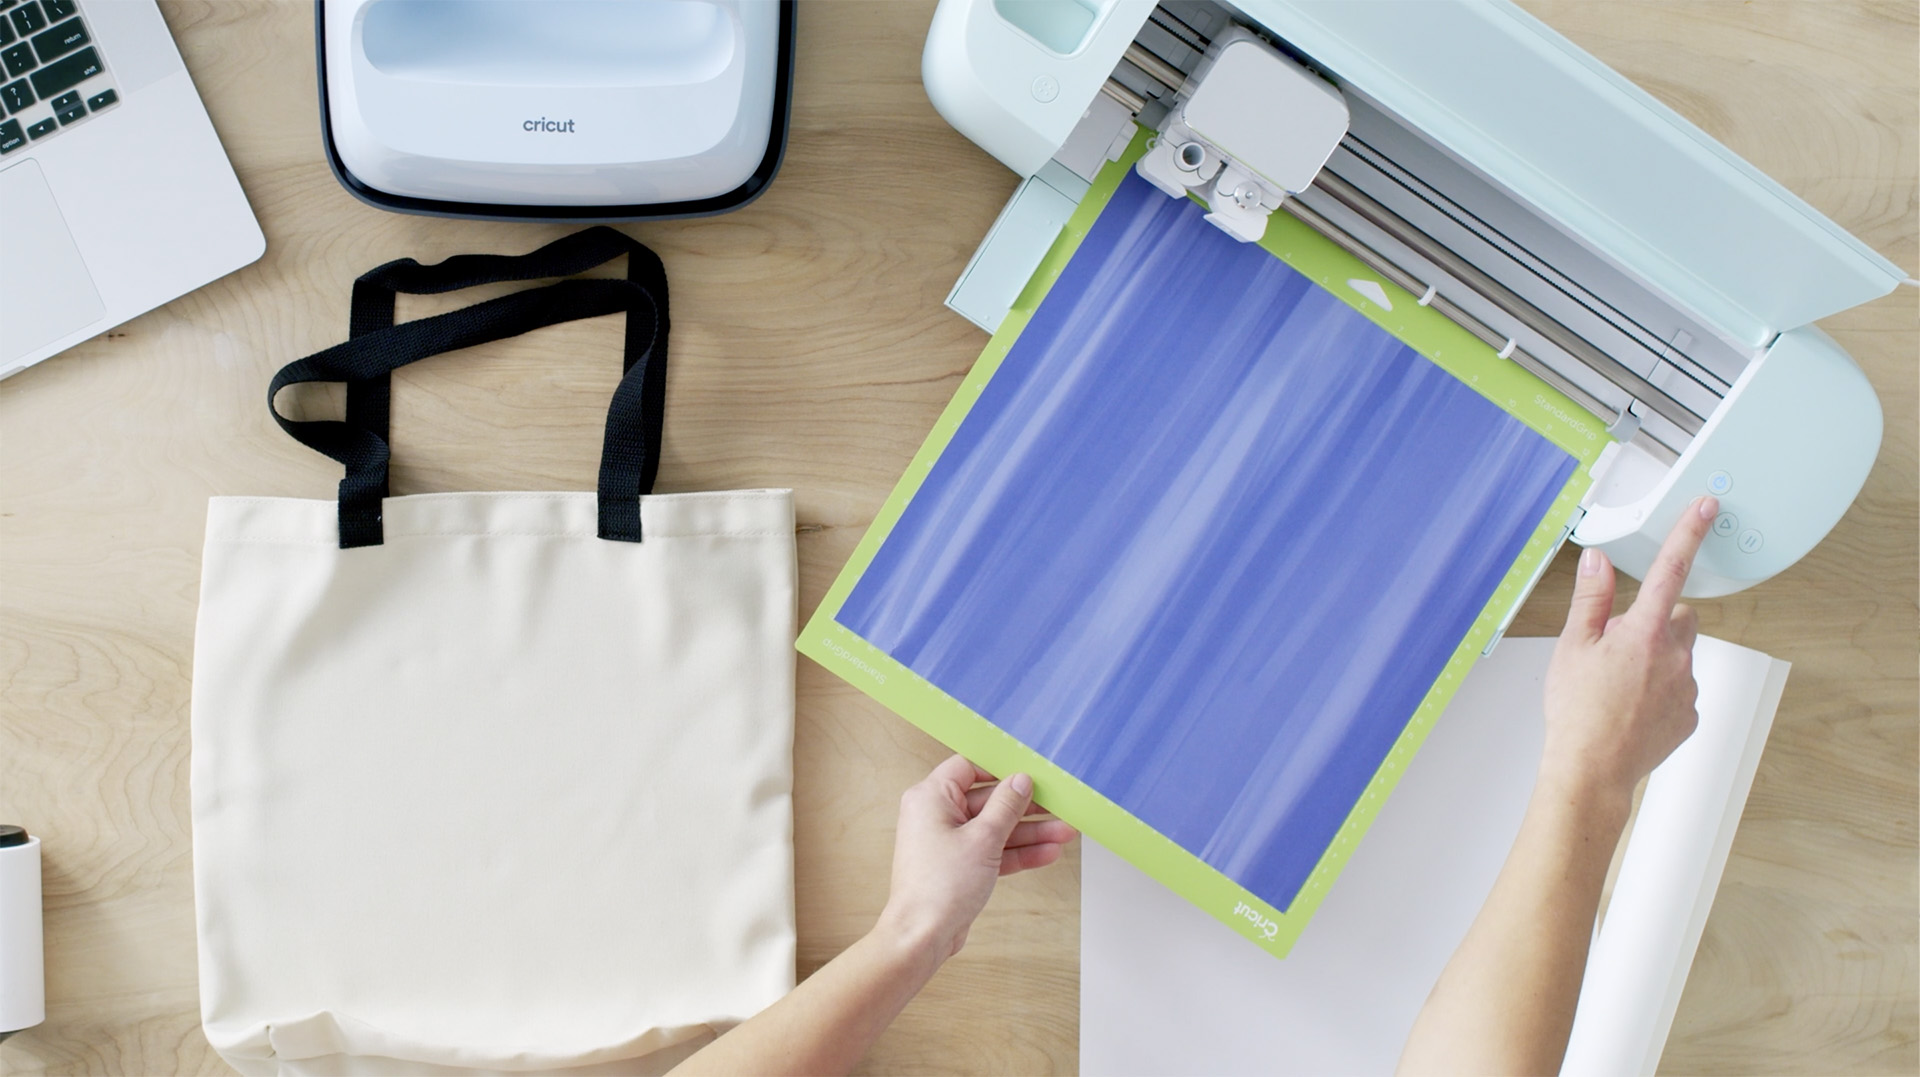
Apply the Infusible Ink on to a mat, select the necessary settings on Design Space, and toggle the “mirror” option to flip the design.
Load the material with mat into the machine, follow the directions on Design Space, then press the “Go” button when prompted.
Step 3
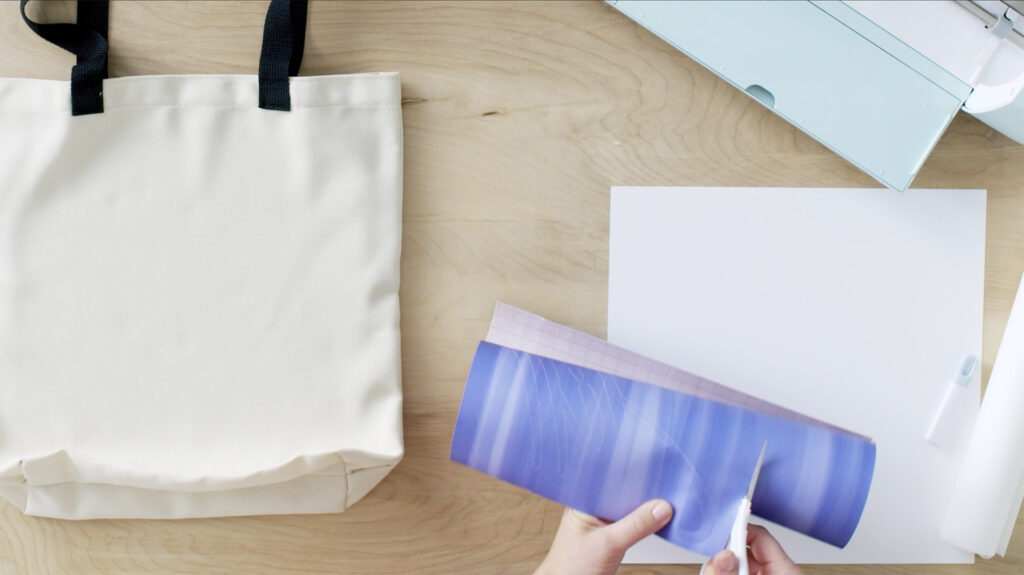
Once the design is cut, unload the design.
Tip: To prevent too much curling of the Infusible Ink sheet, flip the design with mat over and peel from the back.
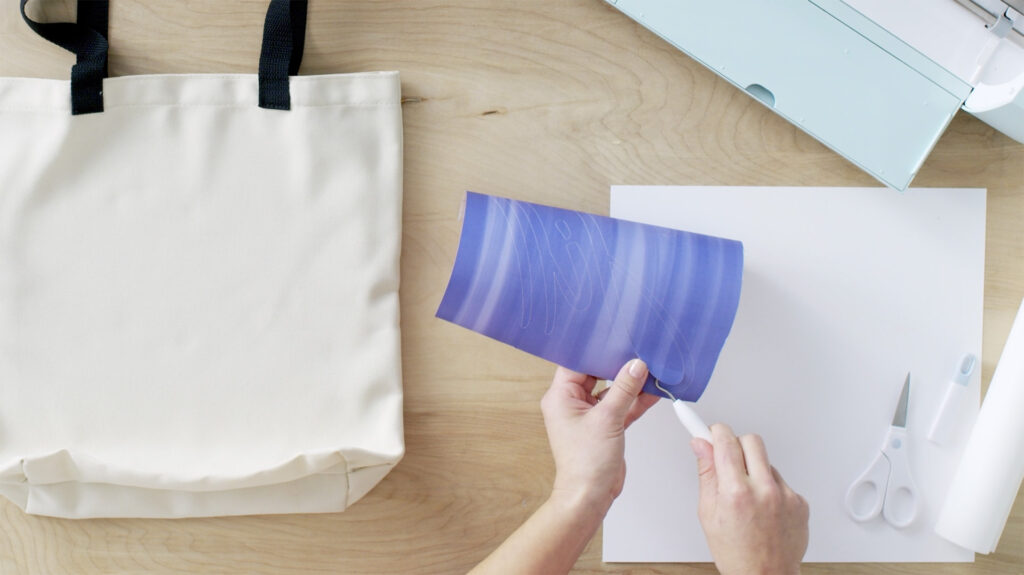
Trim the design down to size so it is easier to work with, and save the extra material for later projects!
Using your weeding tool, remove the excess material that is not a part of the design.
Step 4
Use the Cricut Heat App to send heat settings to your EasyPress. For Infusible Ink on a tote bag base, the heat settings will be 385°F for 40 seconds.
Lay your tote bag over the Cricut EasyPress Mat. To ensure your design doesn’t bleed through the tote material, insert a sheet of cardstock inside the tote bag blank. Place the sheet of butcher paper over the design and you’re ready to press!
Apply light pressure and do not move the machine. It will beep to let you know it’s done!
Step 6
Remove the butcher paper and Infusible Ink backing to reveal the design.
There you have it! Personalized tote bags you can gift to all your friends!

Search How-To
I want to make...


