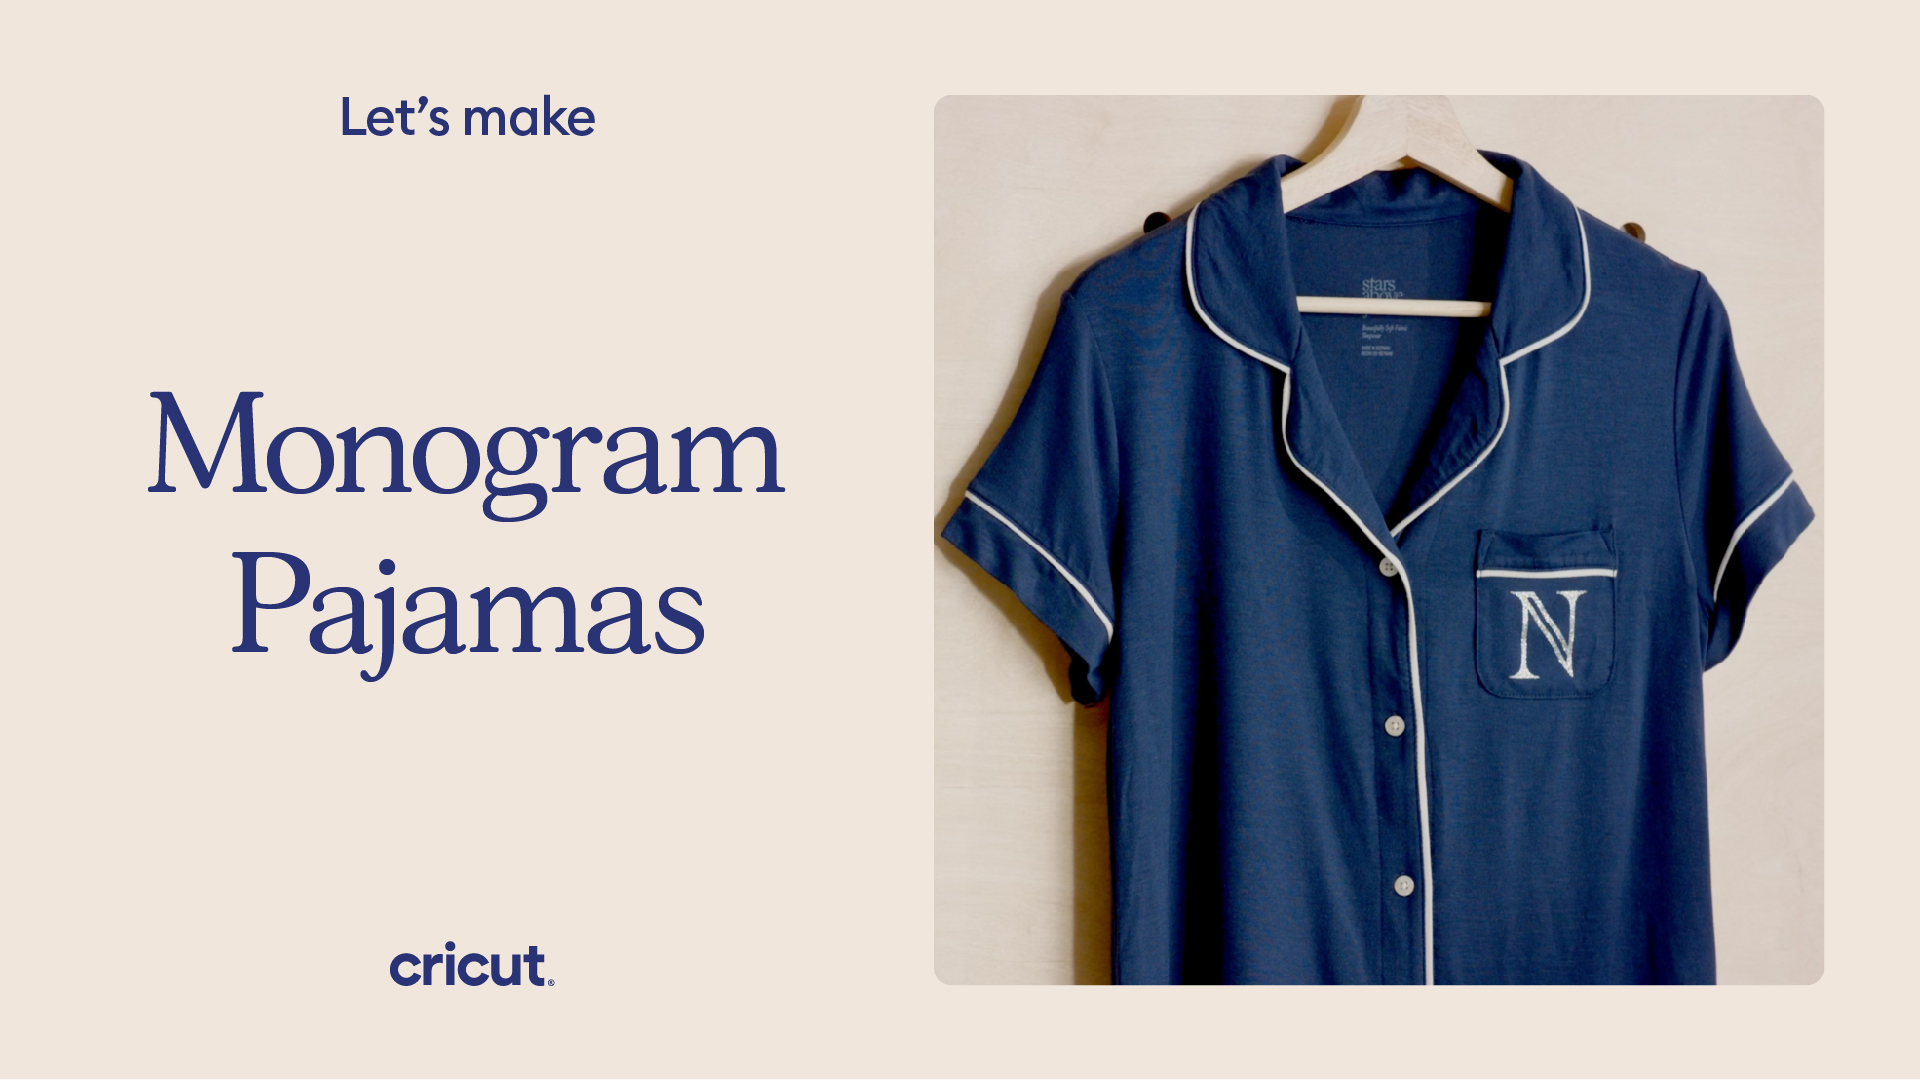
How to make custom PJs with Cricut
Skill level
Beginner
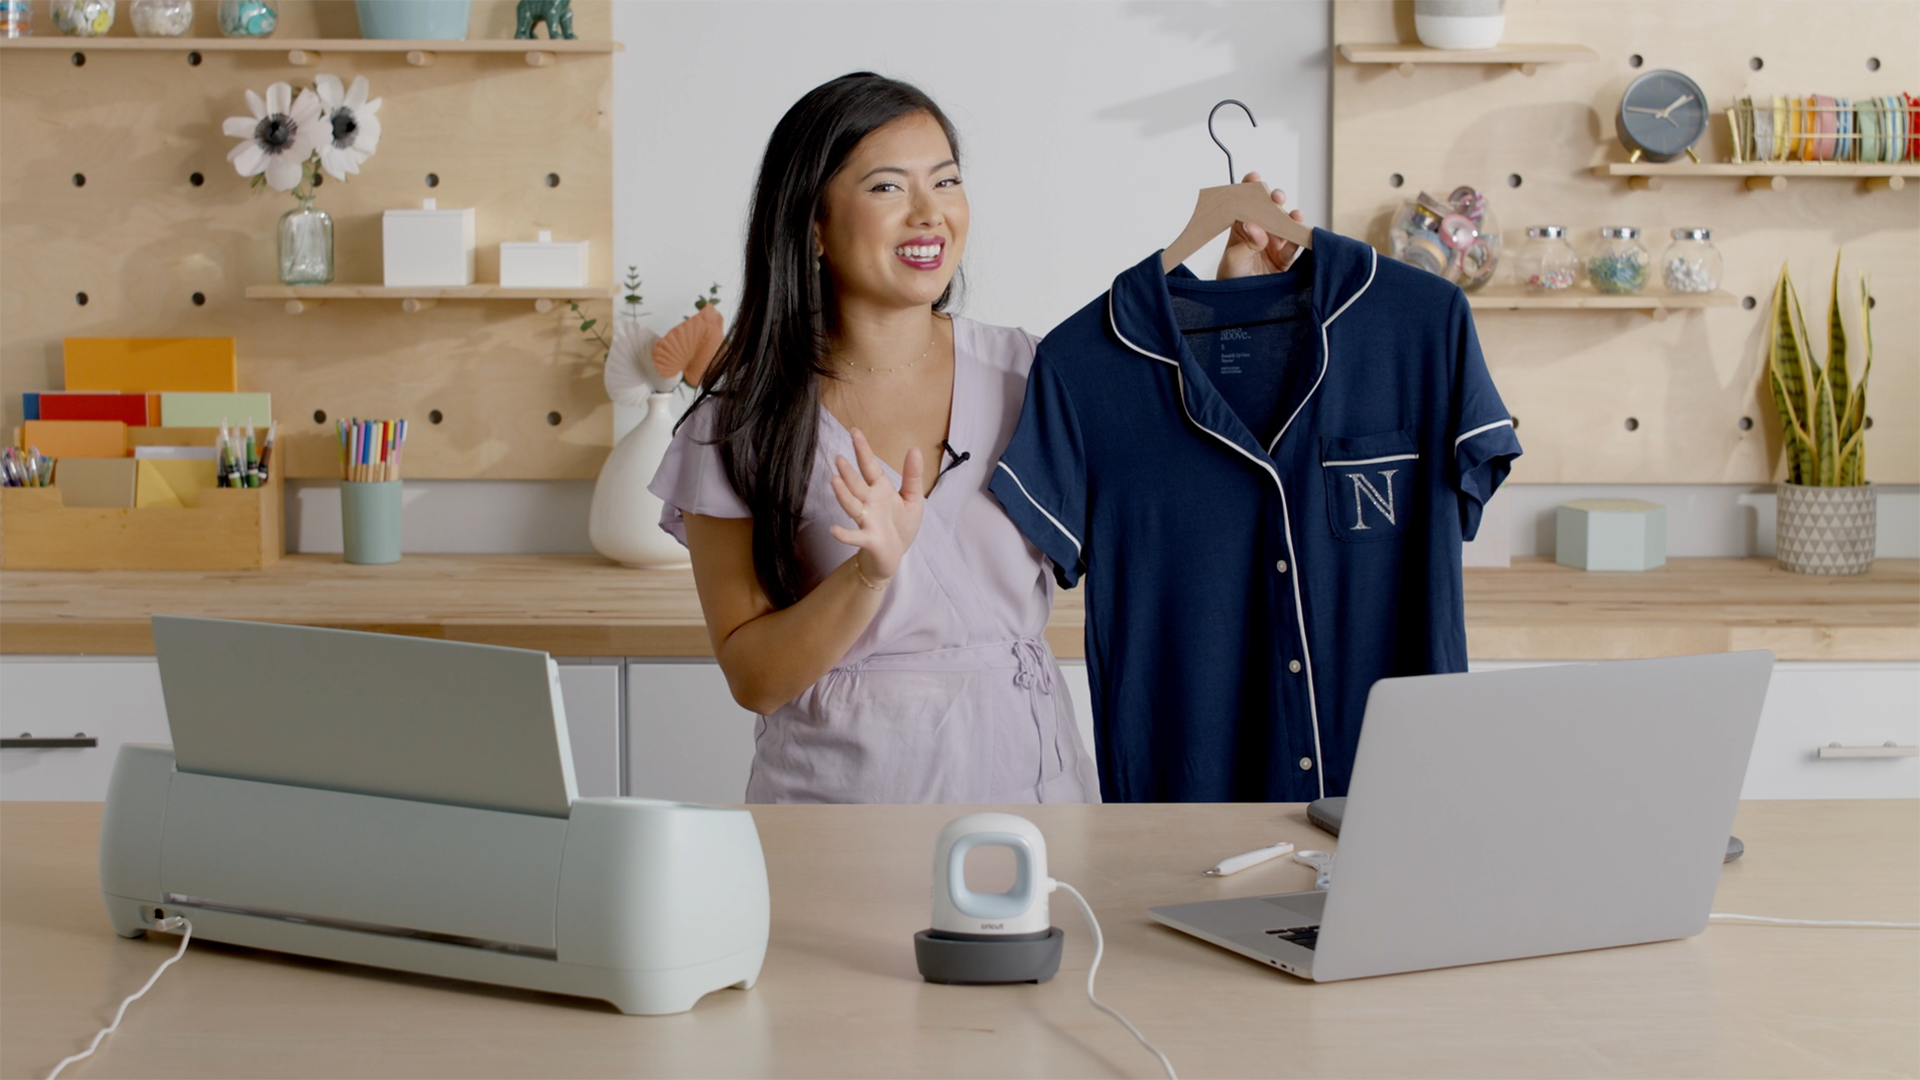
Natasha is making monogramed pajamas for her friend. If you want to learn a little more about monogram maker to make your own, head to this link. Follow along to see how she customizes a plain set of PJs into something her friend will love!
Supplies needed
Print this list
Make customs PJs with Cricut
Step 1
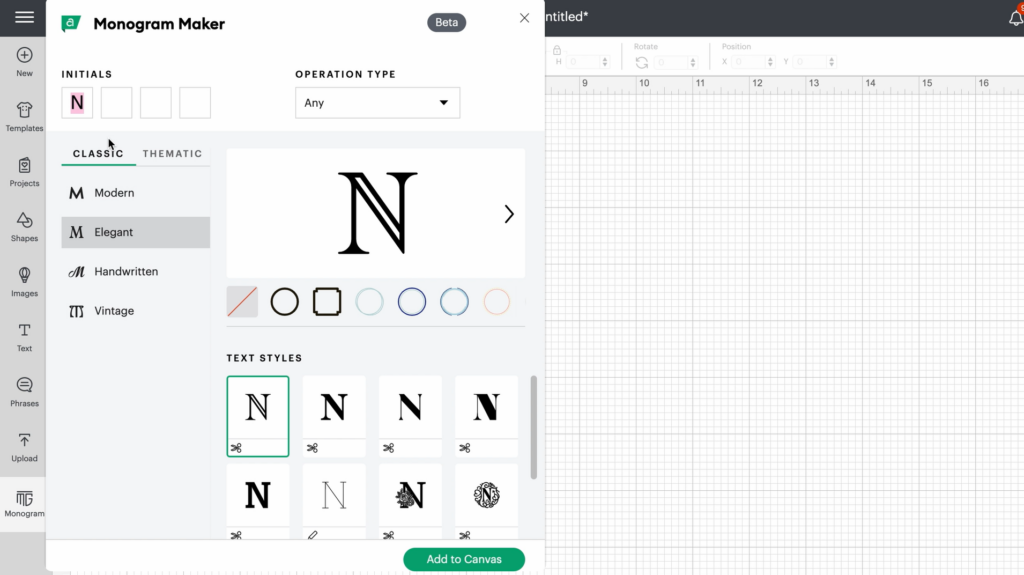
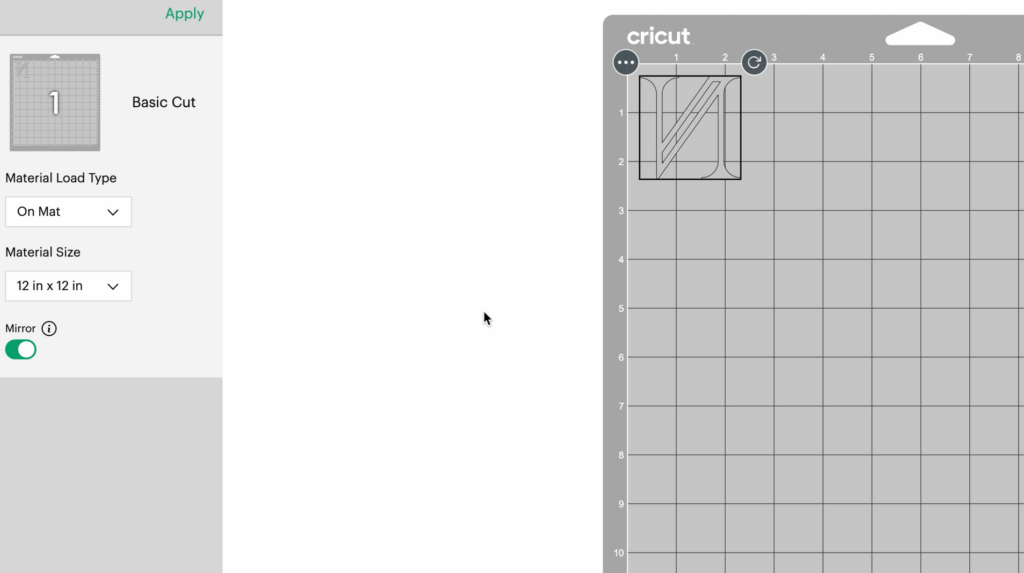
Head to Design Space and on the left-hand side, click the Monogram Maker tool. Type in your initials in the initials section and pick which style you want to use. Then make sure you size it to how big you want it to be. And you can change the color to silver, just so you can see what the project will look like in the end. Once you’re happy with how your monogram looks, click make it.
Step 2
Because Natasha is using iron-on for this project, she will toggle the mirror button so that the letter ‘N’ looks backwards on the mat. Once you cut out the materials and put it on your project, the ‘N’ will flip right-side up and won’t be backwards.
Step 3
Select the material you are using, in this case, Natasha is using smart iron-on in glitter, and then load your material. Since Natasha is using smart material, she will not be using a mat. If you are using iron-on, you want to make sure that the shiny side is down, so the machine cuts the material and not the backer (shiny side). Press the load button so that your machine can make sure you have enough material, and then press the go button.

Step 4
While your machine is cutting your material, you can turn on your mini heat press and use the Cricut Heat Guide to tell you what setting it should be at.
Step 5
Once your machine is done cutting, you can unload your material and trim the material you aren’t using, so you can save it for a future project. Then weed your design by removing the excess material you don’t want in your design.

Step 6
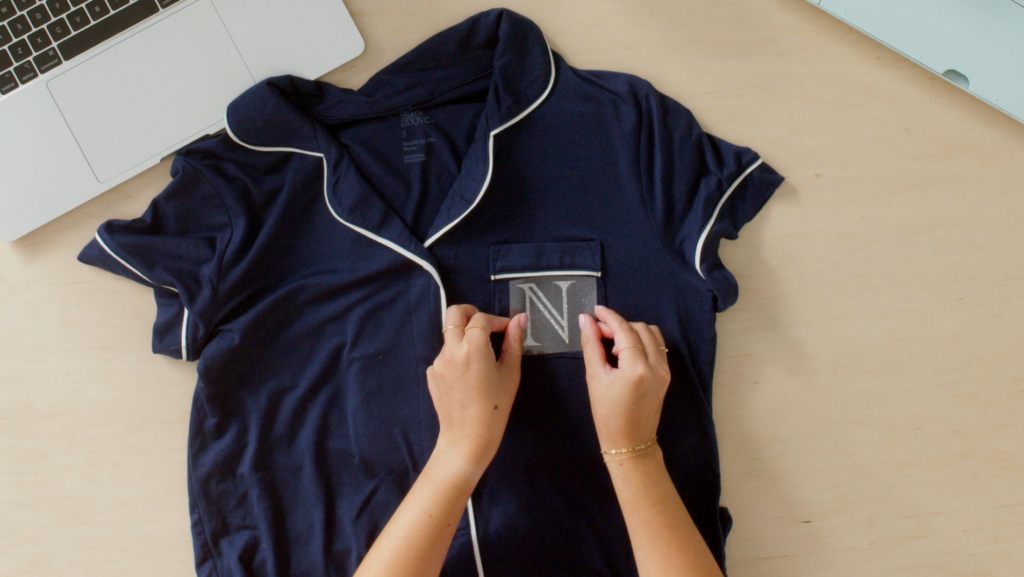
Once your heat press is ready, you can do a pre-press for 5 seconds on your material where you want the monogram to go. This makes sure to get out any moisture in the fabric and remove wrinkles so your project lasts longer. Once you’ve done a pre-press, put your design where you want it. Make sure the shiny side is facing up, and press for 25 seconds. Then unbutton the PJs and press on the back of the pocket for 15 seconds yo give extra durability. Flip the PJs back over and once the backer is cool, you can peel it off.
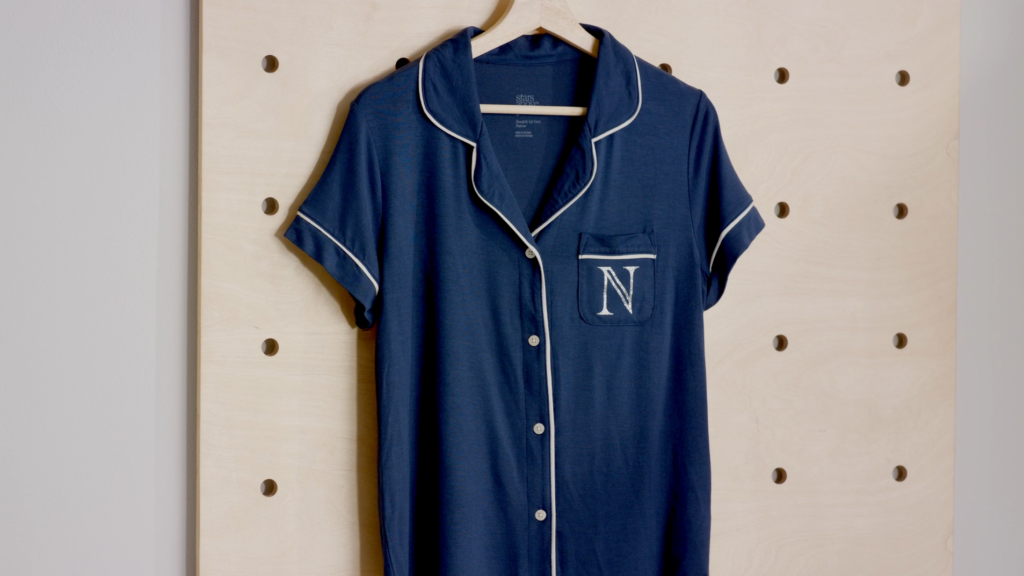
And now you have custom pajamas!
Your friends and family will love these custom PJs, or you may love them too much to give away! Either way, make sure you share your creations with us on social media by using #cricut!
Related Making
Search How-To
I want to make...