How to make custom New Years Eve props with Cricut
Skill level
Beginner

Tavia is going to show us how to make some really cute Ney Years Eve props that are perfect for any party that’s ringing in the new year. If you want to make these props, you can find the project in Design Space here. Follow along to she how she makes them!
Supplies needed
Print this list
Make custom New Years Eve props
Step 1
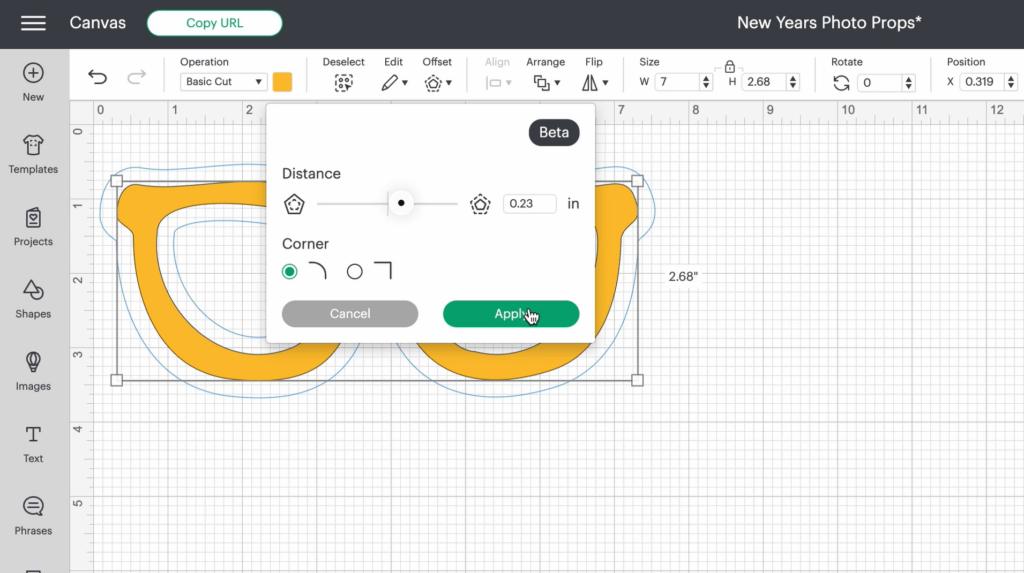
Go to Design Space and create an offset of your image. This will create a border around your image, and you can change the size of the offset here as well. Tavia chose to create an offset of .23 inches. Next, you will want to group your image and the offset layer together, so select both layers and click group. Once you’ve done this, duplicate your image and flip in horizontally. This will create a mirror image of your design, so you can sandwich the sticky sides together on the wooden dowel. Once you are ready, click the make it button.
Step 2
On the next screen, Tavia is going to change her material load type to “without mat” since she is using smart paper sticker cardstock, which has a liner on one side. Choose the material being loaded in the machine (in this case, Smart Paper Sticker Cardstock), and then load the material. Once the machine ahs measured that there is enough material, press the go button.
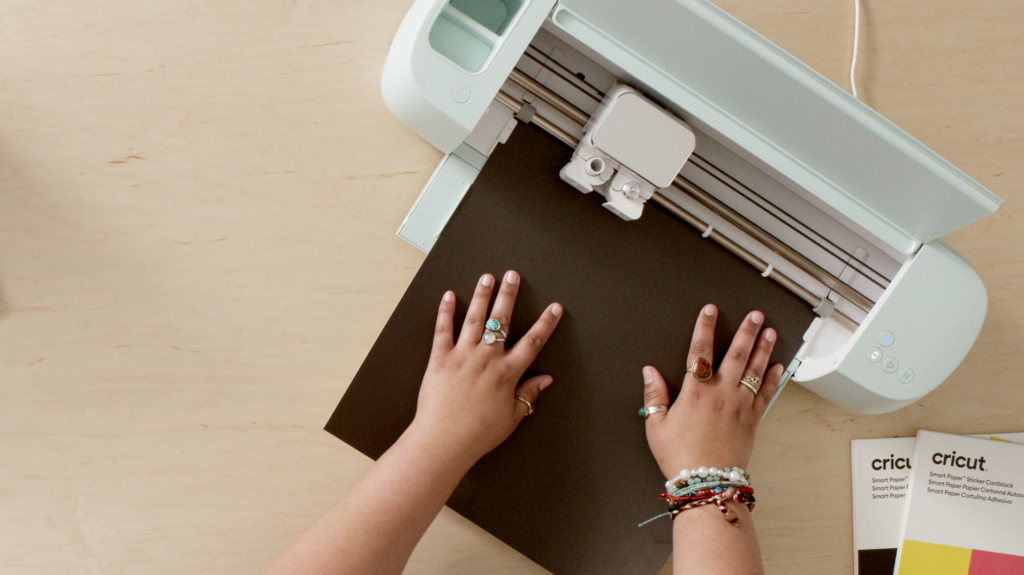
Step 3
Unload the material and trim down the excess material so that you can use in future projects. The black offset will become the border and the yellow will be the frames.

Step 4
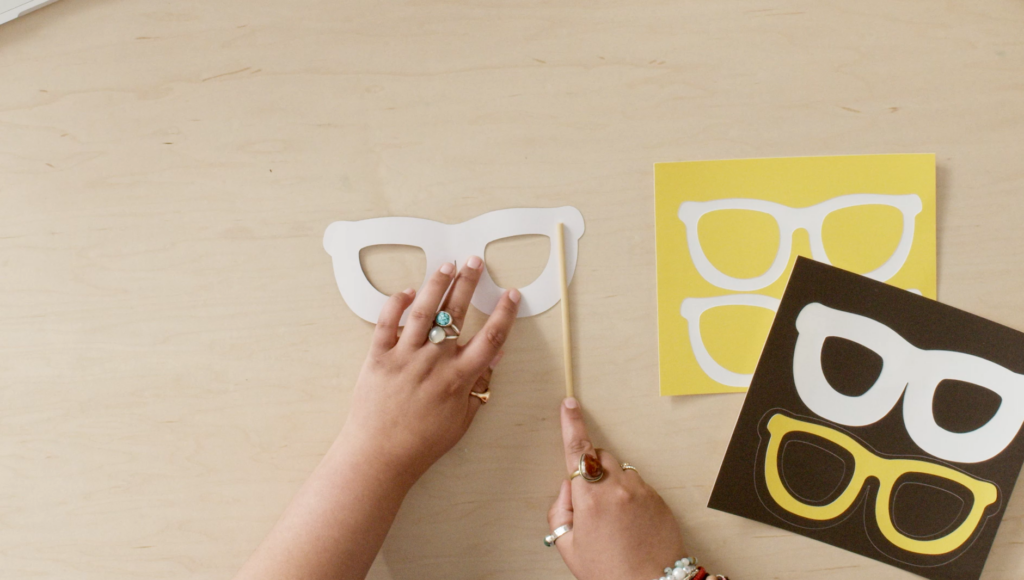
Peel off the yellow frames and stick on top of the black, making sure to place the mirrored yellow piece on the mirrored black piece. Once those pieces are together, peel one of the black frames off and place a dowel on the adhesive side. Then take the second black frame and sandwich it on top of the dowel.
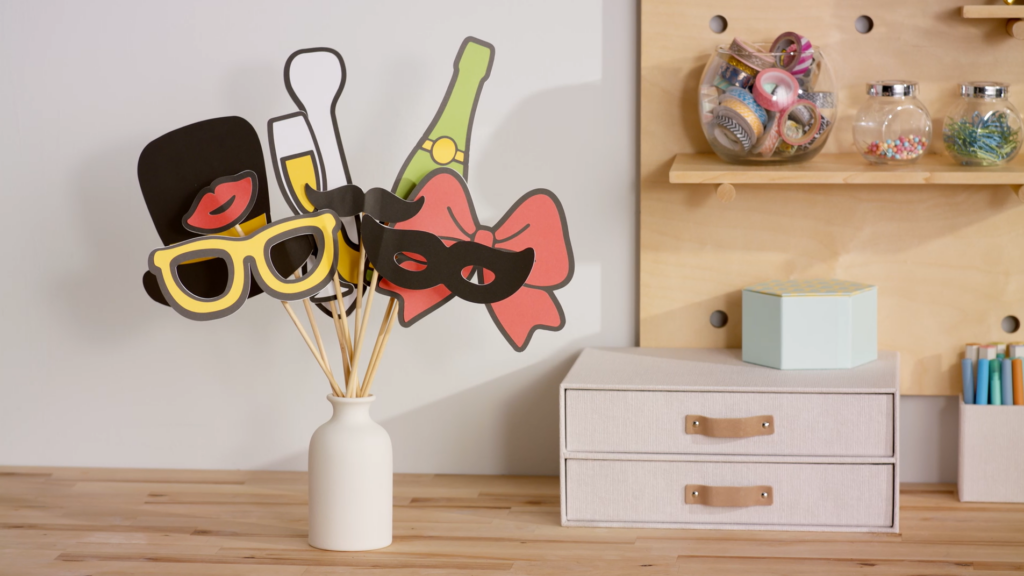
Now enjoy taking picture with your creation!
These New Years Eve props are super cute and easy to make, and they’ll make any celebration that much better! Make sure you share your creations with us on social media by using #cricut!

Related Making


Search How-To
I want to make...