How to make custom decals with Cricut
Skill level
Beginner

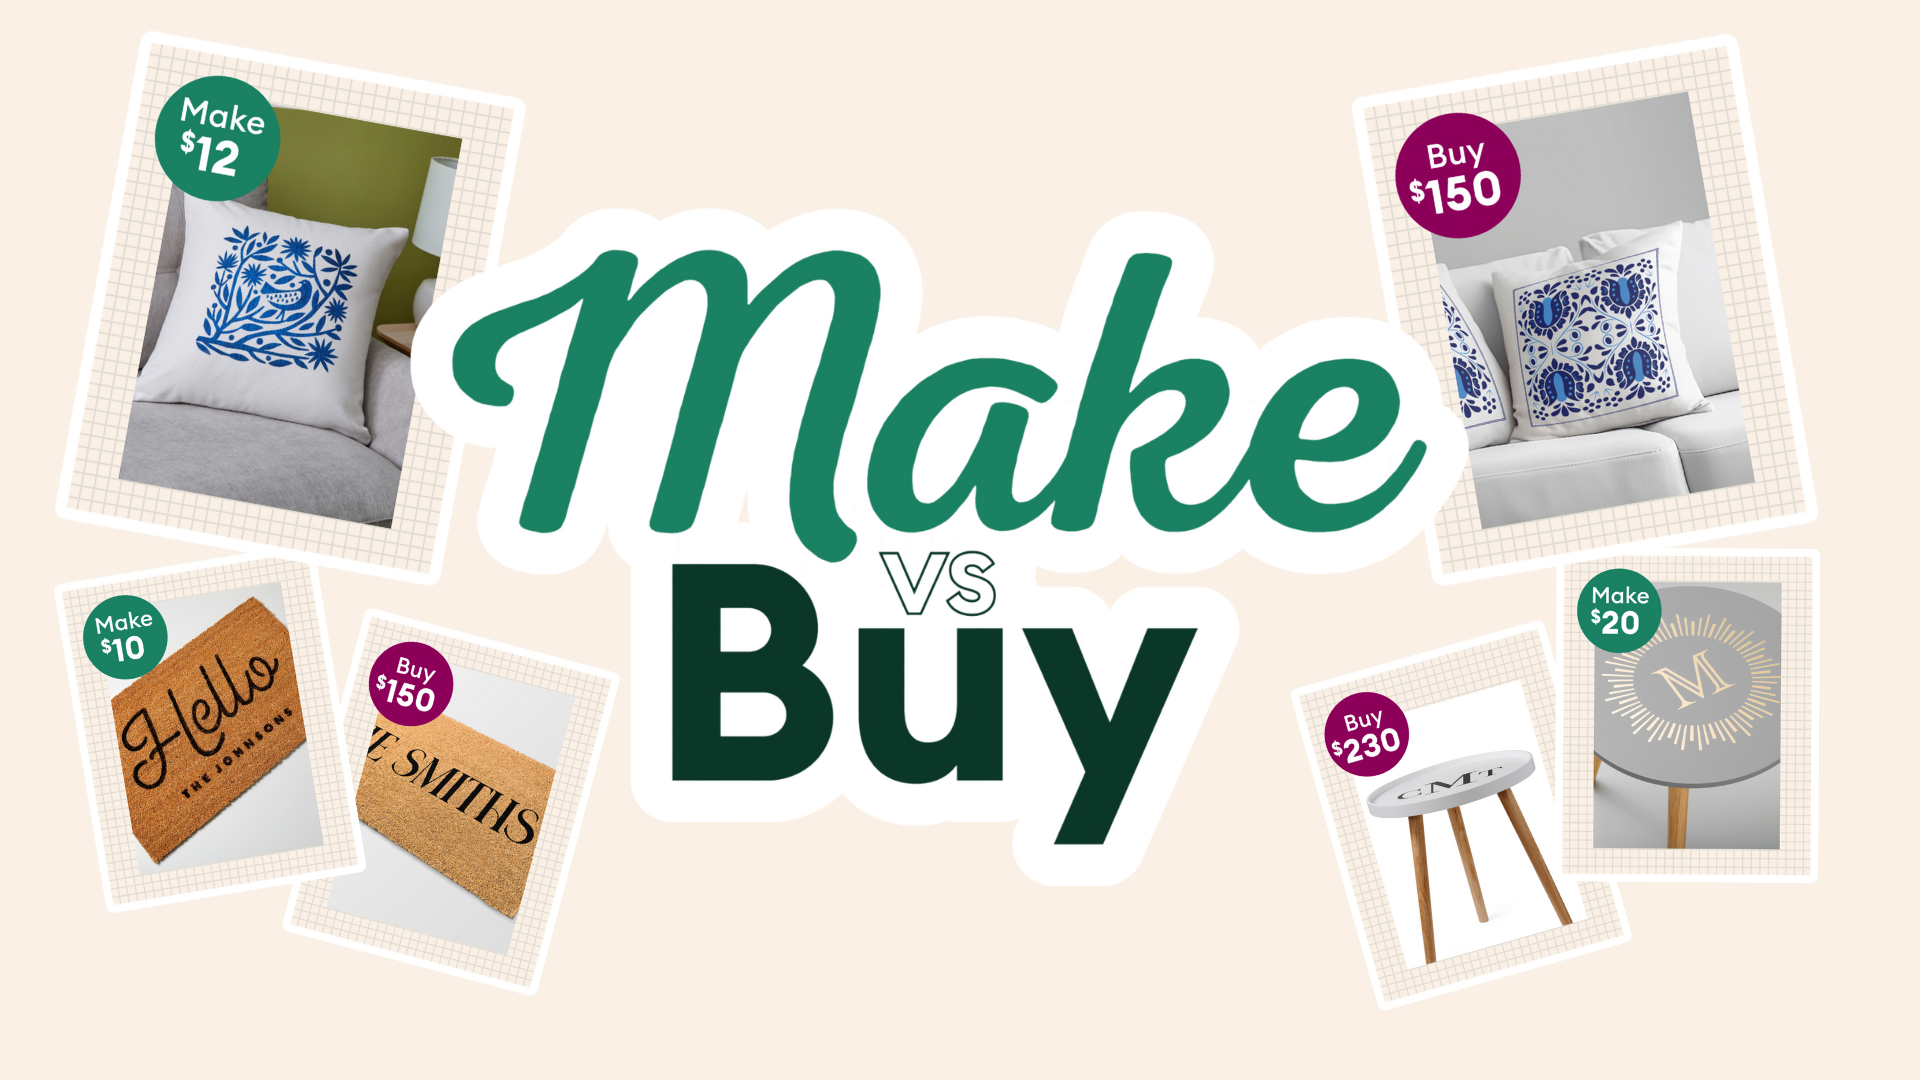
A custom decal is the perfect way to add a touch of personality to your belongings.
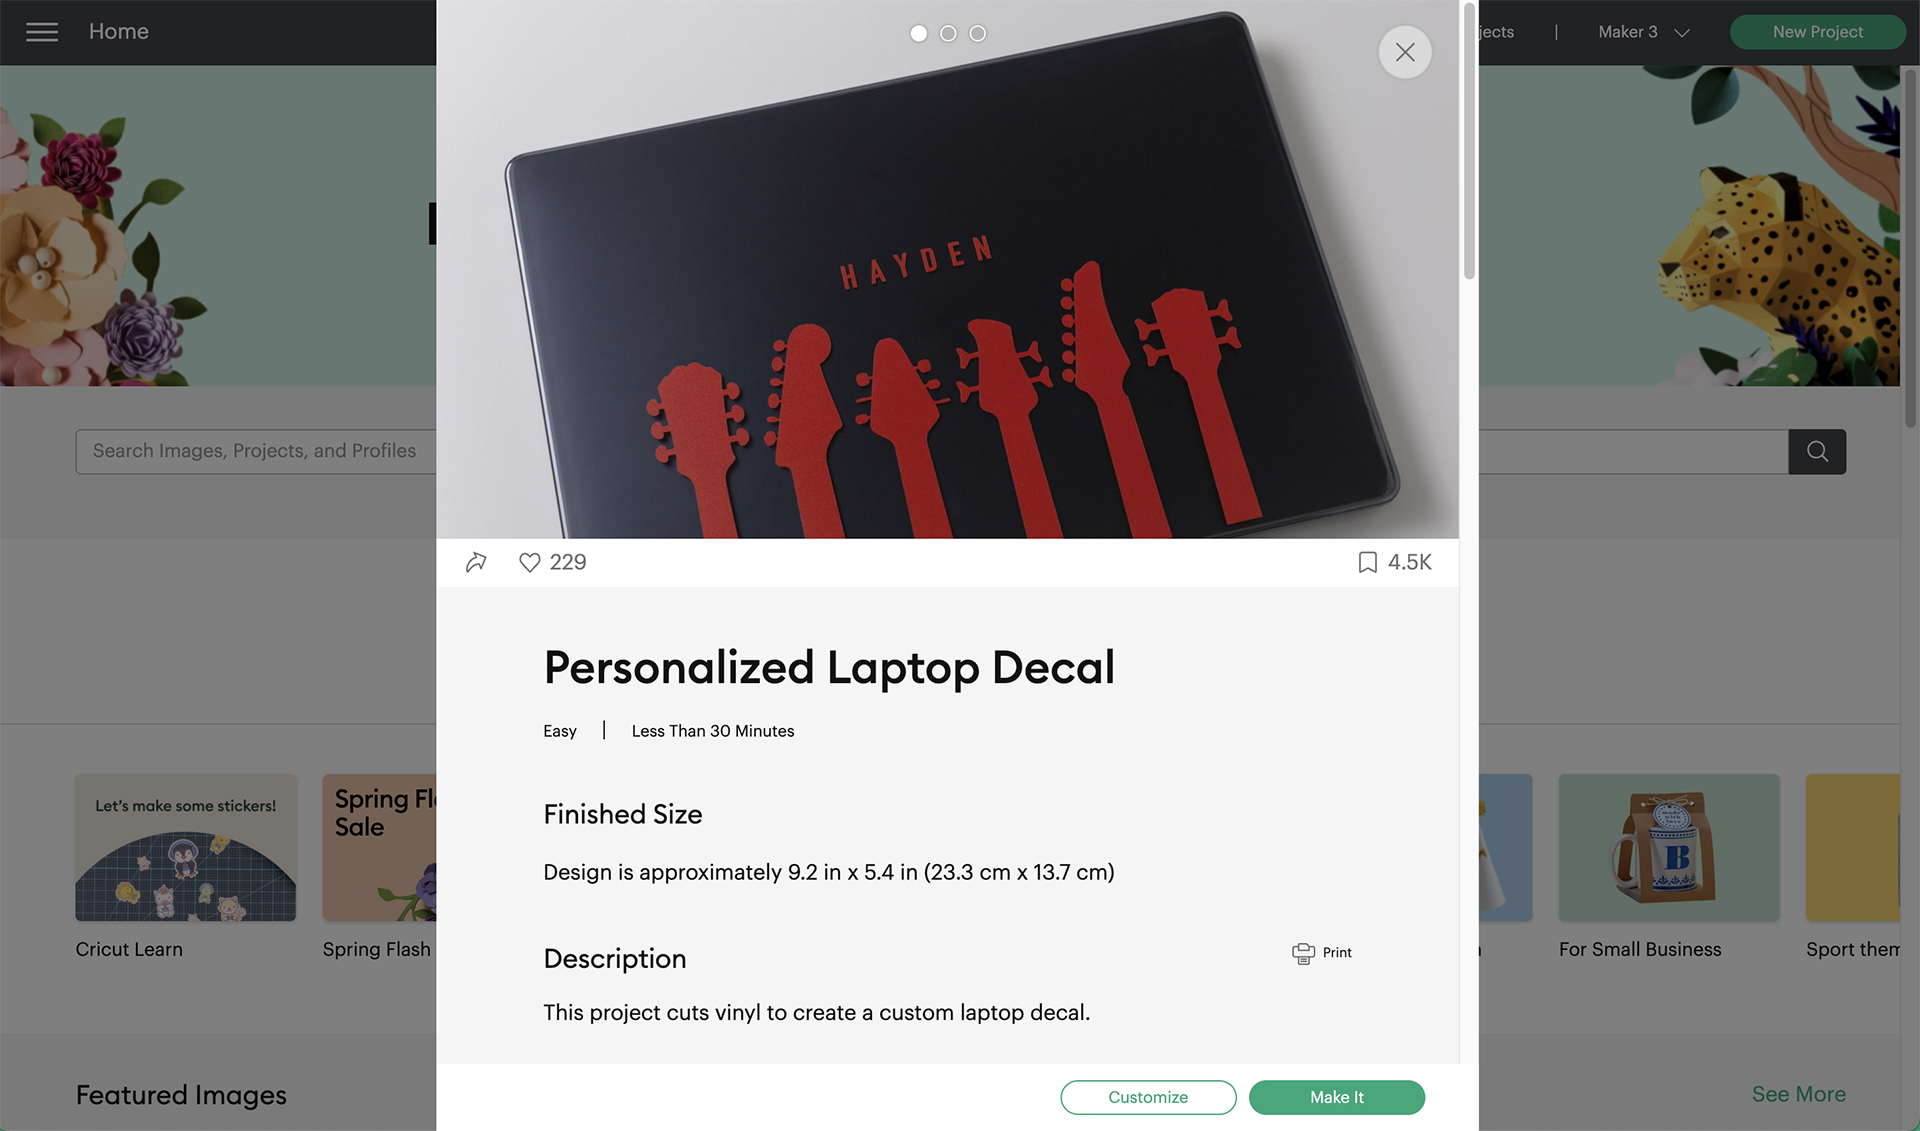
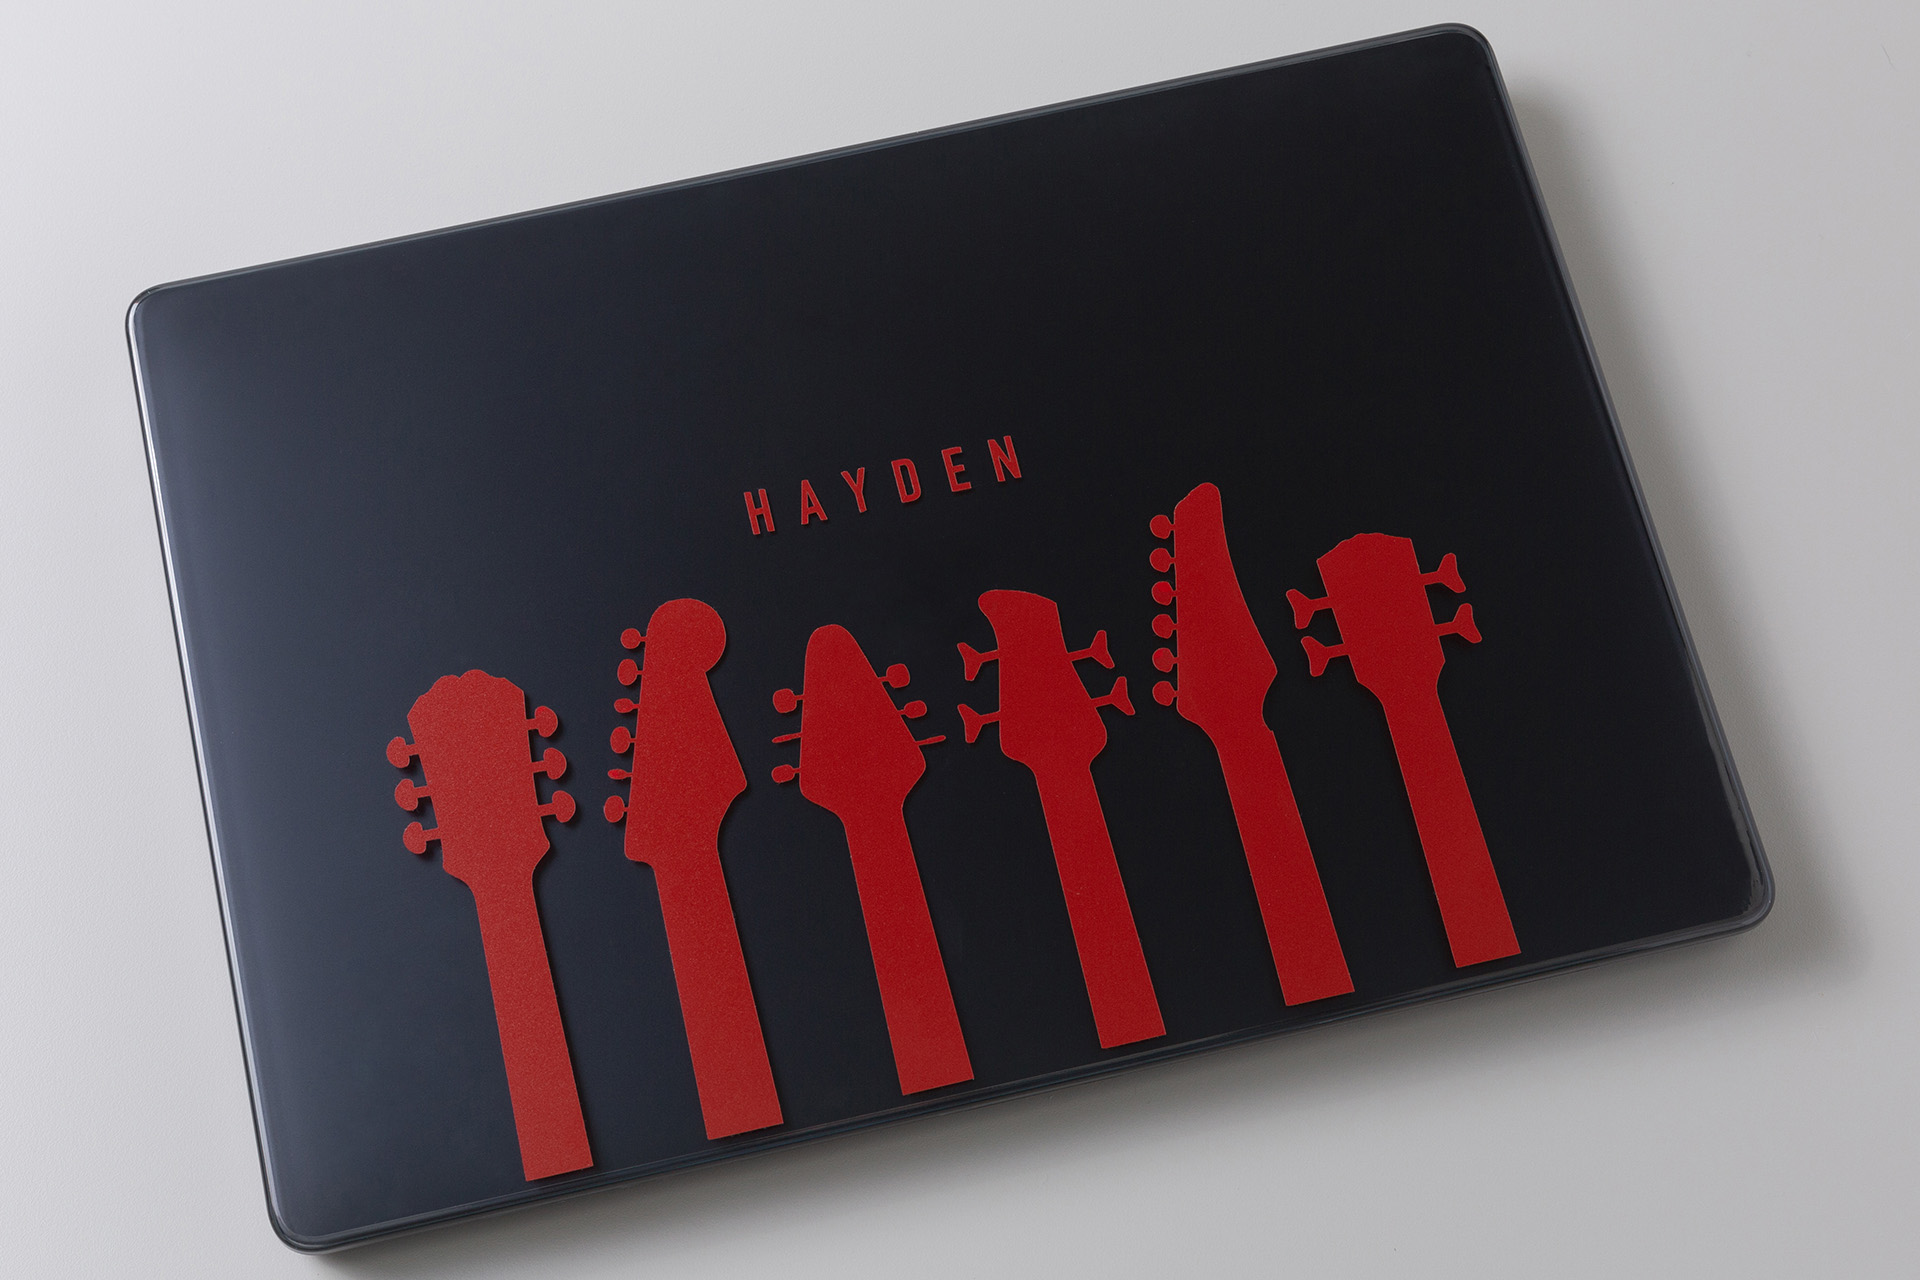
We’ll show you how to create the ultimate statement piece for your everyday items in just a few easy steps. In this project, we’ll be using this guitar headstock design, however, you can search the many images available in Design Space or start with a blank canvas and design from scratch.
Supplies Needed
Print this list
Make decals with Cricut
Step 1
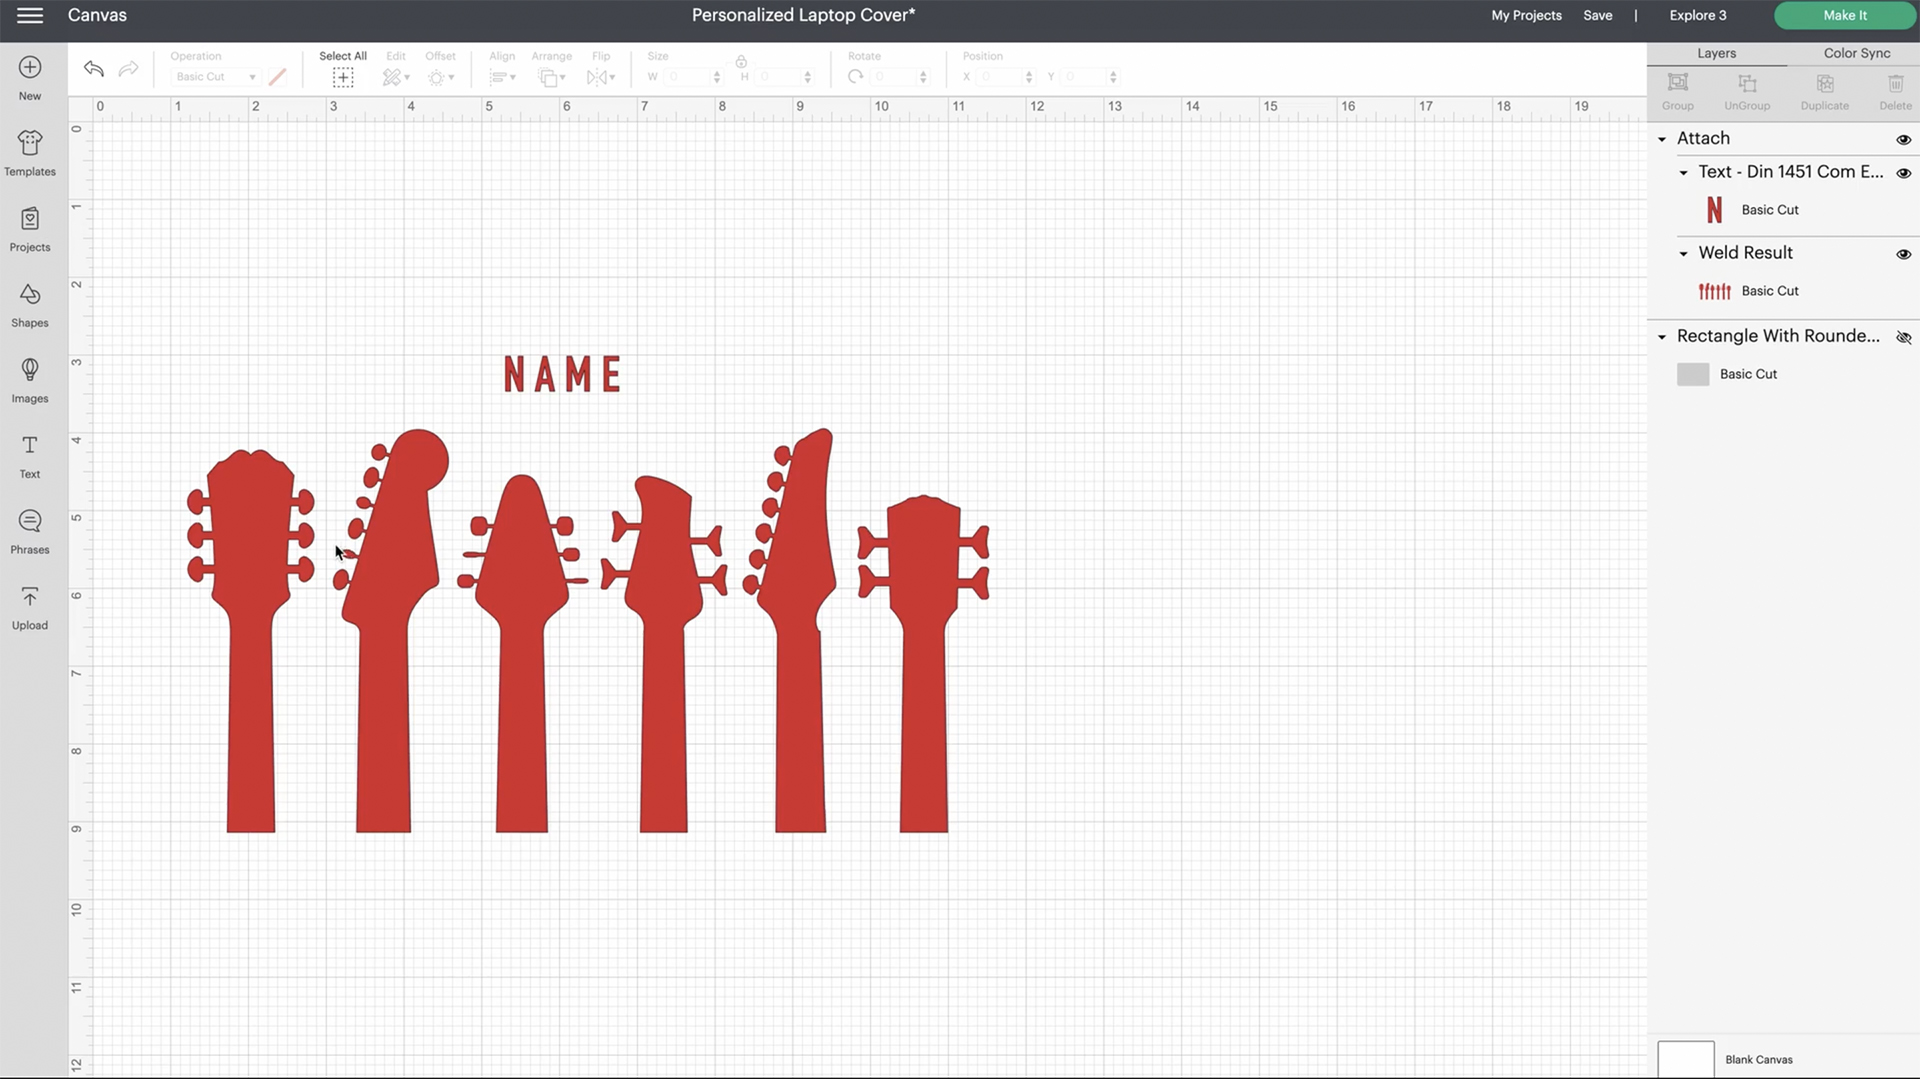
Open up the project in Design Space and select “Customize.”
Step 2
Double-click on “NAME” and type in the text you want to display on your decal, like your name.
Step 3
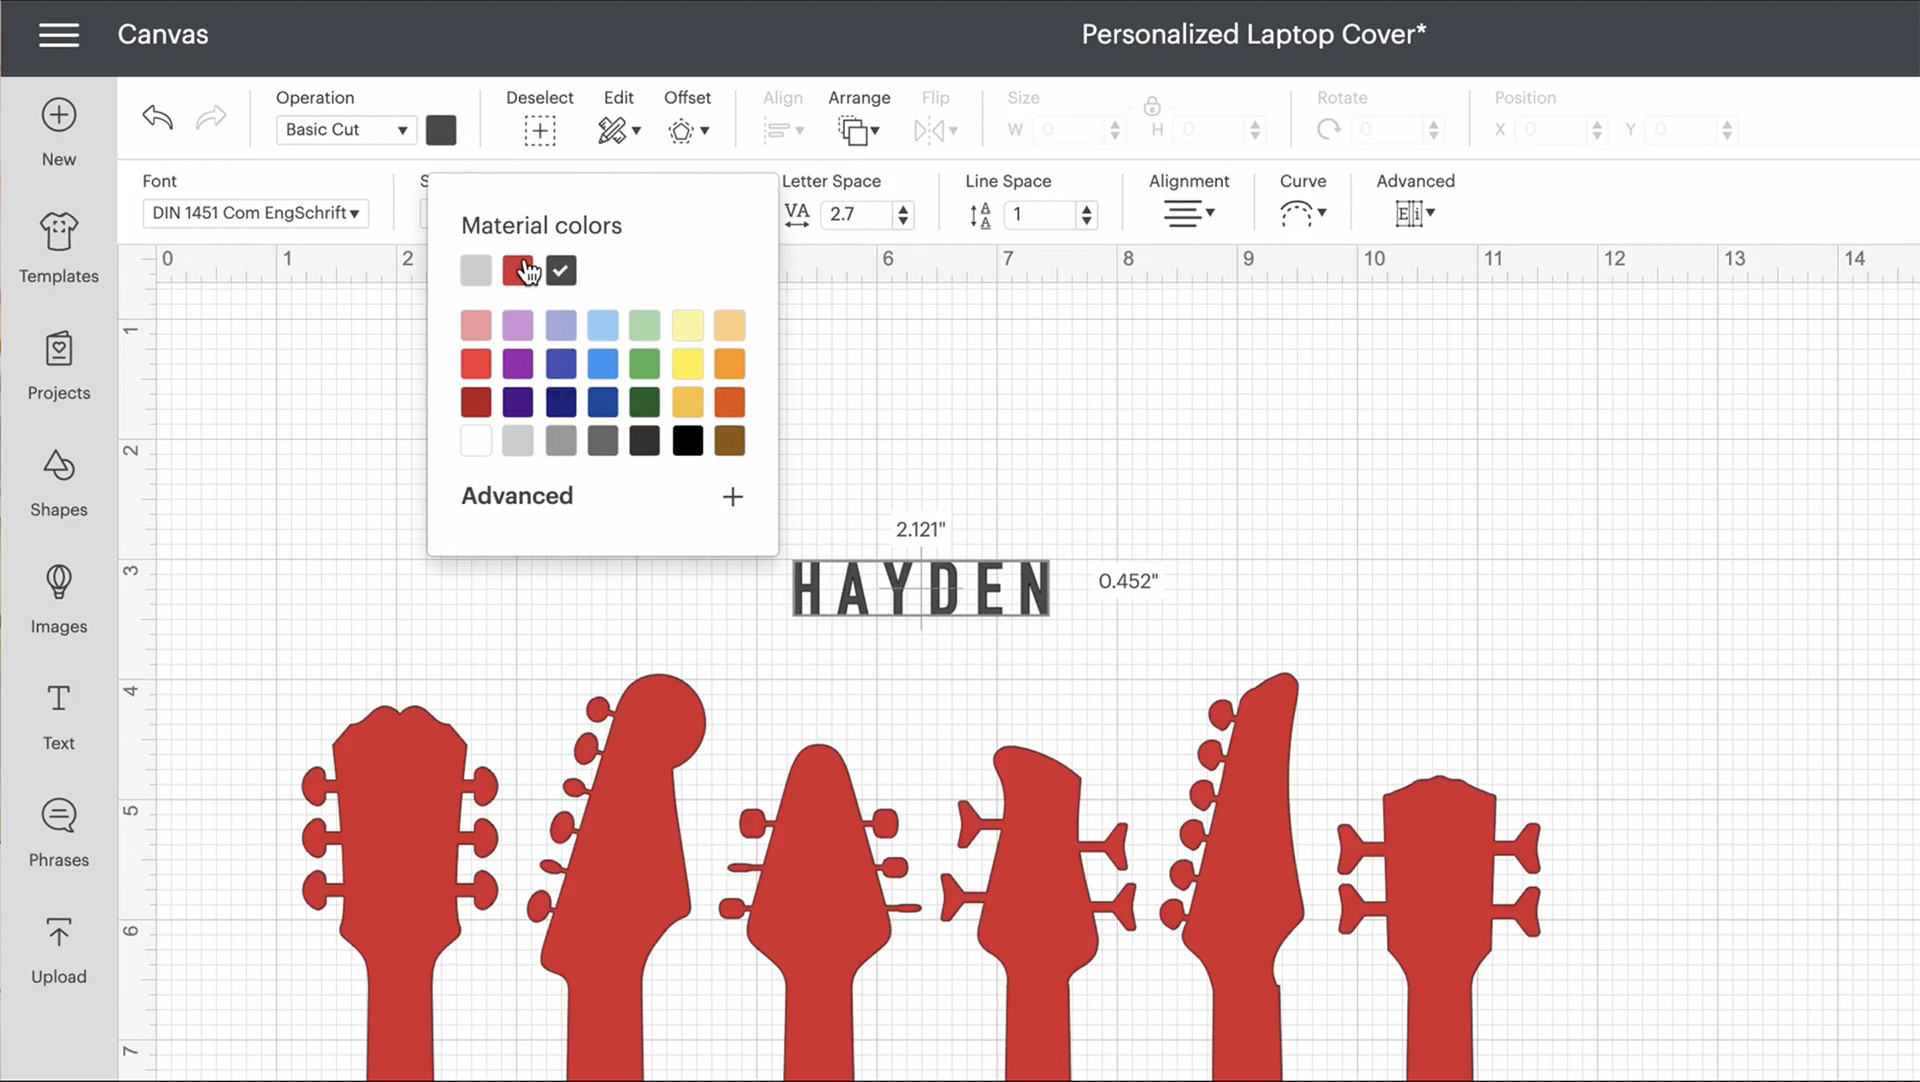
Change the text color to your desired color. In this project, Hayden changed the font color from black to red so it will all cut on the same piece of red vinyl.
Tip: When you click on the color swatches, there is a top row of recently used colors to help you easily find the colors in your project.
Step 4
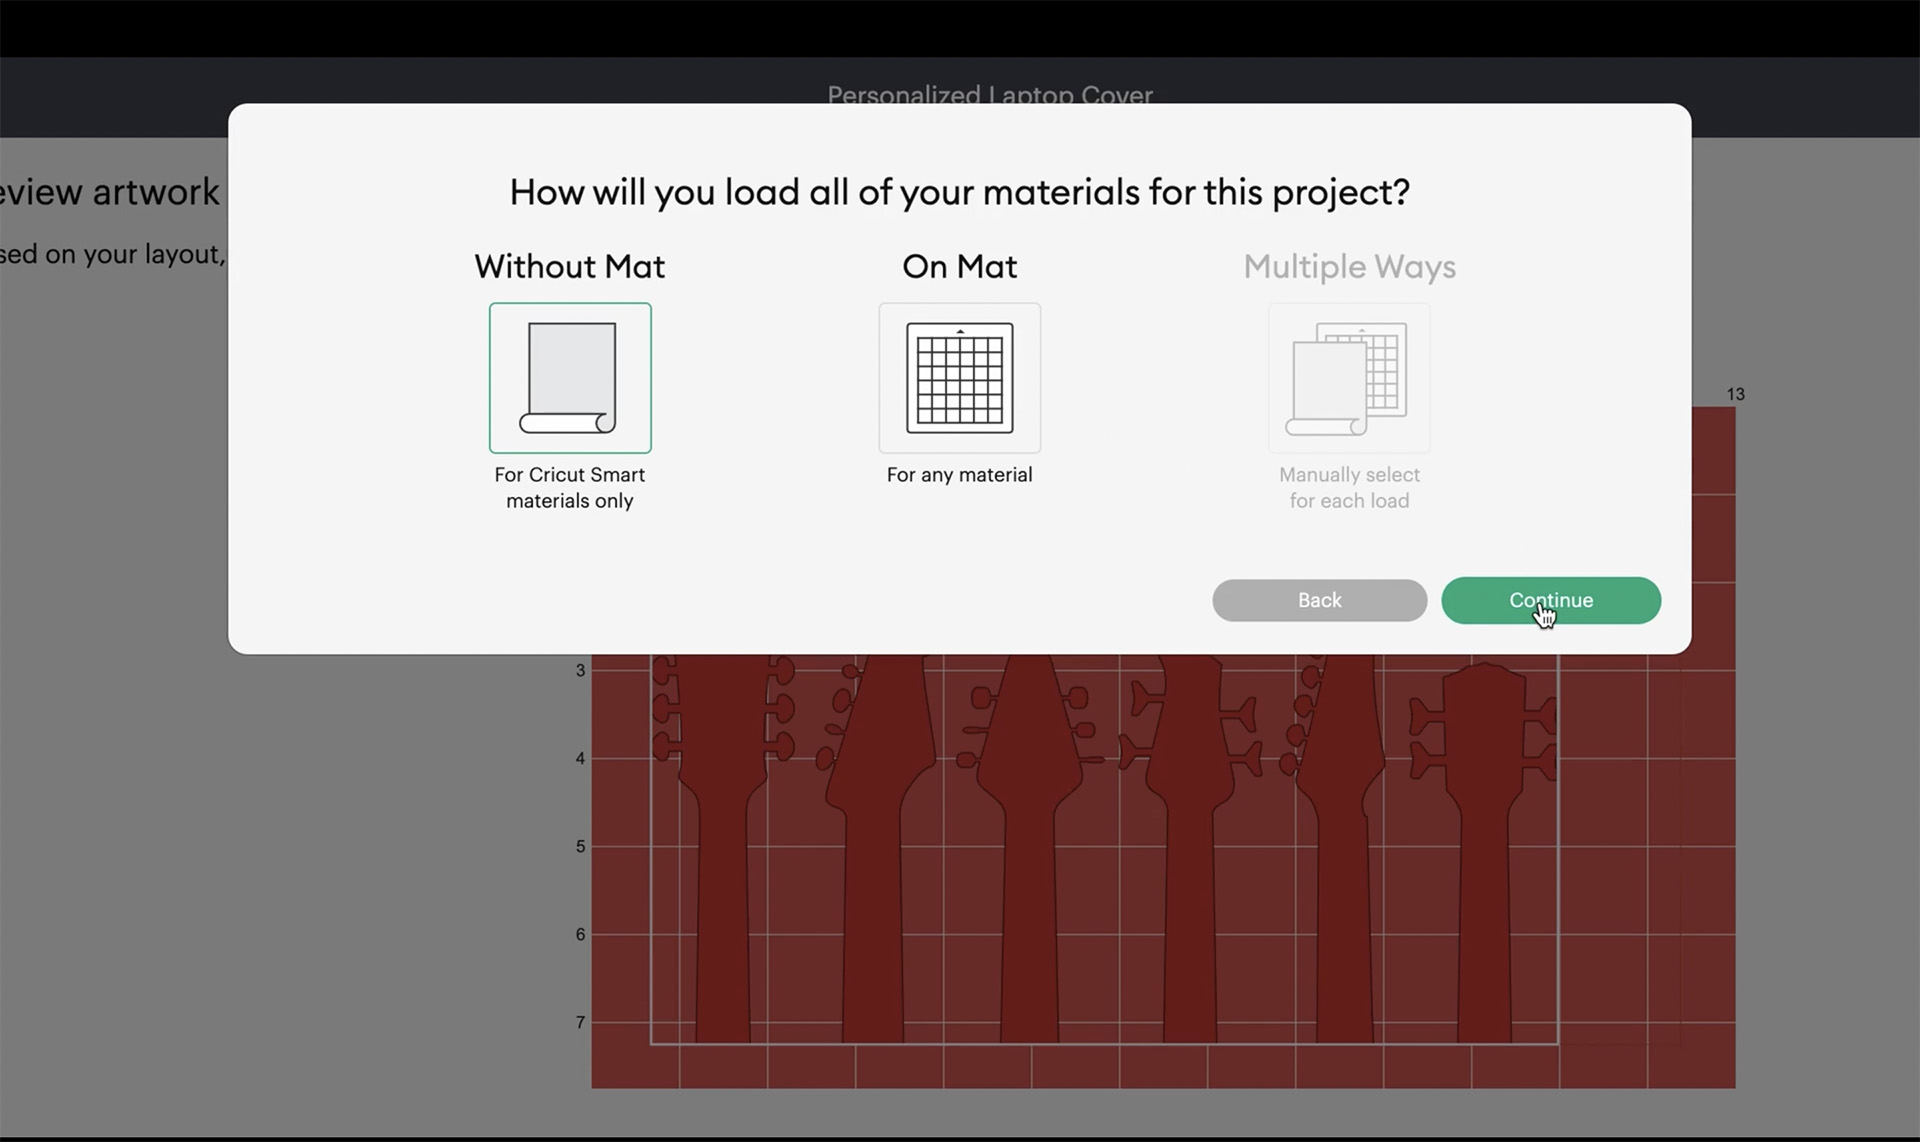
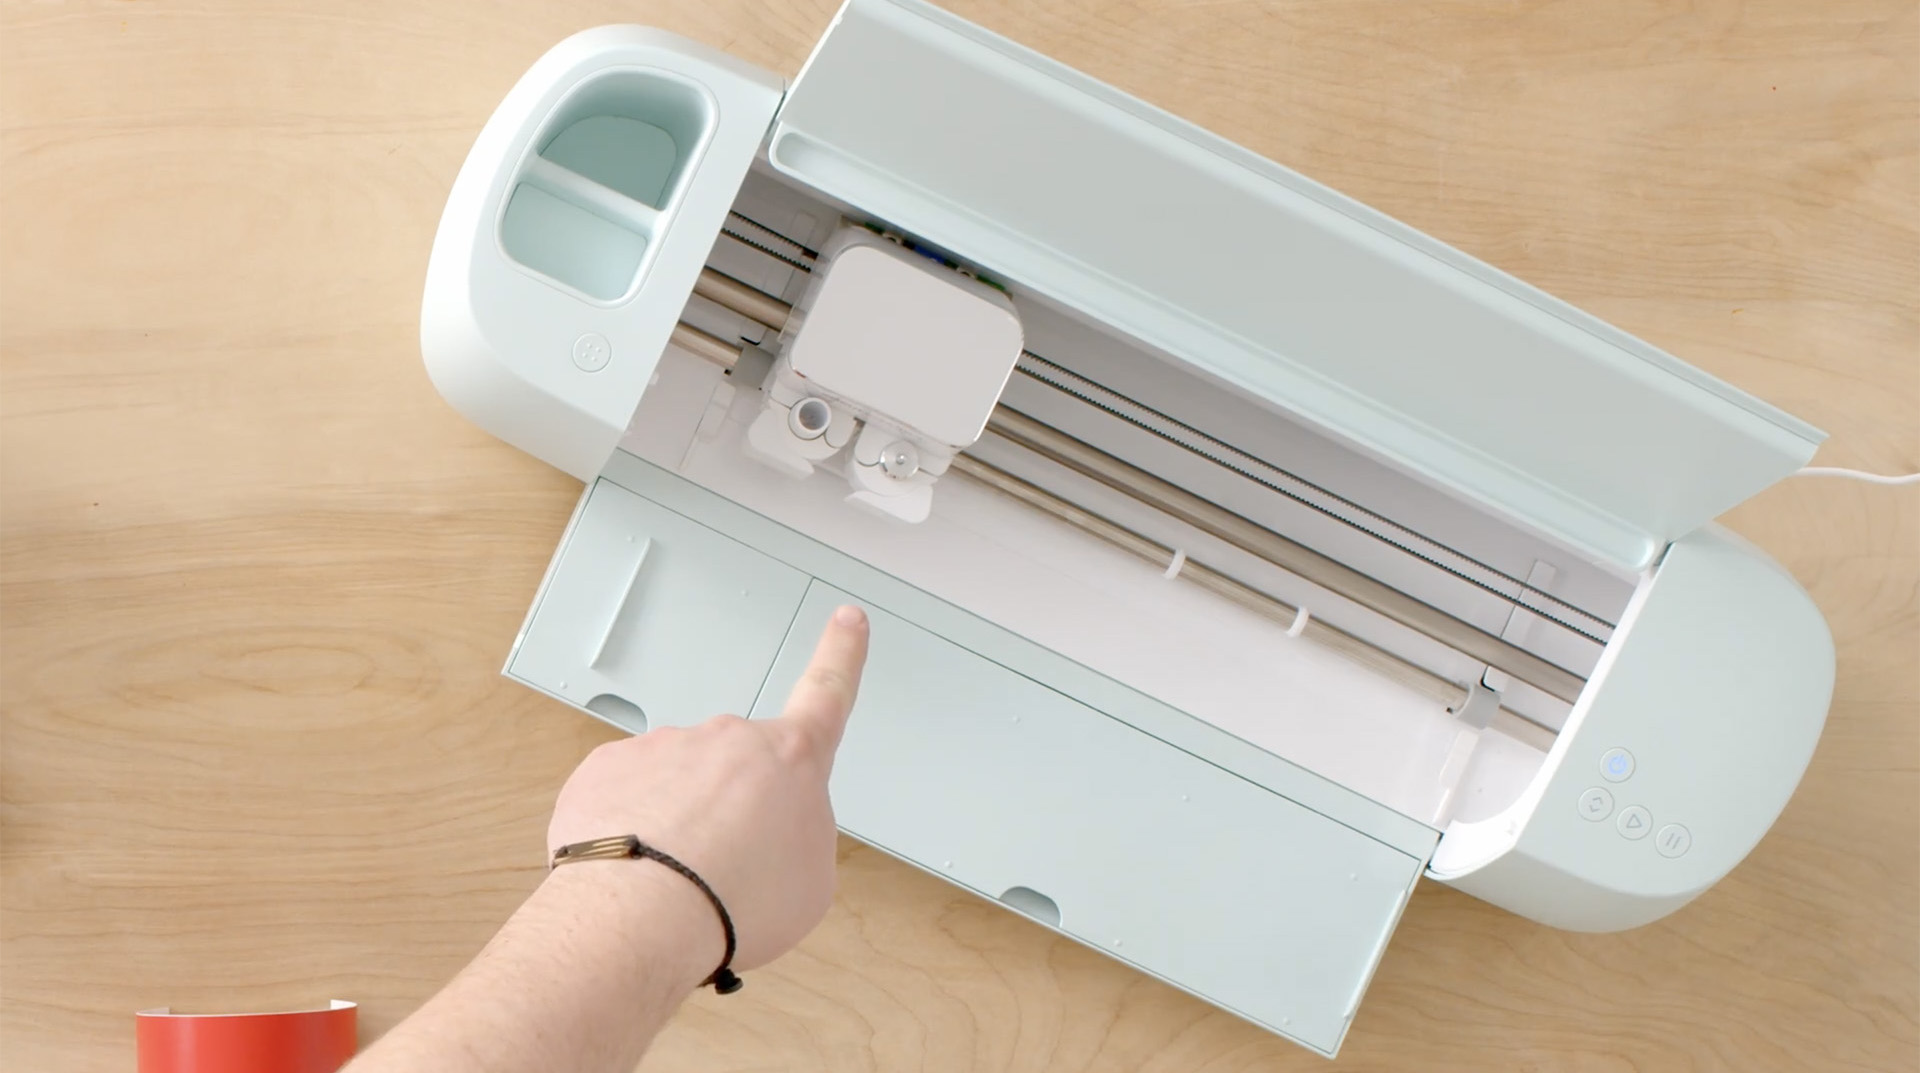
Once you’re happy with the color and layout of your design, click “Make It” in the top right-hand corner. Design Space will ask how you want to load the material into your machine. Since we are using Smart Material, it does not require a mat. Select “Without Mat” and click “Continue.”
Next, you will be shown the Review Artwork screen to see how your design lays out on the material. If everything looks good to you, click “Continue.”
Step 5
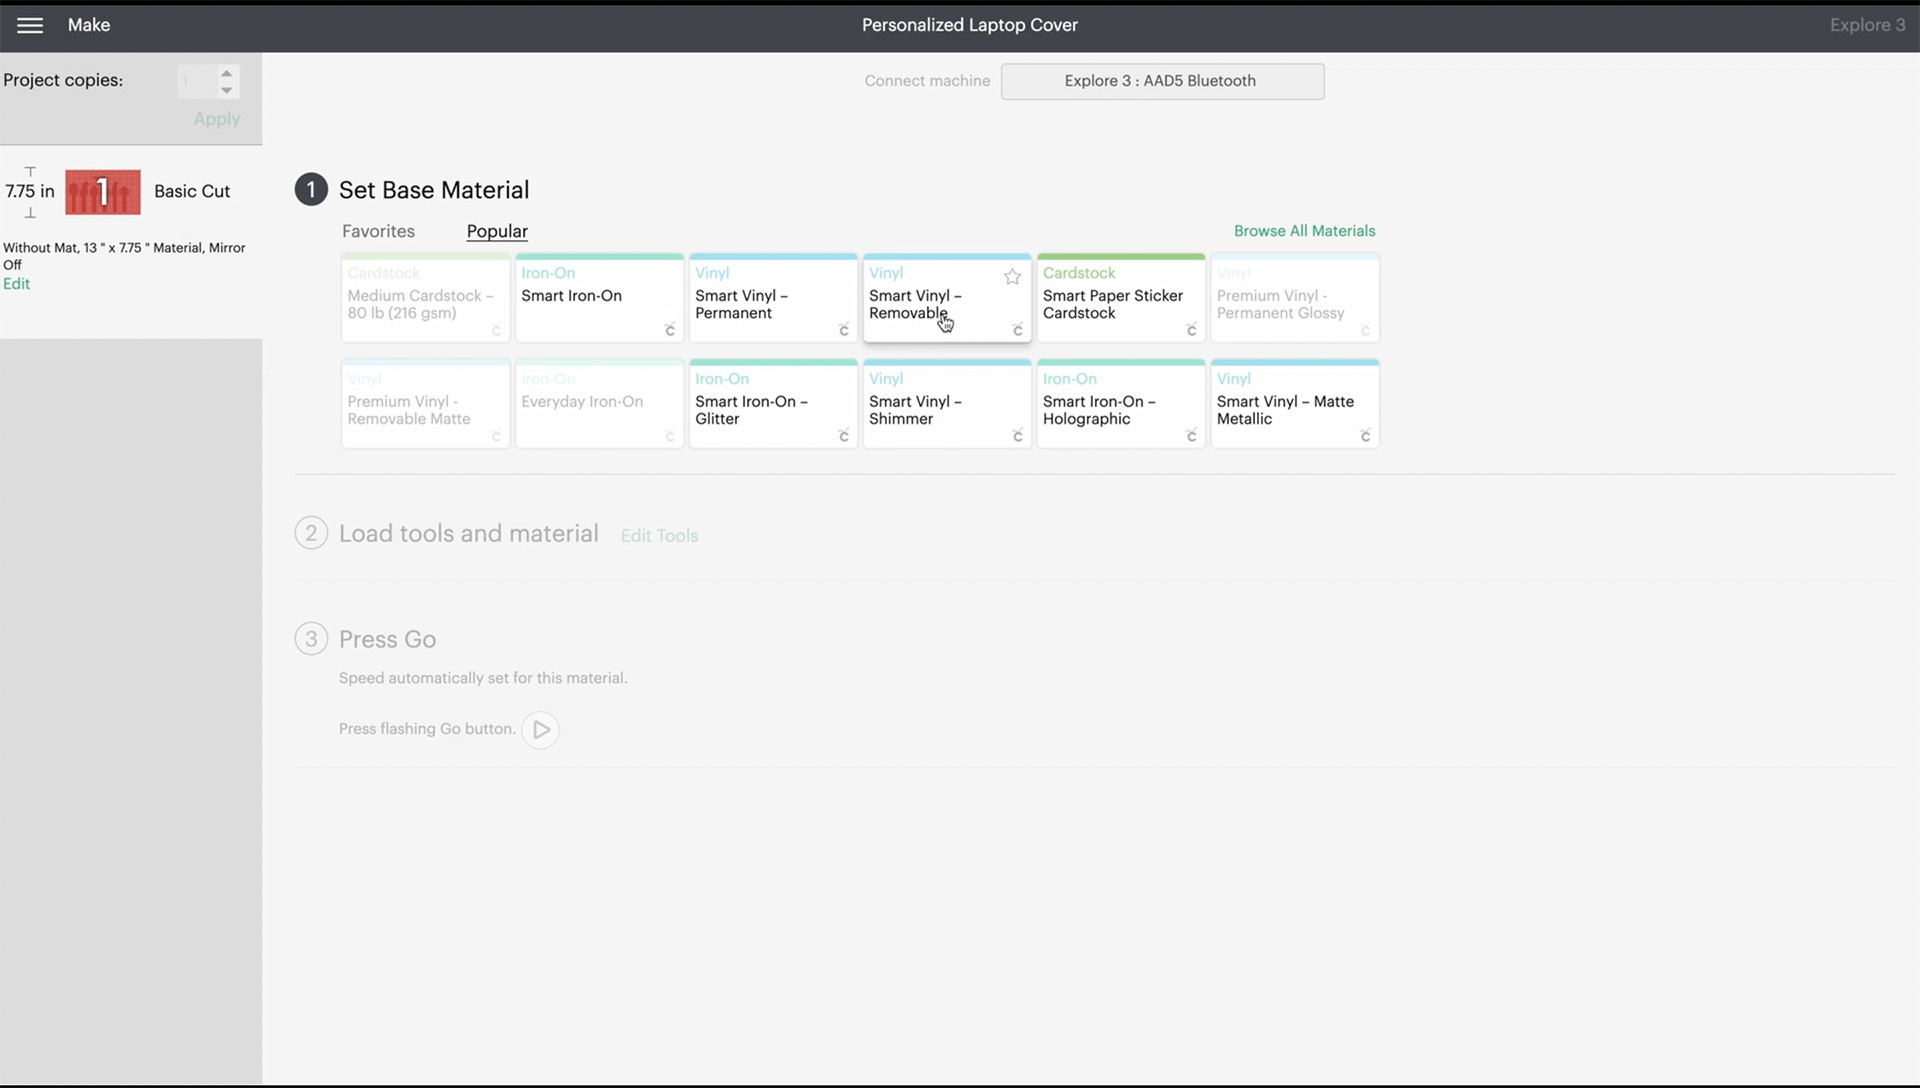
Now, you need to Set Base Material. In this project, we are using Smart Vinyl – Removable. If you are unsure, just check the back of your material.
Step 6
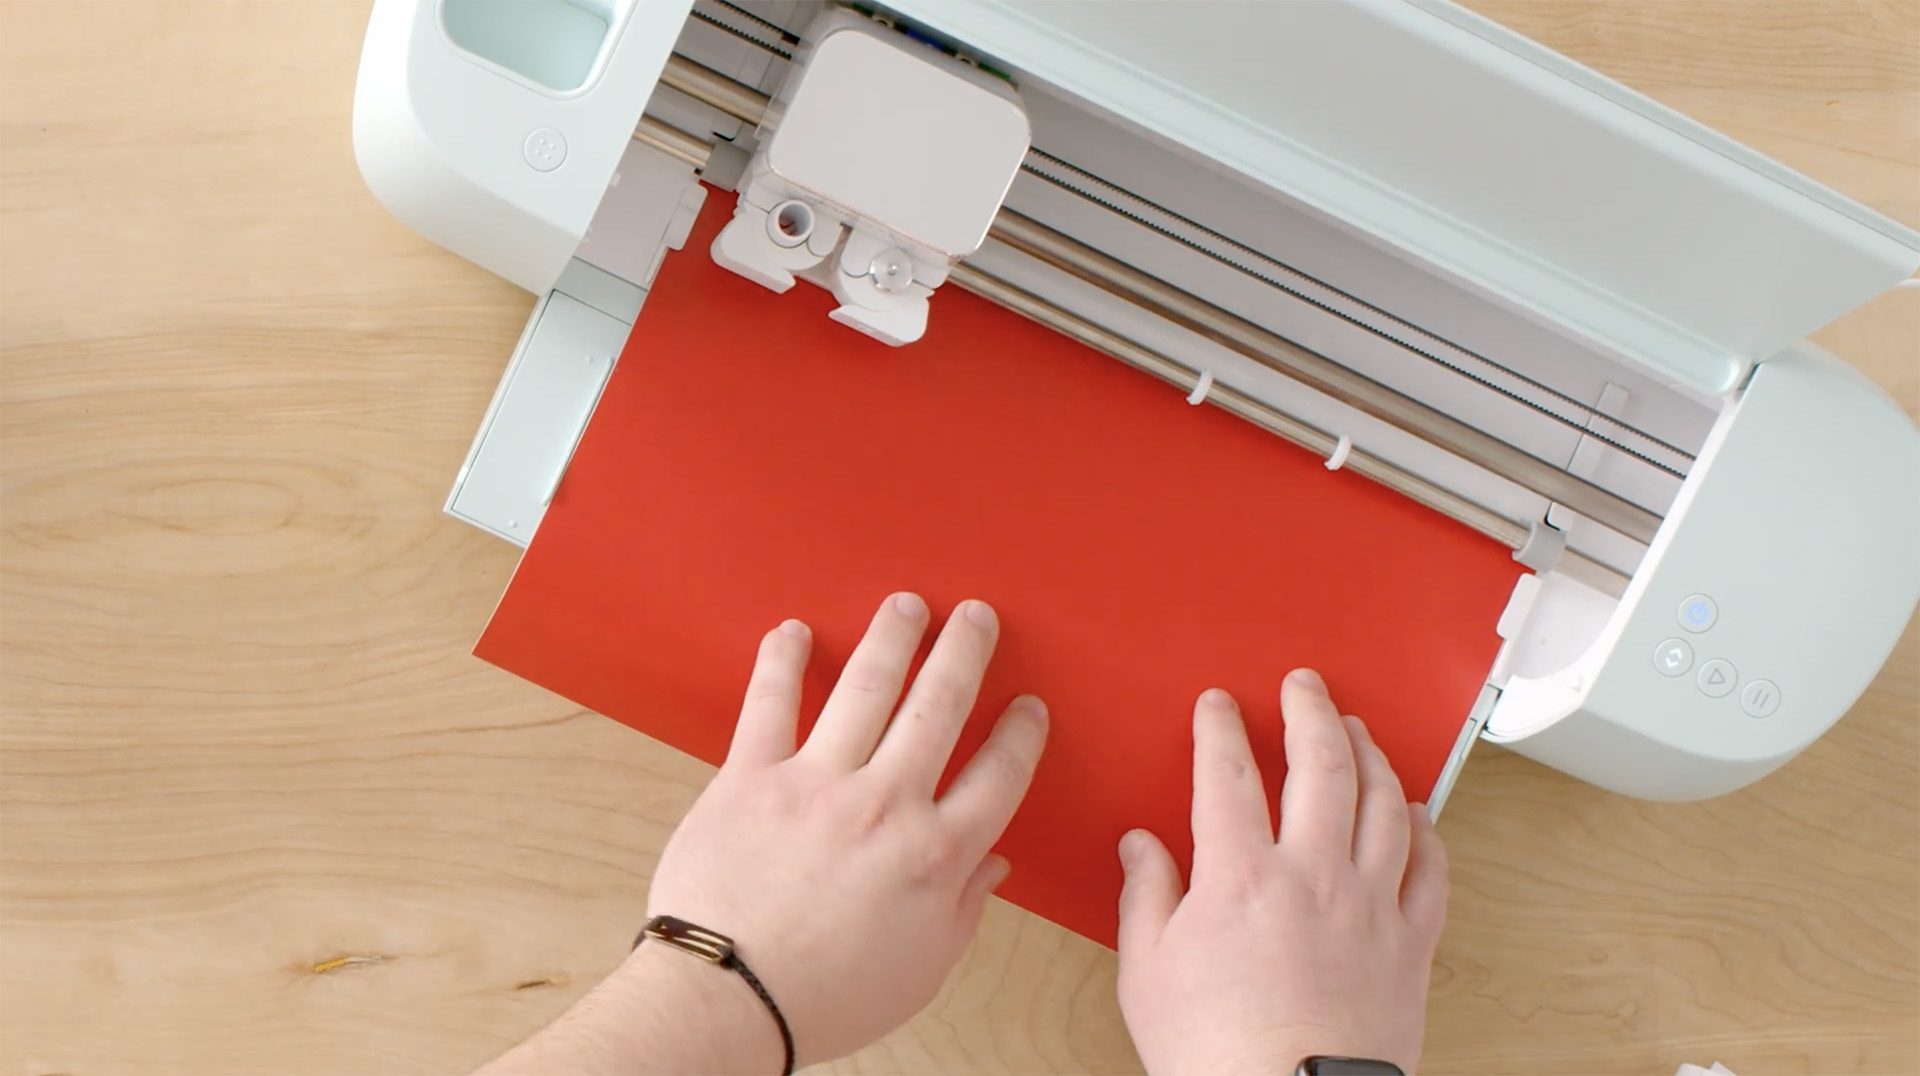
The software will begin to send the information from Design Space to your Cricut machine. Follow the prompts to continue to cut.
Step 7
Once cut, unload your material and remove the excess vinyl from around the images. We call this process “weeding.”
Step 8
Apply transfer tape to the front of your design and apply to your laptop! Review this article on how-to apply transfer tape or watch the video for step-by-step instructions that show you how to apply the vinyl decal.
Now wasn’t that easy?
You can now make one-of-a-kind statement pieces to apply to your everyday items. Share your creations with us by using #cricut.
Related Making


Search How-To
I want to make...