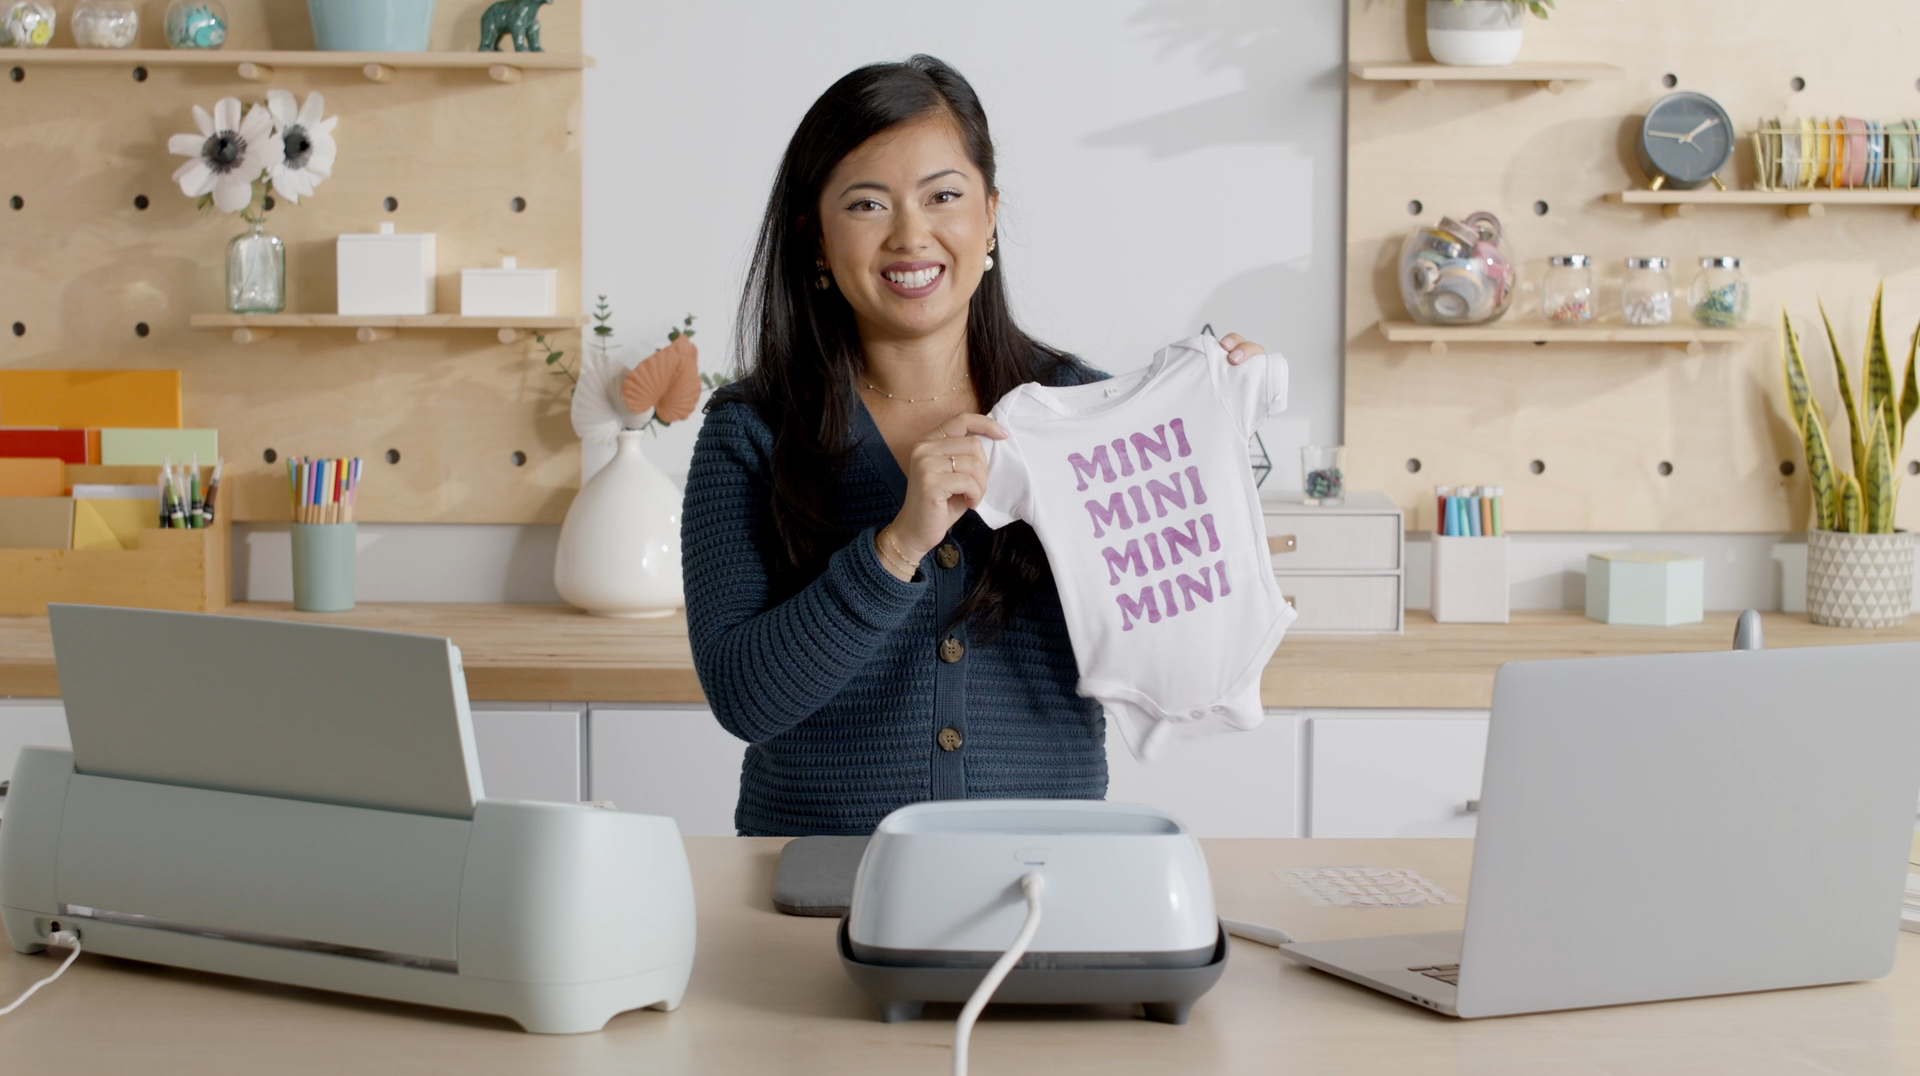
Natasha has come up with a genius way to standardize her gift giving process for all her friends and family that are expecting. Look no further than your Cricut to create custom baby clothes! So follow along to see how she makes it! If you want to make this same project, head to Design Space using this link.
Supplies needed
Print this list
How to make custom baby clothes
Step 1
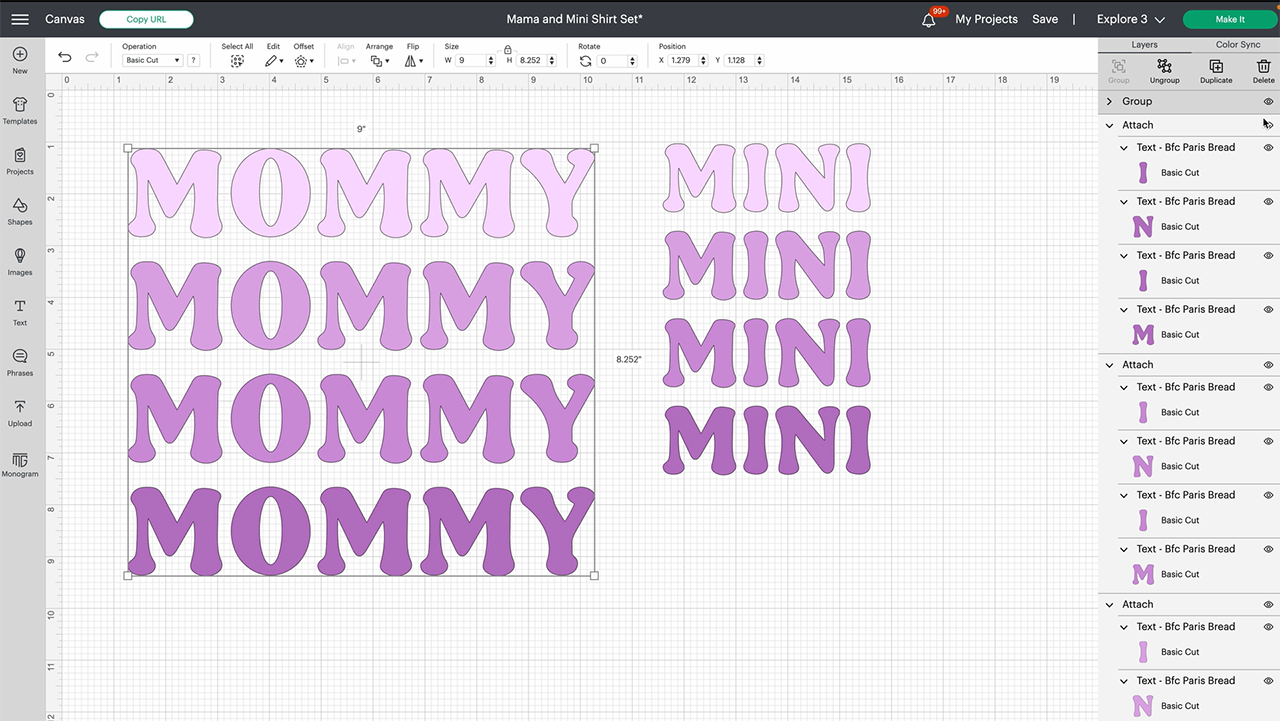
Head into Design Space and open up the Mama and Mini Shirt Set project. If you’ve already made the mommy shirt, or if you only want to make the baby clothes, go ahead and hide the mommy by clicking the eye icon. Natasha wants to make the mini all one color, so she selected all four words and clicked attach.
Step 2
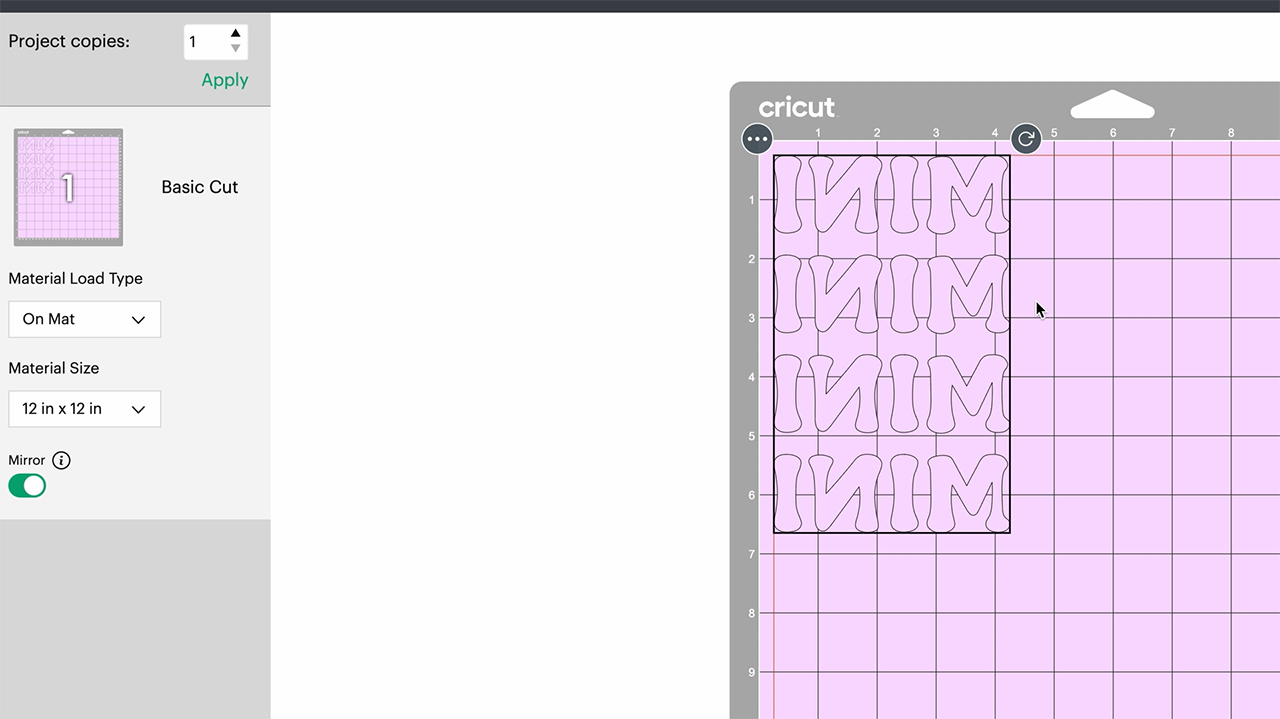
Next, click make it and Design Space will show you a preview screen. Since Natasha is using infusible ink, she will select the mirror button. This will make the machine cut the words backwards, so that when she presses the ink onto her baby clothes, the words will read the right way. Then select the material that is being used. In this case, it will be infusible ink.
Step 3
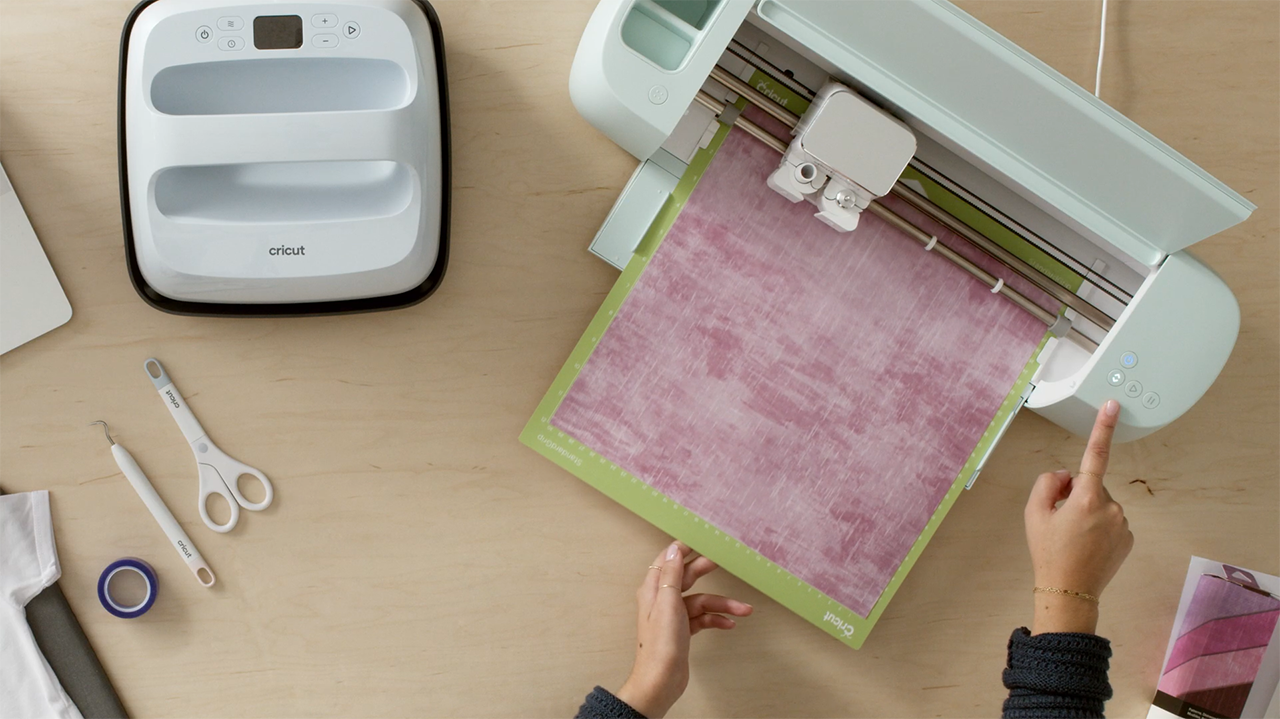
Next, place the infusible ink transfer sheet on a standard grip mat. If you’re using infusible ink, make sure sure that your hands are dry and don’t have oils when you’re placing it on the mat. Then load the mat into the machine and press the load button. Once the machine’s go button starts flashing, press it and the machine will start cutting the design. Then turn on the Easy Press to the correct time and temperature so it can warm up as the machine cuts.
Step 4
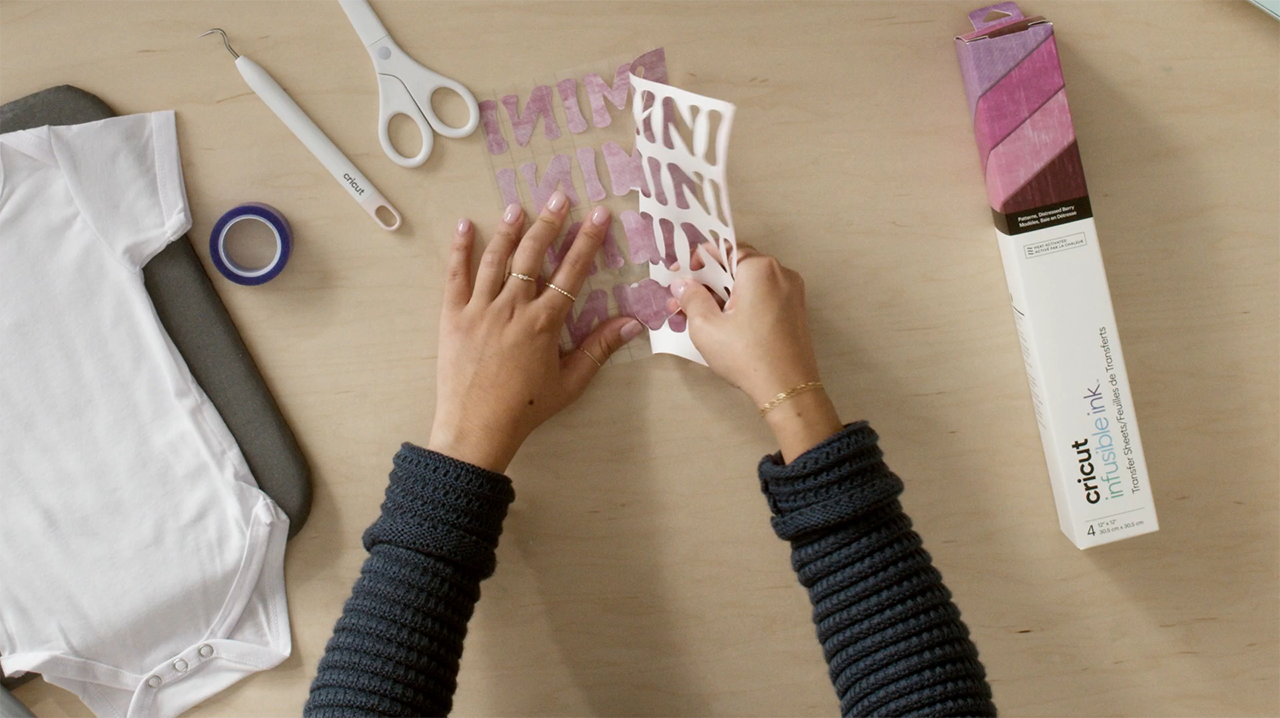
Once the machine is done cutting, unload the material. Then pull the mat away from the infusible ink. This will help your material not curl as much. Then trim down the infusible ink so that you can save the material you didn’t use for future projects. After you trim your material, it is time to weed the design. You do this by removing the excess material you don’t want in your design, so that only your design shows.
Step 5
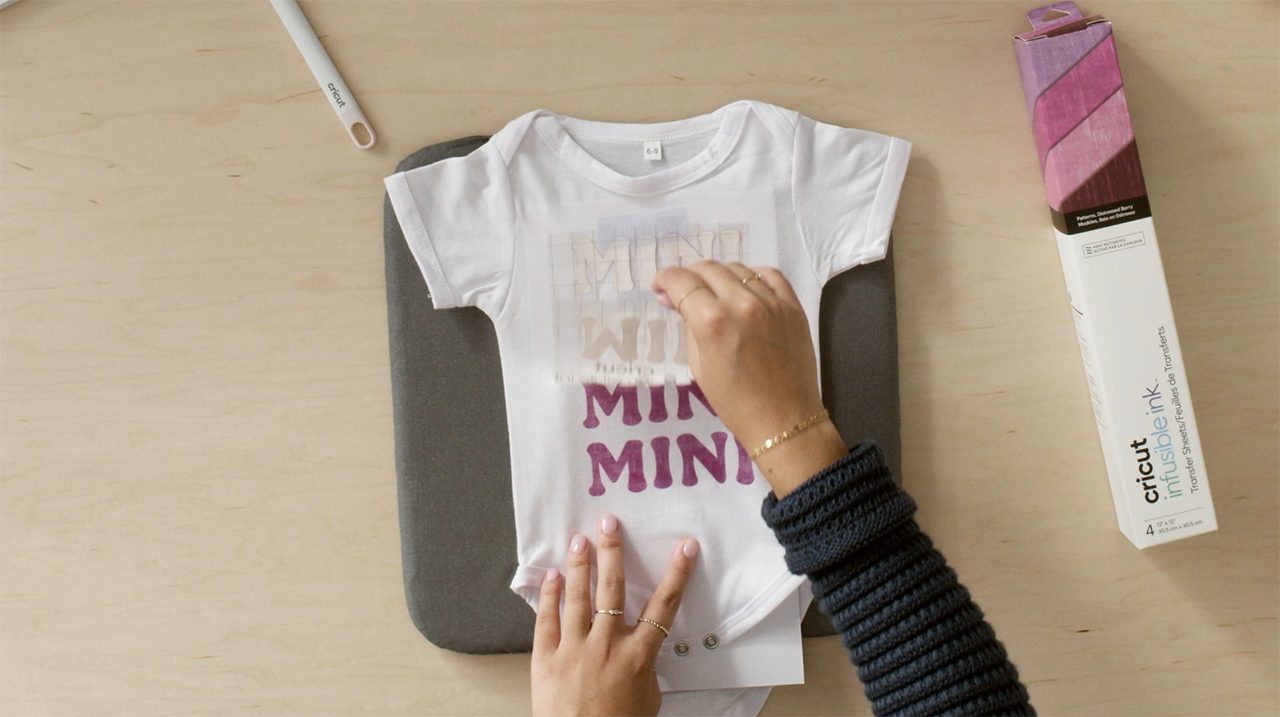
Next, you’re doing to want to prep your baby clothes. Take a lint roller over the clothes to pick up any particles or lint. Then do a a pre-press for 5 seconds. This will help take out any moisture in the fabric and create a smooth surface. Then insert a piece of cardstock in the bodysuit. Since the infusible ink infuses with the fabric, the cardstock acts a a protective layer so the ink is only on the front of the bodysuit. Then place your design where you want it. Once you are happy with your placement, take some heat resistant tape and secure the design to the front.

Step 6
Next, take a piece of butcher paper and place on top of the design. This adds a protective layer so that the ink won’t get on the Easy Press. Then place the Easy Press on top of the parchment paper a press for amount of time you set it to. In this case, Natasha is pressing for 40 seconds. And make sure to use both hands and firm pressure while using the Easy Press. Once the timer goes off, remove the Easy Press and slowly peel away the infusible ink backing.
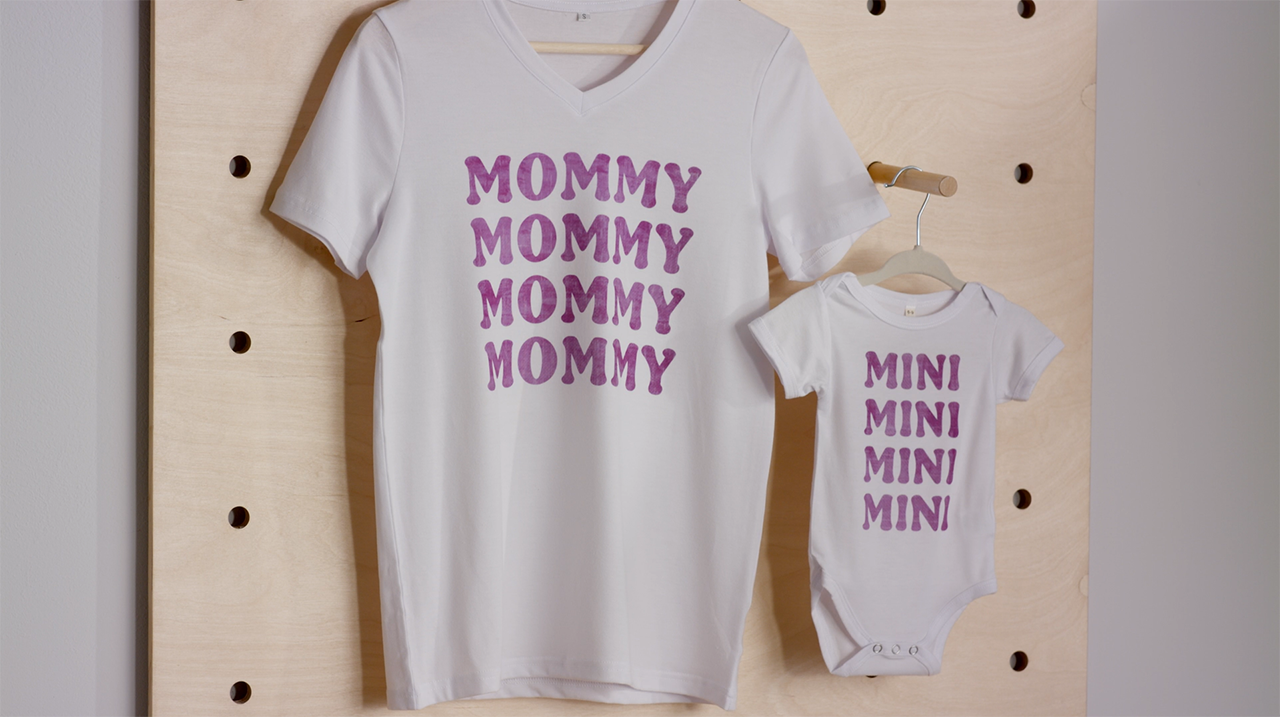
Now admire your custom baby clothes!
This is a simple project that has a huge wow factor! And whether you’re making it for friends or family, they will love you one-of-a-kind gift. Make sure you share your creations with us on social media by using #cricut!
You Might Enjoy…