How to make cake decorations using your Cricut machine
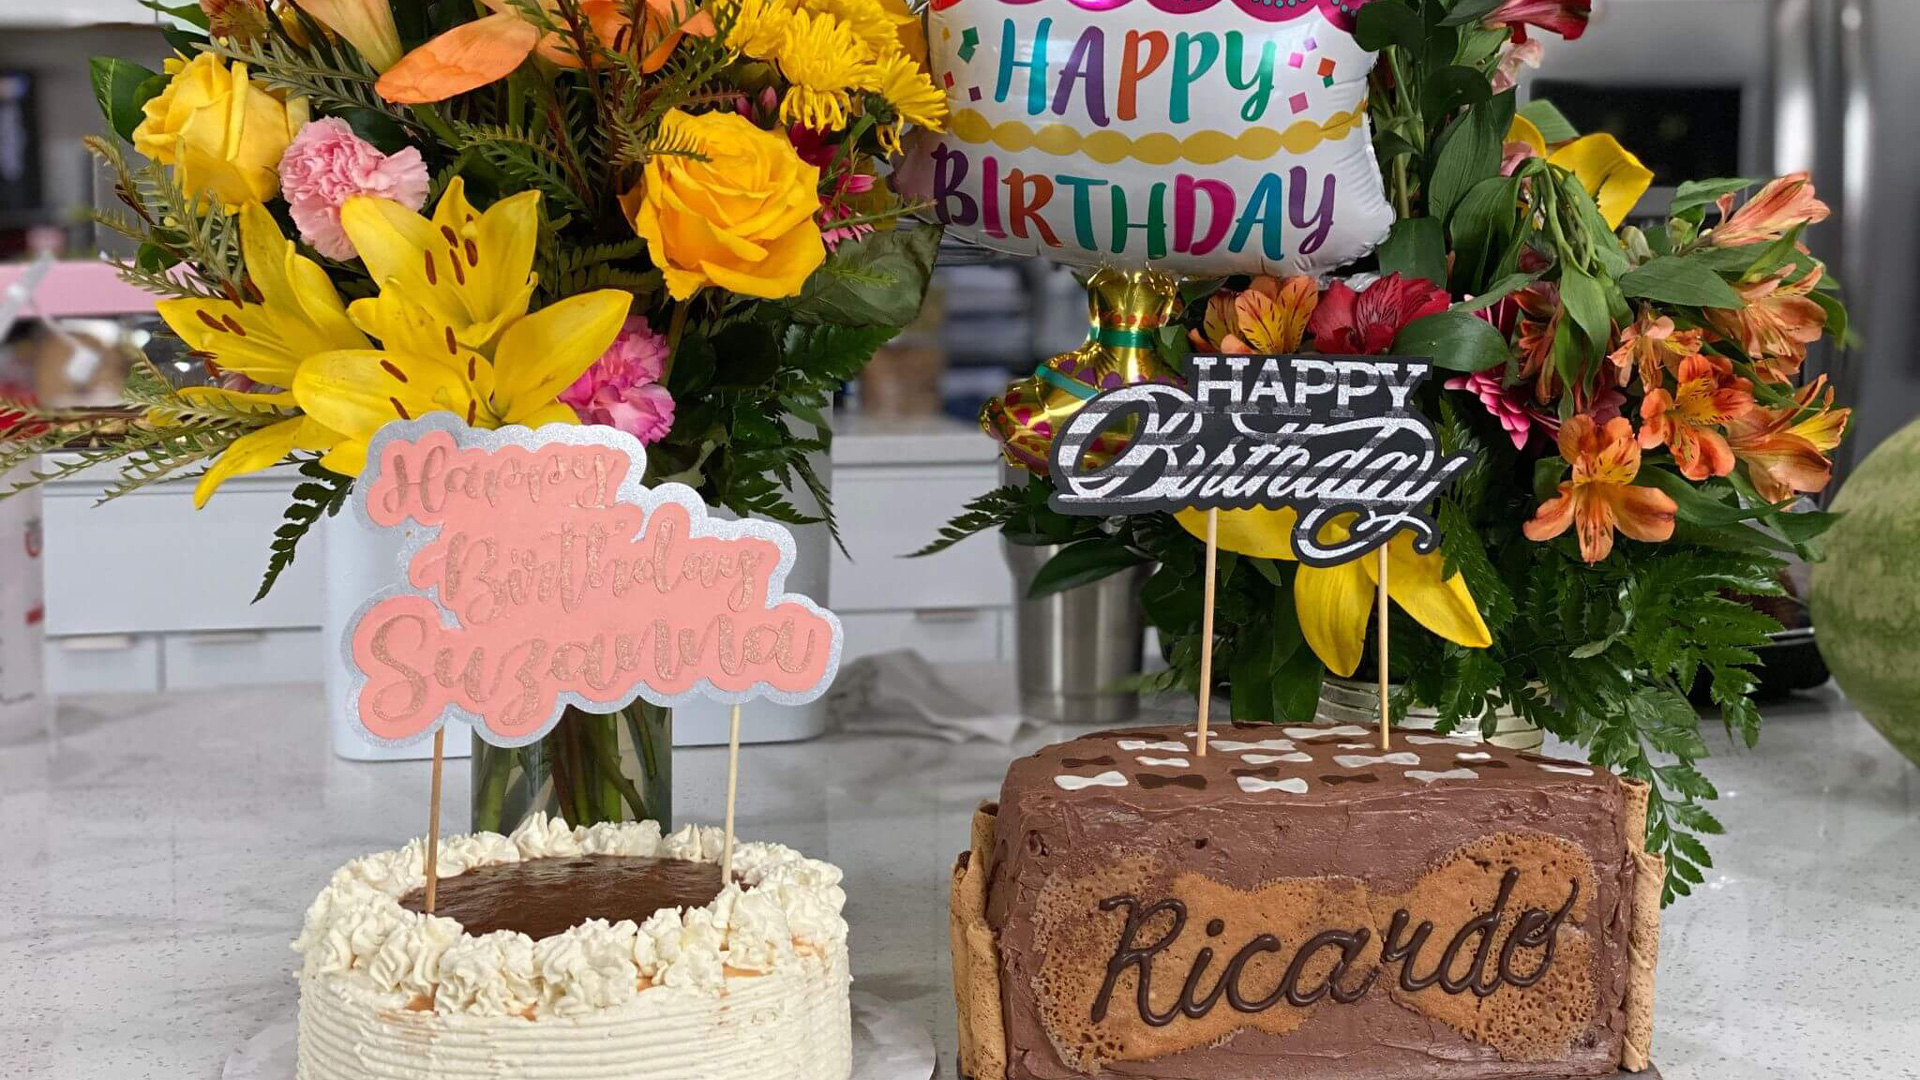
Mmm. Cake.
I love food. I love food so much, I went to culinary school. I also love sweets, but I’m not a baker. Baking takes that certain patient precision and measuring is not my thing. So, when my friend, Mika, asked for cake decoration ideas, I had to hijack that opportunity. When else would I have the chance to create custom Cricut® cake decorations without having to bake the custom cake?
Mika started an afternoon tea catering business late last year, December 2019, called Honey Teahive. My opportunity struck when she was recently asked to cater a birthday party that required two decorated cakes. Yes! I had been wanting to play with tuile and cake decorations using a Cricut machine. So, that’s when I invited myself over to test out decoration ideas (insert evil laugh here).
I had three ideas for cake decorations that we implemented one late Saturday night, the day before the event. I’ll start from the (seemingly) easiest application to the most difficult.
Easiest: Paper/Cardstock Cake Topper
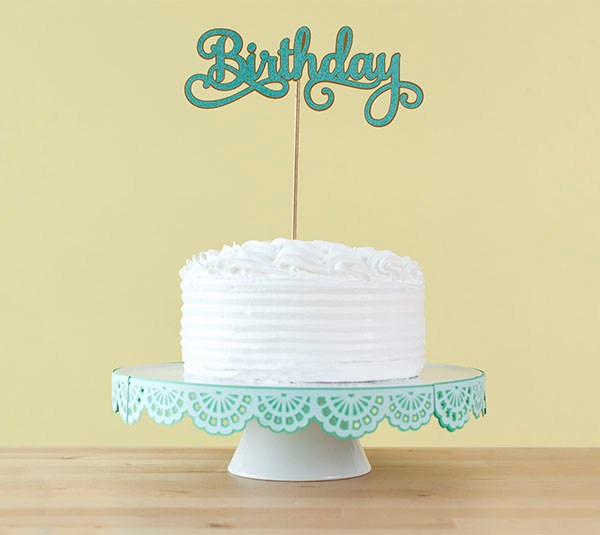
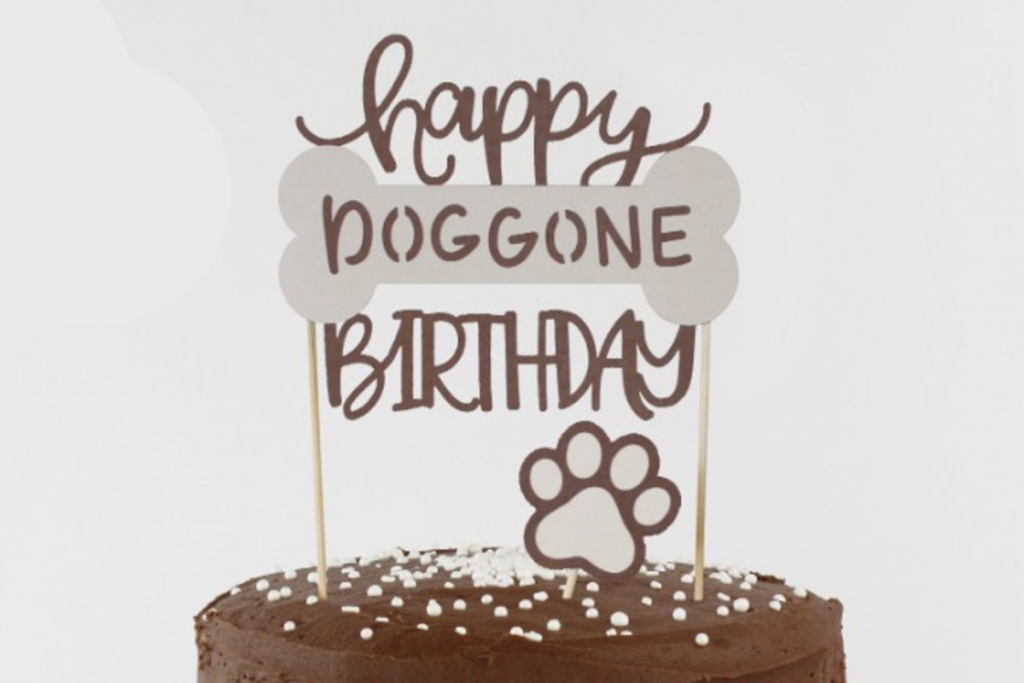
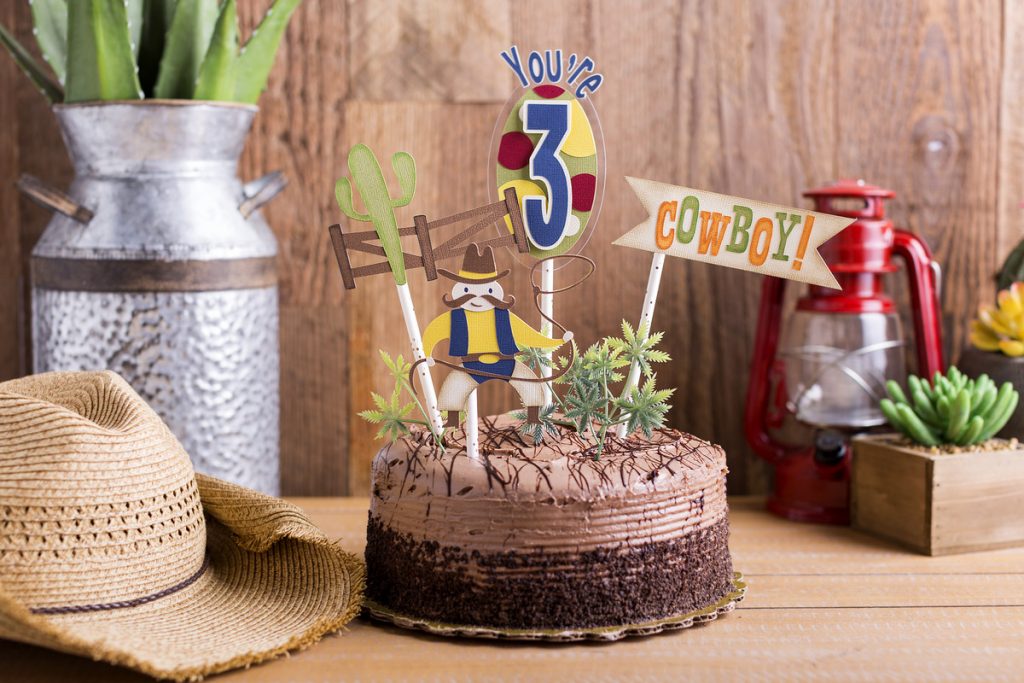
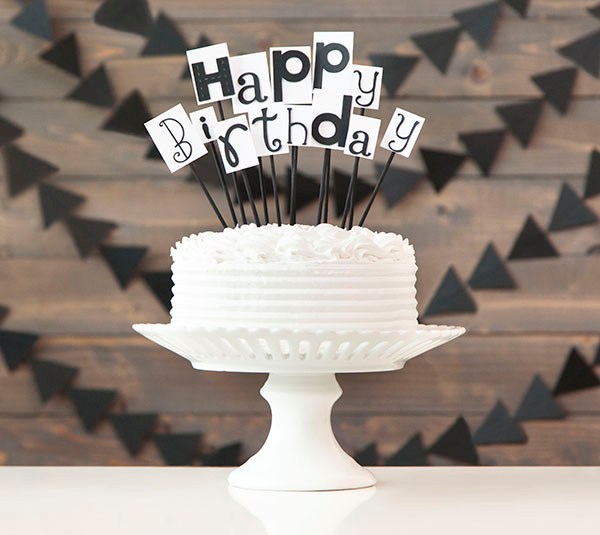
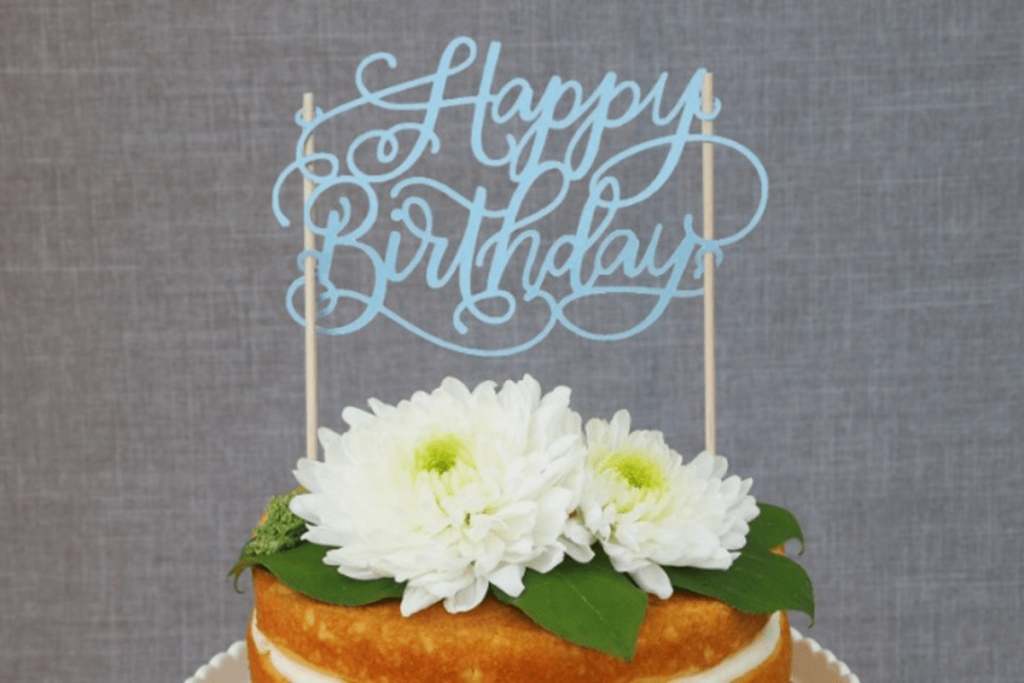
First things first. Everyone loves cake toppers, right? There are several birthday cake topper projects and images available in Design Space®.
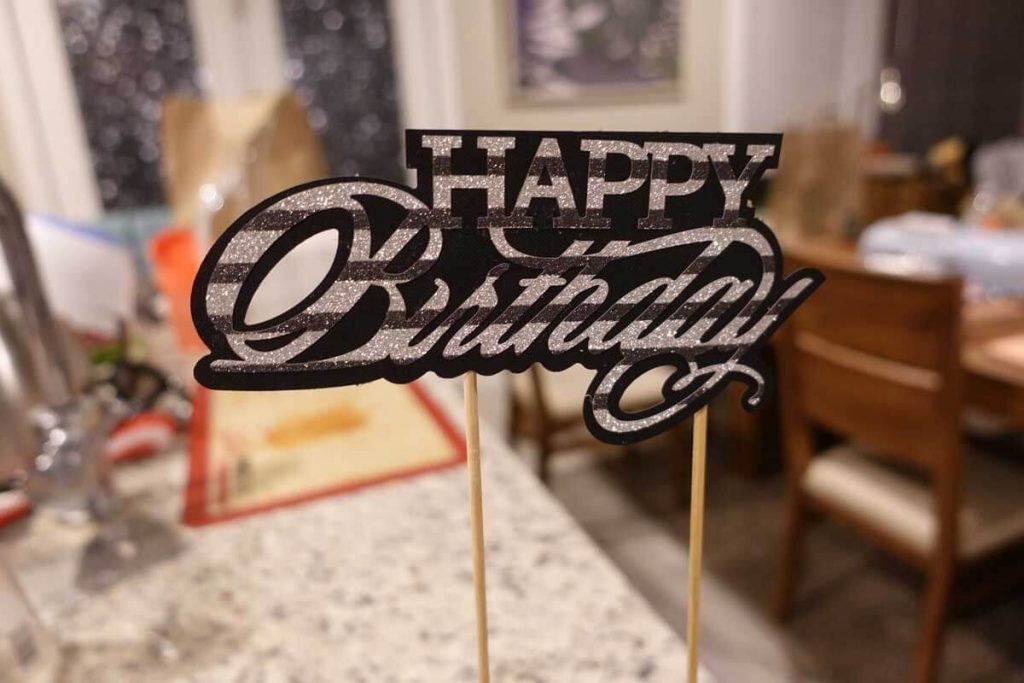
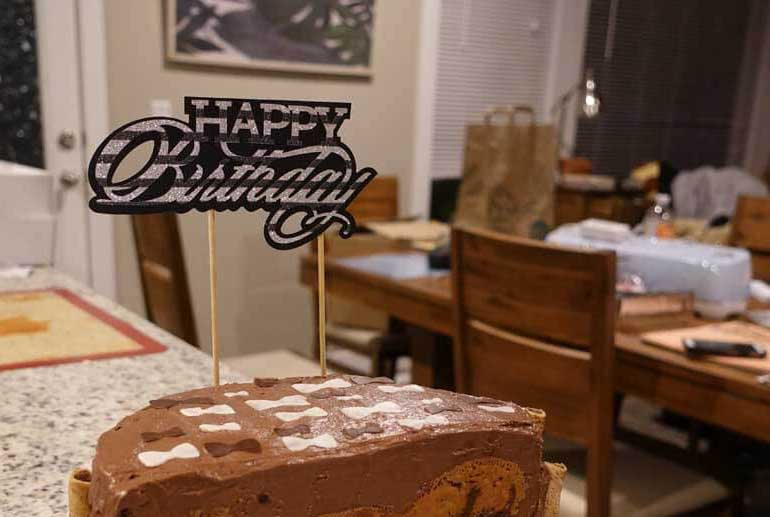
For the chocolate cake, I used image #M837D5F to create a simple two-layer “Happy Birthday” topper since we would add more embellishments to the cake later.
Add this image to your Design Space canvas by using the “Images” icon on the left and search for the image number above. Don’t forget to include the number (#) sign.
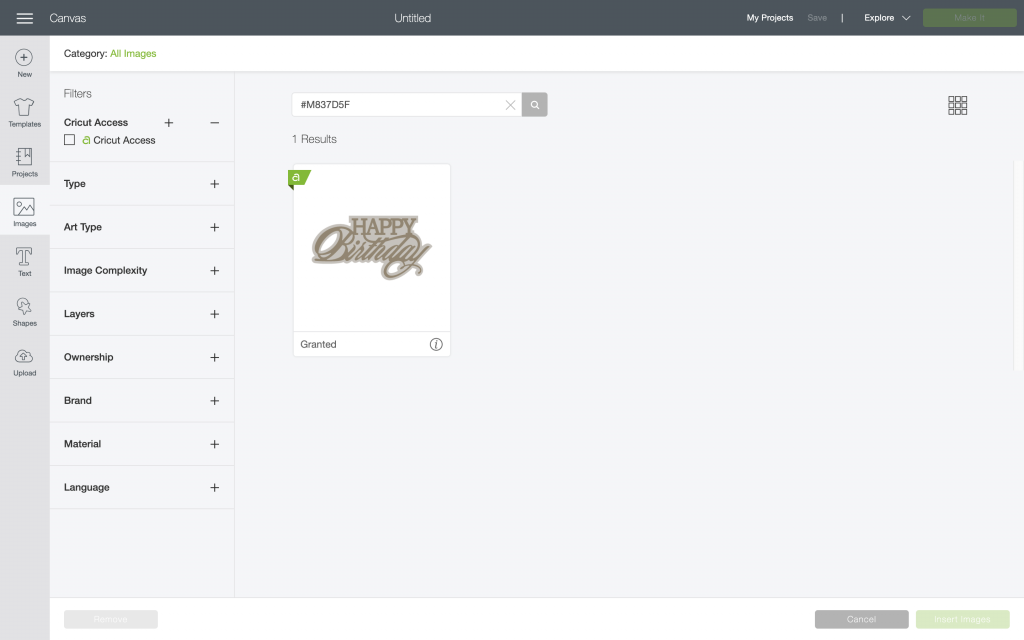
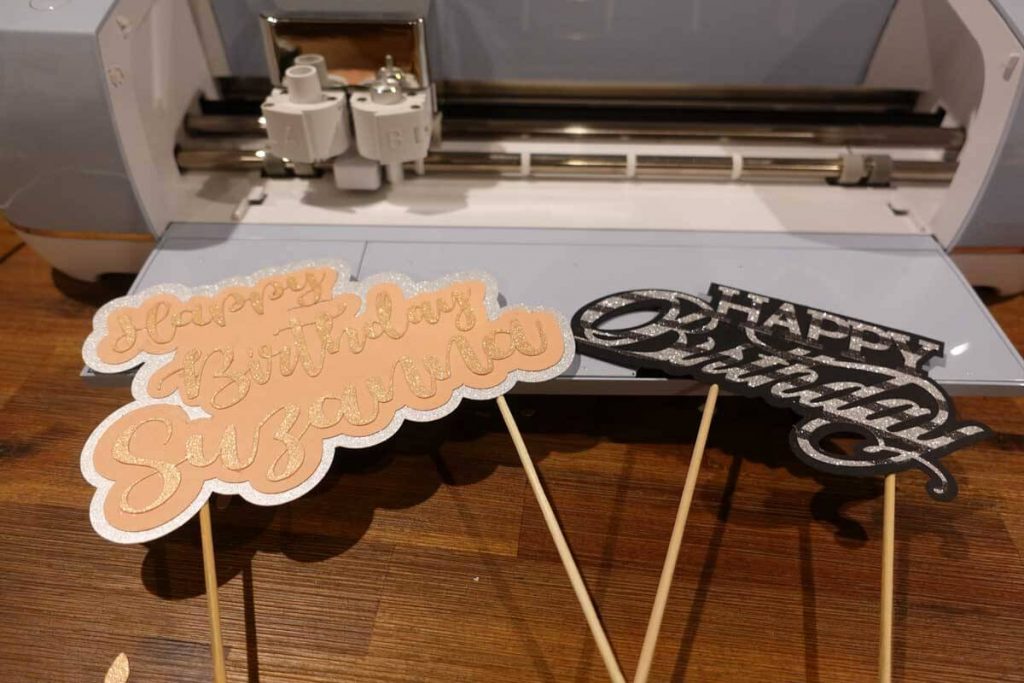
Select and insert the image onto your canvas then size it to your cake before you “Make It.” Check out this fun sparkle cardstock color Mika chose for the topper!
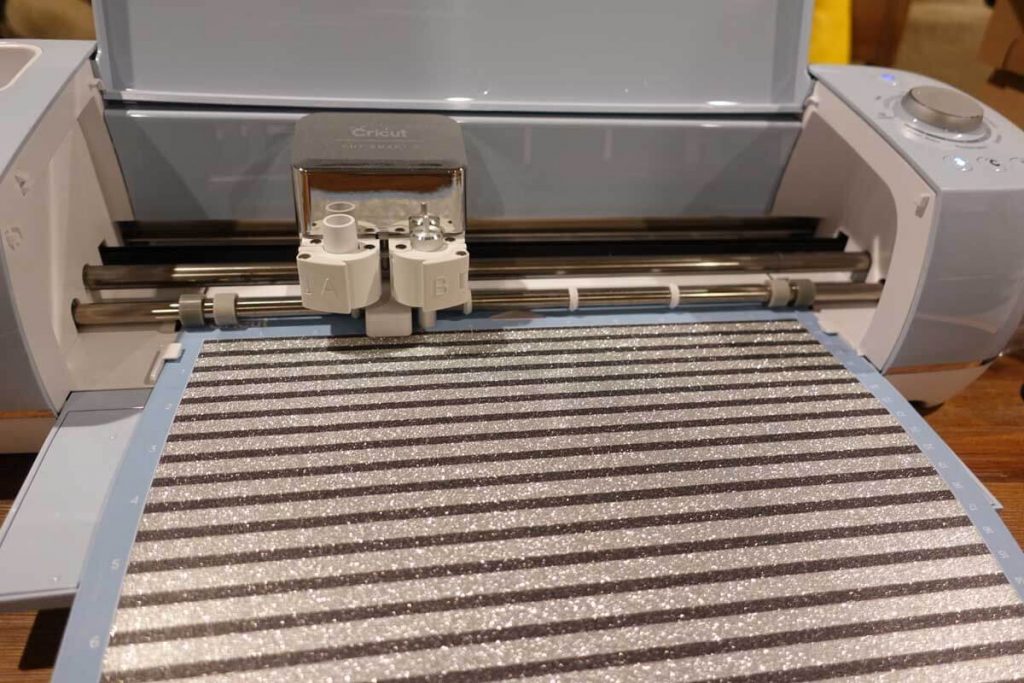
After you cut the design, I recommend peeling the mat away from the material. The mat is sturdy and more robust than the material so this helps the paper keep from curling as you peel it away.
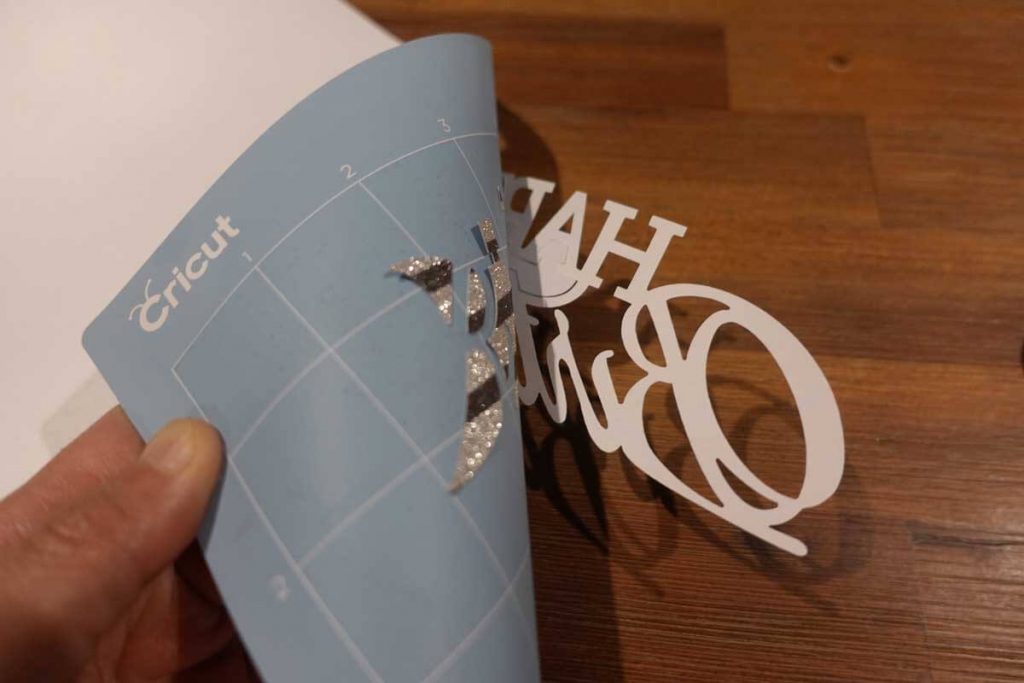
Weed the design, and then glue the pieces together. I only had tacky glue on hand, but I bet this would’ve been easier and cleaner with glue sticks.
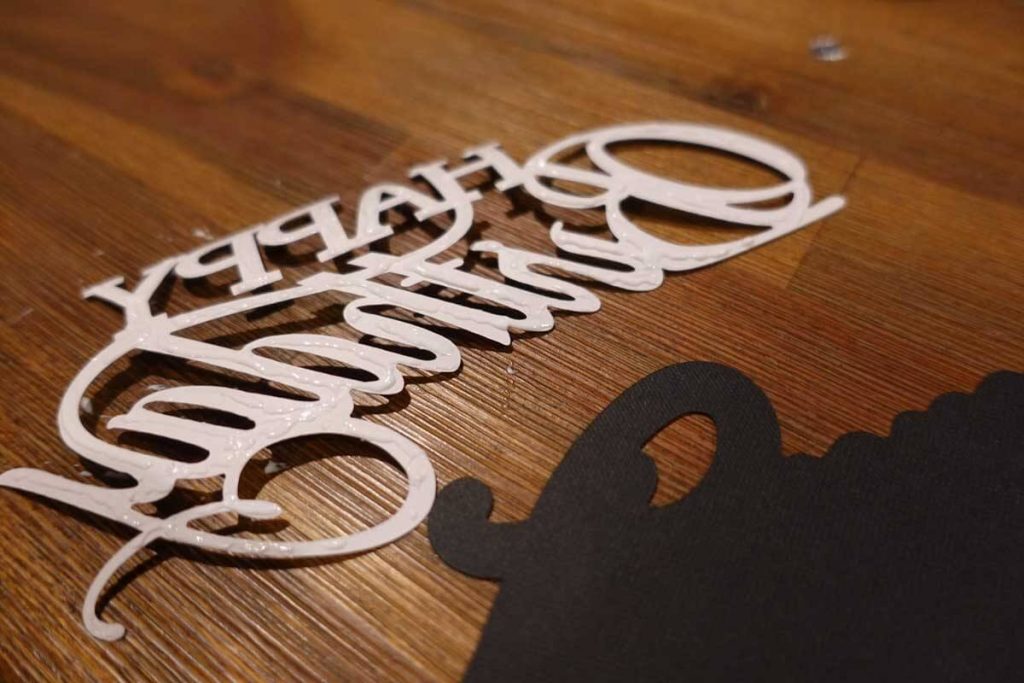
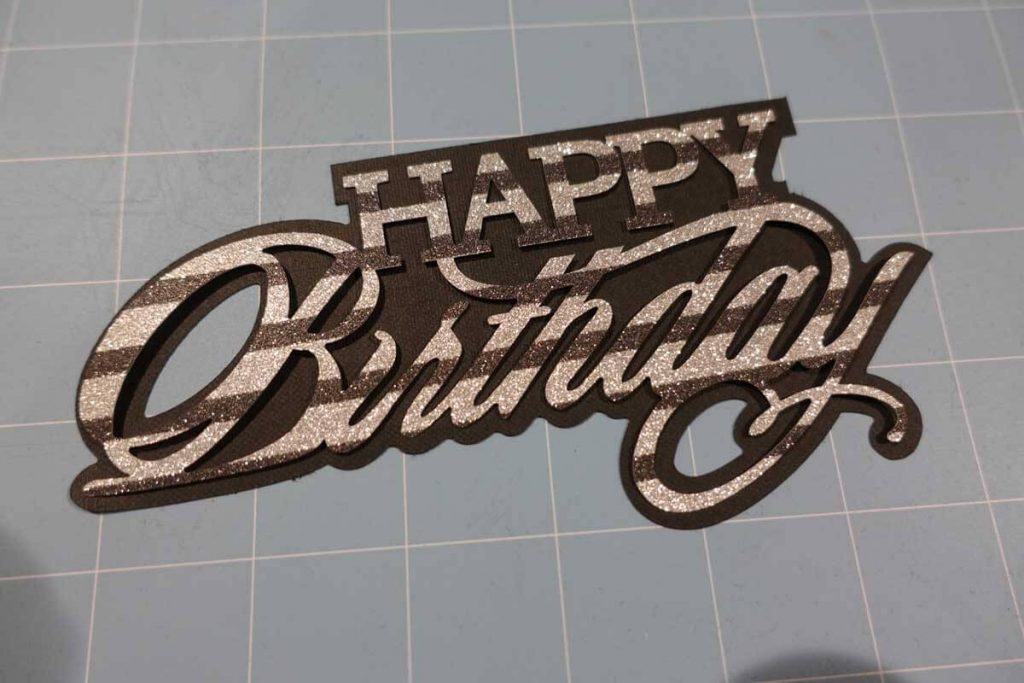
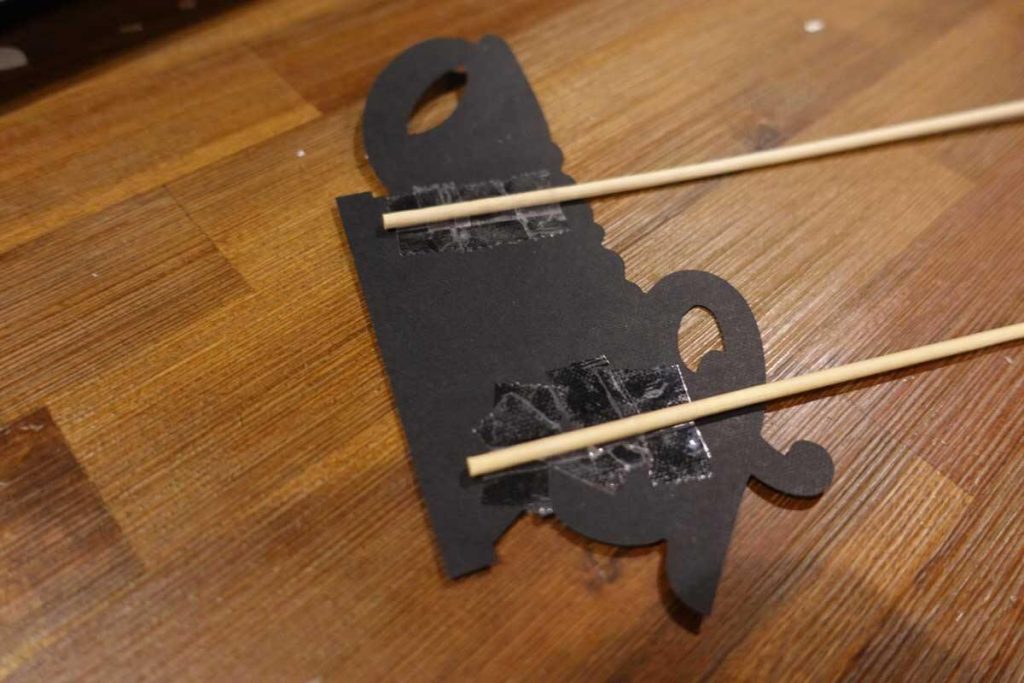
Add two skewers evenly to the ends with tape at the height you want it to sit on the cake. If the topper feels too heavy for skewers, use cake dowels for better support.
Viola! Cake topper #1: finished.
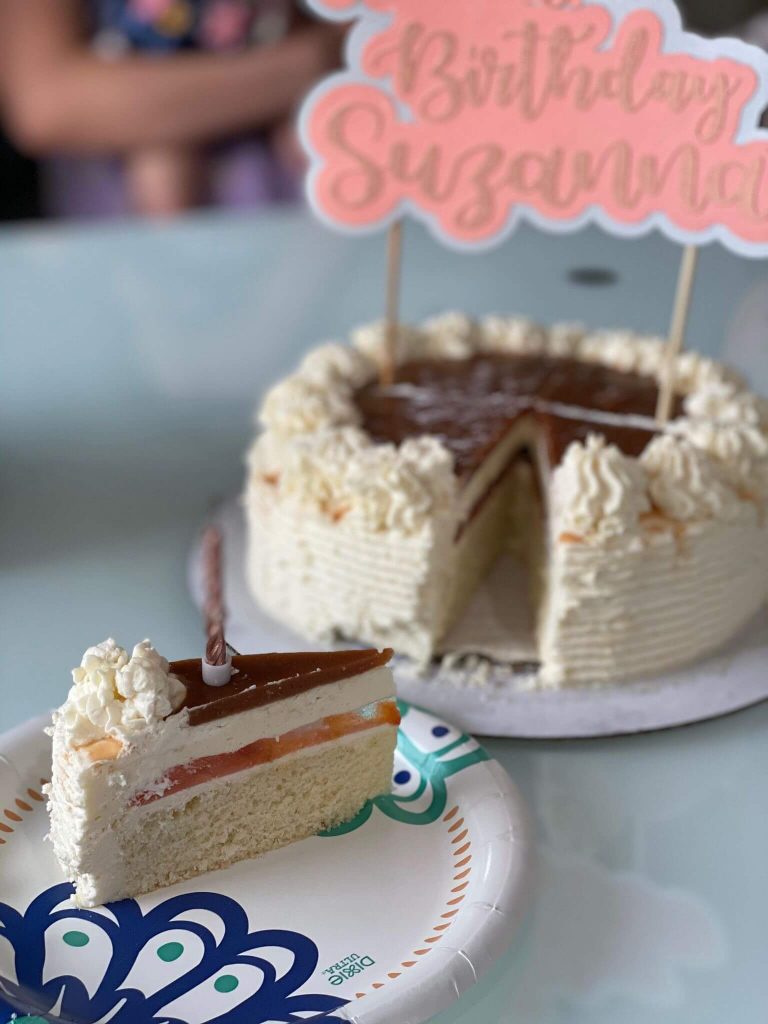
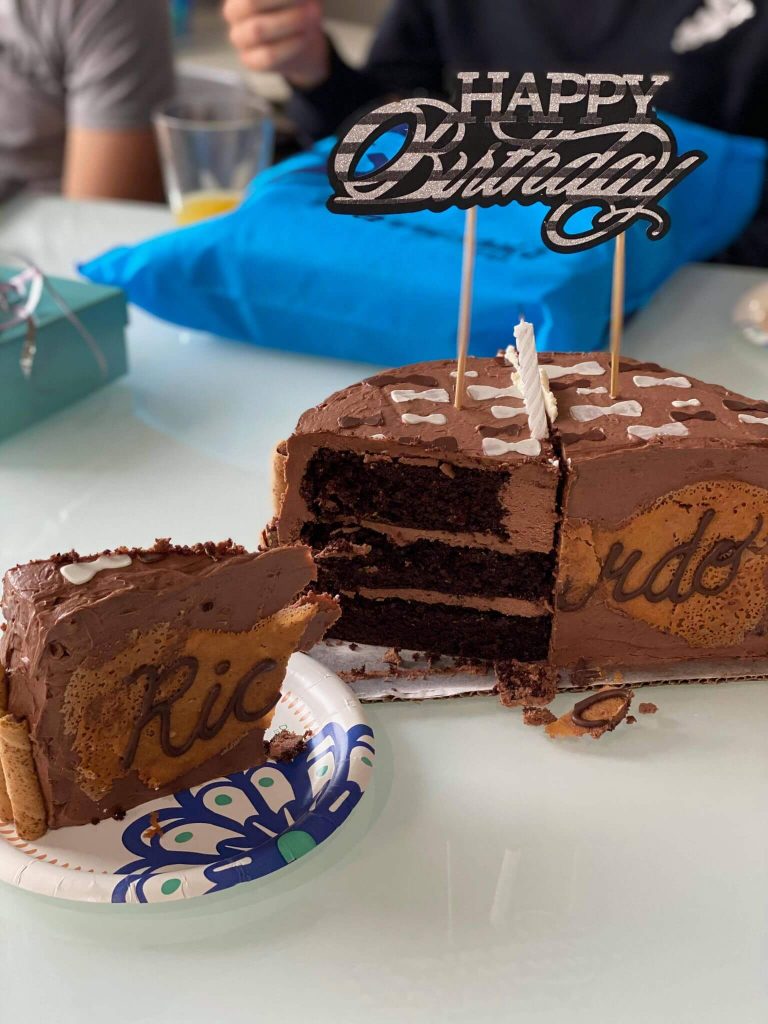
For the second cake, I decided to create my own art. Suzanna’s peaches and cream cake called for something a bit more elaborate. With a few slight modifications, I used this tutorial to create a layered text.
Okay, this step is not the easiest unless you have perhaps a little bit of design software experience (I use Adobe Illustrator), but here are simplified steps for what I did:
- Use the type tool in your favorite font to type your desired copy and change the color as you wish. In my case, I wrote “Happy Birthday Suzanna” in a peach color.
- Convert to outline by right-clicking the text and selecting “create outlines.”
- Create an offset path by going to Object > Path > Offset Path. Then, enter the preferred width of your offset path and give it another color to differentiate it from the original image. I set it at 10 px and changed the color to a light peach to match my material. Group these separately from the original text and merge the individual components into a layer together.
- Repeat the last step and increase the width of your offset path to create a third layer. I set it at 20 px and colored this silver. Don’t forget to group separately and merge. This helps Design Space recognize it as individual layers.
- Save the file as an SVG and upload to Design Space!
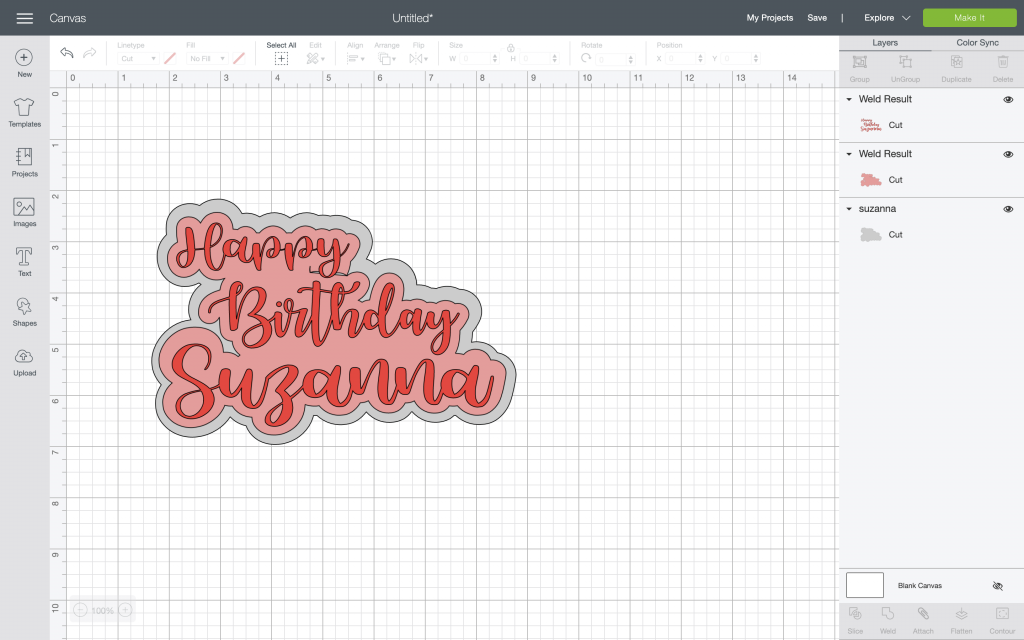
After my image was uploaded to Design Space, I sized it to fit the cake and hit “Make It.”
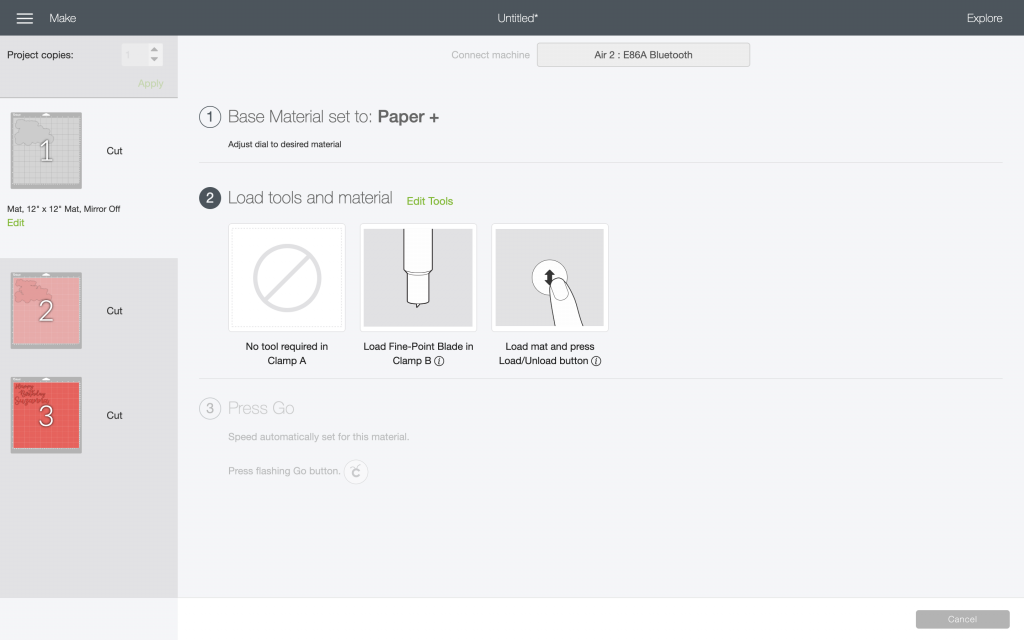
Weed each individual piece and glue all three layers together. Tape it evenly onto two skewers. Then, viola! Cake toppers: finished.
Intermediate: Chocolate stencils
Food competition shows are my weakness. I love watching people cook, design, and plate. It’s like crafting with Cricut but edible! A common decoration I see on baking shows is chocolate decorations.
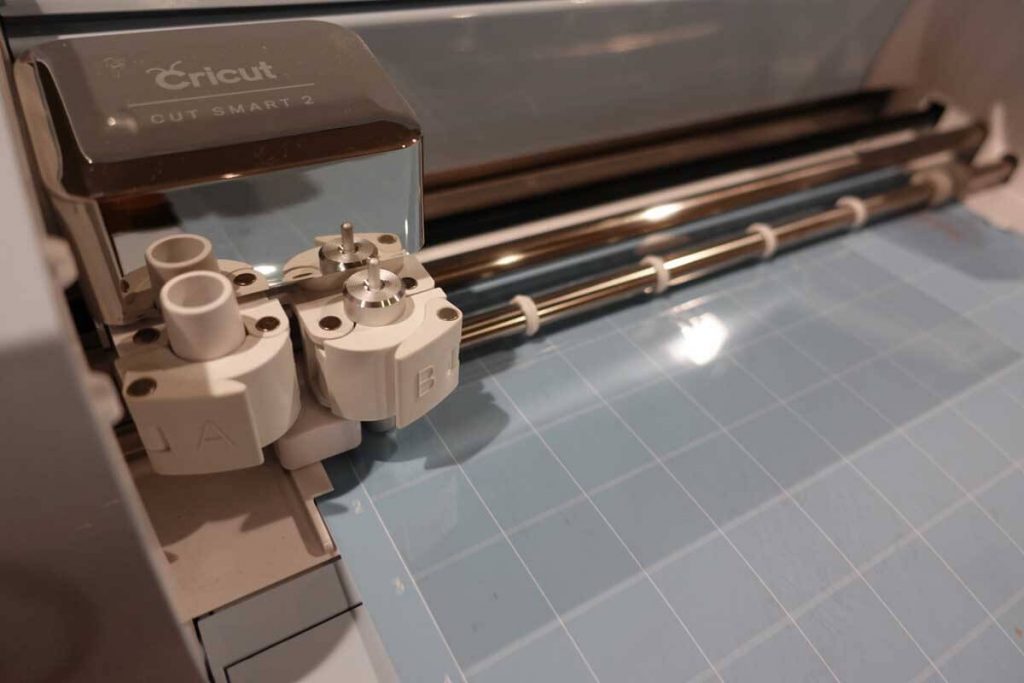
Using the Cricut Explore Air® 2, I cut Design Space image #M38FB0 in varied sizes to create stencils from food-safe acetate.
On top of another piece of acetate, I smeared melted chocolate wafers across the stencil I created to make chocolate bowties. Put them in the freezer to harden then, flex the acetate to slowly release the chocolate.
Advanced: Tuile stencils
In a previous lifetime, I worked as a pantry cook at a nice restaurant where I shaped a spoon out of tuile batter for garnish on a dessert. This was my last idea for cake decorations that late Saturday night: tuile, thin delicate cookies that could be molded when warm.
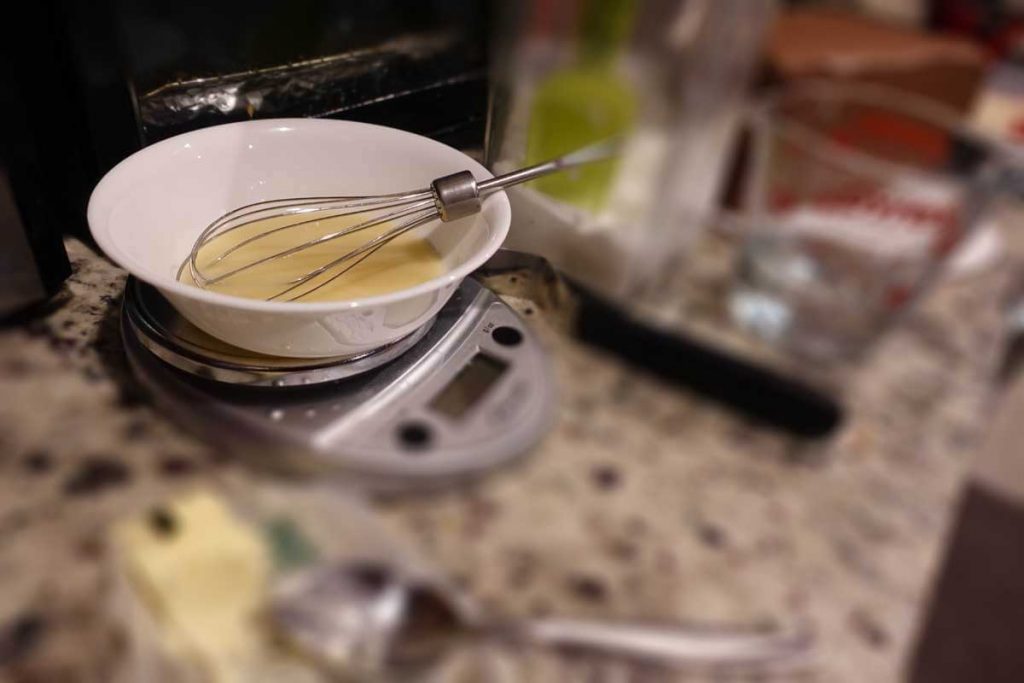
I made a batter using a recipe from Chef Iso.
Then, I cut a giant bowtie stencil with acetate.
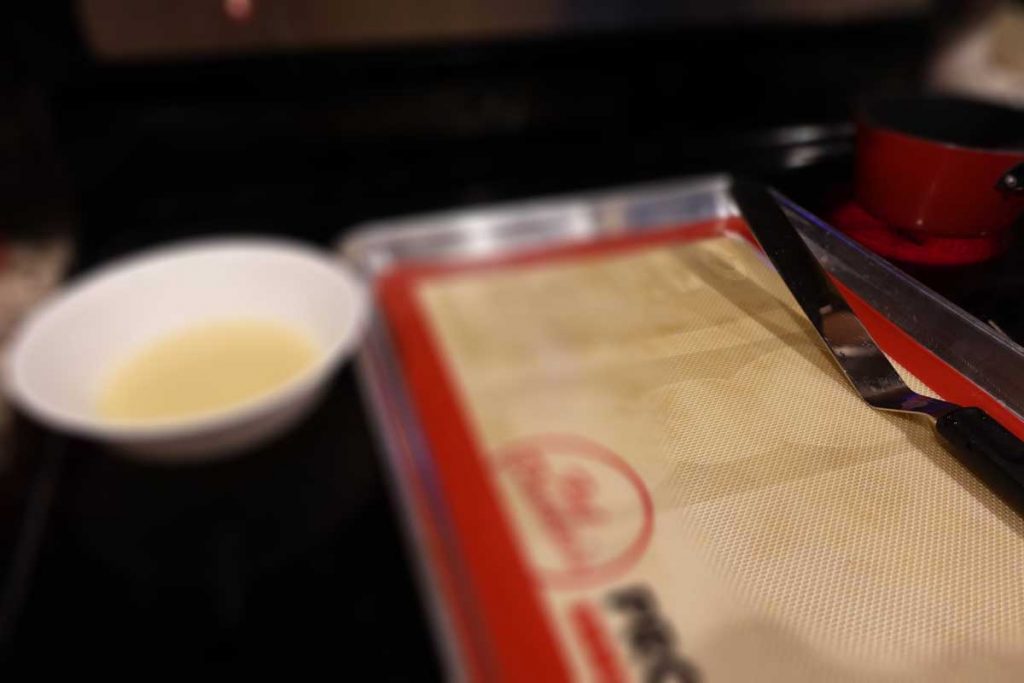
Similar to the chocolate, I smeared the batter across the stencil using a spatula to smooth it over. Be careful to only smooth the stencil with pressure from above as moving it too much from the edge may increase the likelihood of gaps, excess, and spillage (see the second bowtie in the photo below).
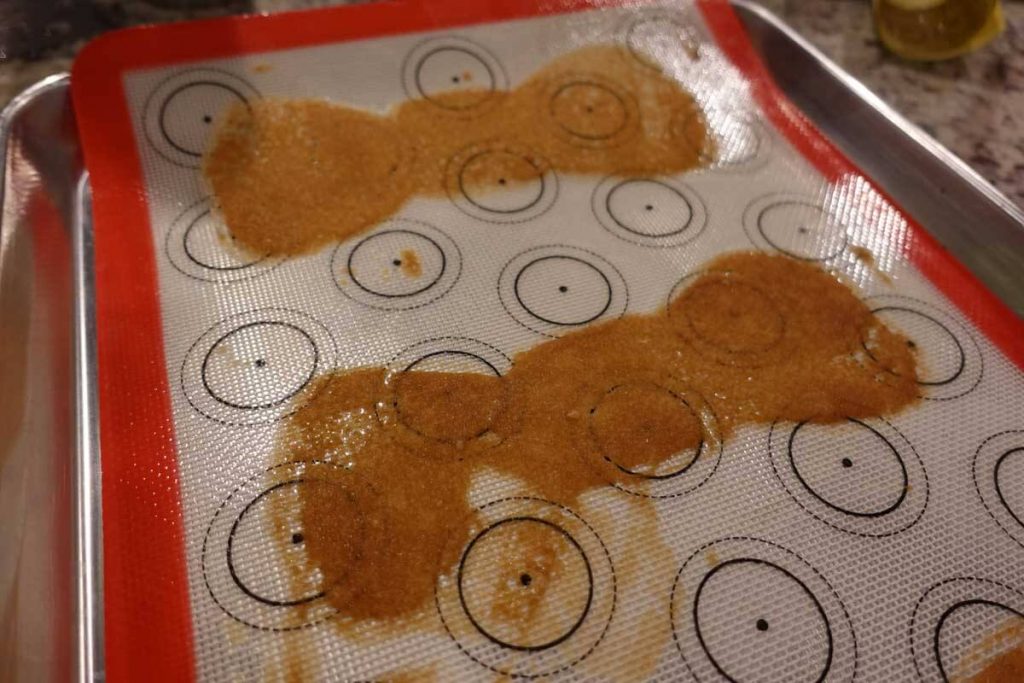
I scrapped the idea of doing the name in tuile – it was too difficult and much easier to write with piped melted chocolate! And though it took a few tries, I got the bowties to work! There were many fragile, broken pieces that we ate as we worked, so I may recommend a different recipe such as this one to get a less fragile product (even though Chef Iso’s tuile was delicious!).
Other ideas from our community
Okay, with mediocre crafting skills, I sometimes feel I’m living the life of Ethel Merman and Bruce Yarnell in Annie Get Your Gun because… Anything I can do, the community does better. Here are a few awe-inspiring ideas I came across from our wonderful members.
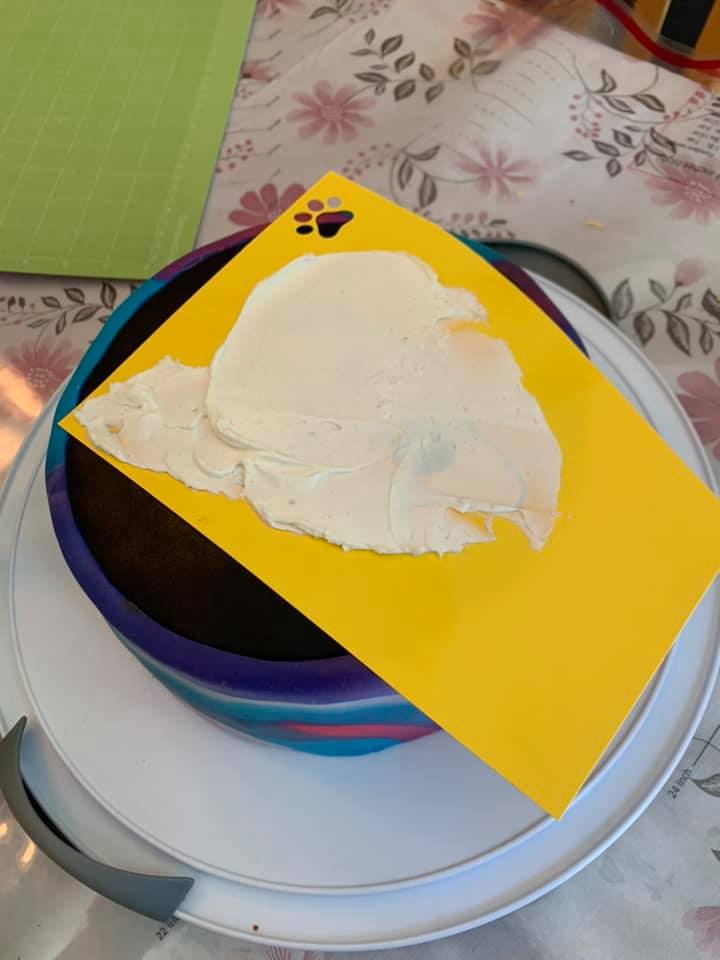
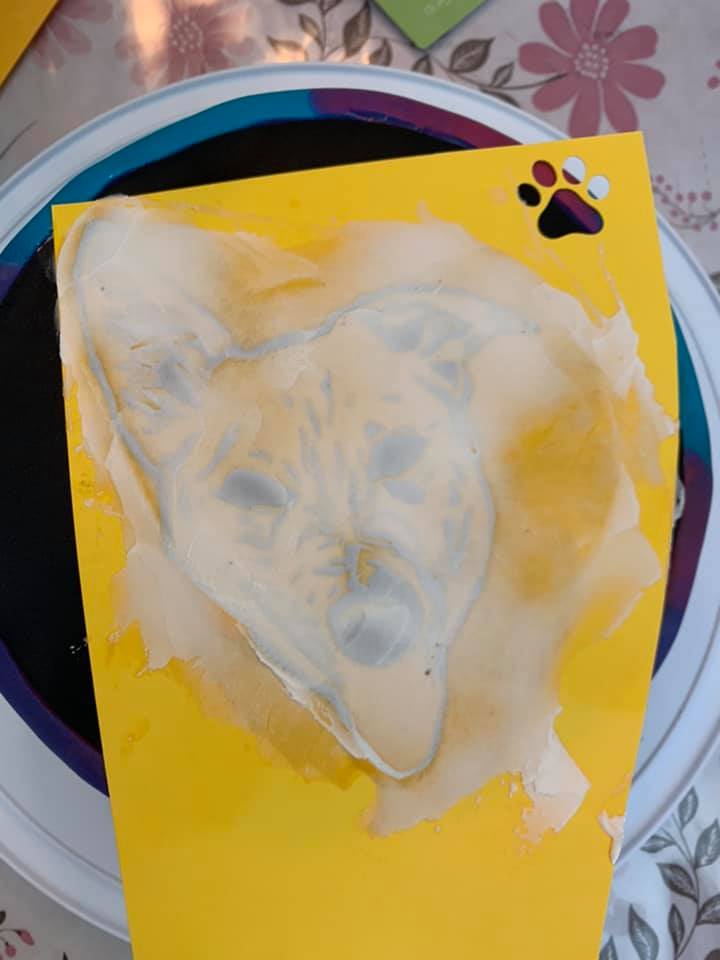
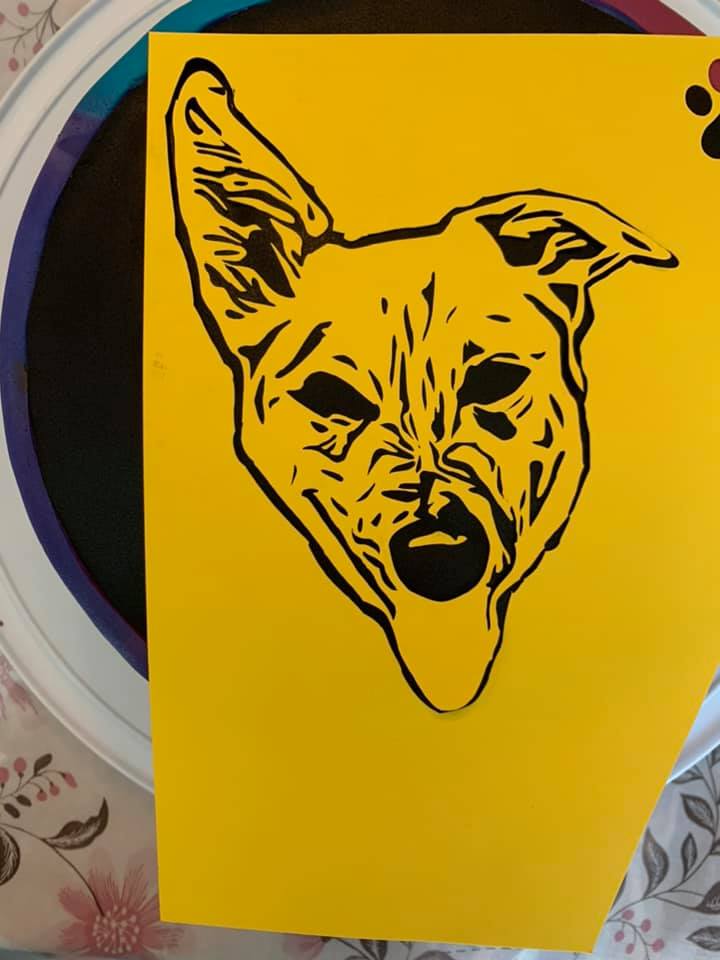
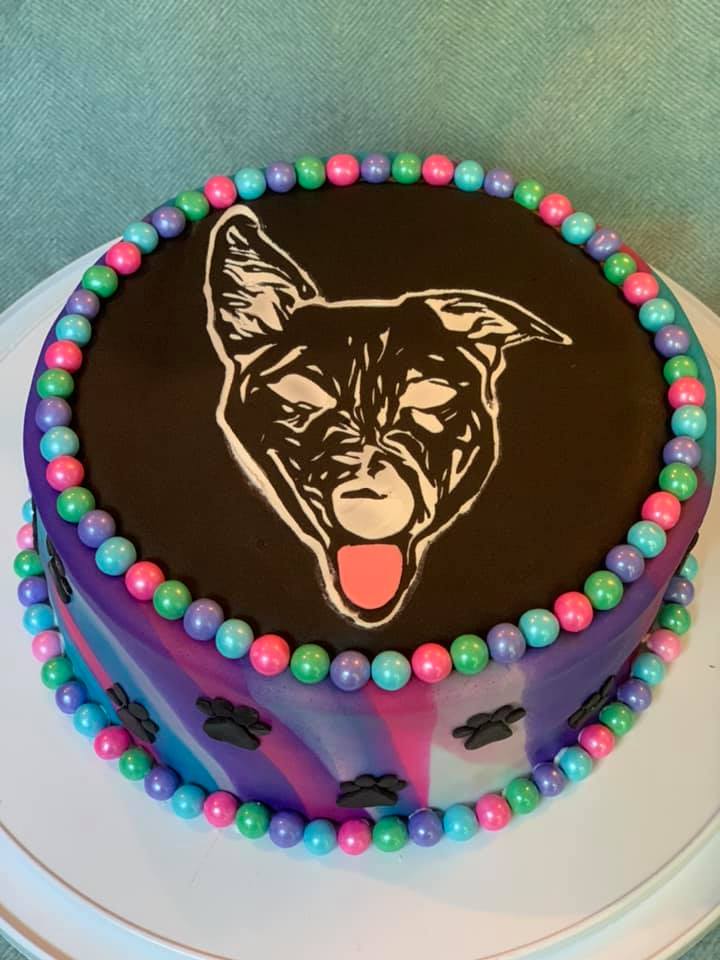
Fondant birthday cake with custom dog face stencil in icing
By Jen Smith
Jen made this birthday cake for her daughter who asked to include their dog as part of the decoration. The stencil is cut with a Cricut machine using cardstock and applied with a thin layer of icing.
Personalized cake topper shaker
By Ivy Gallegos
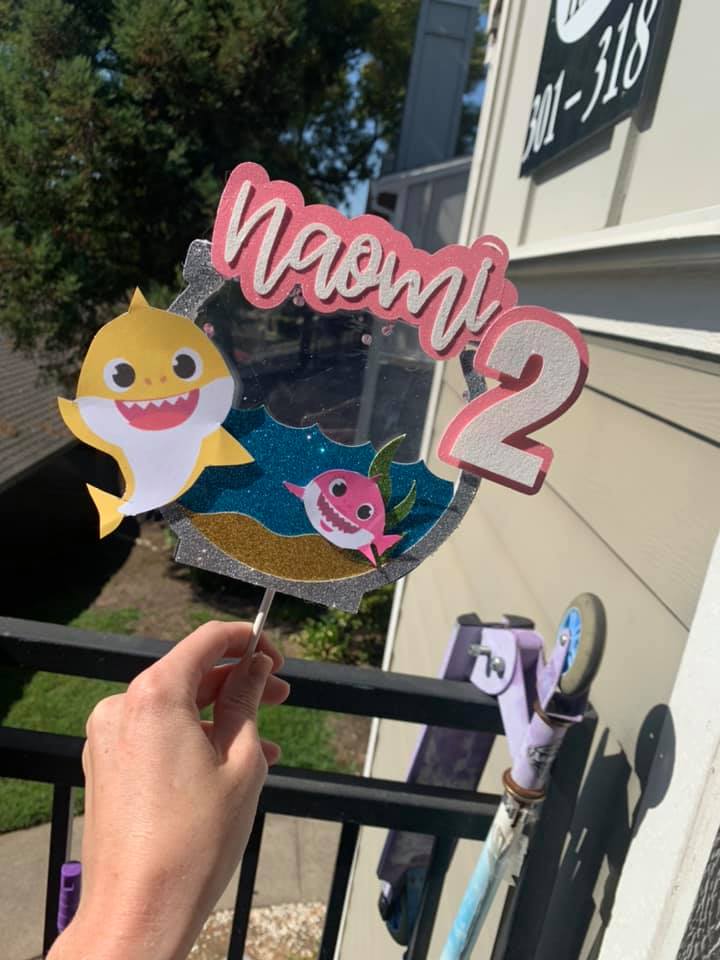
Ivy made this fun birthday cake topper with cardstock and foam layers using her Cricut machine so that she could fill the topper with confetti and create a “shaker.”
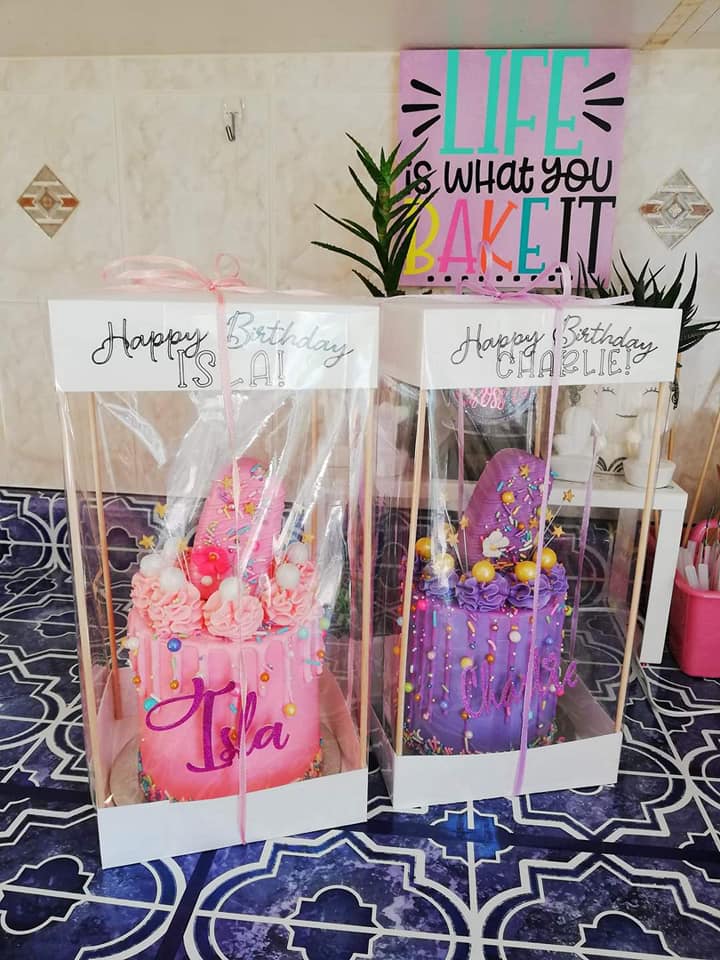
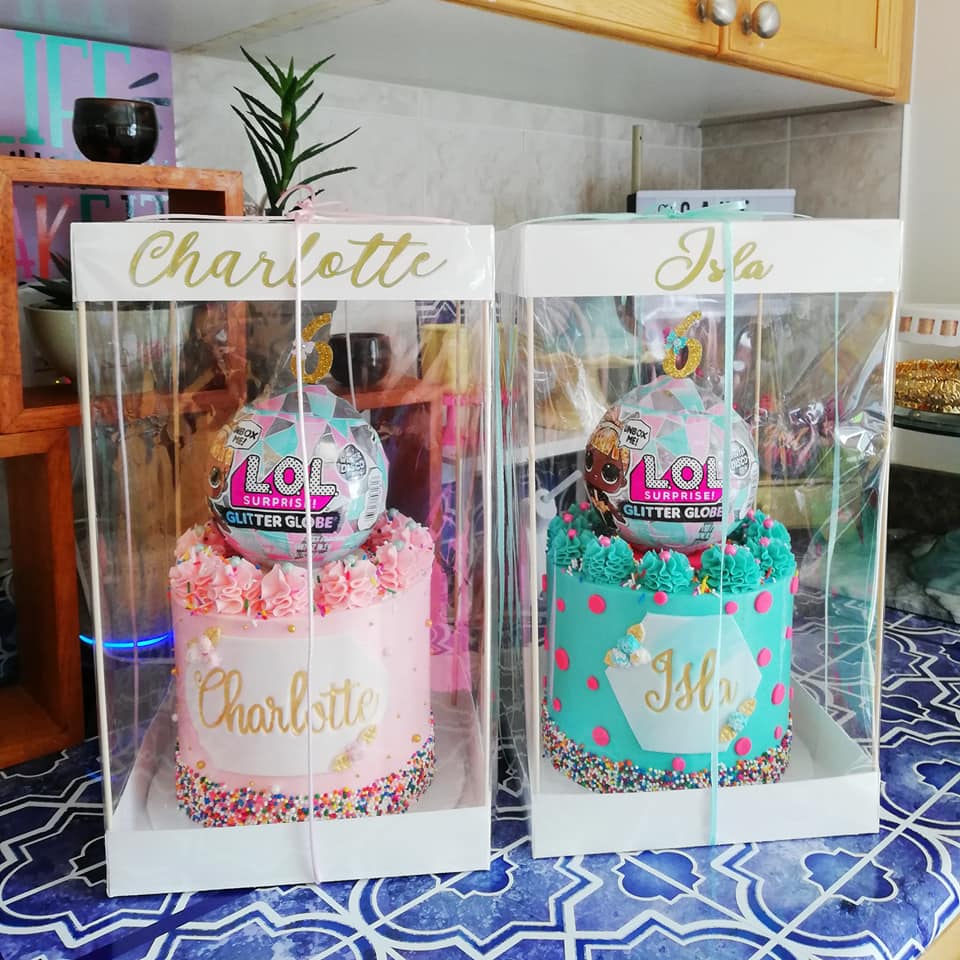
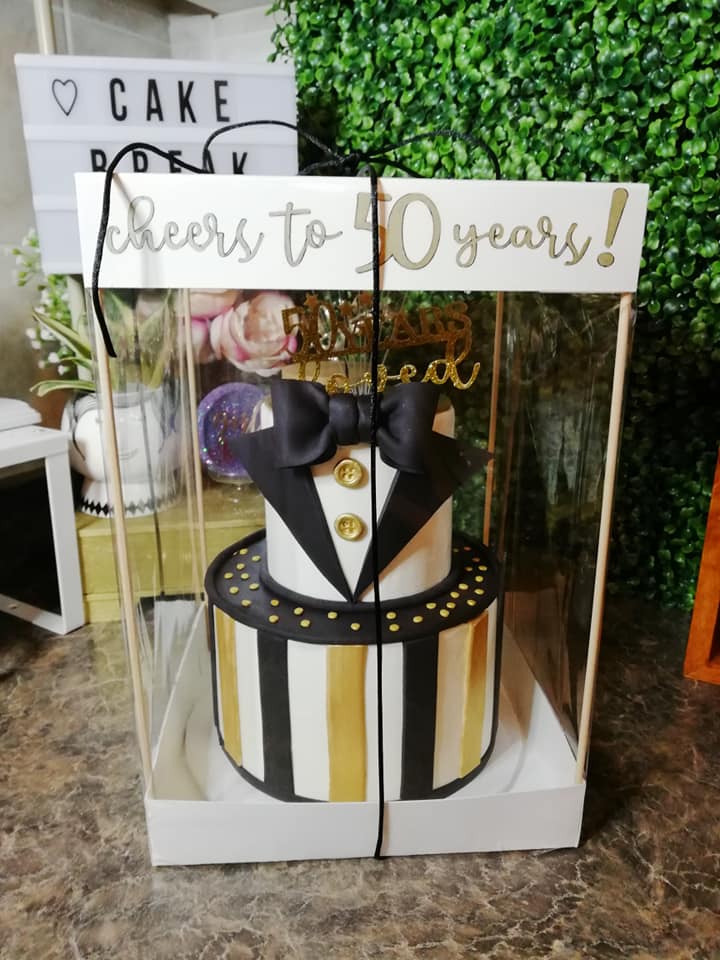
Tall cake boxes, hoop decorations, and other cake embellishments
By Darlyne Lim
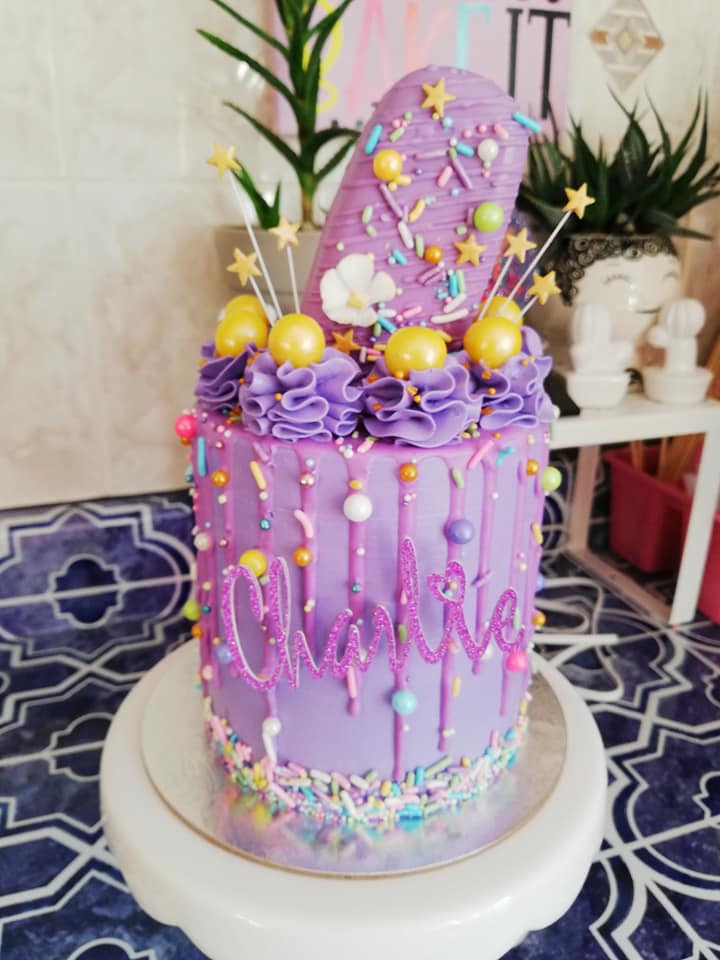
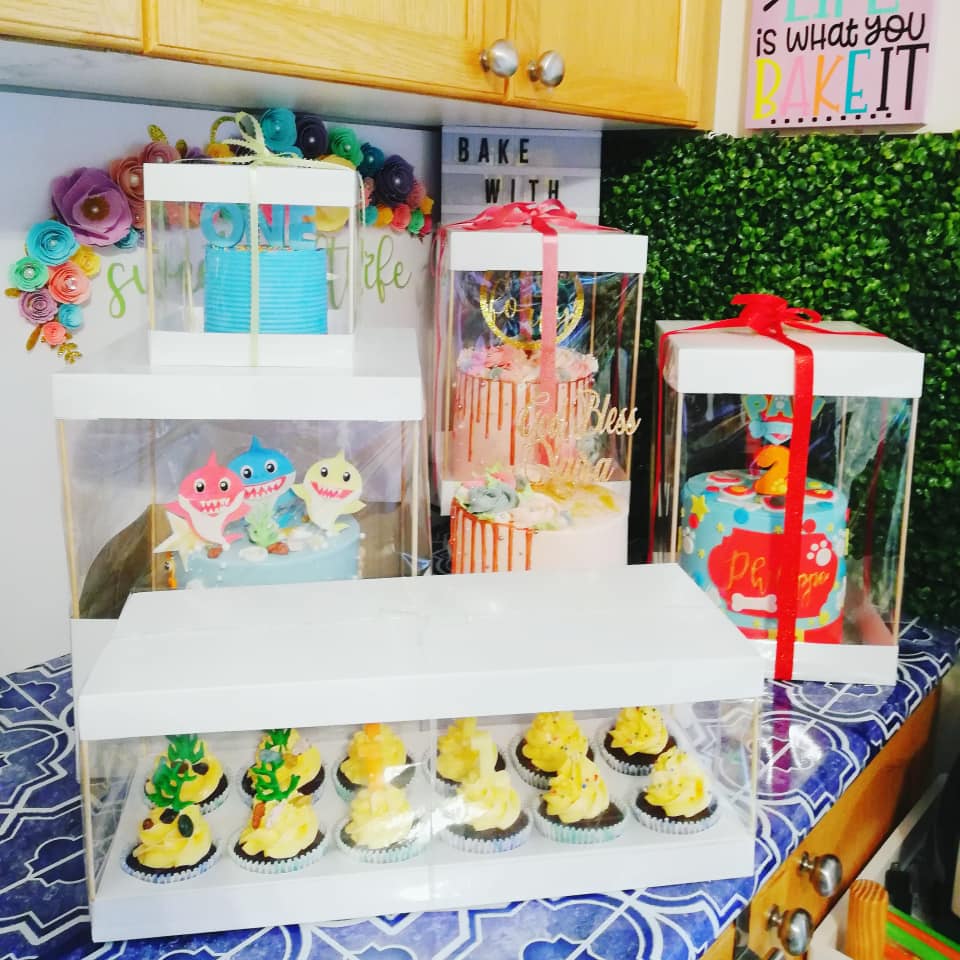
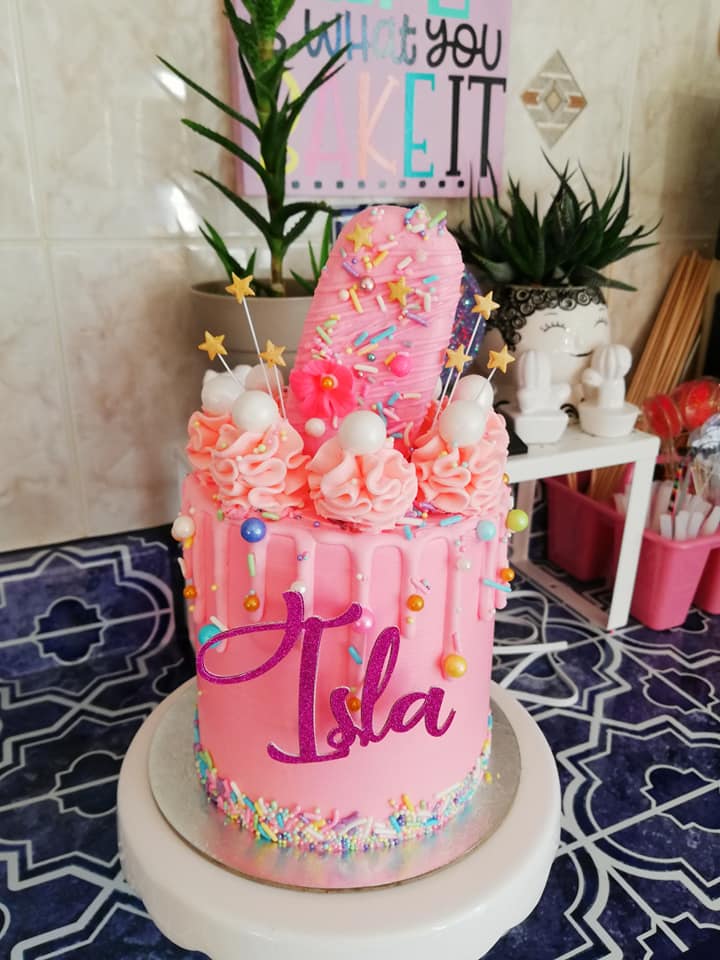
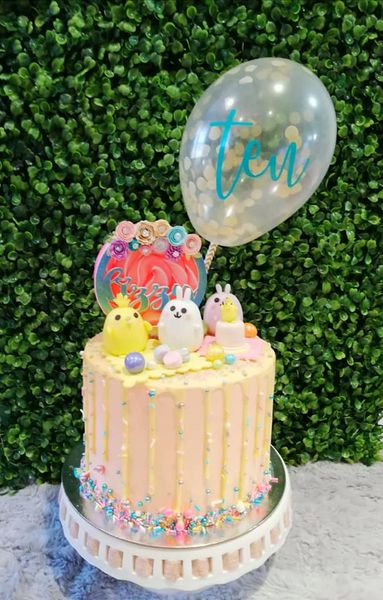
Darlyne started making her own cake boxes to fit her tall cakes. The boxes and custom writing are cut with poster board using her Cricut machine for ease and speed. Then, she adds the clear wrap and dowels by using only a dab of hot glue at low temperature.
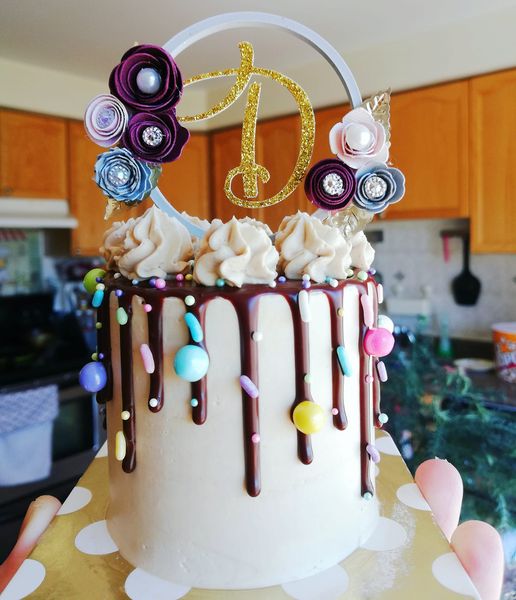
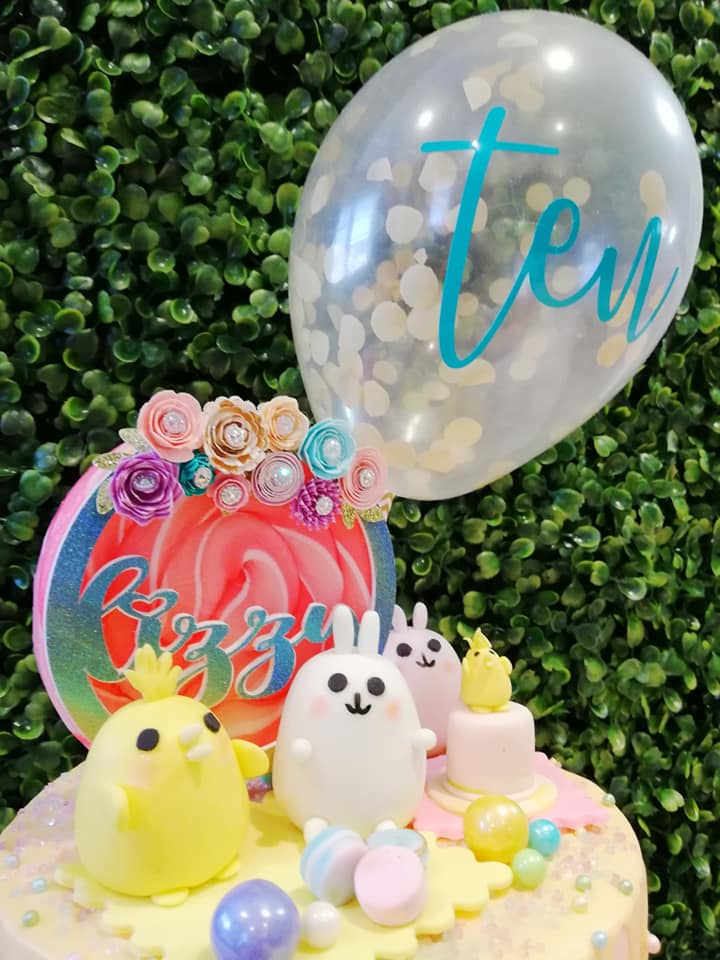
She also makes other cake decorations with her Cricut machine such as hoop toppers and rolled flowers. Below are just a few examples of her creations.
What cake decor ideas have you implemented? How did they turn out? Please share them with us in the comments!
Search How-To
I want to make...


