Make holiday T-shirts with foil, glitter, and sparkle iron-on
Can anyone else believe the holidays are right around the corner? Now, are you thinking what I’m thinking? How can I get into that holiday spirit when this year has been unlike any before? That’s easy for me – I’m creating a holiday T-shirt for all my loved ones to stay in the holiday spirit!
Here’s what you’ll need for the project:
- Cricut machine
- Cricut StandardGrip Mat
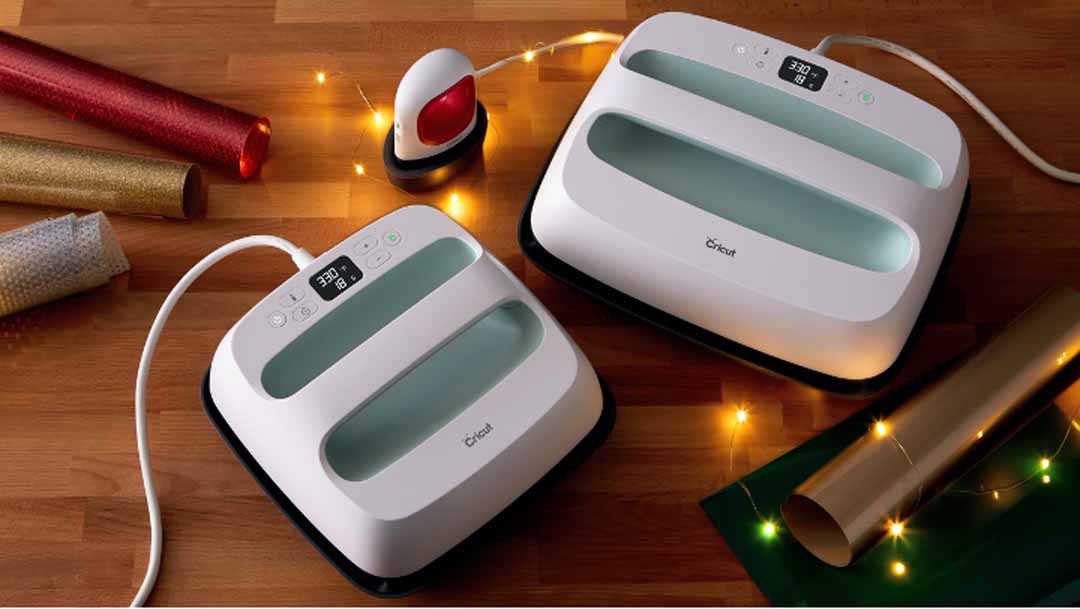
- Cricut EasyPress 2
- Everyday Iron-on
- Foil Iron-on Sampler, Very Merry
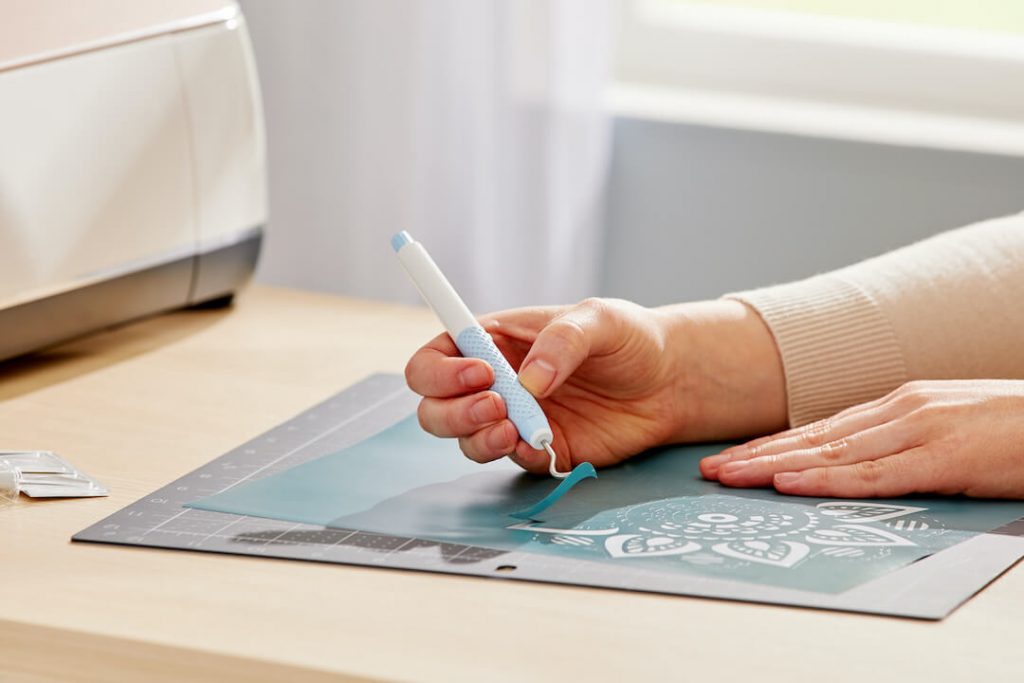
- TrueControl™ Weeding Kit or weeder tool
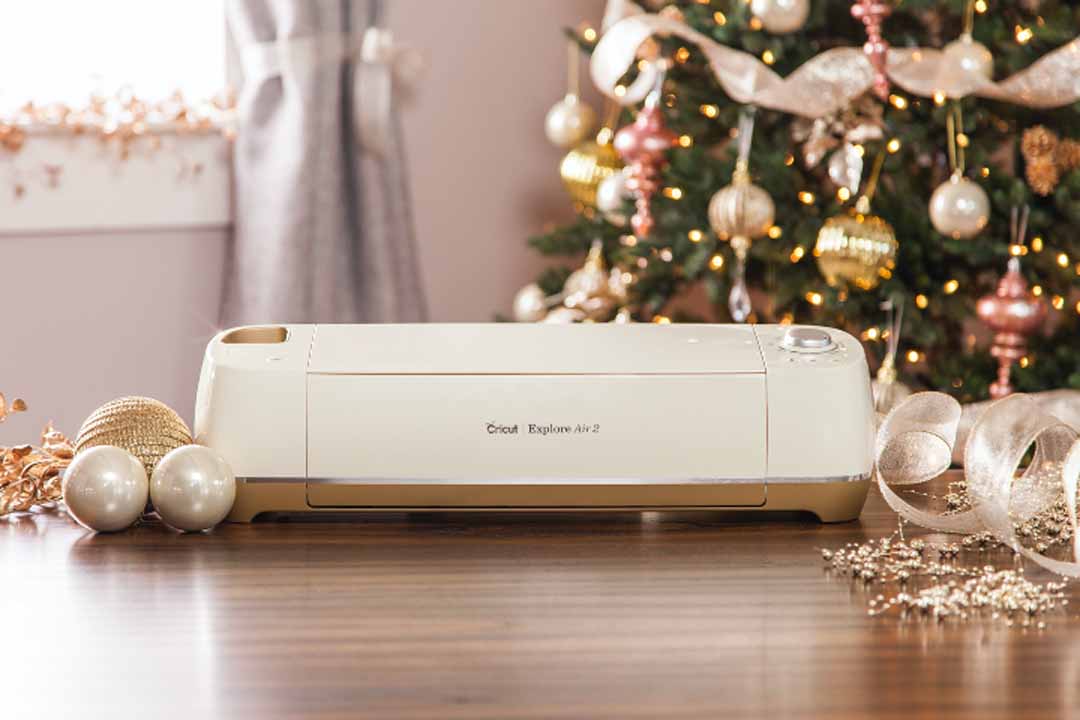
You can start creating a T-shirt to celebrate the holidays with any of our Cricut machines: Cricut Joy, Cricut Explore Air 2 or Cricut Maker. Not sure, what Cricut machine is right for you? No worries, find your perfect match here. I’ll be using our most popular machine, Cricut Explore Air 2.
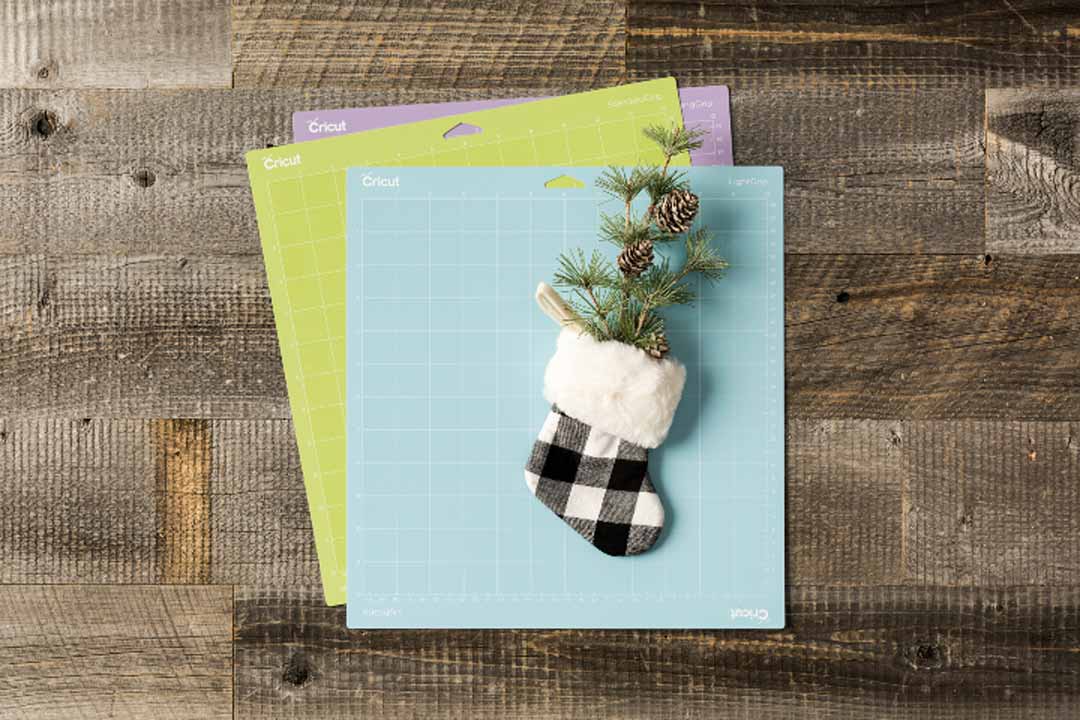
Are you wondering why I chose the StandardGrip Machine Mat for this project? If not, feel free to skip directly to the holiday T-shirt tutorial. The mat is designed to use with various materials such as heavy cardstock, patterned paper, vinyl, iron-on, and more. For our project, we will be using Cricut iron-on materials which works well with this mat.
Cricut EasyPress 2 is your everyday iron-on essential. It gives you fast, effortless results that really last, even after repeated washes. I prefer using the Cricut EasyPress rather than a household iron because I can control the temperature and set a timer for my project. It’s far easier than an iron and provides better results with the even edge-to-edge heating (unlike the hot and cold spots of an iron).
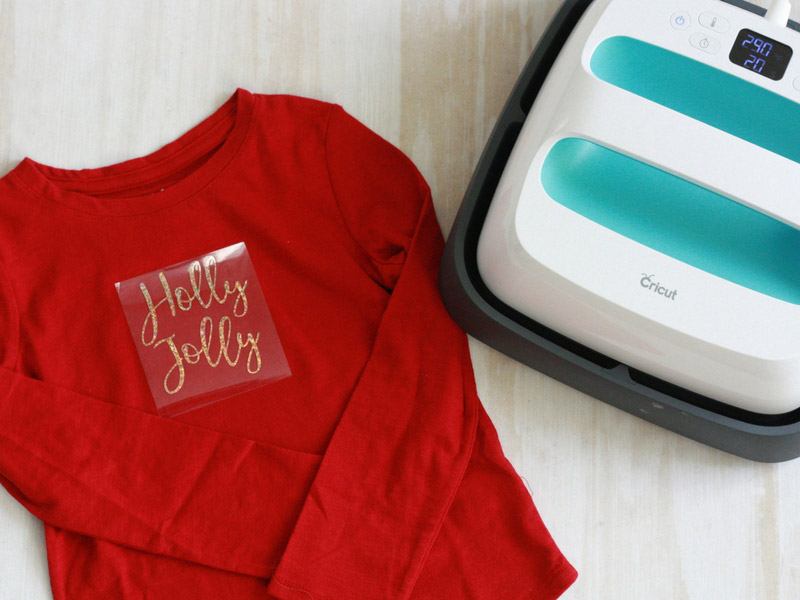
I plan to use the Everyday Iron-on in red and the Foil Iron-on Sampler, Very Merry because these materials are designed to outlast 50 washes. They will also give my simple holiday design a beautiful shine. I just love the colors in this holiday-ready sampler!
The last product is one of my favorites. I suggest getting the full TrueControl Weeding Kit as it includes 3 specialty weeding tips and 1 razor-sharp nonstick blade with a piercing tip. These will tackle any iron-on, vinyl, paper, or cardstock project. The ergonomic cushioned grip, anti-roll feature, and no-touch tip changing experience help you craft comfortably for hours with peace of mind.
Step-by-step guide for holiday tees with iron-on
1. Create your text design
First, pick a fun holiday saying. Insert your text and choose a font within Cricut Design Space®. Design Space has a great selection of cursive fonts but remember you can also use fonts from your own computer. Learn more about using fonts.
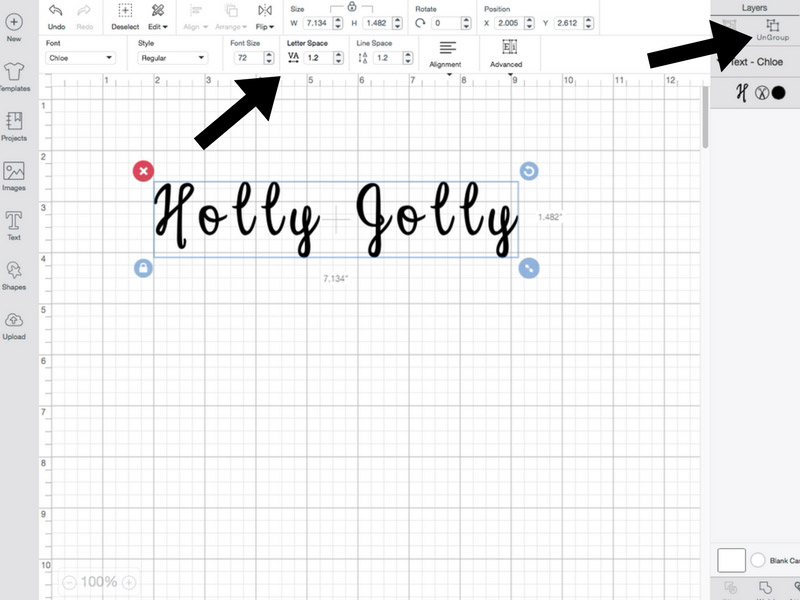
There are two key steps to making your letters connect and achieving the handwritten look.
First, you need to use either the Letter Space tool or Ungroup tool in the Layers panel to bring each letter closer together. I prefer the Ungroup tool as I have more freedom to place each letter exactly where I want it.
The second key step is to use the Weld tool to weld your text together and eliminate overlapping cutlines. The Weld tool is also located in your Layers panel.
2. Insert images
After you have your text design, you can add fun images. The Design Space Library has a lot of Christmas and holiday images available, particularly through Cricut Access™. I searched “holly” and “bells” for my images.
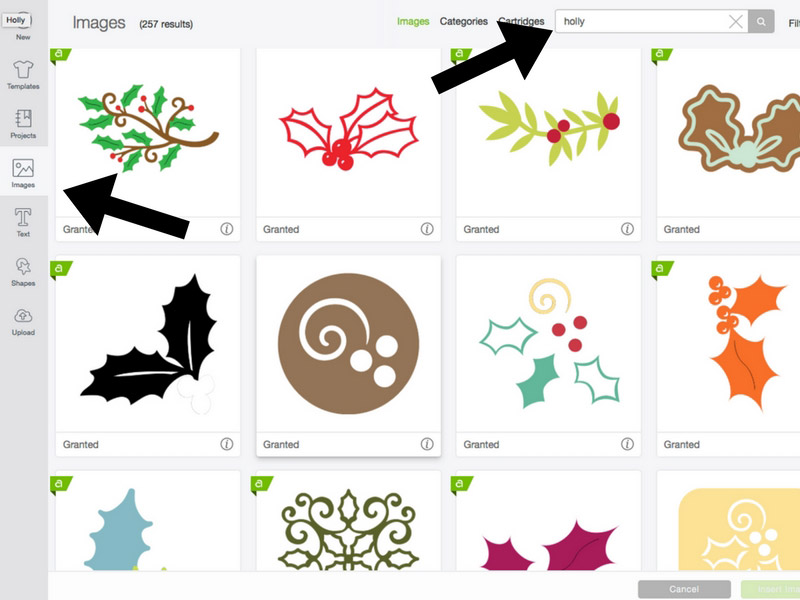
When you are choosing images, keep in mind that you can layer Everyday Iron-on, but Foil Iron-on, Sparkle Iron-on, and Glitter Iron-on should only be pressed as the top-most layer. You can use the Slice tool to slice out parts of your design that you don’t want to layer.
3. Cut out and weed your design
Make sure to place your iron-on on the mat liner shiny side down and mirror your image. In other words, it should be laid upside down so when you cut your design and press it onto your shirt, it will correctly show right-side up. Then let your Cricut machine cut out your design with perfection.
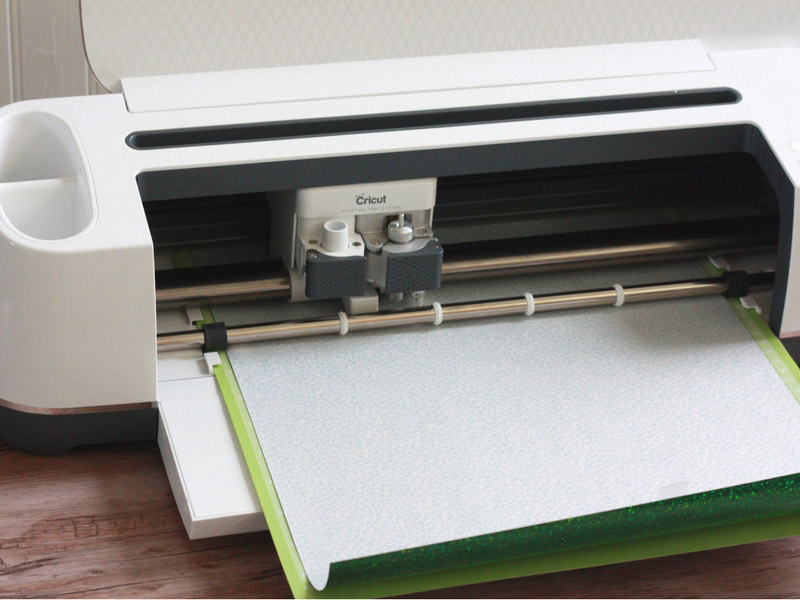
Don’t forget that there are custom settings for each type of iron-on. Select which type of iron-on you are cutting on the list when you Make It in Design Space and change it for each mat accordingly.
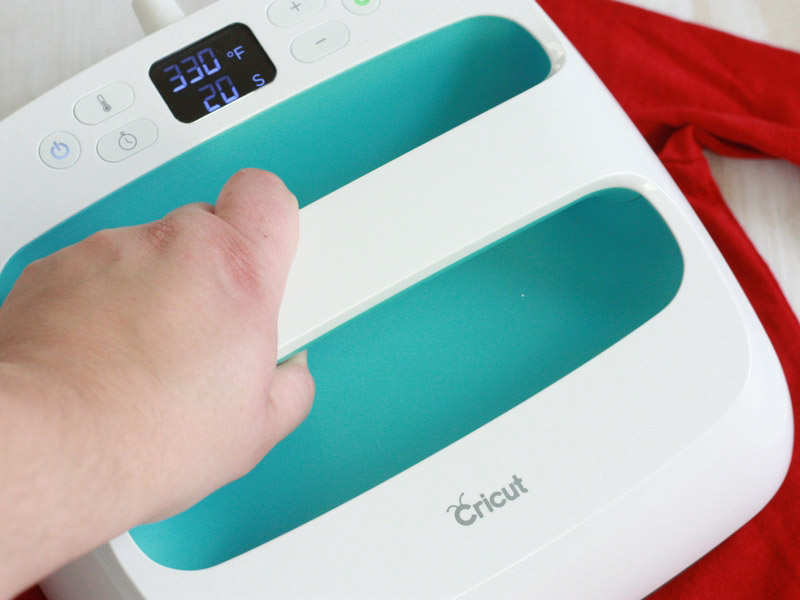
4. Warm up your Cricut EasyPress
Set your temperature and timer to fit your material. The Cricut EasyPress comes with a handy chart to easily choose the correct setting. Each type of Iron-on has a different recommended temperature.
Make sure you have a flat, heat-resistance surface to use your EasyPress. Use the EasyPress to remove wrinkles and prepare your shirt.
5. Heat press your design
Position your design on the shirt, place the Cricut EasyPress onto the design according to the Heat Guide and start your timer. Hold the press in place with gentle pressure.
Test a small corner of your design and gently lift the liner. If the liner does not peel easily, reapply heat.
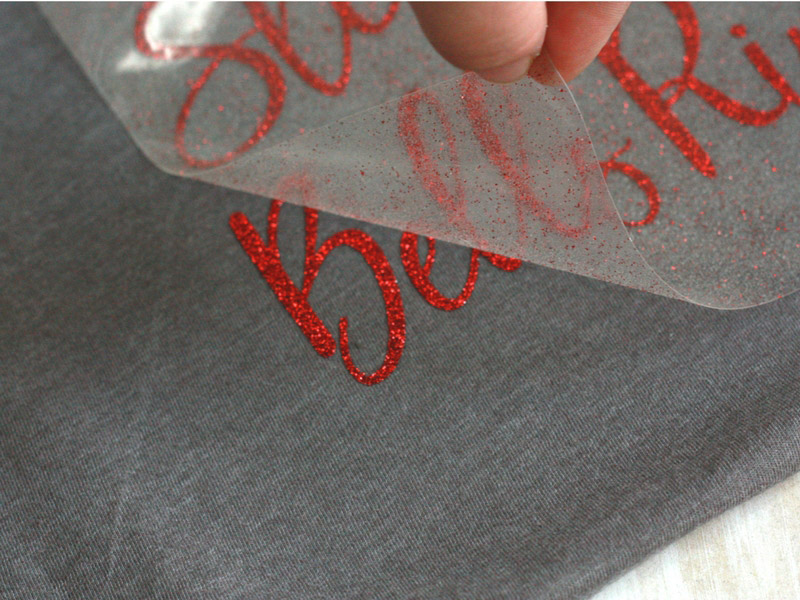
For Foil Iron-on, it is very important to let it cool completely before attempting to lift the liner, as it can otherwise cause the iron-on material to wrinkle or tear. Be sure to follow the Heat Guide for each material to achieve the best results.
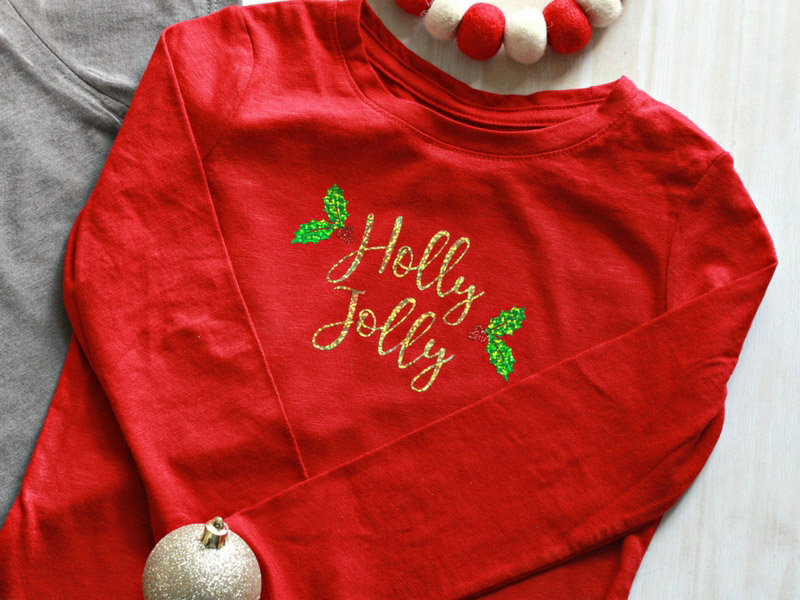
Once you are done pressing the design, you have some great shirts to spread Christmas cheer!
Share your holiday cheer with in the comments below. We would love to see what holiday shirts and designs you’ve come up with too.
Happy Holidays!
Related Making


Search How-To
I want to make...