Greeting cards for every occasion
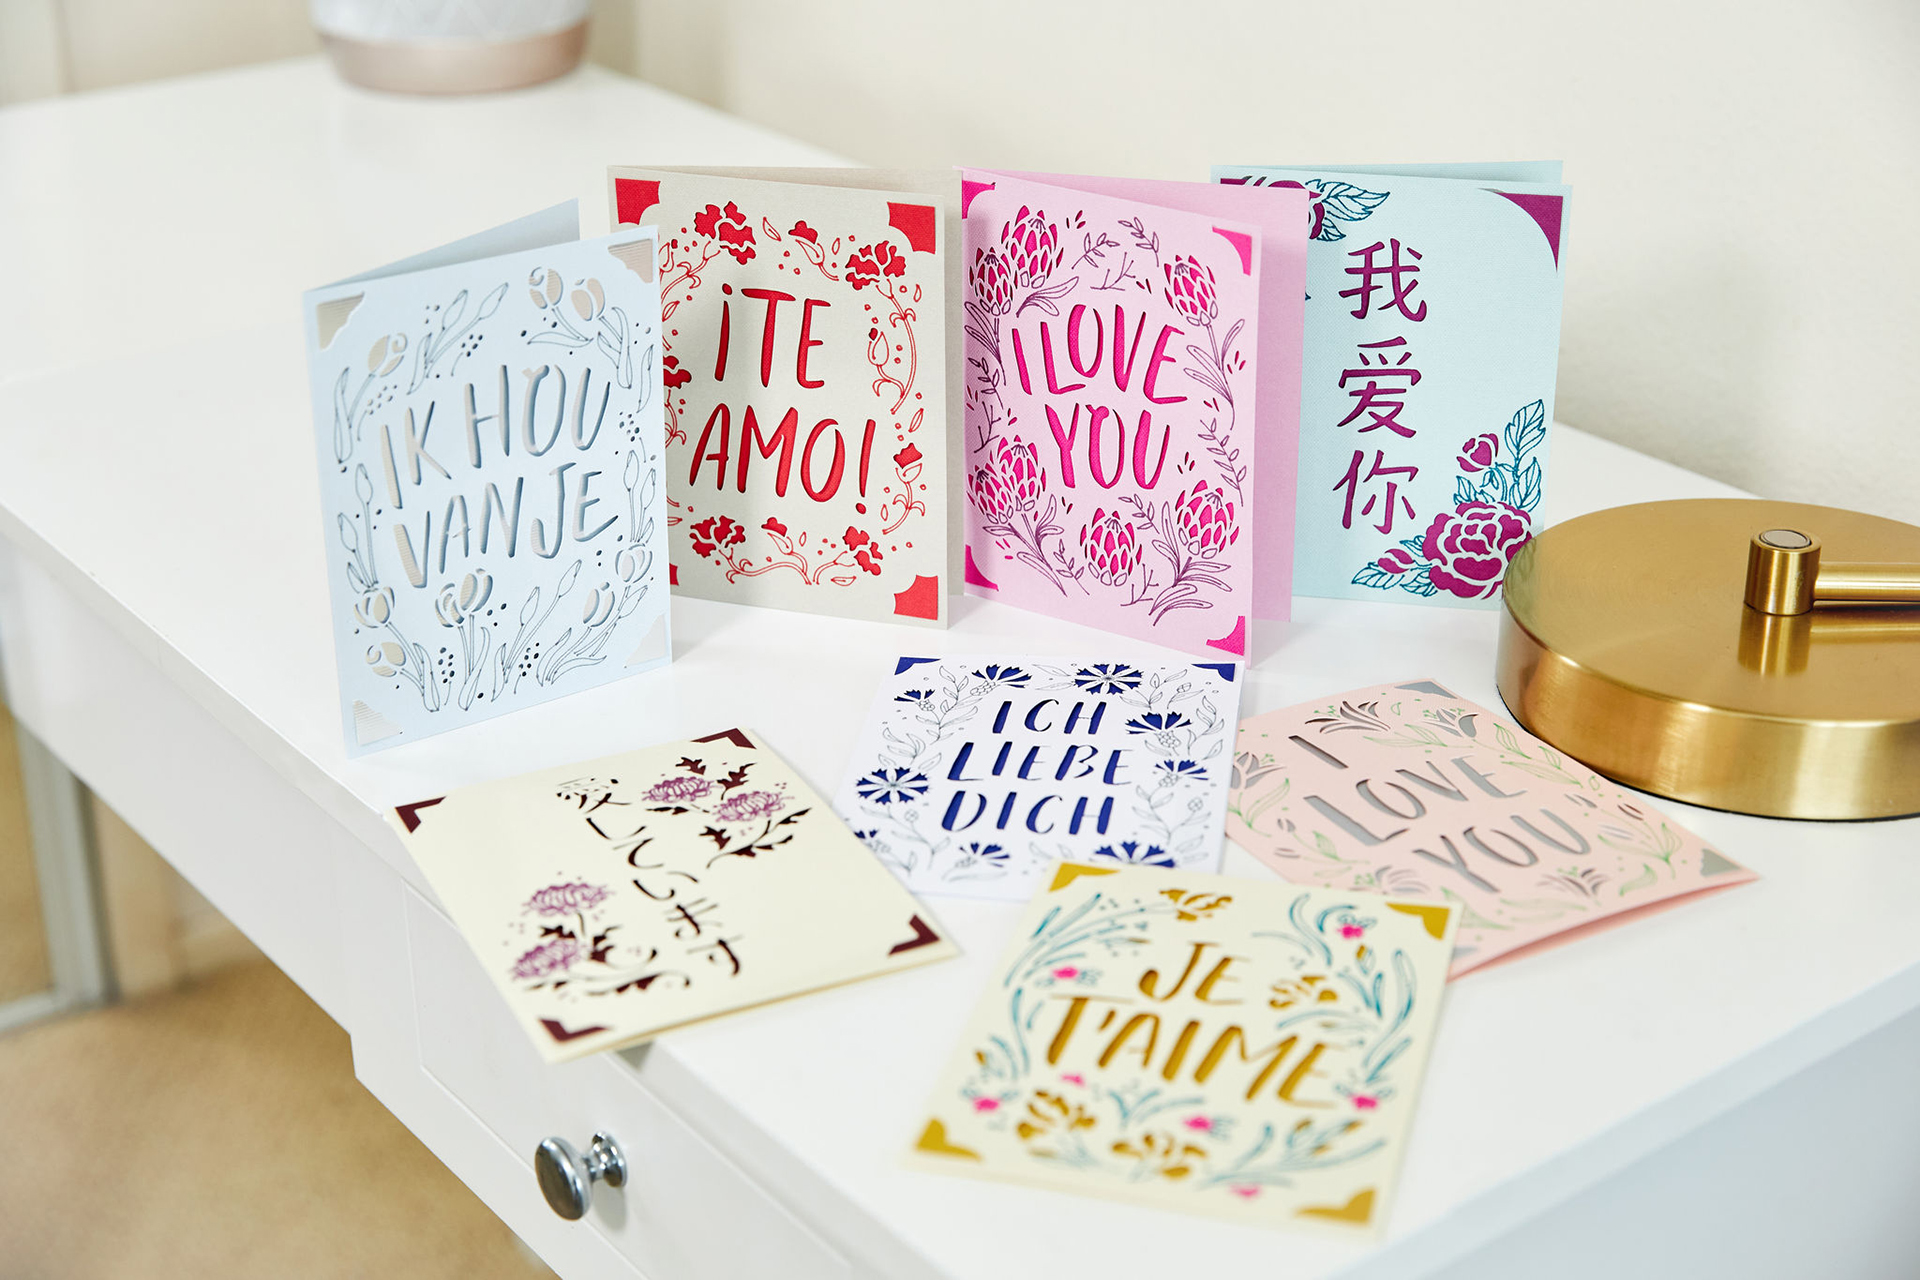
Celebrate every occasion with custom greeting cards.
With your Cricut cutting machine, you can make custom greeting cards using a Cricut Card Mat and Cricut cards. Machines from the Cricut Explore and Cricut Maker families use the Card Mat 2×2 to make up to four cards at a time.
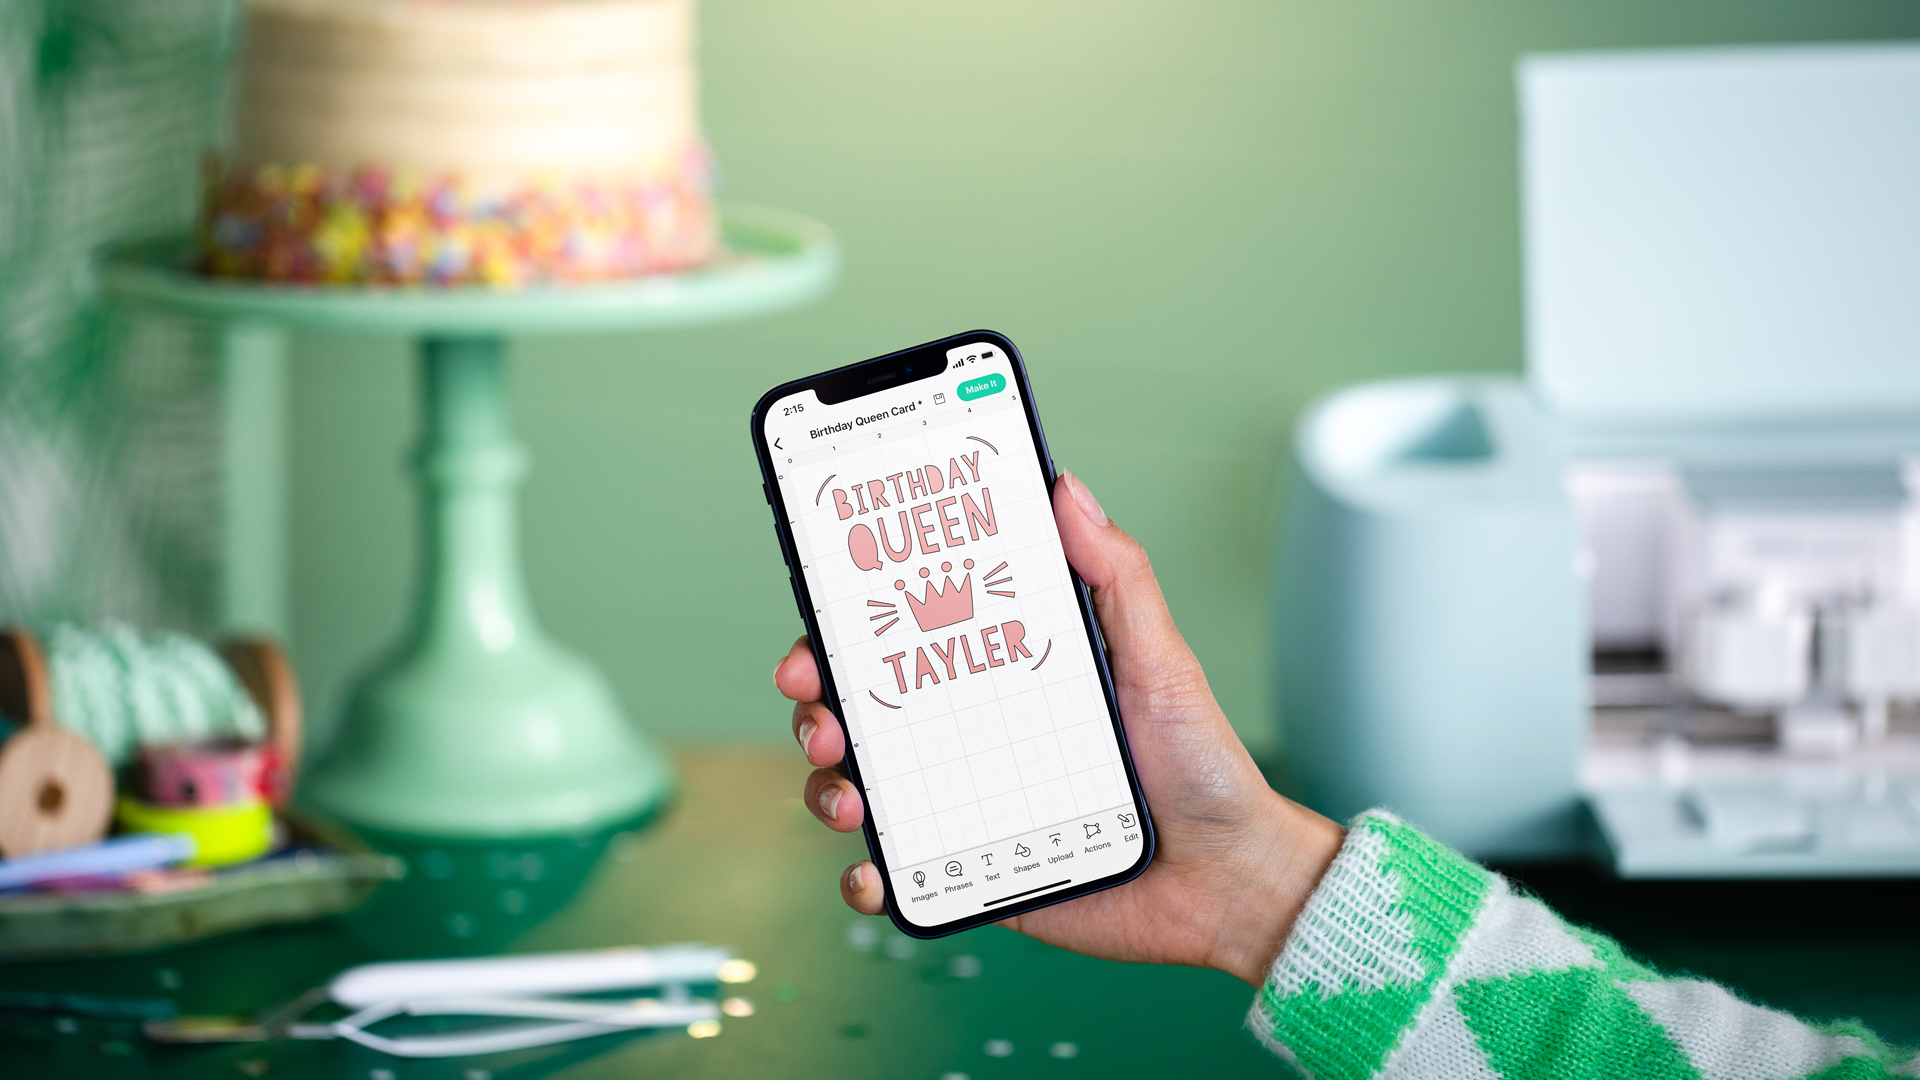
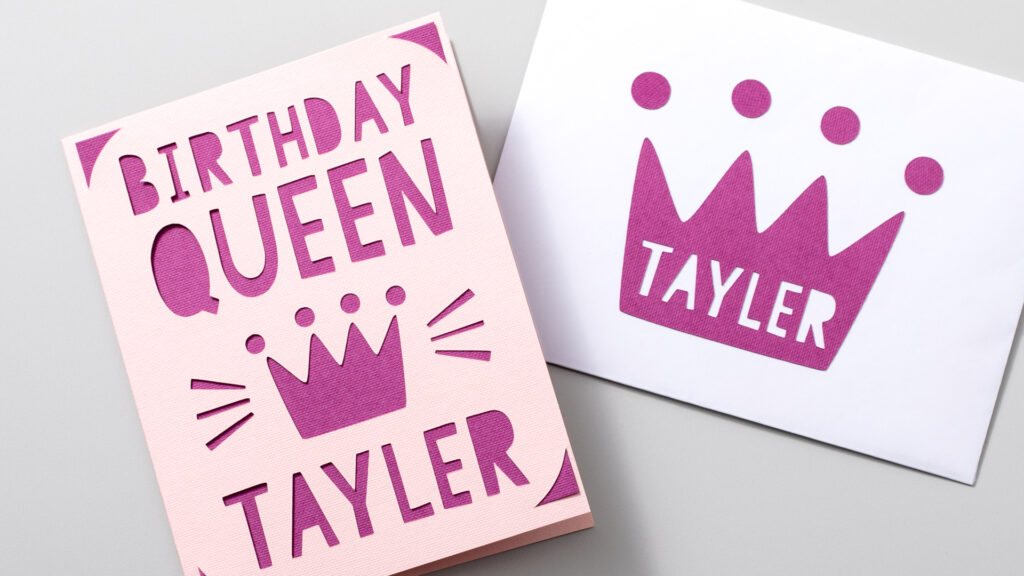
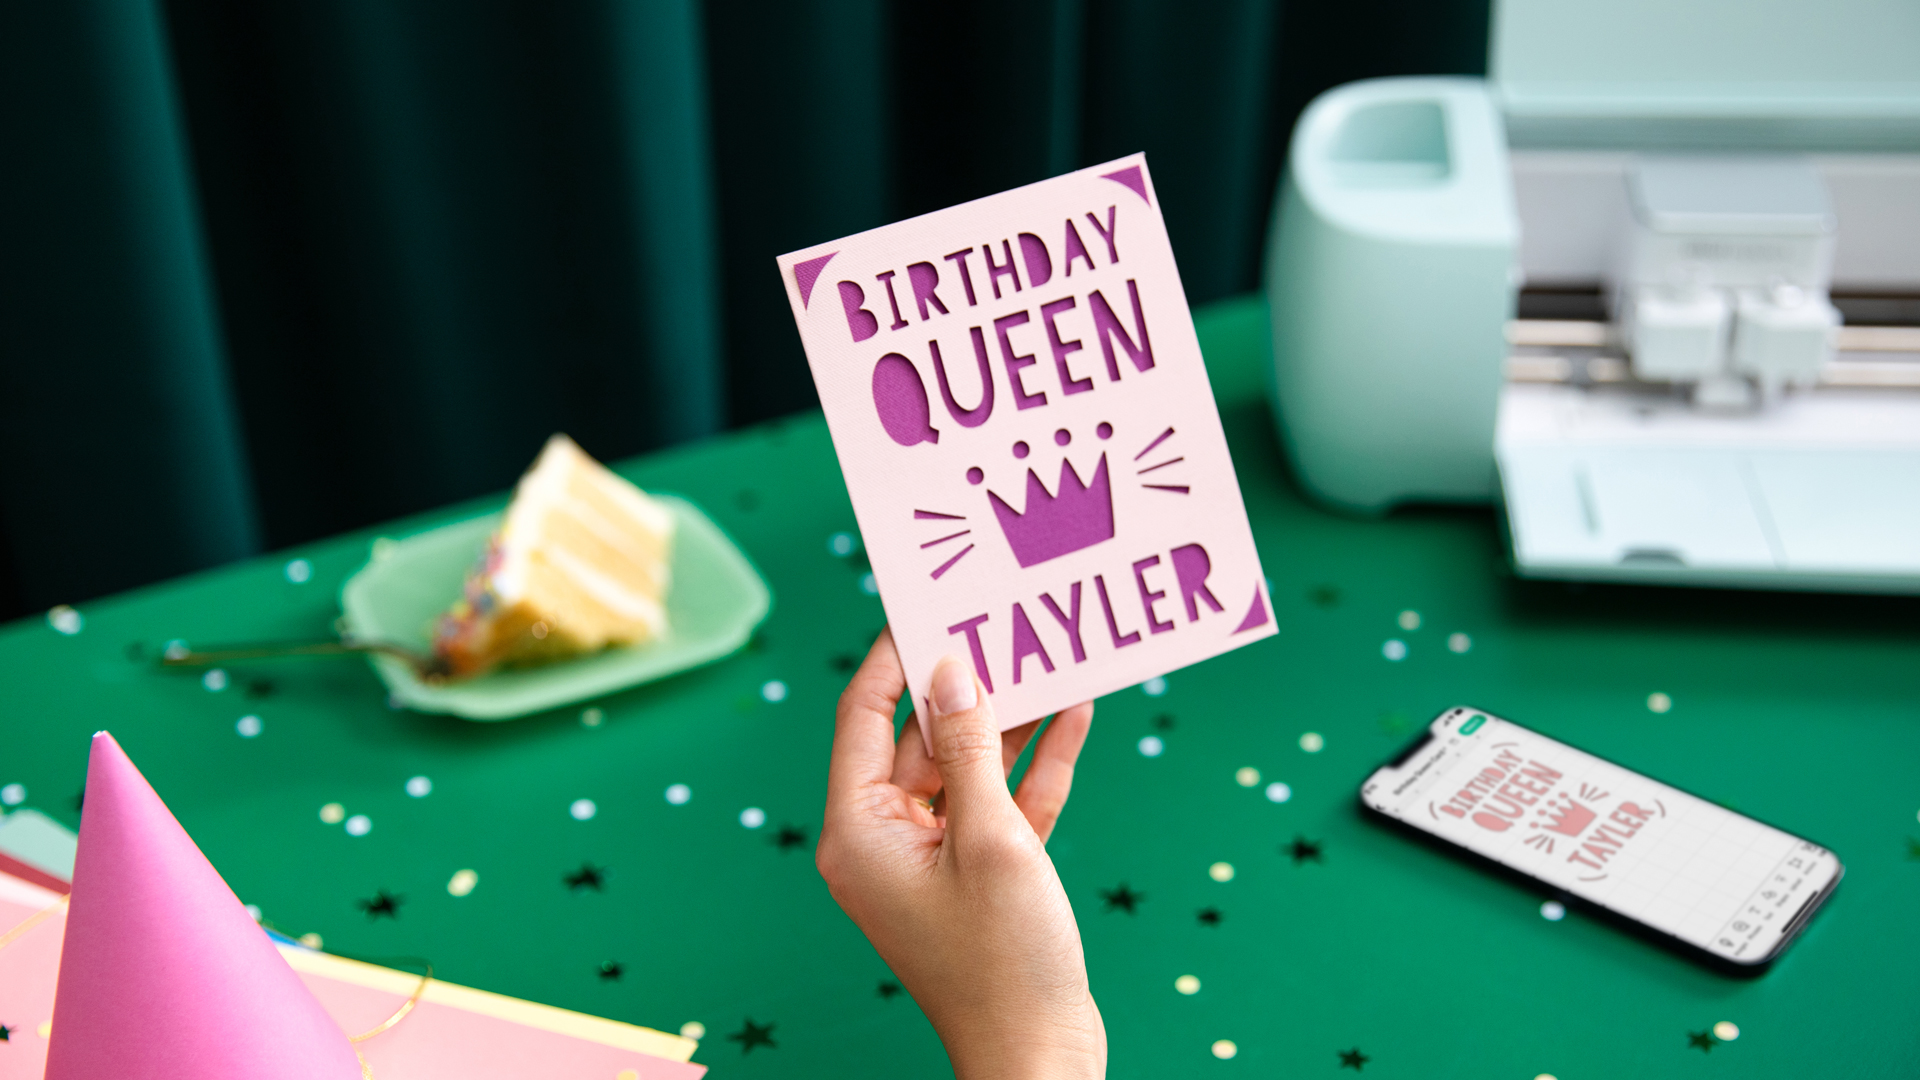
The Birthday Queen Card project below is designed for Cricut Insert Cards, but you can also check out Cutaway Cards if you want to keep the insides of the letters in place (see the B, R, D, A, and Q for intentionally-missing insides of letters).
Here’s how to make this card.
Greeting cards for a Birthday Queen (or King)
When you open your pack of Insert Cards, you’ll notice that there are two types of cards and some envelopes. The card you need to cut is the one that folds. The flat card is the insert you’ll use in the last step.
Step 1: Prepare the cards
Remove the protective mat cover from the card mat, then slide the back side of the folded card under the plastic divider of your mat. Make sure you align your card using the top left corner of the plastic divider to ensure everything cuts in the right place and that it cuts straight.
Close the front side of the card and press down firmly so that it adheres to the mat.
Step 2: Cut your greeting cards
Once your cards are in place on the mat, it’s time to cut your design into the greeting cards. Make sure you have the Fine-Point Blade in your machine (it’s the blade that comes with your machine when you first buy it). Use Cricut Design Space prompts to finish cutting as needed.
Step 3: Assemble your cards
Now that your cards are cut, remove them from the Card Mat. Most of the extra pieces from the card should stick to the mat, but if they don’t, this is the time to take them off. Then, simply take the flat card from your Insert Card pack and tuck it into the corner cuts on the folded card.
Your card is ready to gift!


