Cricut Hat Press: Tips & tricks for custom hat making
Check out these Cricut Hat Press tips and tricks to get started on your custom hat making.
From the size of your design to the amount of pressure you apply, many factors play into how well your custom hat turns out. Cricut Hat Press works with everything from bucket hats and ball caps to visors and sun hats. With all the options out there, we want to cover all the best tips and tricks for you to get the perfect hat heat transfer.
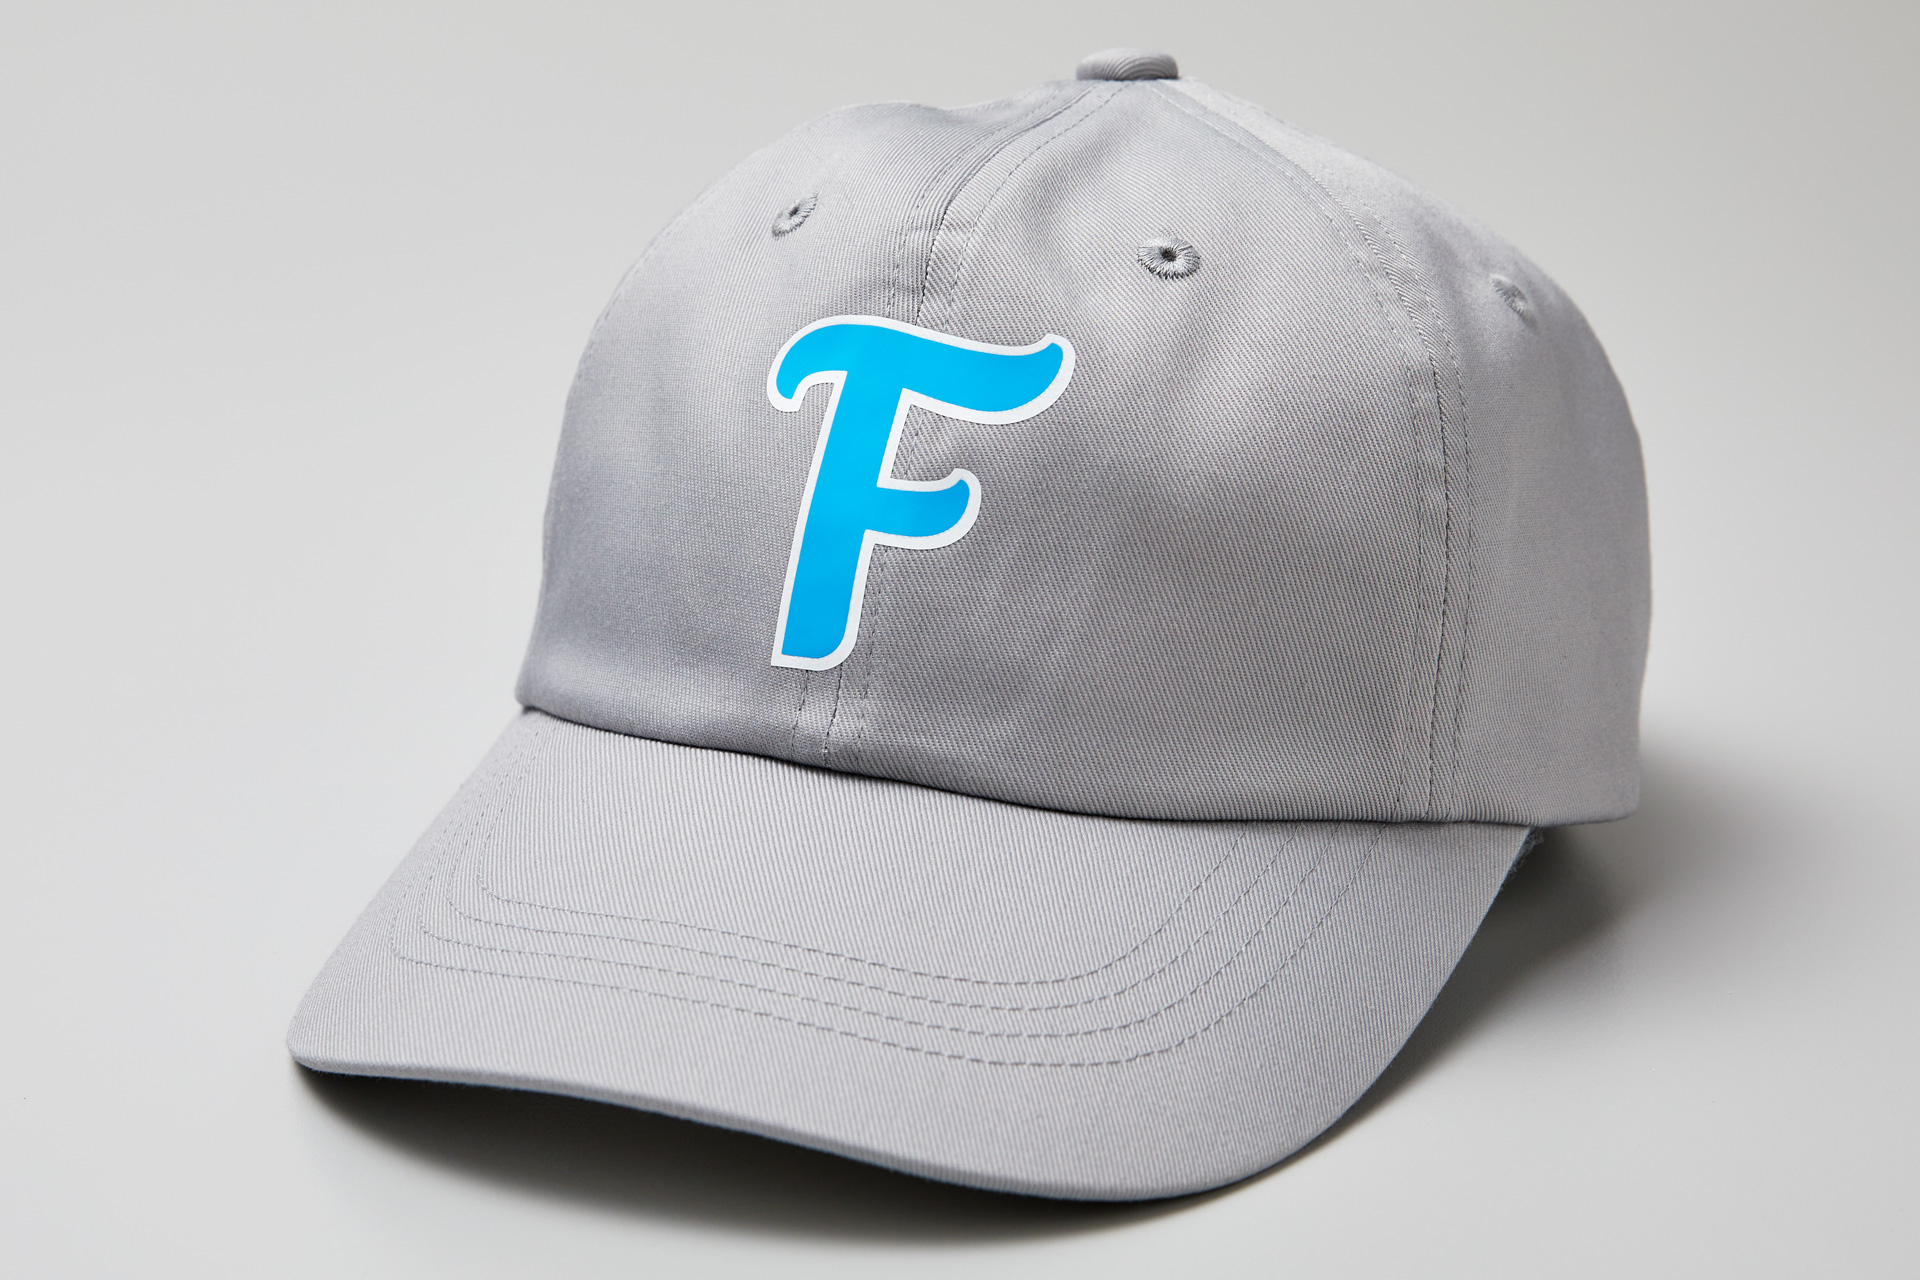
Design areas and placement vary with every hat, so you’ll have to decide what works best for the hat you choose to use with Cricut Hat Press. For Cricut Hat Blanks, like the Ball cap and Trucker Hat, or similarly sized and shaped hats, we recommend the maximum design size of 4.25 in x 2.25 in. Check out some of our tips for how to best design for curved surfaces, like hats.
Prepping hats for pressing
The curved heat plate of the Cricut Hat Press and the Hat Pressing Form were designed to work as a perfect pair. Here’s how to take make that work for you and prepare your hat for pressing:
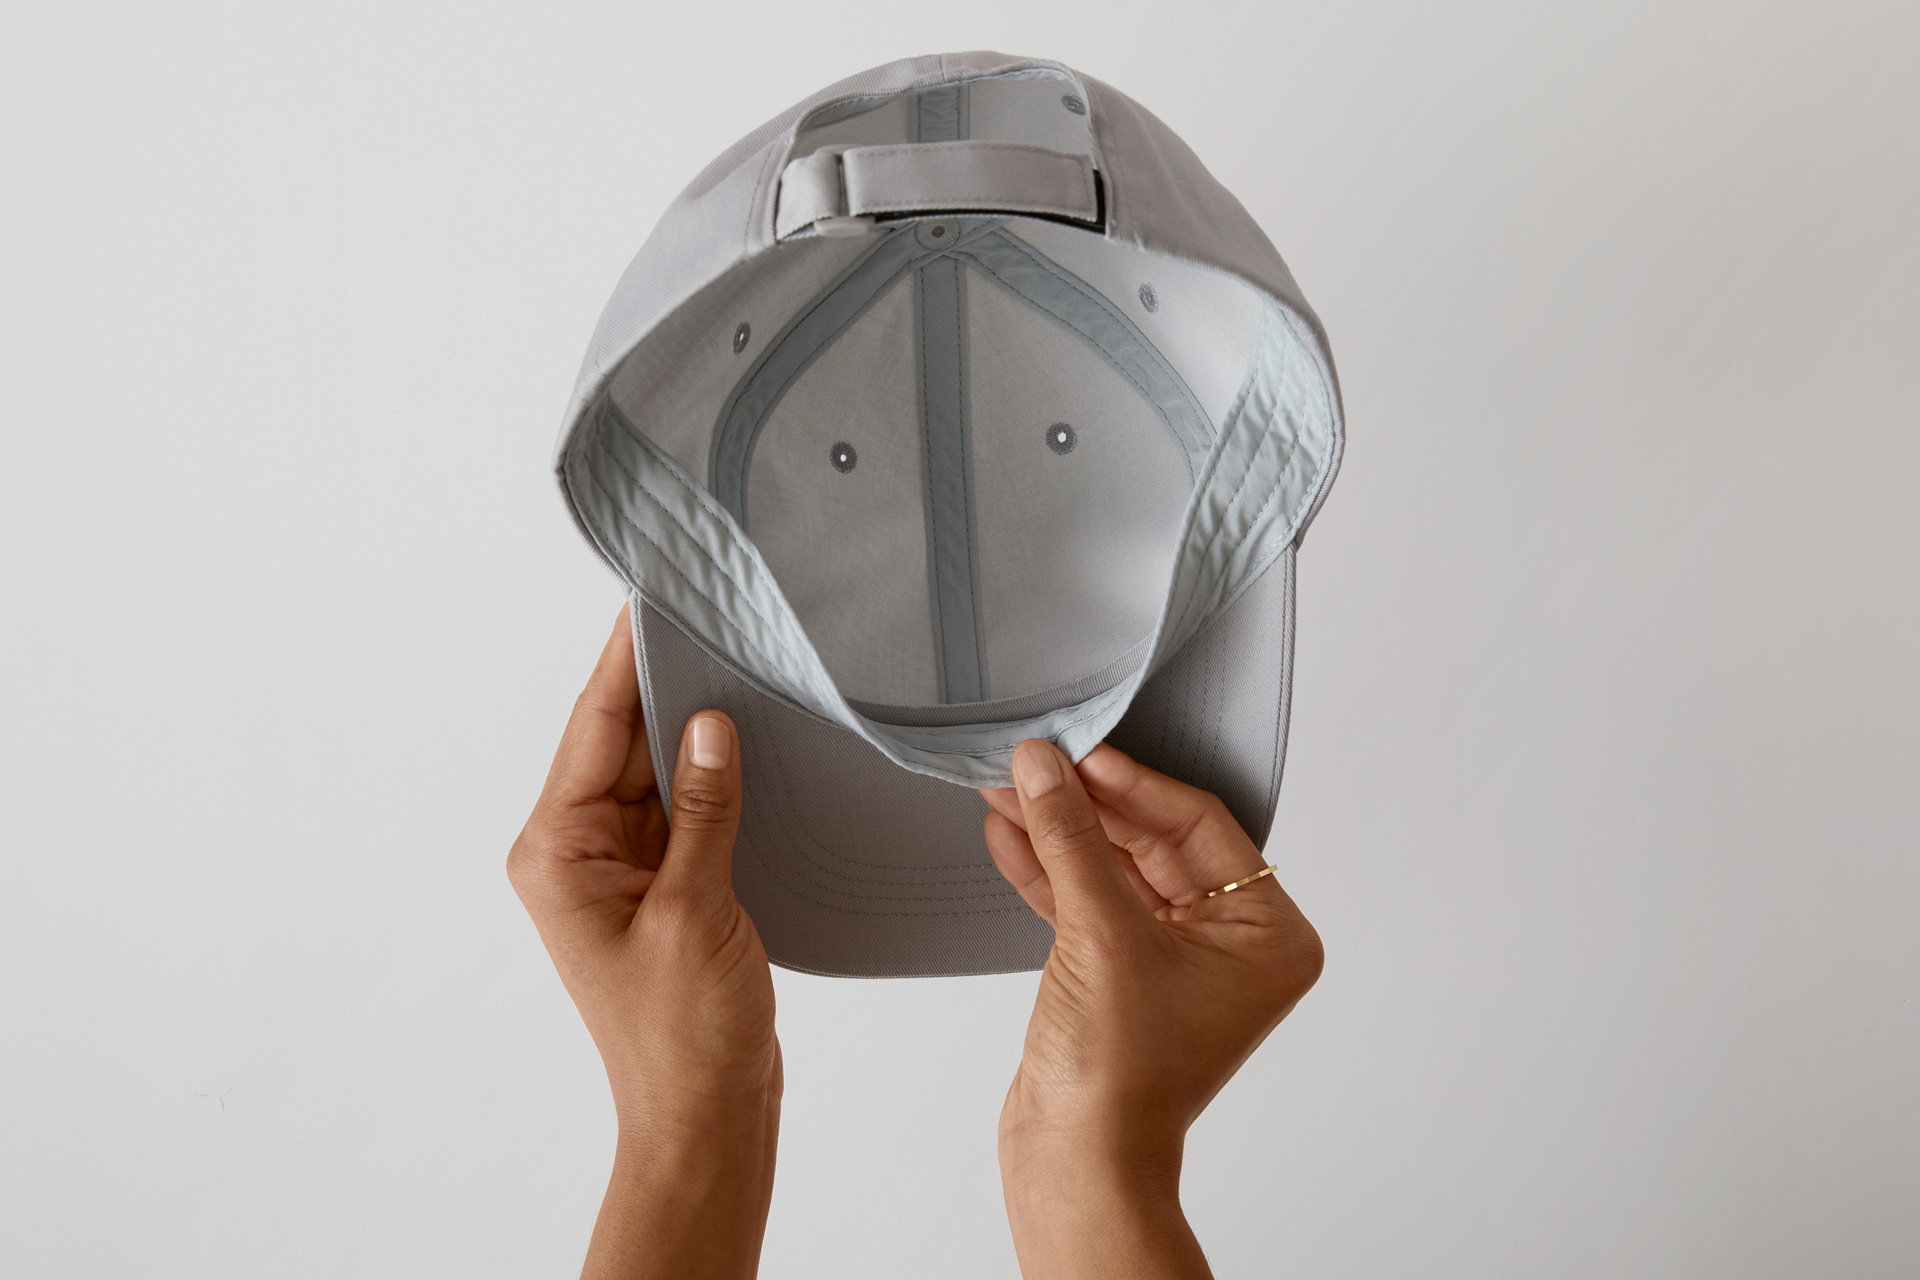
- Remove any cardboard or plastic inserts inside the hat before placing it on the Hat Pressing Form.
- Open the backstrap or hat fastener and pull the sweatband out to reduce bulk or gaps between the design area and the Hat Pressing Form.
- Use the Hat Pressing Form handle to maneuver the form into the hat so it’s nice and snug, avoiding the possibility of air bubbles between the hat and Hat Pressing Form. The form is moldable so you can squeeze, shape, and press it to fit in different types of hats.
- Once the hat is placed on the Hat Pressing Form, double check that the sweatband is still folded out, then re-fasten the backstrap tightly to help keep the hat from moving around.
- Especially in the areas you plan to press a design, press firmly and smooth the hat against the Hat Pressing Form so that there are no air gaps between the hat and Hat Pressing Form — air gaps may result in unwanted transfer effects.
Design placement
Here comes the fun part! Once you’ve created and cut your design with your Cricut cutting machine and placed your hat on the Hat Pressing Form, you can start placing your design where you want it. A few things to keep in mind when placing your design:
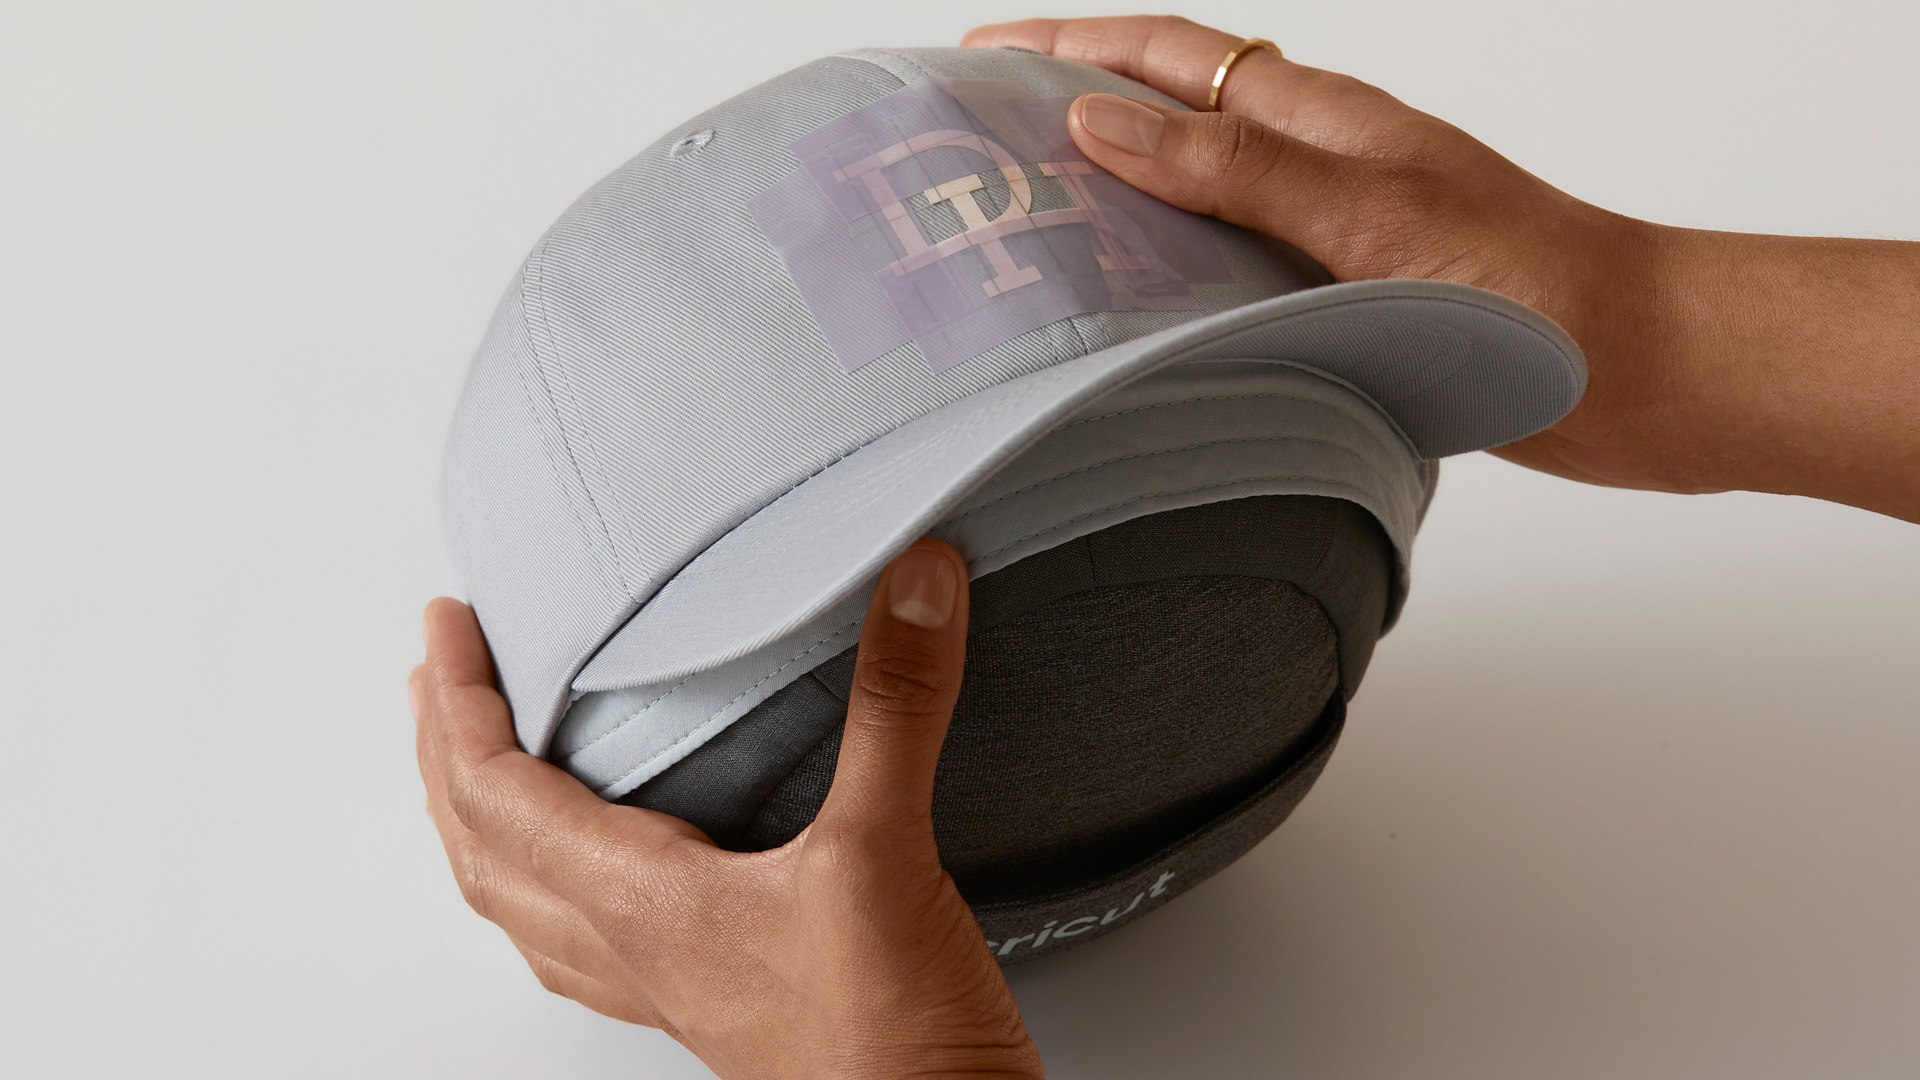
- Trim excess liner or paper close to the design to help it lay properly on the curved surface of the hat
- For rectangular or square-shaped designs, make little cuts or notches in the liner around the design where you can in order to allow the design to flex over the curved hat
- Most designs are not inteded to be curved. Longer designs may not appear straight once they are on a hat, which means that you may need to cut your design into smaller parts to make them look straight.
- Make sure that your design is at least 0.25 in (.64 cm) away from any brim. Placing too close to a brim can deform it if you start pressing and the heat plate rubs against it.
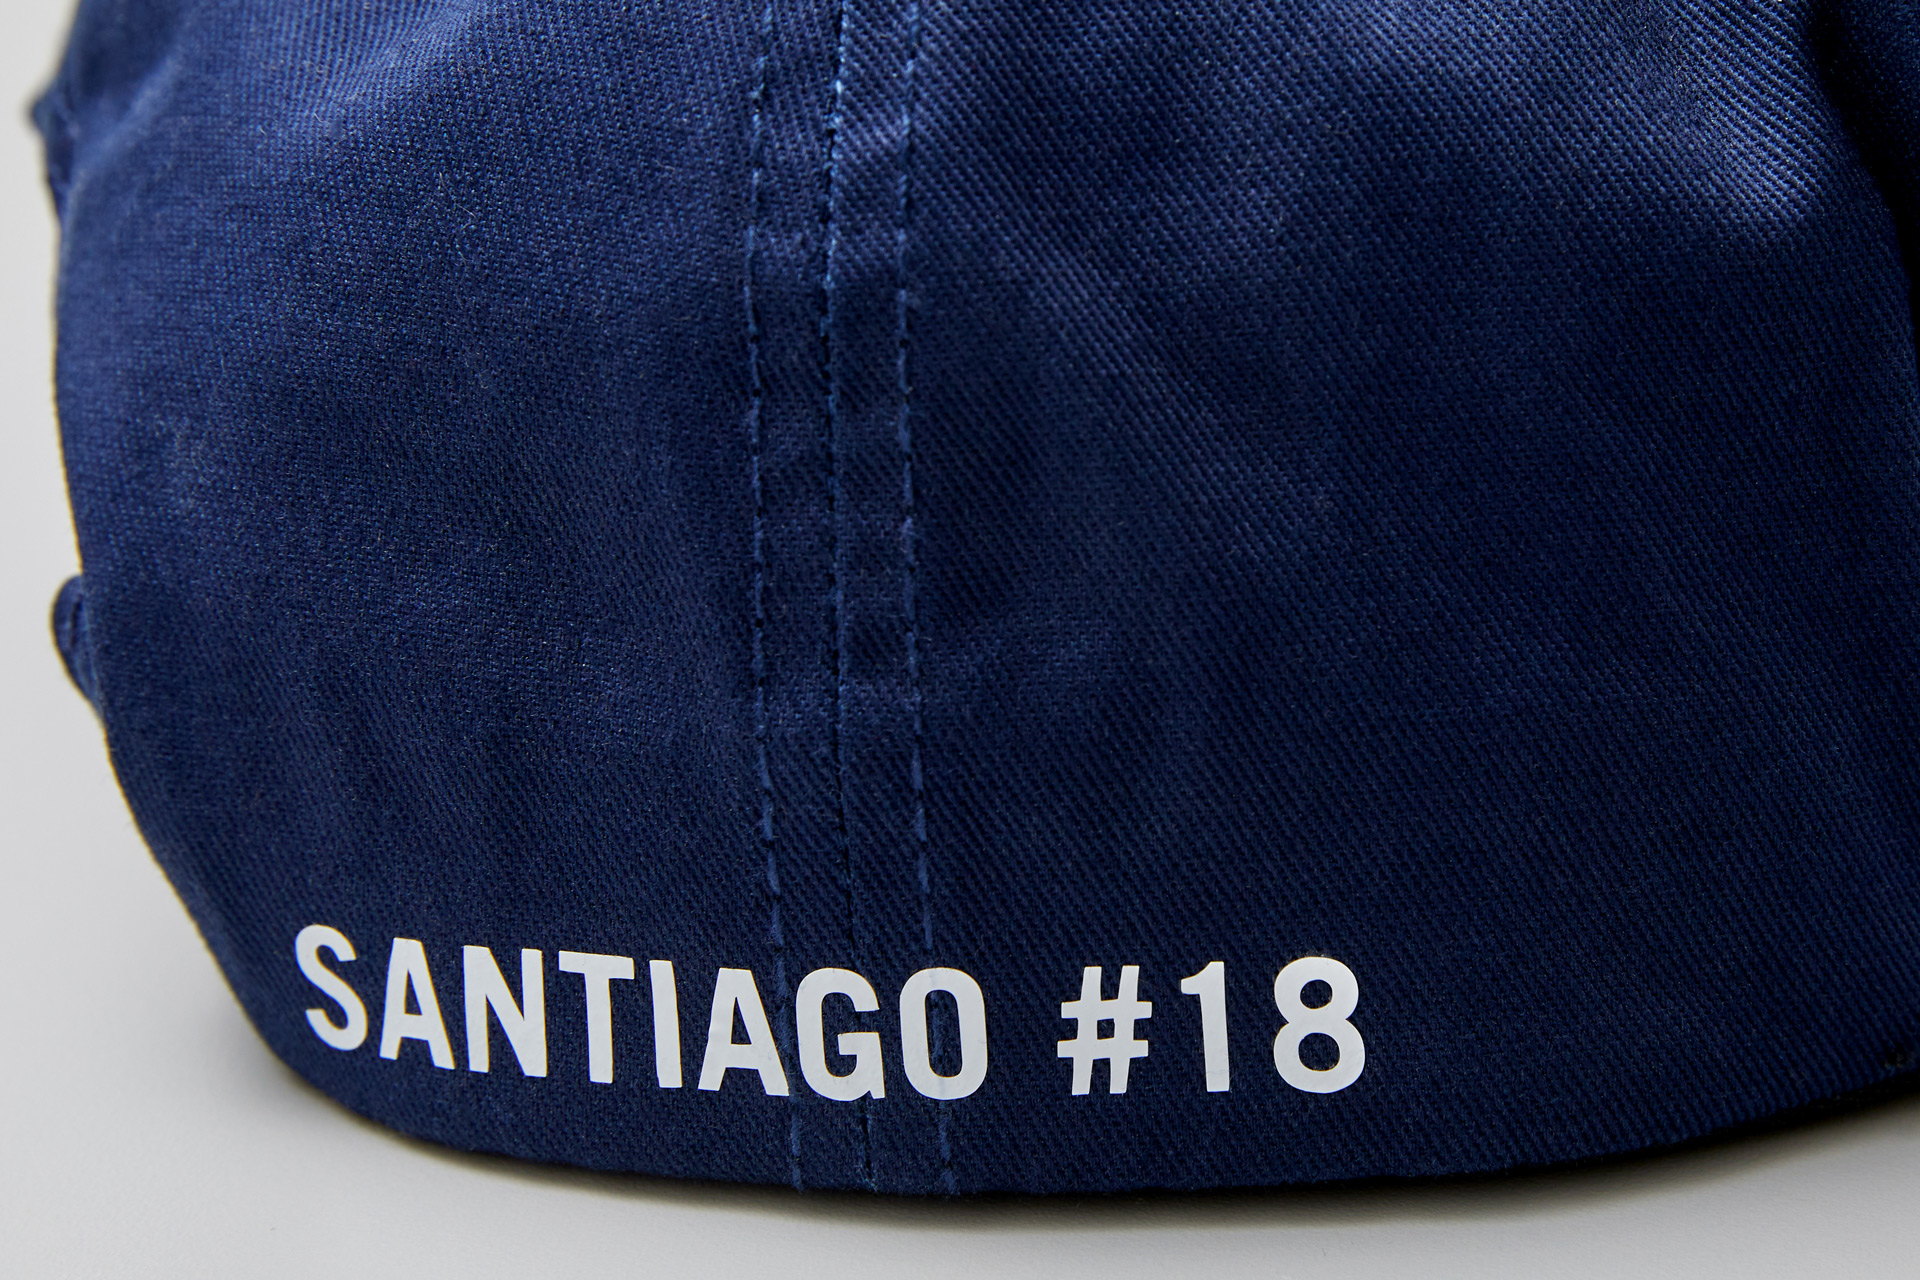
- Designs can be placed over hat seams and both Infusible Ink and iron-on will transfer onto hat seams.
- If you’re using a Cricut hat blank or a similar-style hat, note that the curved heat plate of Cricut Hat Press was optimized to press designs within the recommended size of 4.25 in x 2.25 in.
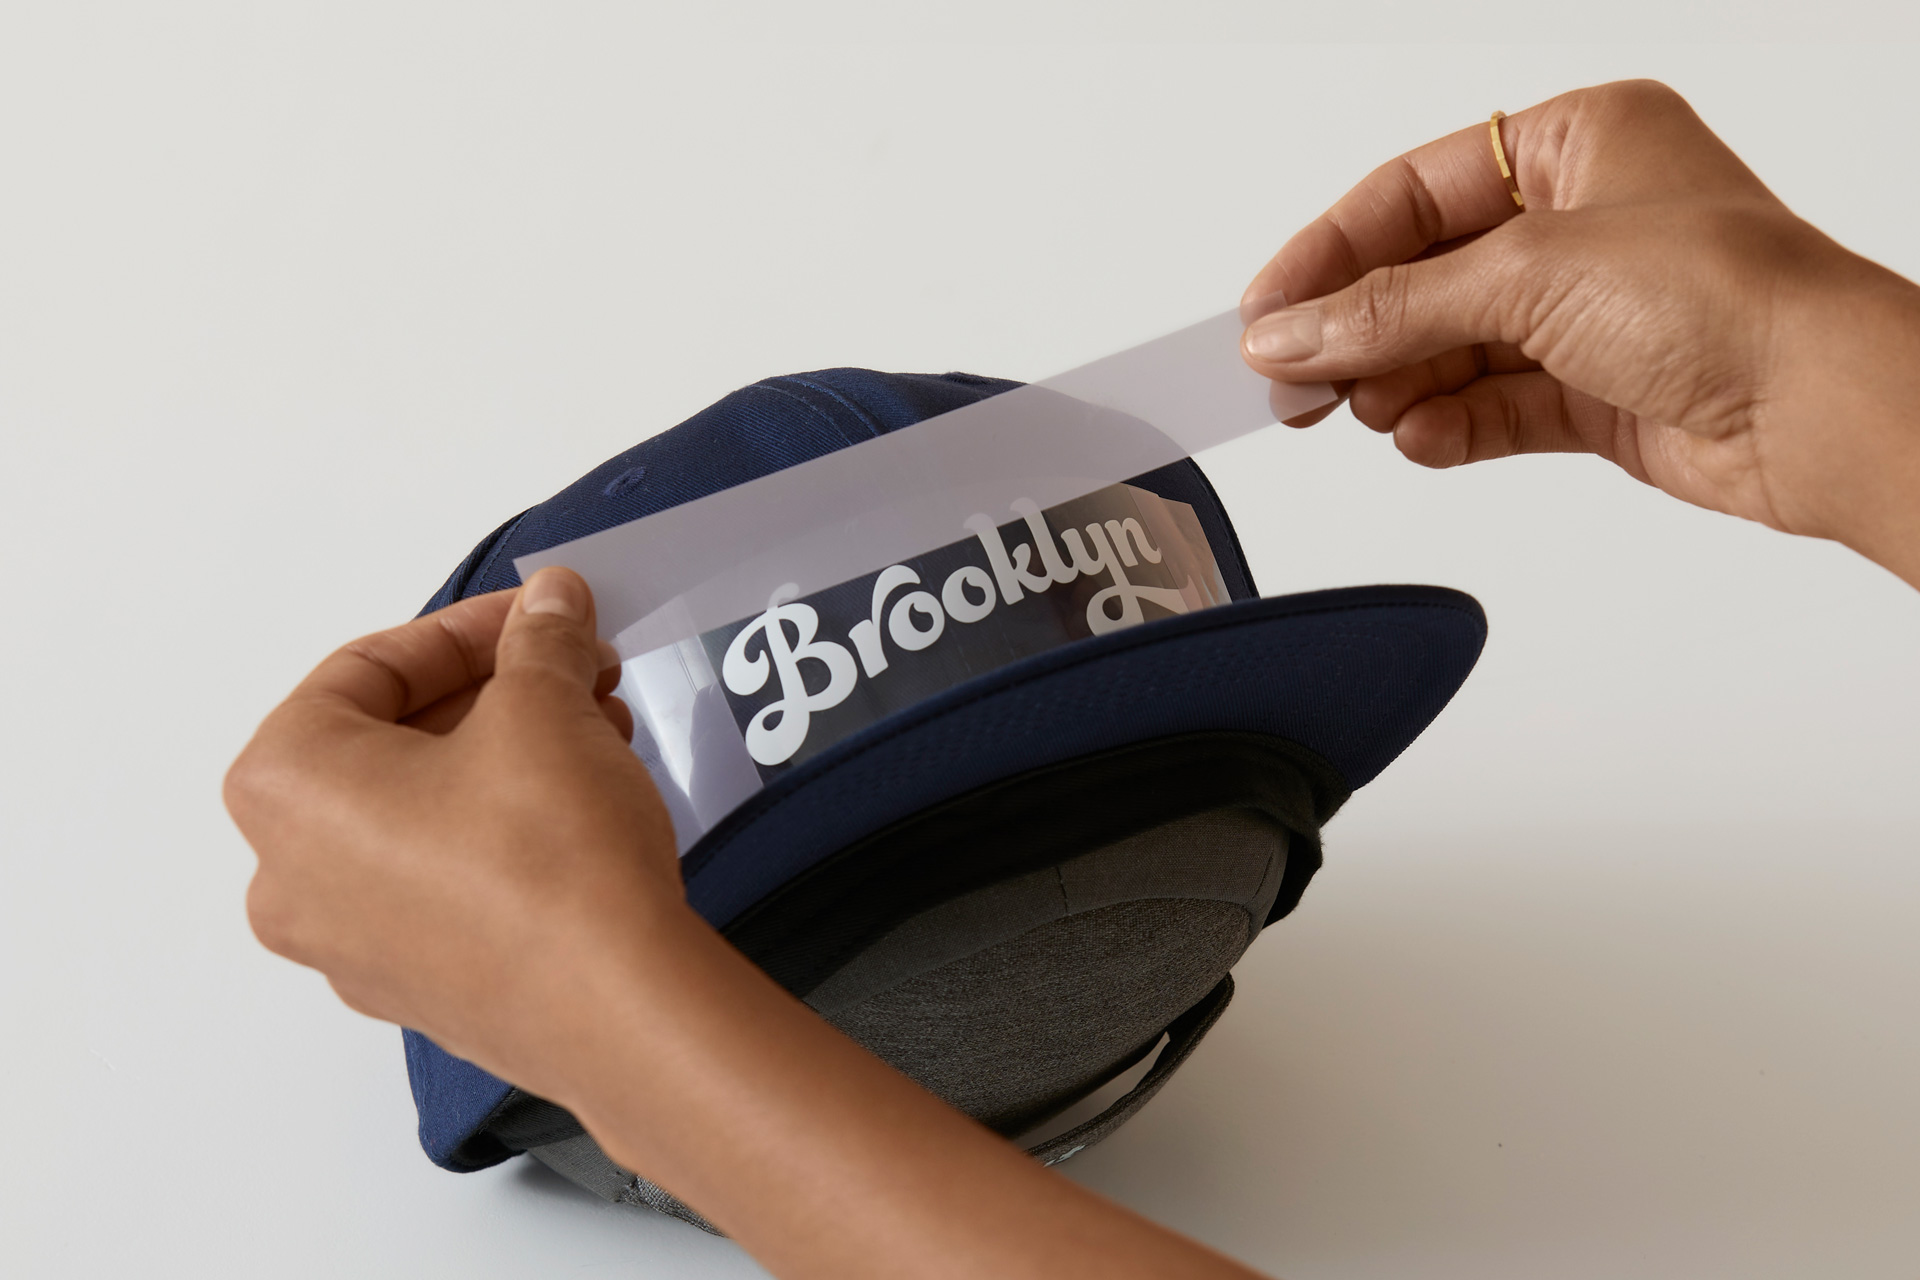
Adhering your design
Adhere Strong Heat Resistant tape to each side of your design to keep your design flush to your curved surface. Overlap the wide and sticky tape to make sure your design doesn’t move or ghost during pressing.
- Don’t be afraid to overlap the tape on top of your design/material.
- Don’t underestimate the benefit of tape. It’s better to use more tape than less.
- Start by taping one side of the design down and smooth the design across the pressing area so it’s flat and taut against the hat, then tape the remaining sides.
Pressing on hats
After preheating and securely taping your design, it’s time to start working your Cricut Hat Press! Here are a few helpful tips for pressing:
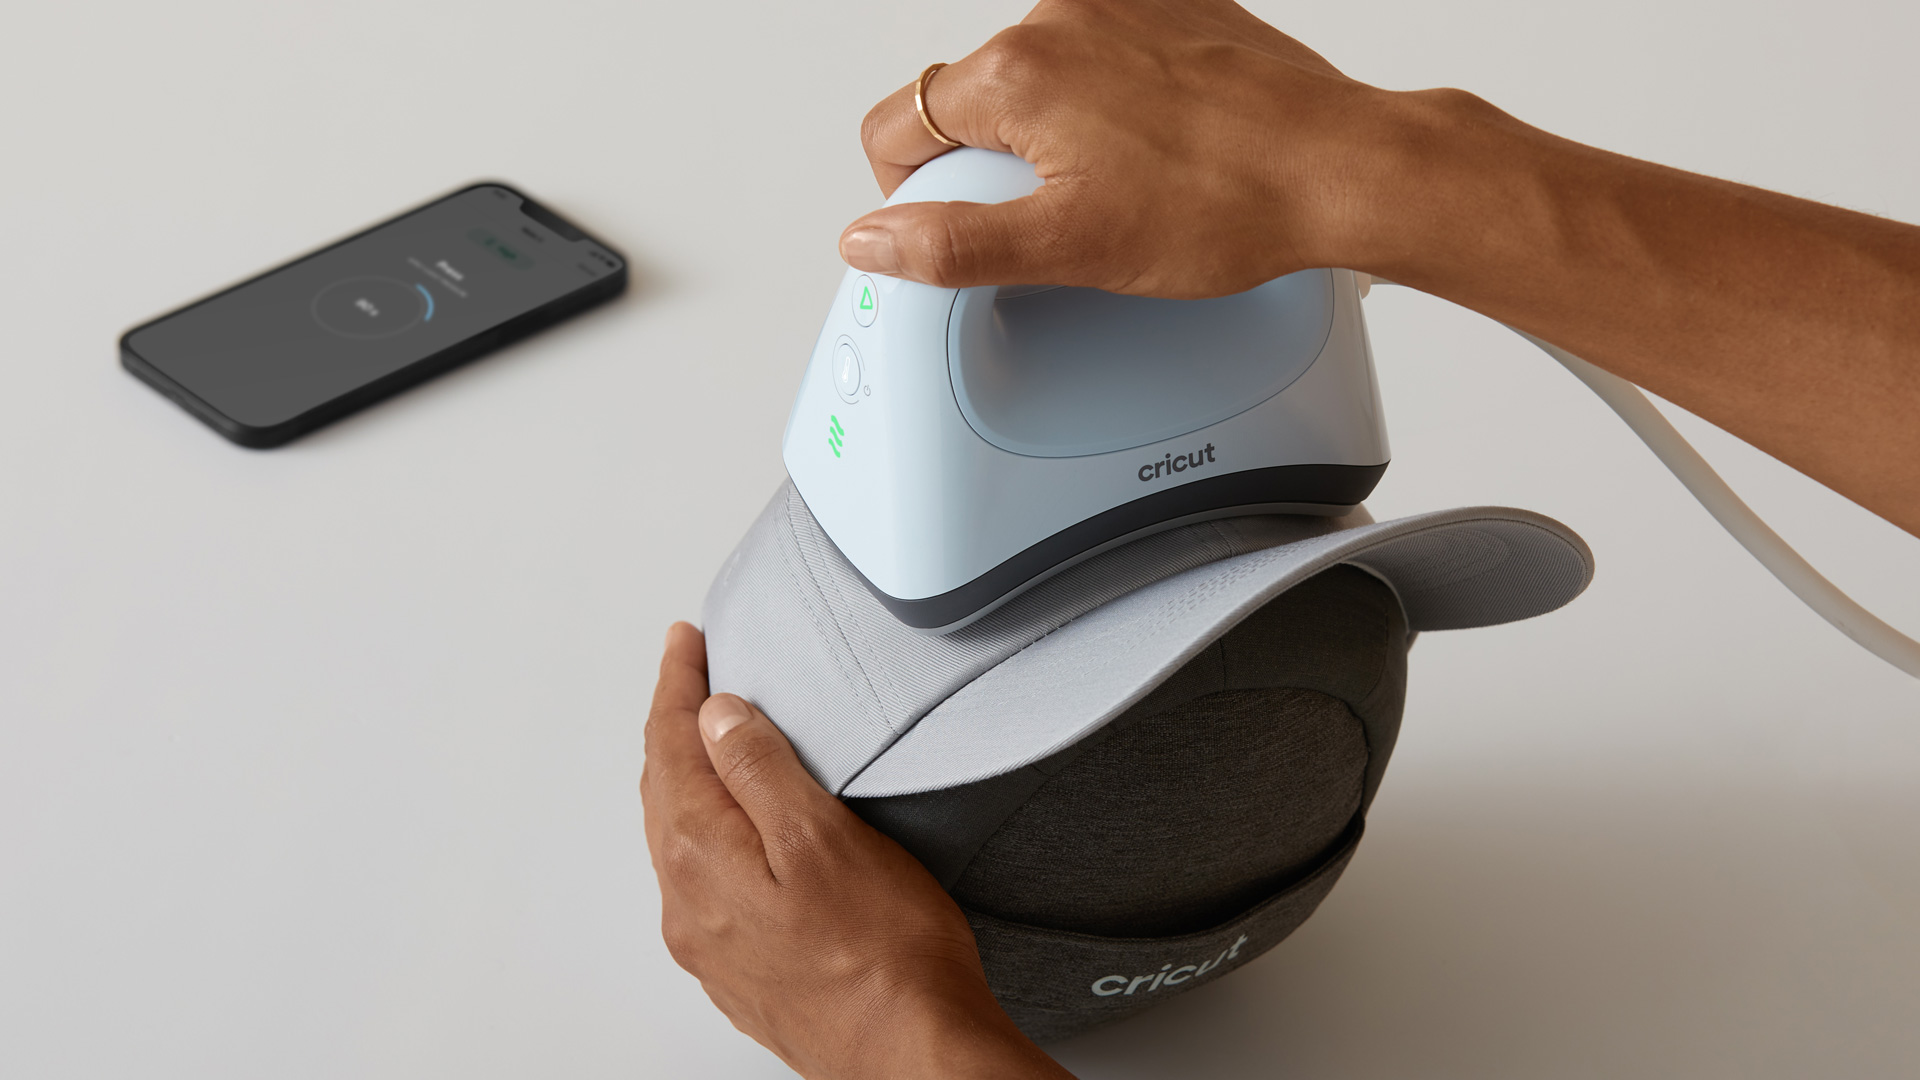
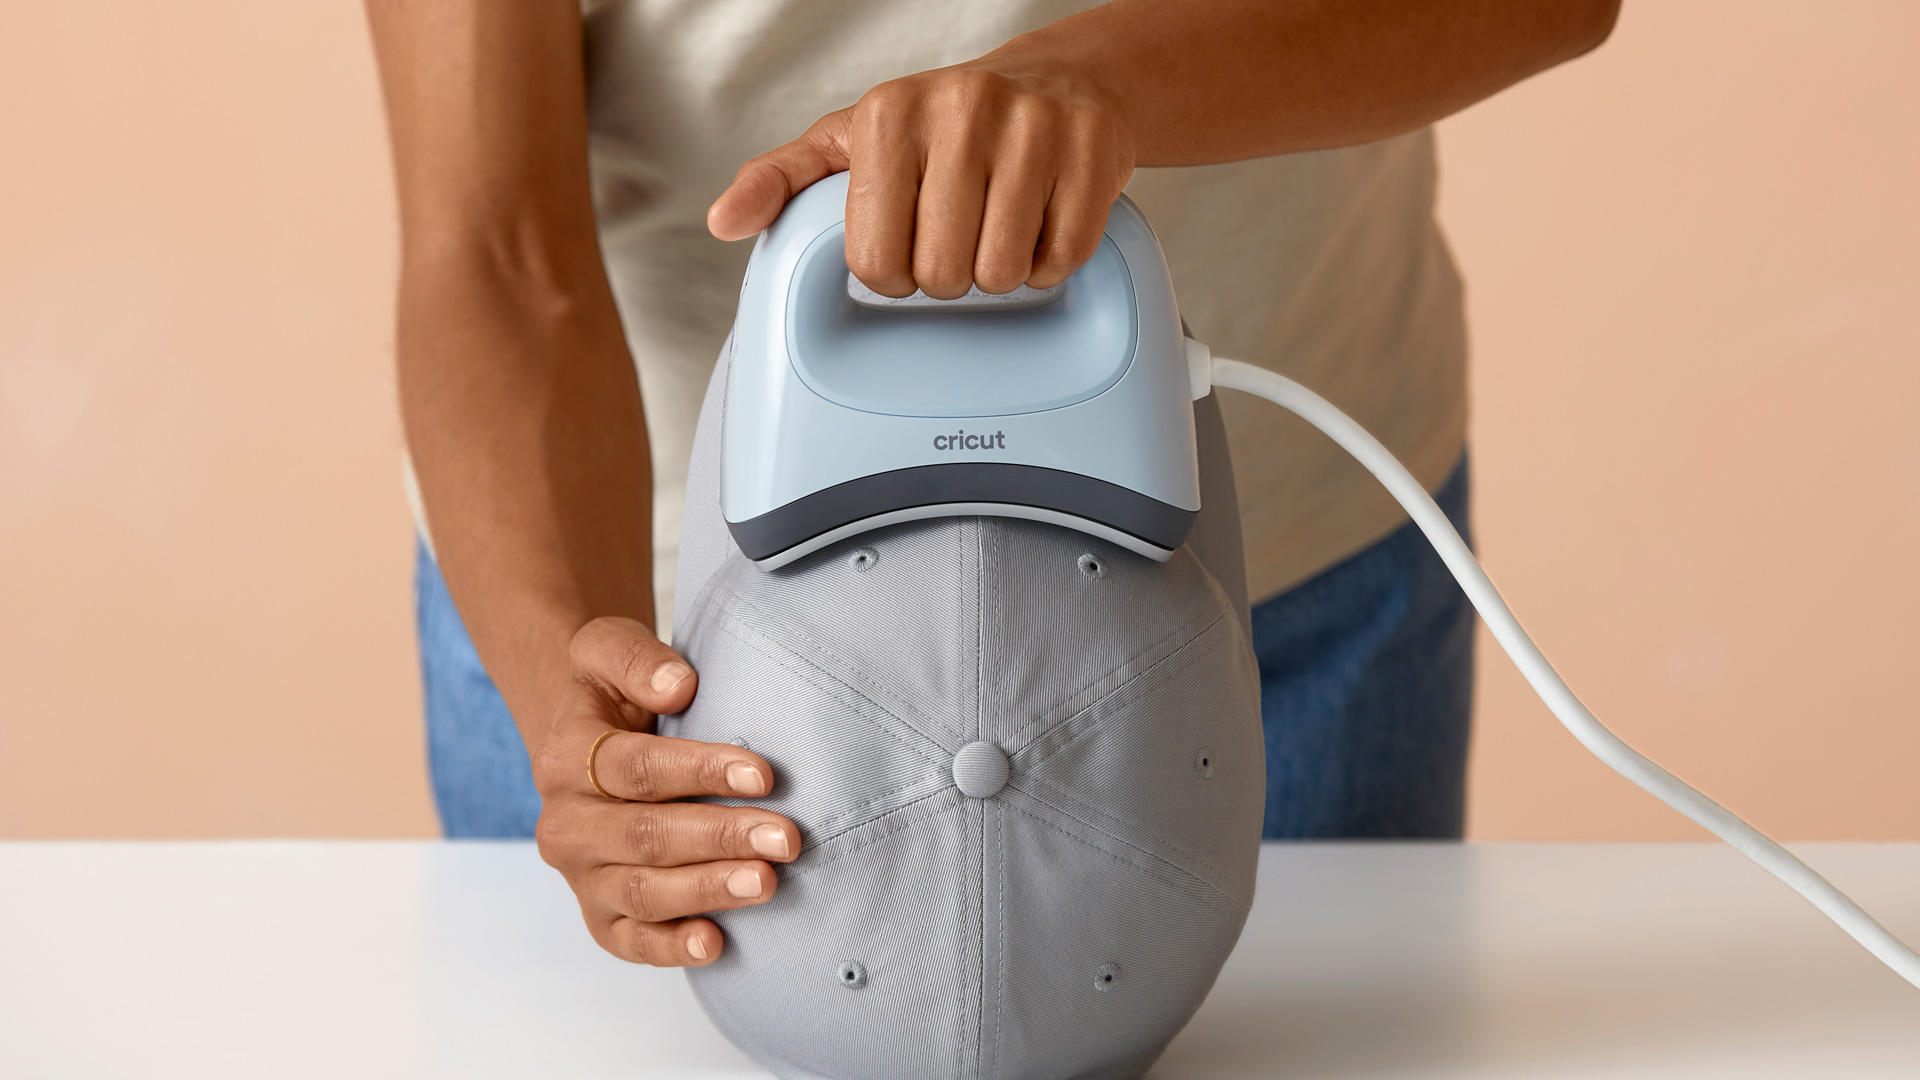
- Make sure you’re holding the press perpendicular to the pressing surface. It should be straight down so you can see your design is being covered by the heat plate. It should not be angled so you can apply the appropriate pressure.
- If the design placement allows for it, your hat brim or bill (if it has one) should point upward. Stabilize the Hat Pressing Form with one hand on the side while the other hand presses down on the press. You can hold the side of the hat like a doorstopper (shown in the picture above), or you can hold the hat by the brim or bill.
- Beware of brims touching the heat press, as constant movement against a hat brim or bill can cause deformation.
- Too much pressure can cause the hat to bubble or deform the hat backing. Light to medium pressure is all that you need with Cricut Hat Press because of the constant movement of the press.
- Movement of the curved heat press should be constant and in fluid strokes. Use the Cricut logo on the press as a guide to indicate how far the press should move. The Cricut logo should reach the edge of both sides of your design when pressing. This ensures that your design receives the necessary heat.
Other helpful tips
- Use the “Detailed Instructions” in the Cricut Heat app for more information on supplies you need, material stacking order, tutorials, and helpful links to help you with your heat transfer
- Although ideal time and temperature settings were tested with Cricut hat blanks and a variety of materials, if you want more heat time than the Cricut Heat app indicates, press the “Play” button on the press. The press remembers that last time and temperature settings, so it will have the right settings given your base and design material
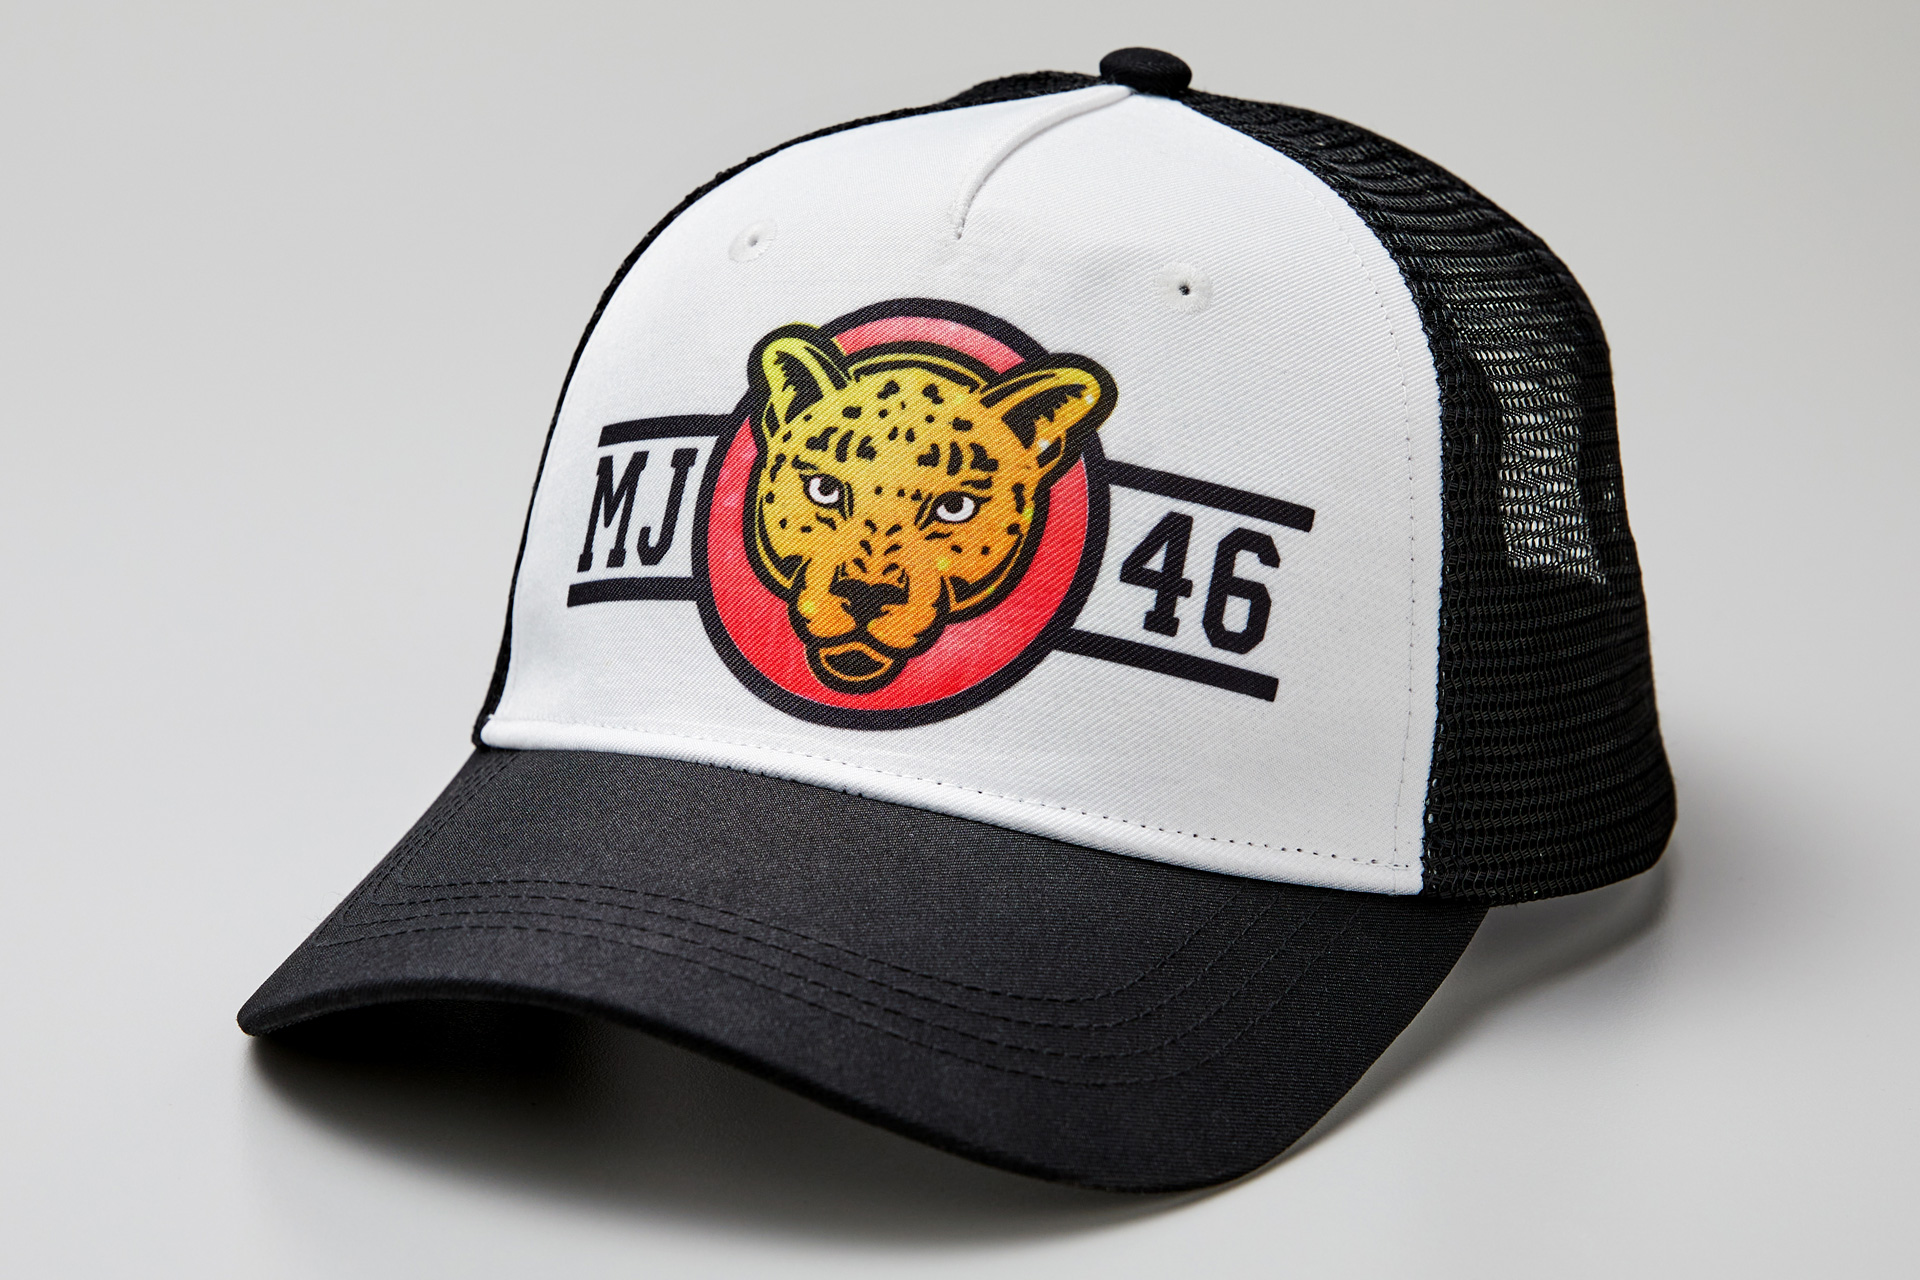
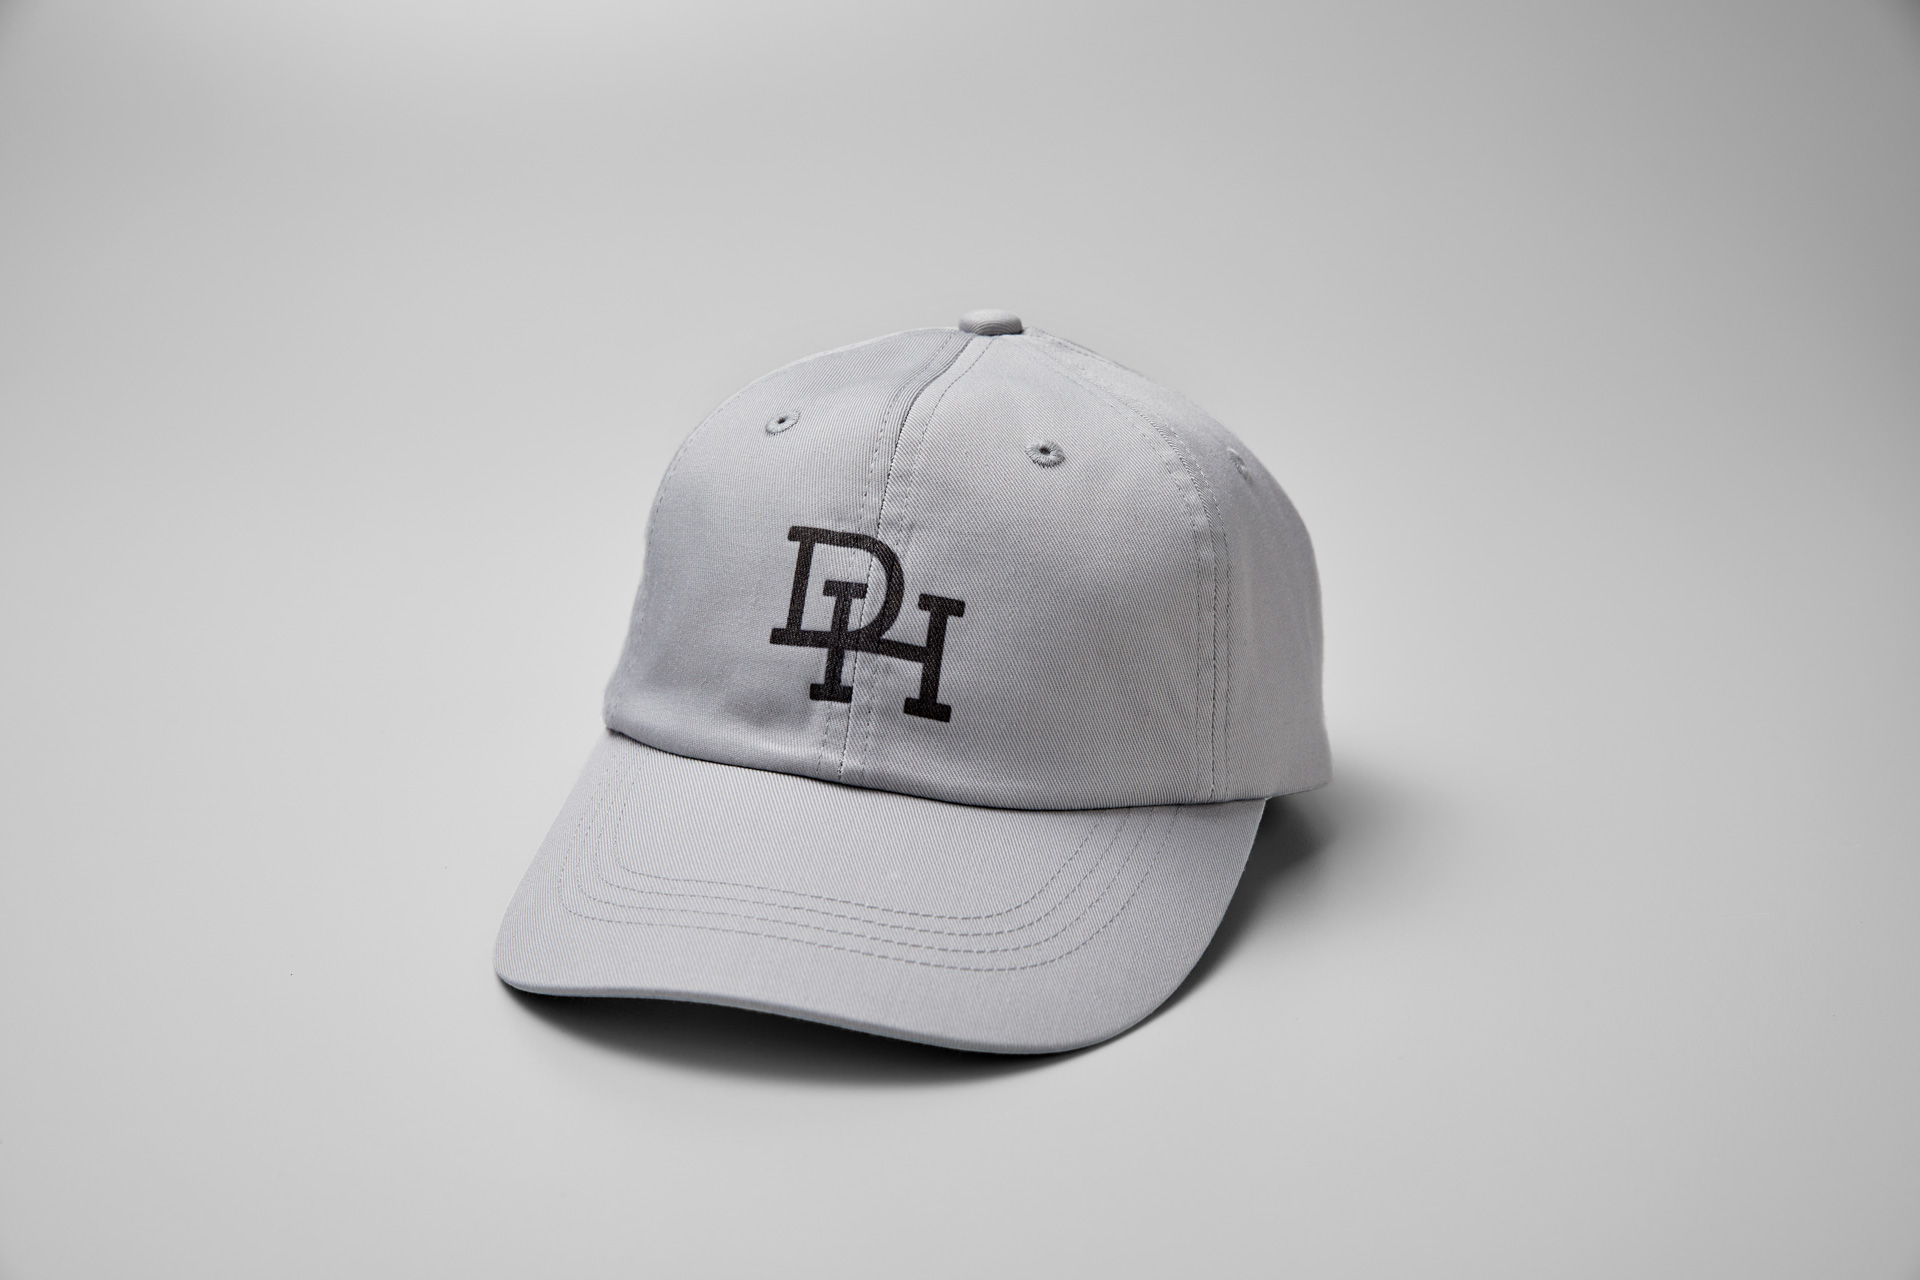
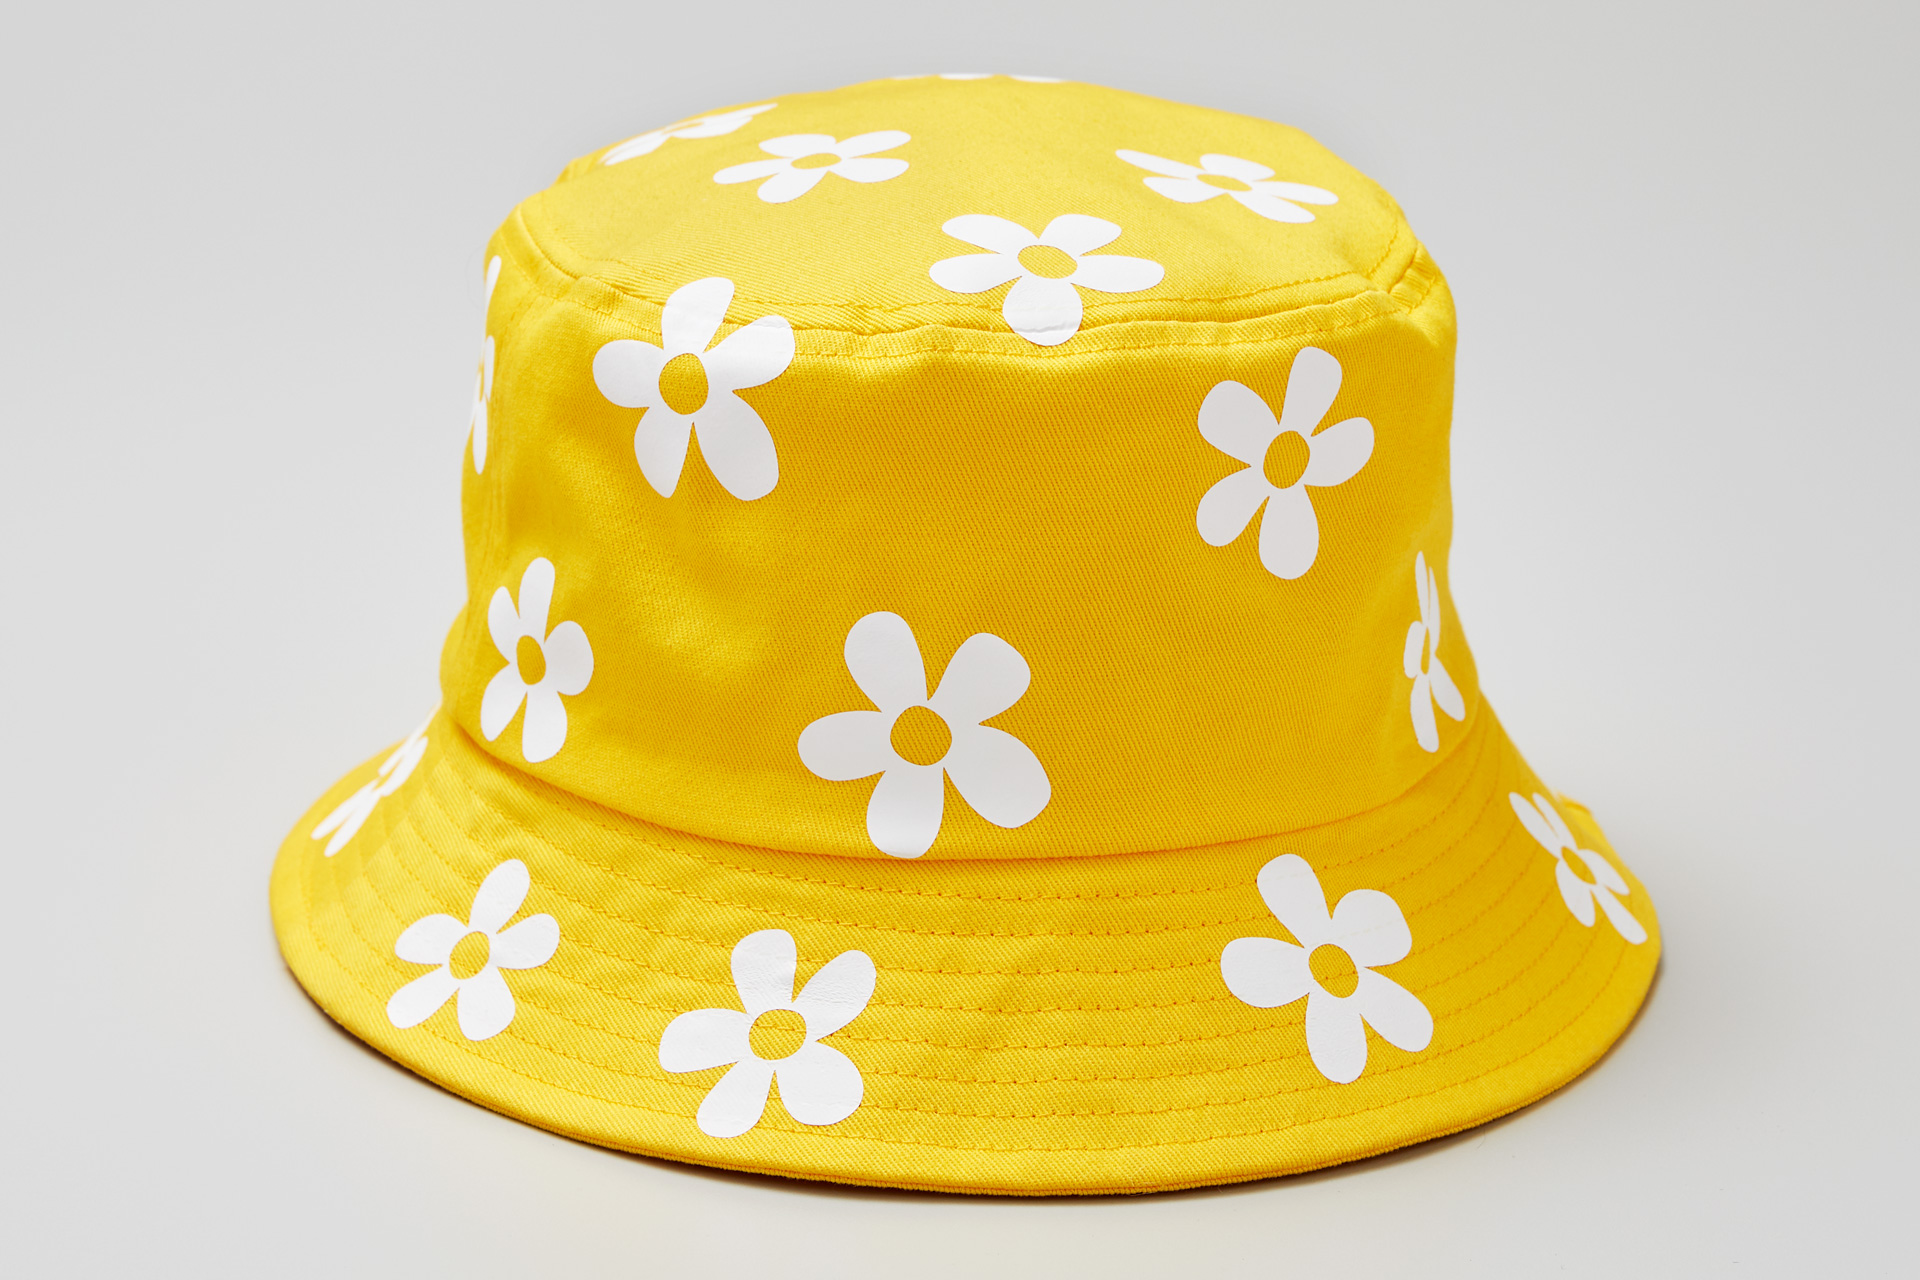
- For the Cricut Trucker hat blank, you can apply Infusible Ink on the front white portion of the hat
- For the Cricut ballcap, you can apply Infusible Ink anywhere on that hat, except for the bill. The high temperature needed to transfer Infusible Ink would cause the bill to deform
- When using Iron-on material, you can try applying a design to any part of the hat, like the back of this hat, or on the bill of hat.
With so many kinds of hats and ways to design, there’s no cap to customization and personalization possibilities with Cricut Hat Press. If you need some inspiration to get started, check out these hat projects on Design Space.
Visit the Help Center for more information on Cricut Hat Press.


Search How-To
I want to make...