Tips and Tricks for your Cricut Card Mat 2×2
Cardmakers rejoice! Now you can make quick and easy cards using your Cricut Explore or Cricut Maker. We have tips and tricks to get you started with Cricut Card Kits using your Cricut Card Mat 2 x 2. Click here to see our introduction to Cricut Card Mat 2 x 2.
Able to make up to 4 cards at a time, Cricut Card Mat 2 x 2 is compatible with any of the insert card, cutaway card, and foil card kits. The mat allows you to use ready-to-make designs or custom designs in Cricut Design Space.
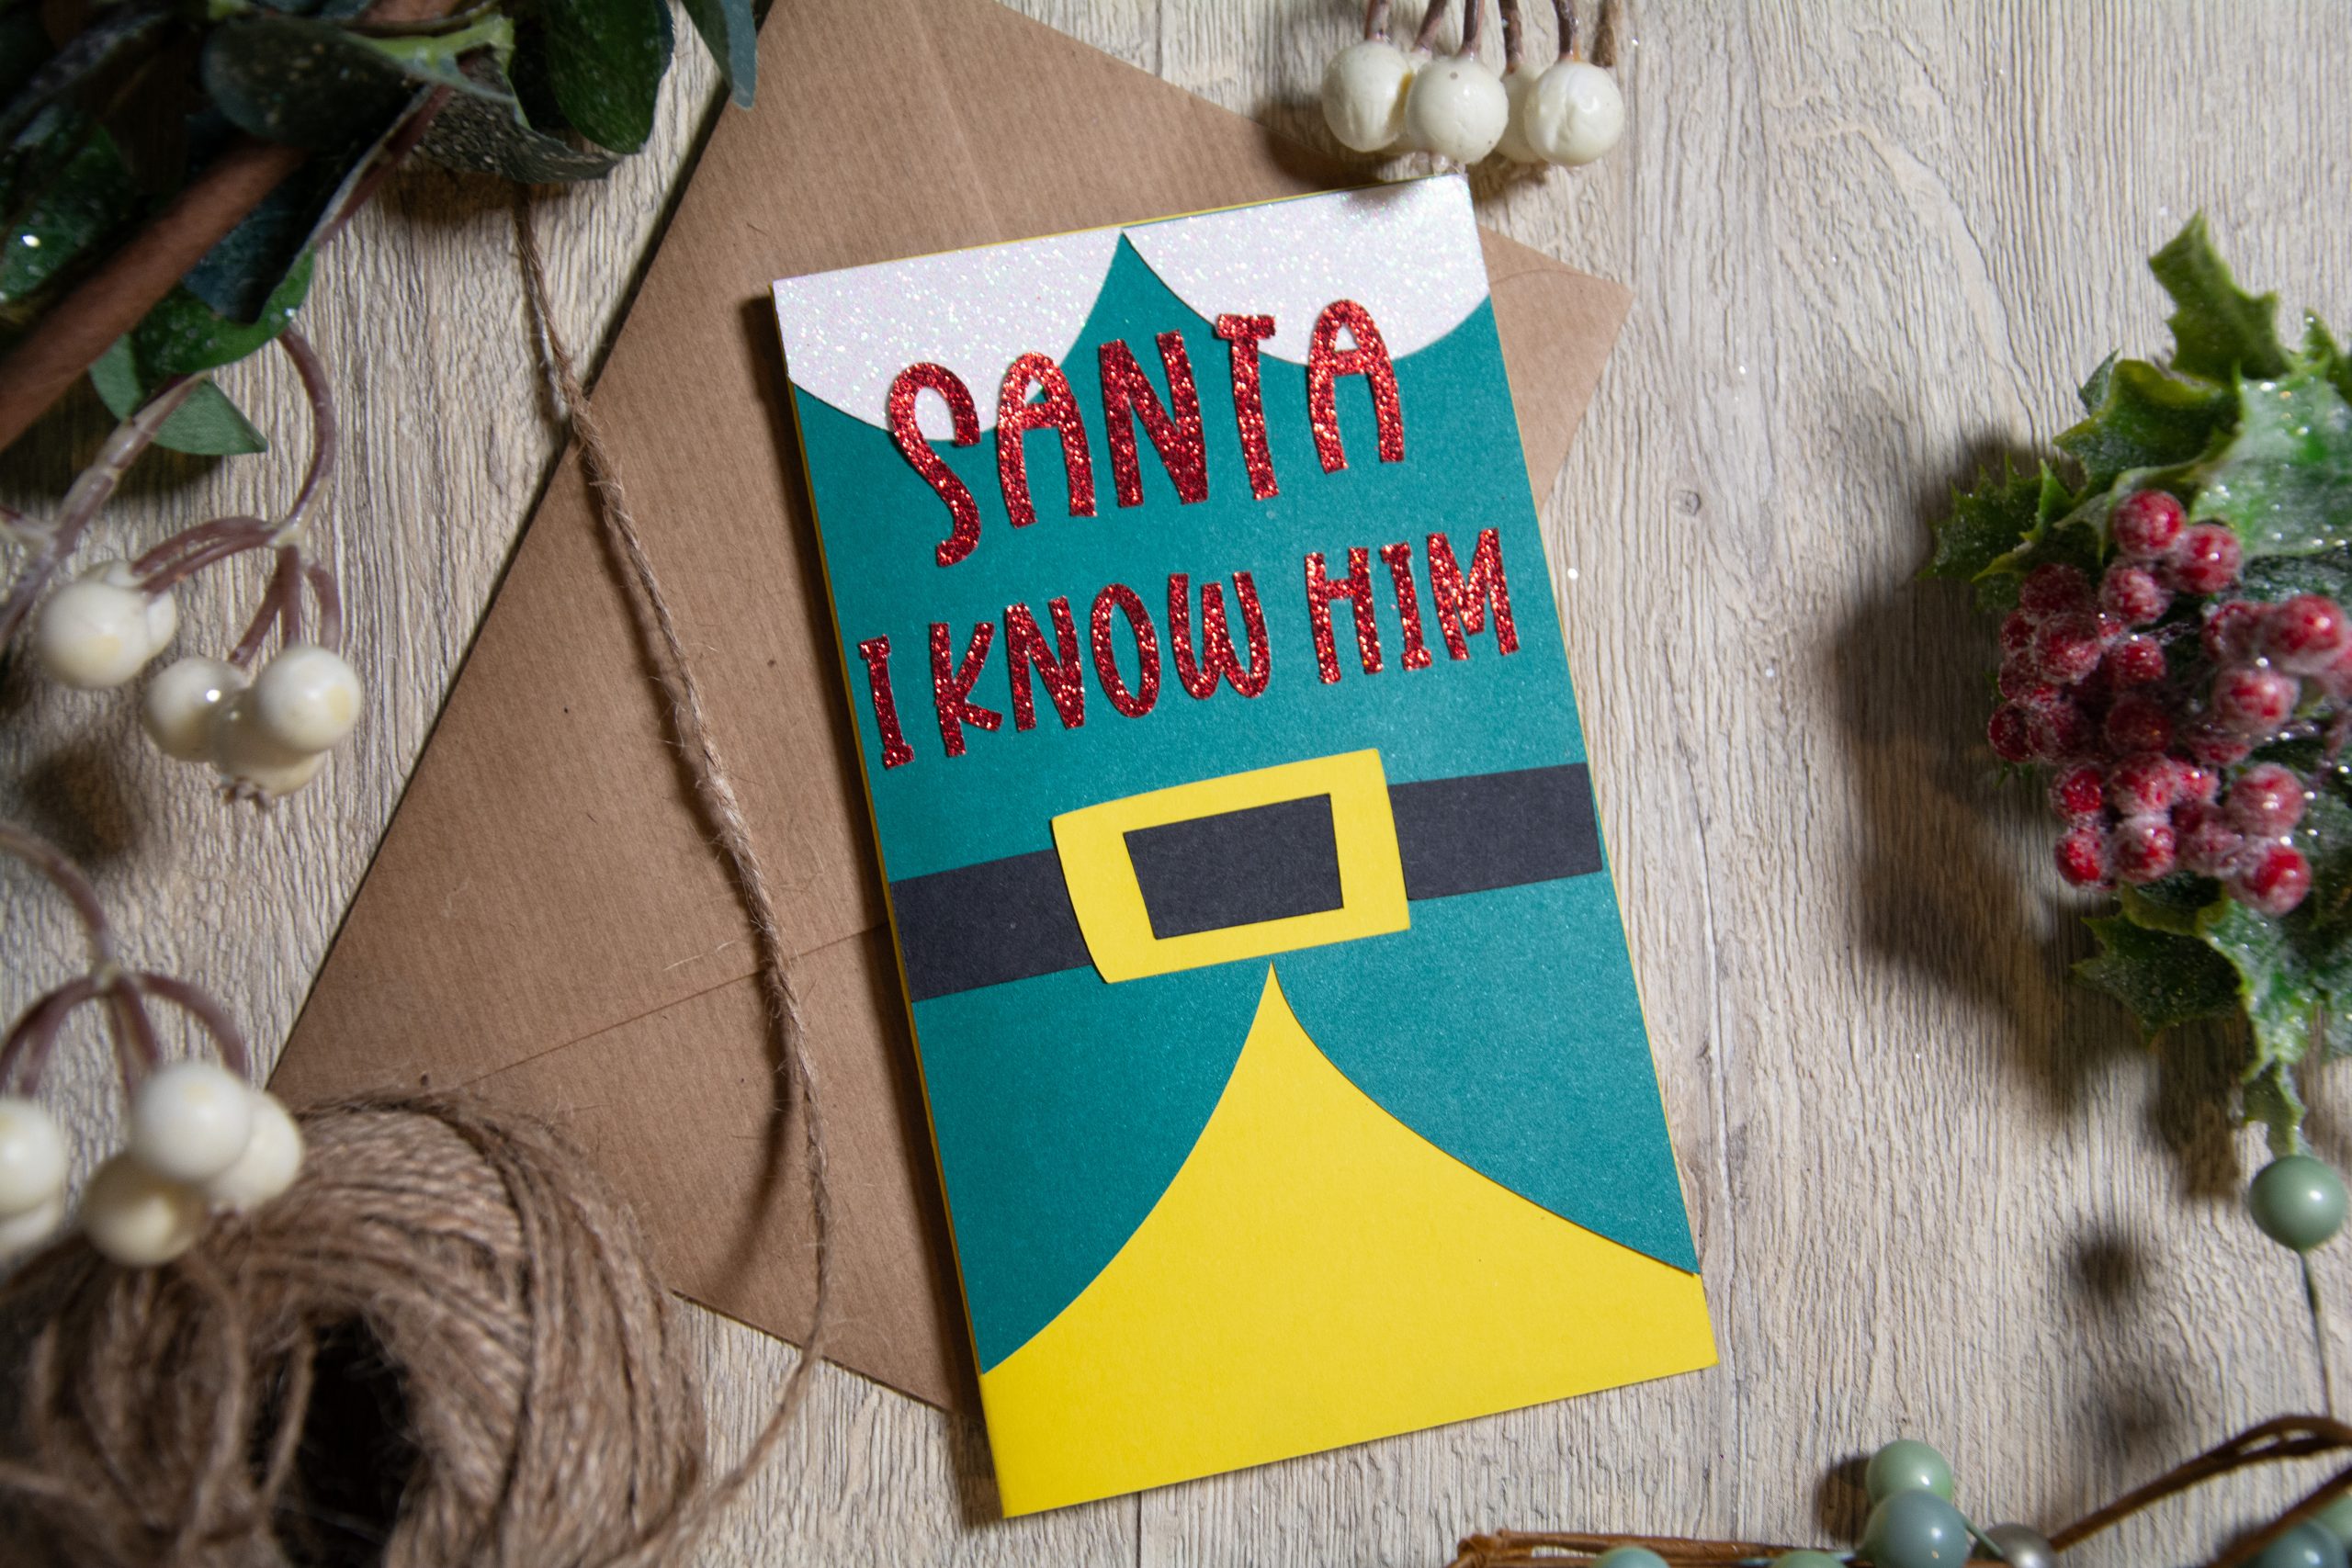
Making Cricut Insert Cards using Ready-to-Make Projects
Hop into Design Space and make sure you have your Cricut Maker or Cricut Explore machine selected.
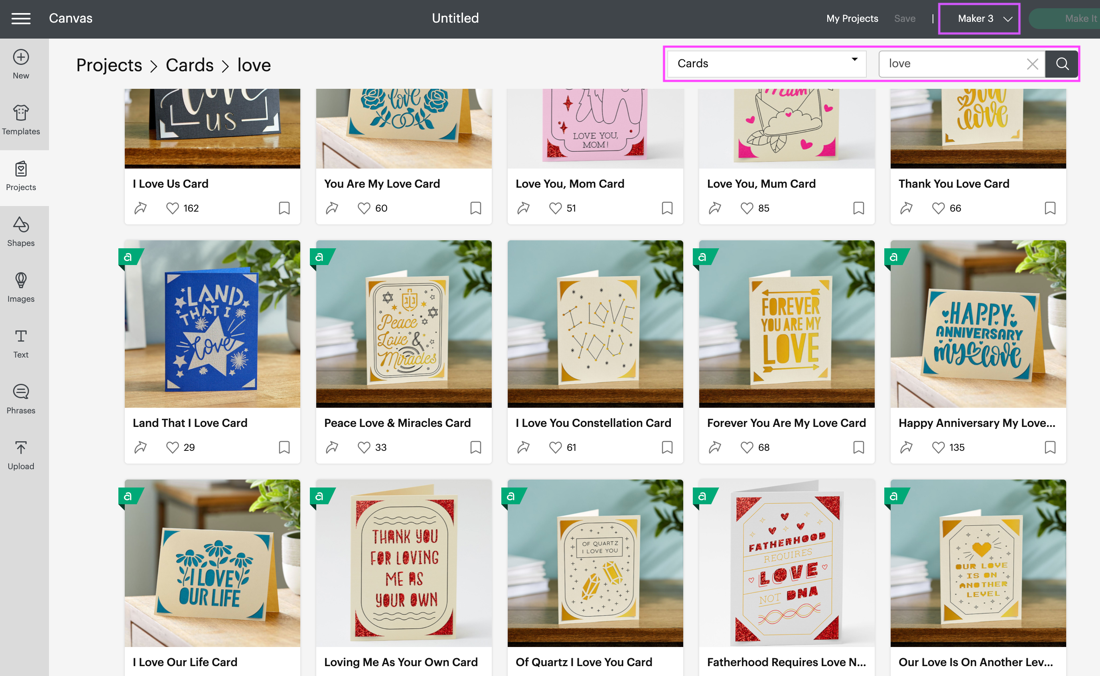
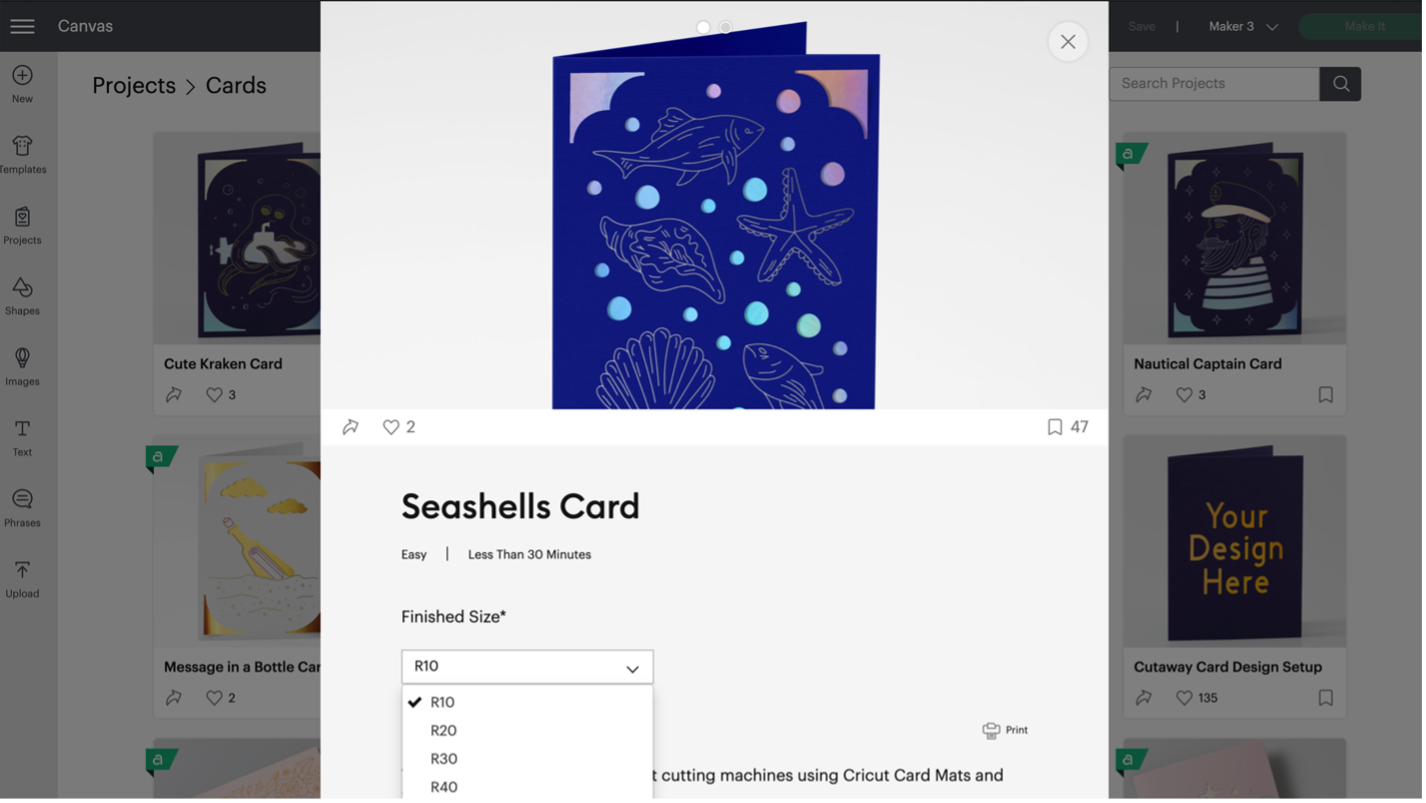
Select “All categories” or select the “Cards” category in the drop-down menu. Then type in your search term to display a selection of pre-designed, “ready-to-make” cards. Each card design can be customized to different sizes so that it corresponds with your card kit supplies.
Card kits come in various sizes, which are also compatible with Cricut Card Mat 2 x 2. Here’s a list of all the card sizes that work with this mat.
· R10 – 3.5 in x 4.9 in (8.9 cm x 12.4 cm)
· R20 – 4.25 in x 5.5 in (10.8 cm x 14 cm)
· R30 – 4.5 in x 6.25 in (11.4 cm x 15.9 cm)
· R40 – 4.75 in x 6.6 in (12.1 cm x 16.8 cm
· S40 – 4.75 in x 4.75 in (12.1 cm x 12.1 cm)
*Note: the “R” before the card size identifies card shape as rectangle. The “S” signifies card shape as square.
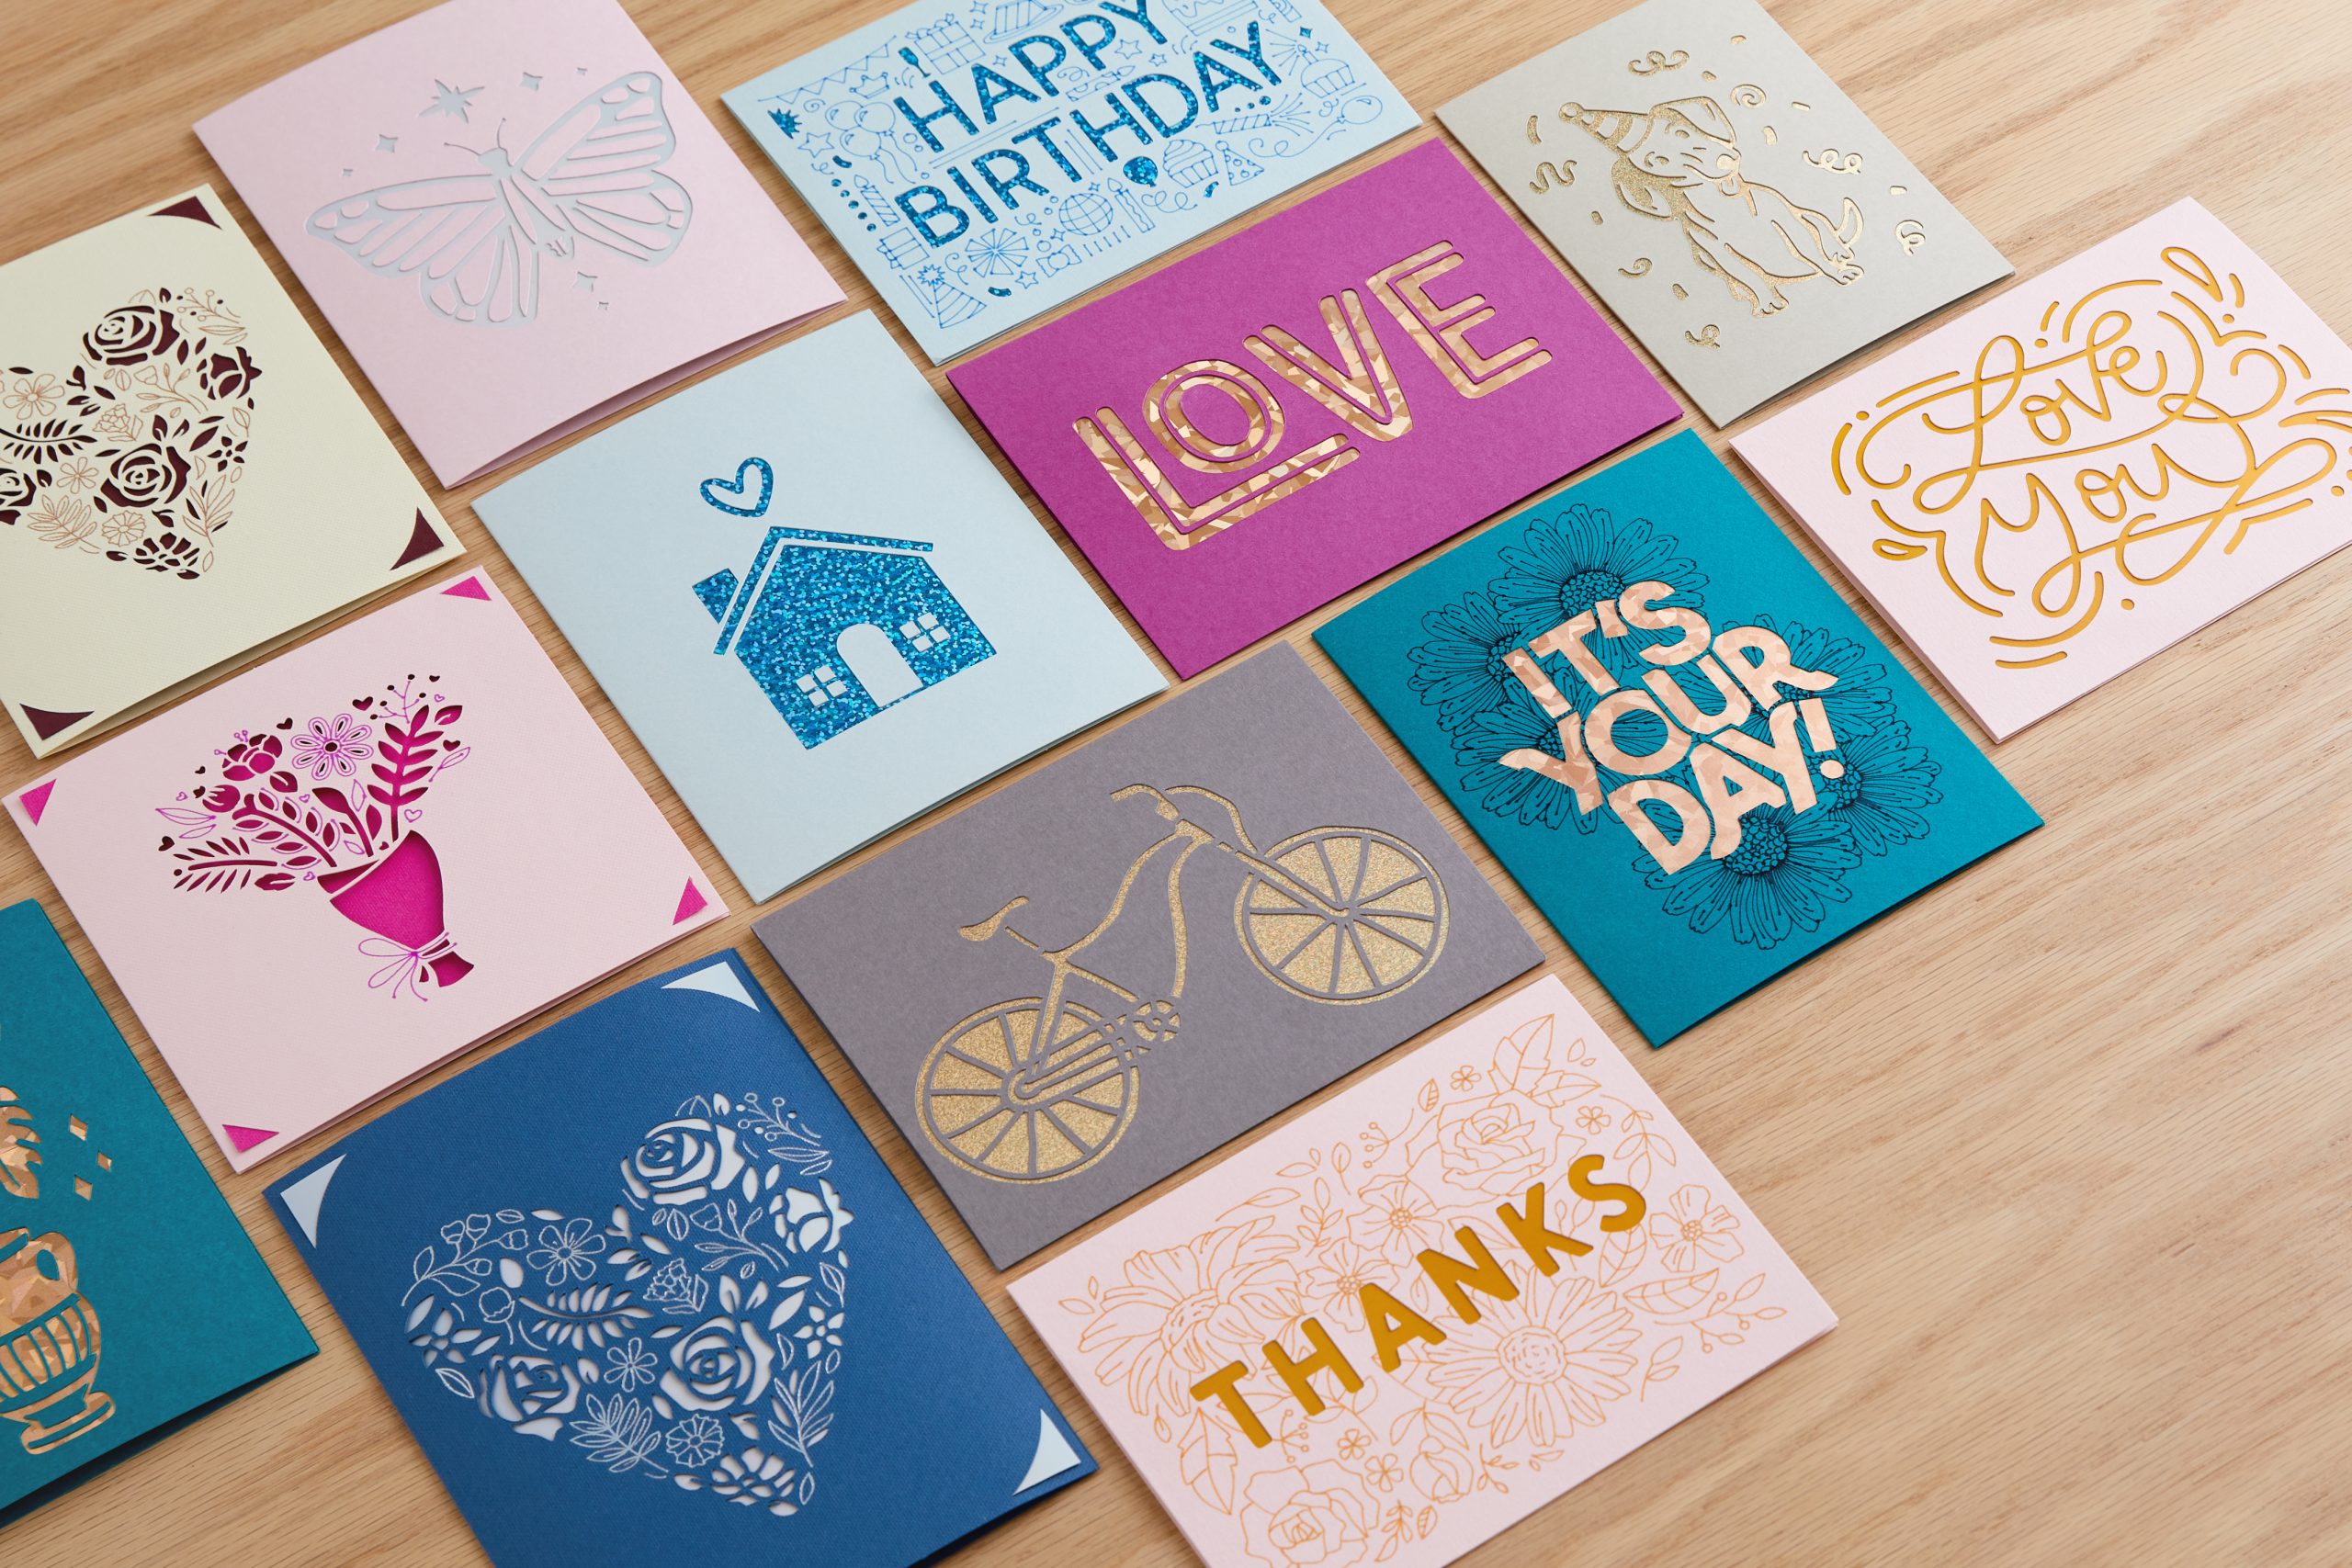
Bonus tip: Many of the ready-to-make projects also use a machine compatible pen (or three!). The cut-out portion corresponds with your insert colour, so consider how your pen colour will look on the cardstock to make sure that you like the way they look together.
Another bonus tip: Make your card EXTRA special by using a combination of pens and foil.
Designing Cricut Cutaway Cards
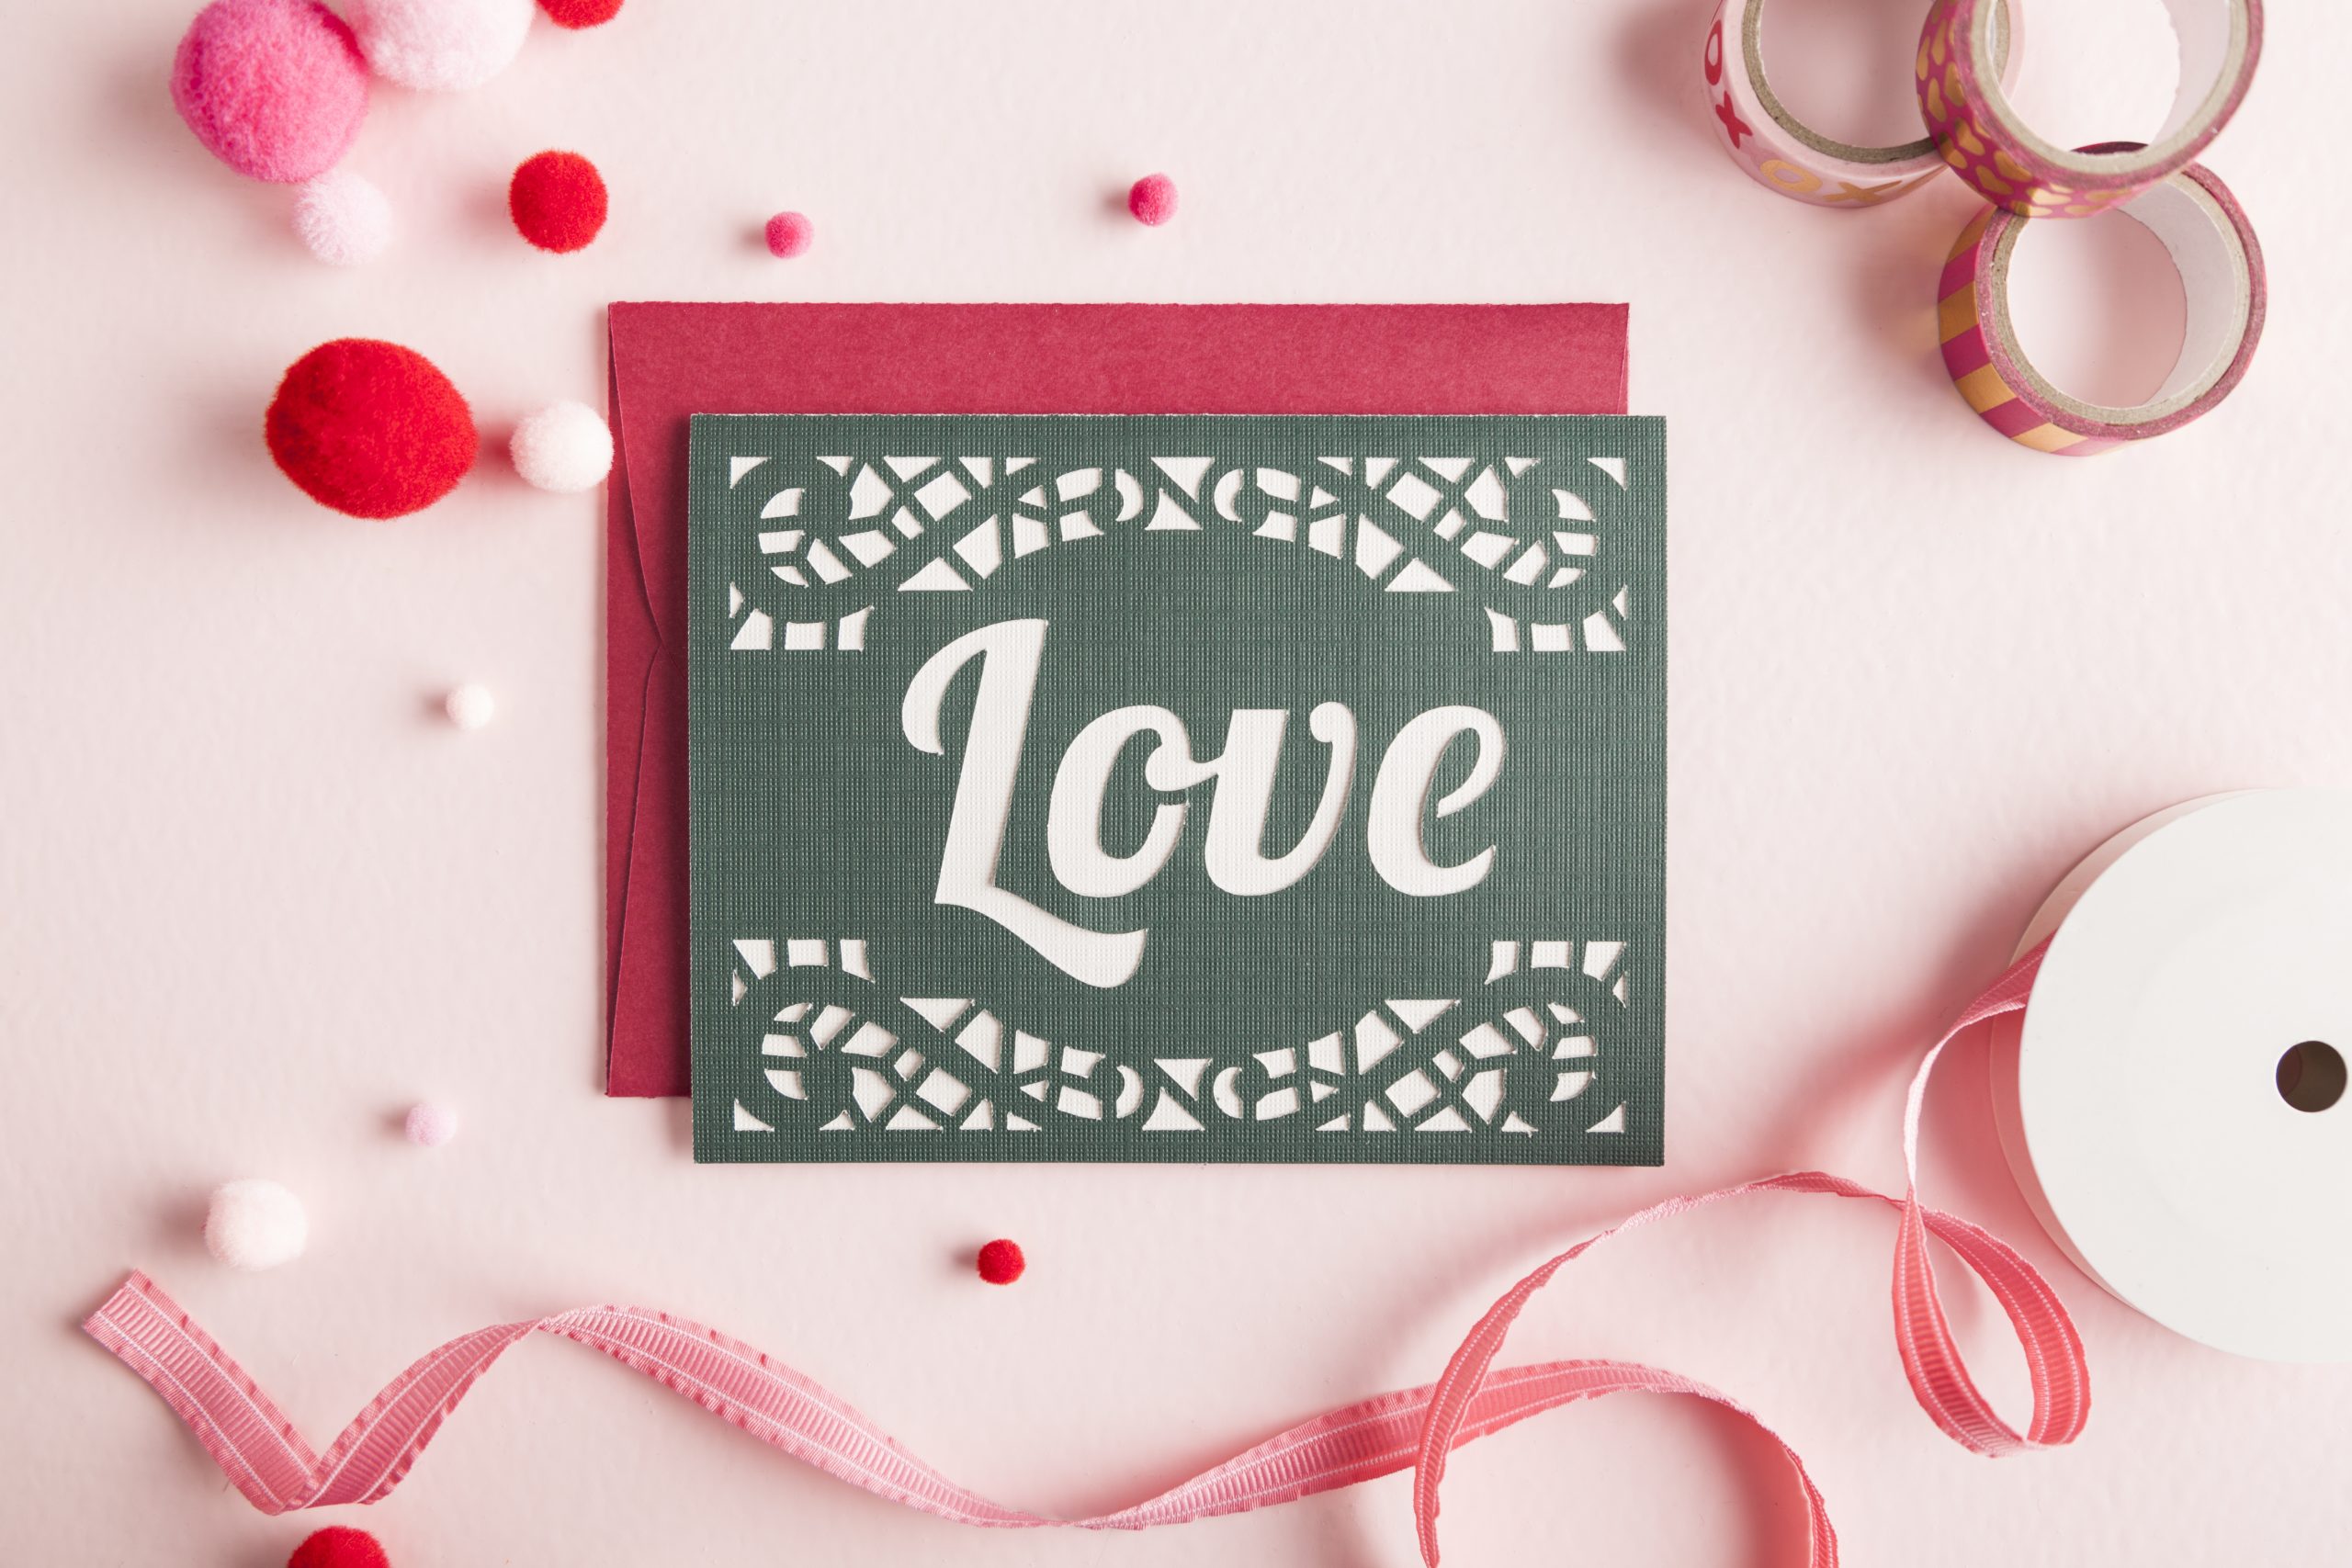
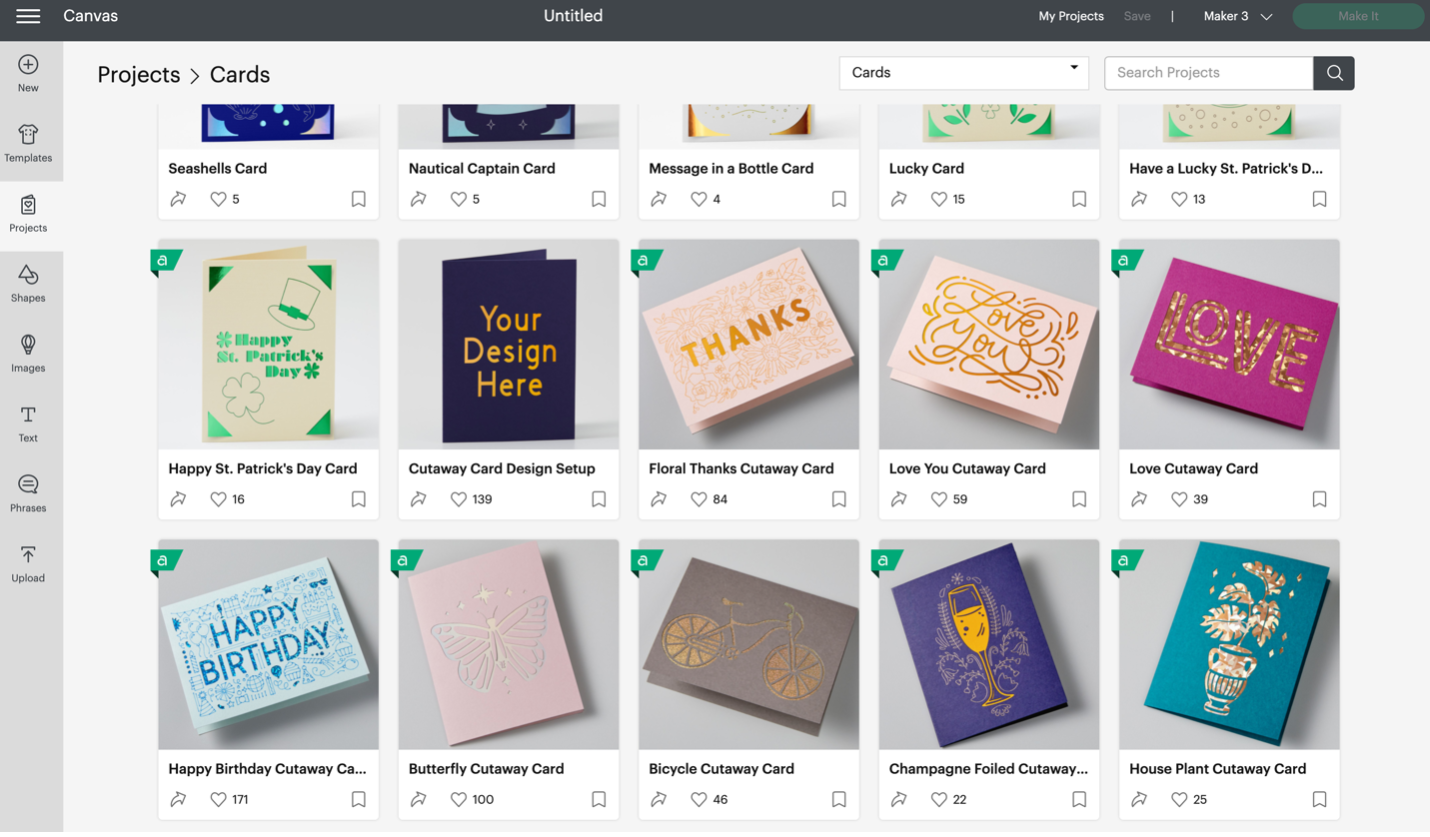
Cutaway Cards apply a kiss cut to the backer piece, which means that light cuts are made around the cardstock so that it shows the contrasting material underneath. With Cutaway Cards, you don’t need to leave room for slits that hold an insert card in place as is the case with Insert Cards. Here’s how to get started:
- To design Cutaway Cards, use the Cutaway Card Design Setup.
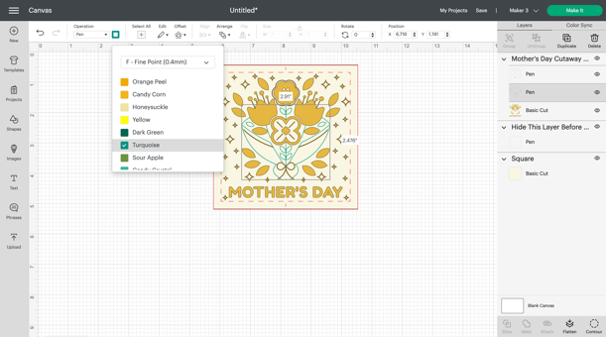
- Before customising the design, select the size and shape of your card from the dropdown menu. Make sure this matches your card kit materials. This adds a layer that outlines the layout of your card on your Canvas.
- Add images and text to your card, and make sure it is sized to fit within your layout. For best weeding results, be sure that your design doesn’t have pieces smaller than 1/8” in diameter.
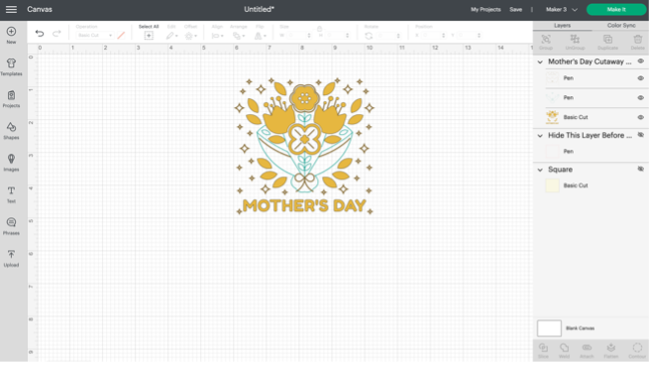
- Hide the layout layer and the square or rectangle layer before you cut.
As with any design, we have a few tips to make creating Cutaway Cards easier. Here are some things to keep in mind when designing yours:
- Add a square or rectangle behind your design in the colour of cardstock you will be using.
- Use the edit bar for each layer to change the backer colour and pen colours to reflect your design.
And don’t forget that Cutaway Cards need a little prep before you start cutting. Attach your backer before you place your card in your cutting machine. This will help make sure every piece stays exactly where it’s supposed to.
Get ready to cut
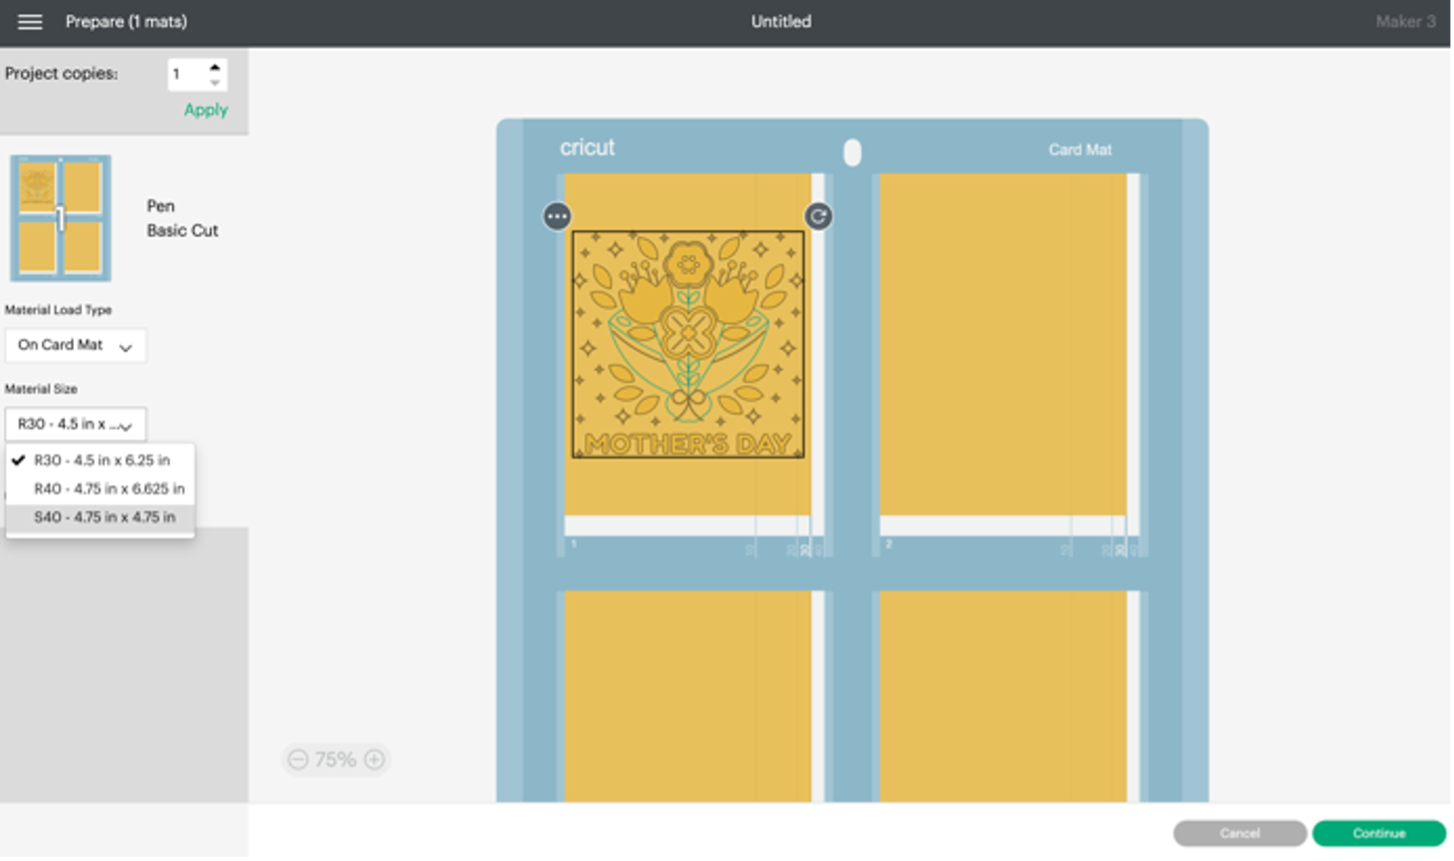
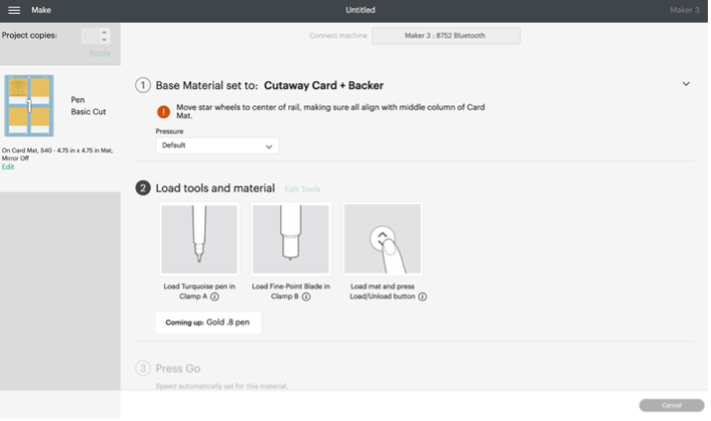
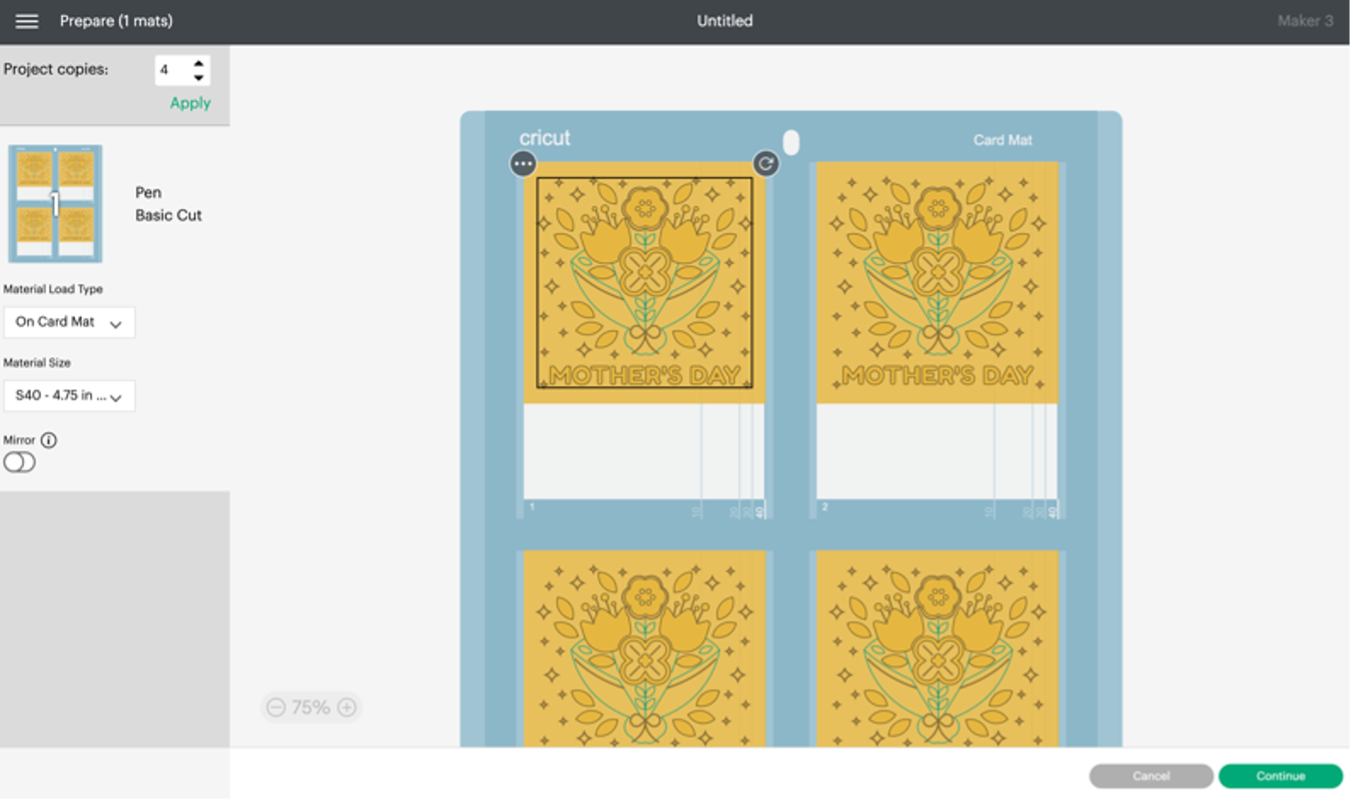
When you click “Make it,” you’re sent to a screen that may prompt you to select your mat. Choose the “On Card Mat – for pre-folded cards” and click continue. Design Space automatically arranges and centres cards on the mat, keeping the same colours and sizes together.
Change the placement of your design by simply selecting and dragging to the desired open space. You can also use the drop-down menu on the far left to change the card size (as long the design fits in the size of the presets), as seen in the below image.
If you would like to make multiples of the same card, simply increase the project copies.
Cutting and assembling cards
Keep the sticky portions of the mat covered with the mat protective covers, shiny side down, until you are ready to use your mat.
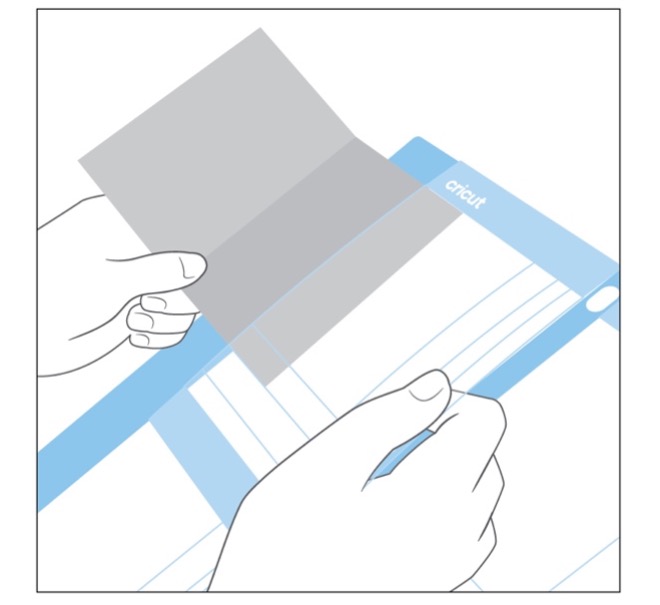
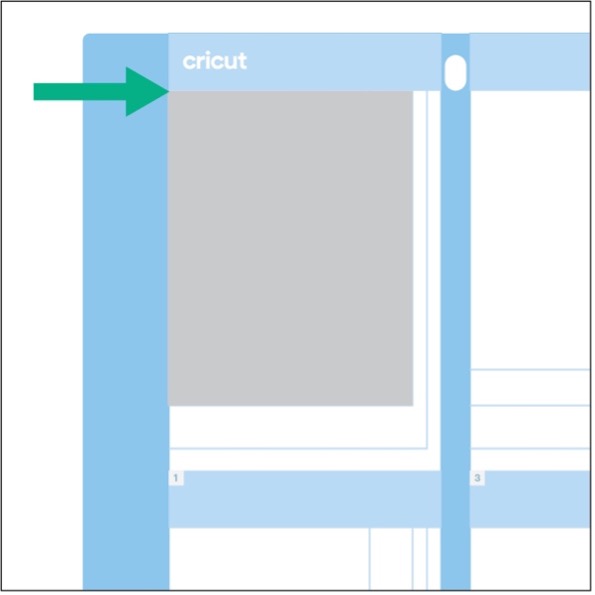
Starting with the card in top left corner, slightly open the pre-folded card and slide the back of the card through the slit of the card mat, keeping the card flush against the top of the card slot and with the fold flush against the edge. Smooth the top of the card down evenly against the card mat so that only the top of the folded card will be cut. Repeat with any additional cards, making sure to match the placement of the cards to the cut preview screen. The images below show how this is done.
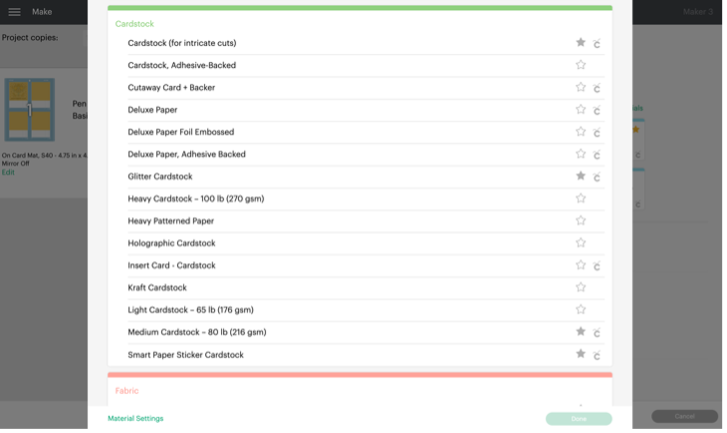
If you are using pens and or Cricut Foil Tool, make sure to follow the on-screen prompts for the correct colour and thickness. Then, select the correct cut setting from the materials menu.
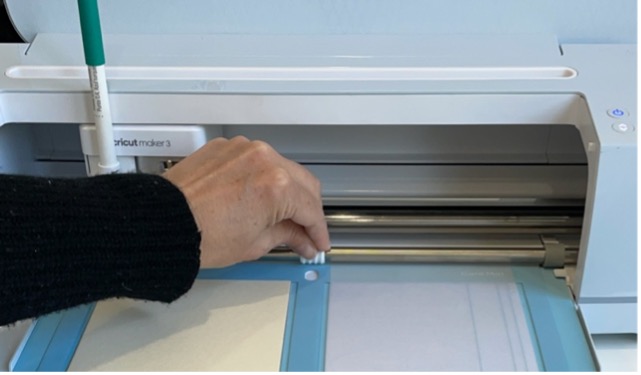
Place Cricut Card Mat 2 x 2 under the machine tabs and up against the rollers. Then, move your four white wheels to the middle of the bar so that they are aligned with centre of the card mat. This part is important: make sure the star wheels are placed properly so that they hold down the mat rather than creating any unwanted marks on your cards. Then, simply load the card mat and press the “Go” button!
Once cut, remove your card mat and gently remove each card.
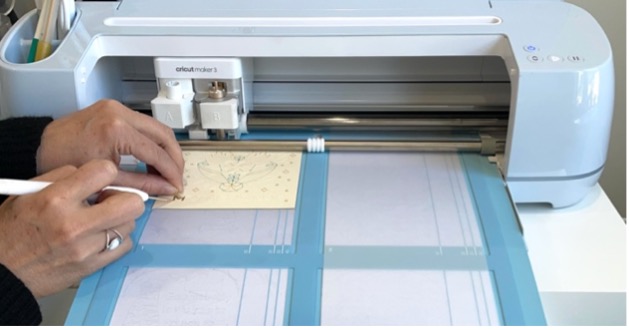
Bonus tip: Before unloading, check one corner to make sure the cut was successful. If not, hit go again for another pass.
Another bonus tip: Use your scraper tool to remove the cut cards from the mat at one corner of each card. That will allow you to avoid getting oils from your hands onto the mat.
A few more tips & tricks
- After you remove your card from the card mat, remove negative pieces of paper off the mat using a scraper tool. Scrape the remaining pieces out towards the top and bottom edges and replace the mat protective covers shiny side down.
- For Insert Cards, insert the contrasting insert piece by gently inserting the corners into the corner slits of the card.
- For Cutaway Cards, gently pick up the cutouts with a weeding tool at the tightest corners of the cuts and peel away with your fingers or tweezers.
Visit our Help Centre for more answers to your Cricut Card Mat 2 x 2 questions.


