Poundland Cricut Project Ideas: what we got and what we made
The Cricut UK community often discusses how they love to head to Poundland in search of their next blanks for projects. We decided to explore our local Poundland and find items that we could personalise with our Cricut machine. Below we share what we purchased in our Poundland haul and our ideas of what to make.
What we purchased
There were some great options for making with our machines and we chose three items with different price points and different audiences in mind.
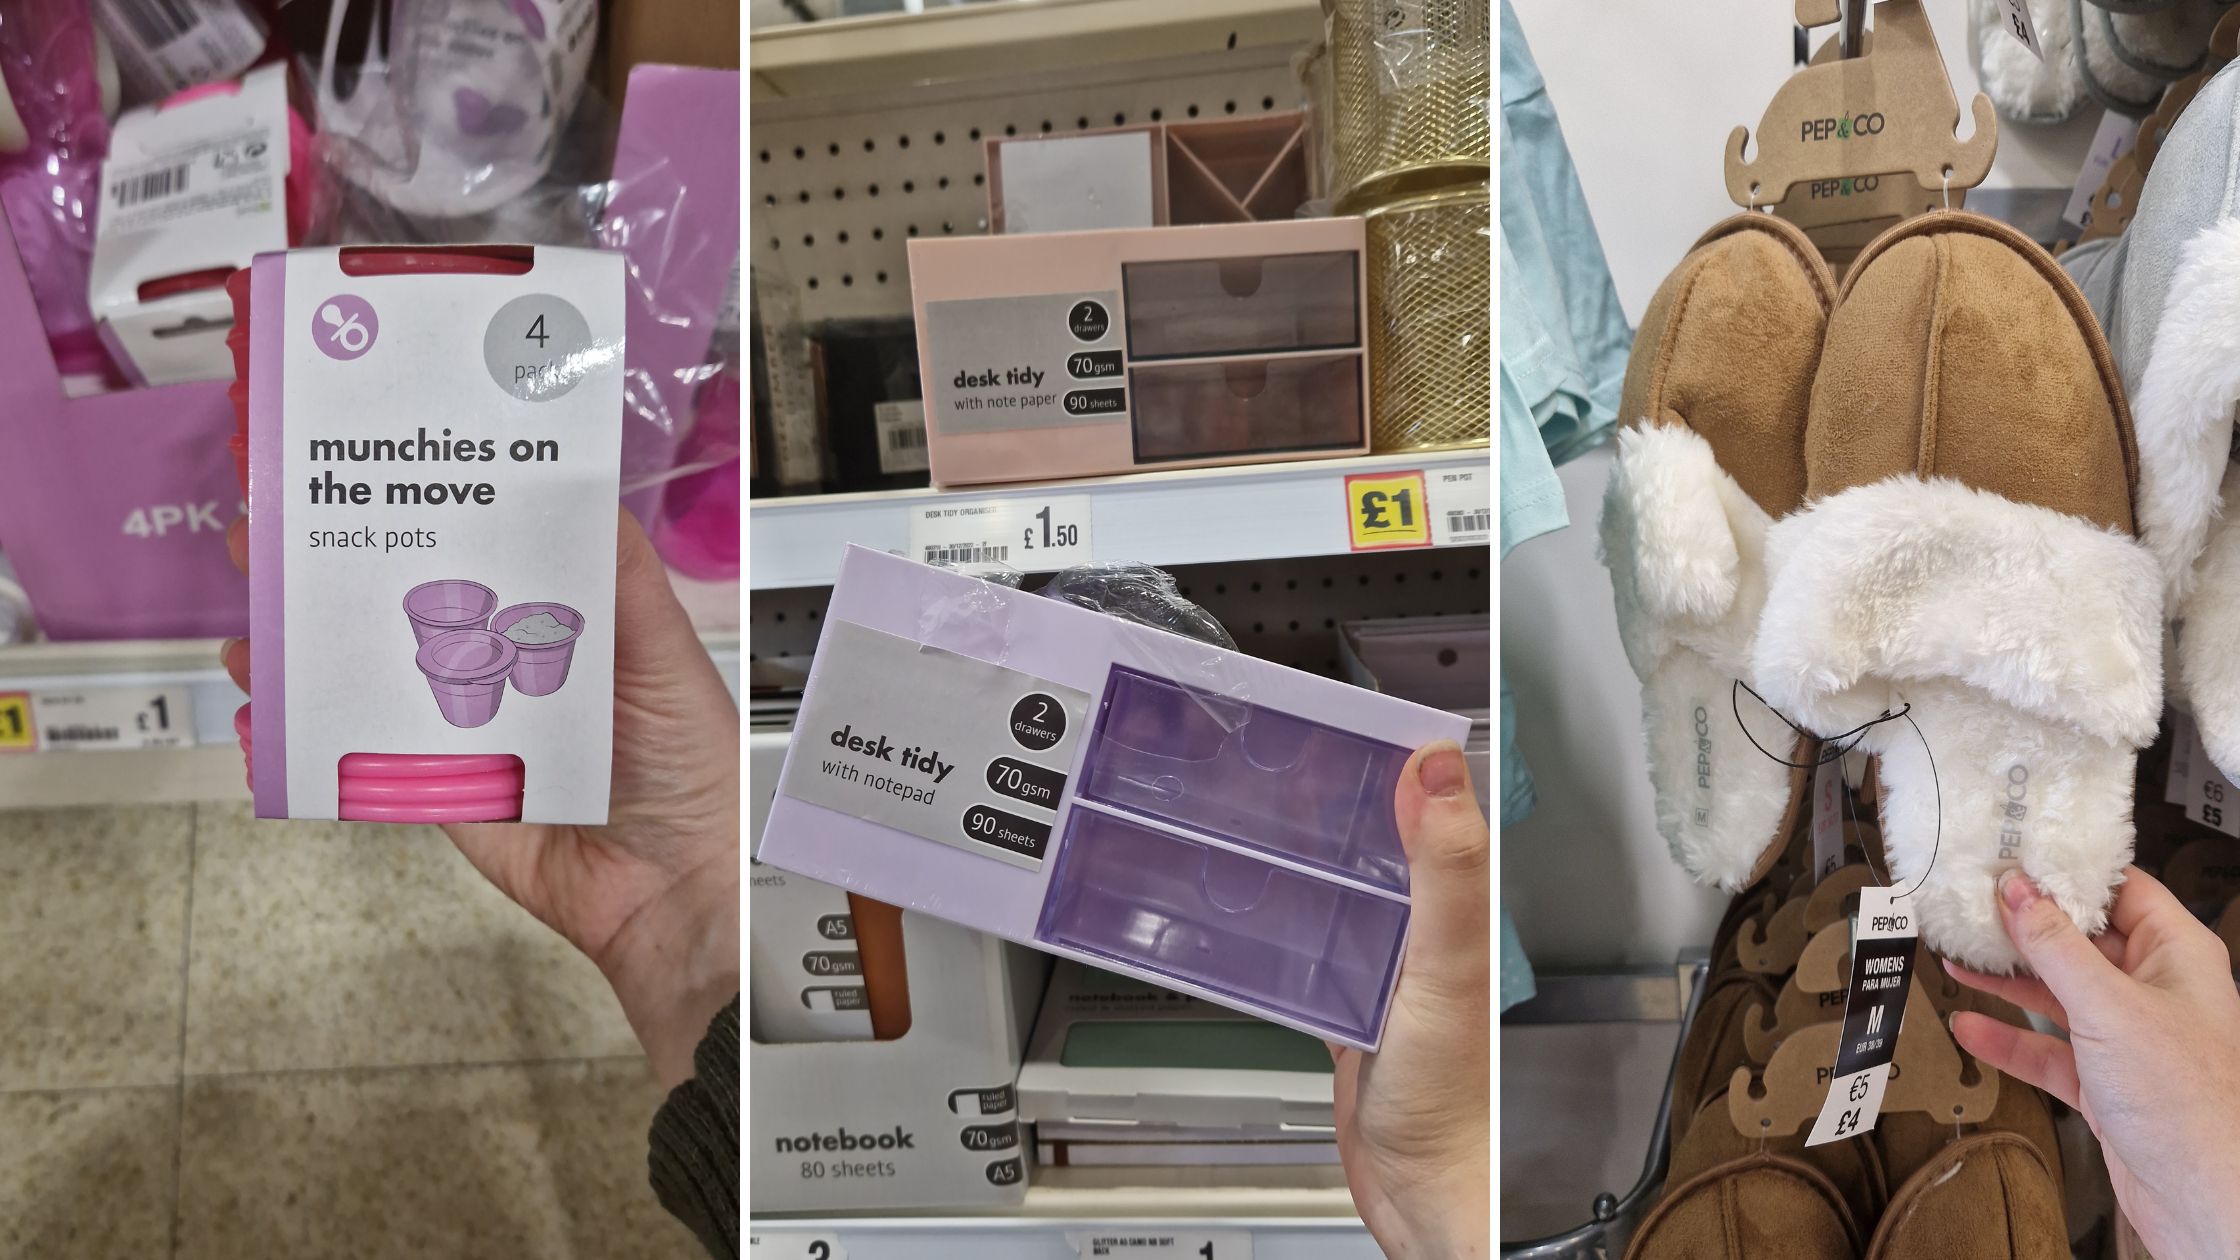
The ‘munchies on the move pots’ are snack pots for small children and came in at the price of £1.
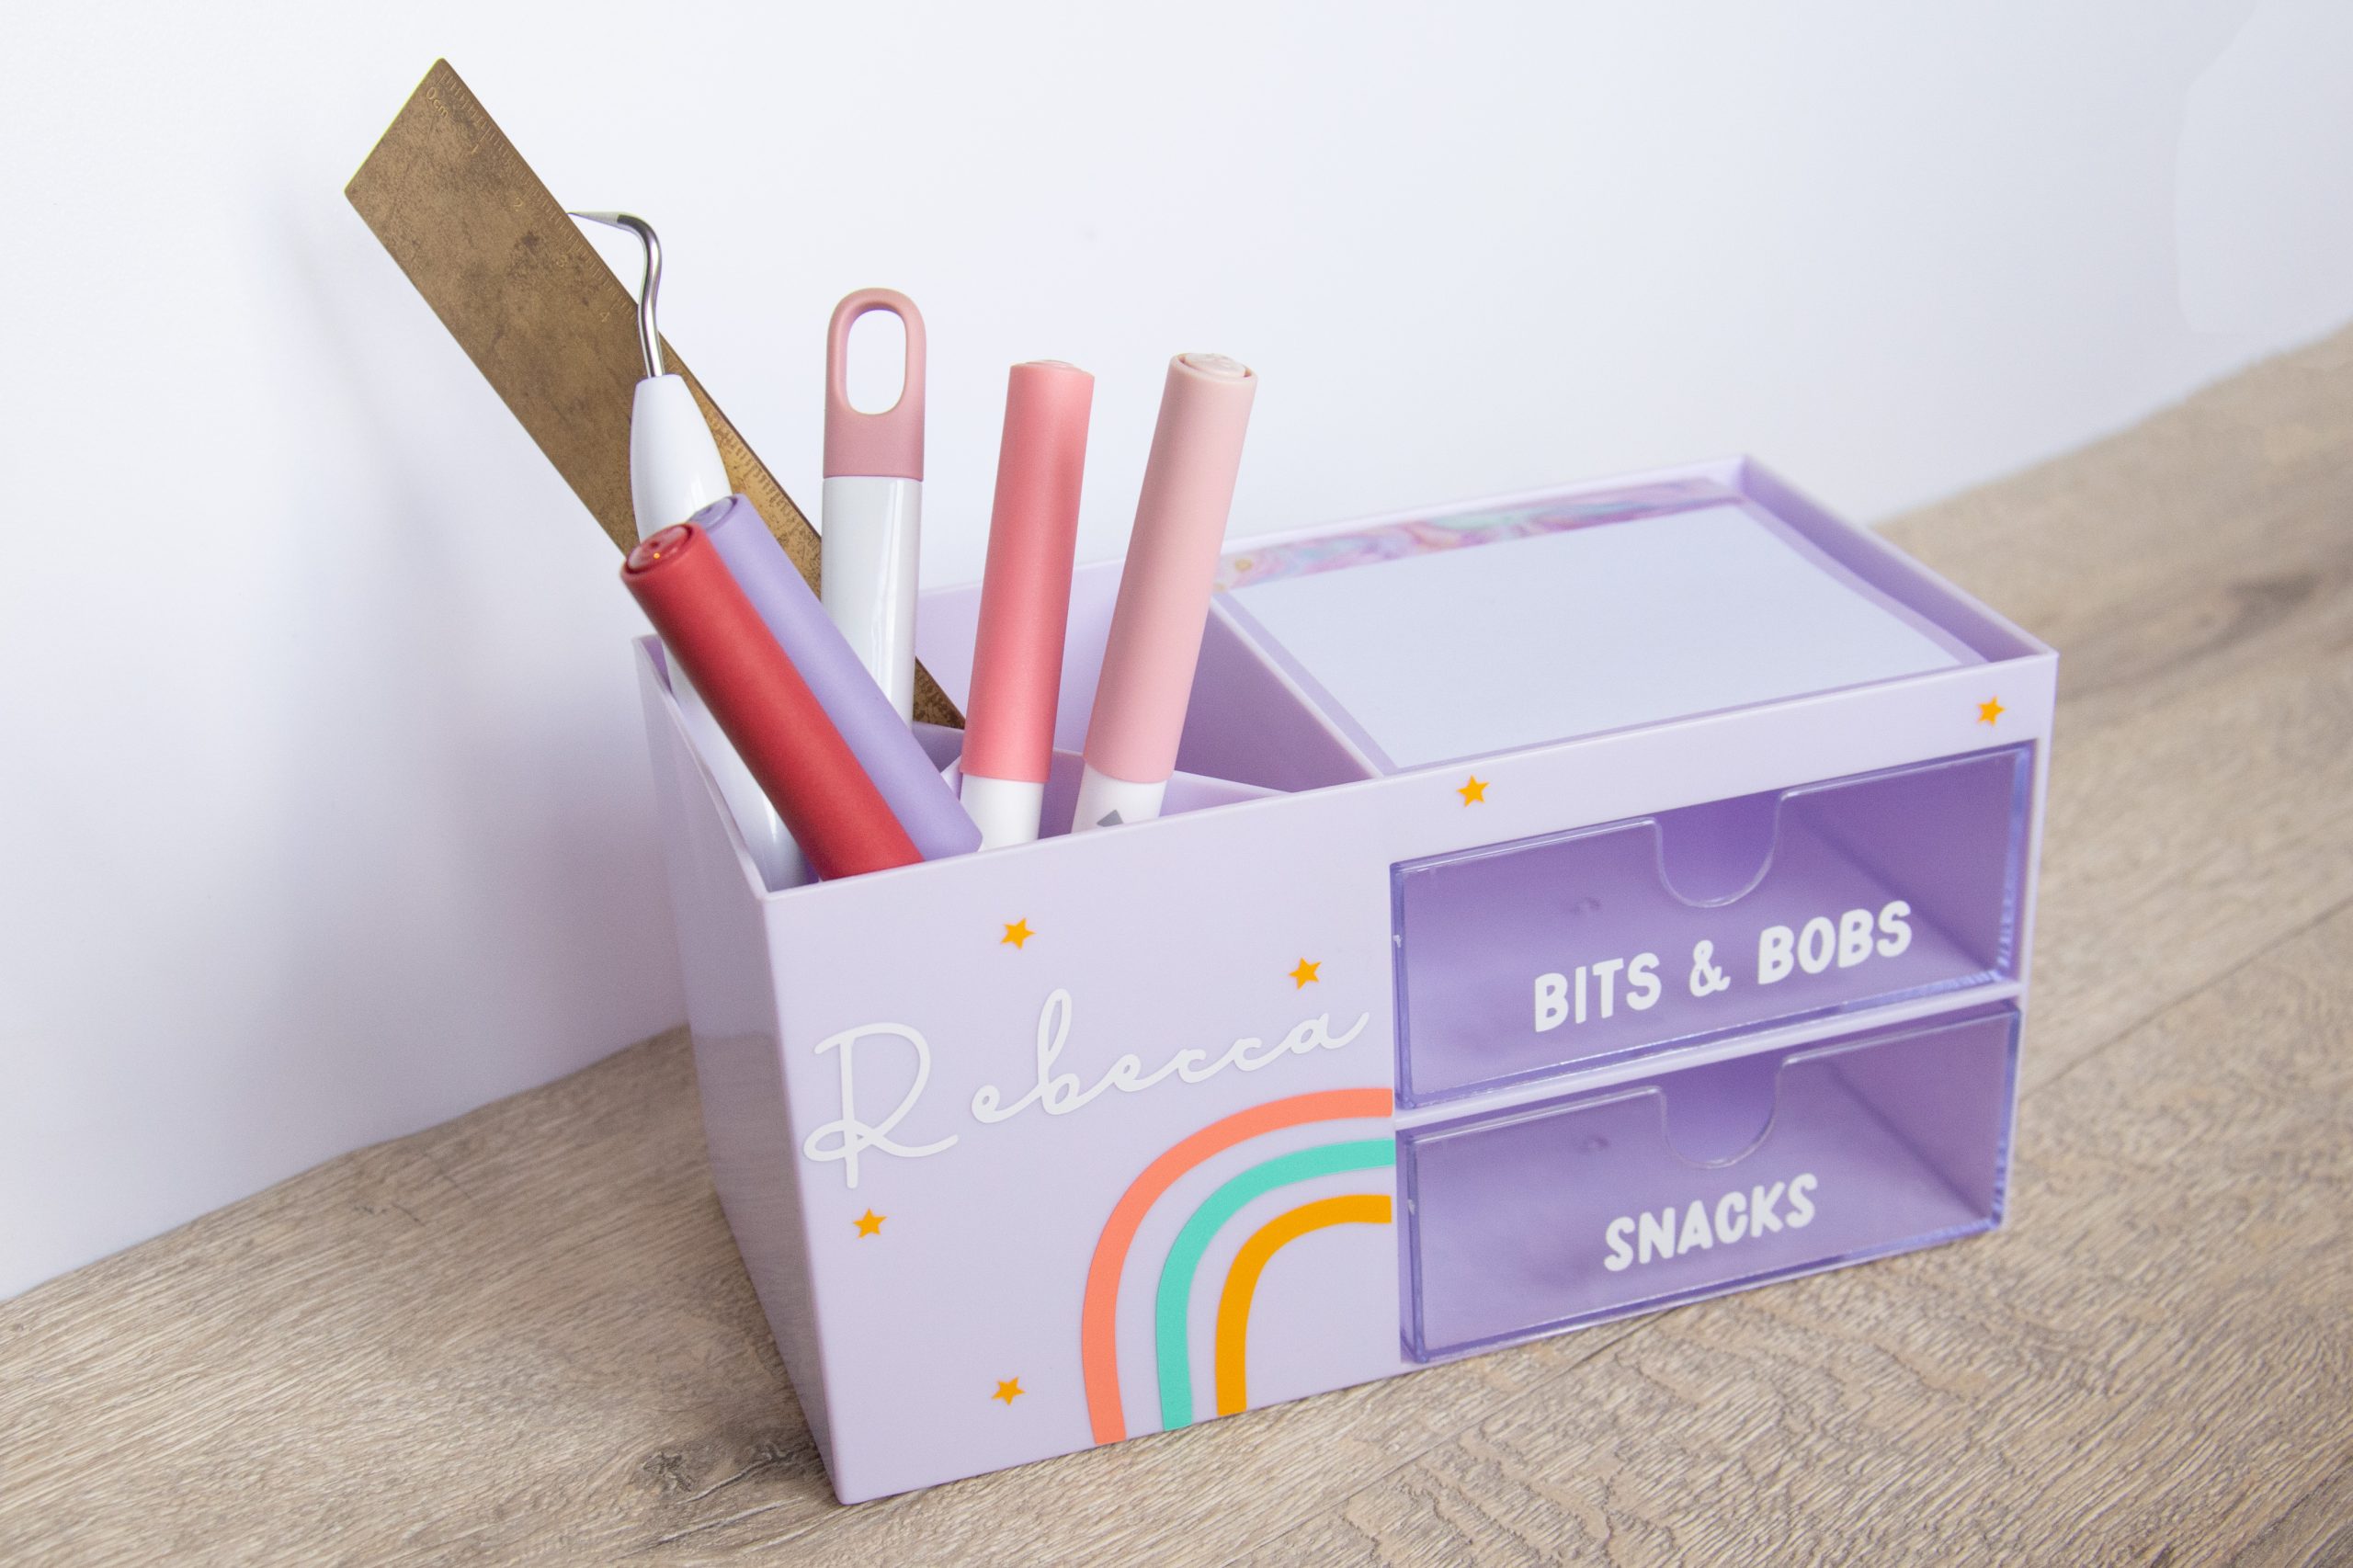
The desk tidy is perfect for students and came in beautiful pastel colours. This cost £1.50.
We also found super fluffy slippers that would be a wonderful gift for a friend of a little treat for you. These came in at £4.
The total cost of our items came to £6.50. Now with our blanks confirmed, we were ready to get making!
What we made
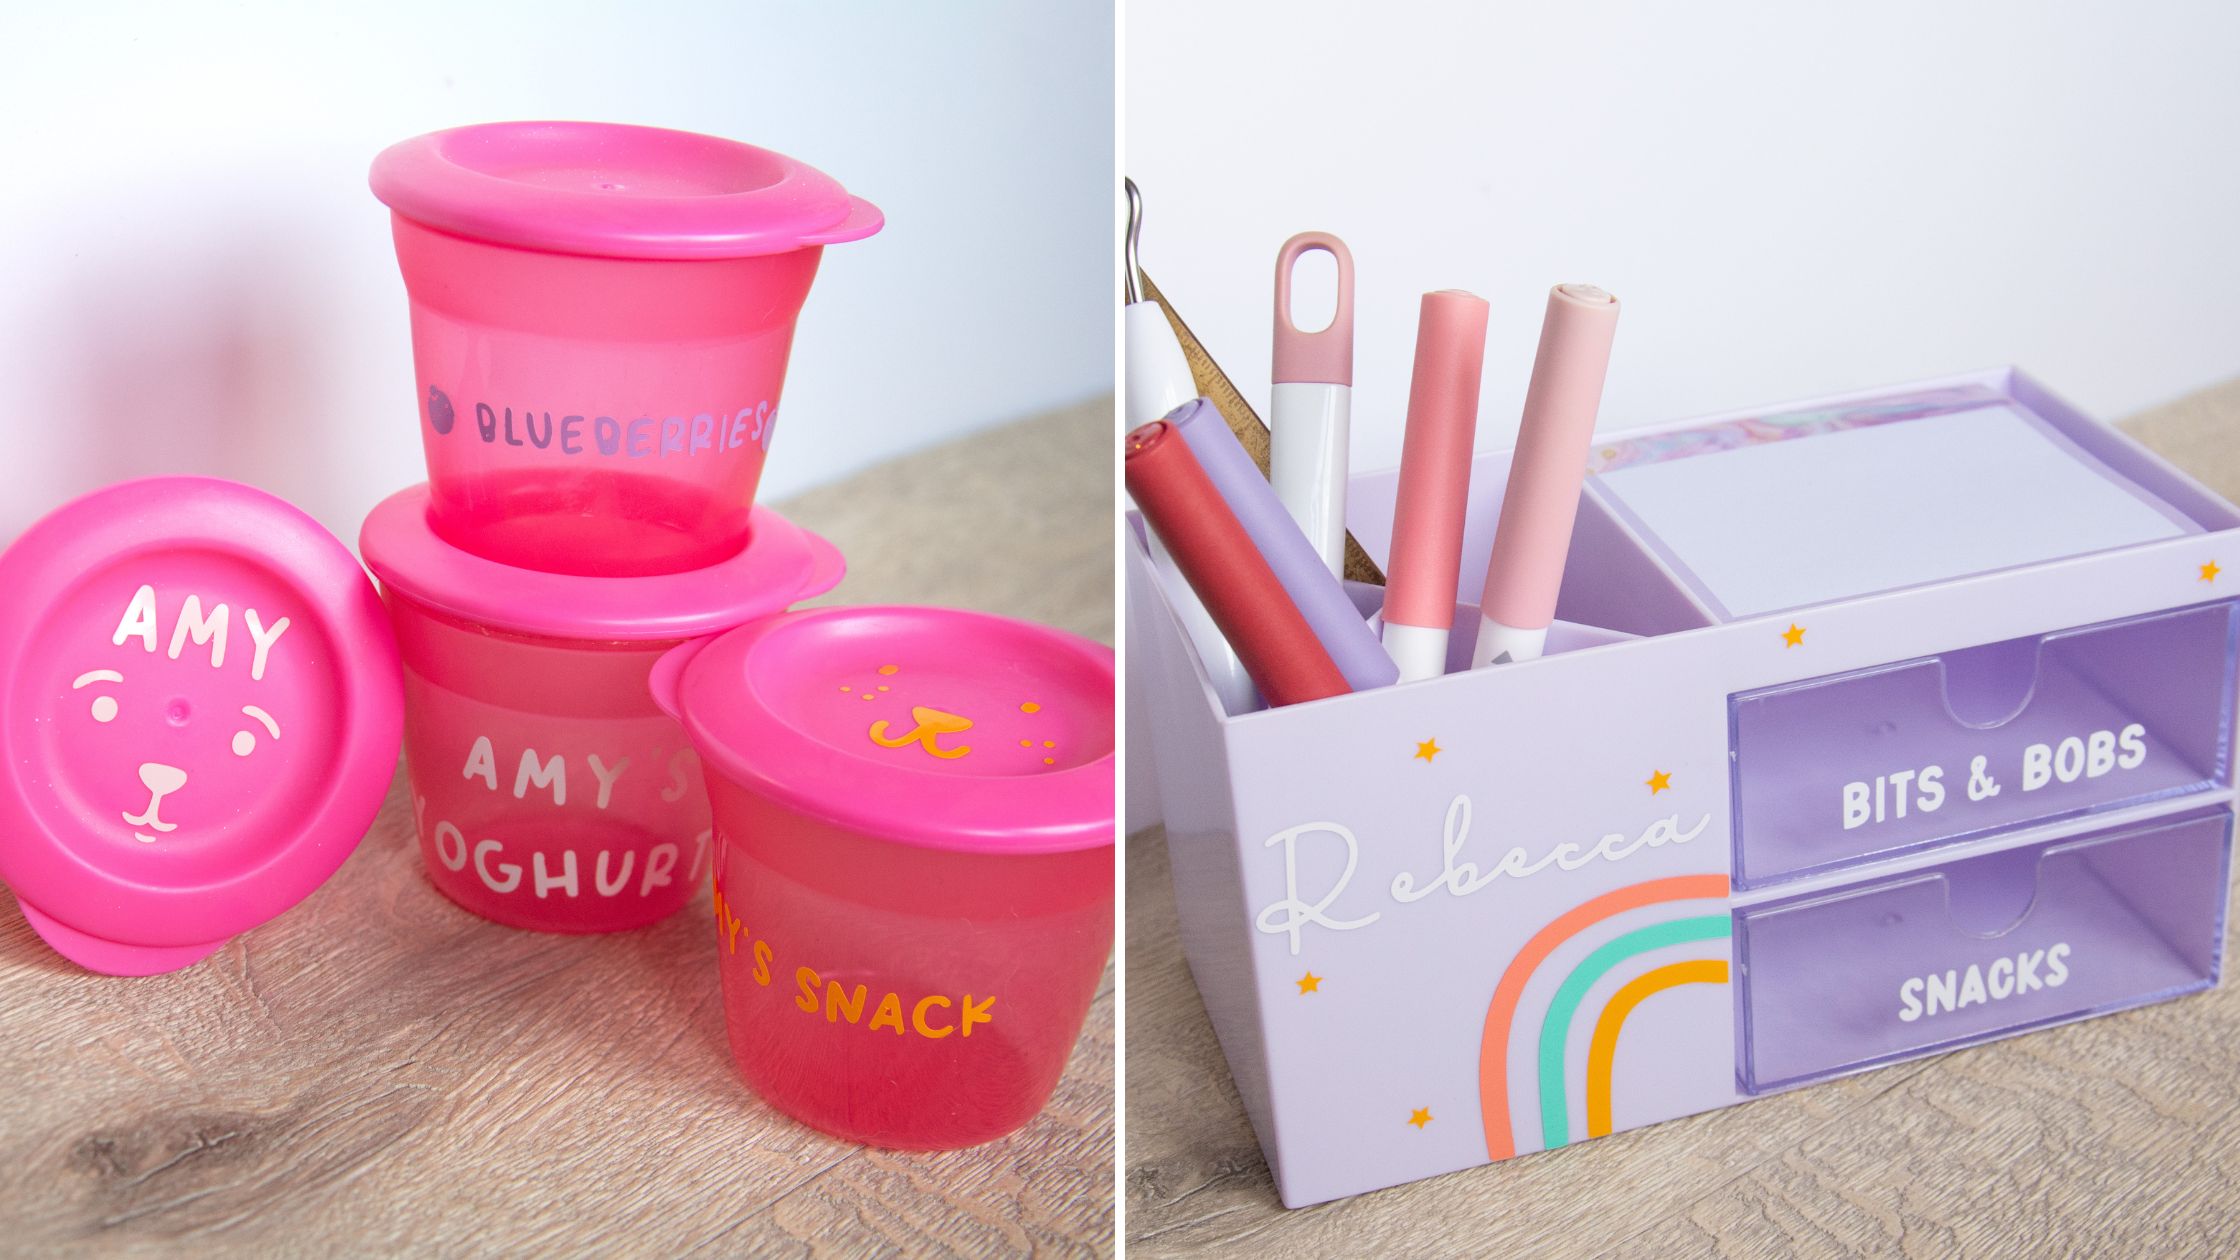
Snack pots with personalisation goals
We decided to make vinyl labels to personalise the snack pots. There are a number of different ways you could label them but we settled on the child’s name as well as different snack names. This would be perfect for when you have multiple children or for lunchbox prep.
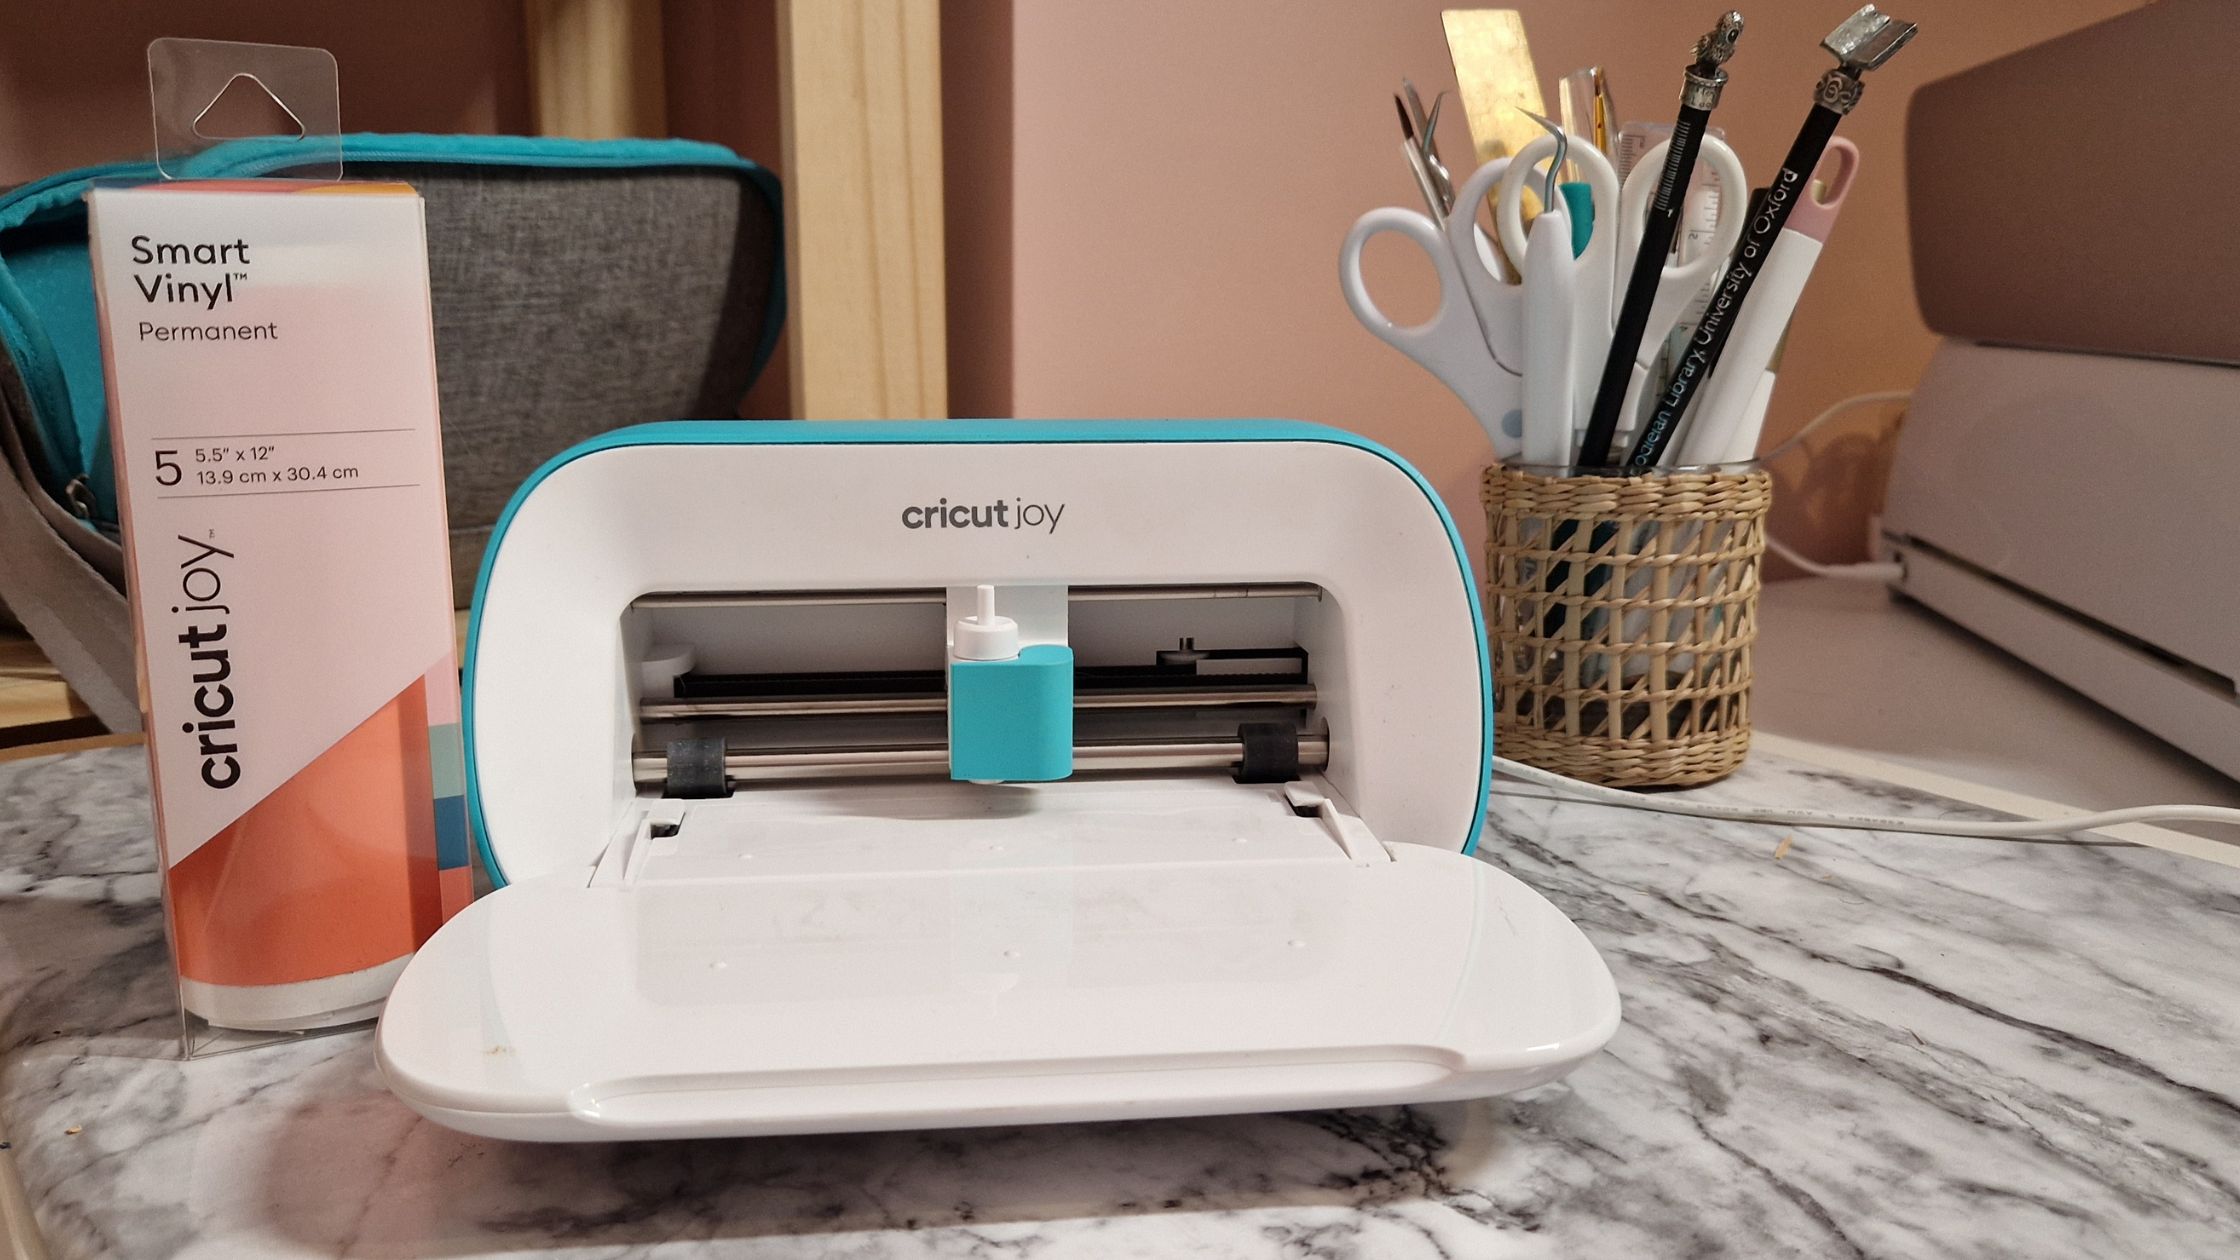
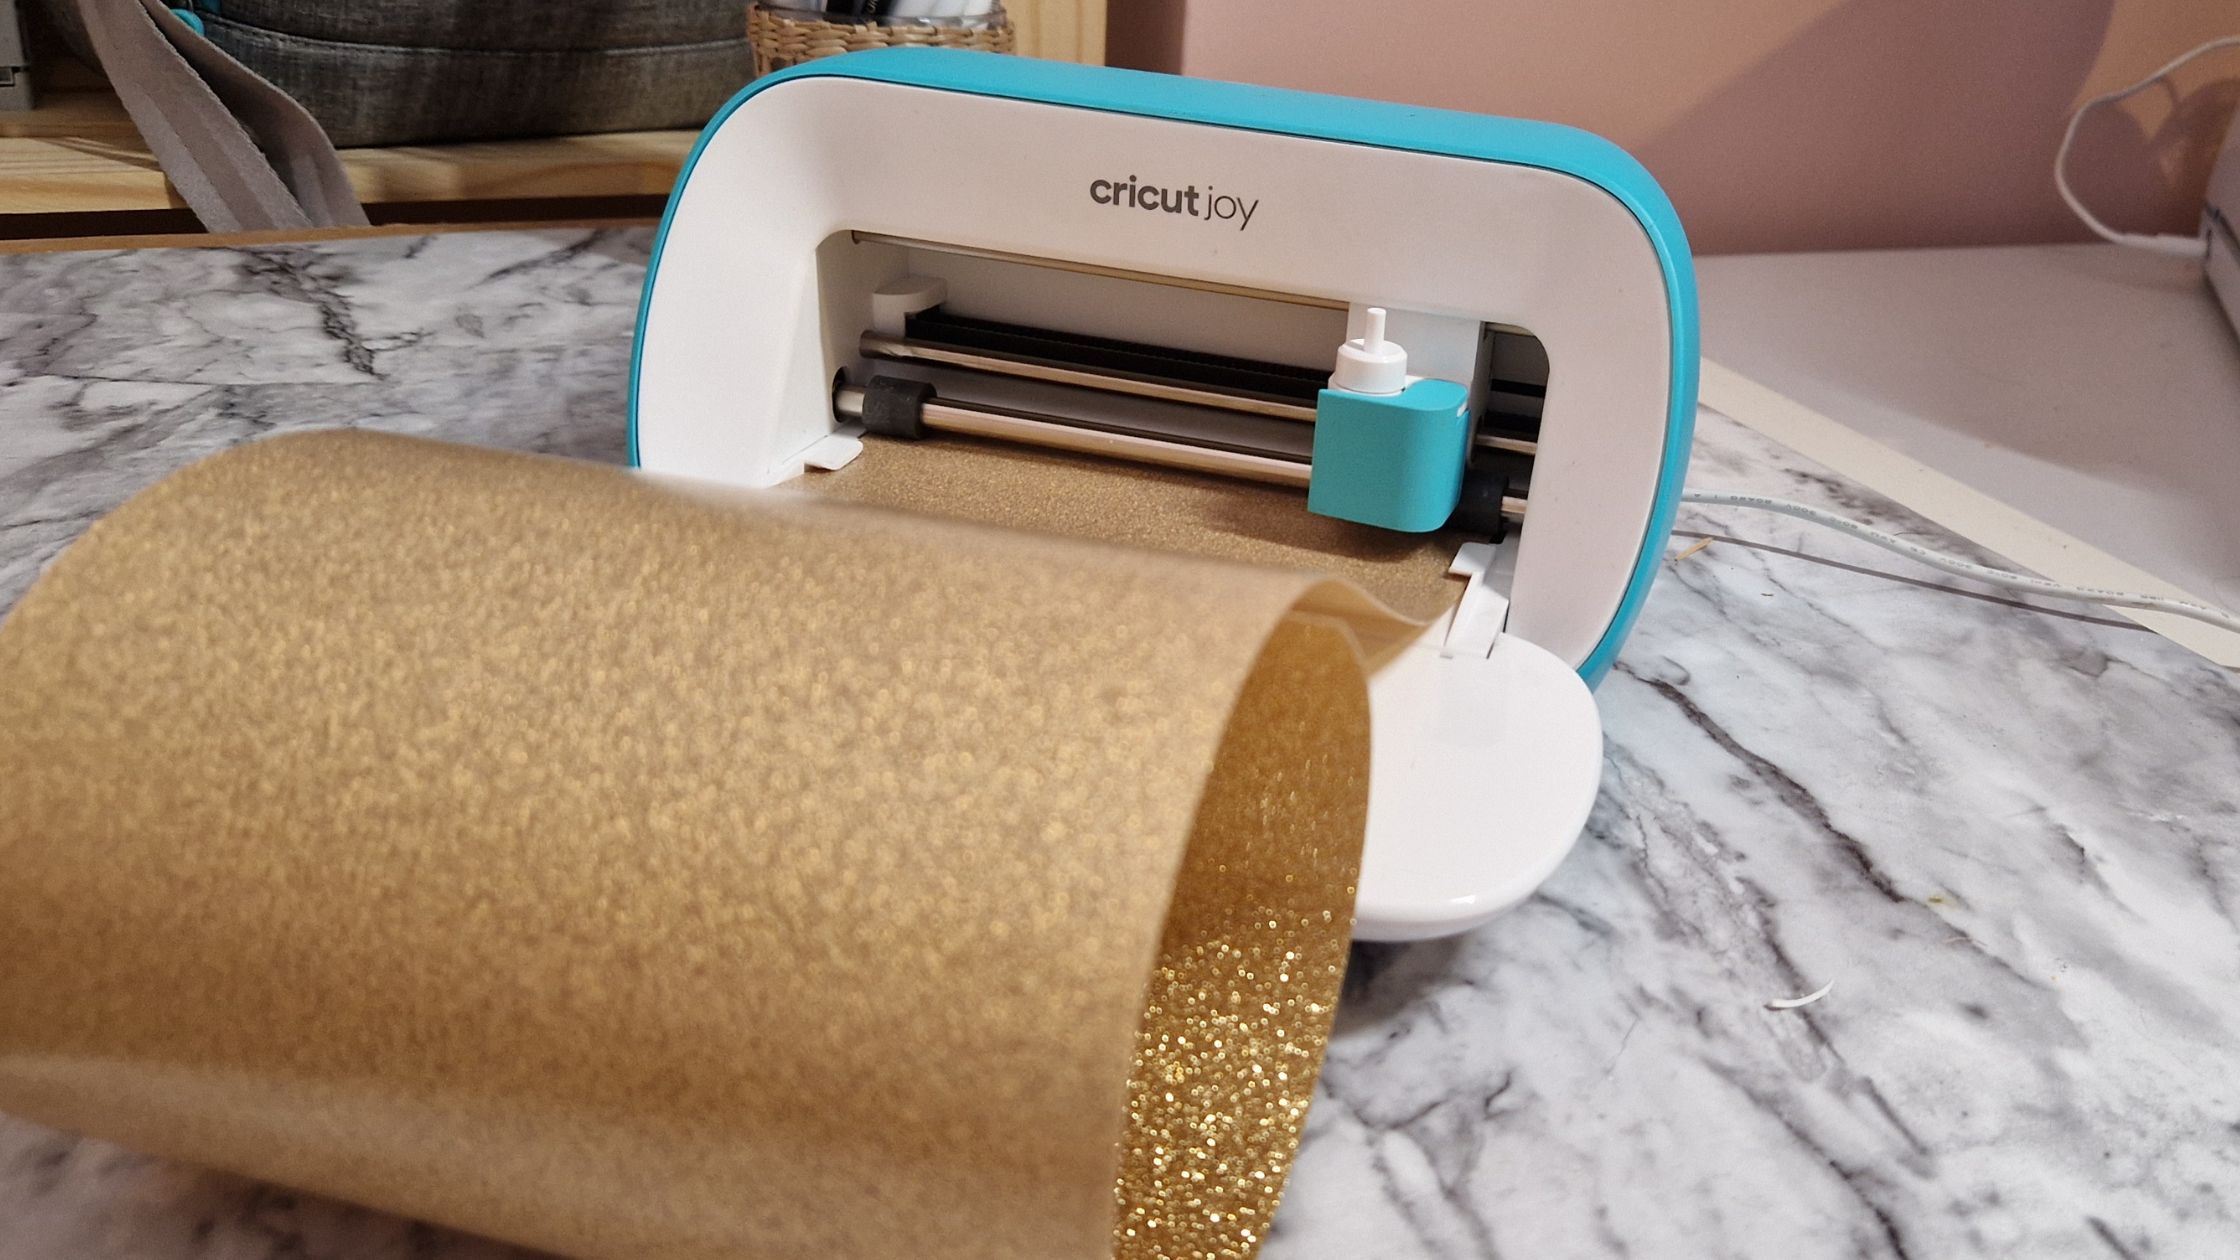
You will need permanent vinyl for the snack pots as this is water-resistant for up to three years. We are using the Cricut Joy™ and the Cricut Joy™ Smart Vinyl™ Beachside sampler in permanent vinyl.
Firstly, make your names in Design Space and size the text accordingly. We also added a few cute bear faces which we added to the lids of the snack pots. You can find this project in Design Space to customise and make, here.
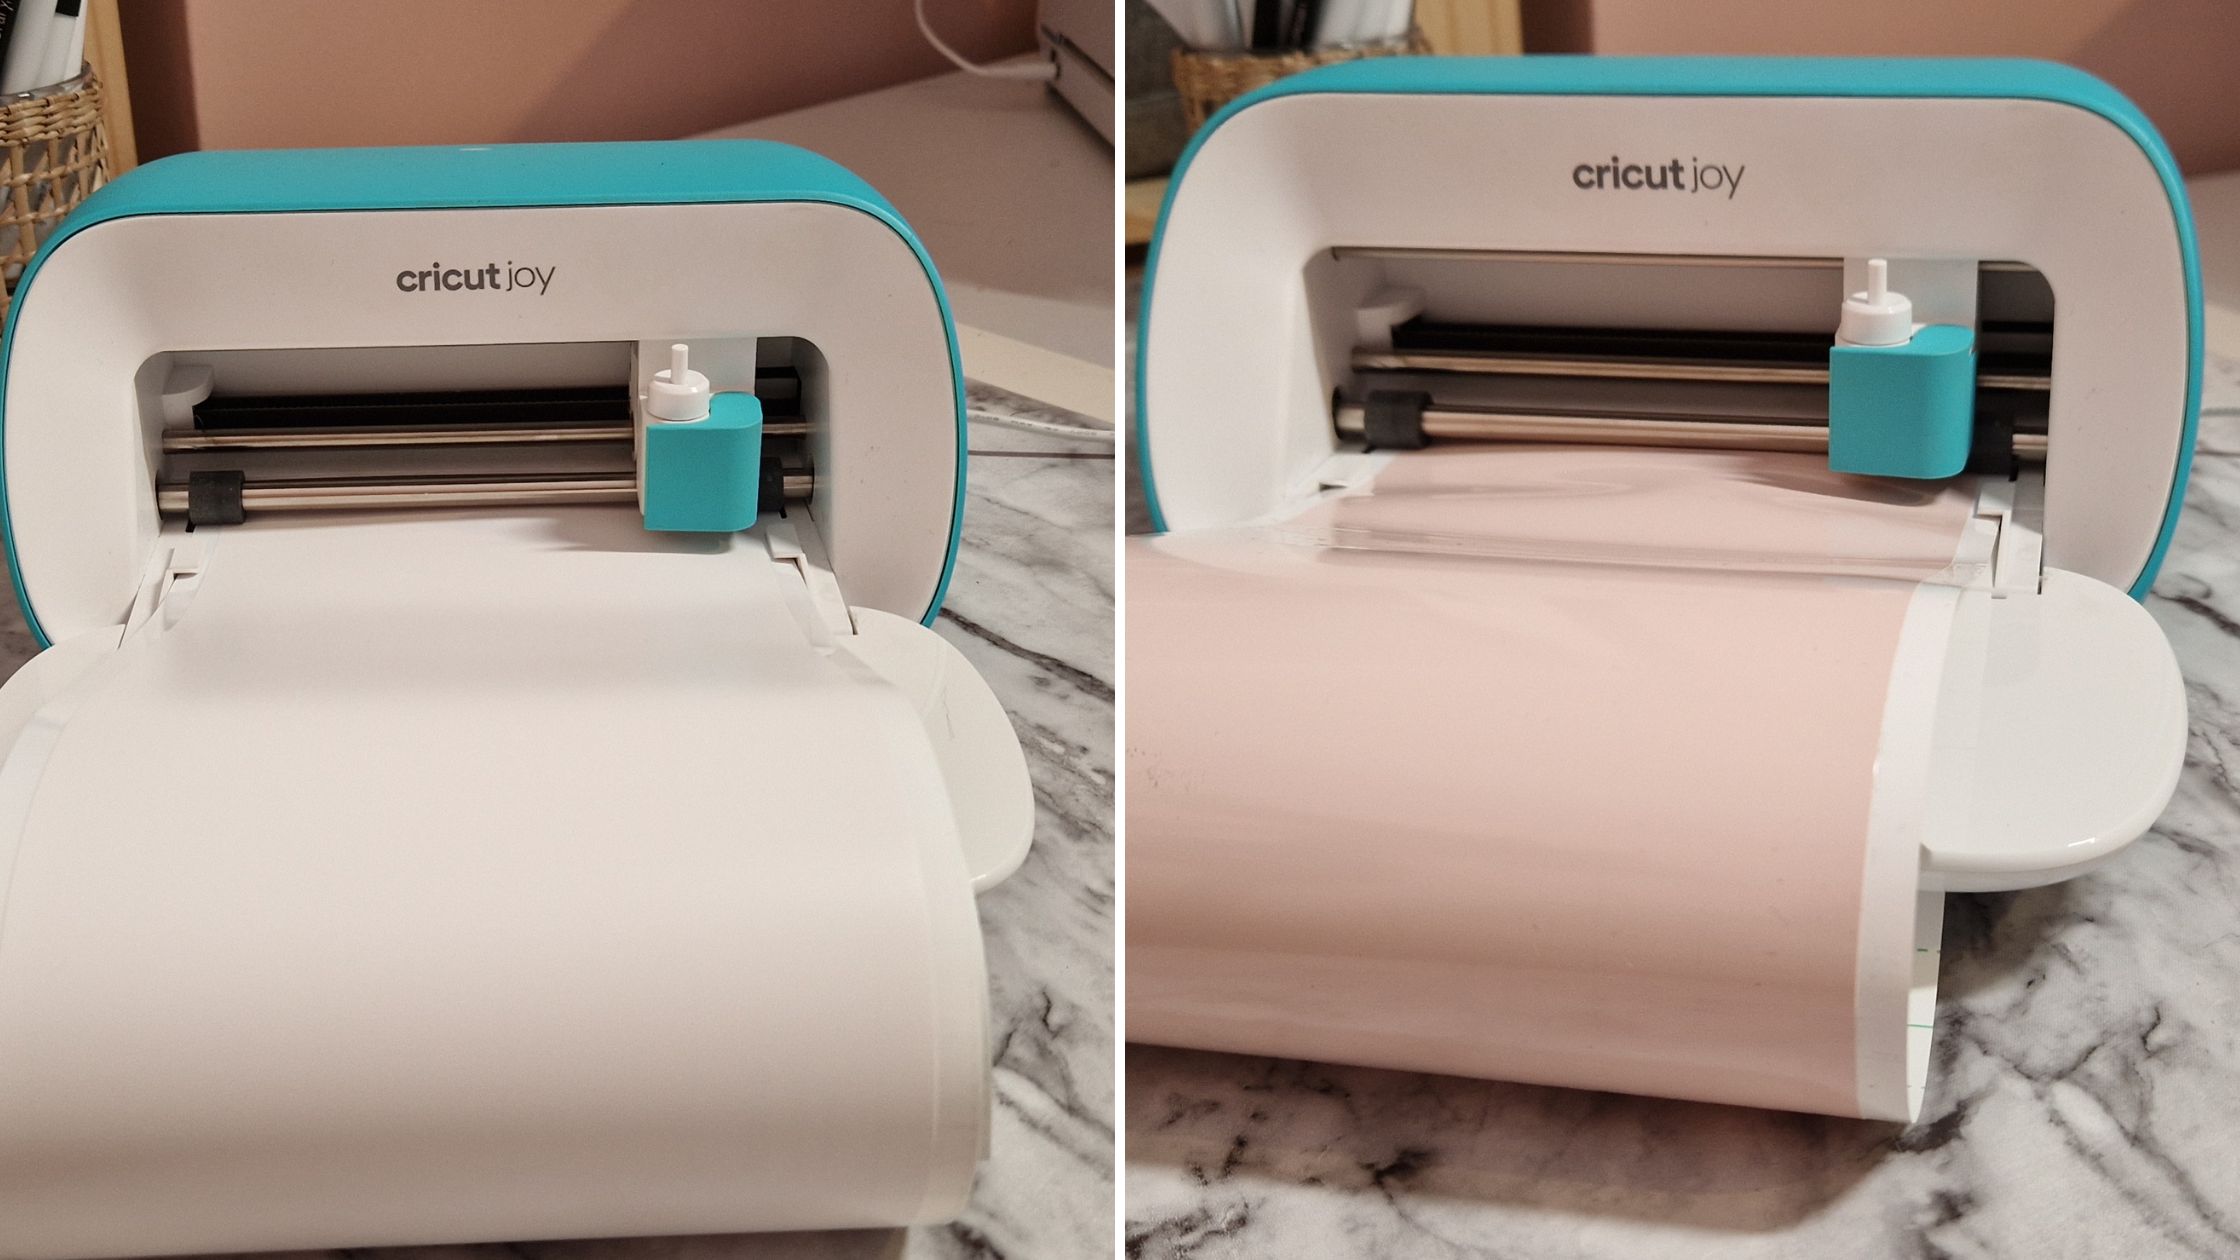
Then it’s time to begin cutting! Follow the on-screen instructions and select the Smart Vinyl -Permanent material option.
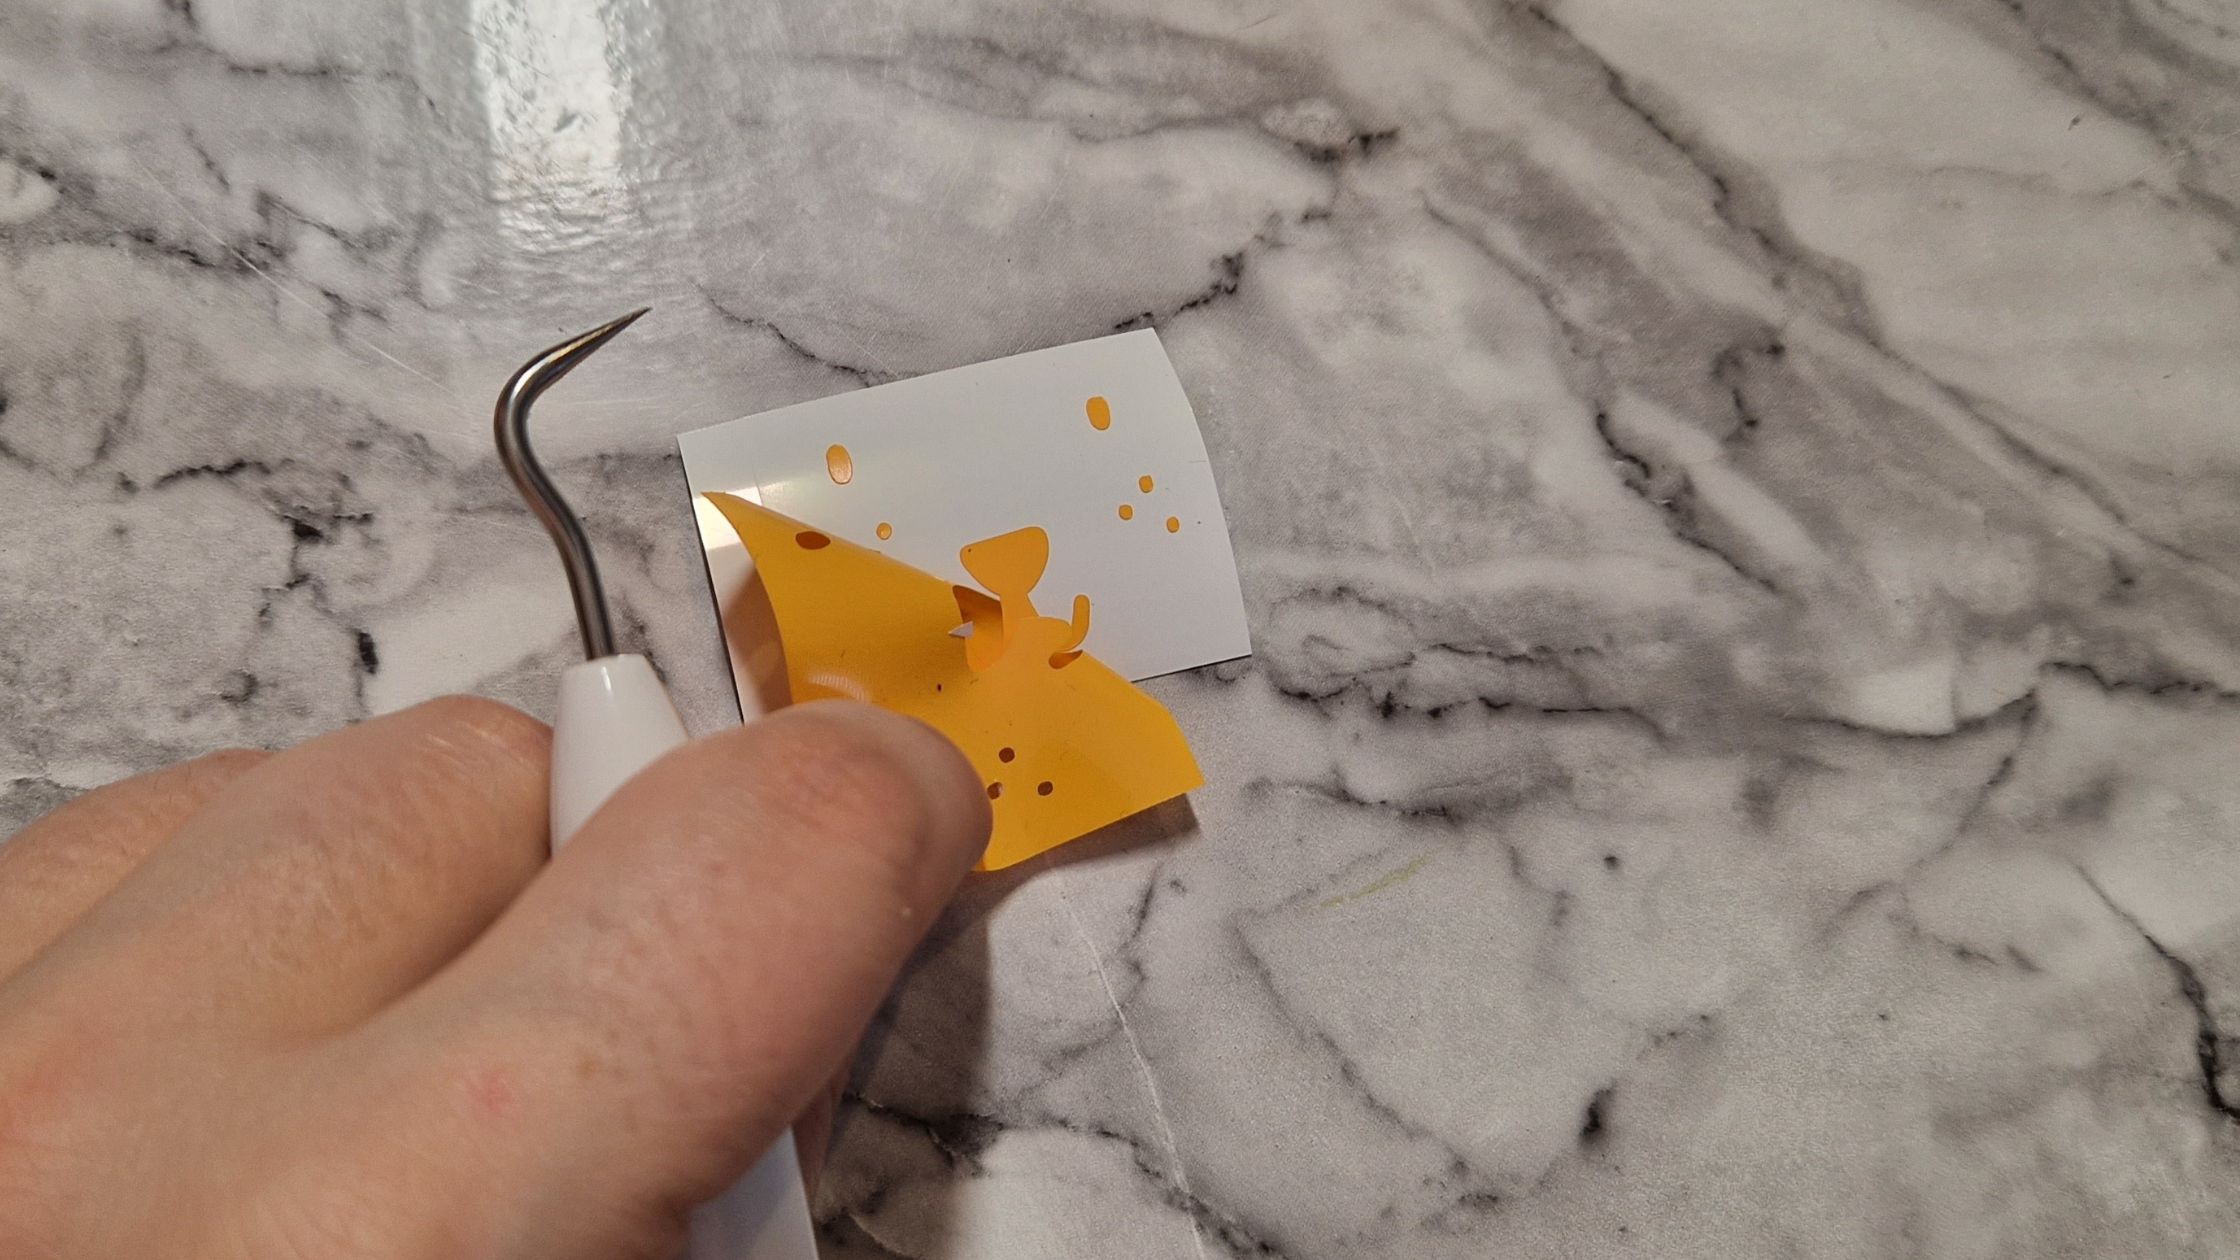
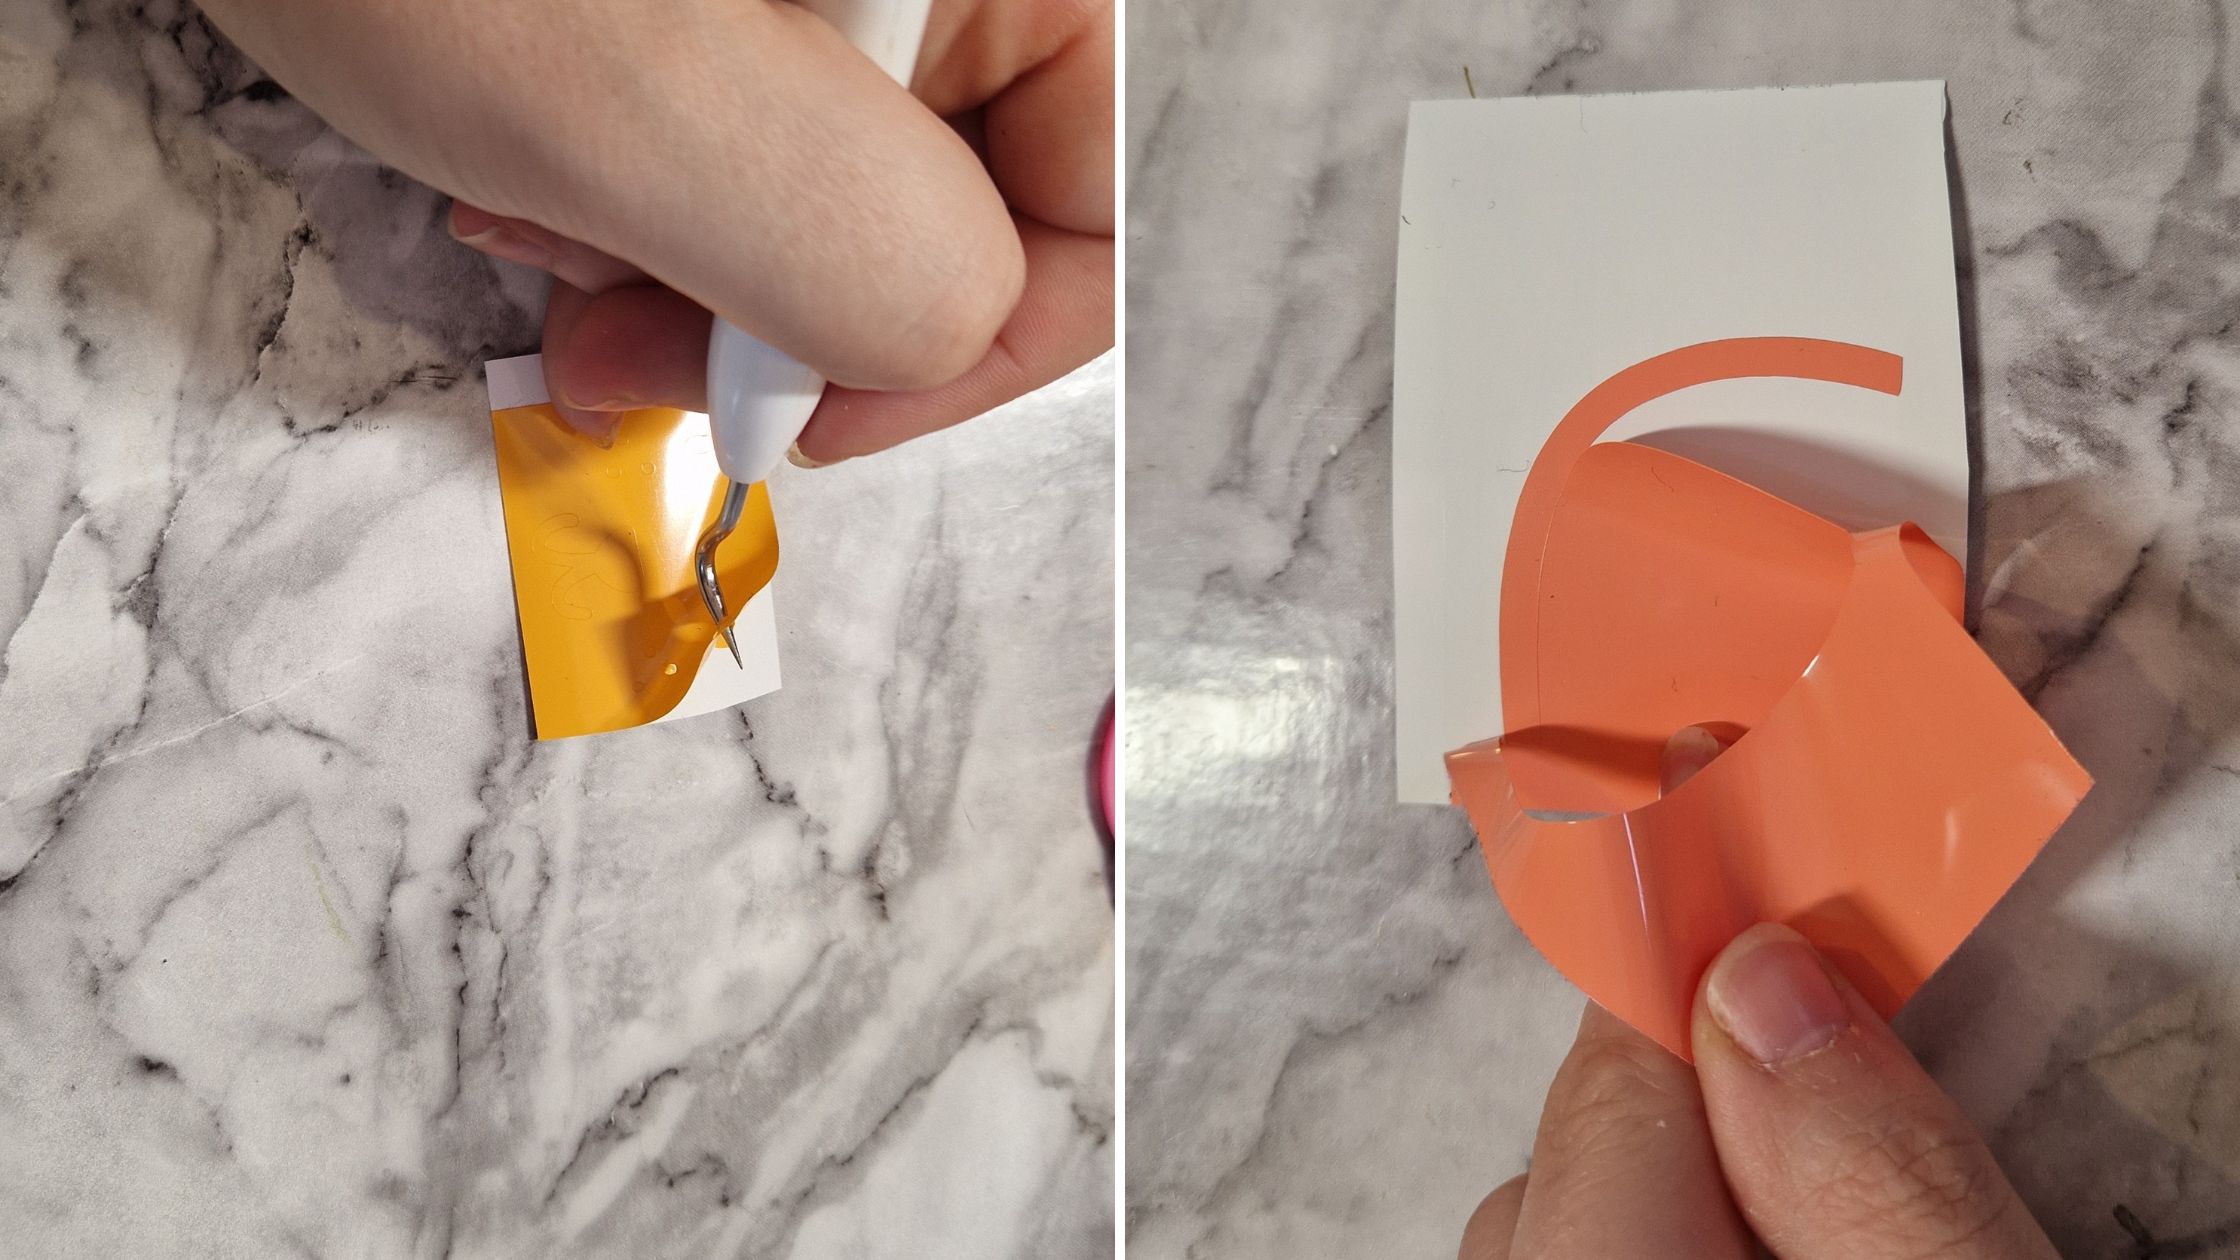
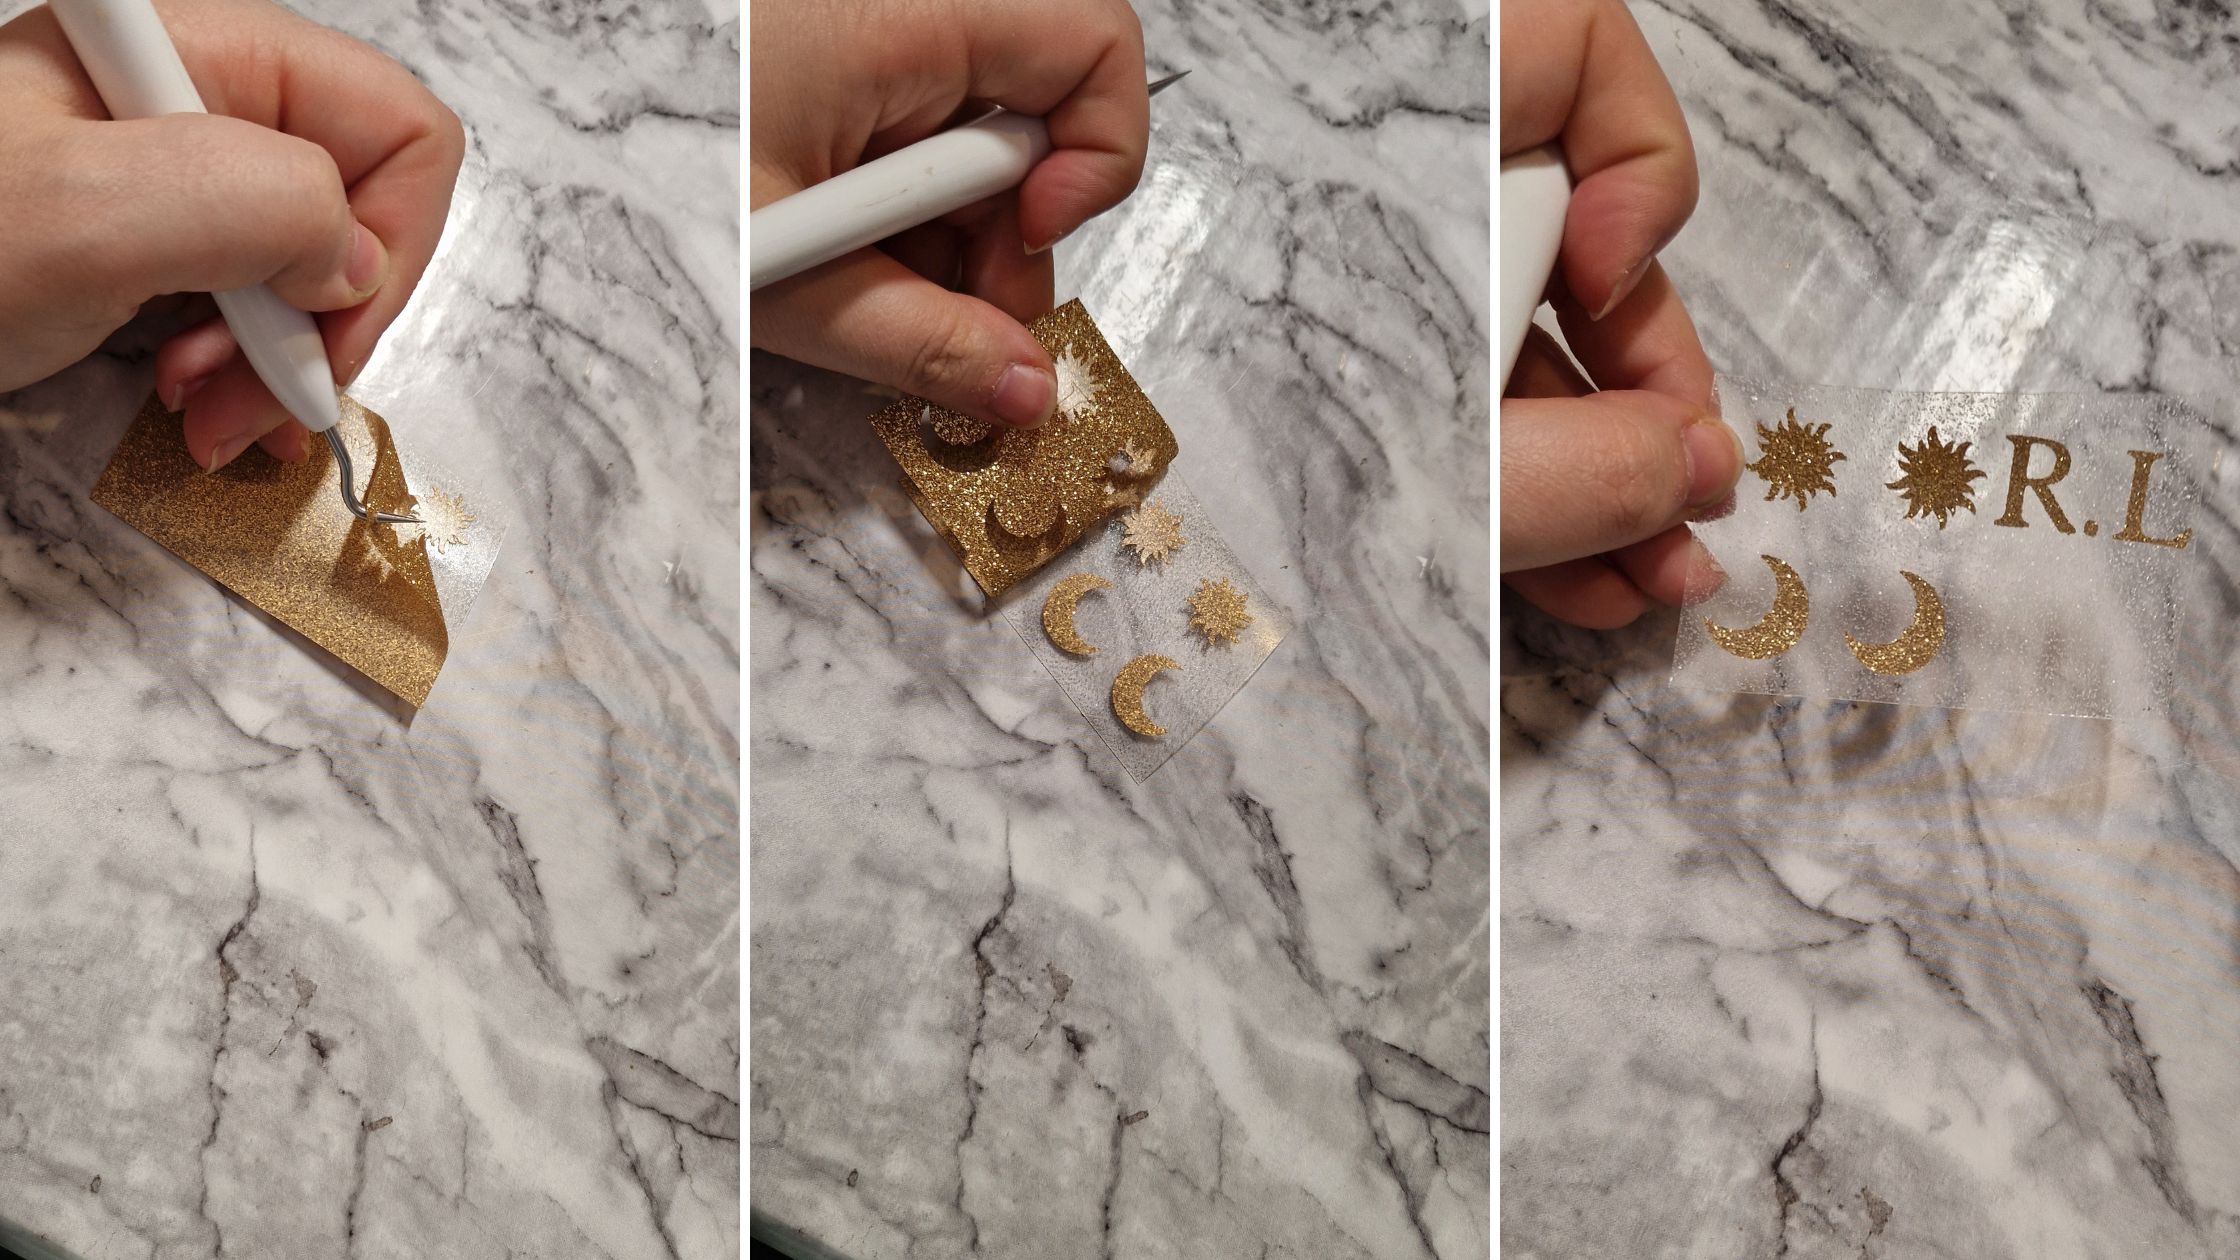
Use your wedding tool to remove the parts you do not need leaving the text and images on the vinyl backing.
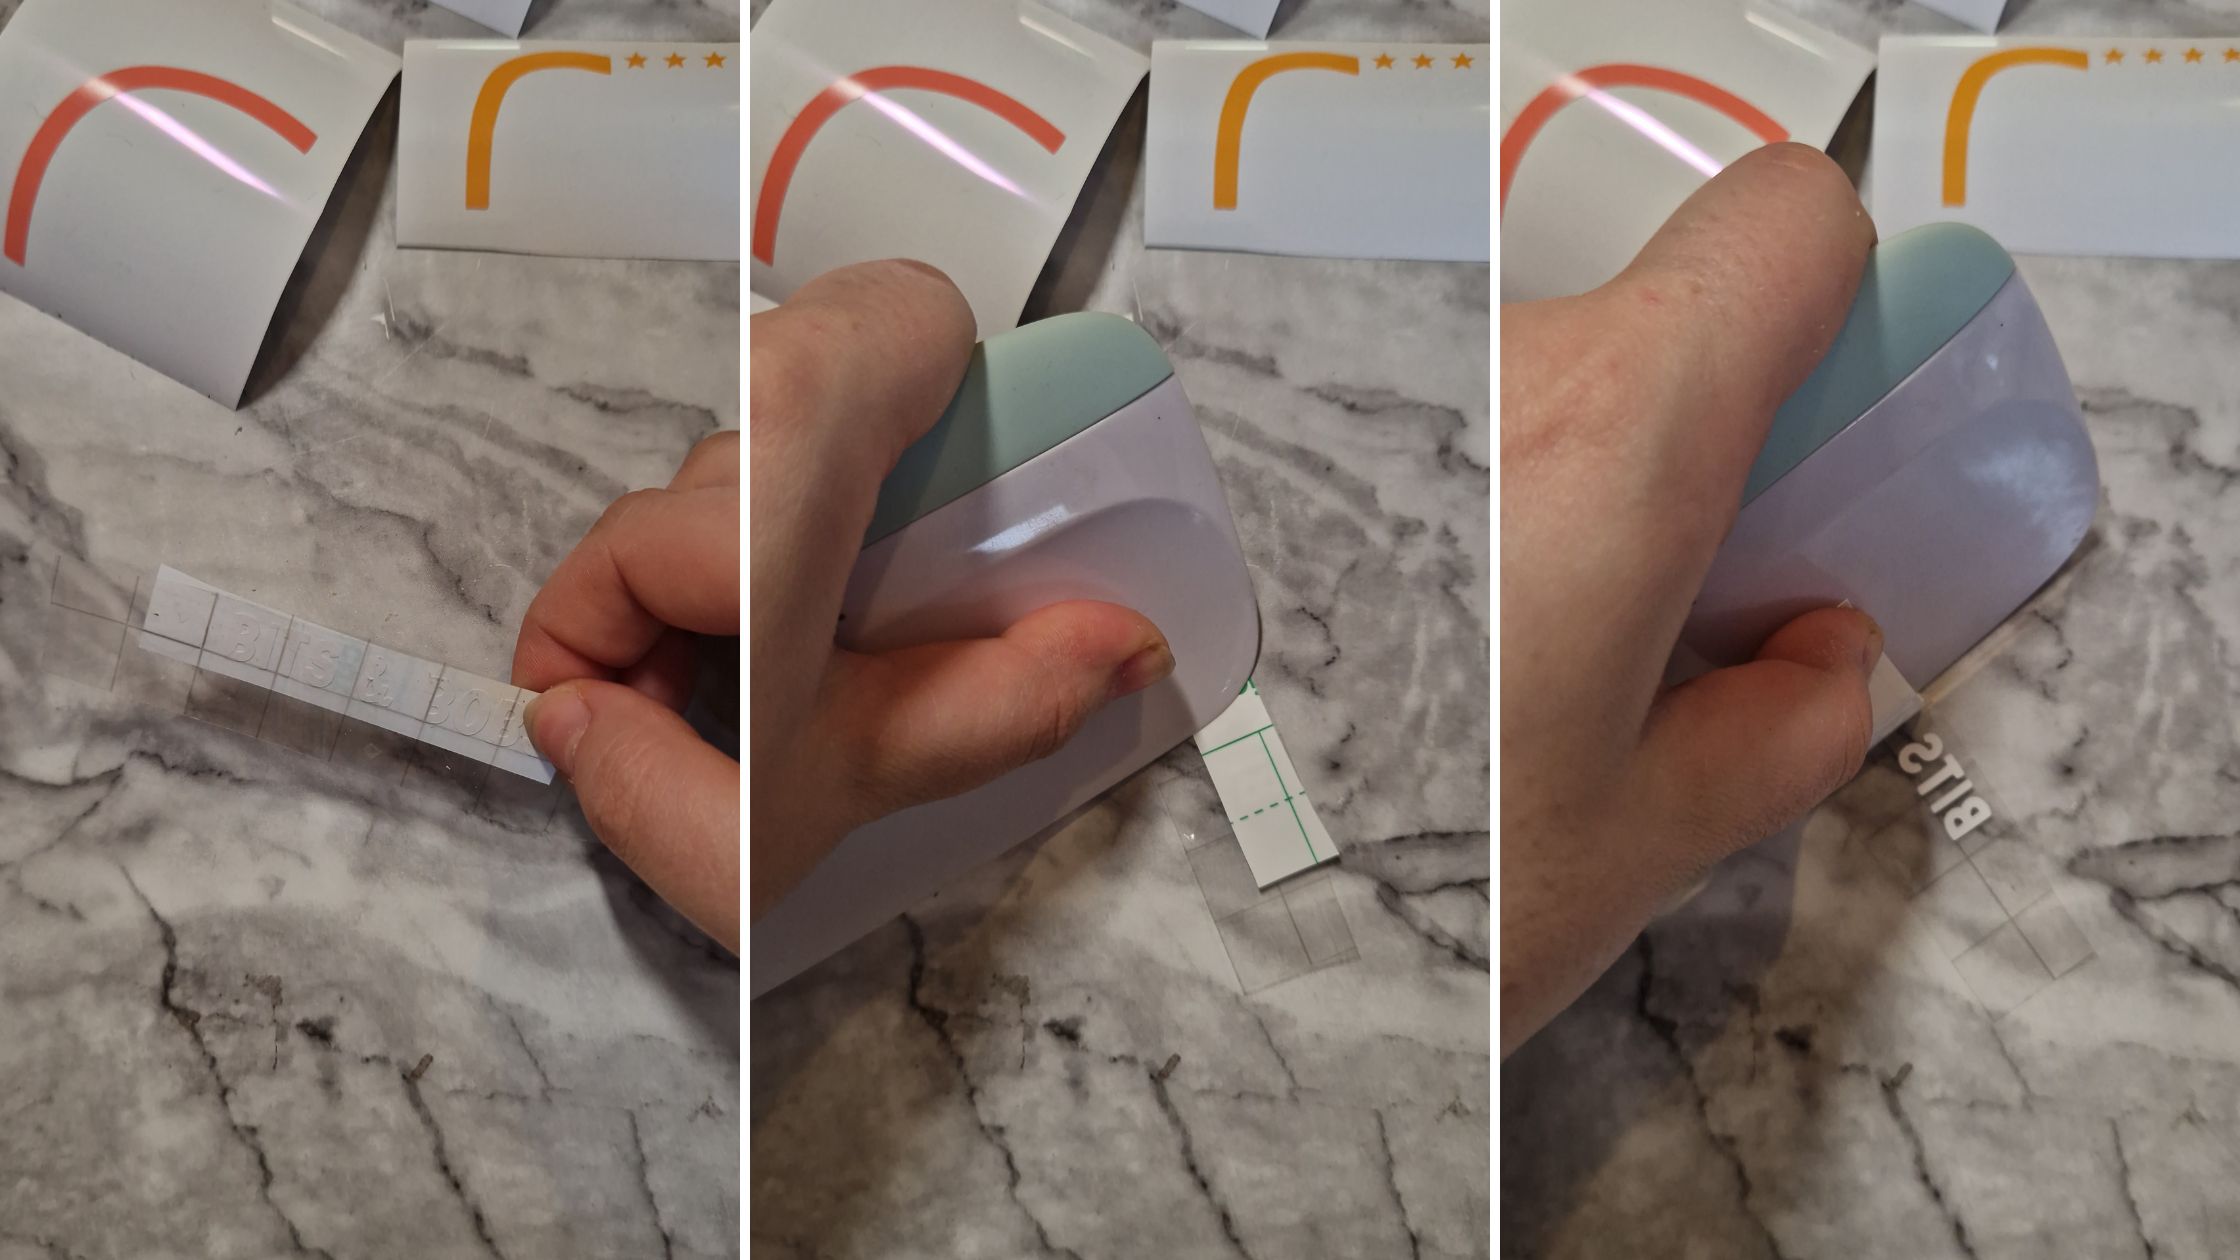
Place StandardGrip Transfer Tape over the vinyl images and text. Use a scraping tool to transfer the vinyl onto the tape applying pressure as you go.
Peel the vinyl backing away so that your weeded vinyl text and images are left on the Transfer Tape.
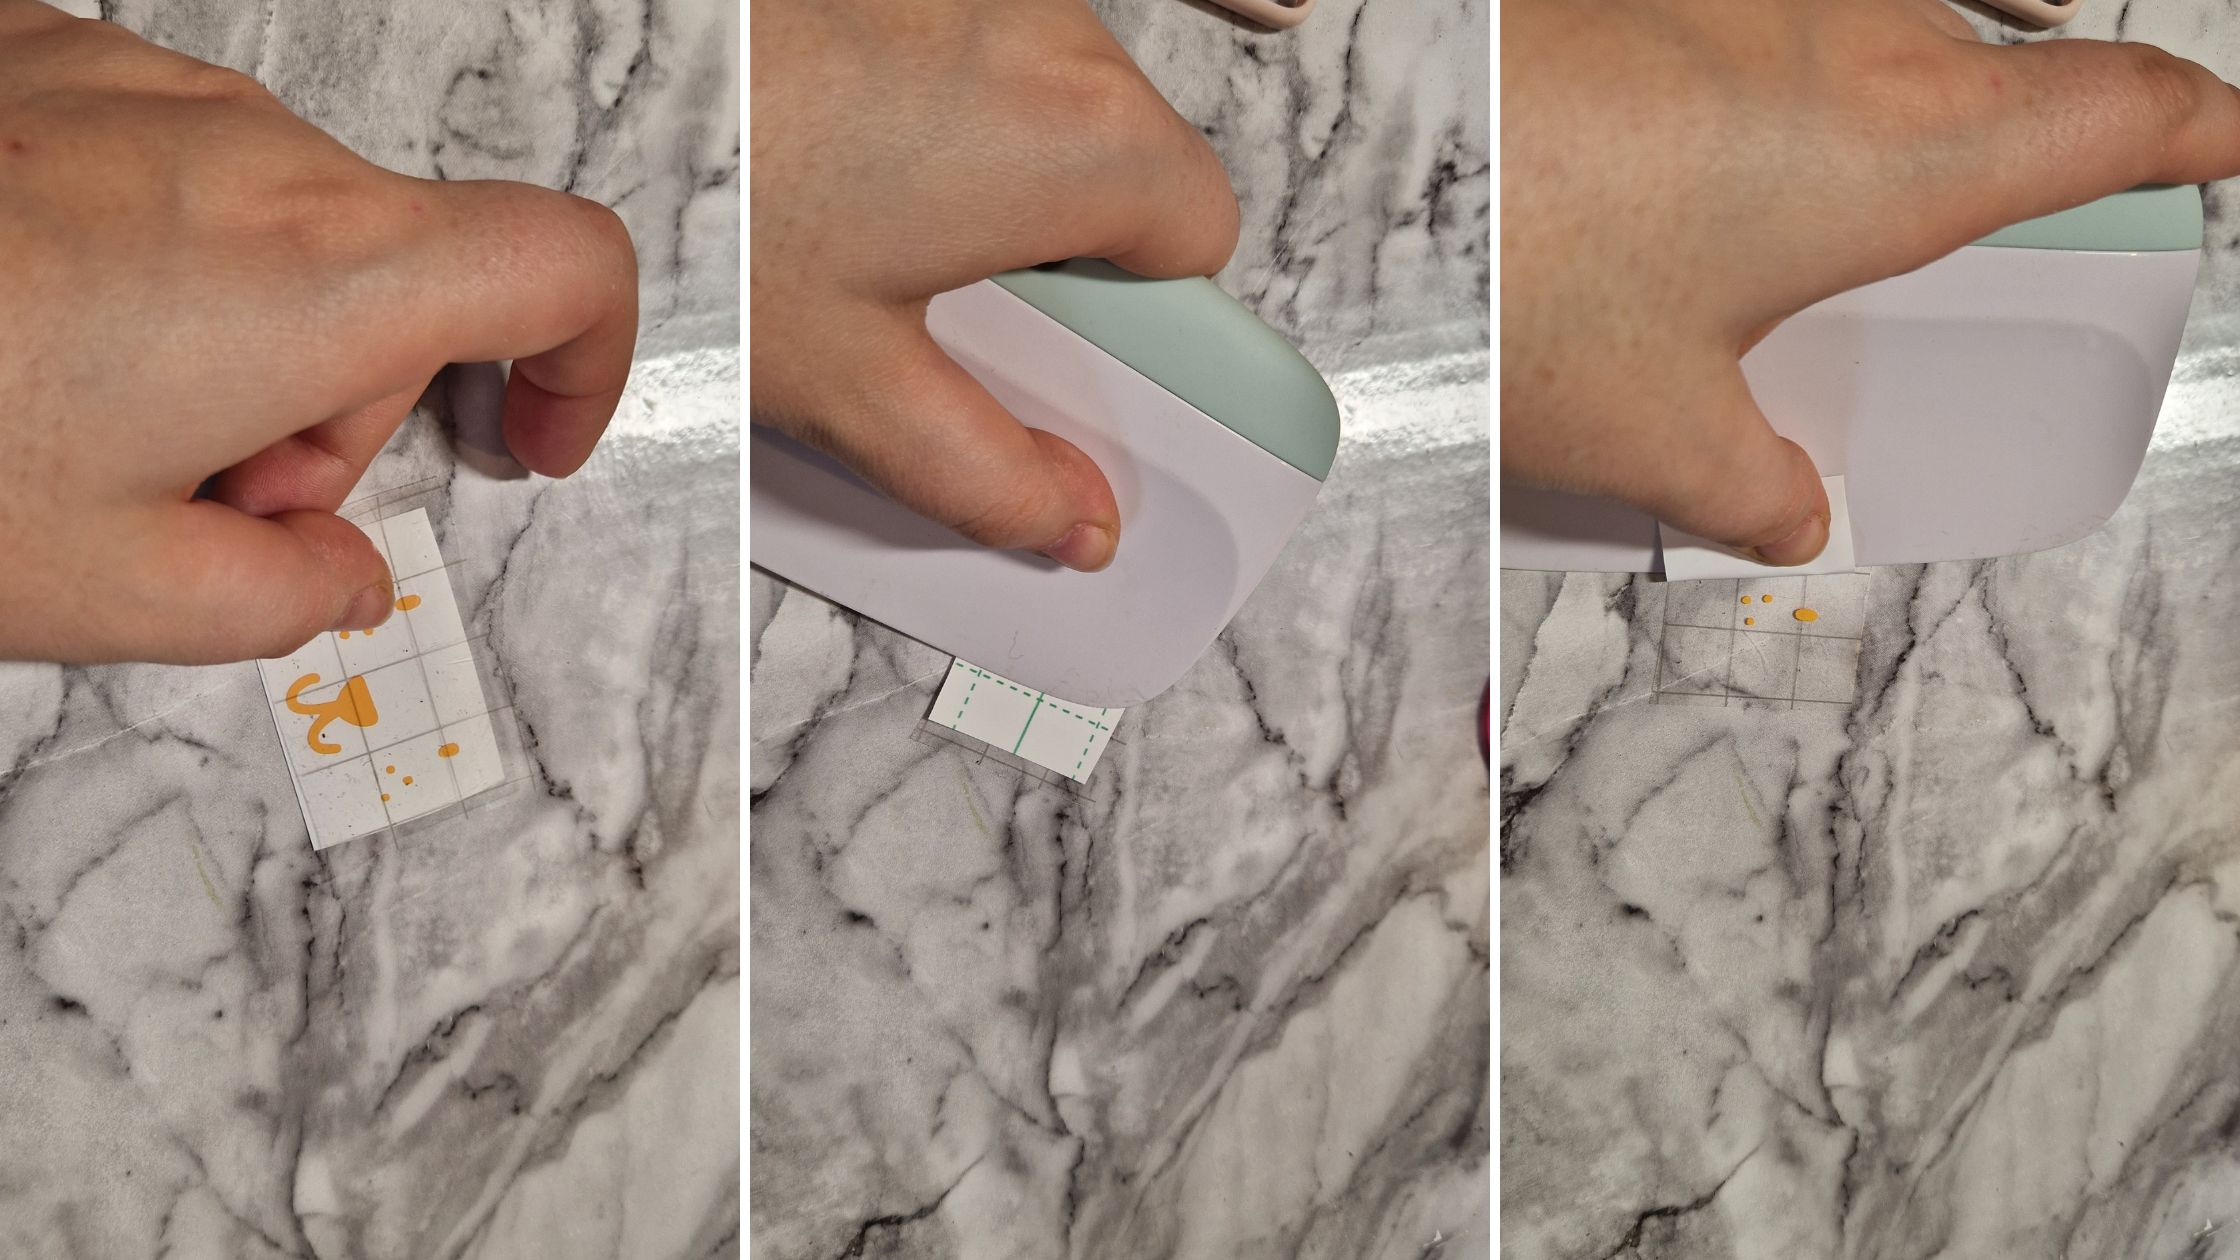
Place the tape onto the pot or lid, positioning the vinyl to where you would like. Press down with your fingers to adhere the vinyl then slowly peel back the Transfer Tape.

Repeat the process with all your pots and voila! Your adorable snack pots are ready for school, nursery, or home.

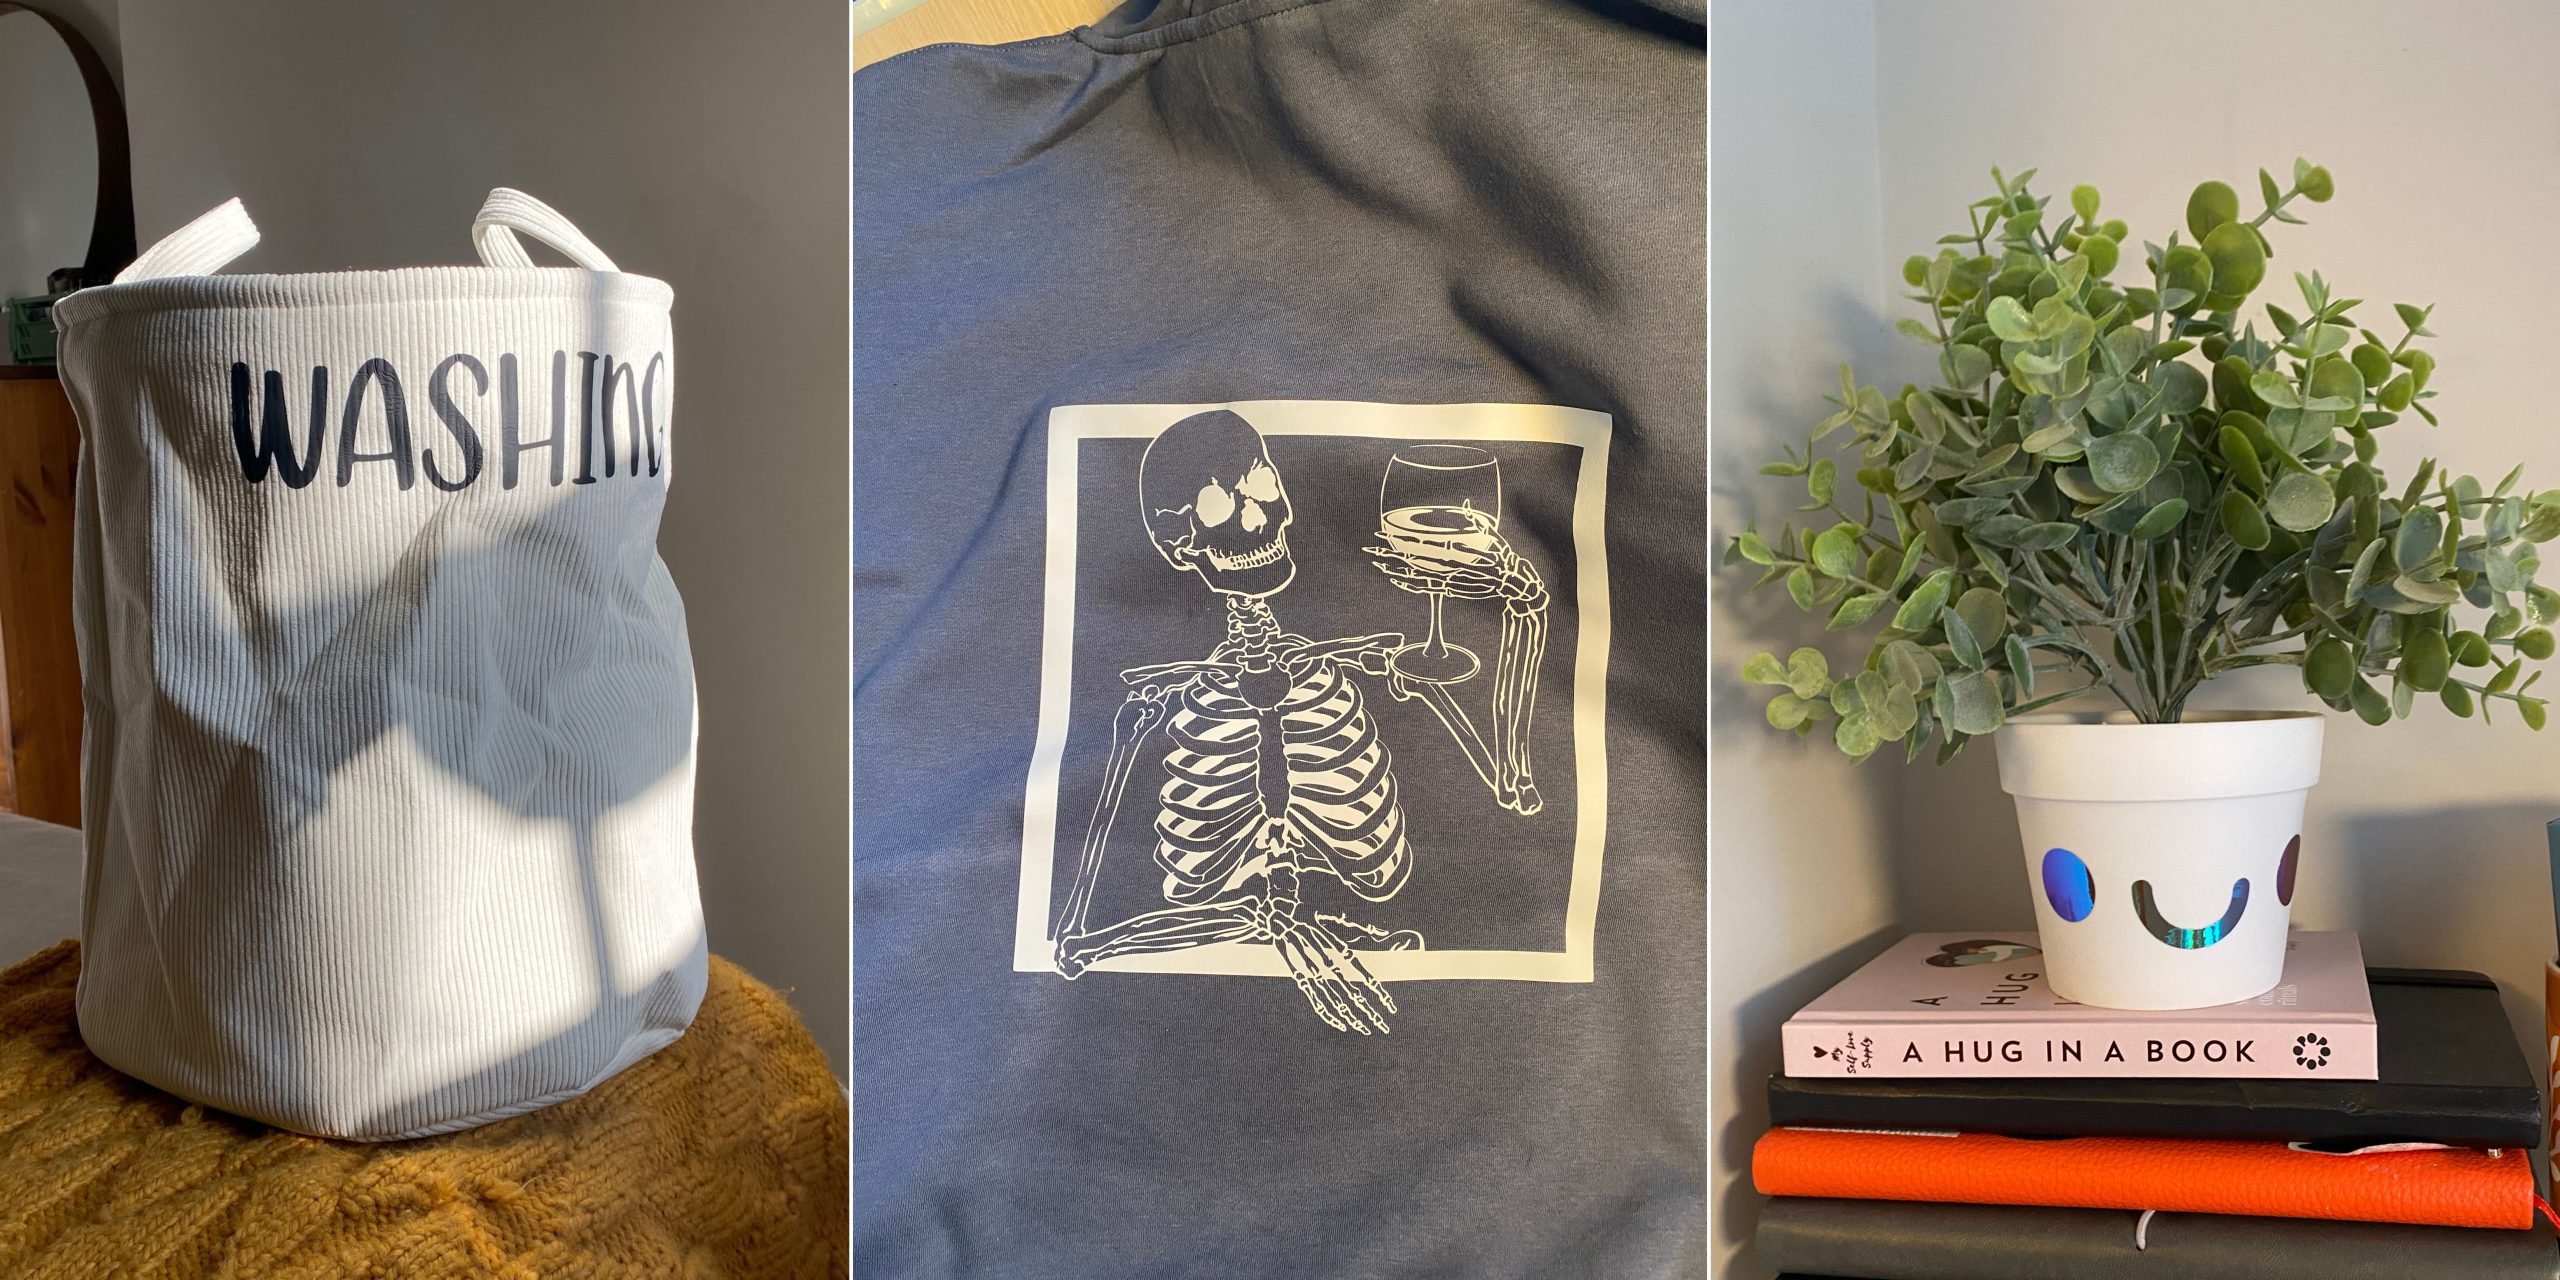
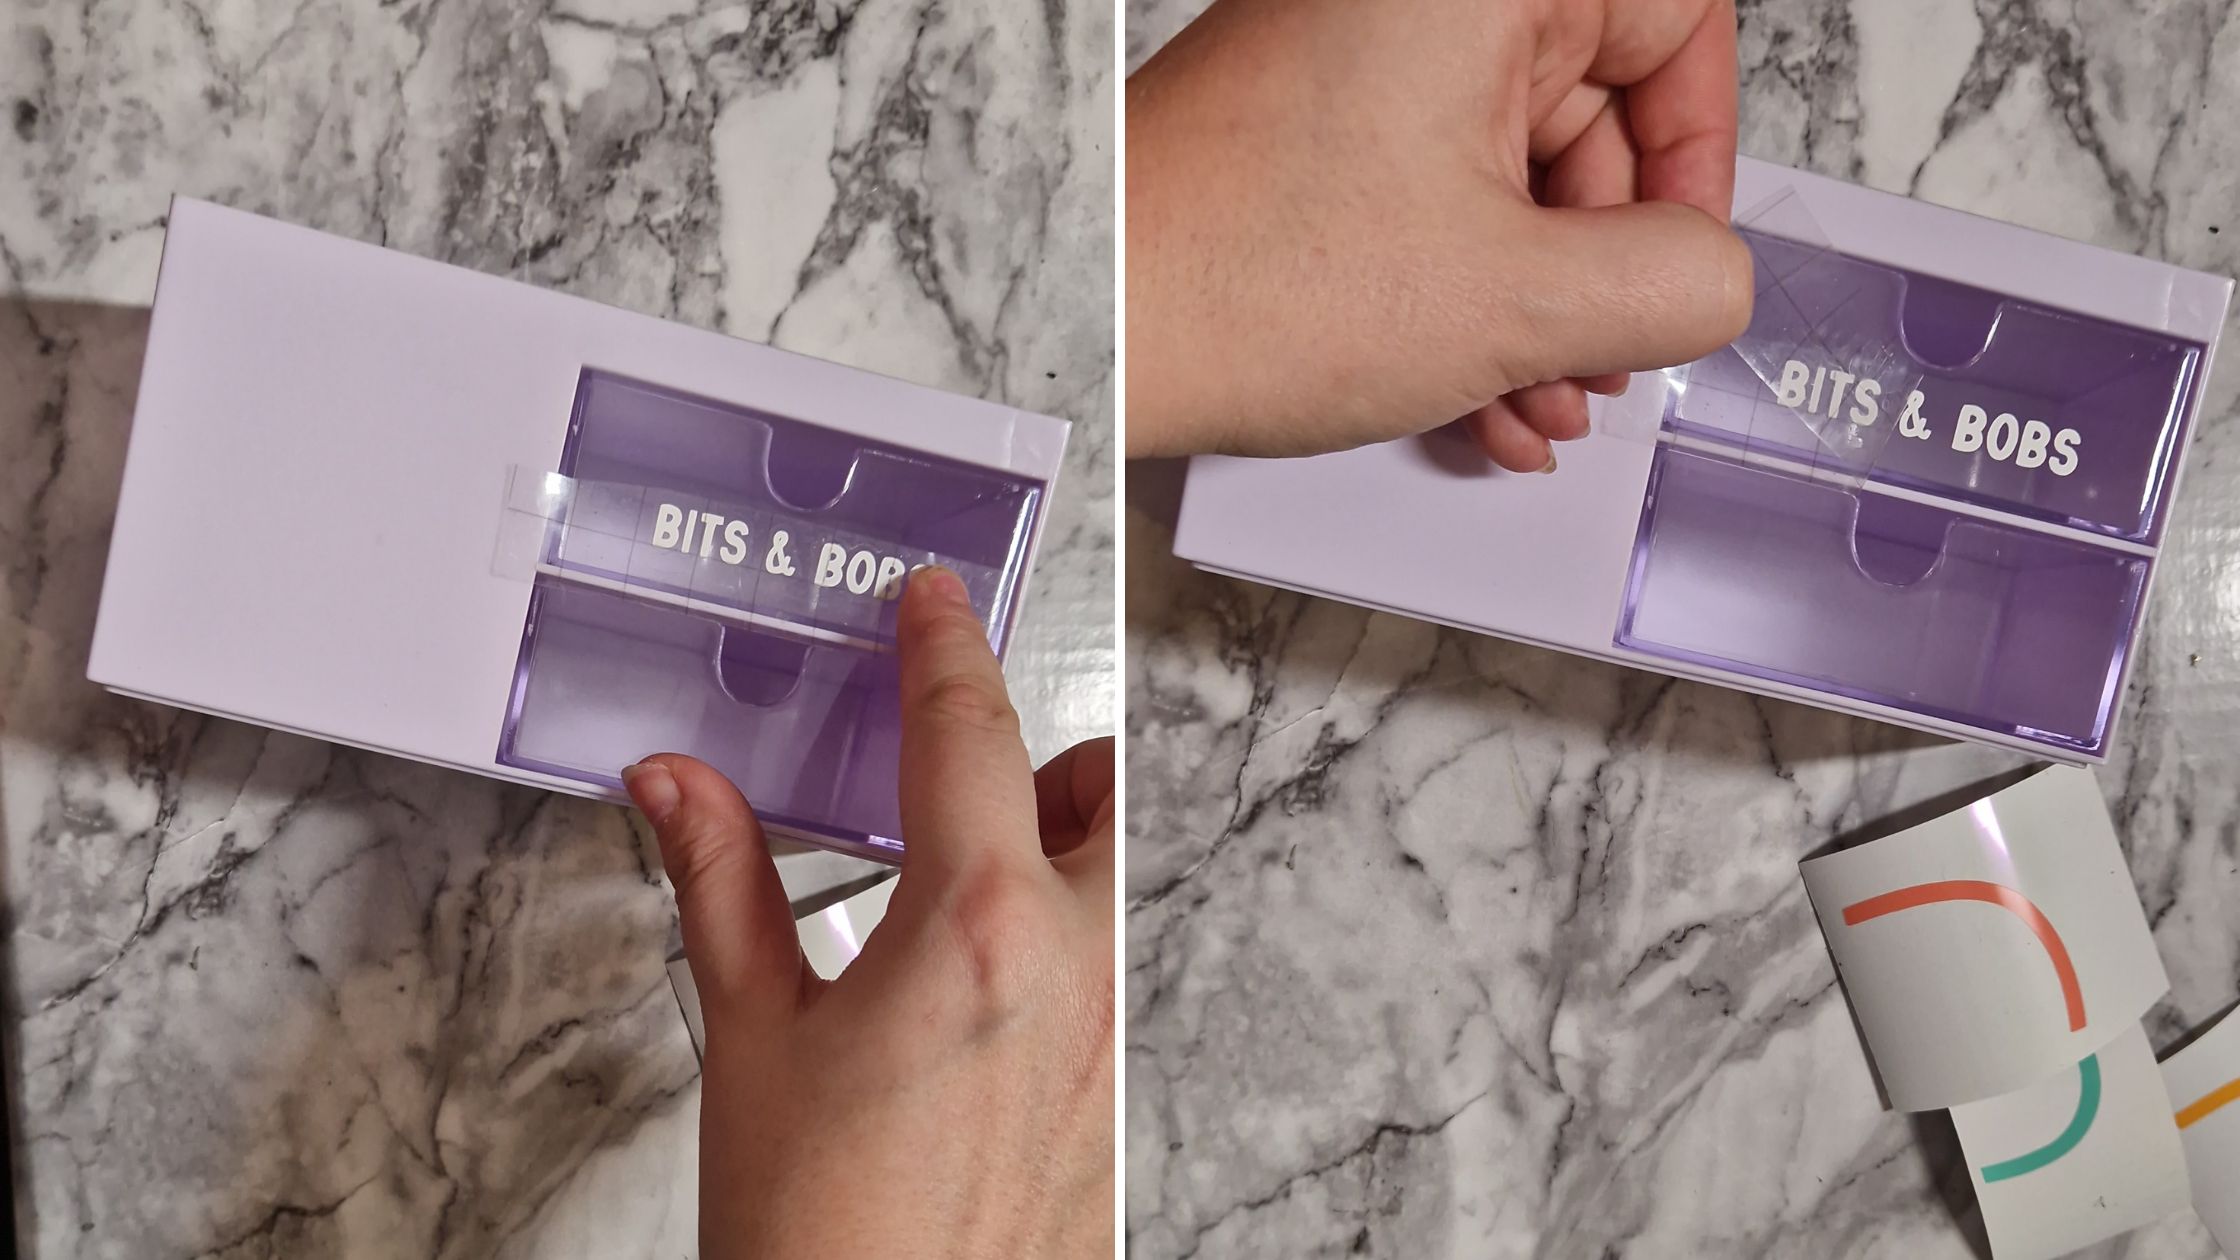
Giving your desk tidy some personality
We had so much fun personalising the desk tidy with a rainbow, stars, and we even labeled the drawers too.
Start by creating everything in Design Space and then cut everything out on your Cricut Joy or another Cricut machine.
We used the Cricut Joy™ Smart Vinyl™ Beachside sampler as the colour range in this pack is perfect for a pastel-themed rainbow.
You can find the desk tidy project in Design Space here.
Use your wedding tool to remove the parts you do not need leaving the text and images on the vinyl backing.
Place StandardGrip Transfer Tape over the vinyl images and text. Use a scraping tool to transfer the vinyl onto the tape applying pressure as you go.
Peel the vinyl backing away so that your weeded vinyl text and images are left on the Transfer Tape.
Place the tape onto the desk tidy, positioning the vinyl to where you would like. Press down with your fingers to adhere the vinyl then slowly peel back the Transfer Tape.
Repeat the process with all the elements of your desk tidy.
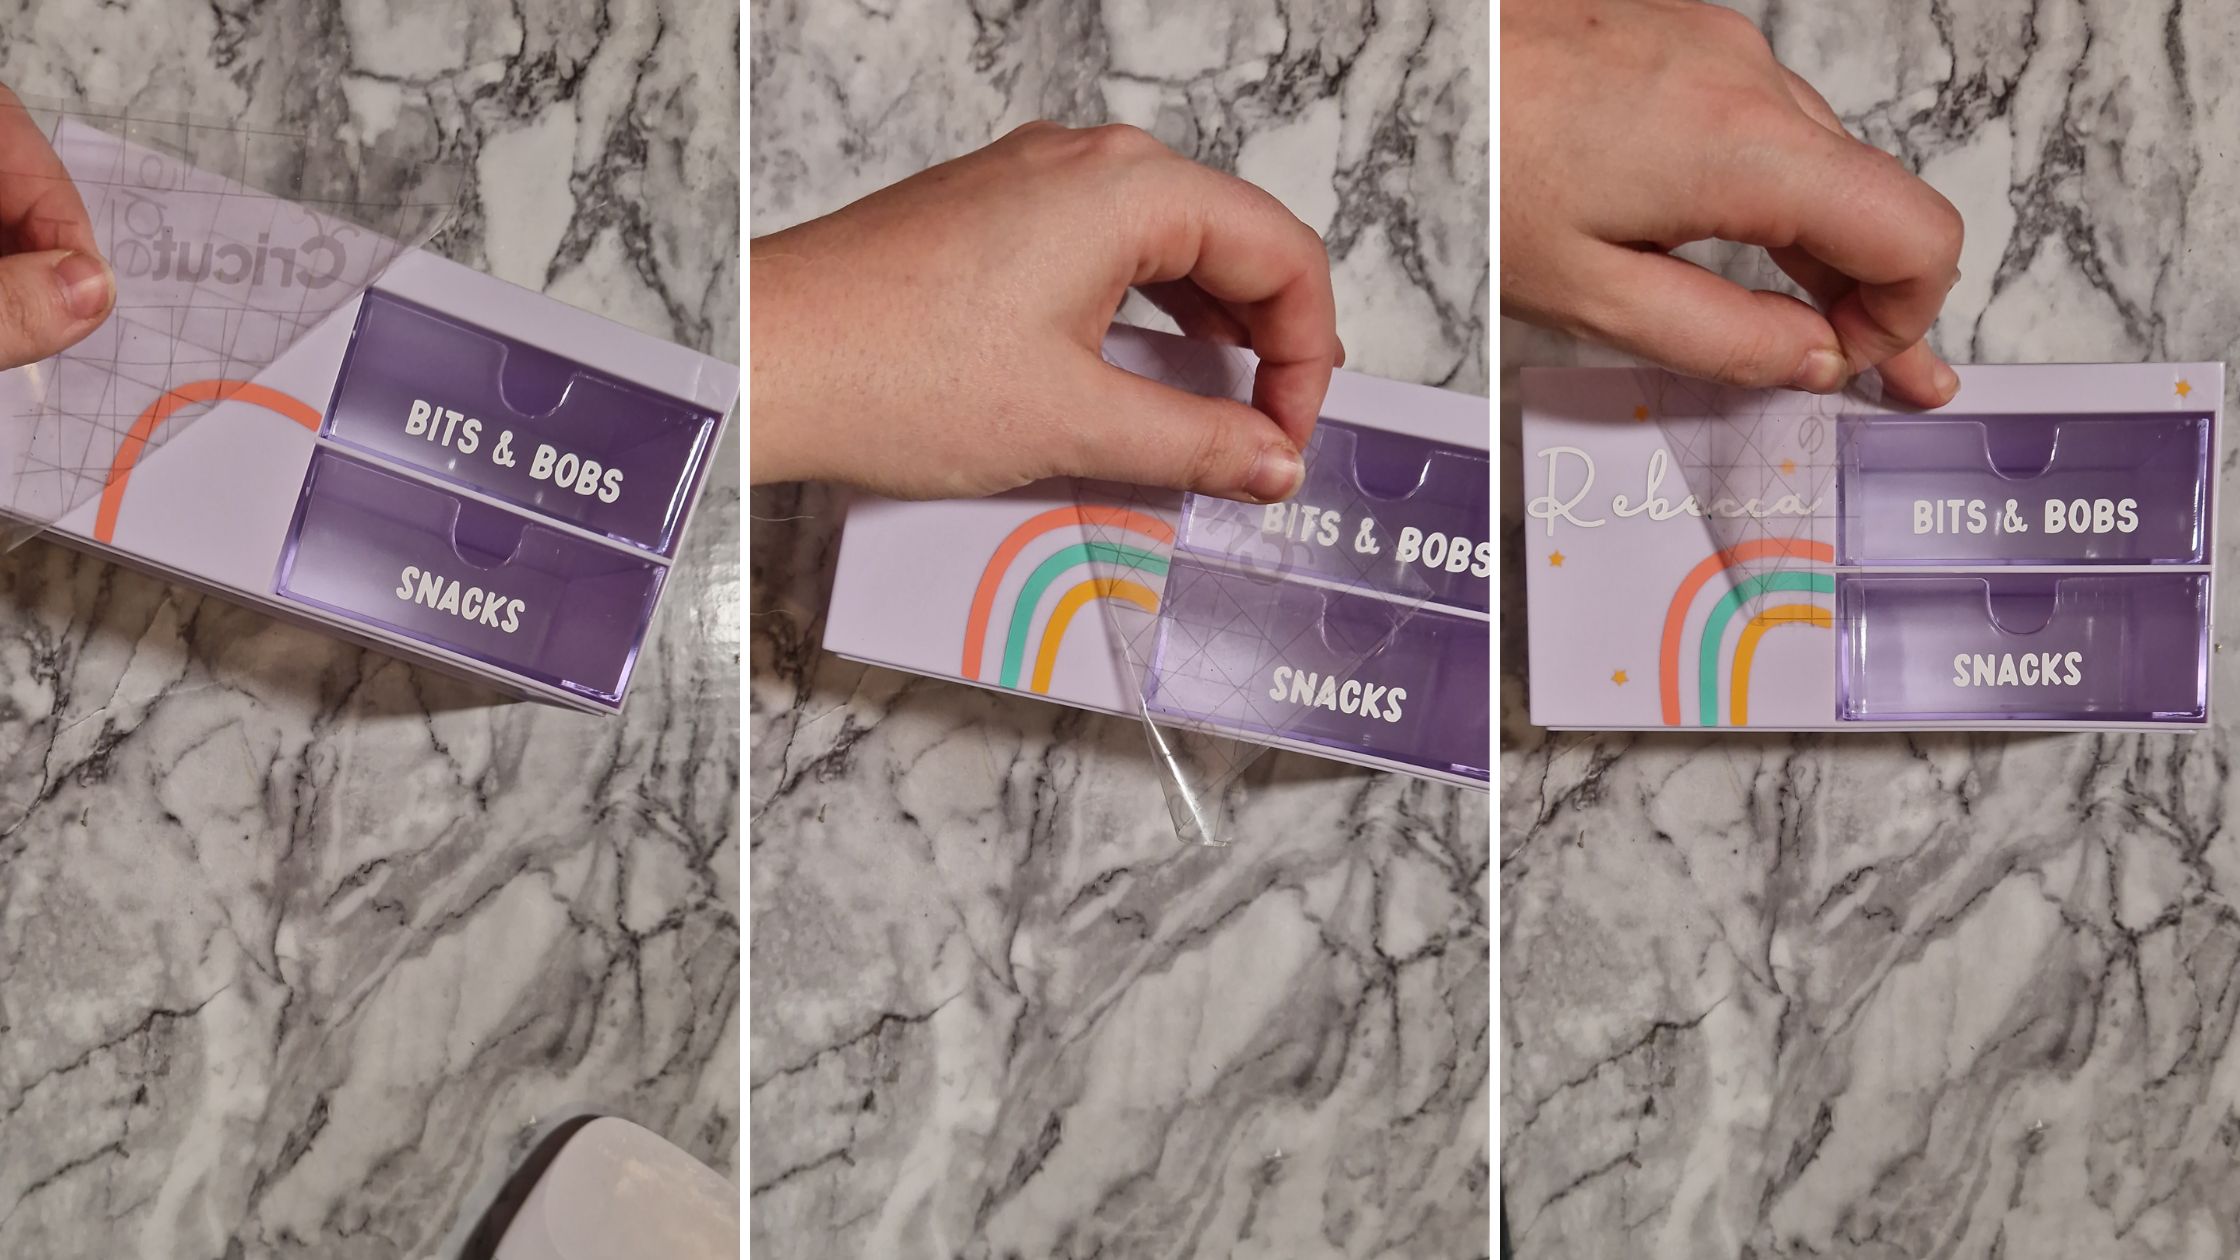
Isn’t it magical? We were really happy with the results and looks perfect on a desk amongst our other pastel items.
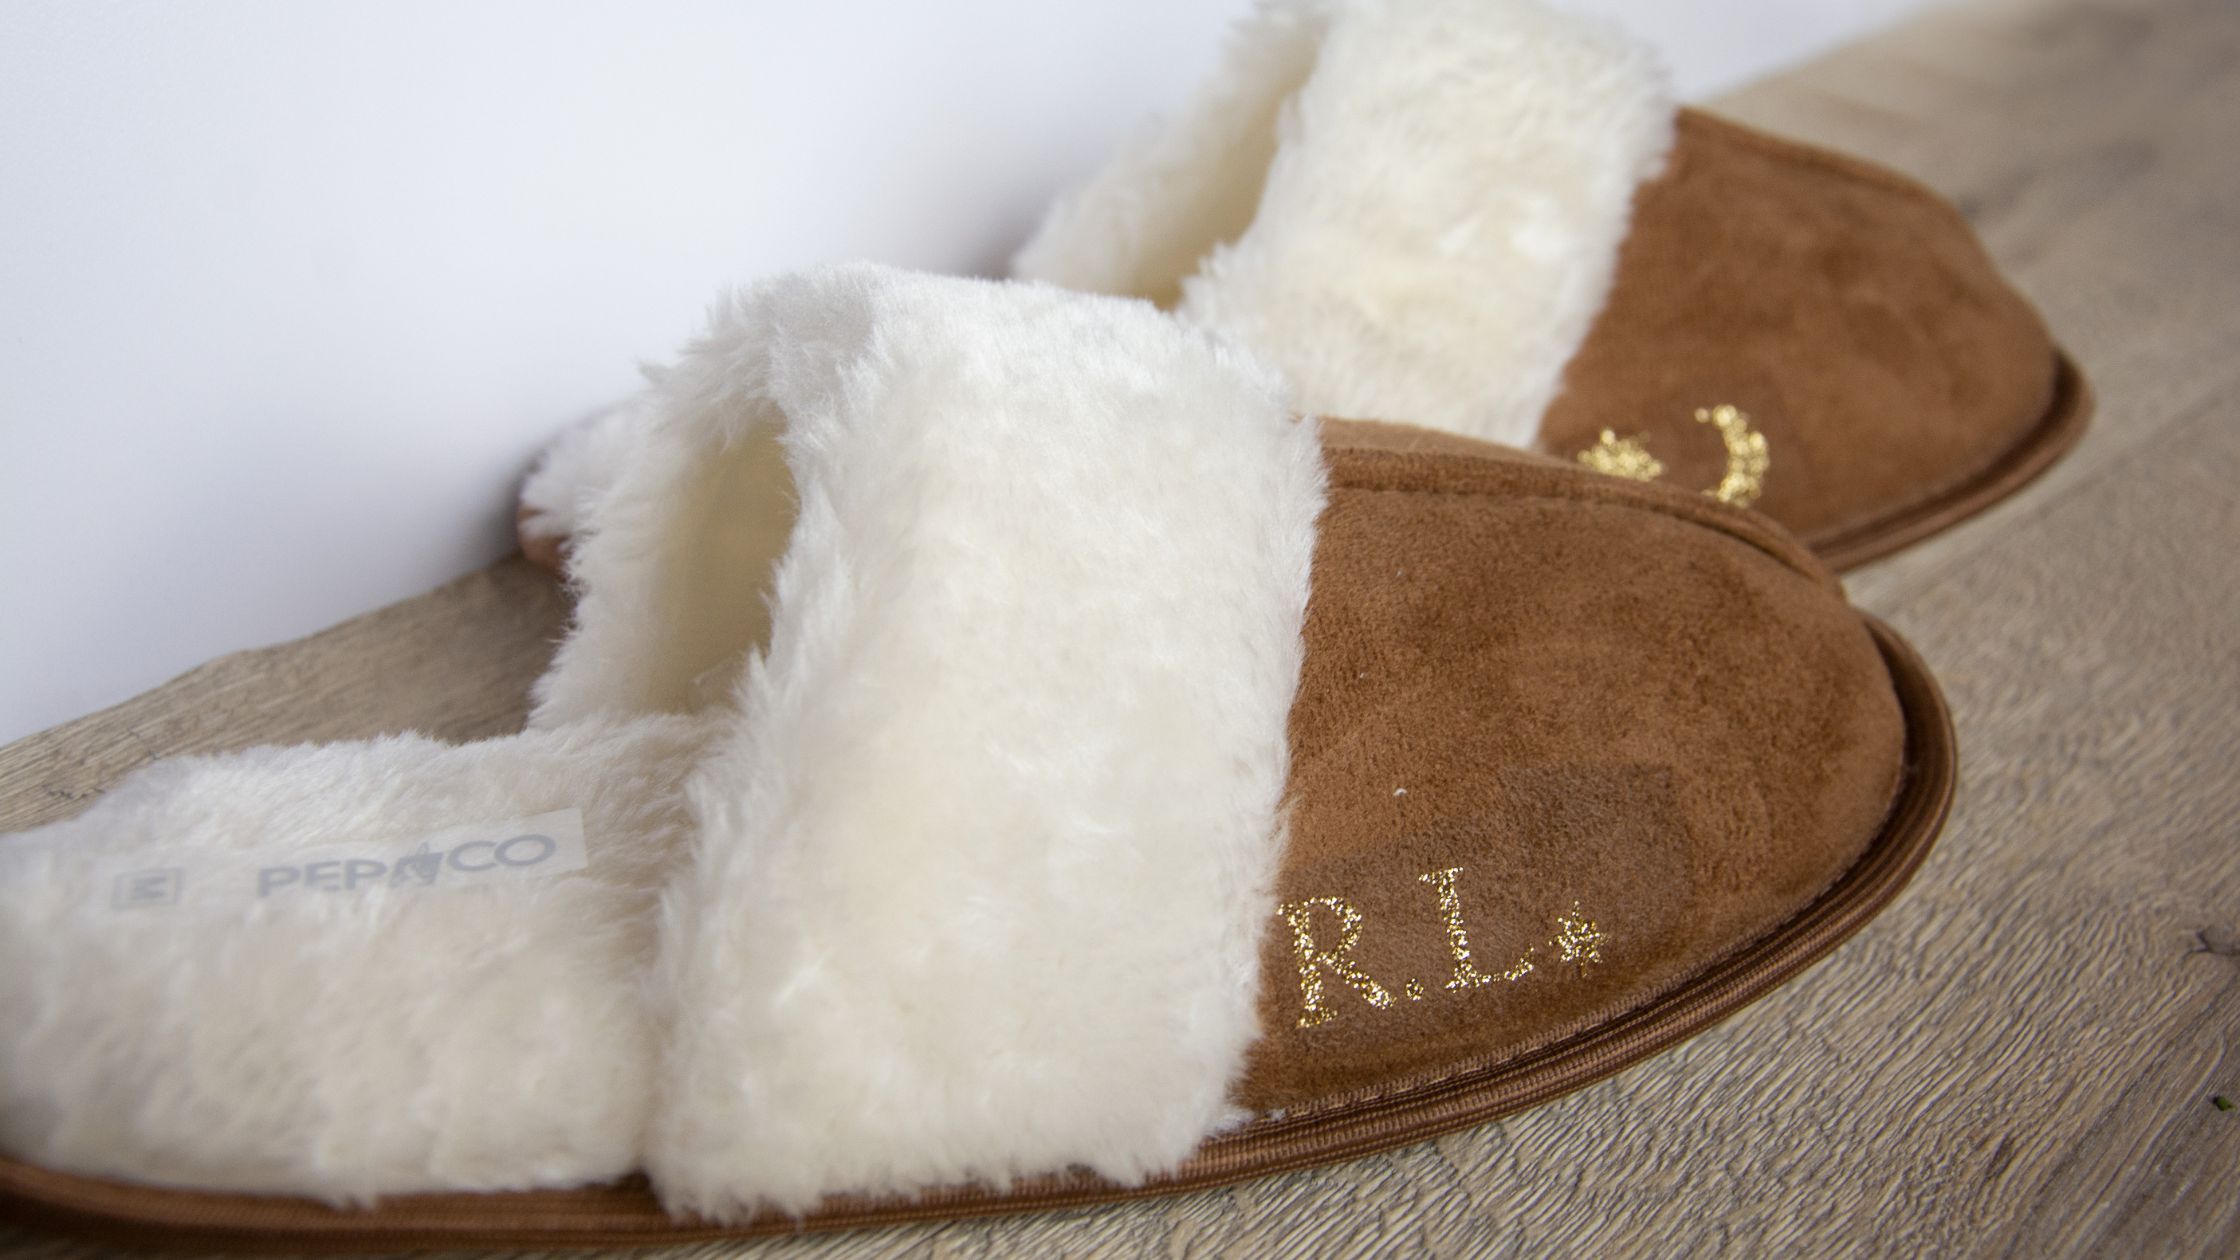
Personalised initial slippers – the perfect gift!
These slippers are really comfy and the additional personalisation makes for an impressive gift for someone.
We used Cricut Joy™ Smart Iron-On™ in gold glitter as well as the EasyPress Mini™.
The EasyPress Mini is perfect for shoe personalisation as it is smaller and able to get into the grooves and move around at awkward angles.
You can find this project in Design Space here.
Start by customizing the project to your desired initials and then select, ‘Make It’. Follow the on-screen instructions but do not forget to turn ‘Mirror’ on. This flips the images and cuts them out in reverse so that when we adhere to our project, it is the right way around.
Then it is time to get cutting! Place your iron-on shiny side down and mat side up for cutting.
Remove the parts you do not need with a weeding tool leaving your iron-on images on the backer.
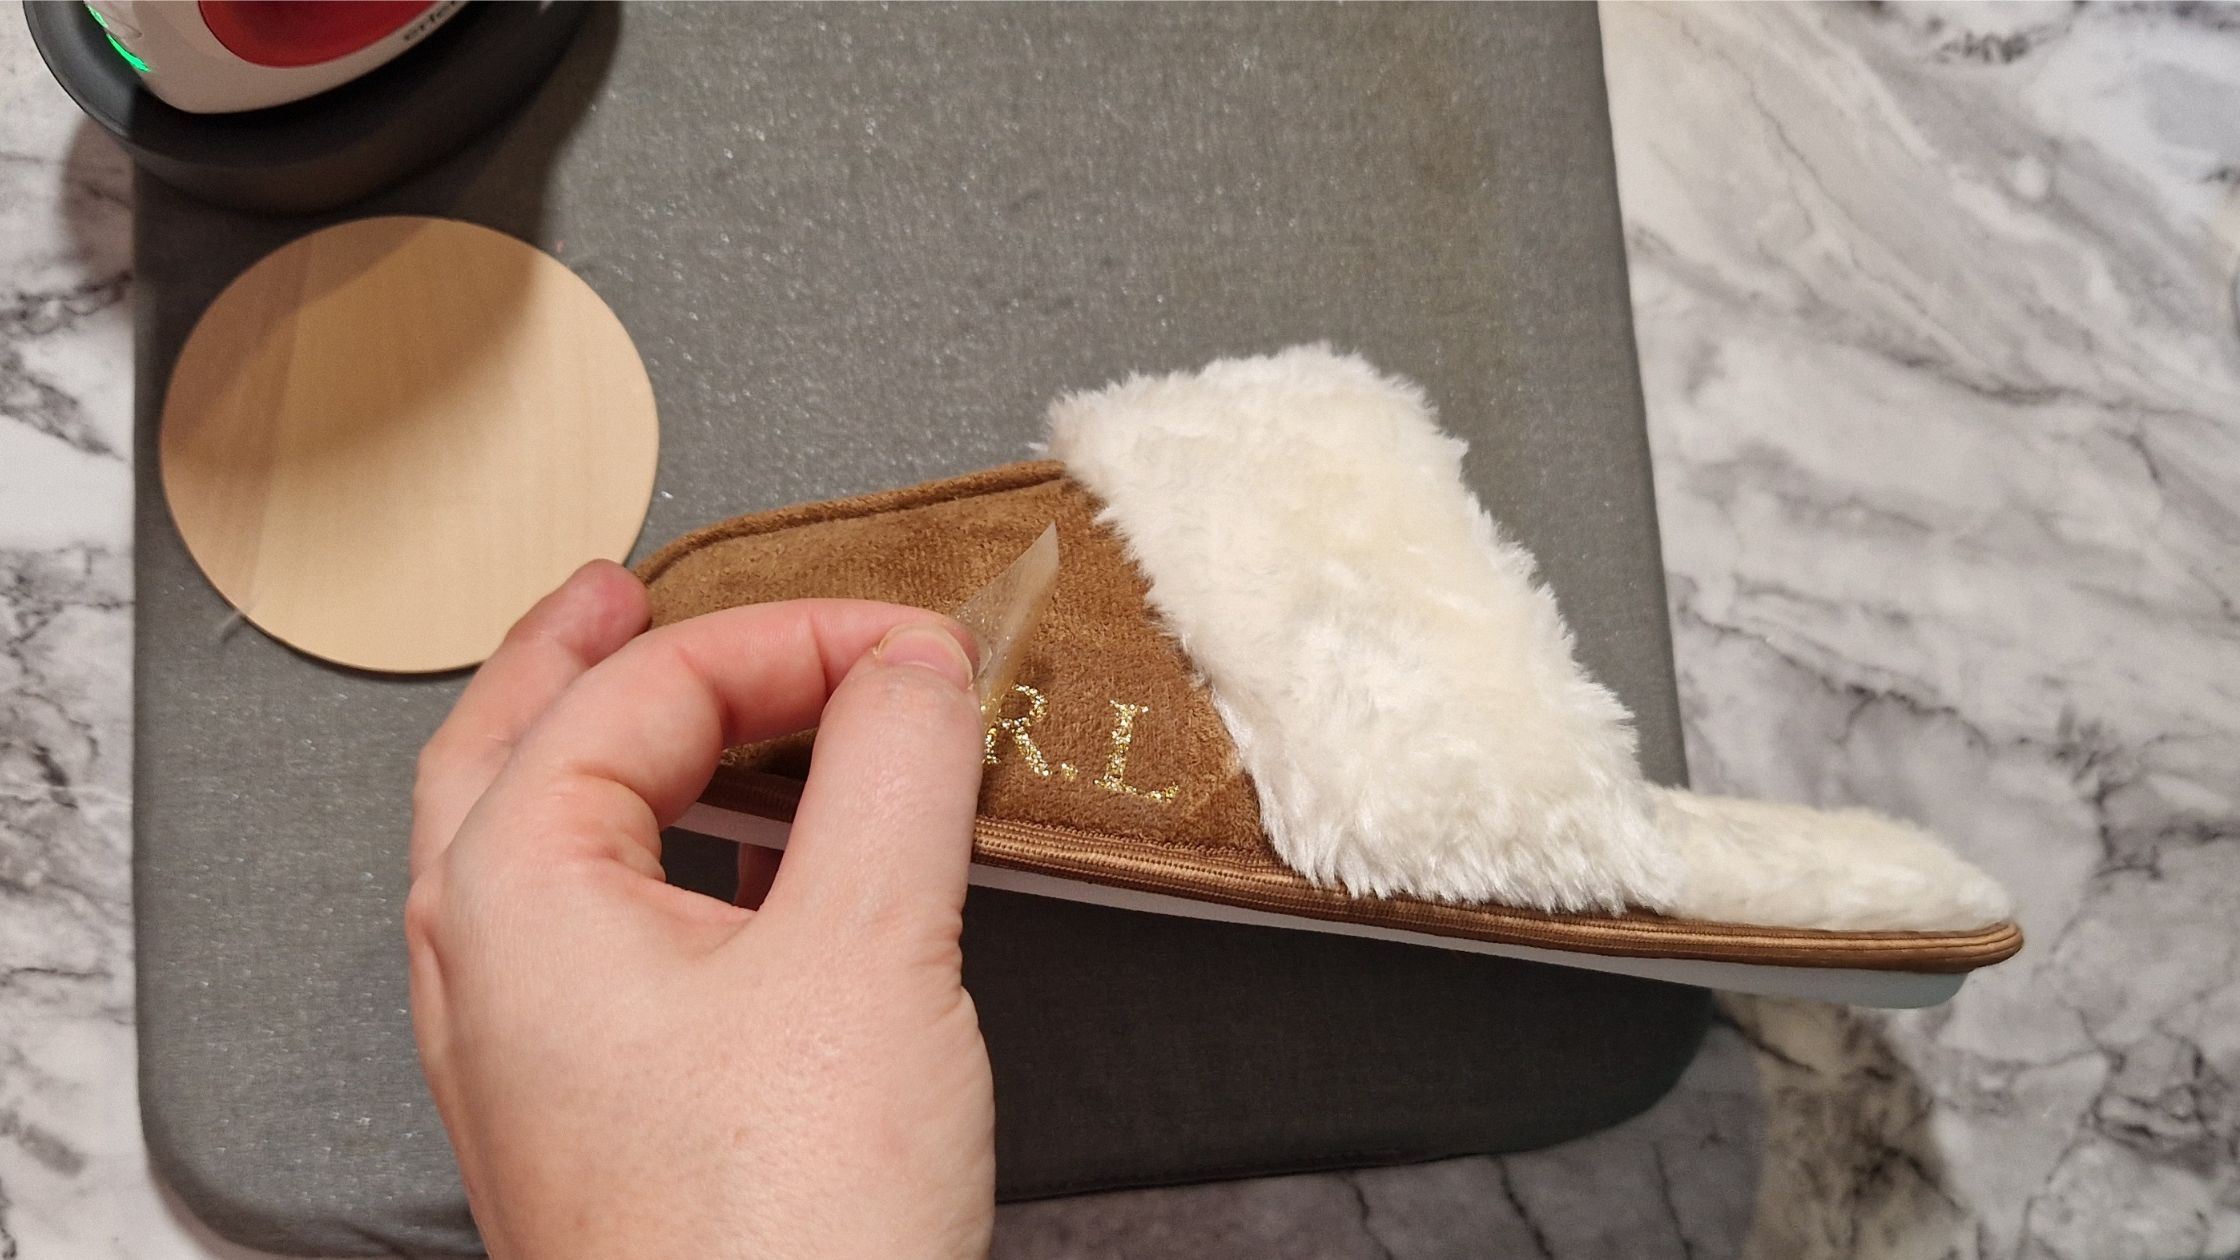
Position the images the right way around and onto one of your slippers. Consult the Cricut Heat Guide or Cricut Heat App for heat temperatures, times, and instructions. Set your heat tool and wait for the green light to indicate the press is at the right temperature.
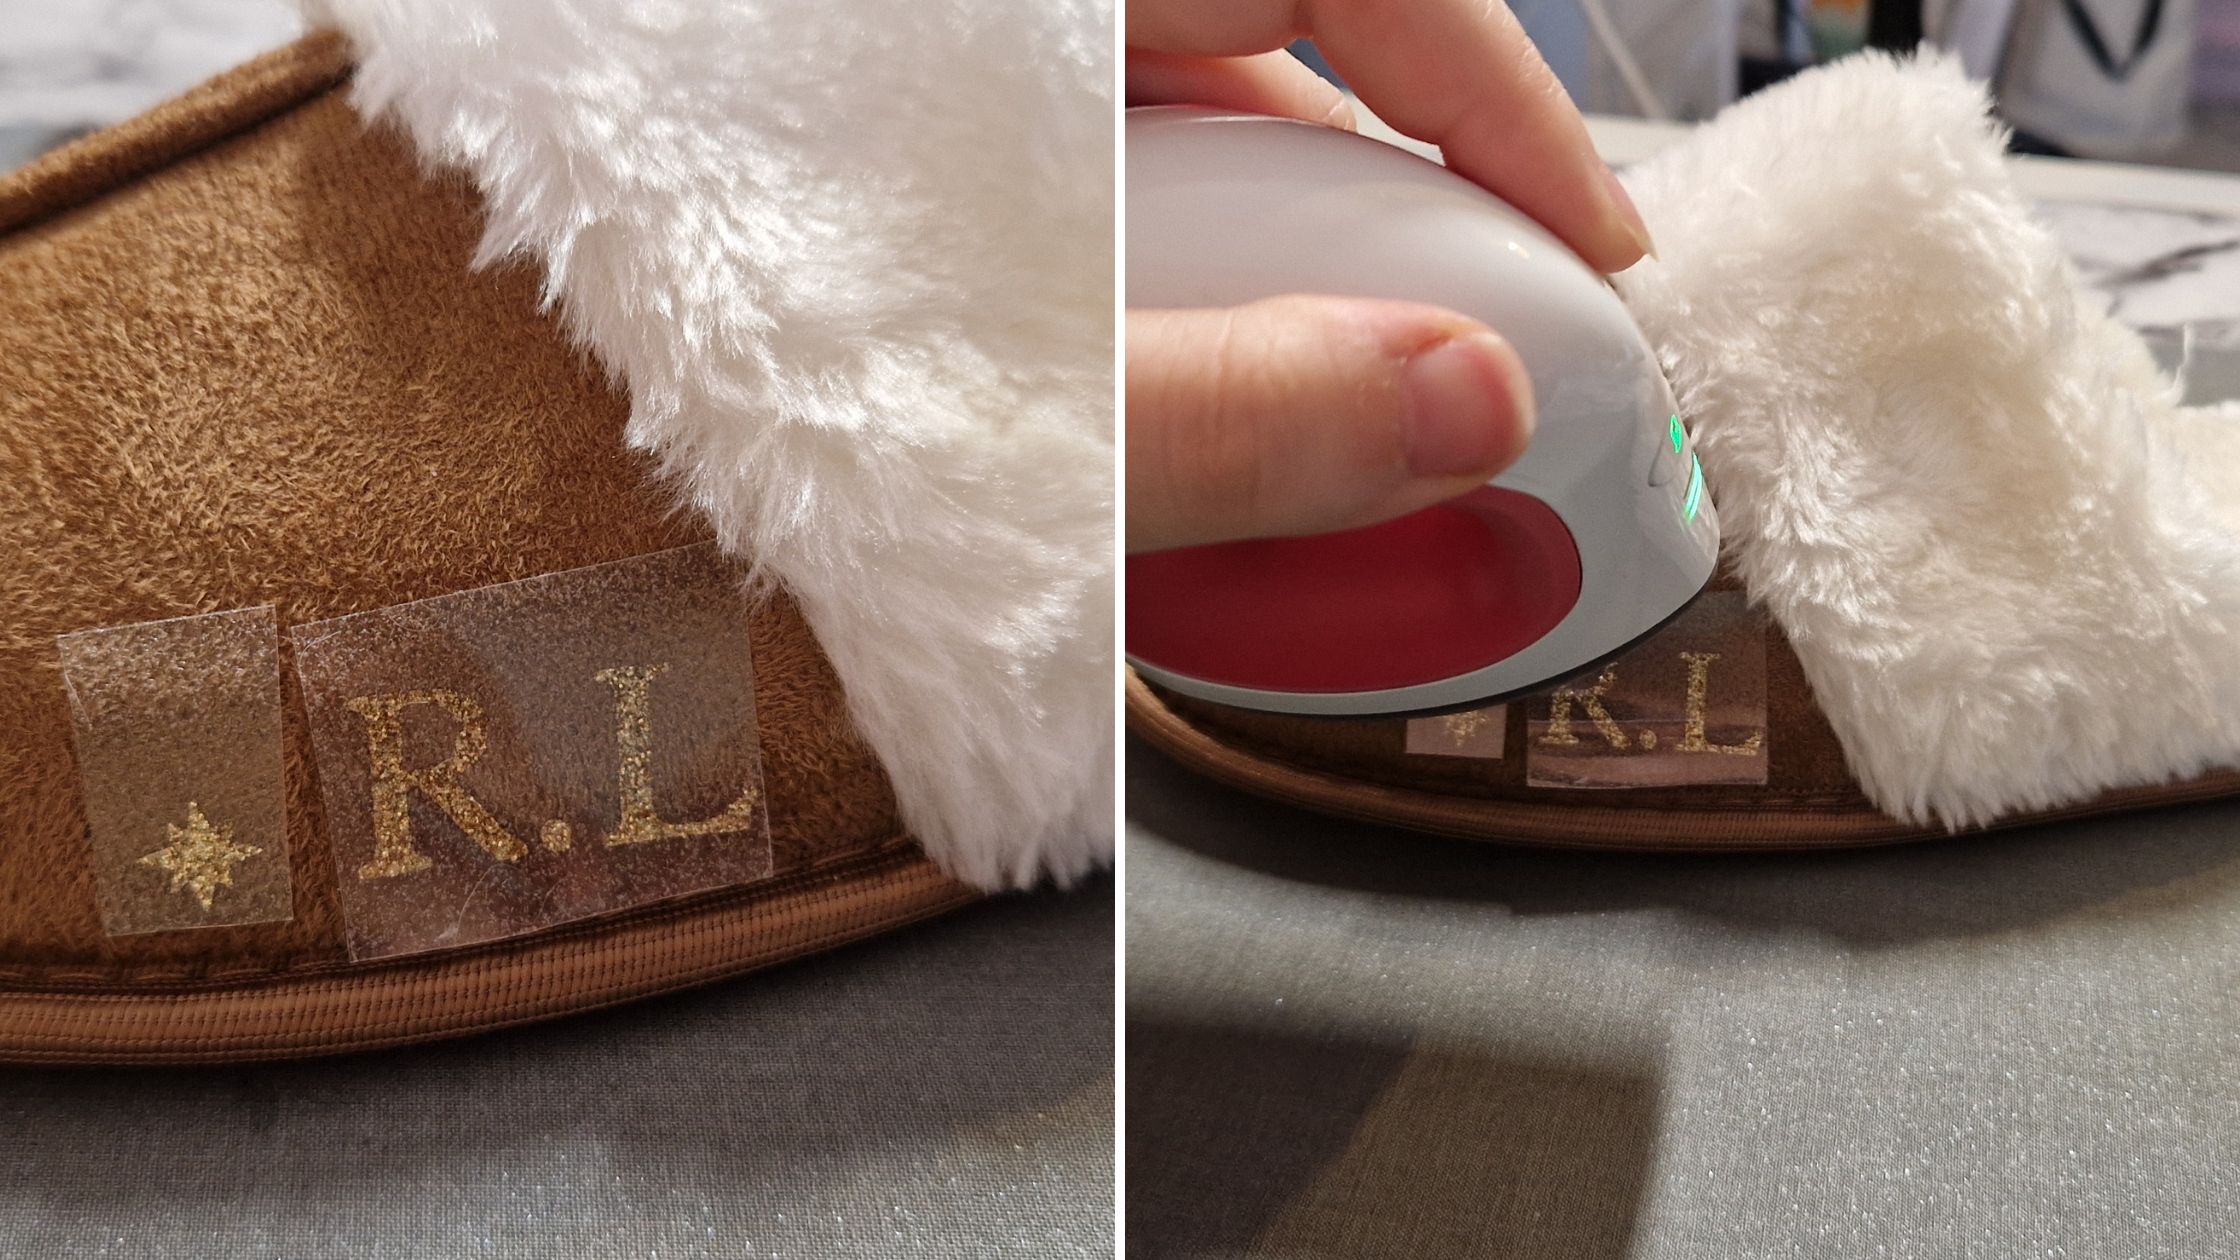
Apply the EasyPress Mini to the area.
With rounded items, having something inside the slipper like a pair of socks helps apply pressure for adhering. Another tip is when applying heat with the EasyPress Mini, keep it still for this particular project. It helps with reducing the risk of the iron-on material moving and the adhesive slipping leaving a mark on your material.
Allow the glitter iron-on to sit and cool entirely before peeling off the backing. Peeling off too early can result in the iron-on distorting or peeling off as you pull the backer away. The Cricut Heat Guide always indicates what kind of peel it should be so always consult here before each project.
Repeat on the other slipper and admire your new beautiful slippers!
IKEA
If you loved this blog, you might also love our IKEA shopping trip blog where we shared what we purchased and what we made with their items.
Share your makes with us
We cannot wait to see what you create! Make sure to share with us on social media by tagging @cricut_uk on Instagram and TikTok.
Share with our community on Design Space by publishing your project live. Find out how to publish and share projects in Design Space here.
You Might Enjoy…