It’s time to focus on batch making. The versatility of Cricut Autopress lets you make everything from t-shirts and totes to coasters and wall art. When it comes to making multiples of the same design or on the same material — also known as “batch making” — pressing becomes even easier with the right preparation. Here are a few things to keep in mind if you plan on pressing in batches.
Use multiple pressing mats for easy preparation
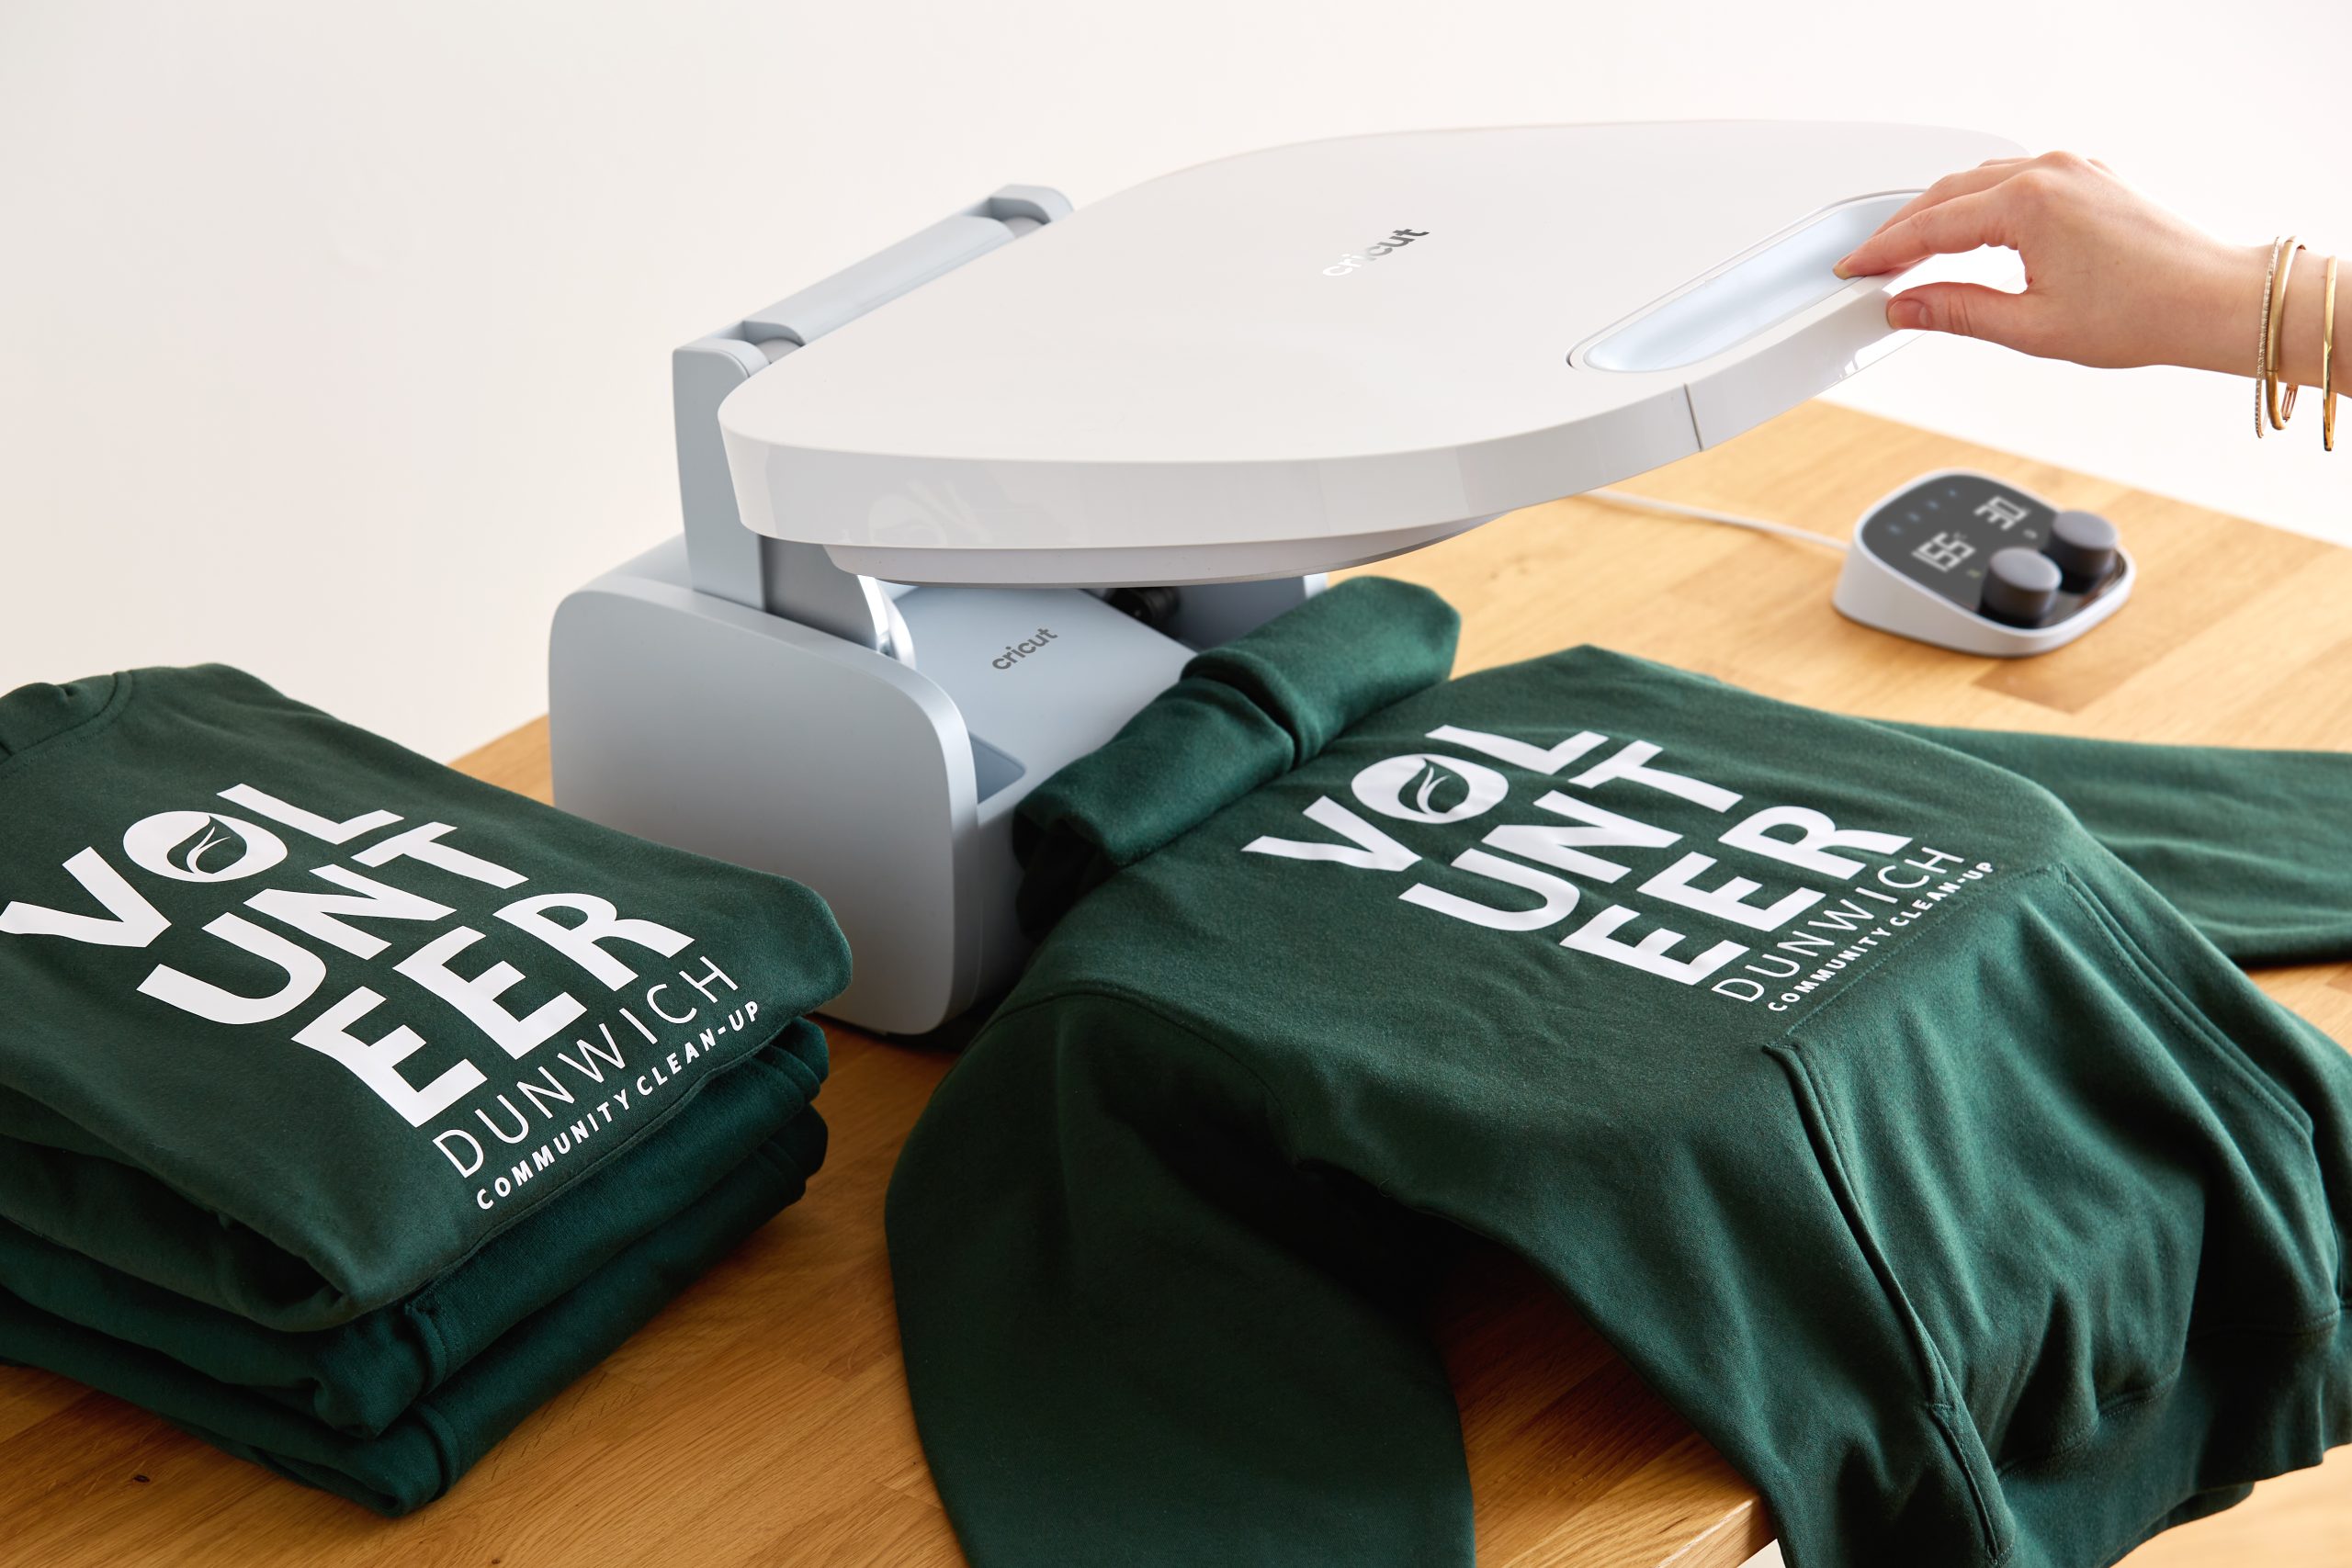
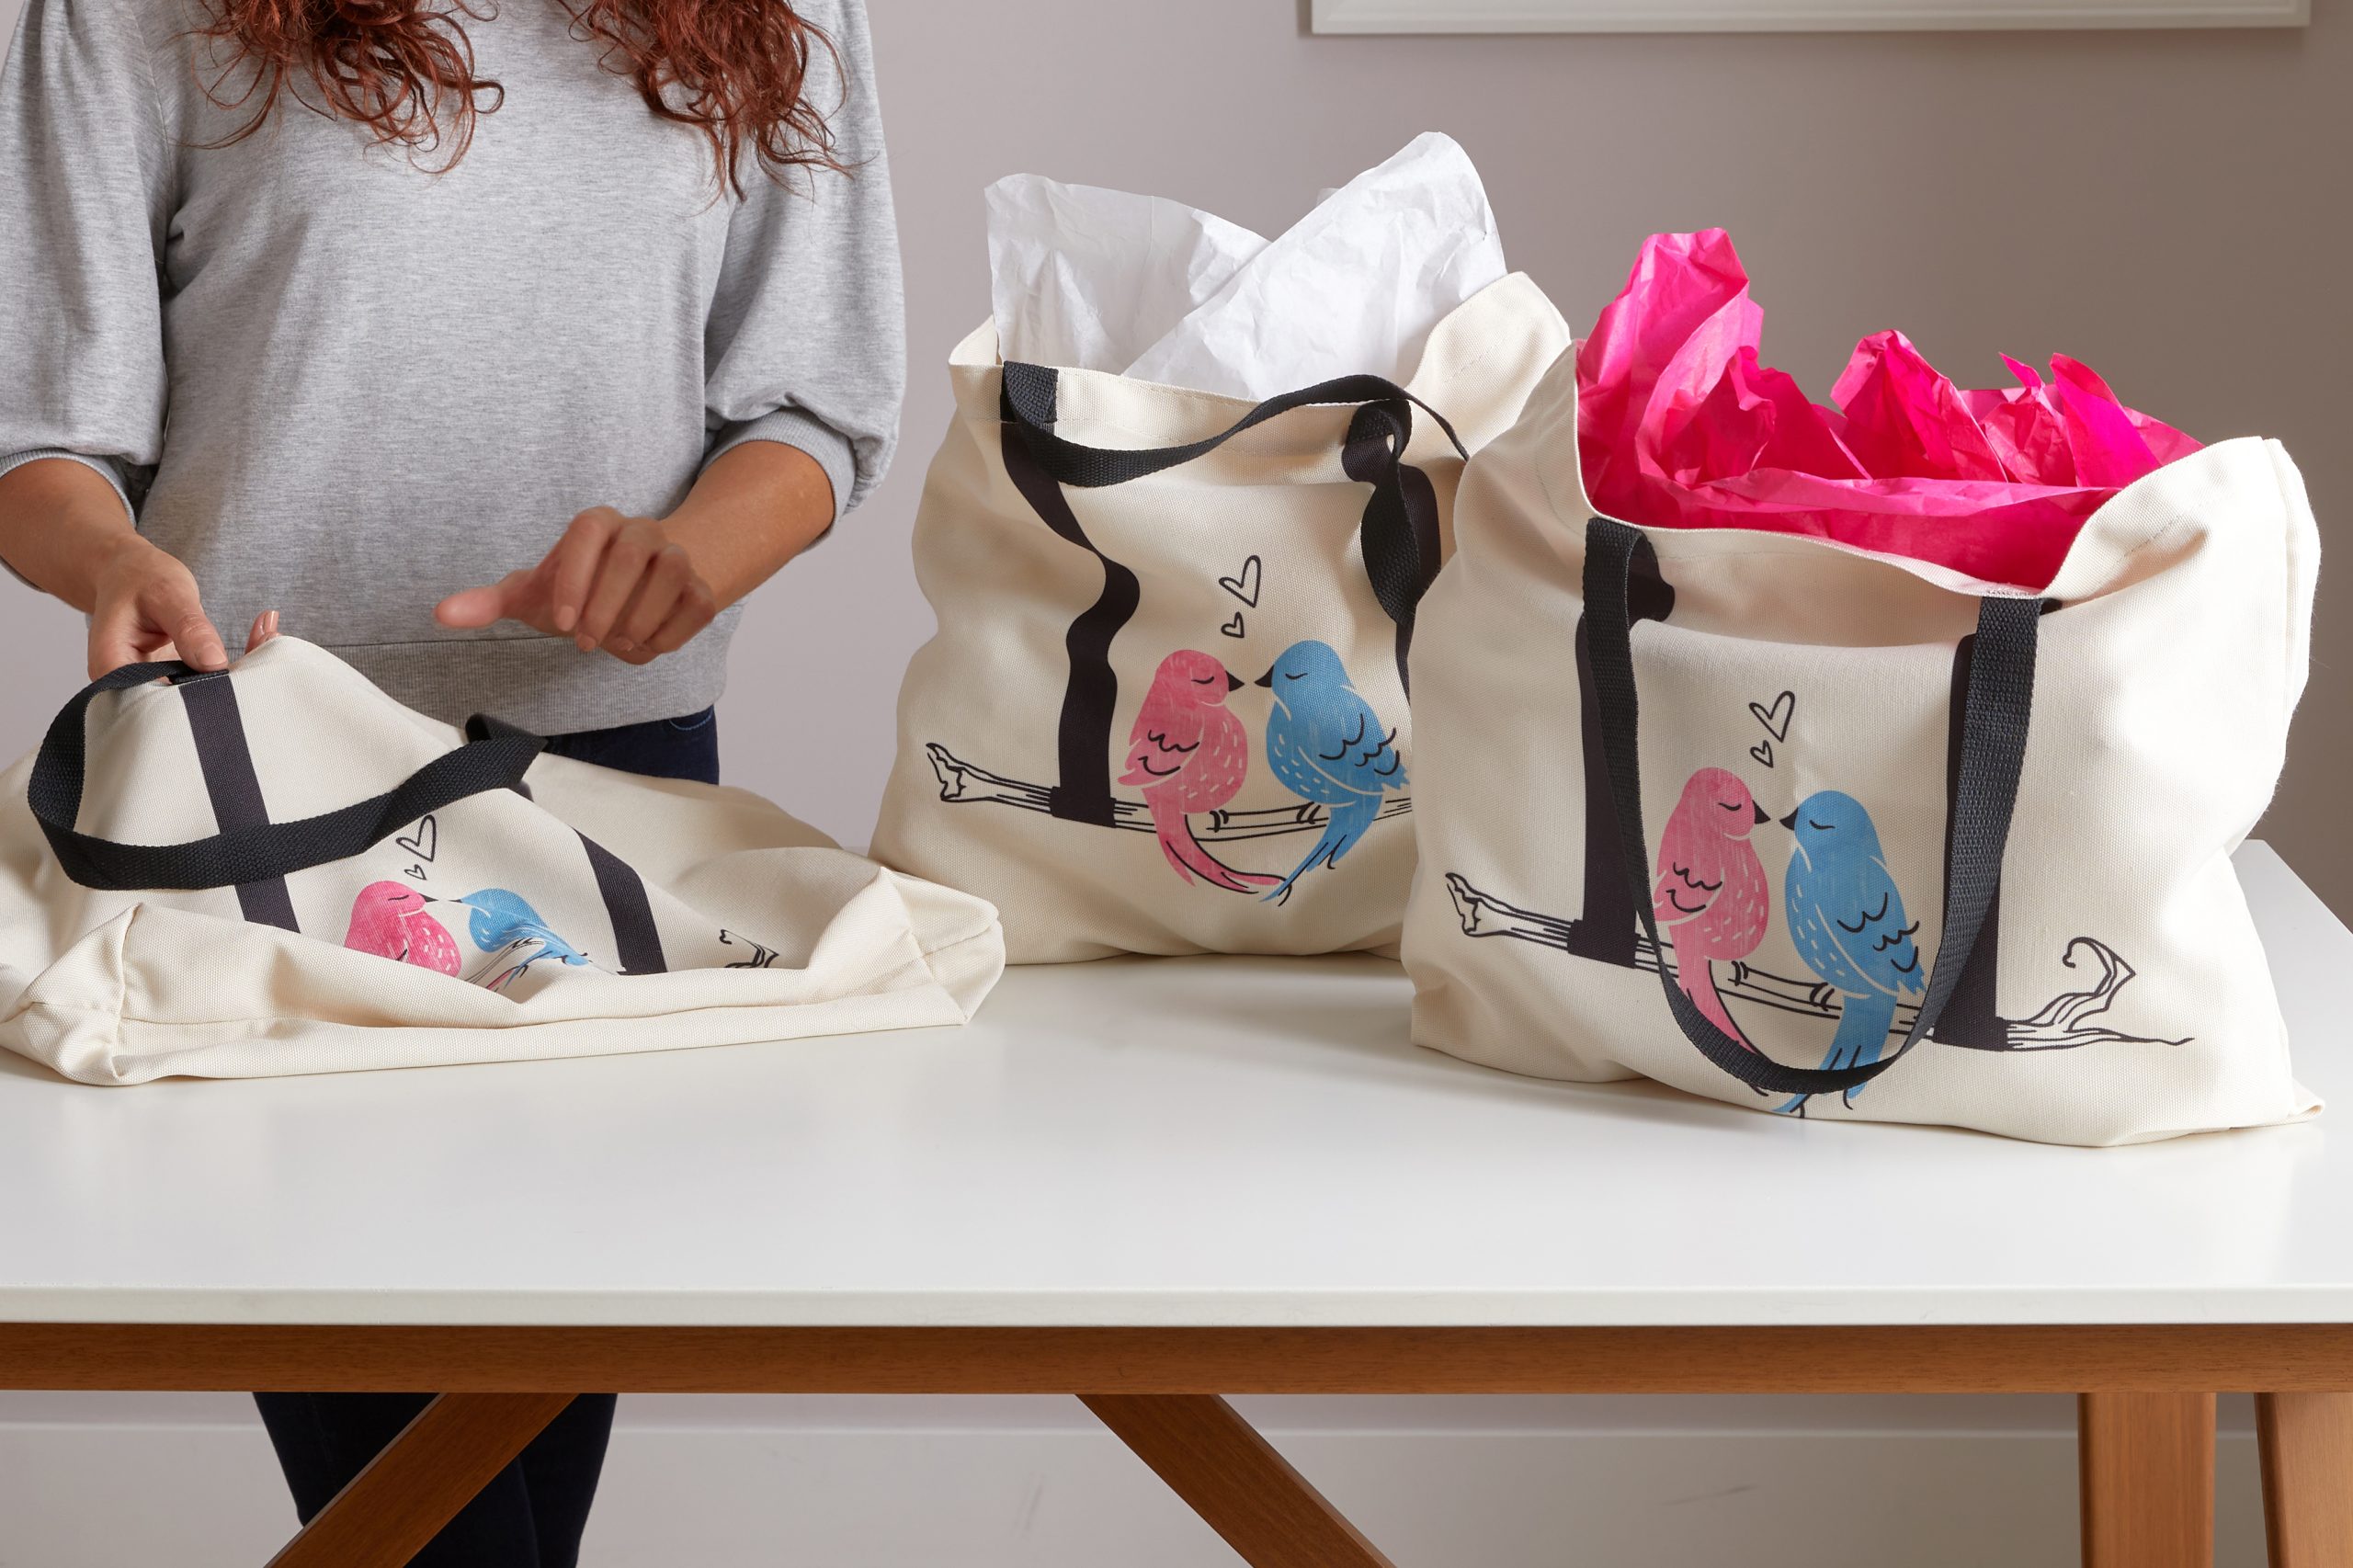
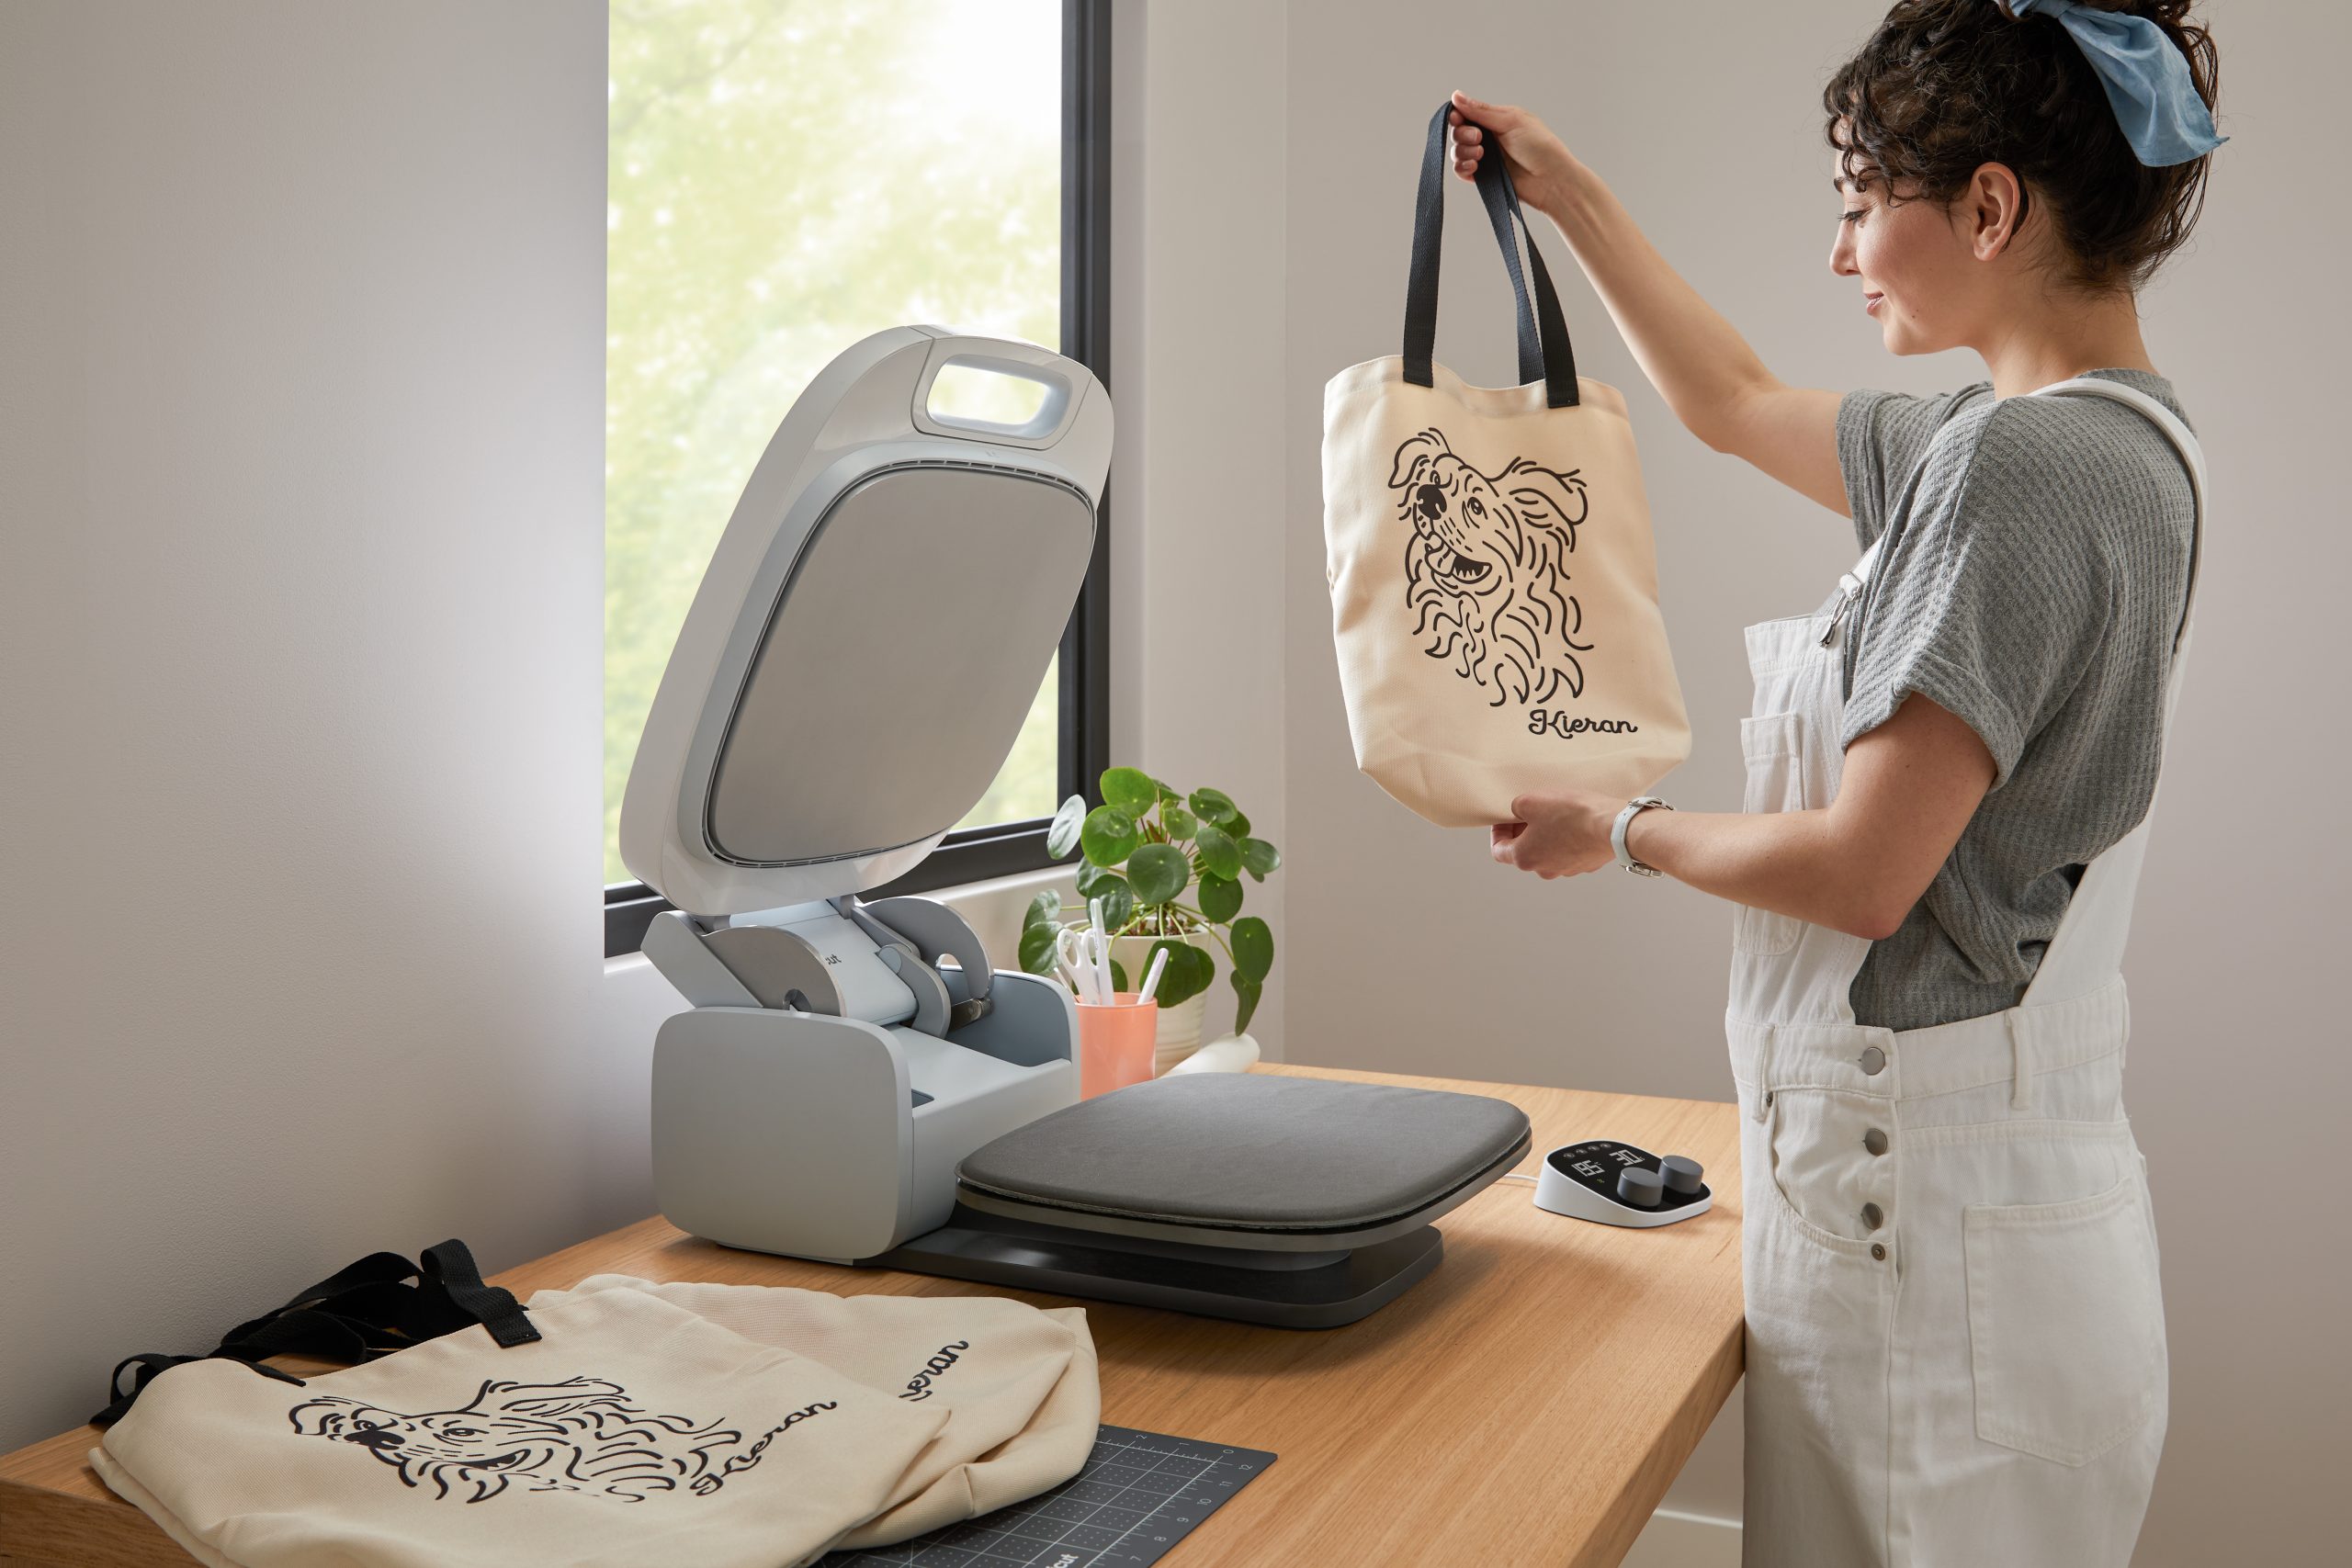
Cricut Autopress uses a removable, nonslip silicone mat to protect the heat plate surface and eliminate moisture. Using multiple mats allows you to position materials and set up designs, while another mat is use on the heat press.
Simply arrange your project blanks and materials on an unused pressing mat. The mat is the same size and shape of the heat press so as long as your transfer materials are contained within the surface area of the mat, it will be covered by the heat plate once you move the mat onto Cricut Autopress When you’re ready, transfer the mat and whole stack of materials to the Cricut Autopress heat plate. The bottom silicone layer of the mat holds it in place as you begin the pressing cycle.
When a pressing cycle is complete, you can simply remove your mat from the heat plate and replace it with a different prepared mat to start a new pressing cycle. Repeat as needed until you’re done!
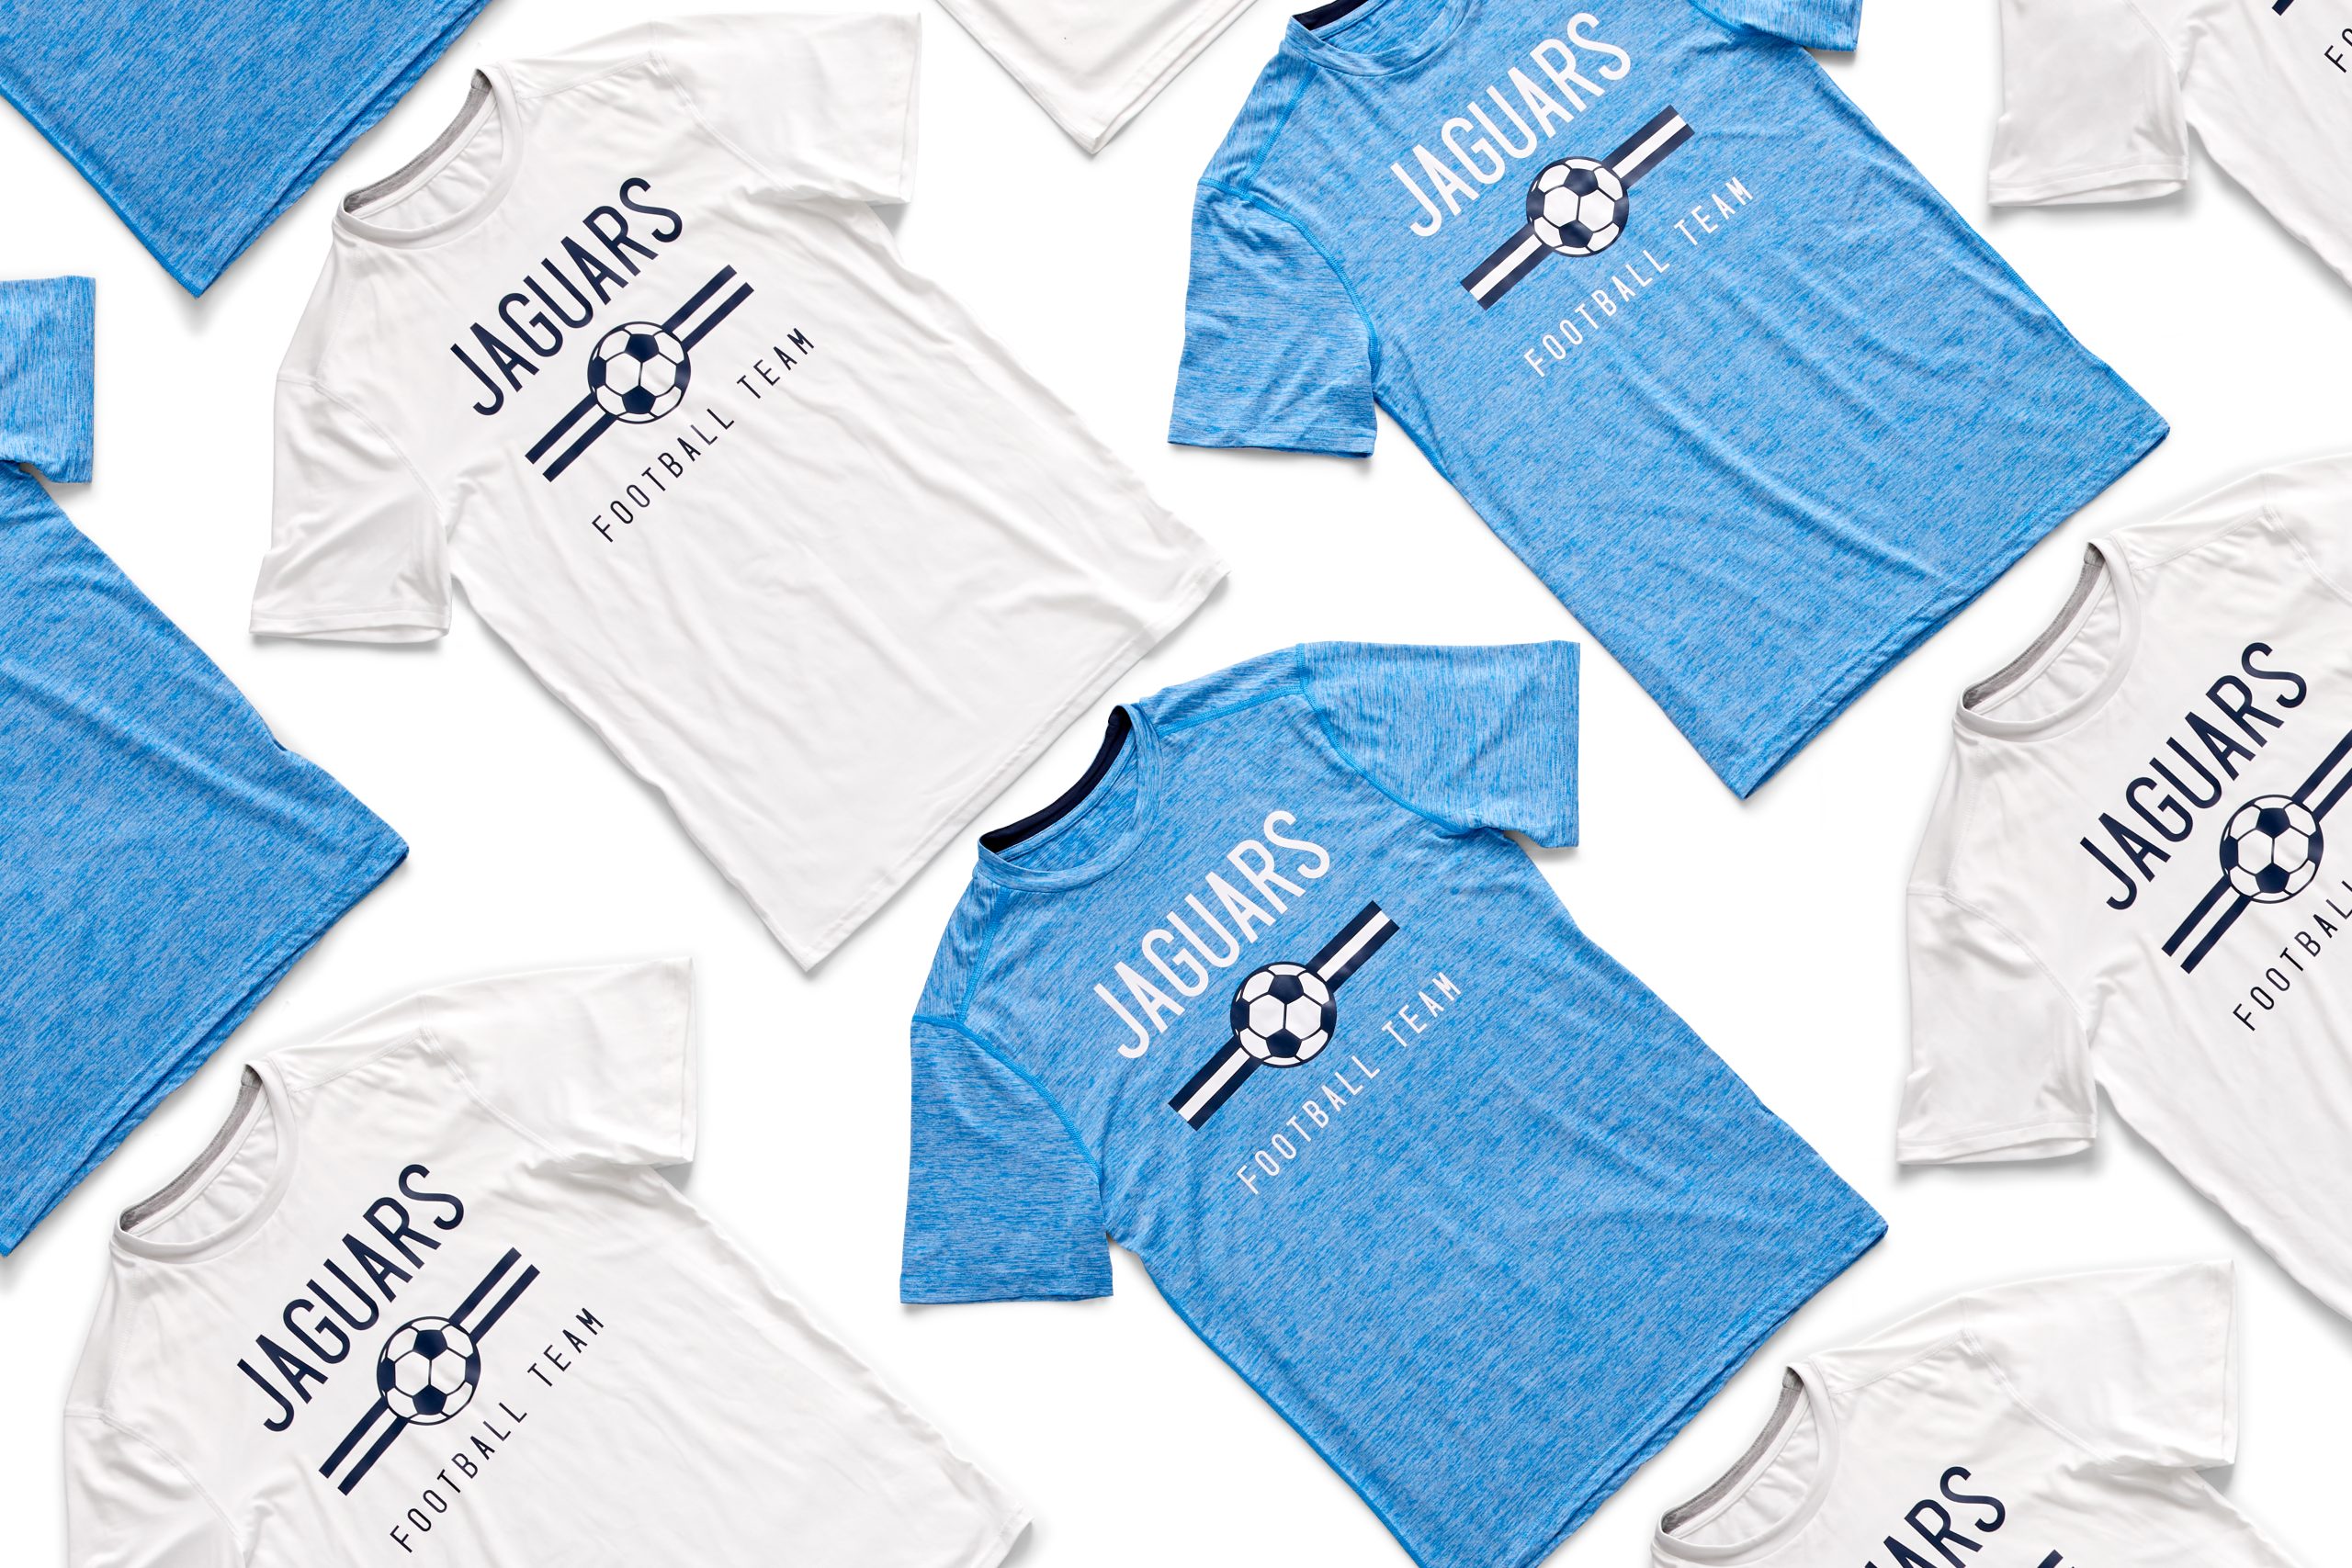
This handy technique works great with batches of apparel, such as sports team shirts, hen and stag to Tees, or volunteer gear.
To learn more about design sizes, what sizes of shirts you can press on, and material placement for Cricut Autopress, visit Cricut Help Autopress FAQs.
Group smaller items together
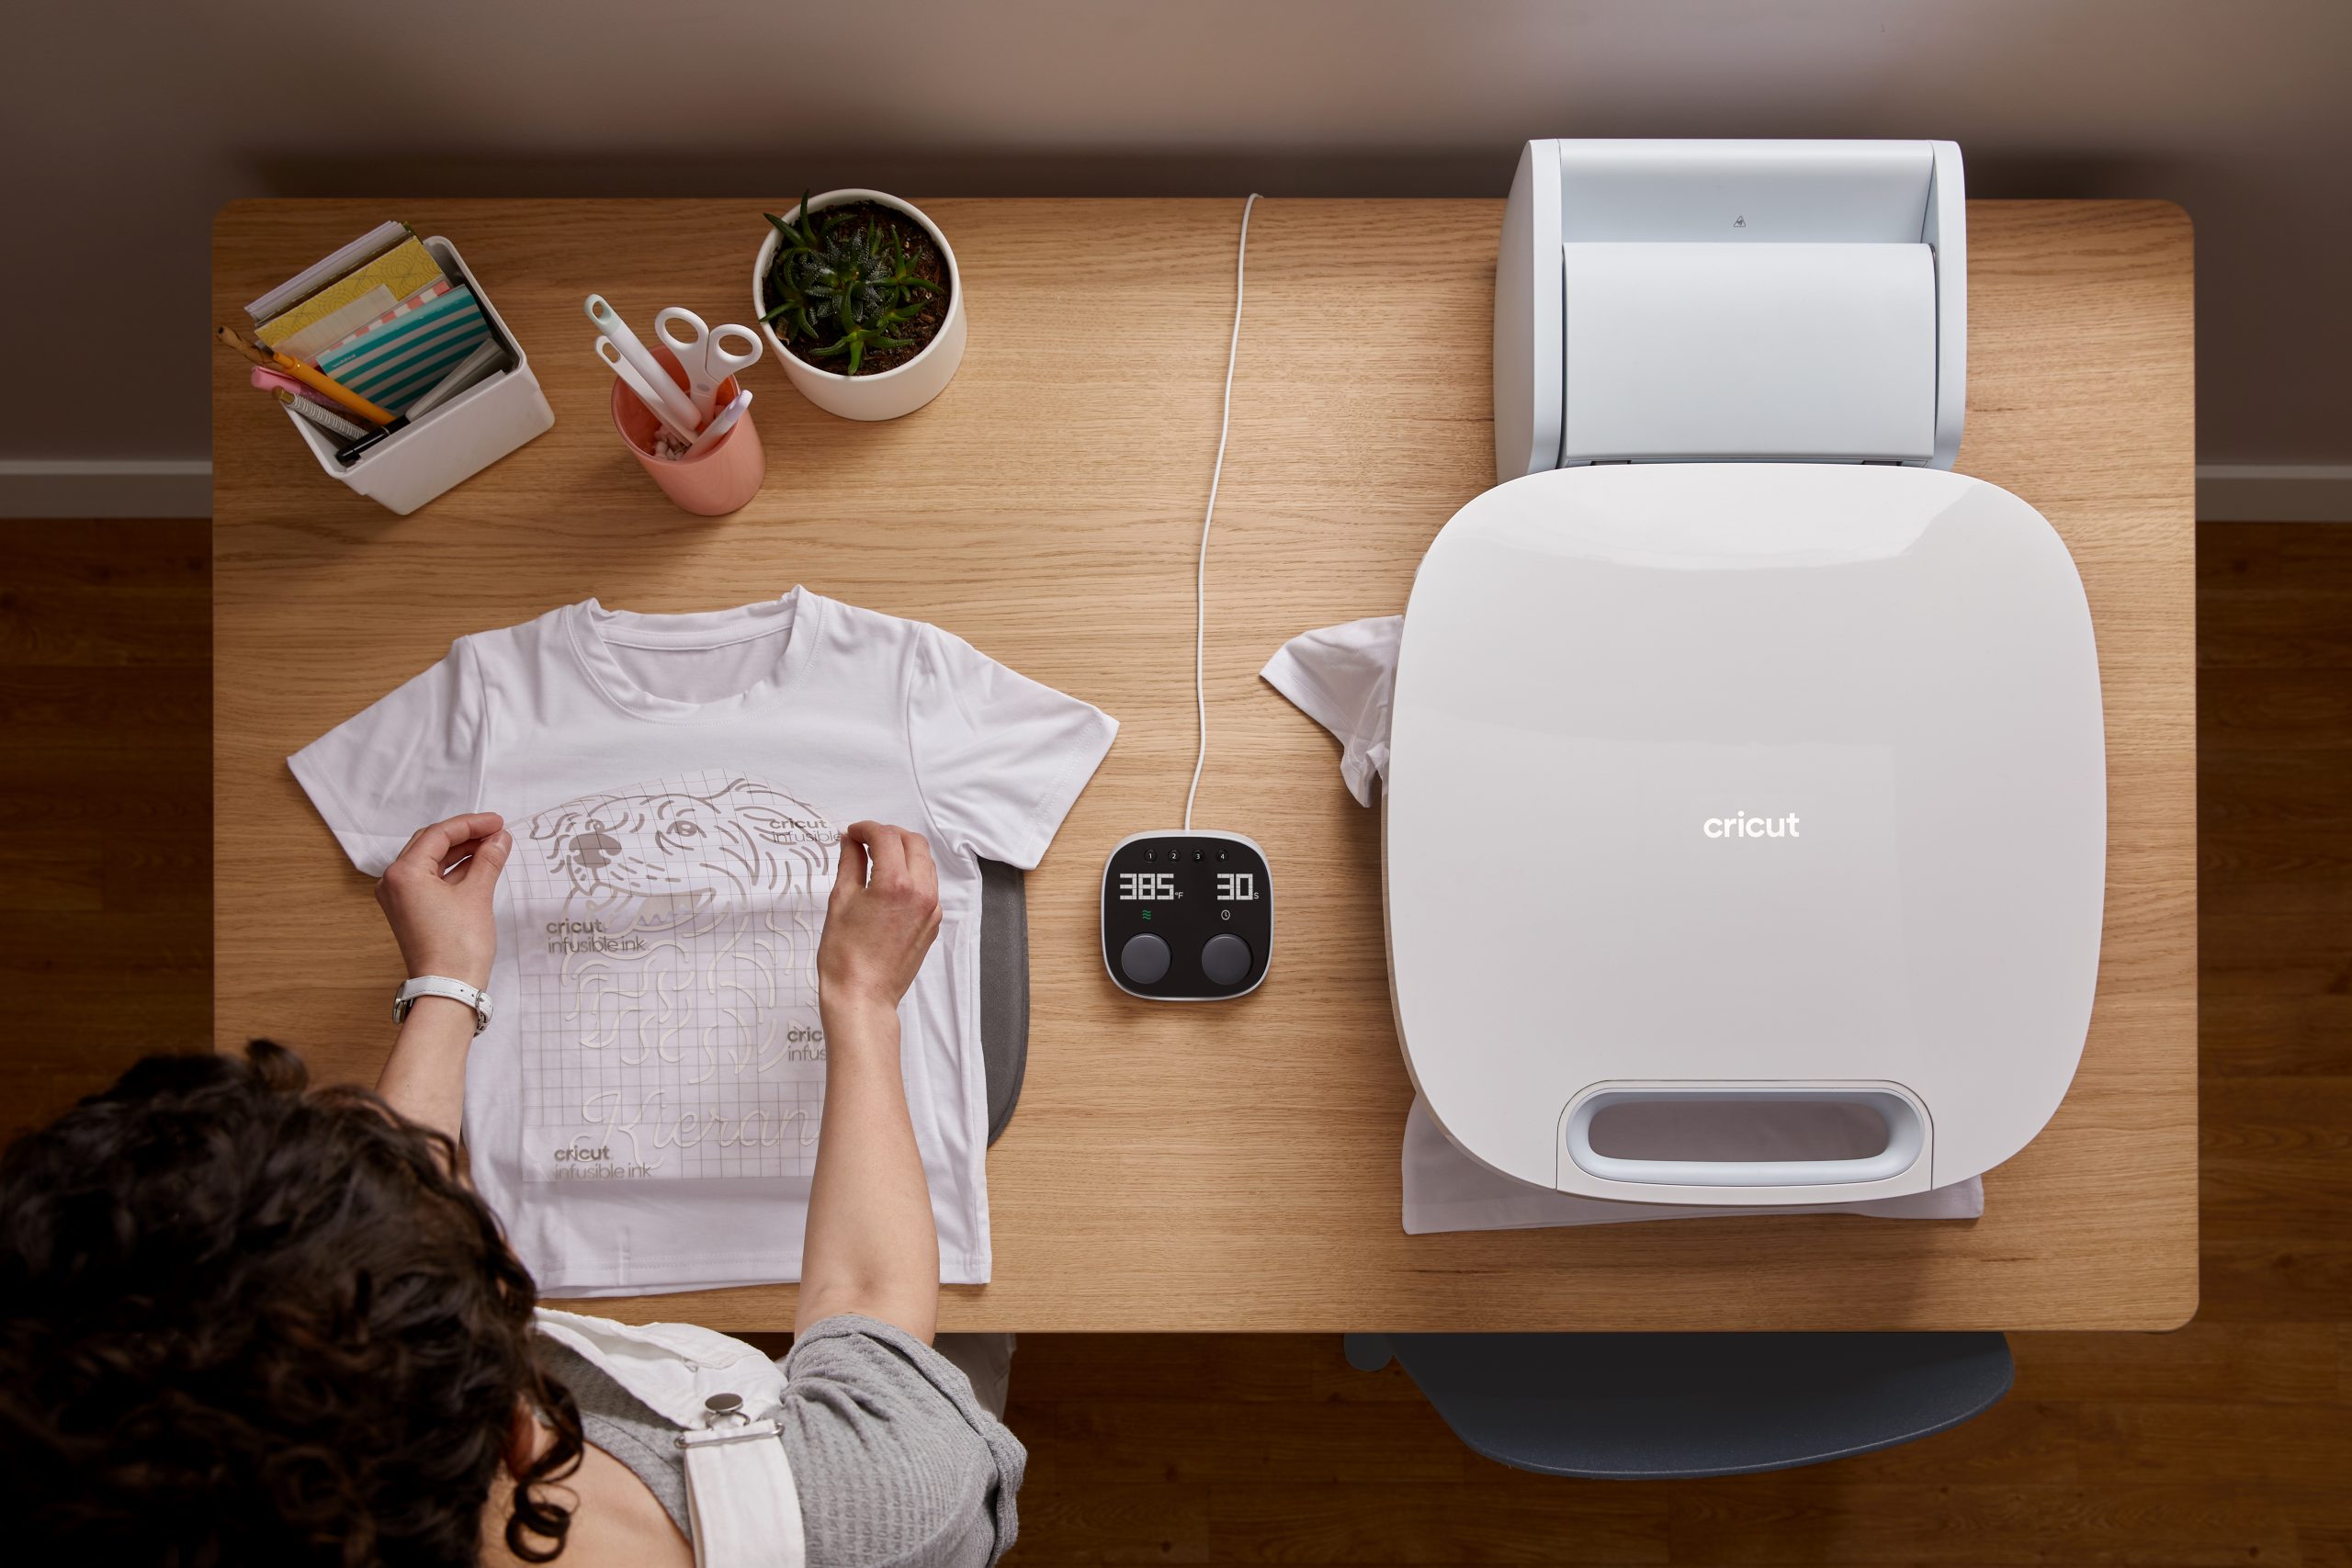
With the large Cricut Autopress heat plate, measuring 38 cm x 30 cm (15” x 12”), you can press almost anything that fits within that size. When items, like coasters, are the same thickness and are small enough to all fit on the Pressing Mat, you can press multiple items in one go.
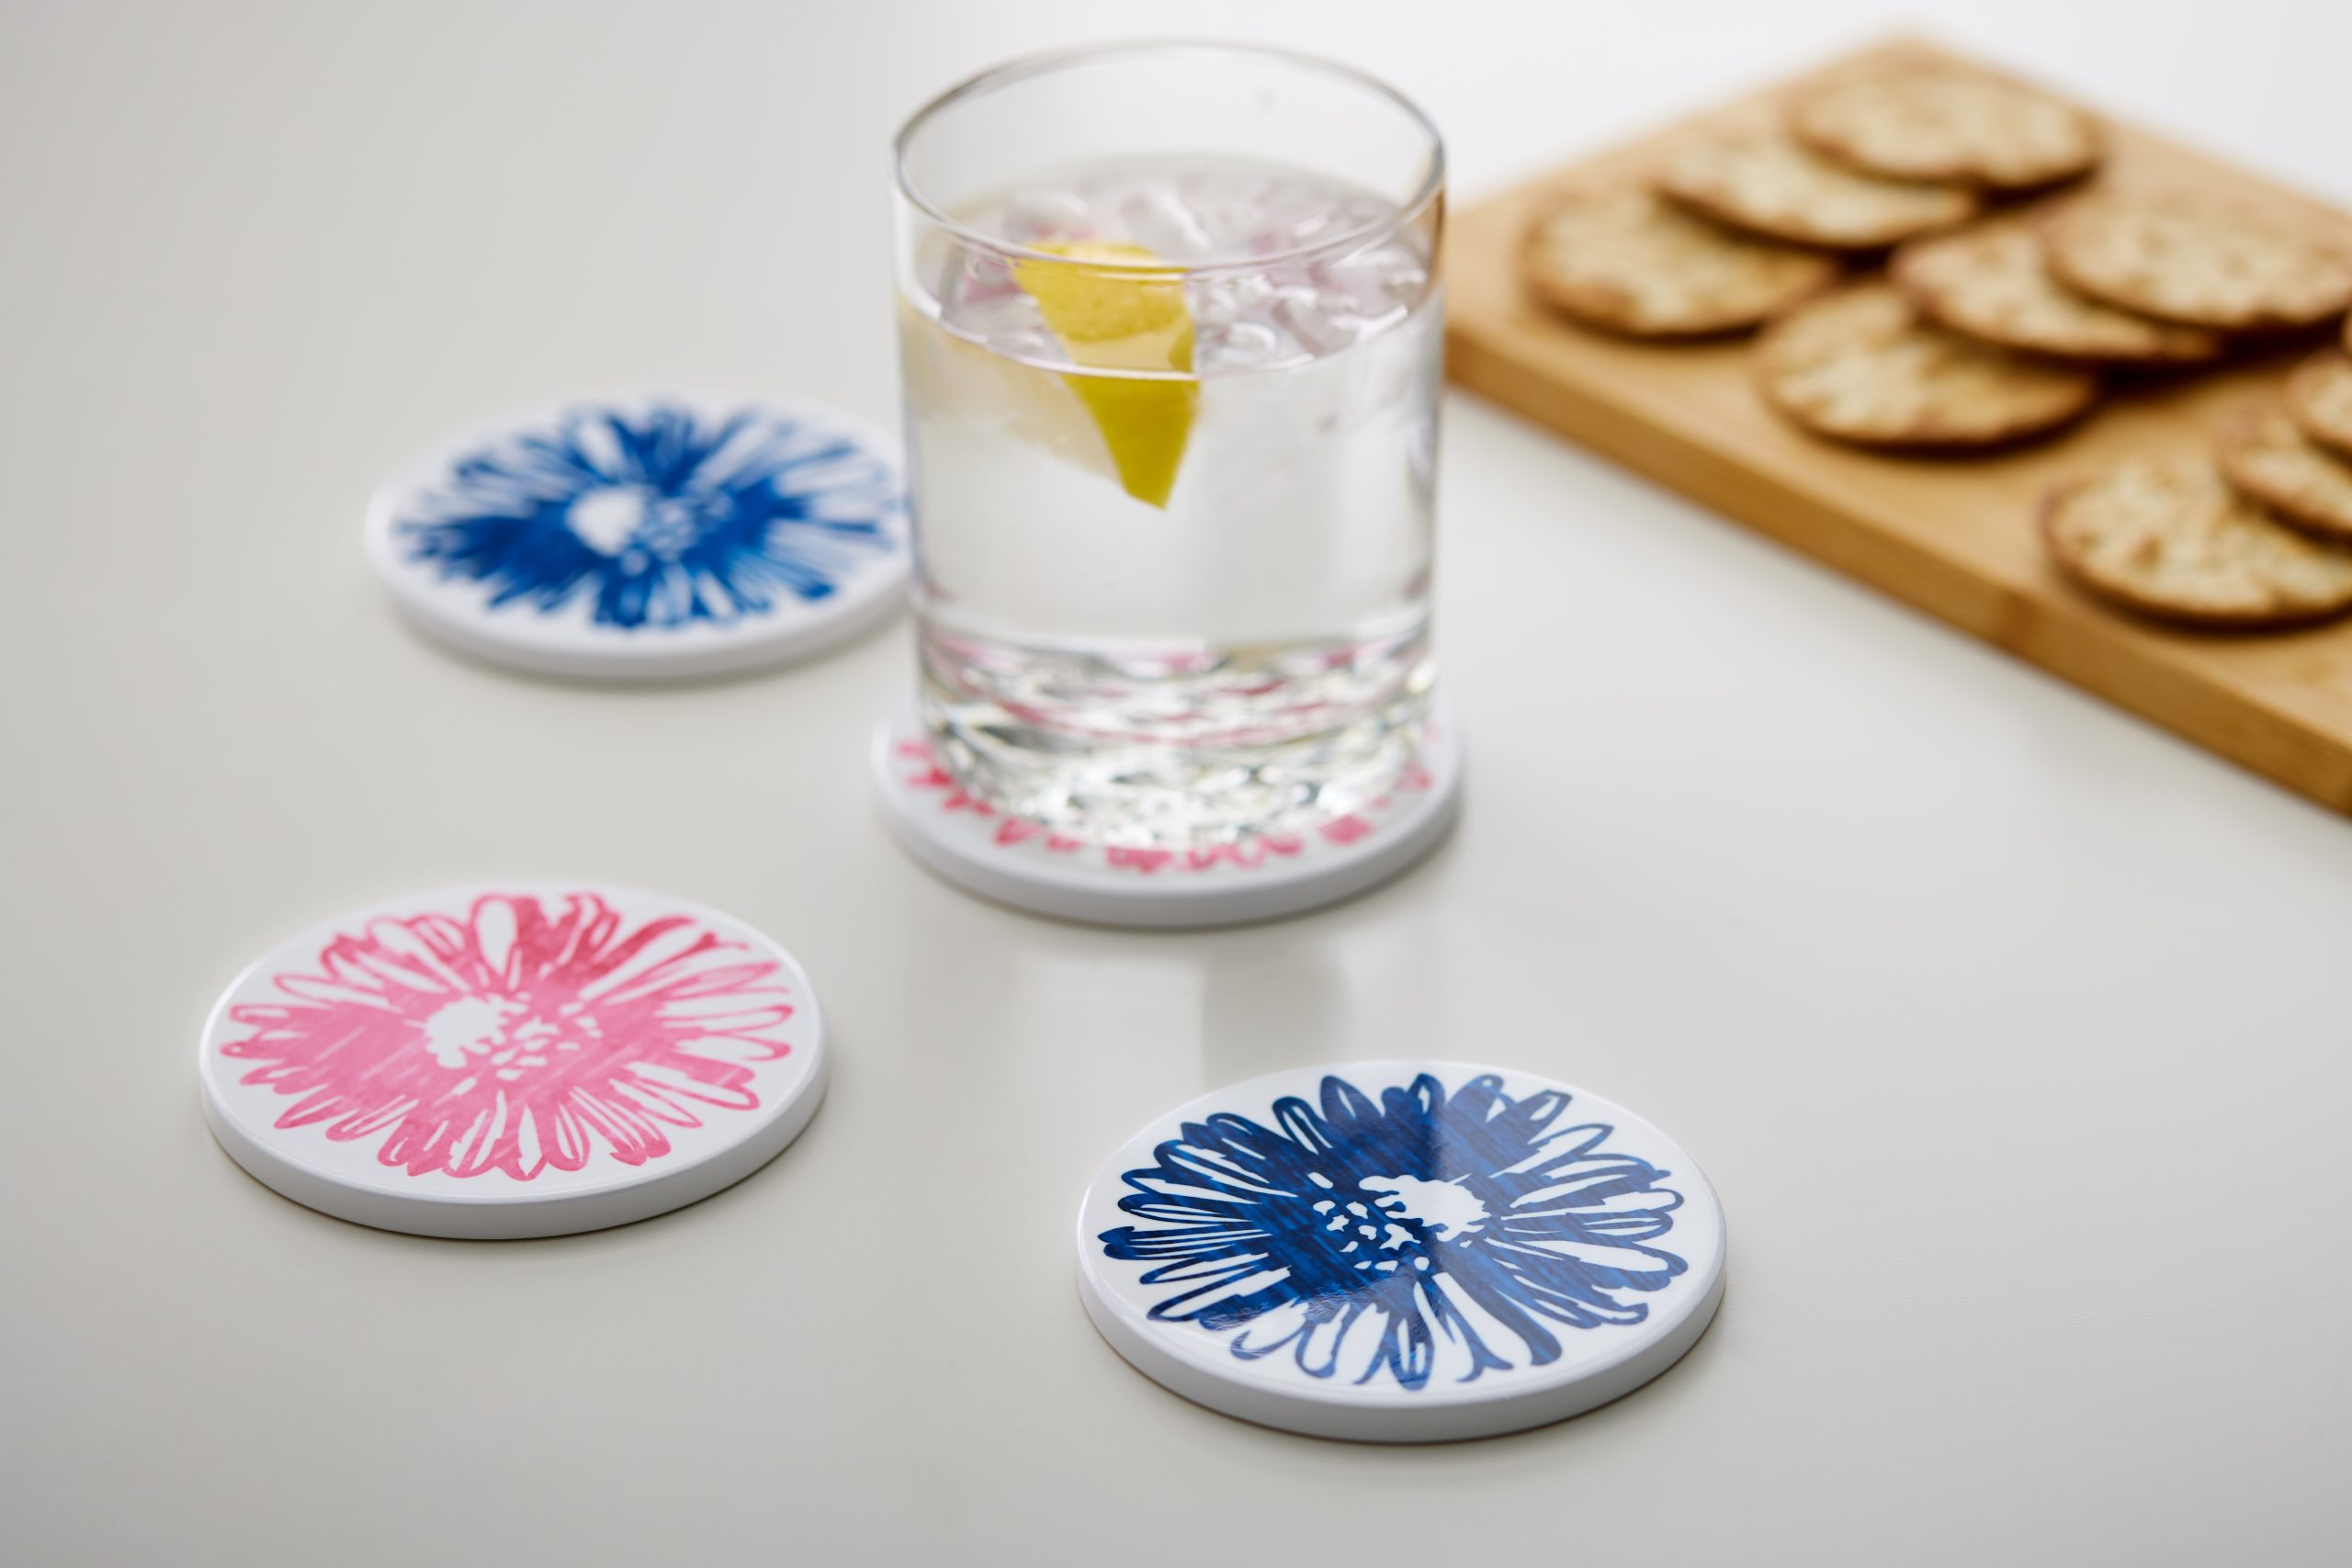
You can make this coaster project in Cricut Design Space: find the project here.
If personalising hand or tea towels feels more your style, you can arrange your materials onto the mat to press them all at the same time. Consistent thickness and material type matter if you want to group items together and make more in one press.
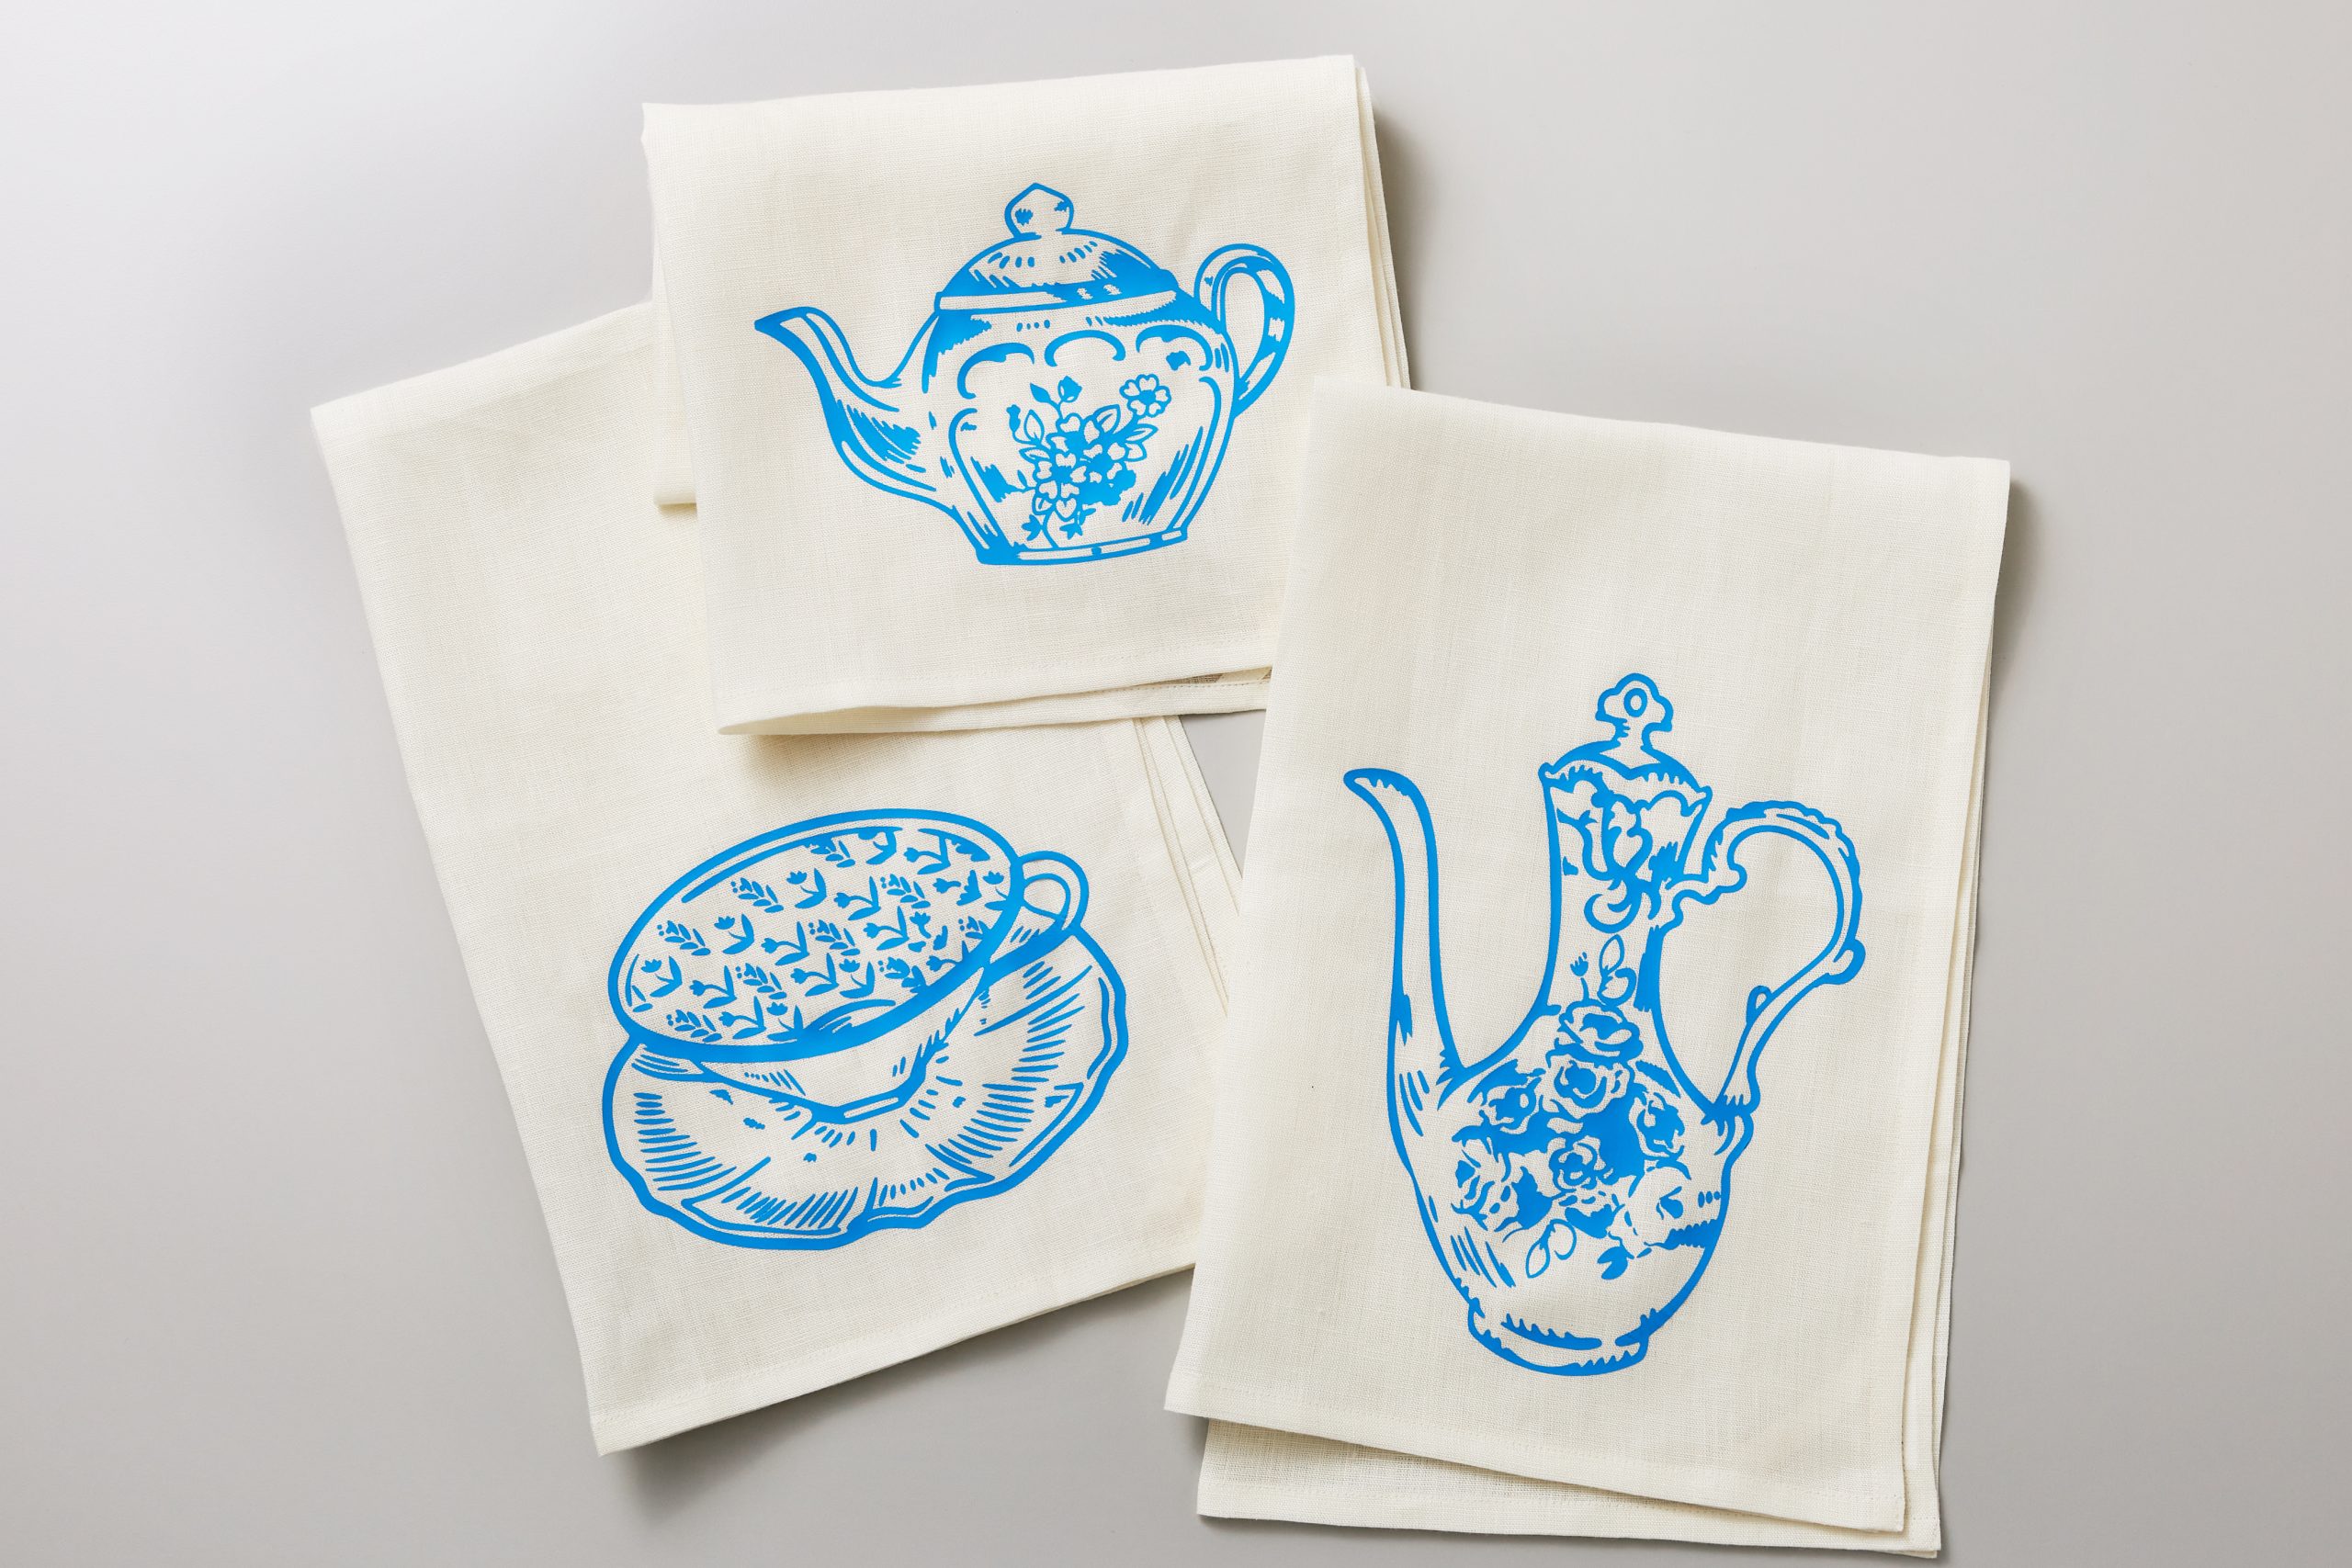
You can recreate this tea towel project from Design Space. Click here to make it.
Place base materials correctly on the heat plate
Sometimes the items you want to press are uneven in thickness. If your item has seams, pockets, or zippers, the variation in thickness creates a challenge for consistent and evenly distributed heat. To avoid uneven transfers, try to move seams or raised areas off the mat so that the design area is completely flat. This way, Cricut Autopress achieves full contact for even heating.
When working with zippers, or pouches with zippers, place the zipper over the edge of the mat so Cricut Autopress will be able to provide even heat. If you can’t put the zipper over the edge, insert another material like a pressing pillow into the item. This raises the pressing surface so that Cricut Autopress provides the consistent heat needed for the best results.
For more ideas on how to make more magic with less effort, check out the “How To” section in the Cricut Autopress Help Center. visit our Introduction to Autopress blog post or if you’re still not sure if Autopress is right for you, take a look at our ‘Which Heat Press is Right for Me‘ guide.