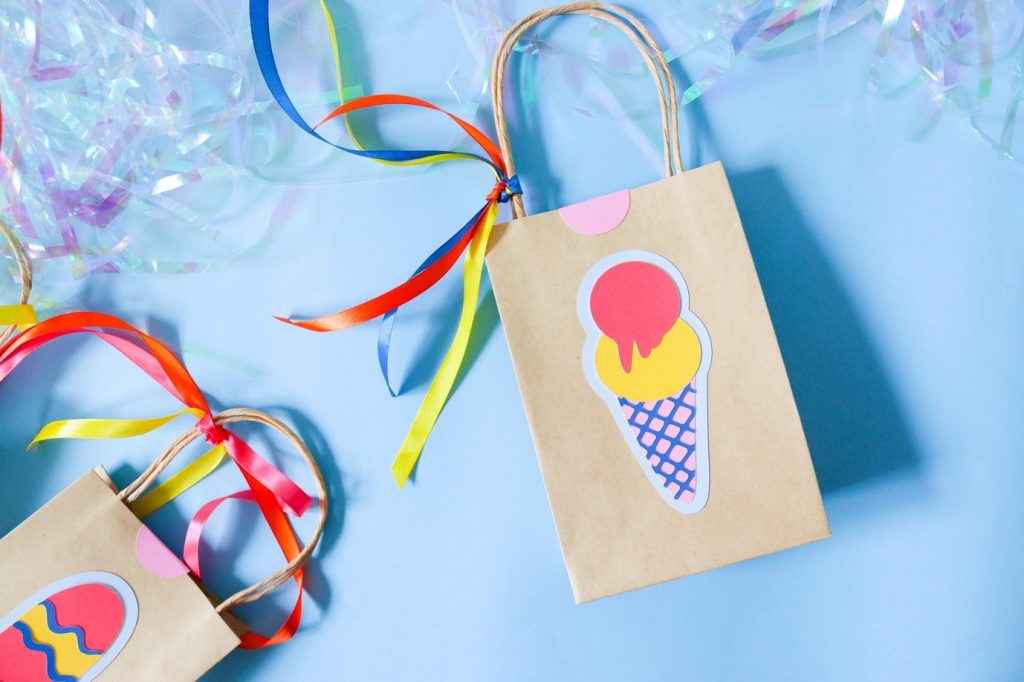
Whip up some party bags with the Explore™ 3 using Smart Paper™ Sticker Cardstock. With the new machine and Smart Materials™, customisation is 2x faster than before, making projects like these fun ice cream party bags, quick, easy and they look amazing too!
These summery ice cream party bags would be perfect for a children’s party and since there’s no glue needed with sticker cardstock projects this is a mess-free project that the whole family can get involved in!

You will need:
- Party bags
- Ribbon
Step One
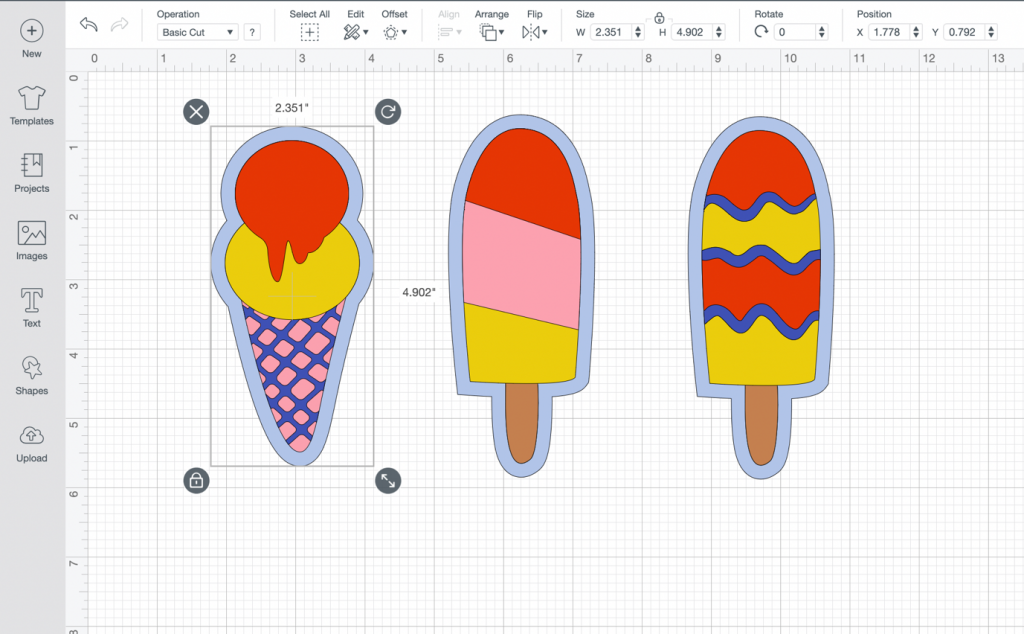
Open up a new project in Cricut Design Space. Then search for the images ‘Popsicle’ #M294C8ED5, ‘Popsicle’ #M294C8EB7 and ‘Ice Cream Cone’ #M294C8EC3, in the image library and add them to the canvas. Resize all of the images to fit your bags, we resized ours to 5 inches tall. Then click ‘Make It’.
Step Two
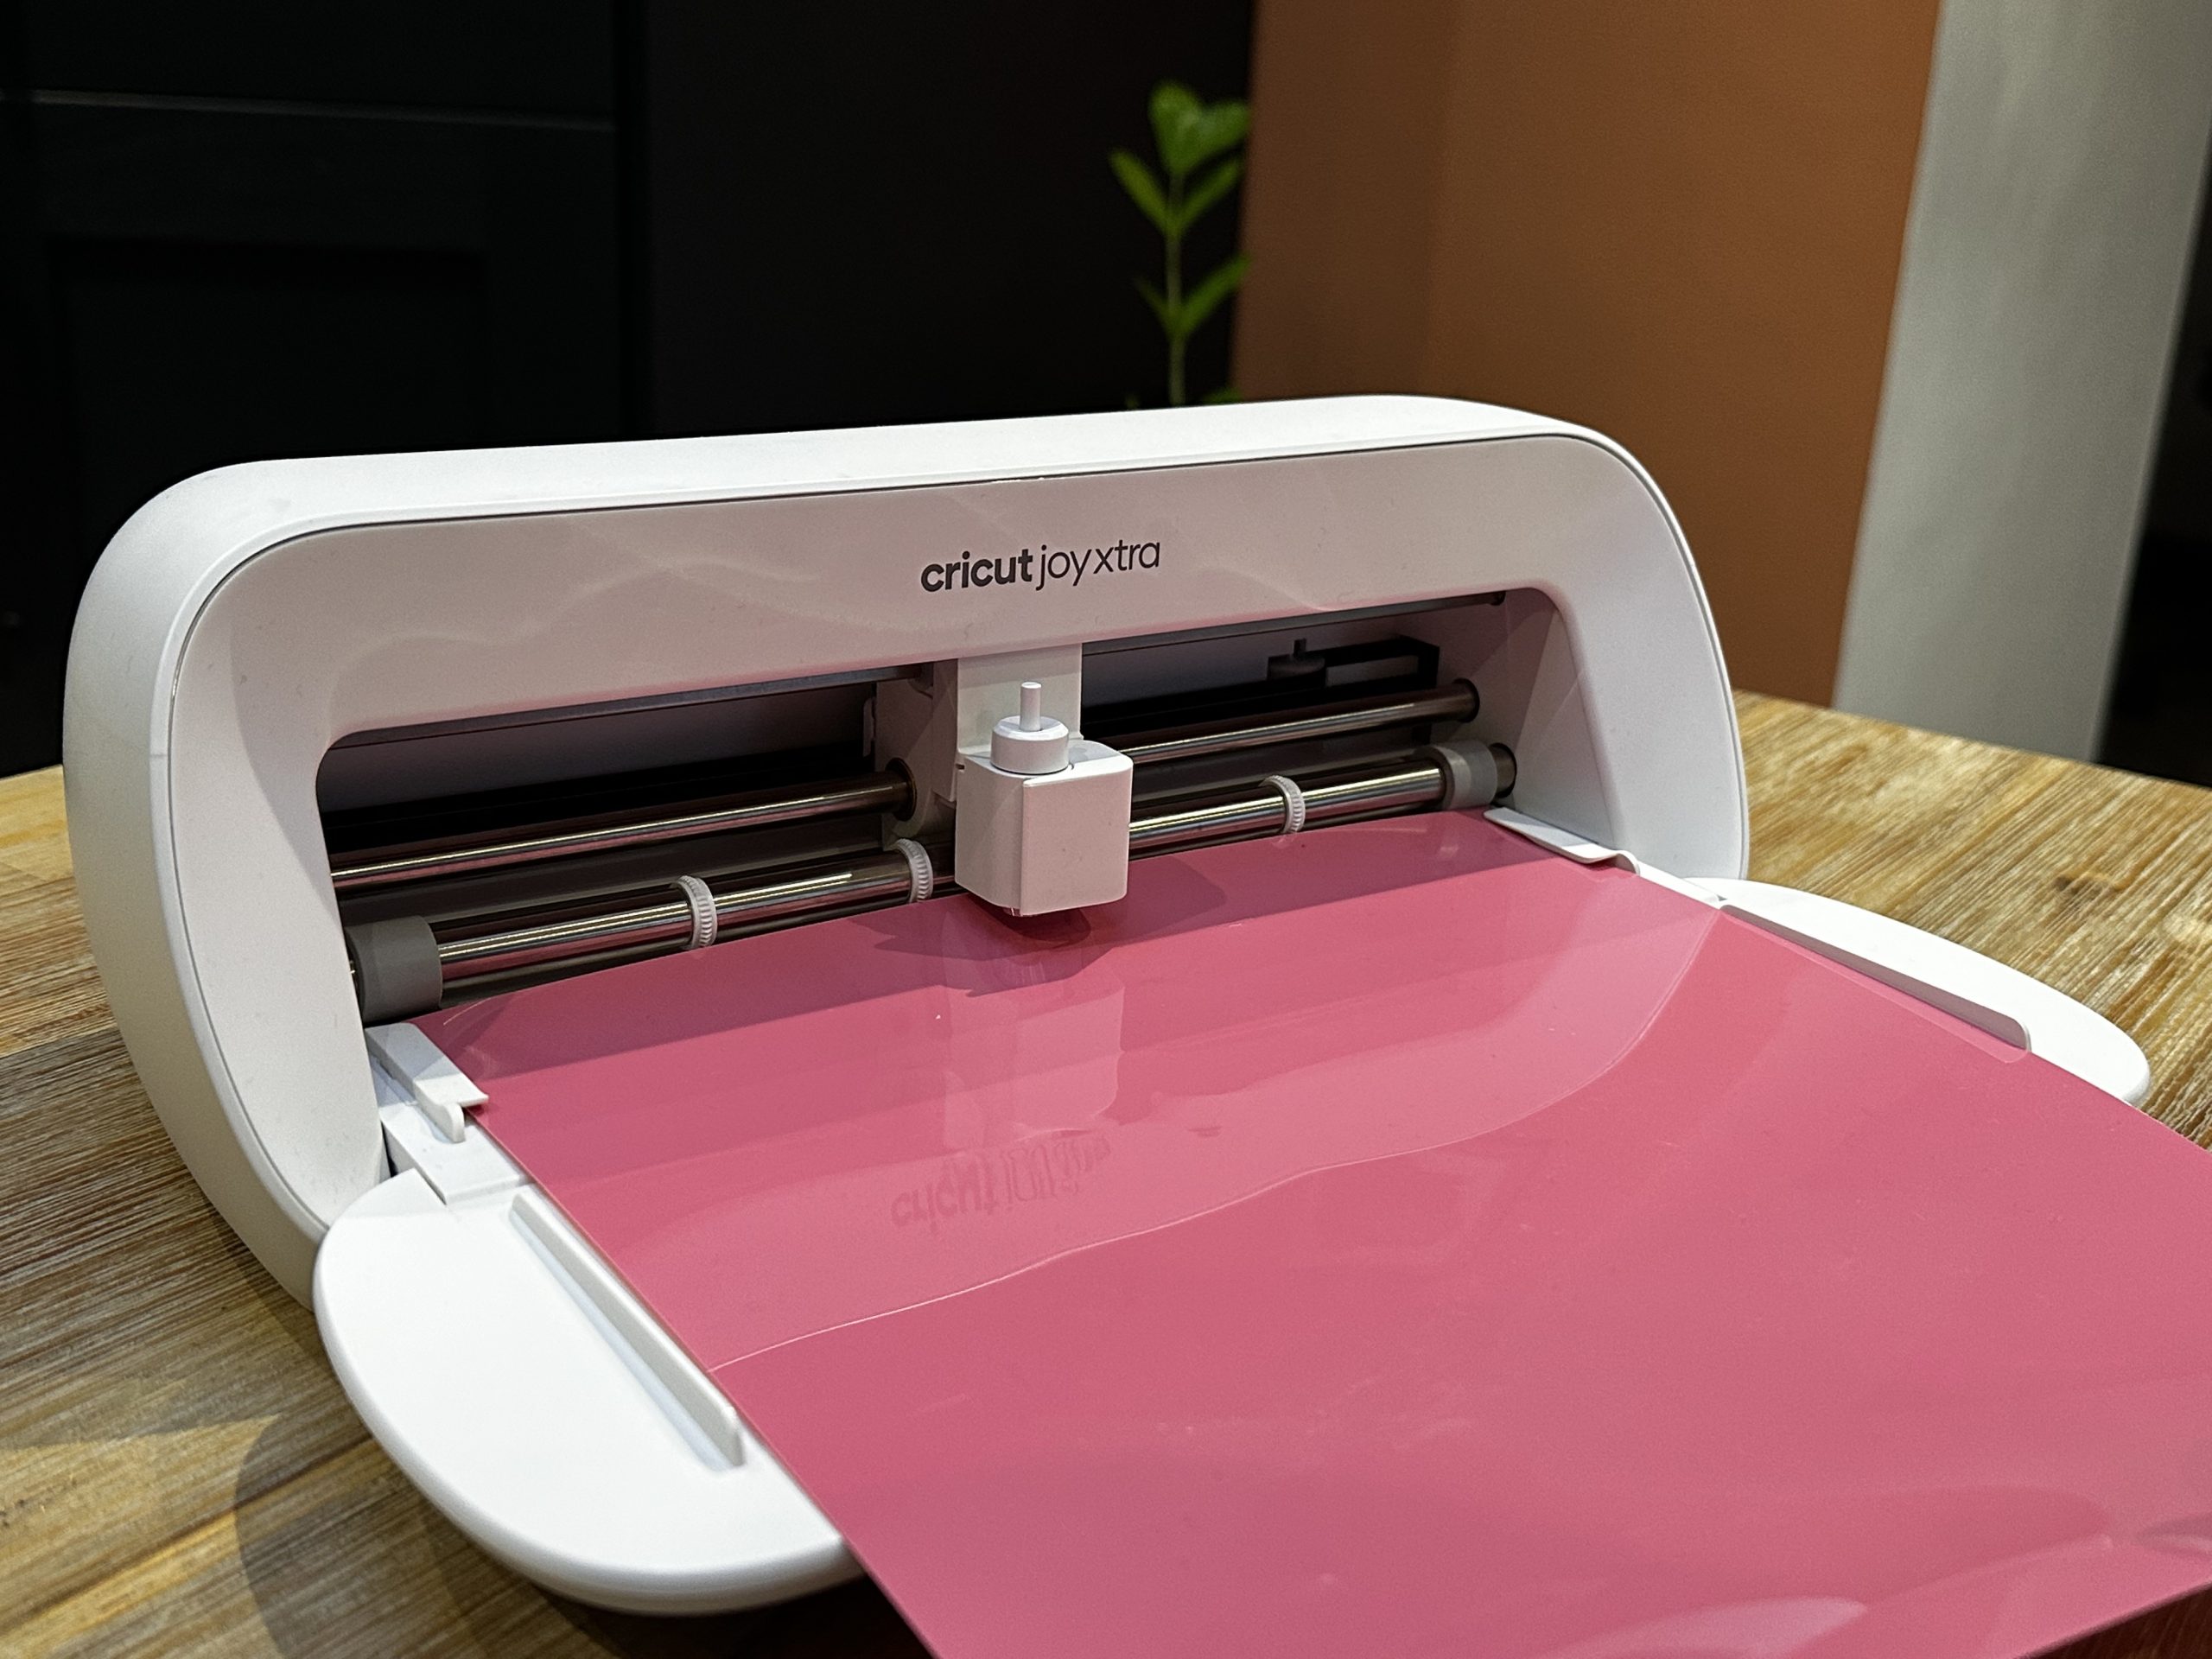
Choose Smart Paper Sticker Cardstock as your material setting, then load the material, face-up, into your Explore 3. Repeat this step until all of the colours are cut.

Step Three
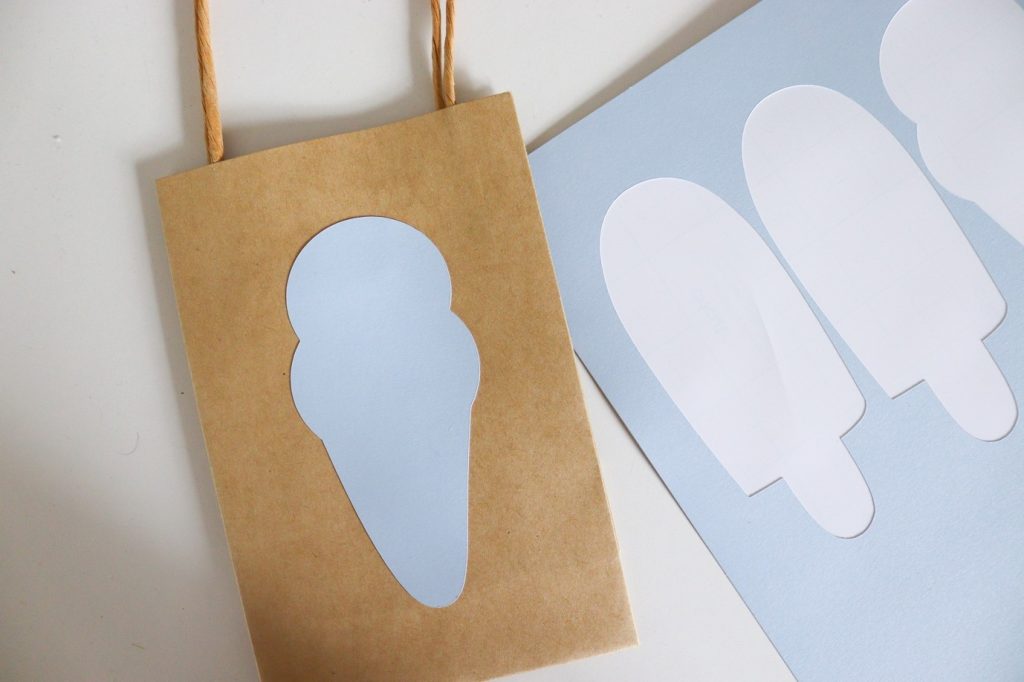
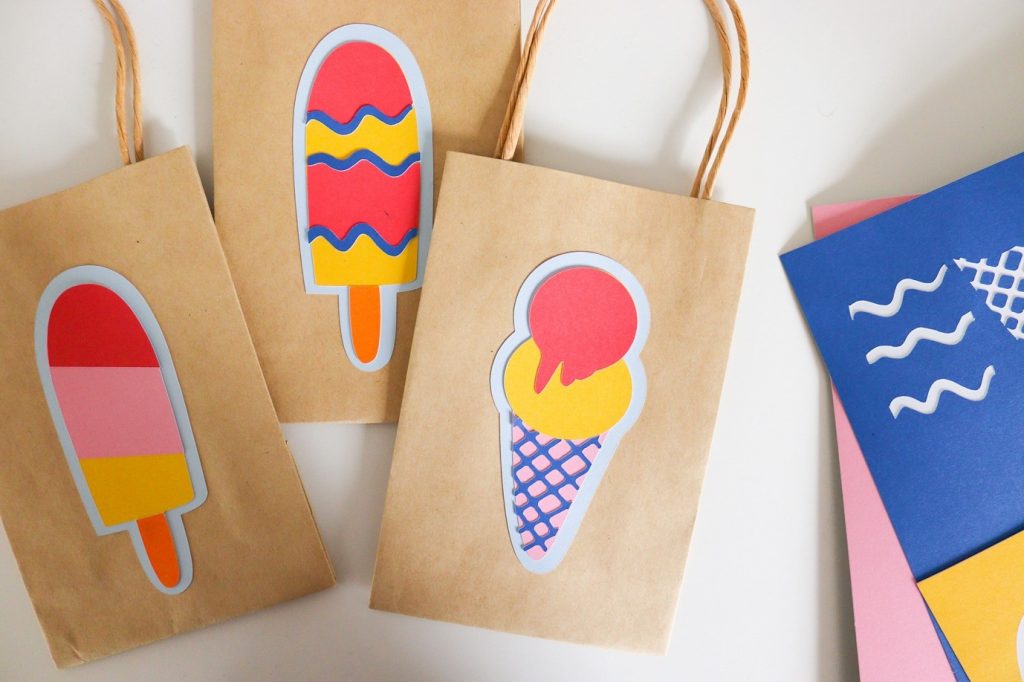
Take a party bag and start layering up the sticker cardstock pieces, start with the largest piece sticking it straight onto the bag then layer up the rest of the pieces to create the ice cream shapes.
Step Four
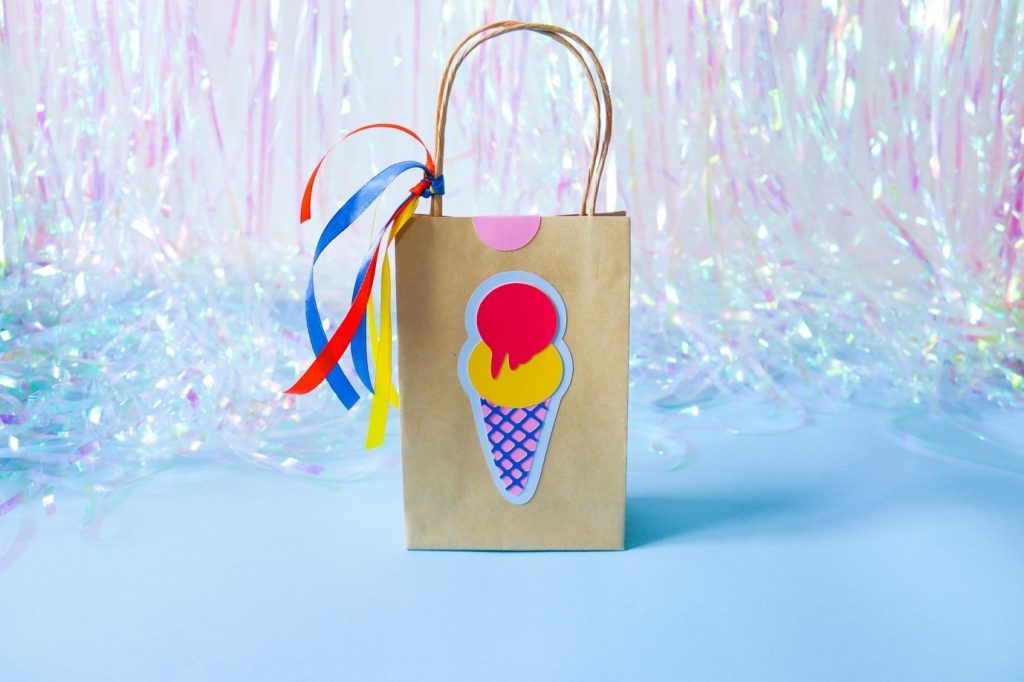
Add ribbon to the handles of the bags and fill with treats! You could also cut circles of sticker cardstock and use them to seal up the party bags too. Now your bags are complete it’s time to get ready to party!
Want more making inspiration? Check out all of our making tutorials here.