How I ‘DIY’d’ my Wedding Decor with Jess Jackson
If you’re a bride or groom wondering if you can DIY your own wedding decorations then you’ve come to the right place. After many wedding cancellations during lockdown, there are more couples than ever planning to tie the knot. One way a couple can cut the costs down is to make their own wedding decorations and what better way to do it than with a Cricut machine – your DIY and personalisation best friend!
Recent bride Jess from CraftwithJess on Instagram shares her experience of being a bride and handmaking most elements for her wedding below.
Over to Jess…
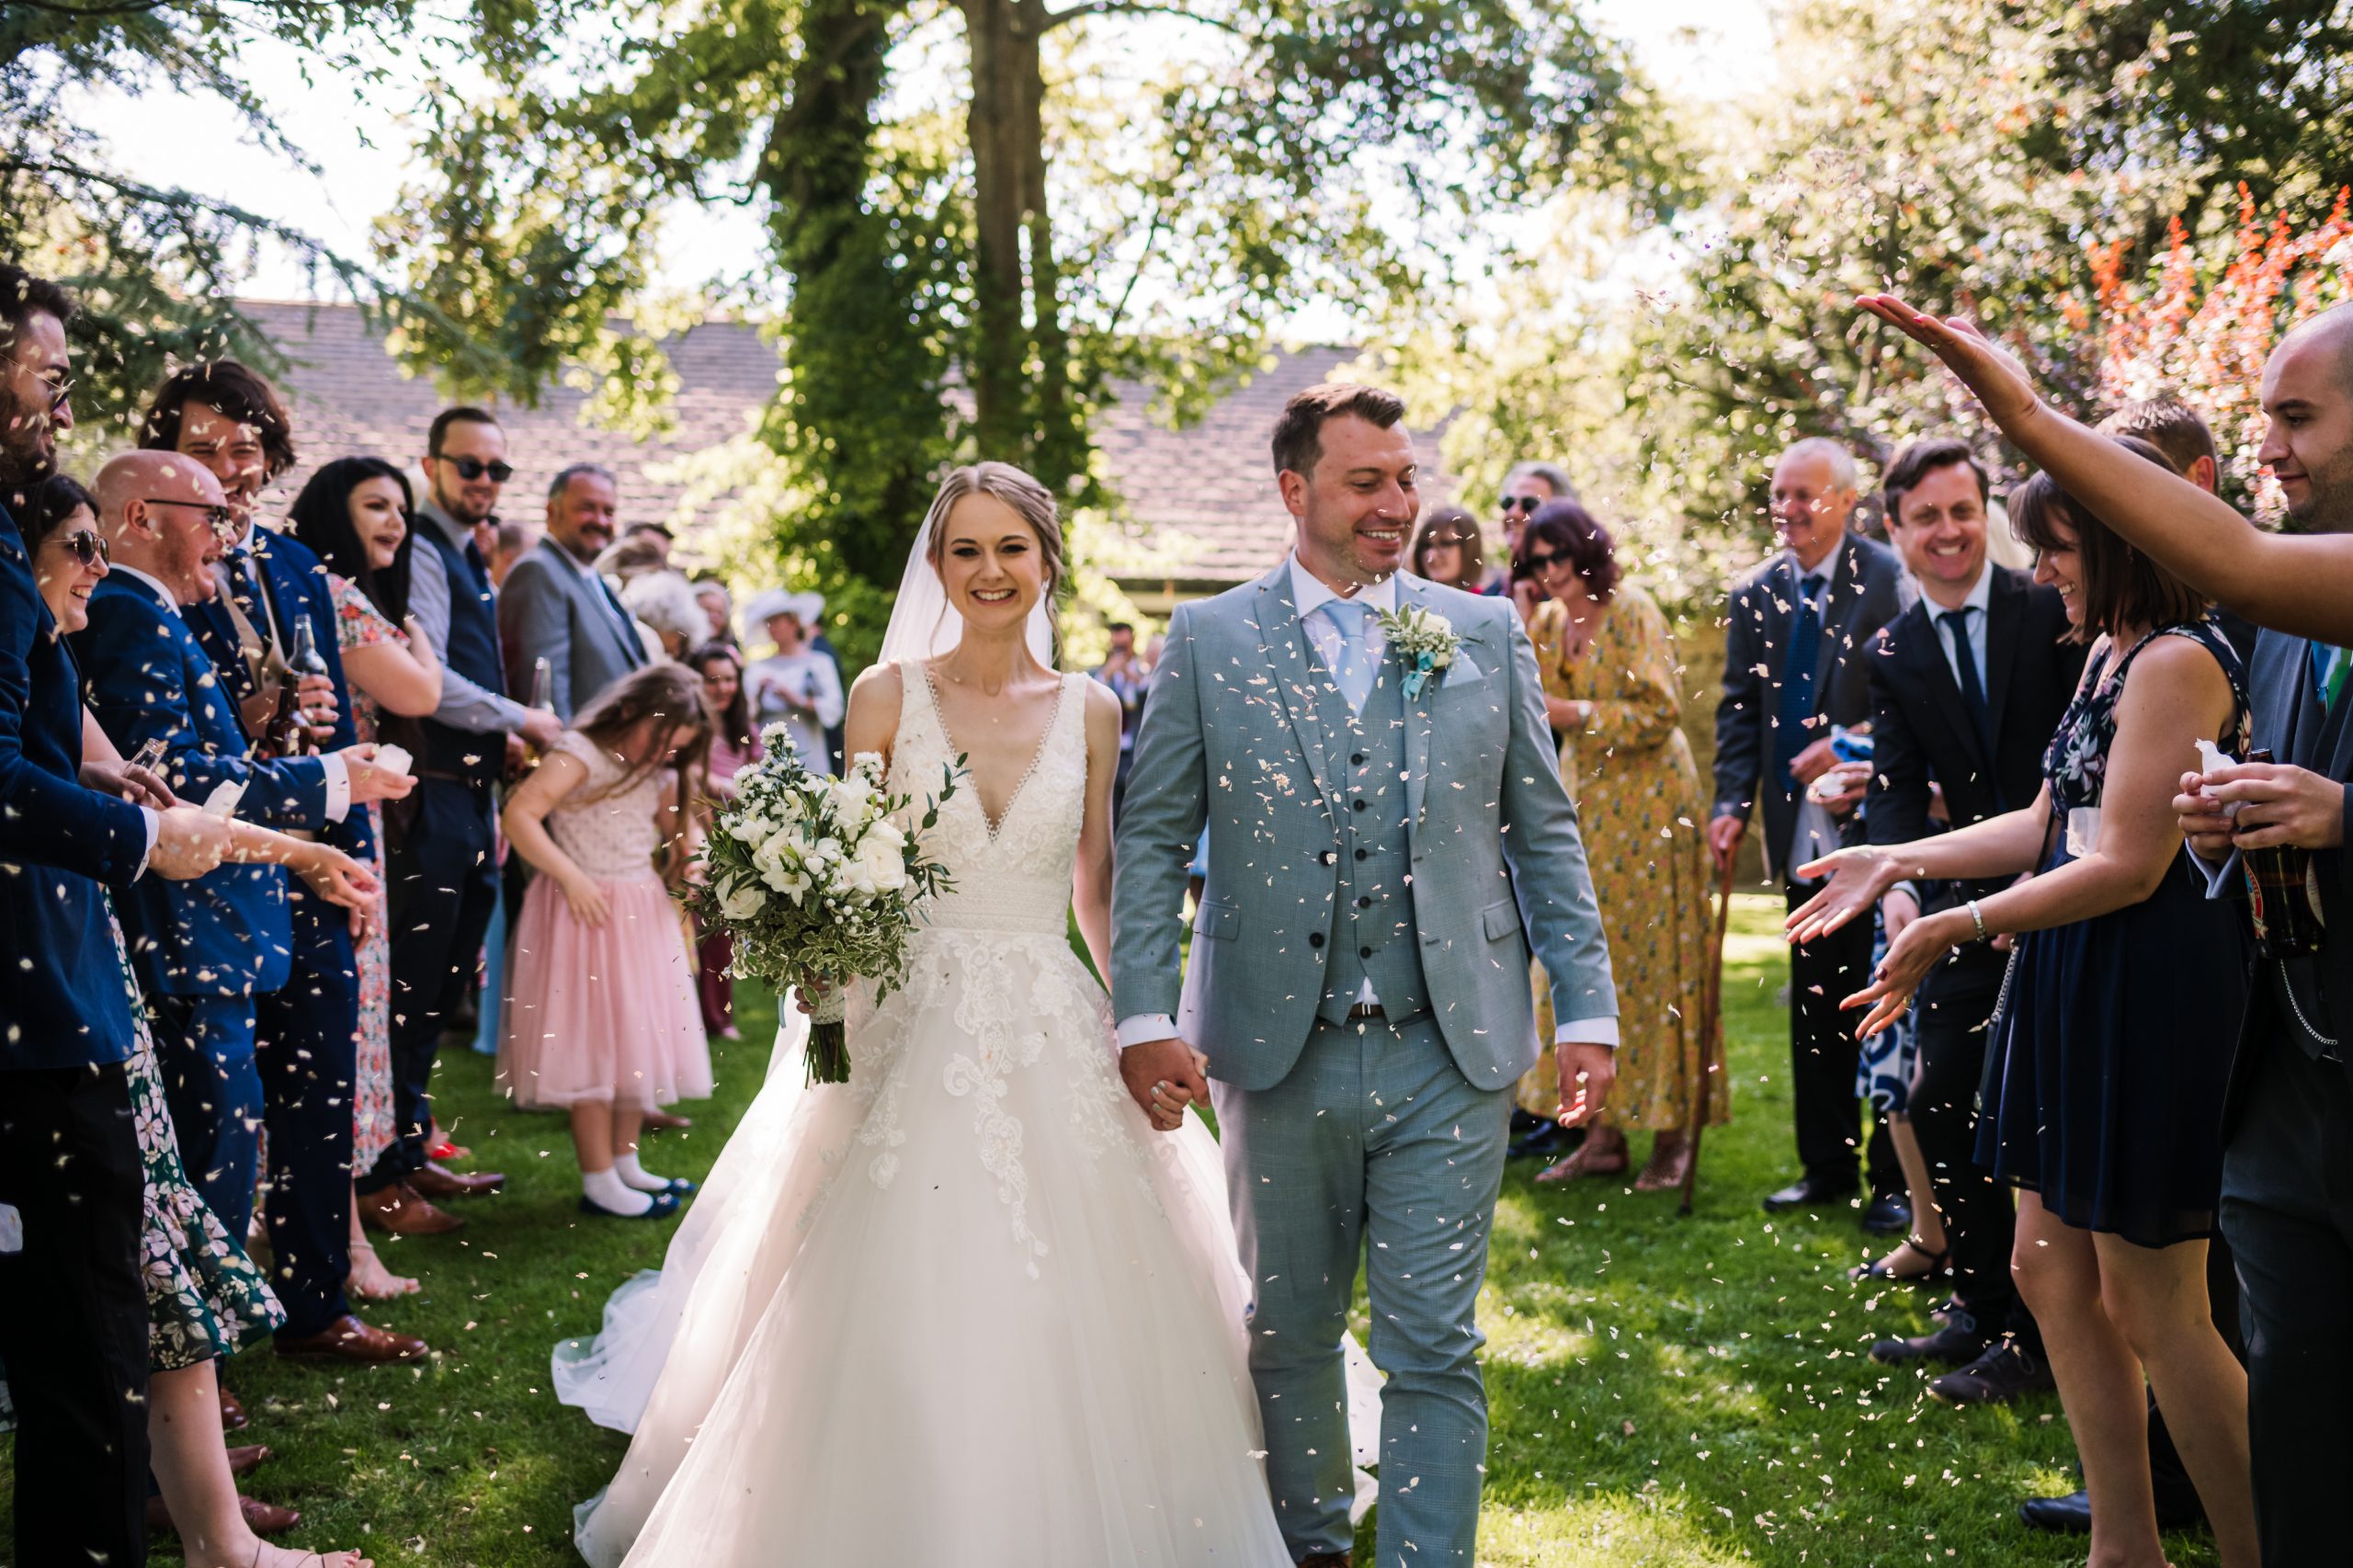
Photo by Rachel Elizabeth Photography
Similar to many others, in 2020, I found myself with a lot of extra spare time on my hands. This was quite a shock in comparison with my regular non-stop lifestyle, but this time allowed me to focus on planning my upcoming wedding.
Once my (now) husband and I started visiting potential wedding venues and getting inspiration, I decided to do my own decor for the day, but I wasn’t sure exactly how… until I discovered Cricut! This marked the beginning of a new creative hobby!
Creating my perfect handmade wedding
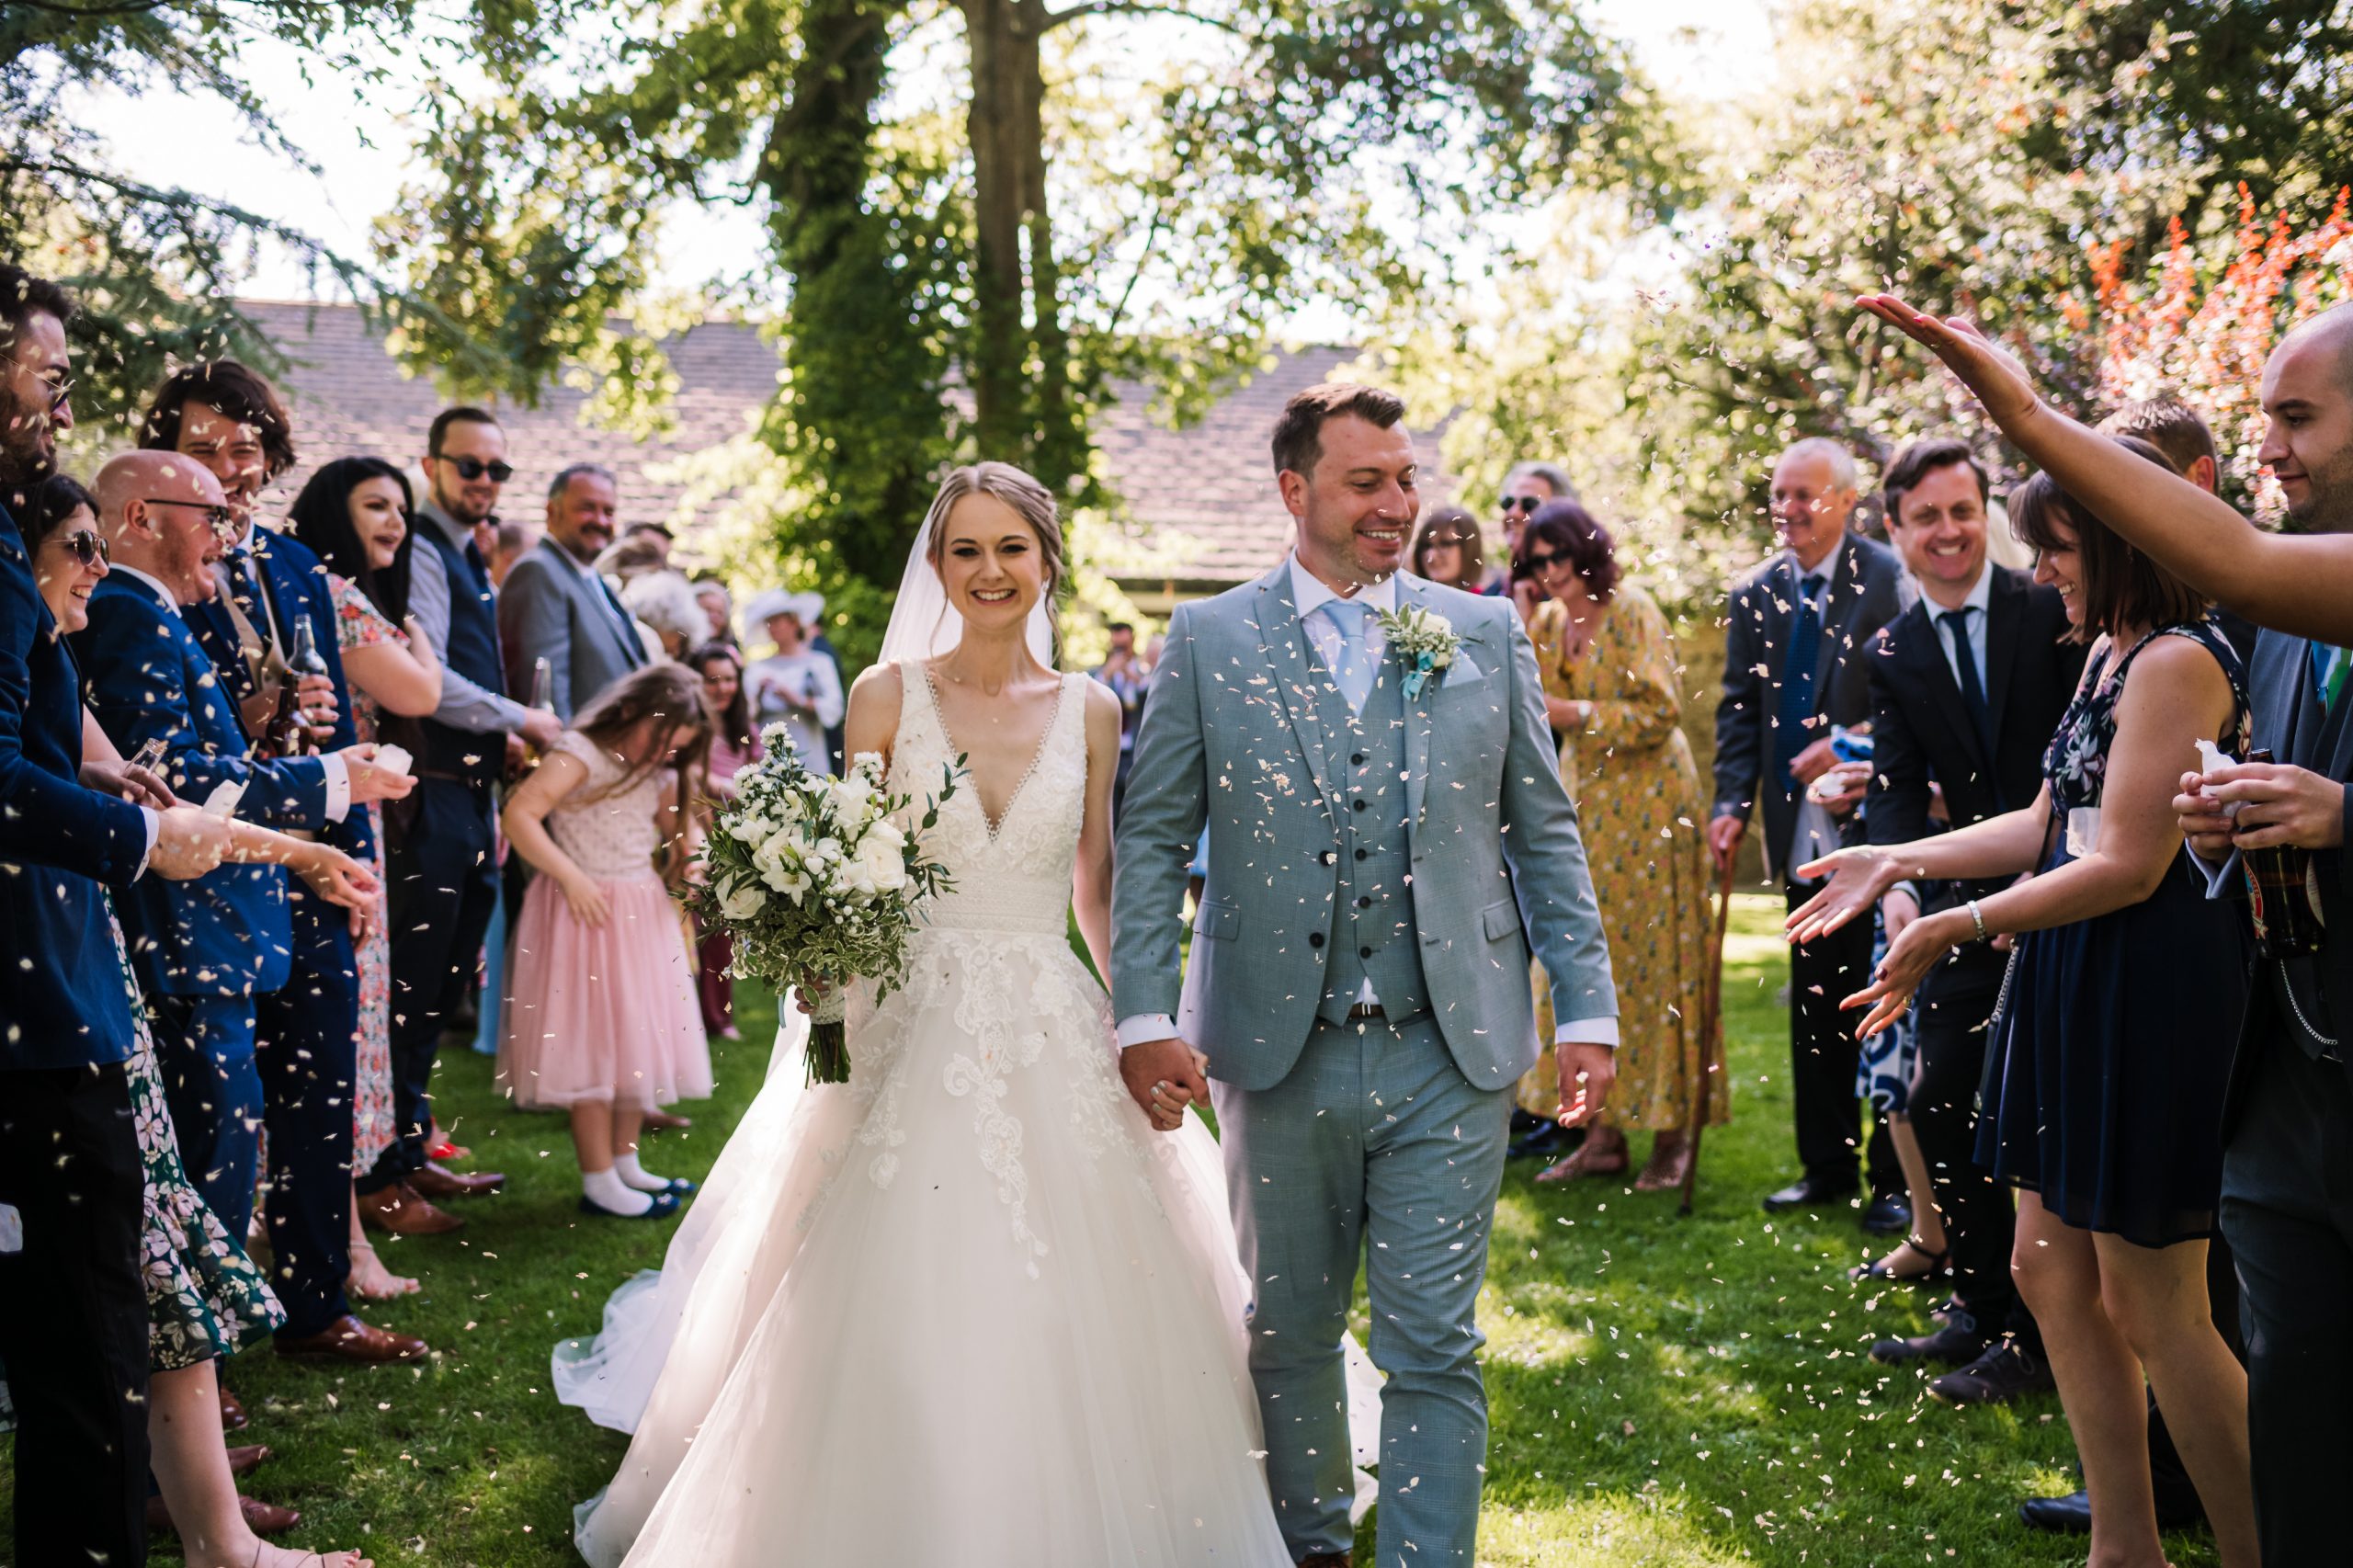
Our wedding was in August 2021 at a beautifully rustic venue; Kingston Country Courtyard. We enjoyed an outdoor ceremony and drinks reception in the glorious sunshine, paired with the wedding breakfast and evening party taking place in the 16th century purbeck stone barn.
The majority of items I crafted for our wedding were Cricut made, it was a really fun experience. As I grew more confident using the Cricut Design Space software, my designs became more creative and the list of potential decor got longer!
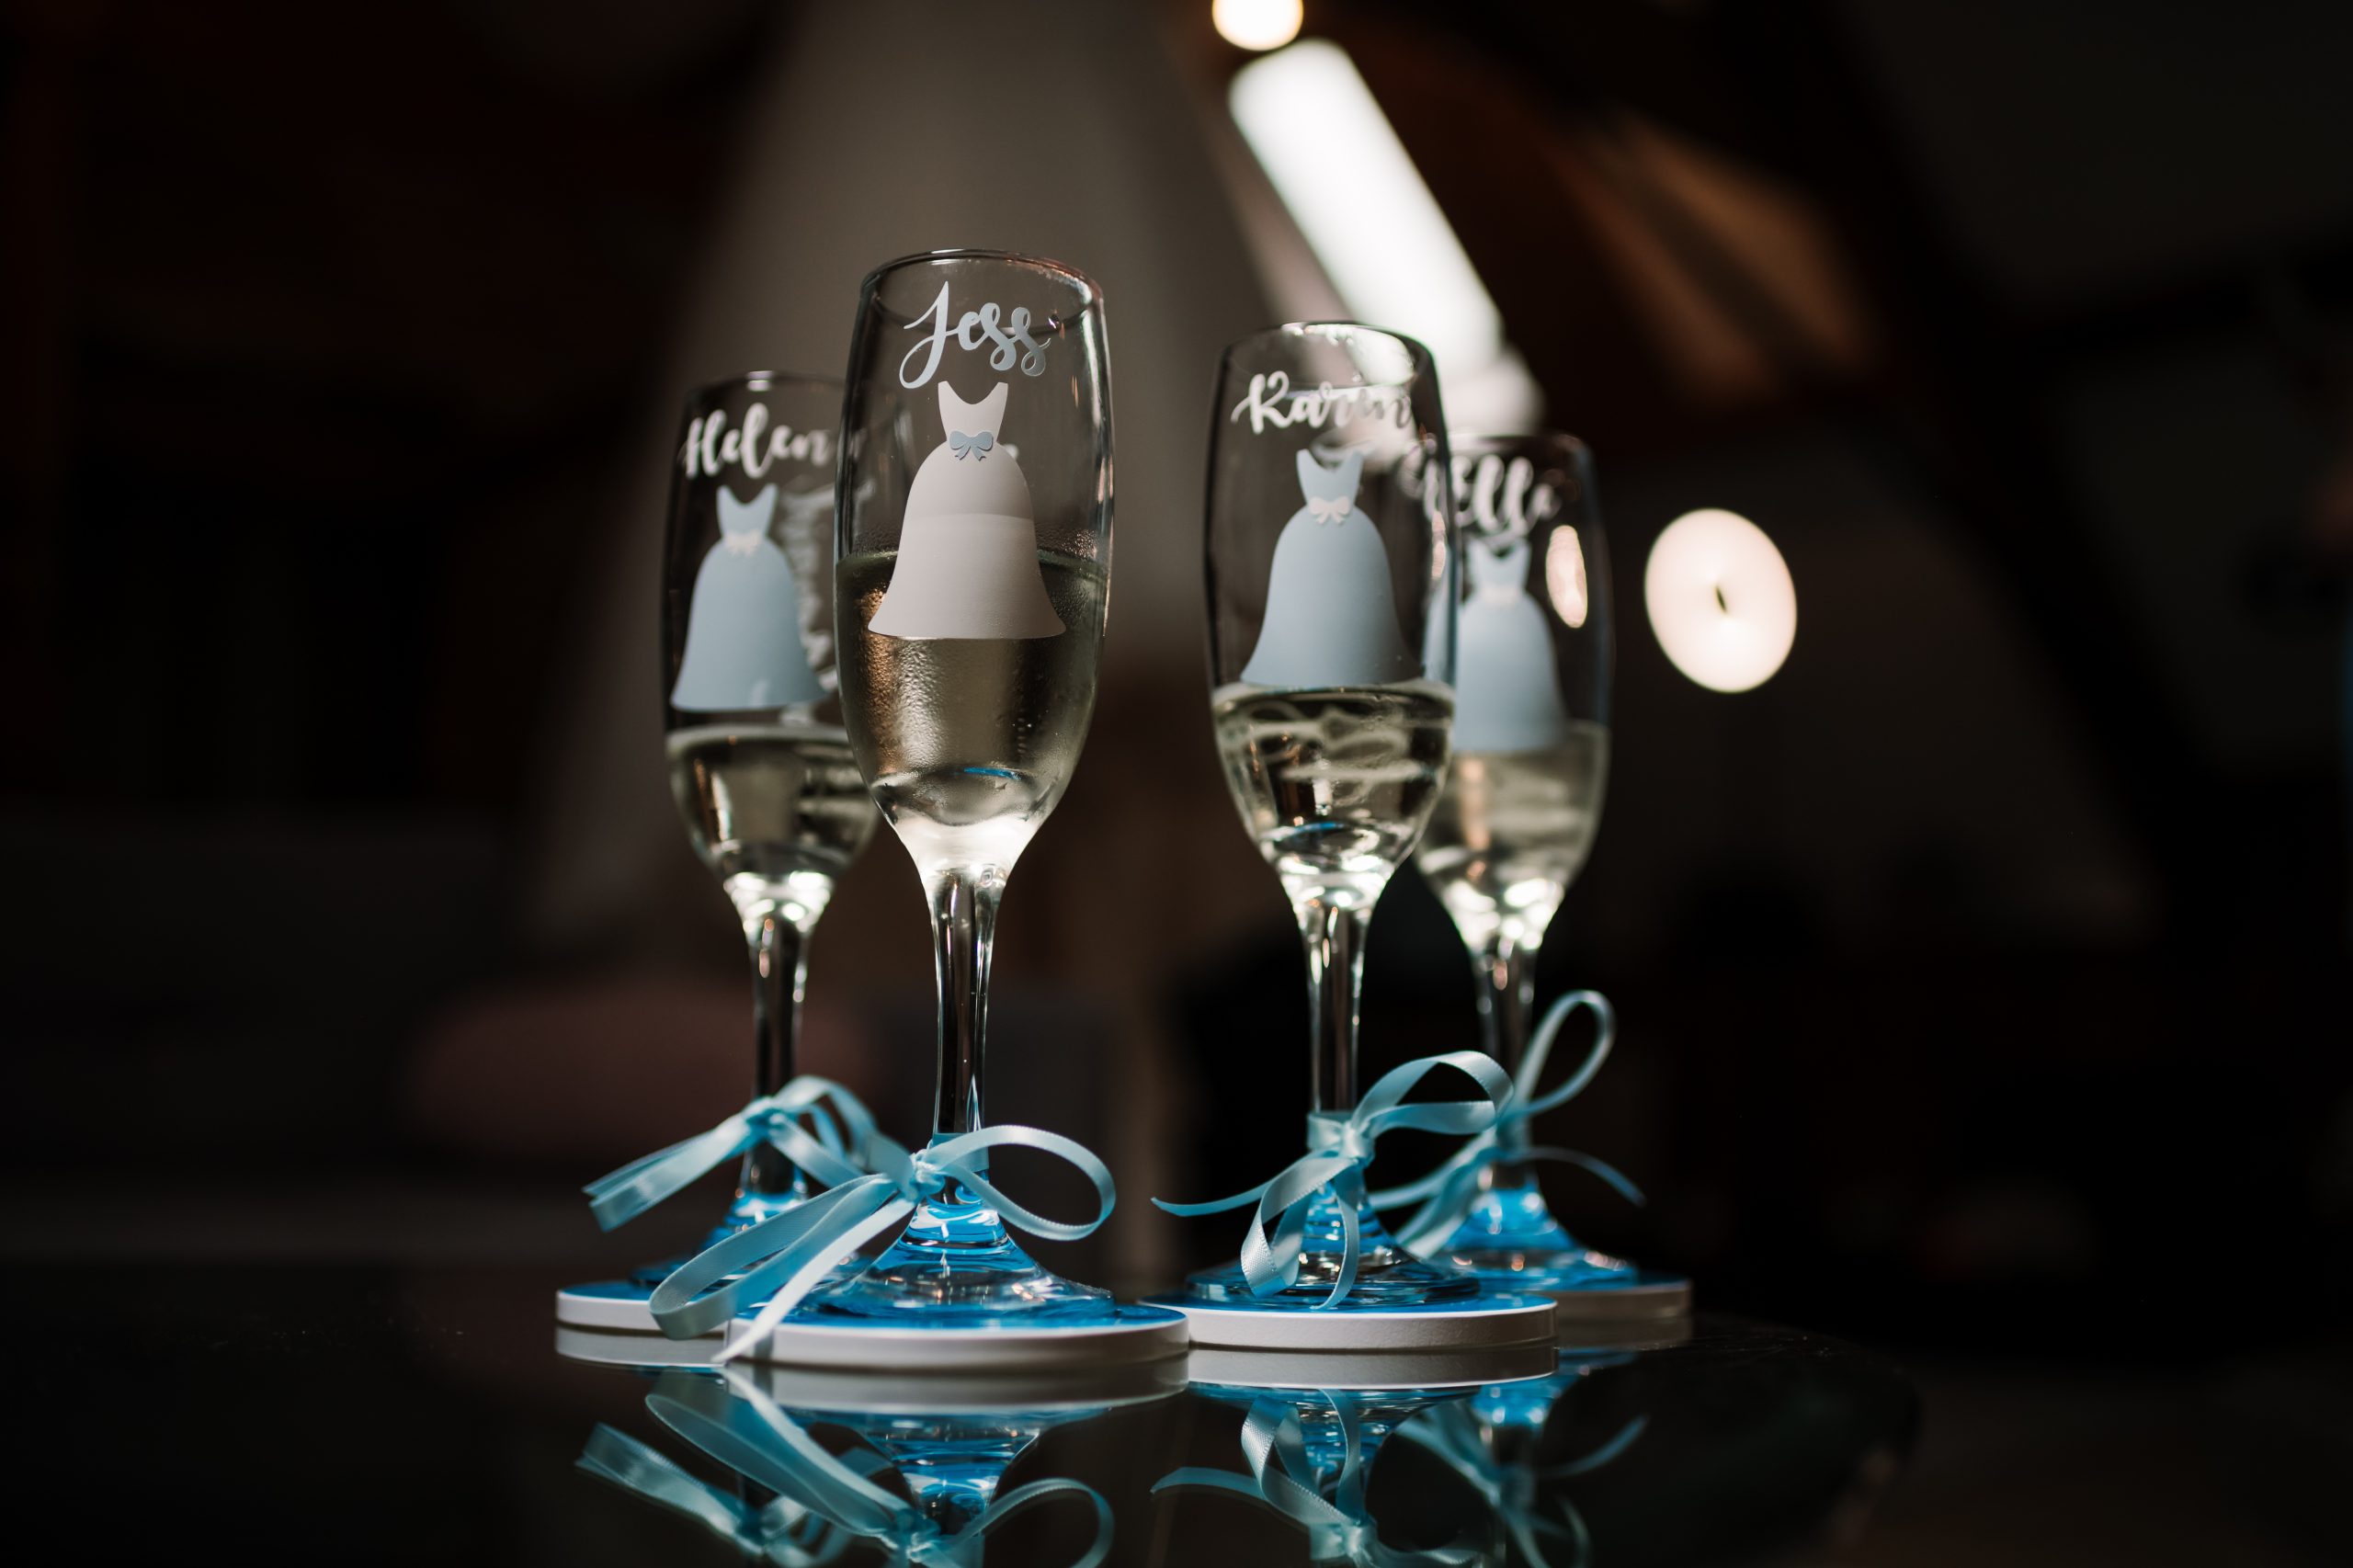
Here is a list of everything I made for our wedding:
Pre-wedding
- A wooden wedding day countdown using vinyl decals.
Stationery
- Wedding invites using print then cut.
- Table place name cards.
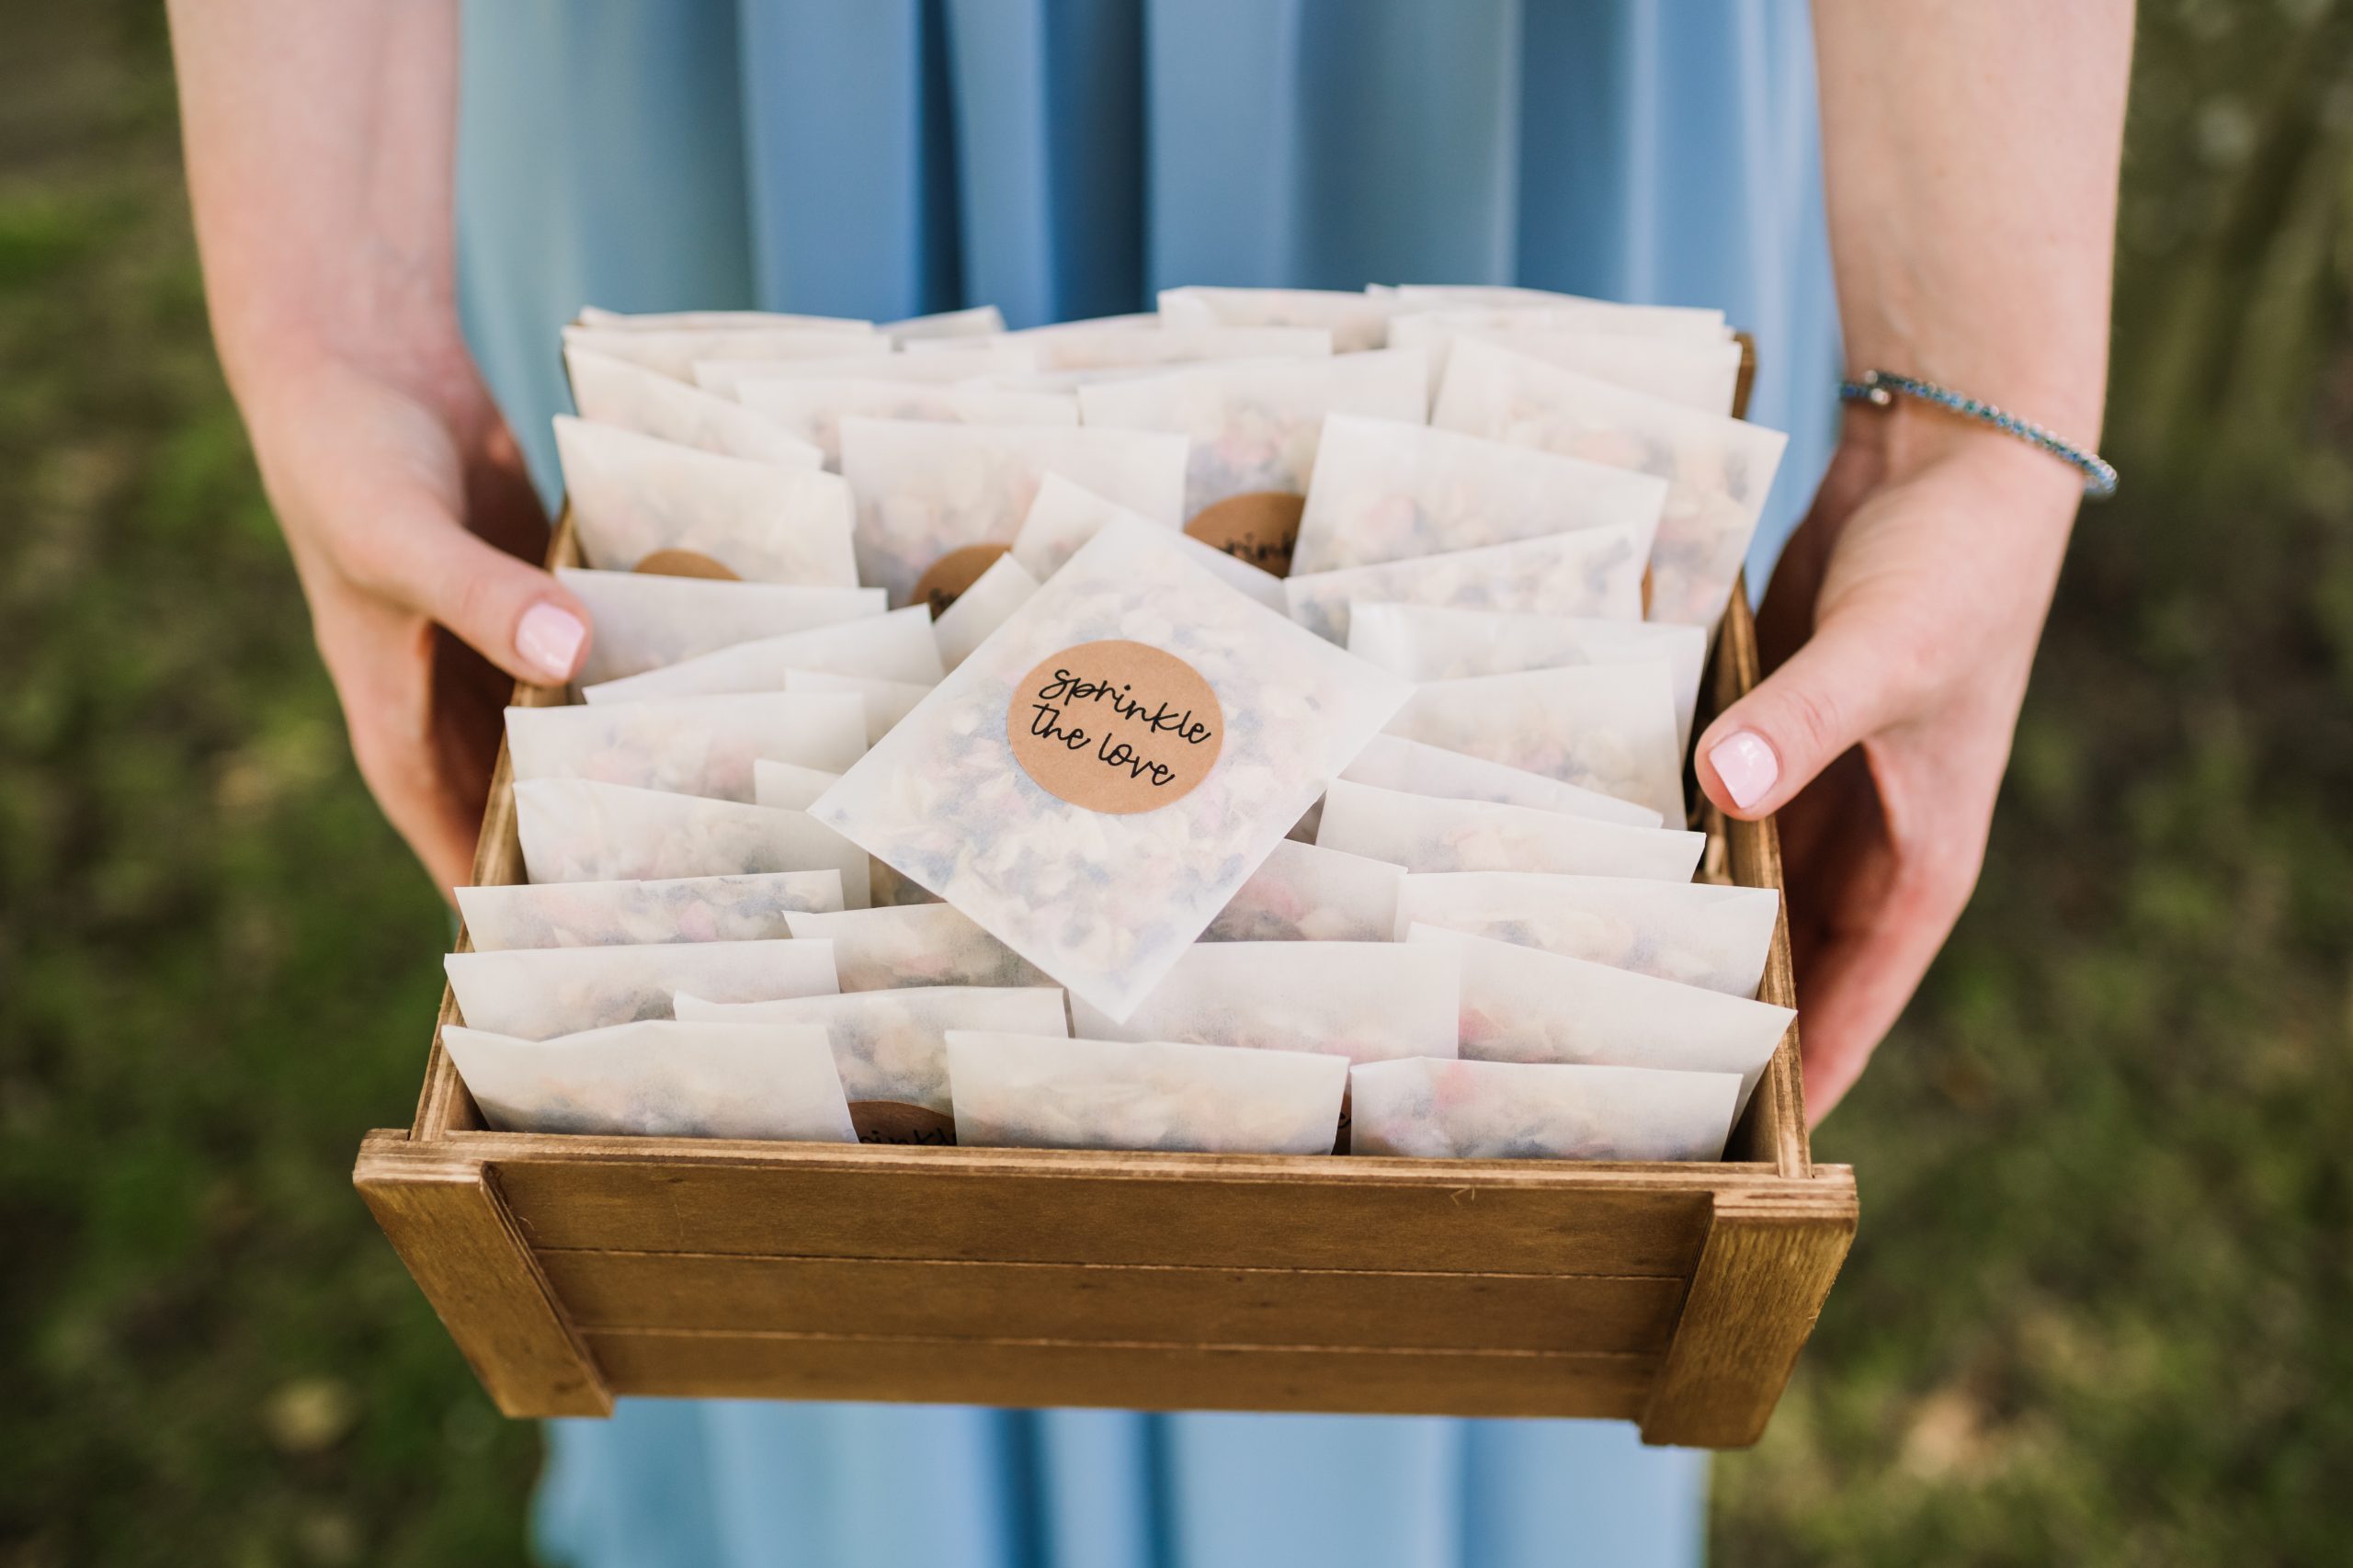
- Confetti bags and labels.
Decor
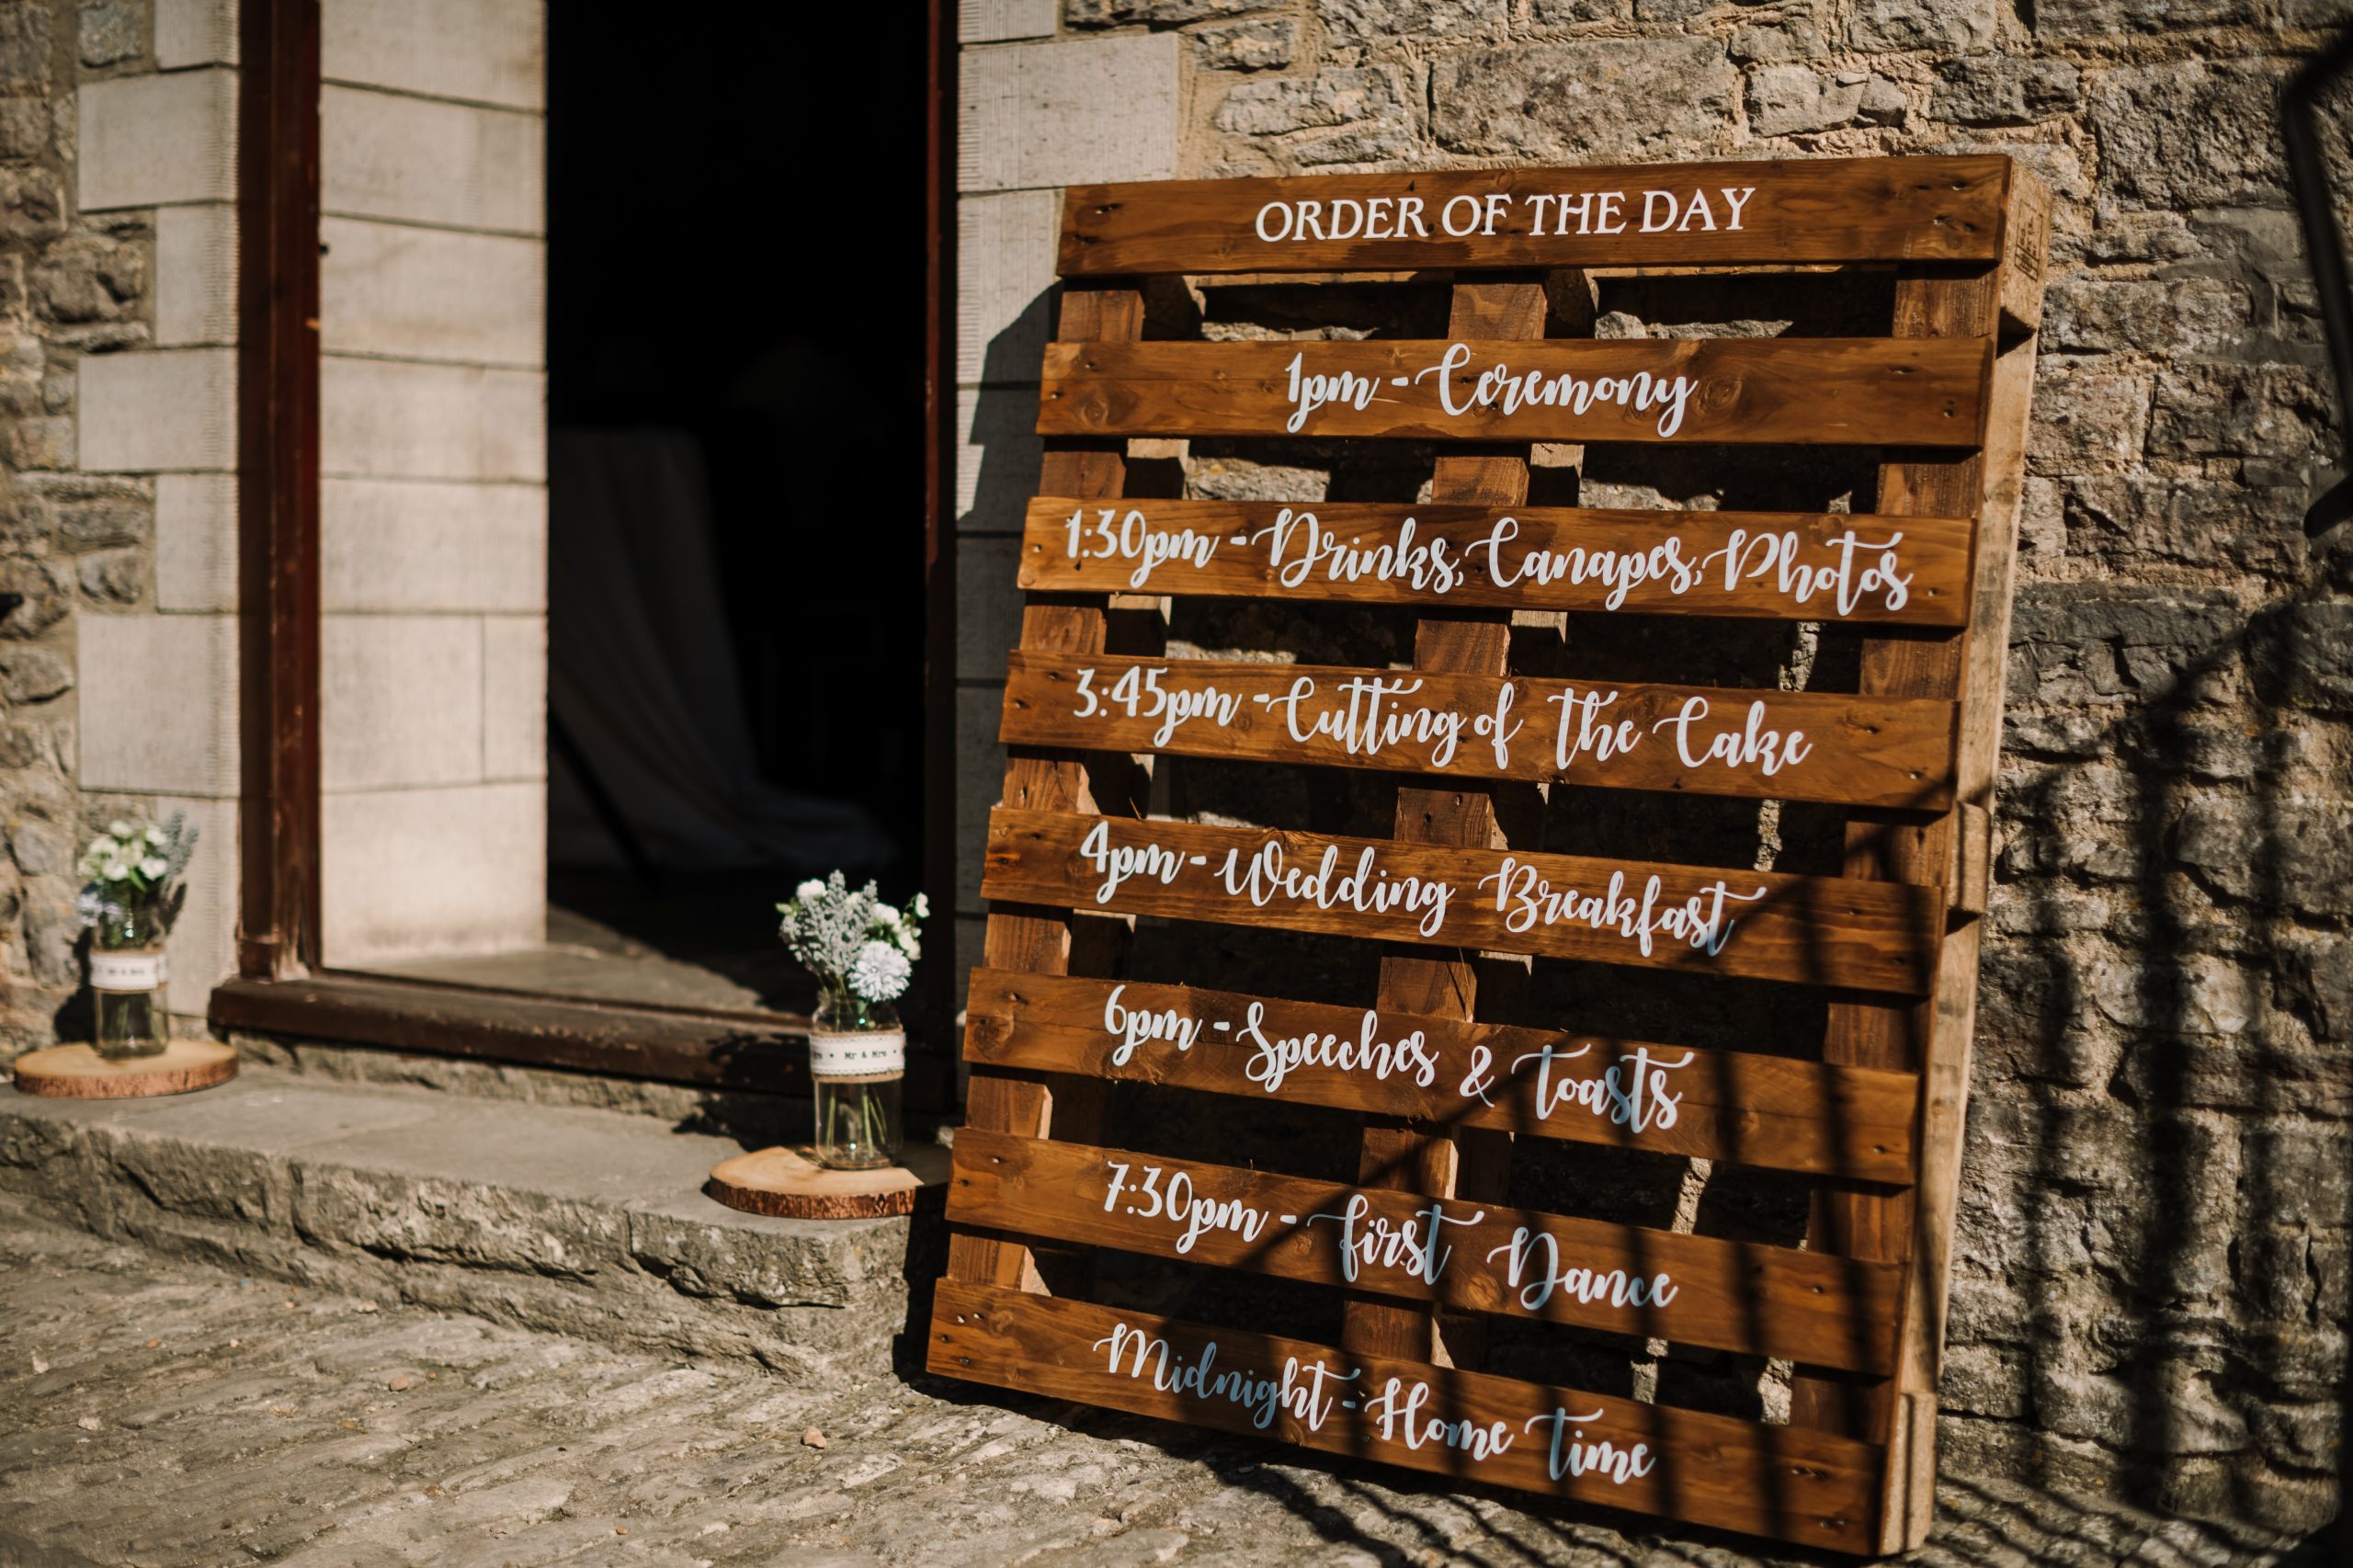
- Order of the day pallet using vinyl decals.
- Table plan pallet using print then cut and vinyl decals.
- Chalkboard welcome signs using vinyl decals.
- Large jam jar faux flower aisle decor.
- Mini chalkboard signs for our guestbook & cake.
- Paper flower crates used as center pieces.
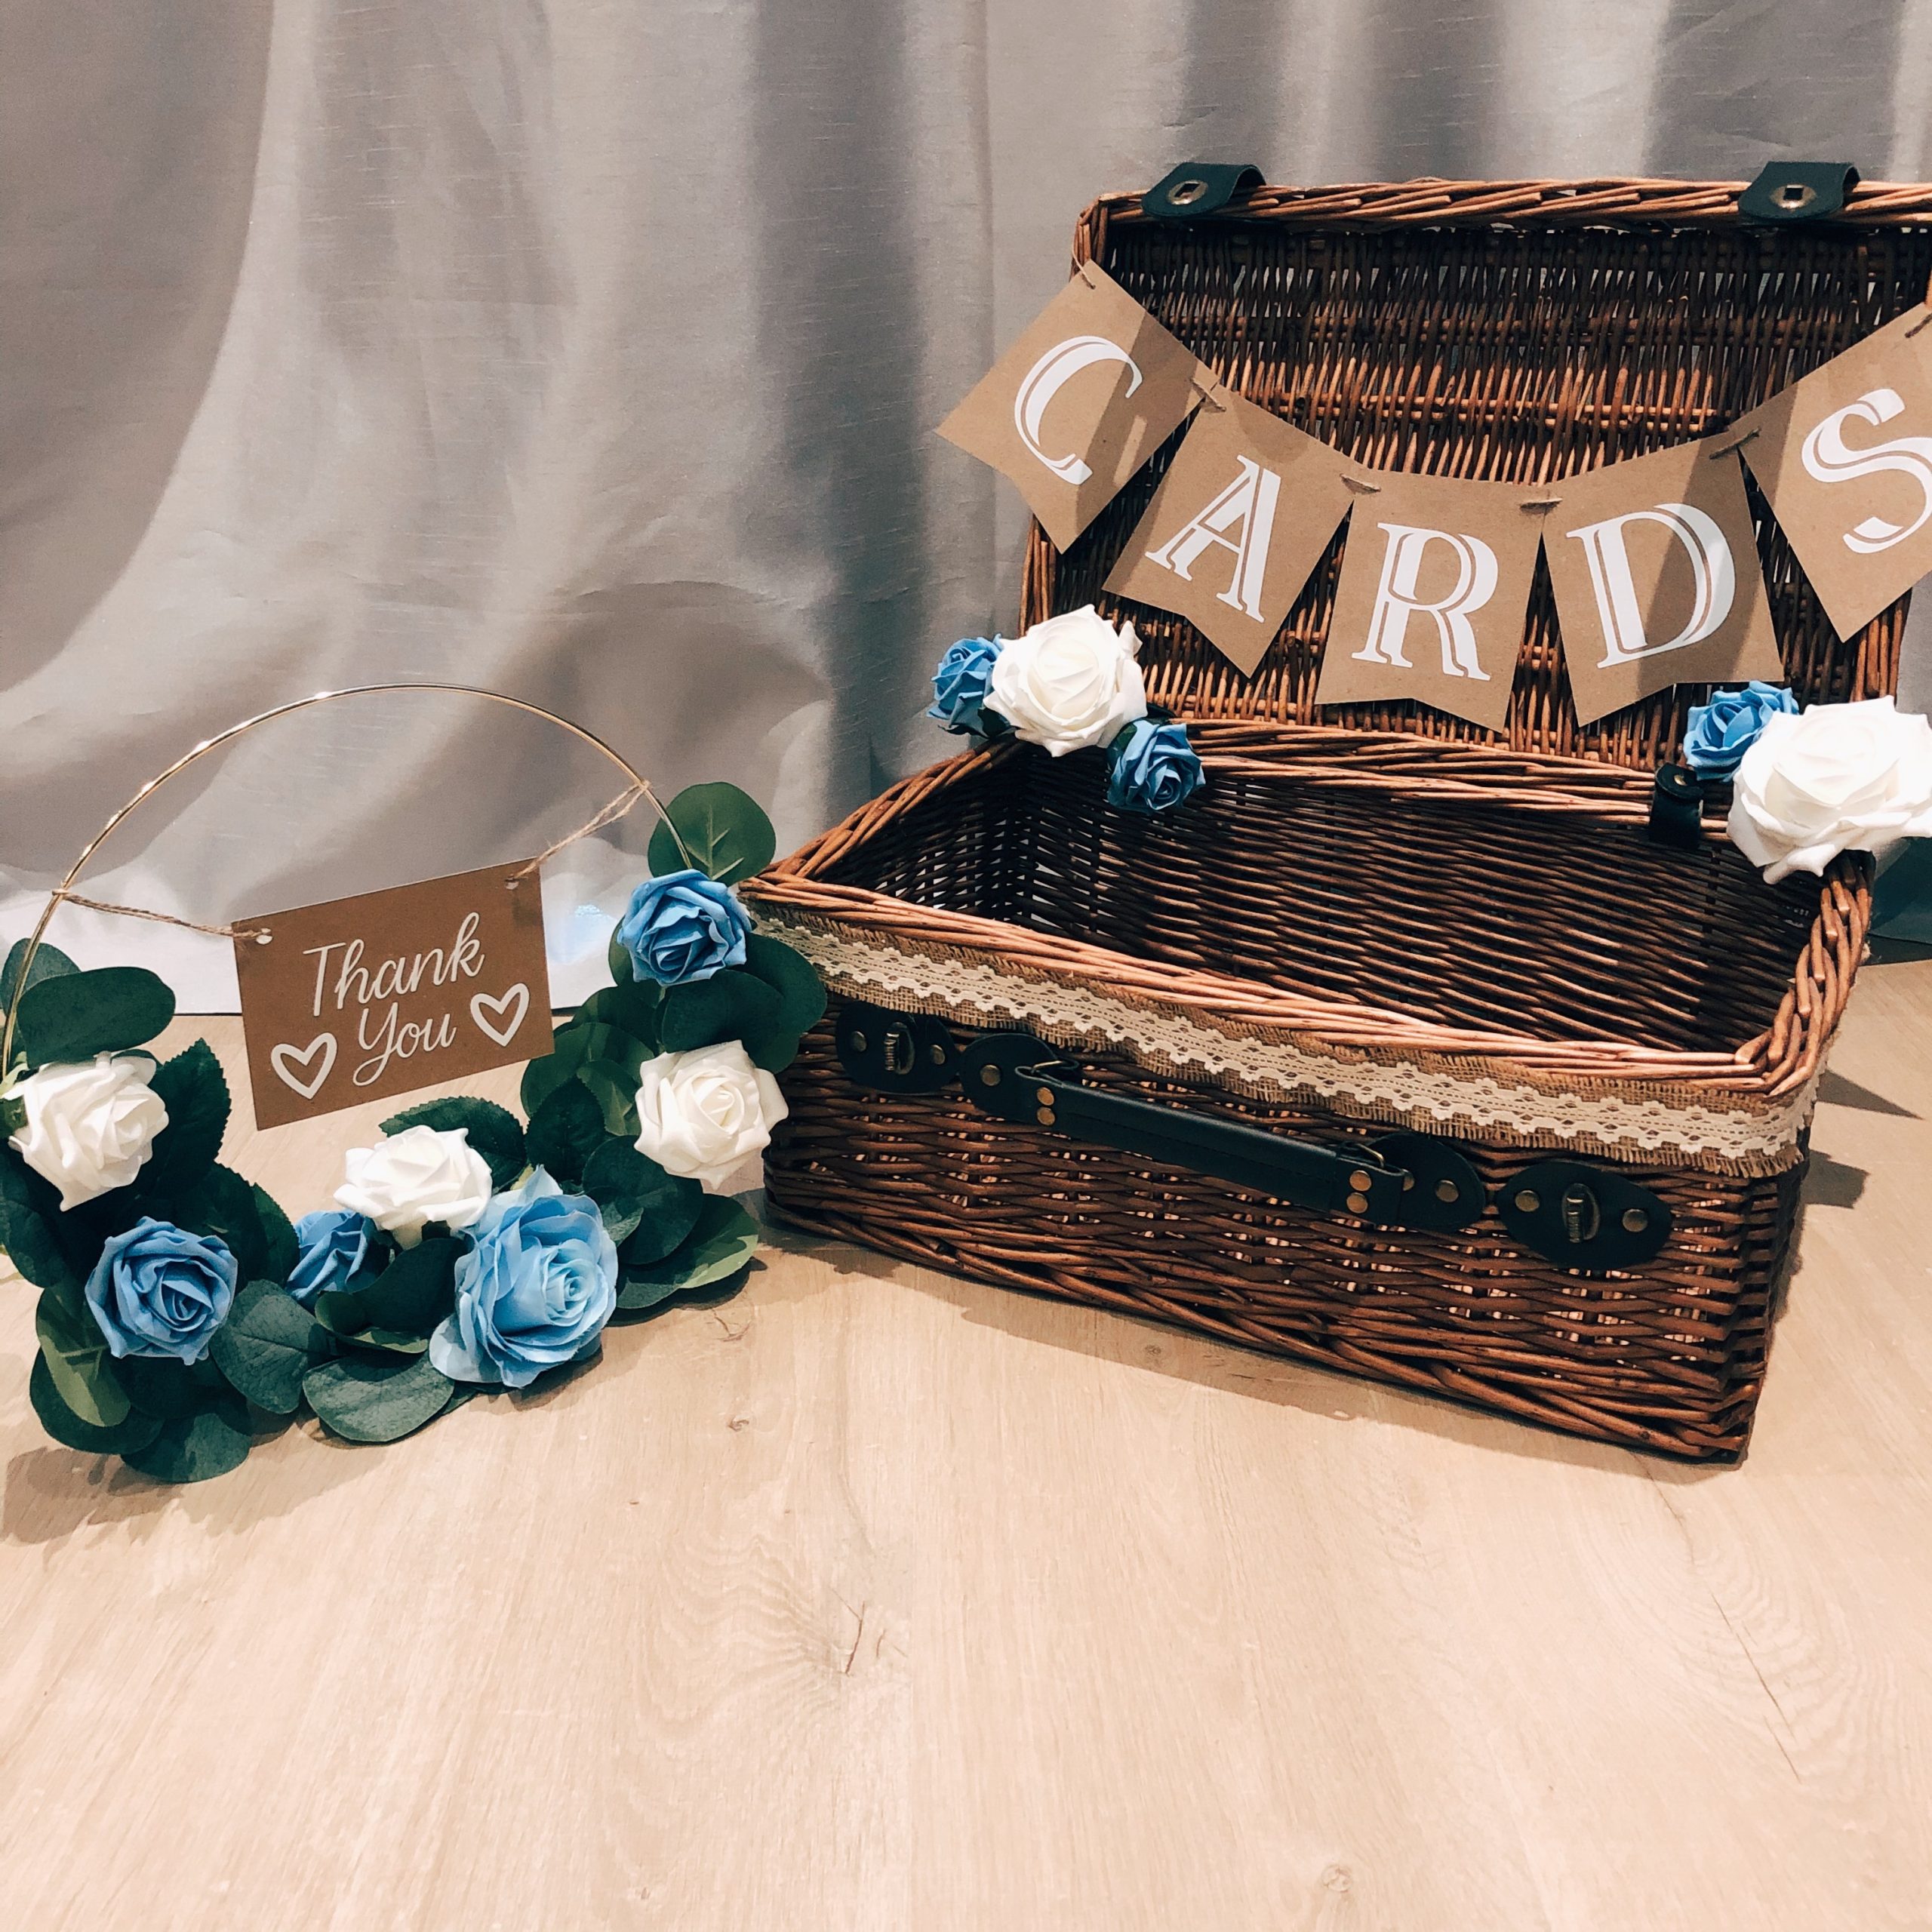
- A cards hamper with bunting.
- Thank you hoop.
- A cake topper.
- Painted ‘R & J’ wooden letters (our initials).
Gifts for bridesmaids
- Bridesmaid ‘proposal’ gift boxes.
- Personalised coasters using Infusible Ink.
- Personalised champagne flutes using vinyl decals.
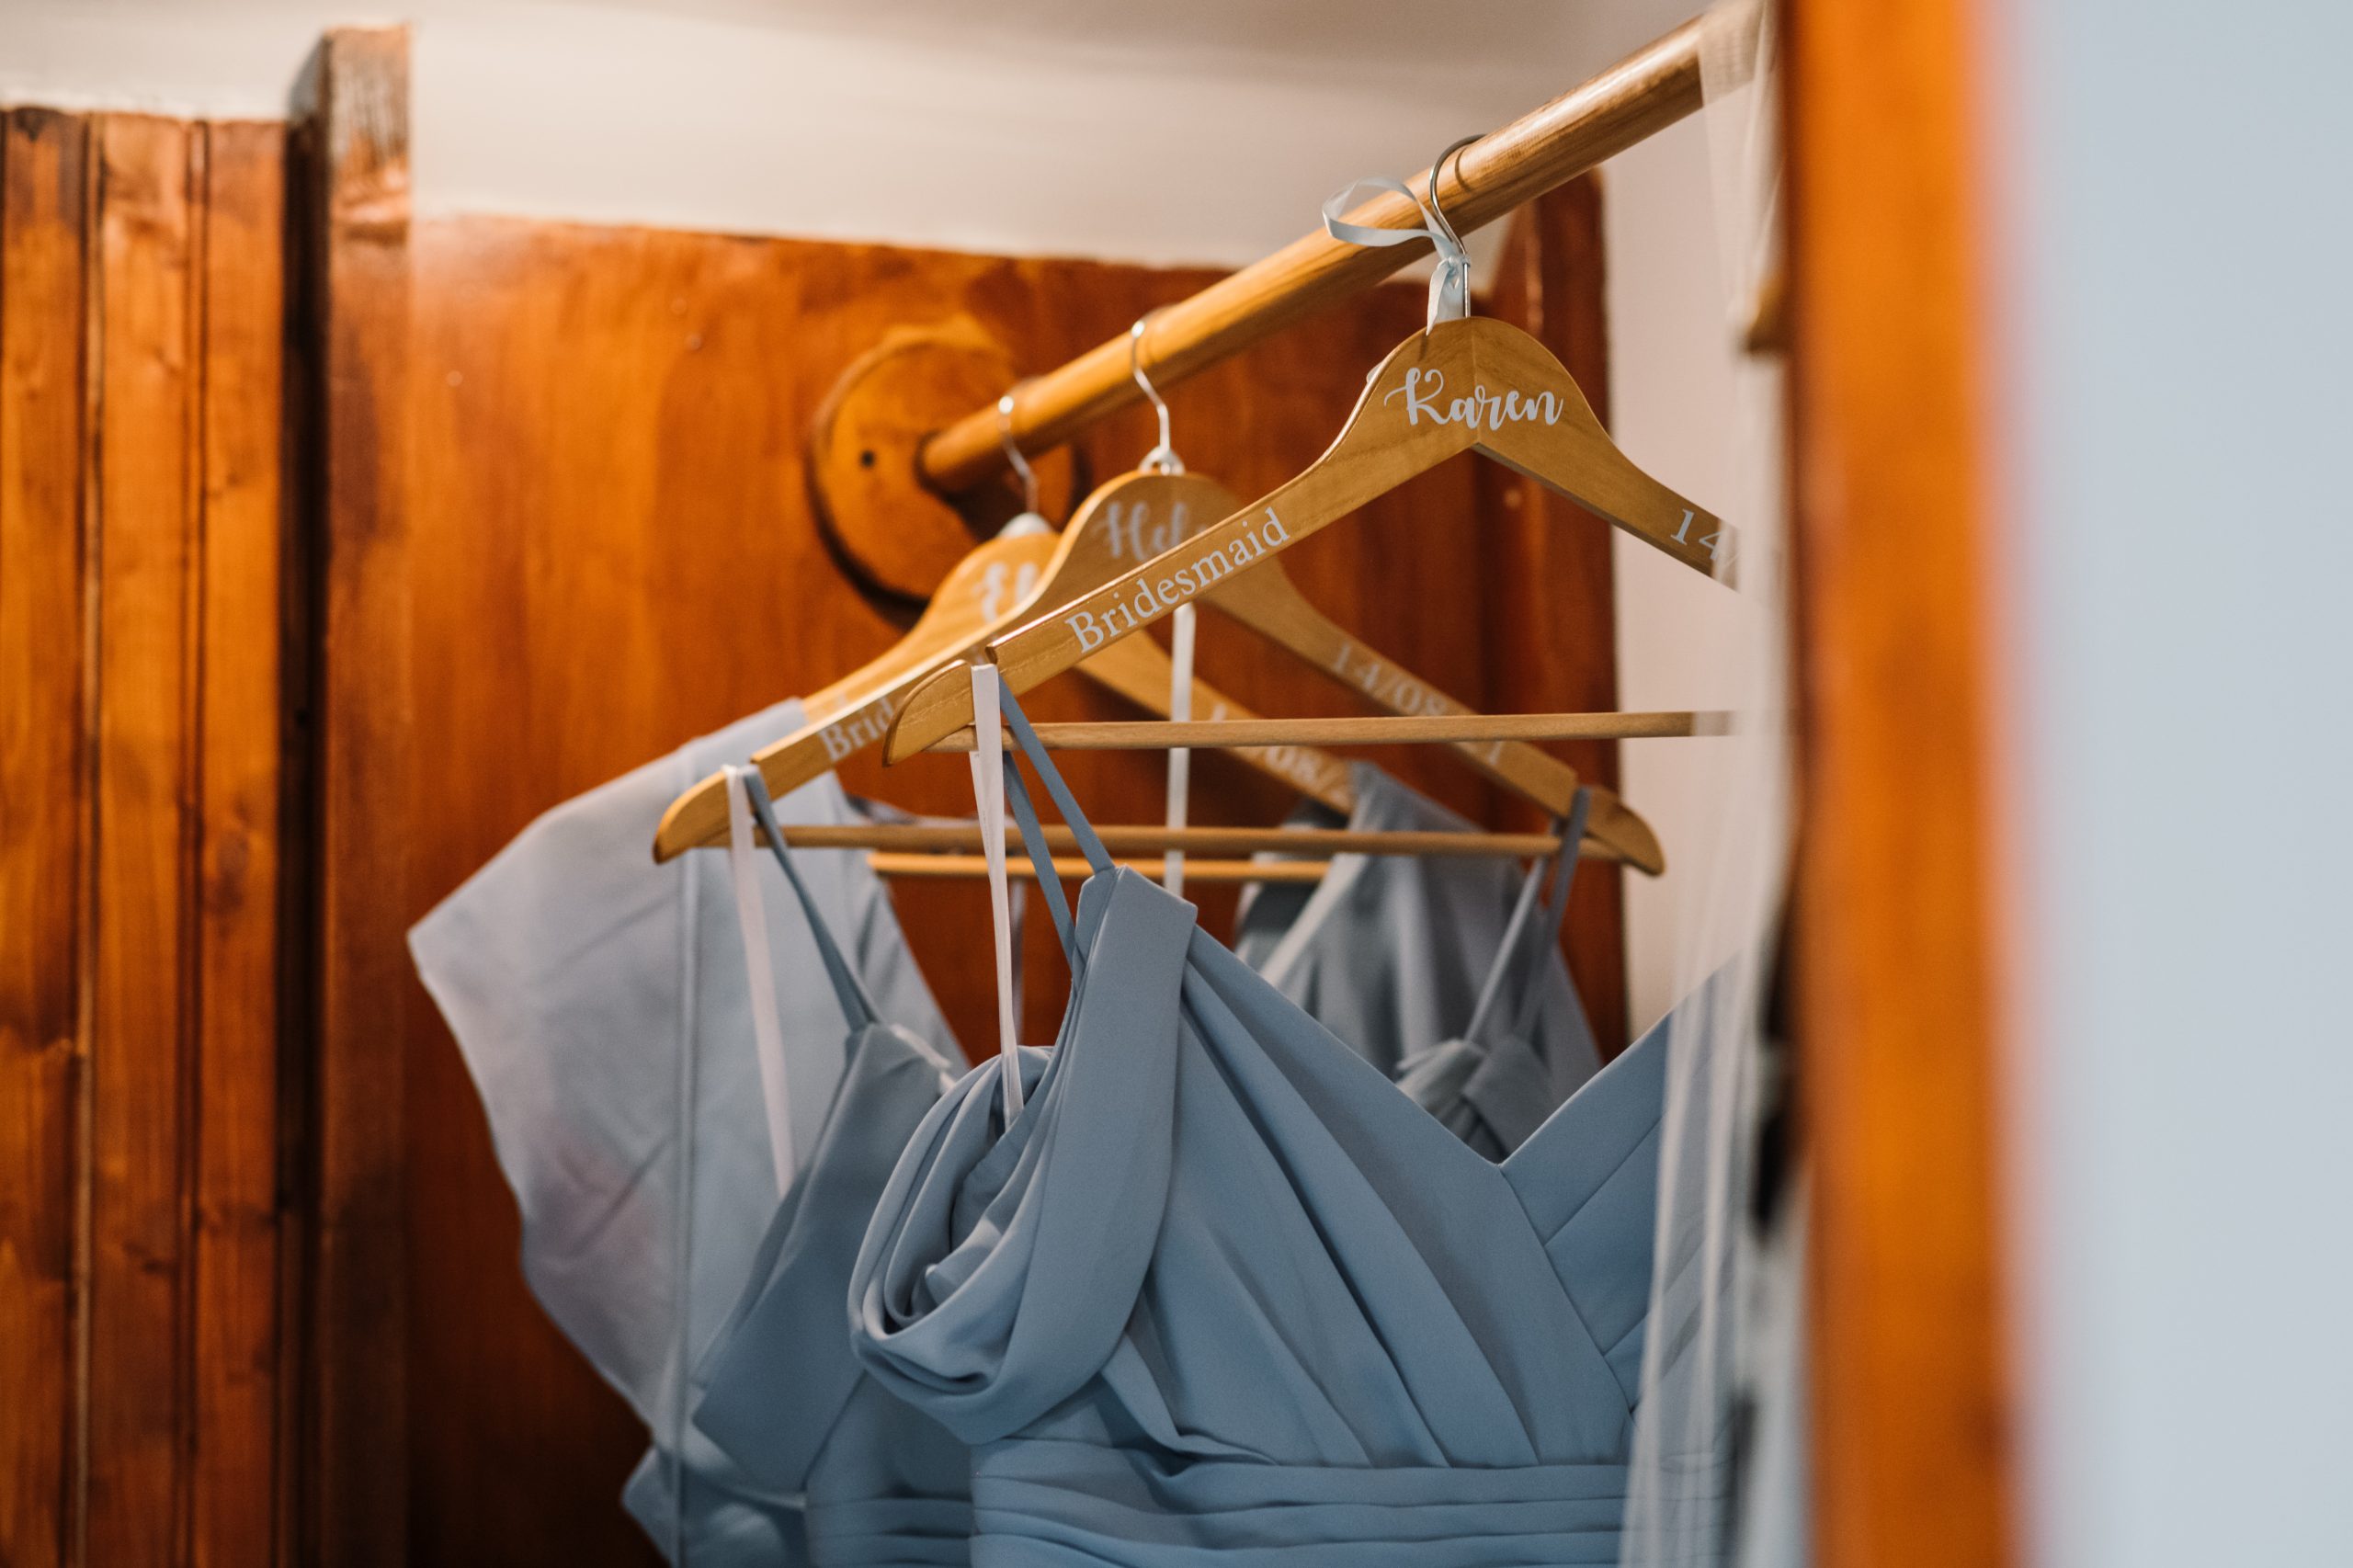
- Personalised hangers for the bridesmaid dresses.
Post-wedding
- Glass frame preserving parts of my wedding bouquet.
As well as these, I also bought hessian and lace table runners, blue candles and a ‘Mr and Mrs’ hessian bunting to complement the handmade items and decor.
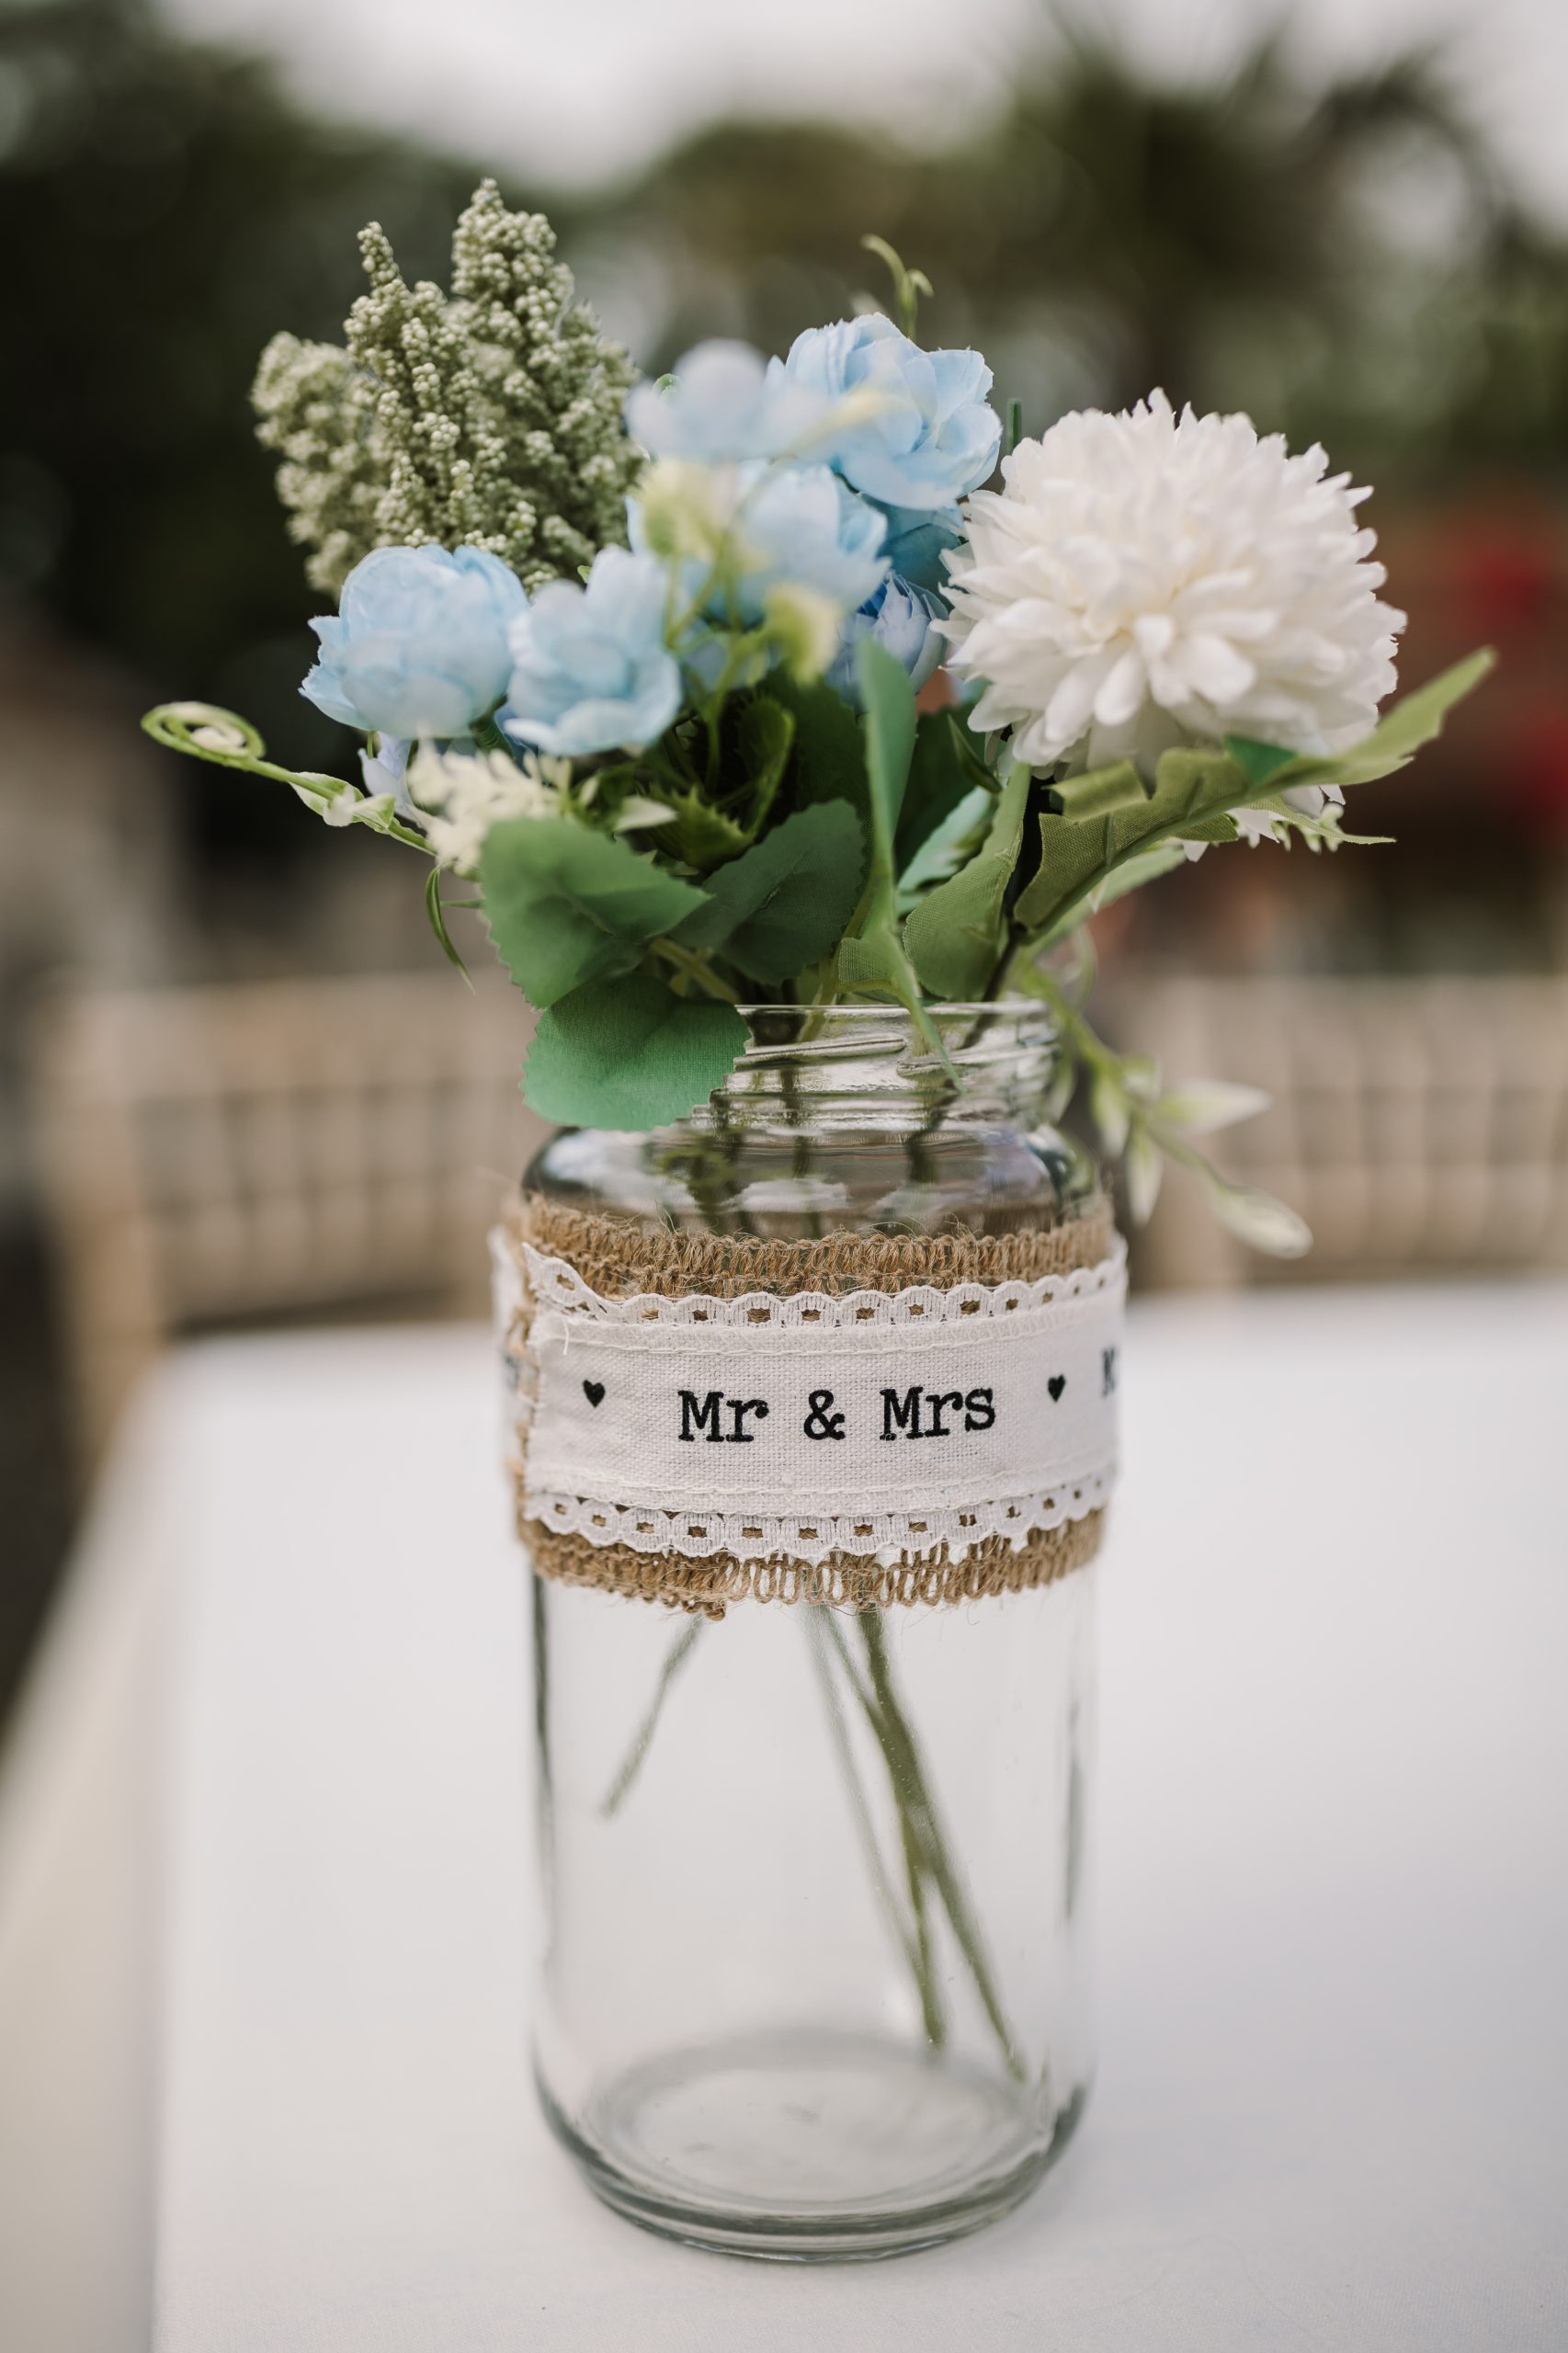
My favourite piece of handmade decor
Without a doubt, I am most proud of making our wedding table centerpieces!
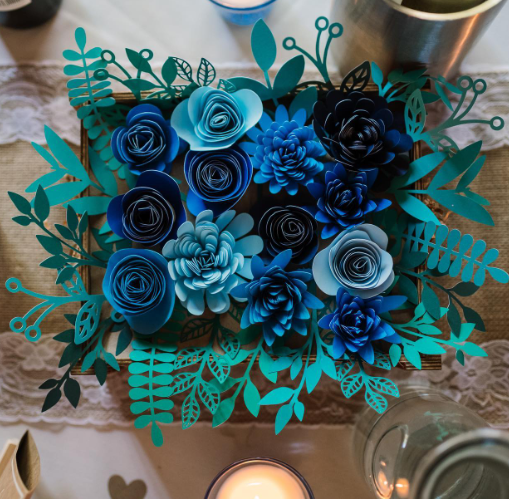
I bought 7 wooden crates and stained them with a medium oak water based stain to tie into our rustic theme. I filled them with shredded kraft paper and then stuck kraft card on the top (so I could apply the paper flowers and leaves).
Next I used my Cricut Maker to cut out SO many green leaves and paper flowers in different shades of blue. Then finally I rolled all the flowers and glued them to the crates. The whole process took a very long time but once I had made one crate it was great to see my vision come to life!
They are now all safely stored in our loft and will always hold a very important place in my heart – they represent our wedding day but also the success of crafting our decor!
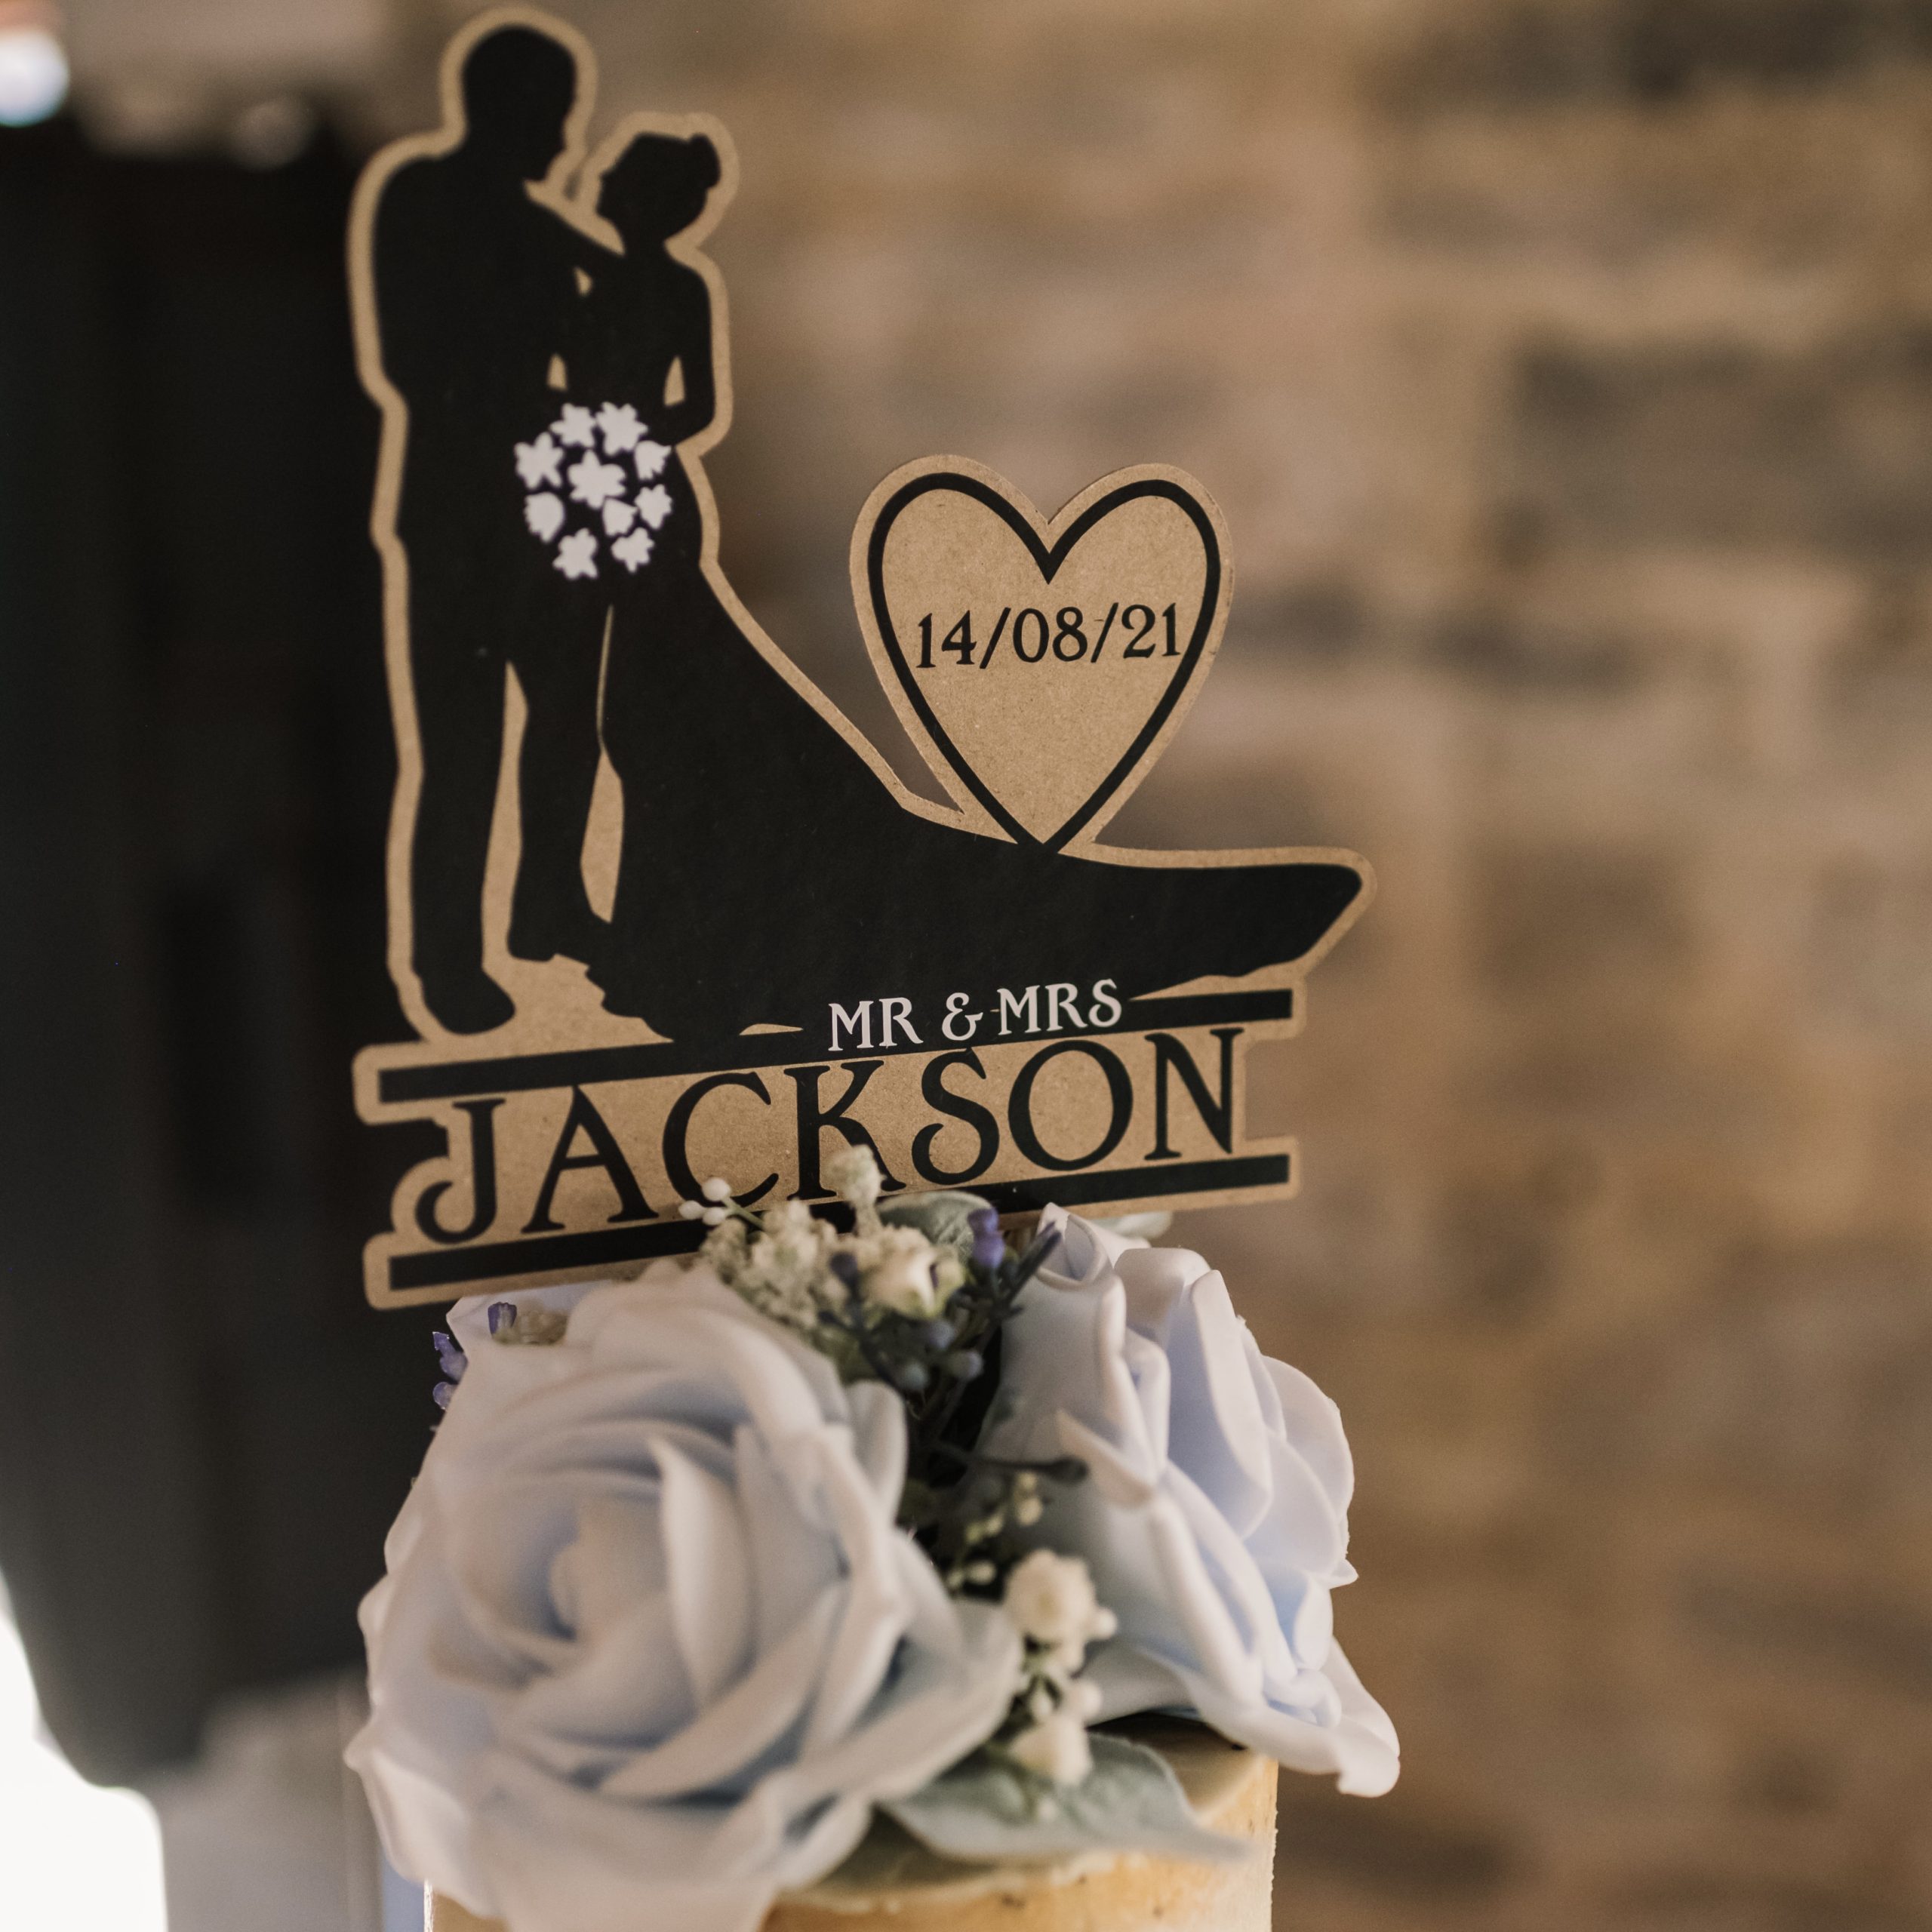
Some tips for creating your own decor and stationery
- Decide on a theme/colour scheme and make a Pinterest board.
Pinterest is definitely where many brides begin their planning journey! Build a moodboard then start to search for items you can buy or make.
- Make a list of everything you would like to make/buy and set a budget!
Many brides are moving to ‘DIY decor’ to save money, so make sure that your list of materials/items is cost-effective and doesn’t end up costing more than hiring a stylist!
- Don’t underestimate time.
As I mentioned, my centrepieces took a long time to make and I didn’t do it all at once, instead it was many weekends and evenings worth of work!
Put together a schedule of your free time and when you will create particular items – the process will be less stressful!
- Decide where you will display your decor.
We had some basic aisle decor and welcome signs outside where we got married, with the majority of decor in the barn for later in the day.
Make sure that you run through the ceremony and wedding breakfast options with your venue and make a decision on where these will take place. This will help when creating lists of what decor to make/buy.
- Get involved with the online DIY bride community.
There are Facebook groups and Instagram accounts where you can chat with other brides-to-be on all things ‘DIY wedding’! They are great spaces to share creative ideas.
I personally found these communities really supportive and inspirational!
Tips for your big day
When can you set up?
When booking a venue, find out what their setup policy is. Some venues can only allow you to do this on the day itself (for instance if they’ve had a wedding the day before), but in many cases, a lot of venues will offer to set up tables for you, provided you show them how it should be displayed.
We were lucky and could set up our venue from 9am the day before our wedding, this meant that we could get everything sorted and then head out for a relaxing evening with family and friends at the local pub!
Consider how you will transport your decor
Think about how much you have made and how many cars will be needed! You may need family/friends to help – we had three cars transporting our wedding items.
Tape, blu tac, glue, string and scissors.
Bring these important extra items to help put up decor and fix any mishaps.
One last thing…
Finally and most importantly – enjoy your special day! It really does go by as fast as everyone says it does, so enjoy every single second, absorb all the love being surrounded by your best people and be proud of the decor you’ve crafted. You may even get a few compliments and mentions during the speeches about all the amazing decor you have made!
Photography by Rachel Elizabeth Photography
Thank you Jess
Thanks for sharing these incredible tips and your experience with the community!
Are you making for your wedding? Don’t forget to share your journey with us by tagging @cricut_UK on social media.
Need more ideas and inspiration?
Helen from AllthingsHelen on Instagram shares her experience in making for someone else’s wedding in our blog post here.
We identified the latest wedding trends for your DIY wedding inspiration on the blog.
And don’t forget to consider your forever flowers! Check out our flower-making 101 page here.


