Get the Love Island look
Love Island is back, and (as many Cricut members already know) you can ‘make’ like you’re at the villa with your machine and some vinyl. Let’s show you how.
Temperatures are rising on and off our TV screens this summer as Love Island returns TODAY! Although you may not be at the villa you can still match the new Islanders in style, by creating your own personalised accessories inspired by the show, with Cricut.
You can get ‘grafting’ and make and customise whatever you want. Cricut machines are a one-stop shop for crafting, cutting and upcycling and allow you to make your own personalised creations at home, in three easy steps – just Design, Cut and Apply.
So why not make your own Love Island-themed accessories which are totally your ‘type on paper?
Here are some easy projects to get you started:
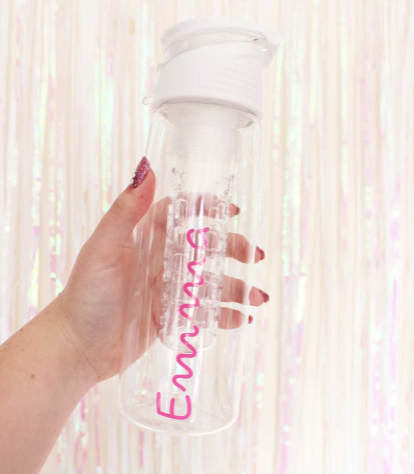
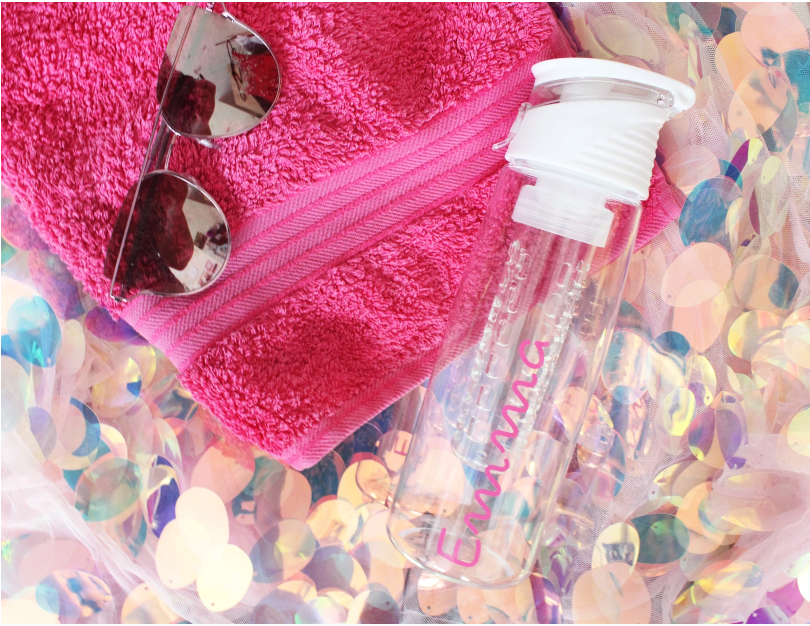
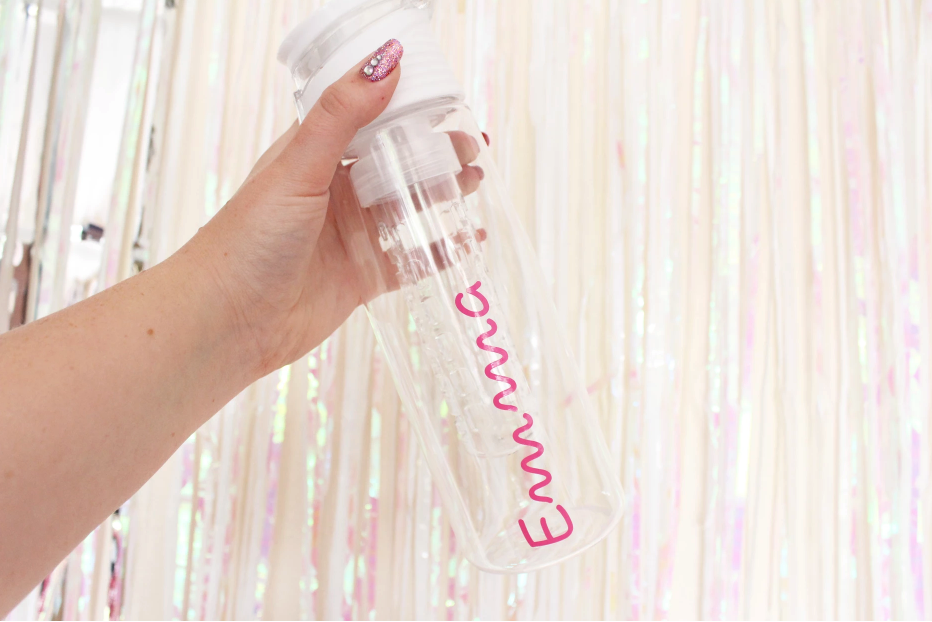
Love Island water bottles
It’s easy to create the iconic look with a Cricut Joy™.
- You need a clear reusable water bottle, some (pink!) Smart Vinyl™, Transfer Tape and a Cricut Joy.
- If you’re keen on the exact lettering used, the font is called Pecita and can be downloaded for free from dafont.com *Check usage rights with Dafont.
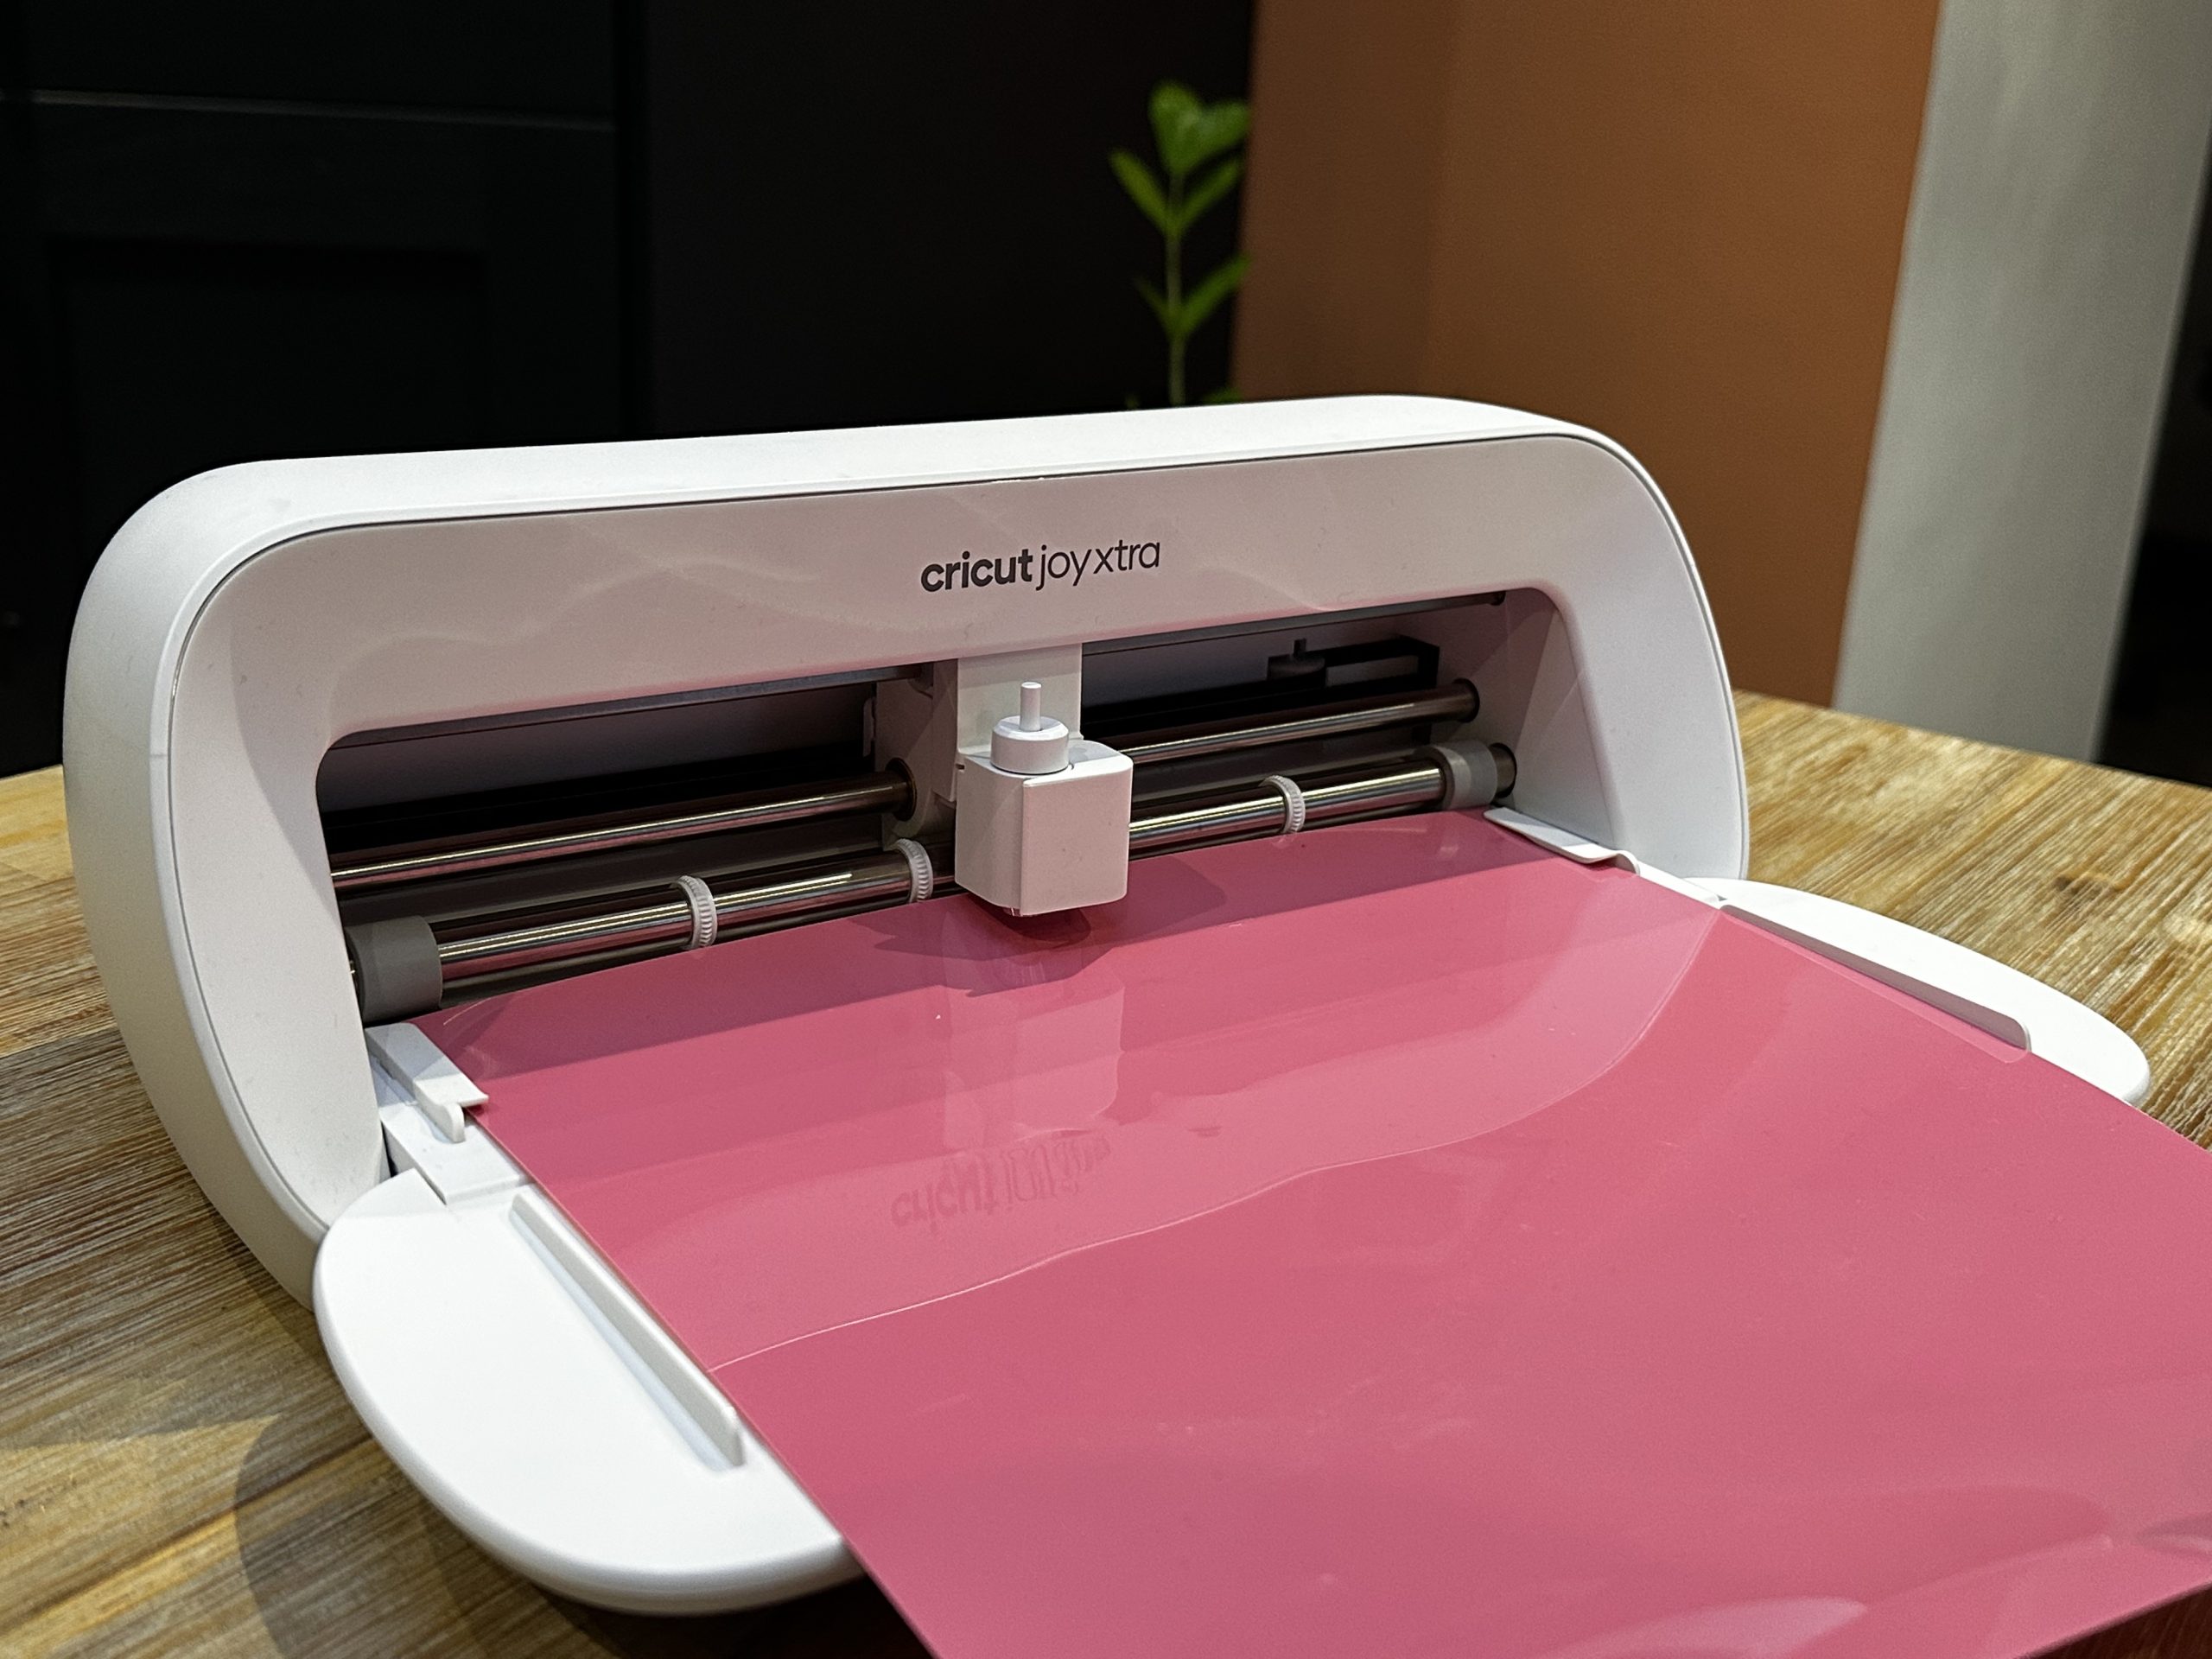
- Open a new project in the Cricut Design Space™ app. Type your name in your preferred font and resize to about 4-5 inches (10 cm to 13 cm) . Load the vinyl into your machine and click ‘Make It’. Cricut Joy will do the rest!
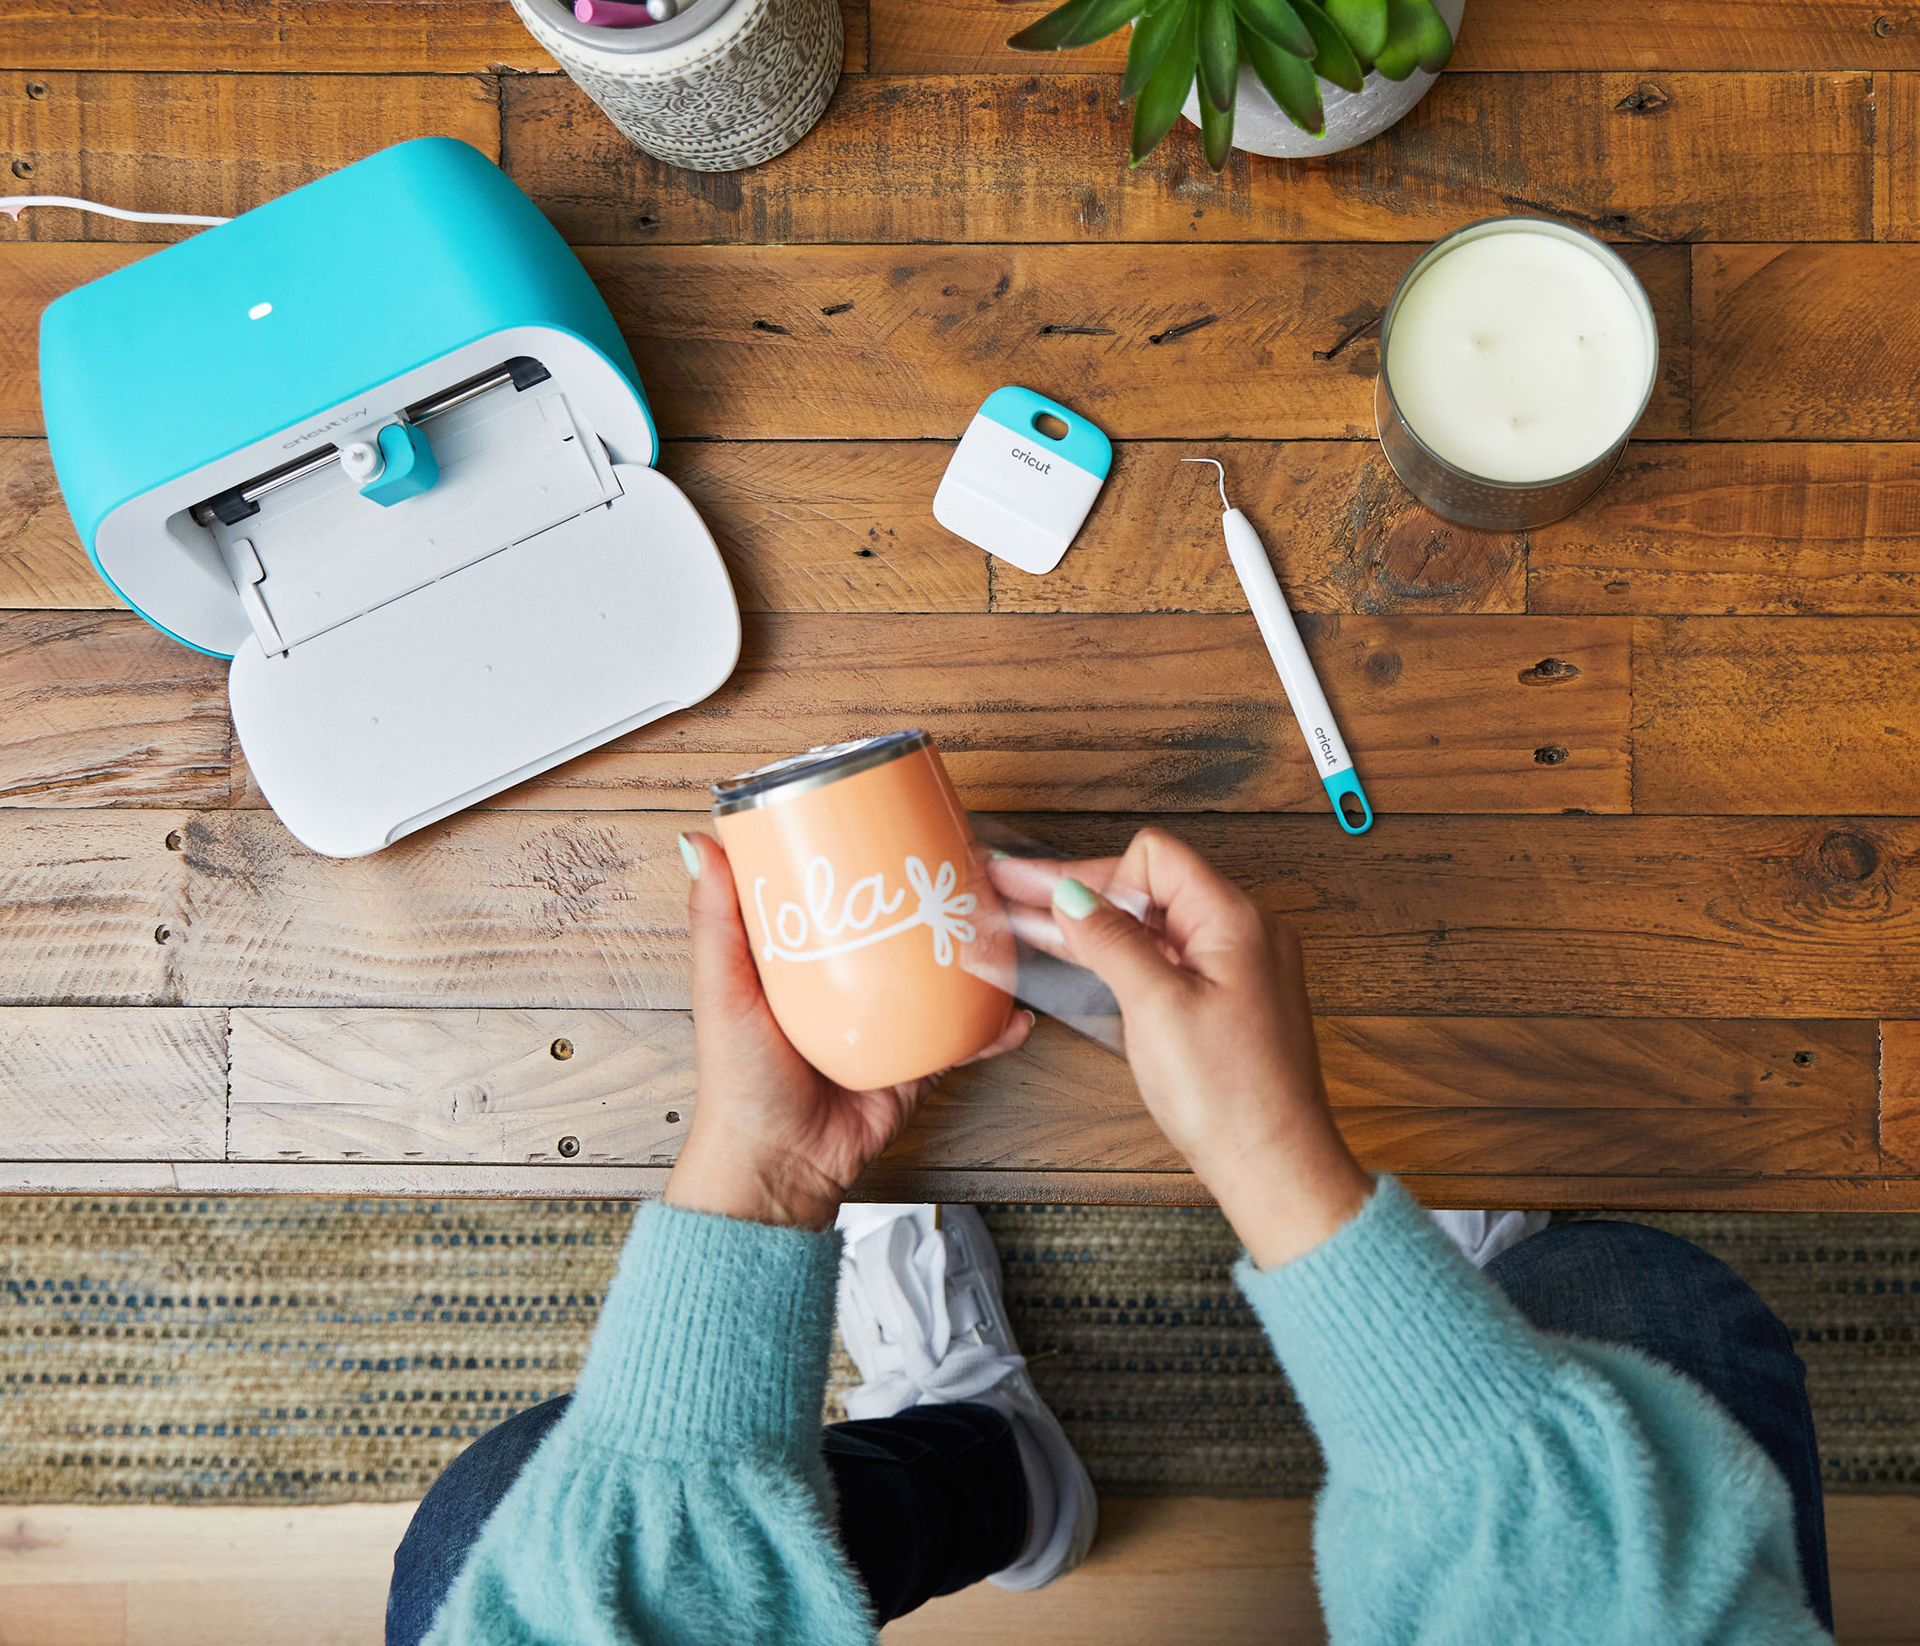
- After the vinyl has been cut, you’ll need to remove the excess using a ‘weeding’ tool before using Transfer Tape to lift and apply the name to your bottle.
- The same steps apply to personalising many items – go Love Island crazy and add your name to your mobile phone case, luggage and even your favourite make-up.
Personalised apparel
Fancy slipping into a personalised silky robe or – if the British weather turns – a hoodie in order to catch up on the latest Island drama? With Cricut, you can also personalise and upcycle clothing, so a great way to refresh something you own already. You’ll just need Iron-On vinyl (HTV) or Smart Iron-On™ and a Cricut EasyPress™.
- As before, open up the Cricut Design Space app and type in your name.
- Choose your preferred colour of Iron-On vinyl (HTV) or Smart Iron-On, load into your Cricut Joy and press ‘Go’.
- Remember to ‘mirror’ your name so that when it is transferred onto your robe or hoodie, the words will read the right way.
- Remove the excess vinyl using a weeding tool – the carrier backing sheet will remain intact making it easy to position and apply your design.
- Check what heat setting you need on your Cricut EasyPress for the Iron-On material and base material you’ve chosen, by checking the handy heat guide and pre-heat your garment to help with the adhesion.
- Place your design on your garment and apply the EasyPress for the correct time with a light pressure.
- Apply heat to the back of your material using your EasyPress to ensure best results, then wait for it to cool down before removing the backing sheet to make sure it has attached properly.
- And then … voila! Relax, grab a mocktail and tune in to Love Island 2021.
All images © Emma Jewell.
